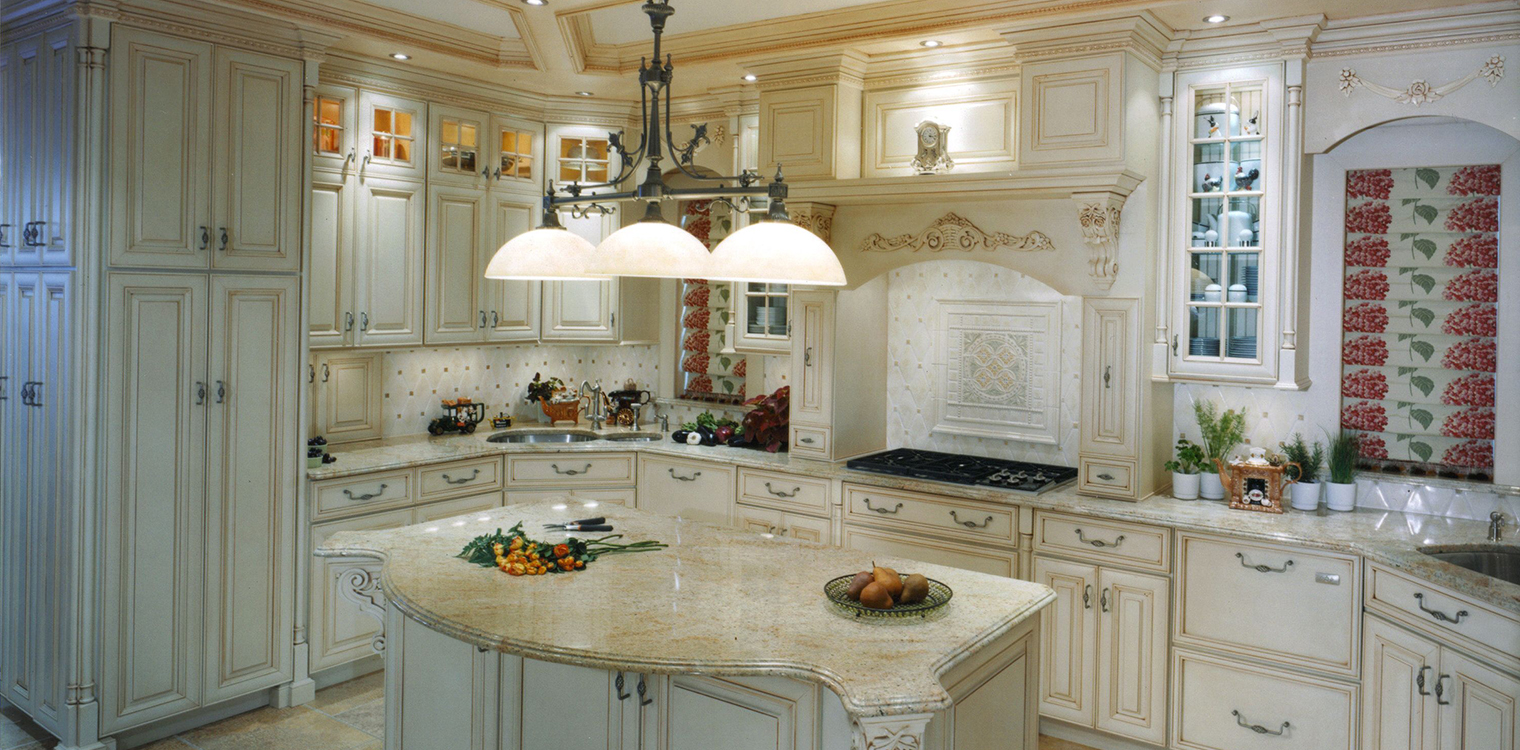
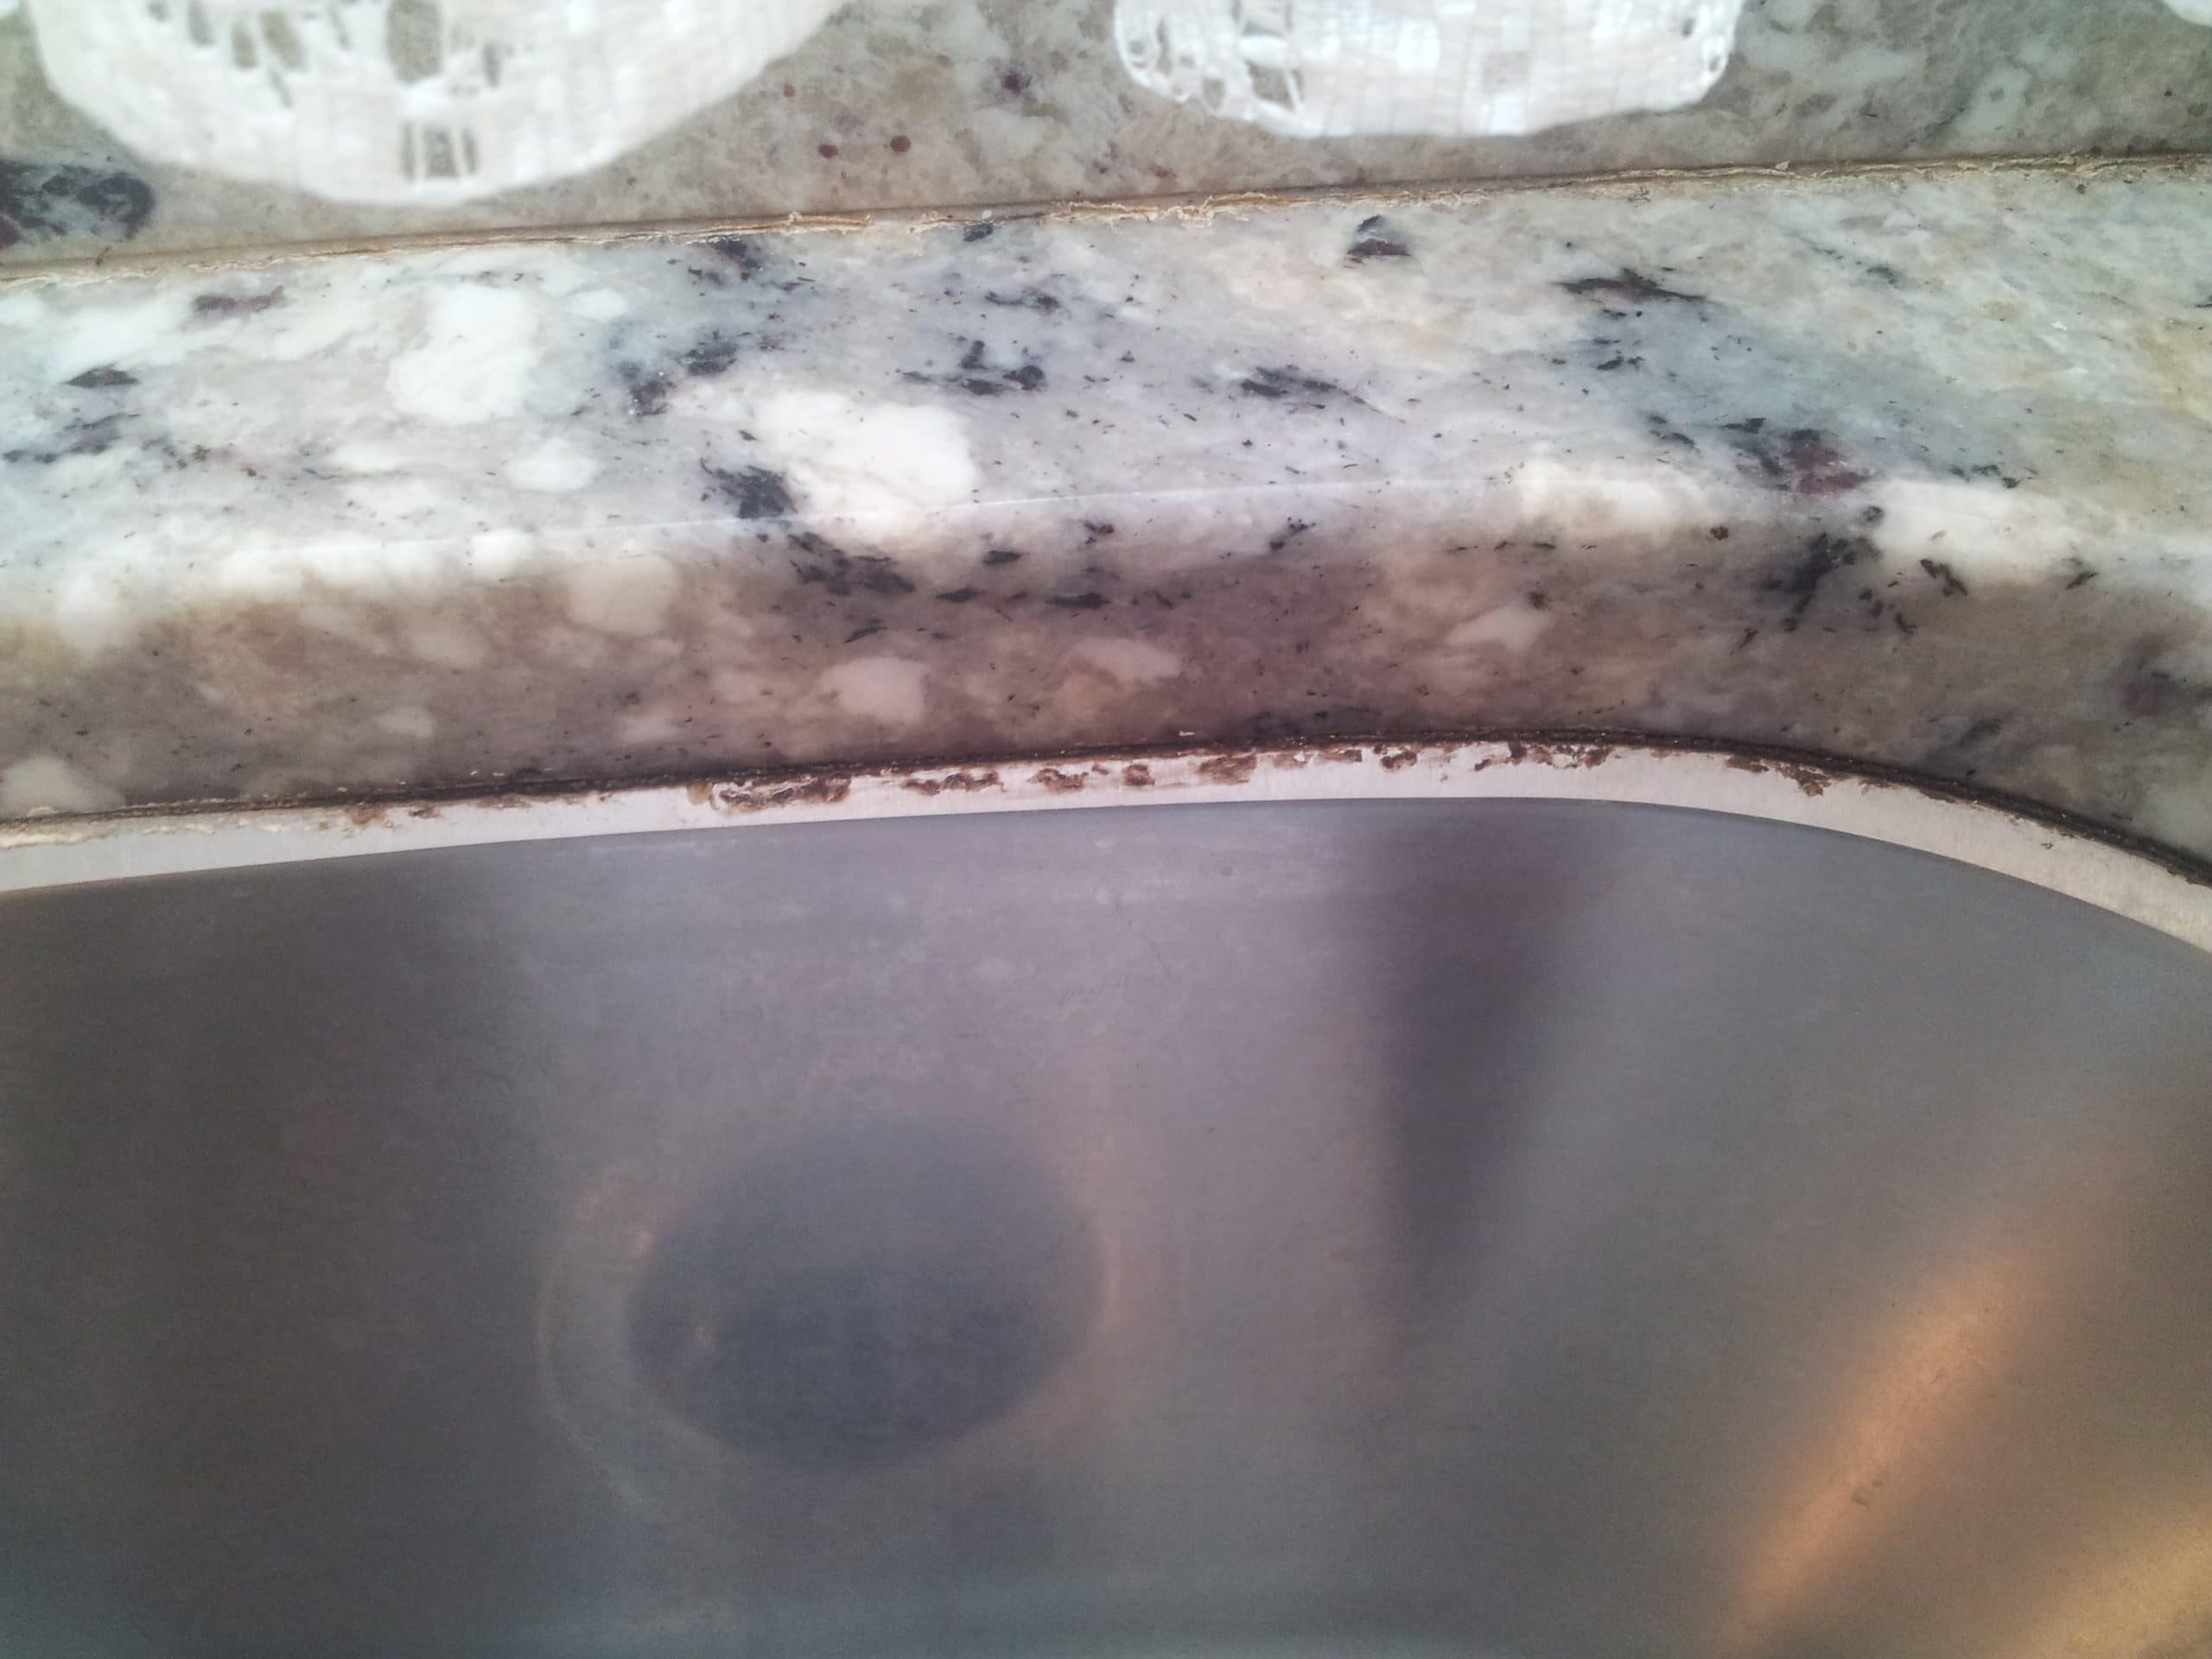
When it comes to keeping your kitchen clean and hygienic, maintaining the caulking around your undermount sink is crucial. Over time, old caulk can become discolored and cracked, creating an unsightly and potentially unhygienic environment in your kitchen. But don't worry, removing old caulk and re-caulking your undermount kitchen sink is a simple process that can be done in just a few easy steps.How to Remove Old Caulk from an Undermount Kitchen Sink


How to Remove Old Caulk from an Undermount Kitchen Sink
:max_bytes(150000):strip_icc()/how-to-remove-old-caulk-1824827-01-3d0370c59e124dbbaa6560c68bab111c.jpg)


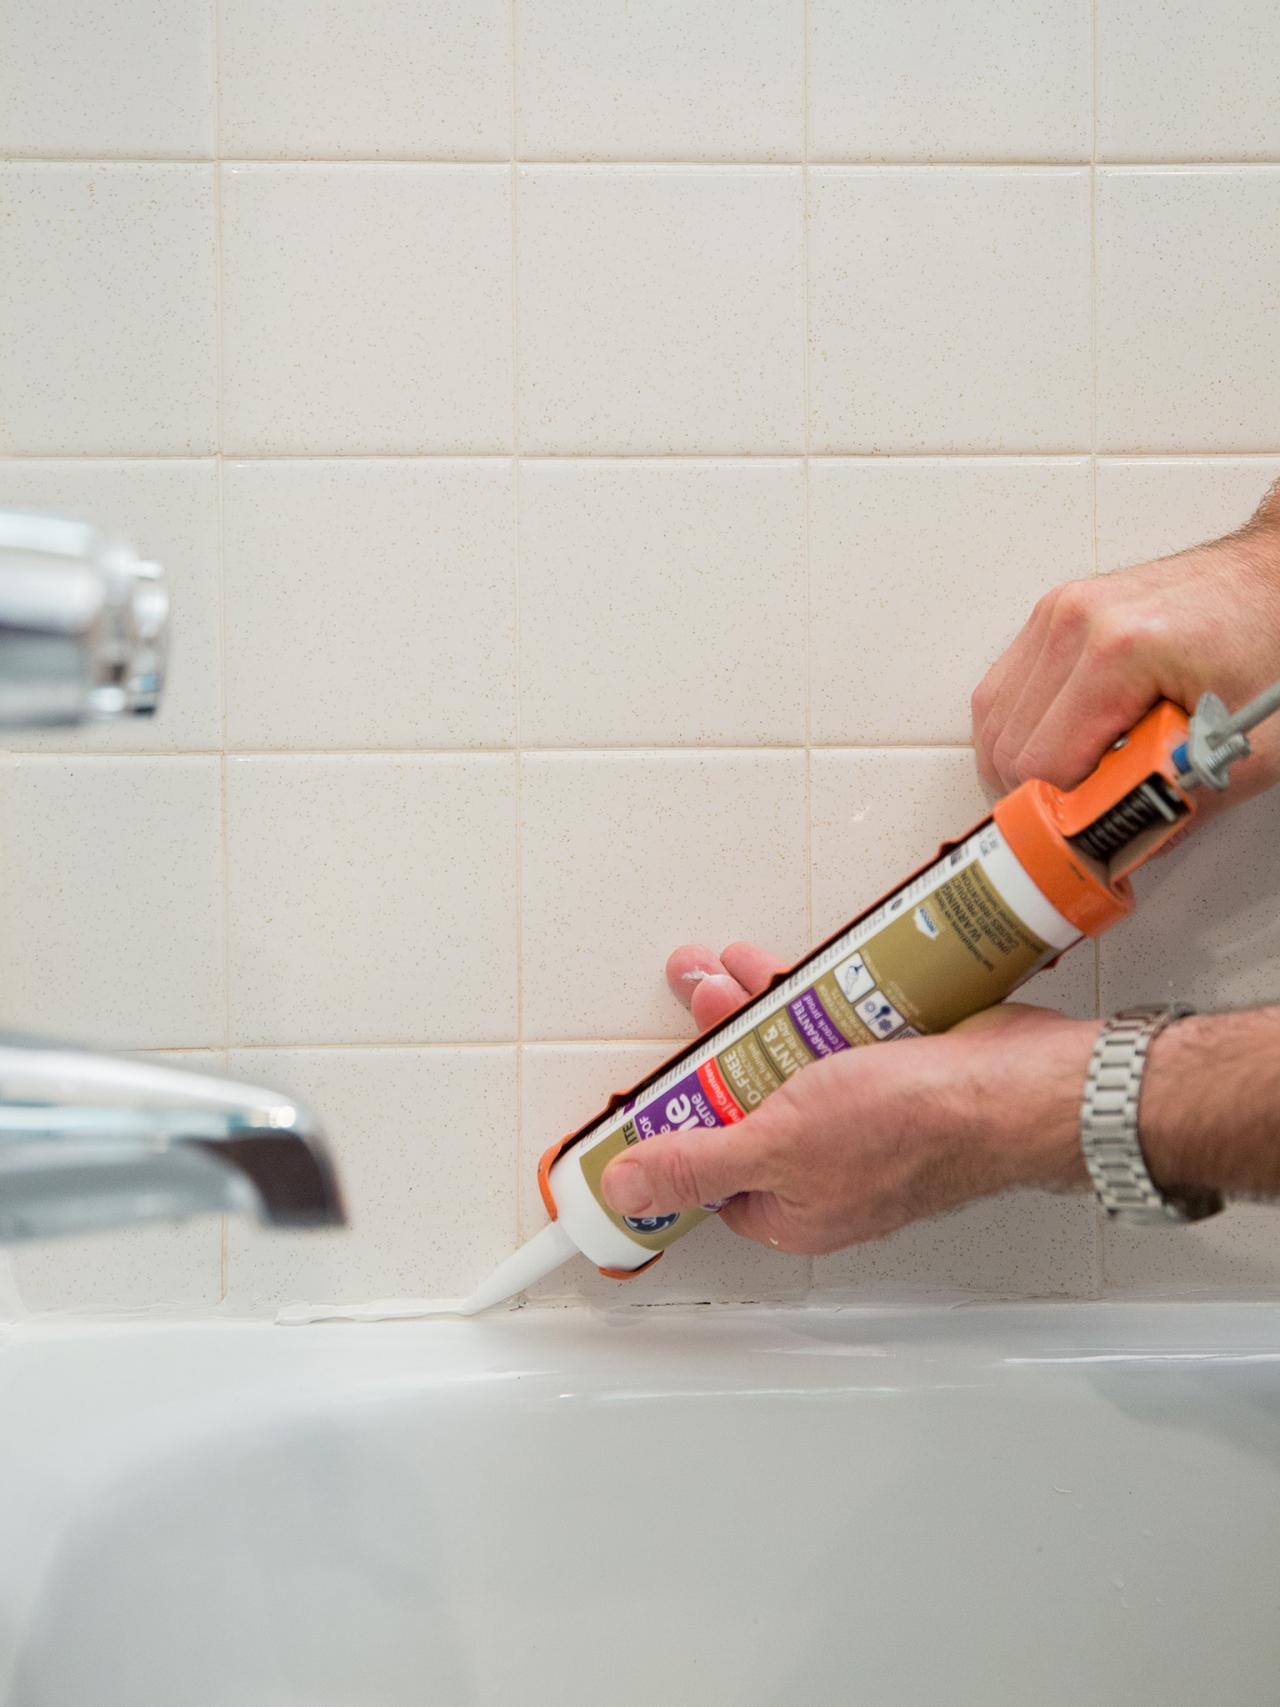
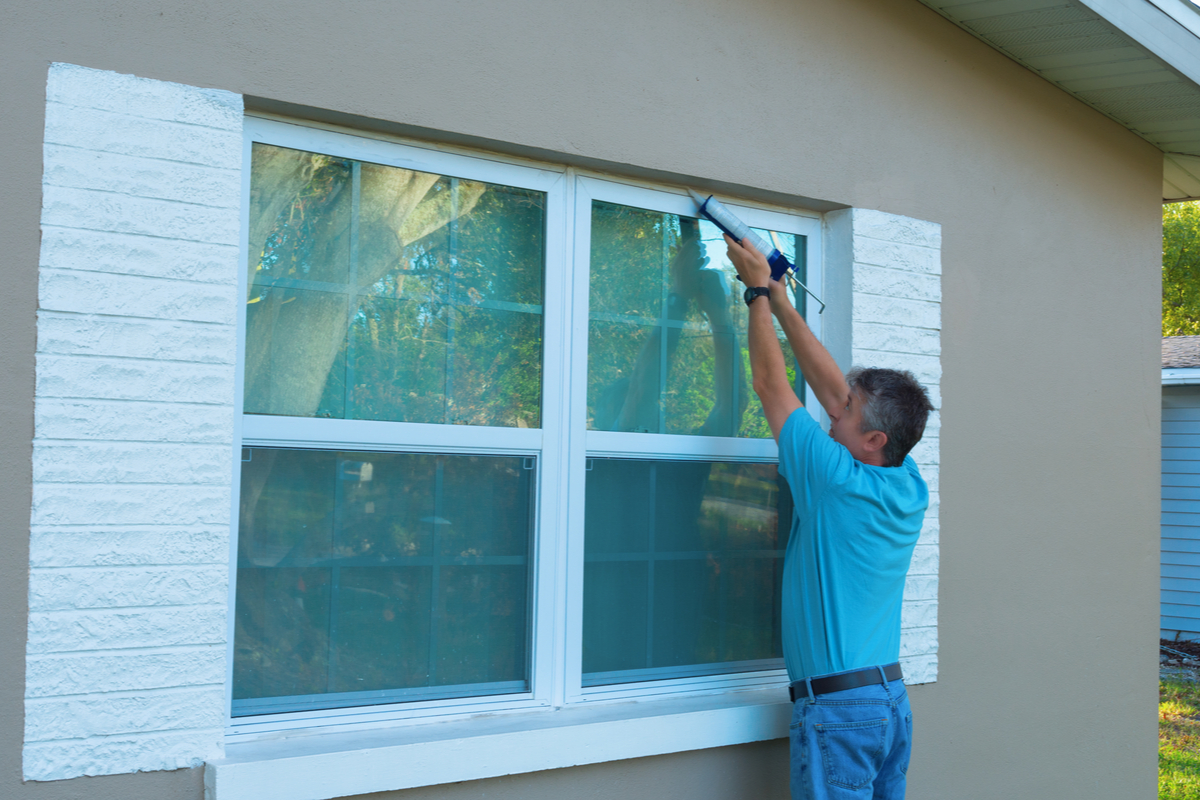
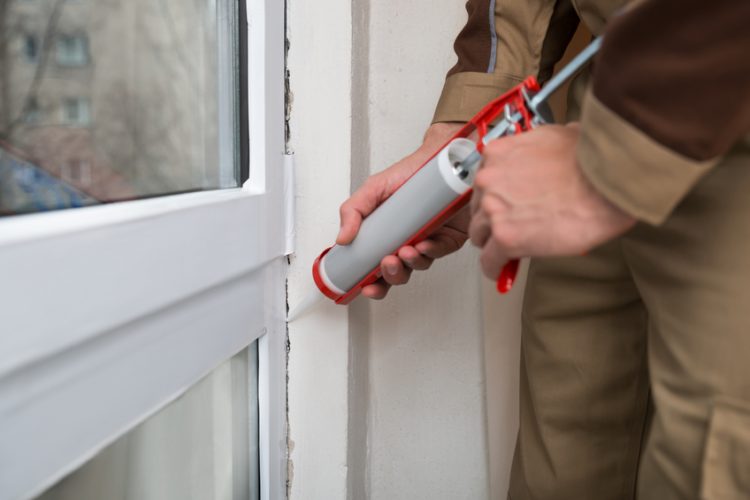
The first step in re-caulking your undermount kitchen sink is to remove the old caulk. This can be done using a caulk removal tool, a utility knife, or a putty knife. Gently scrape away the old caulk, being careful not to damage the sink or the surrounding countertops. Once the old caulk is removed, clean the area thoroughly with a gentle cleanser and let it dry completely before moving on to the next step.How to Re-Caulk an Undermount Kitchen Sink


How to Re-Caulk an Undermount Kitchen Sink


Before applying the new caulk, it's important to properly prepare the area around your undermount kitchen sink. This will ensure that the new caulk adheres properly and creates a tight seal. Start by using a mild detergent and warm water to clean the area around the sink. Then, use a degreaser to remove any stubborn residue or build-up. Once the area is clean and dry, you can begin the re-caulking process.Steps for Re-Caulking an Undermount Kitchen Sink


Steps for Re-Caulking an Undermount Kitchen Sink


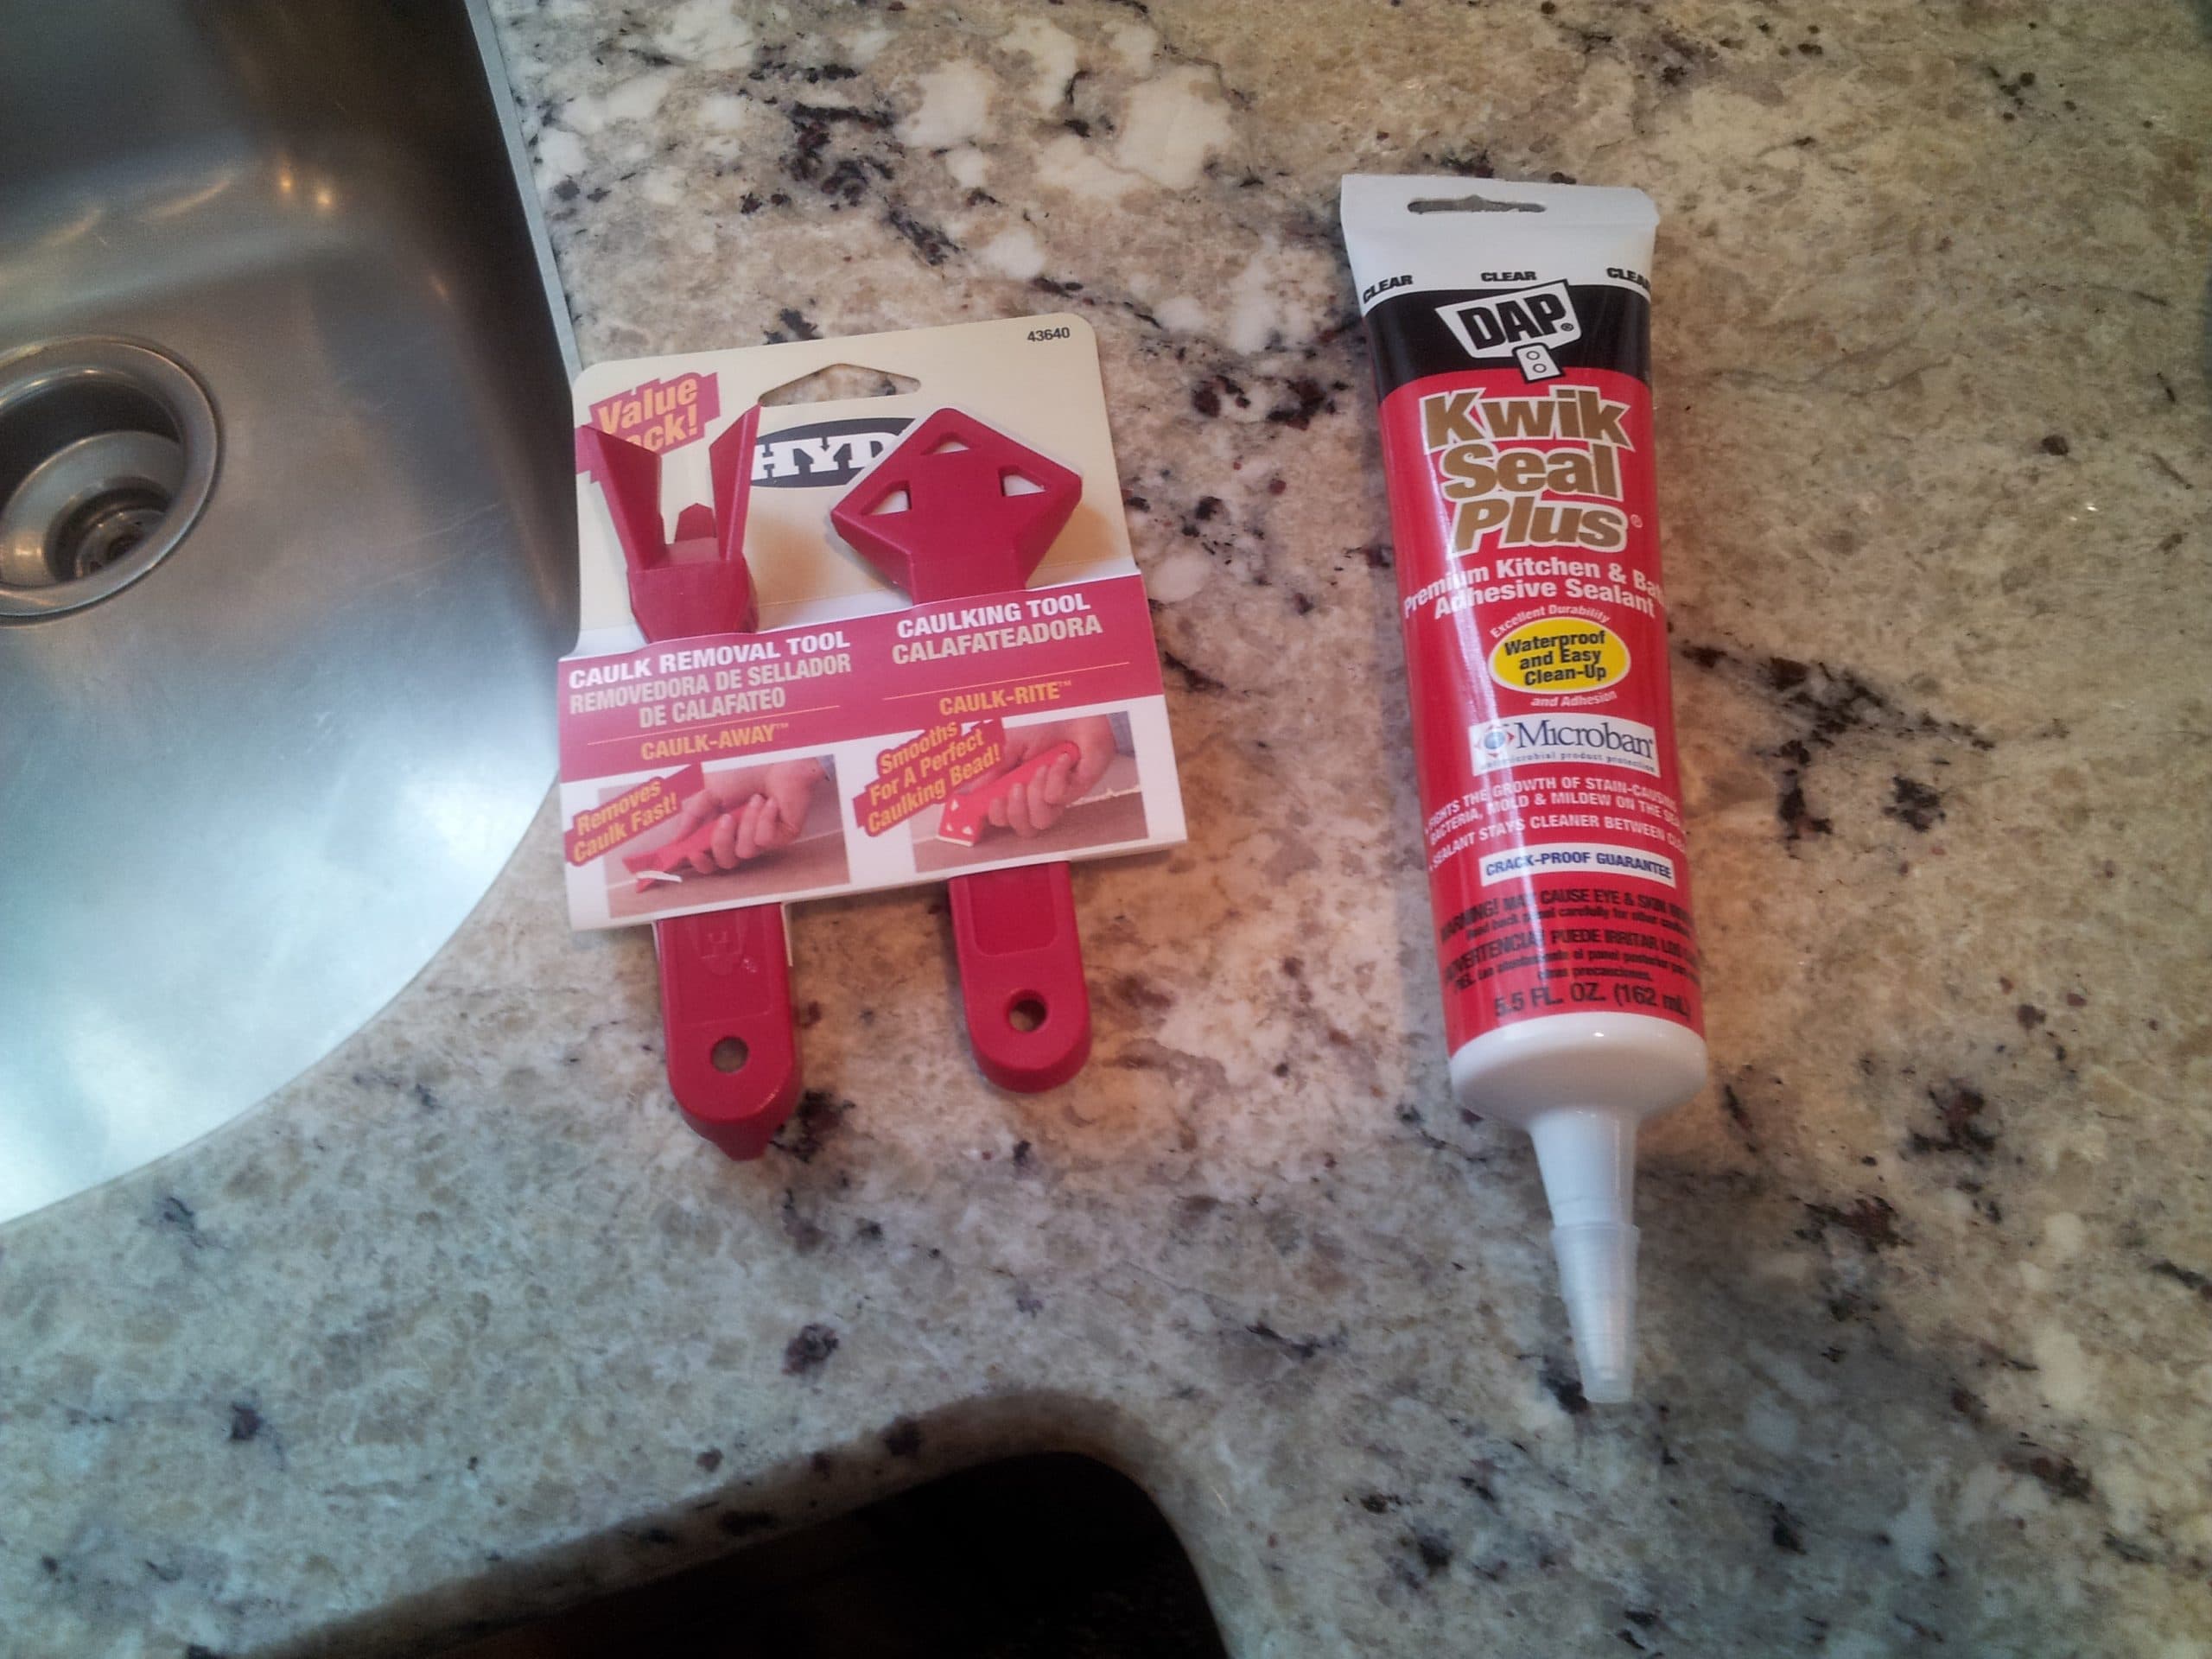
There are a few tools that are particularly useful when it comes to removing old caulk from your undermount kitchen sink. A caulk removal tool, which is specifically designed for this purpose, can make the process quick and easy. A utility knife or putty knife can also be effective, but be sure to use caution and go slowly to avoid damaging the sink or countertops.Best Tools for Removing Old Caulk from an Undermount Kitchen Sink


Best Tools for Removing Old Caulk from an Undermount Kitchen Sink

:max_bytes(150000):strip_icc()/how-to-remove-old-caulk-1824827-01-3d0370c59e124dbbaa6560c68bab111c.jpg)


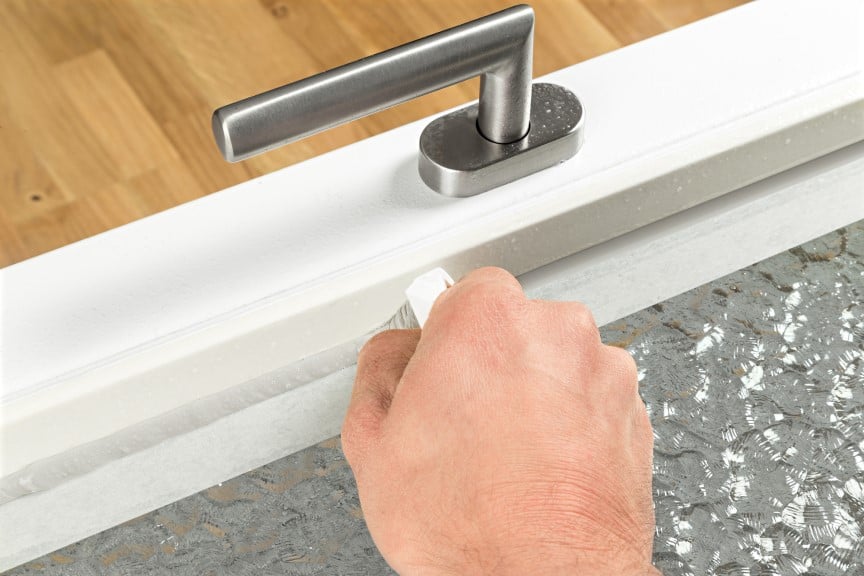
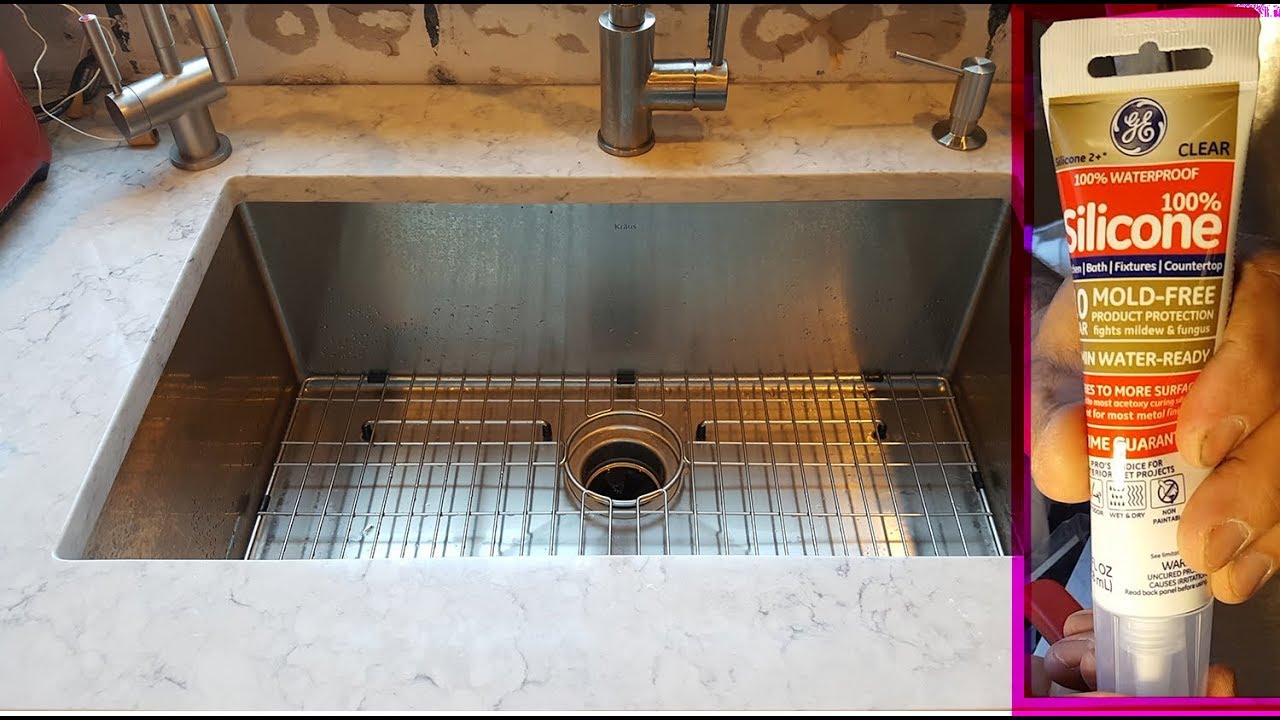
When re-caulking your undermount kitchen sink, there are a few tips that can help you achieve the best results. First, make sure to use a high-quality caulk that is specifically designed for use in kitchens and bathrooms. Next, use a caulk gun to ensure even and consistent application. And finally, run a damp finger over the freshly applied caulk to smooth out any imperfections and create a seamless finish.Tips for Successfully Re-Caulking an Undermount Kitchen Sink


Tips for Successfully Re-Caulking an Undermount Kitchen Sink


To recap, here is a step-by-step guide for removing old caulk and re-caulking your undermount kitchen sink:Removing Old Caulk: A Step-by-Step Guide for Undermount Kitchen Sinks


Removing Old Caulk: A Step-by-Step Guide for Undermount Kitchen Sinks
:max_bytes(150000):strip_icc()/caulk-removal-tool-56ec7f1b3df78ce5f83535fe.jpg)

:max_bytes(150000):strip_icc()/how-to-remove-old-caulk-1824827-03-a975b3e5382848b481b3832a1d2906a2.jpg)
Properly cleaning and preparing your undermount kitchen sink before re-caulking is crucial for achieving a strong and long-lasting seal. Be sure to use a gentle cleanser and a degreaser to remove any dirt, grime, and build-up. It's also important to let the area dry completely before applying the new caulk. This will ensure that the caulk adheres properly and creates a tight seal.How to Properly Clean and Prepare an Undermount Kitchen Sink for Re-Caulking


How to Properly Clean and Prepare an Undermount Kitchen Sink for Re-Caulking


While re-caulking an undermount kitchen sink may seem like a simple task, there are a few common mistakes that can lead to less-than-desirable results. These include using the wrong type of caulk, not properly cleaning and preparing the area, and not applying the caulk evenly. Be sure to follow the steps outlined above and avoid these mistakes for a successful re-caulking experience.Common Mistakes to Avoid When Re-Caulking an Undermount Kitchen Sink


Common Mistakes to Avoid When Re-Caulking an Undermount Kitchen Sink


The frequency with which you need to re-caulk your undermount kitchen sink will depend on a few factors, such as the type of caulk used and how often the sink is used. However, as a general rule of thumb, it's recommended to re-caulk your undermount kitchen sink every 1-2 years. This will help to maintain a clean and hygienic environment in your kitchen and prevent any potential issues with mold or mildew.How Often Should You Re-Caulk an Undermount Kitchen Sink?


How Often Should You Re-Caulk an Undermount Kitchen Sink?
Re-caulking your undermount kitchen sink not only helps to maintain a clean and hygienic environment, but it also has other benefits. A tight and secure seal around your sink can prevent water damage and leaks, as well as improve the overall appearance of your kitchen. Additionally, staying on top of re-caulking can save you time and money in the long run by avoiding potential issues and costly repairs. In conclusion, removing old caulk and re-caulking your undermount kitchen sink is a simple and important maintenance task that should be done regularly. By following these steps and tips, you can easily achieve a clean, hygienic, and beautiful kitchen sink that will last for years to come.The Benefits of Re-Caulking an Undermount Kitchen Sink


The Benefits of Re-Caulking an Undermount Kitchen Sink

Why It's Important to Re-caulk Your Undermount Kitchen Sink

Maintaining a Clean and Hygienic Kitchen
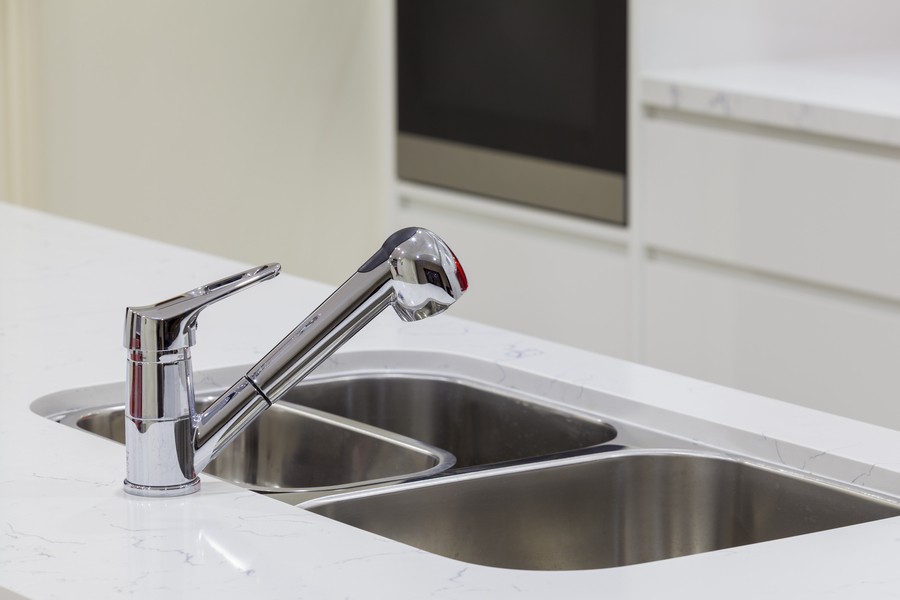
 Undermount kitchen sinks
are a popular choice for modern homes due to their sleek and seamless design. However, over time, the caulking around the edges of the sink can deteriorate and become a breeding ground for bacteria and mold. This not only affects the appearance of your kitchen but also poses a health hazard. By re-caulking your undermount kitchen sink, you can ensure a clean and hygienic space for food preparation and cooking.
Undermount kitchen sinks
are a popular choice for modern homes due to their sleek and seamless design. However, over time, the caulking around the edges of the sink can deteriorate and become a breeding ground for bacteria and mold. This not only affects the appearance of your kitchen but also poses a health hazard. By re-caulking your undermount kitchen sink, you can ensure a clean and hygienic space for food preparation and cooking.
Preventing Water Damage
.jpg) Another important reason to re-caulk your undermount kitchen sink is to prevent water damage. As the caulk becomes worn and cracked, it can allow water to seep into the area between the sink and countertop. This can lead to damage to your cabinets and even cause structural issues in your kitchen. By regularly re-caulking your sink, you can prevent any potential water damage and save yourself from costly repairs in the future.
Another important reason to re-caulk your undermount kitchen sink is to prevent water damage. As the caulk becomes worn and cracked, it can allow water to seep into the area between the sink and countertop. This can lead to damage to your cabinets and even cause structural issues in your kitchen. By regularly re-caulking your sink, you can prevent any potential water damage and save yourself from costly repairs in the future.
Improving the Aesthetic of Your Kitchen
 A worn and discolored caulk can make your undermount kitchen sink look old and unkempt. Re-caulking not only helps to maintain the cleanliness and functionality of your sink but also improves the overall aesthetic of your kitchen. With a fresh and clean caulk line, your sink will look as good as new and add to the overall design of your kitchen.
Increasing the Lifespan of Your Sink
 Undermount kitchen sinks
are an investment and you want them to last for as long as possible. By regularly re-caulking, you can extend the lifespan of your sink. The caulk acts as a barrier between the sink and countertop, preventing water and debris from getting in and causing damage. This can also save you from having to replace your sink prematurely, ultimately saving you money in the long run.
Undermount kitchen sinks
are an investment and you want them to last for as long as possible. By regularly re-caulking, you can extend the lifespan of your sink. The caulk acts as a barrier between the sink and countertop, preventing water and debris from getting in and causing damage. This can also save you from having to replace your sink prematurely, ultimately saving you money in the long run.
In Conclusion
 Re-caulking your undermount kitchen sink is a simple and cost-effective way to maintain the cleanliness, functionality, and aesthetic of your kitchen. With the right tools and techniques, you can easily remove old caulk and apply new caulk for a fresh and clean sink. Don't wait until you notice signs of water damage or mold growth – make re-caulking a regular part of your kitchen maintenance routine for a healthier and longer-lasting sink.