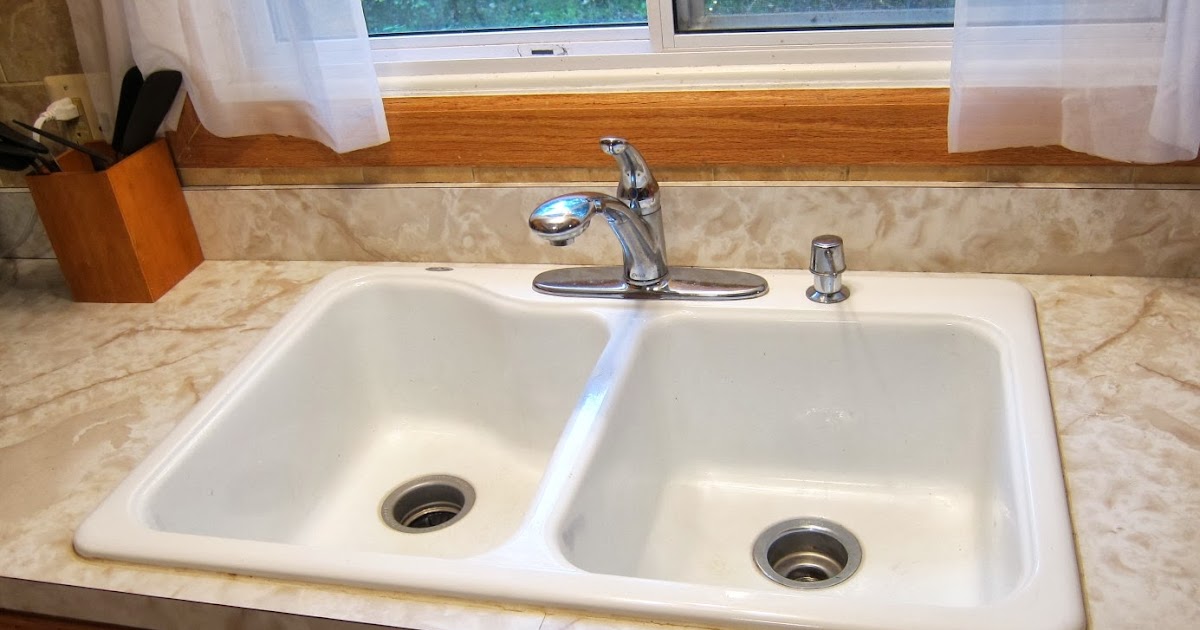
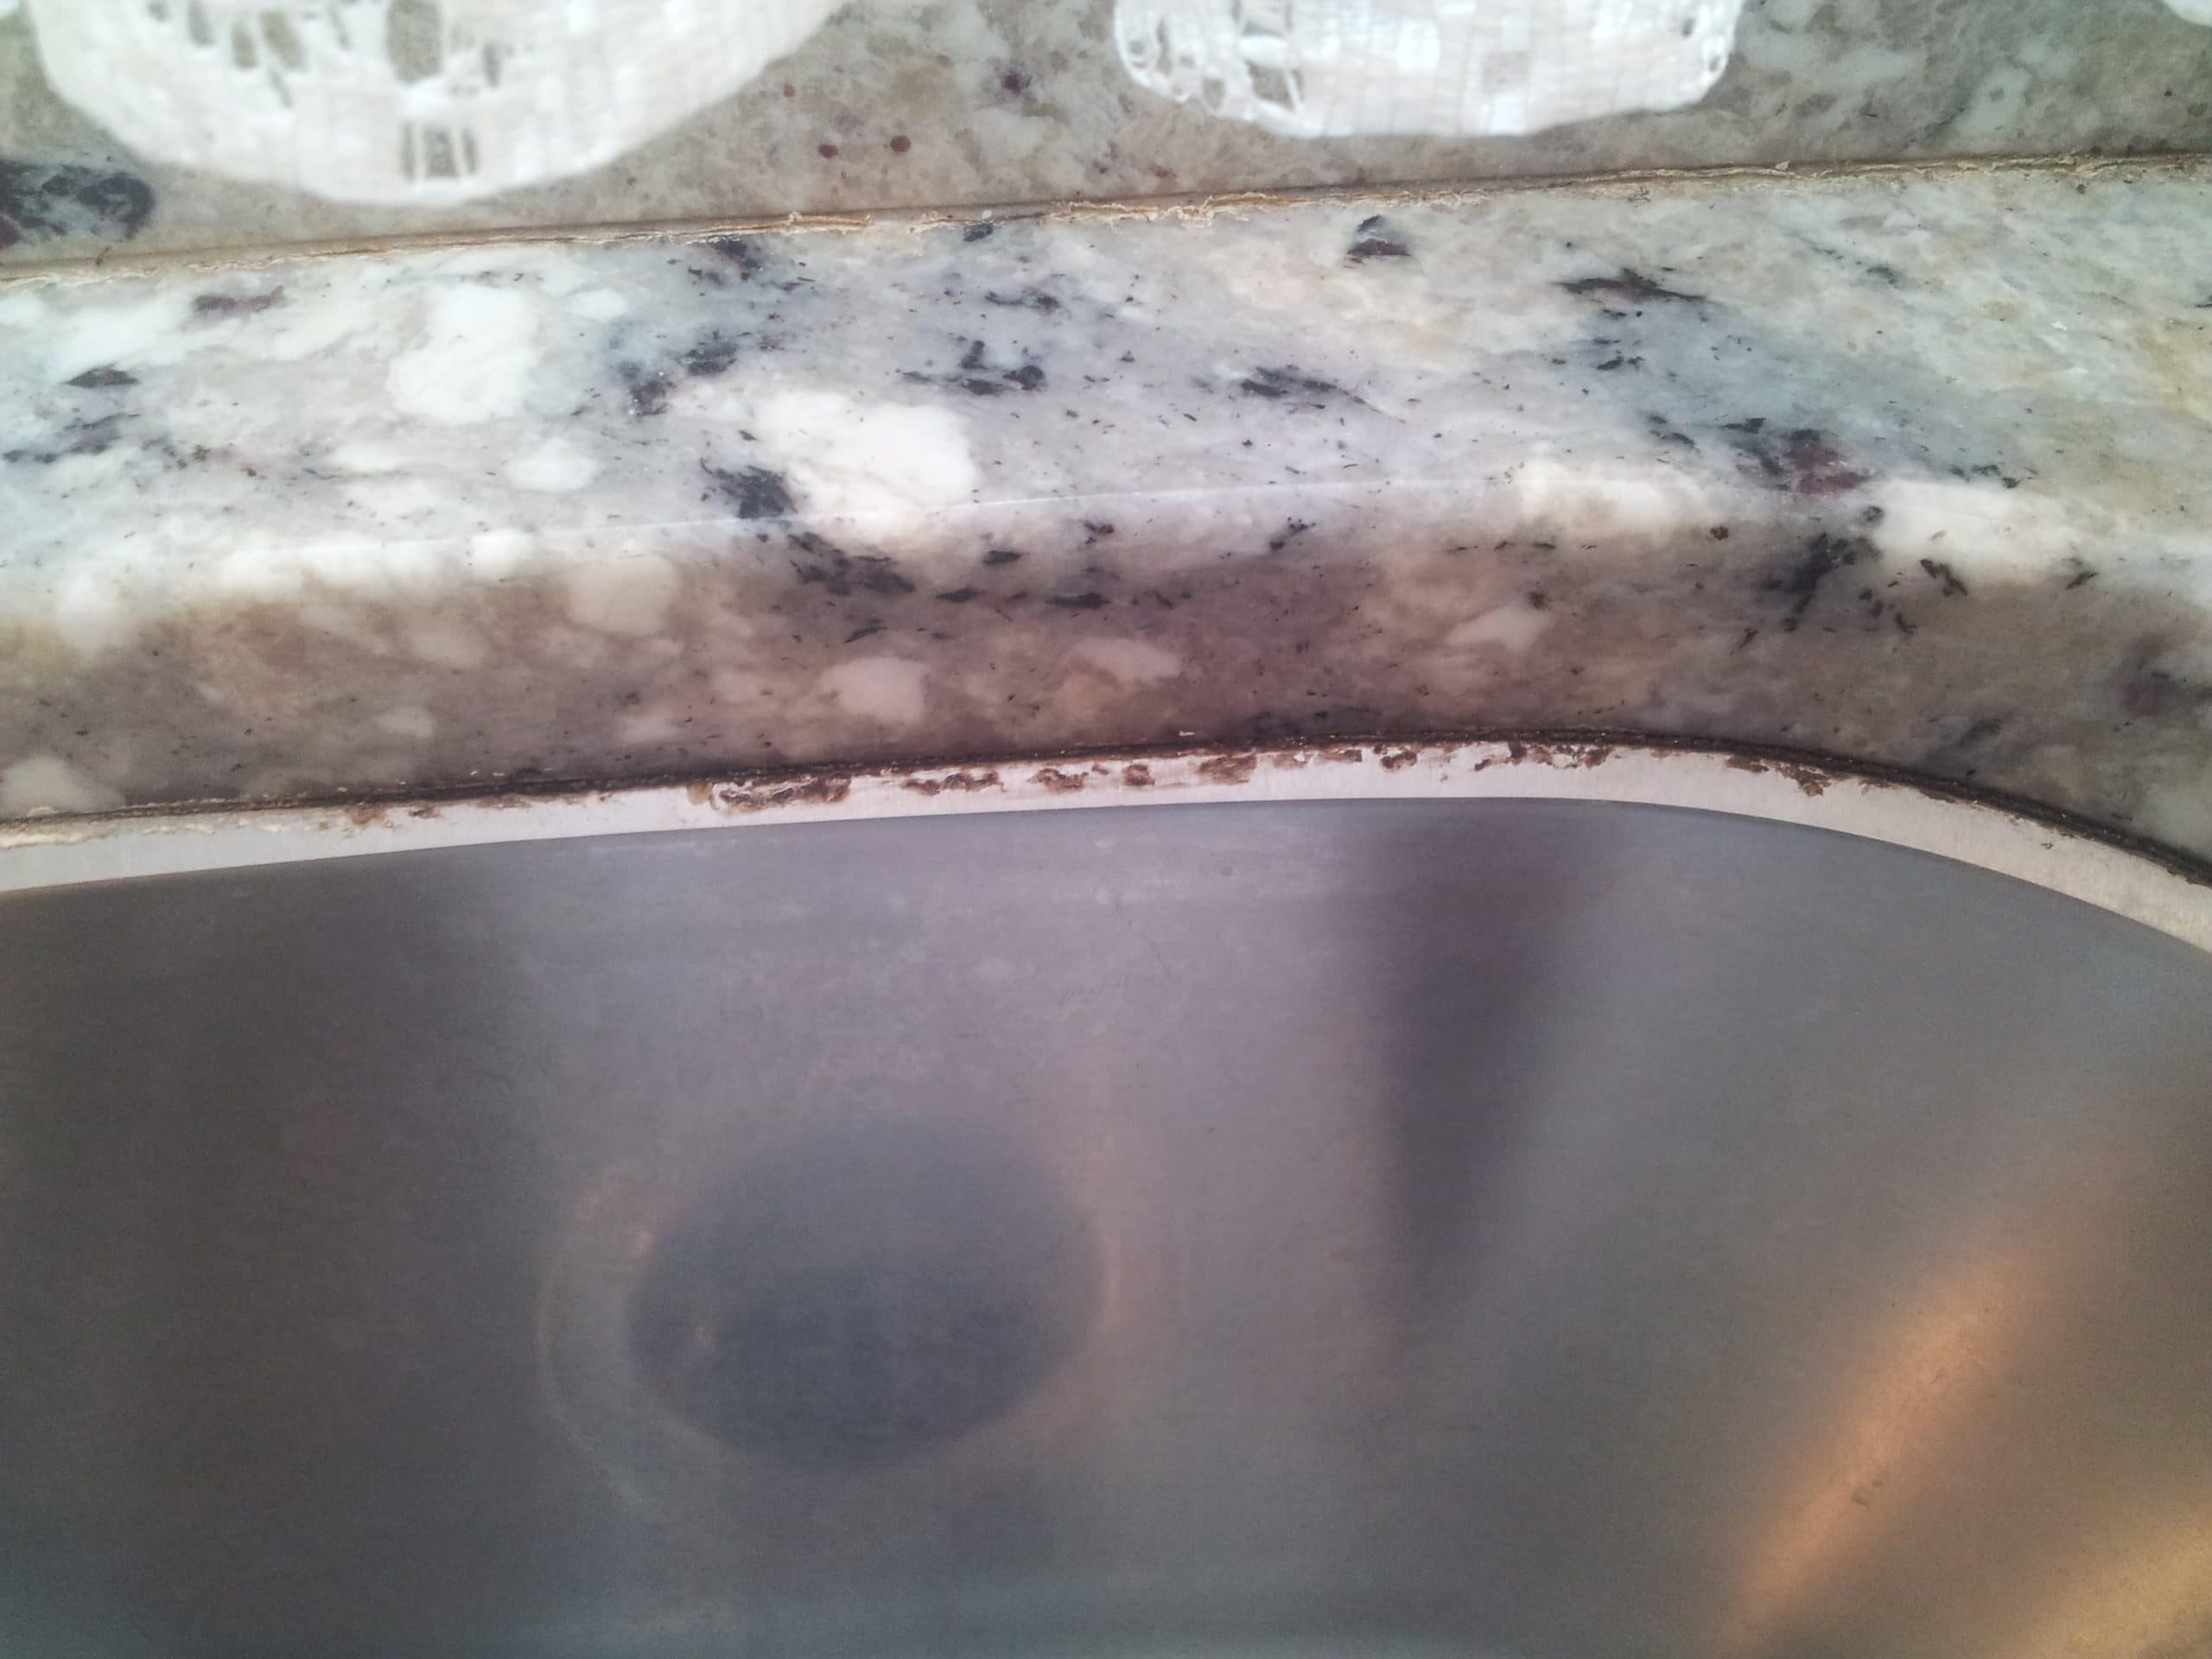
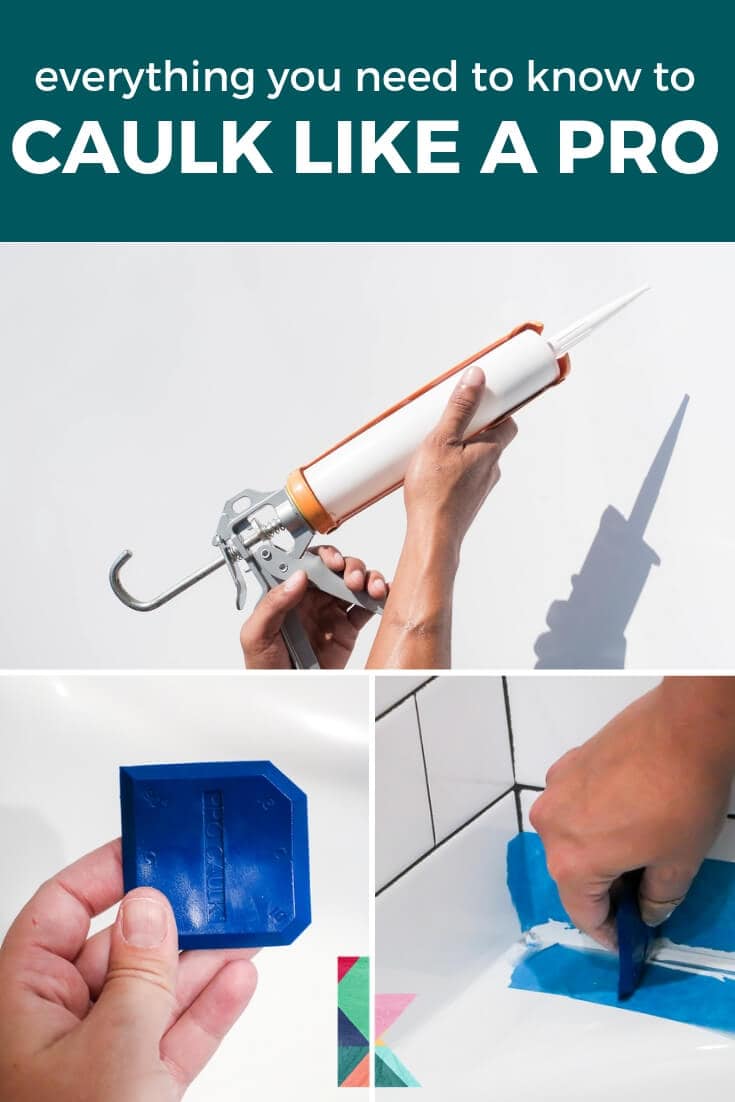
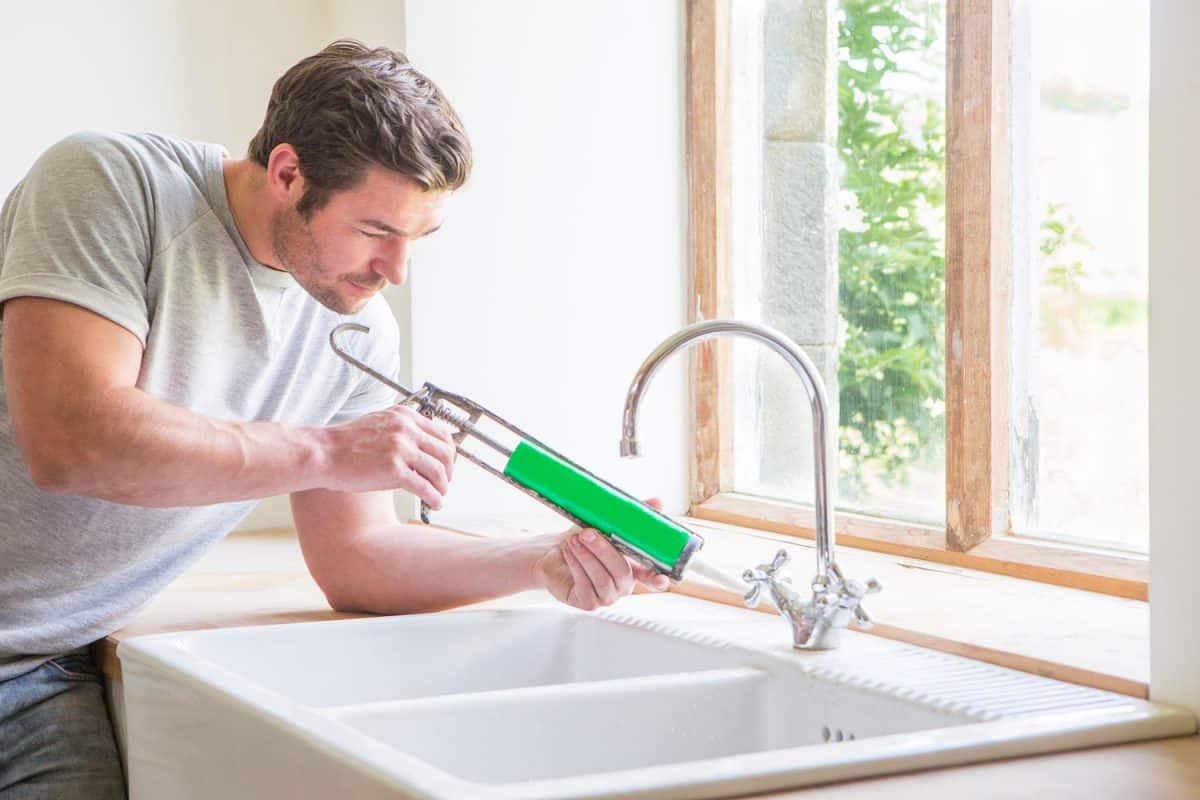
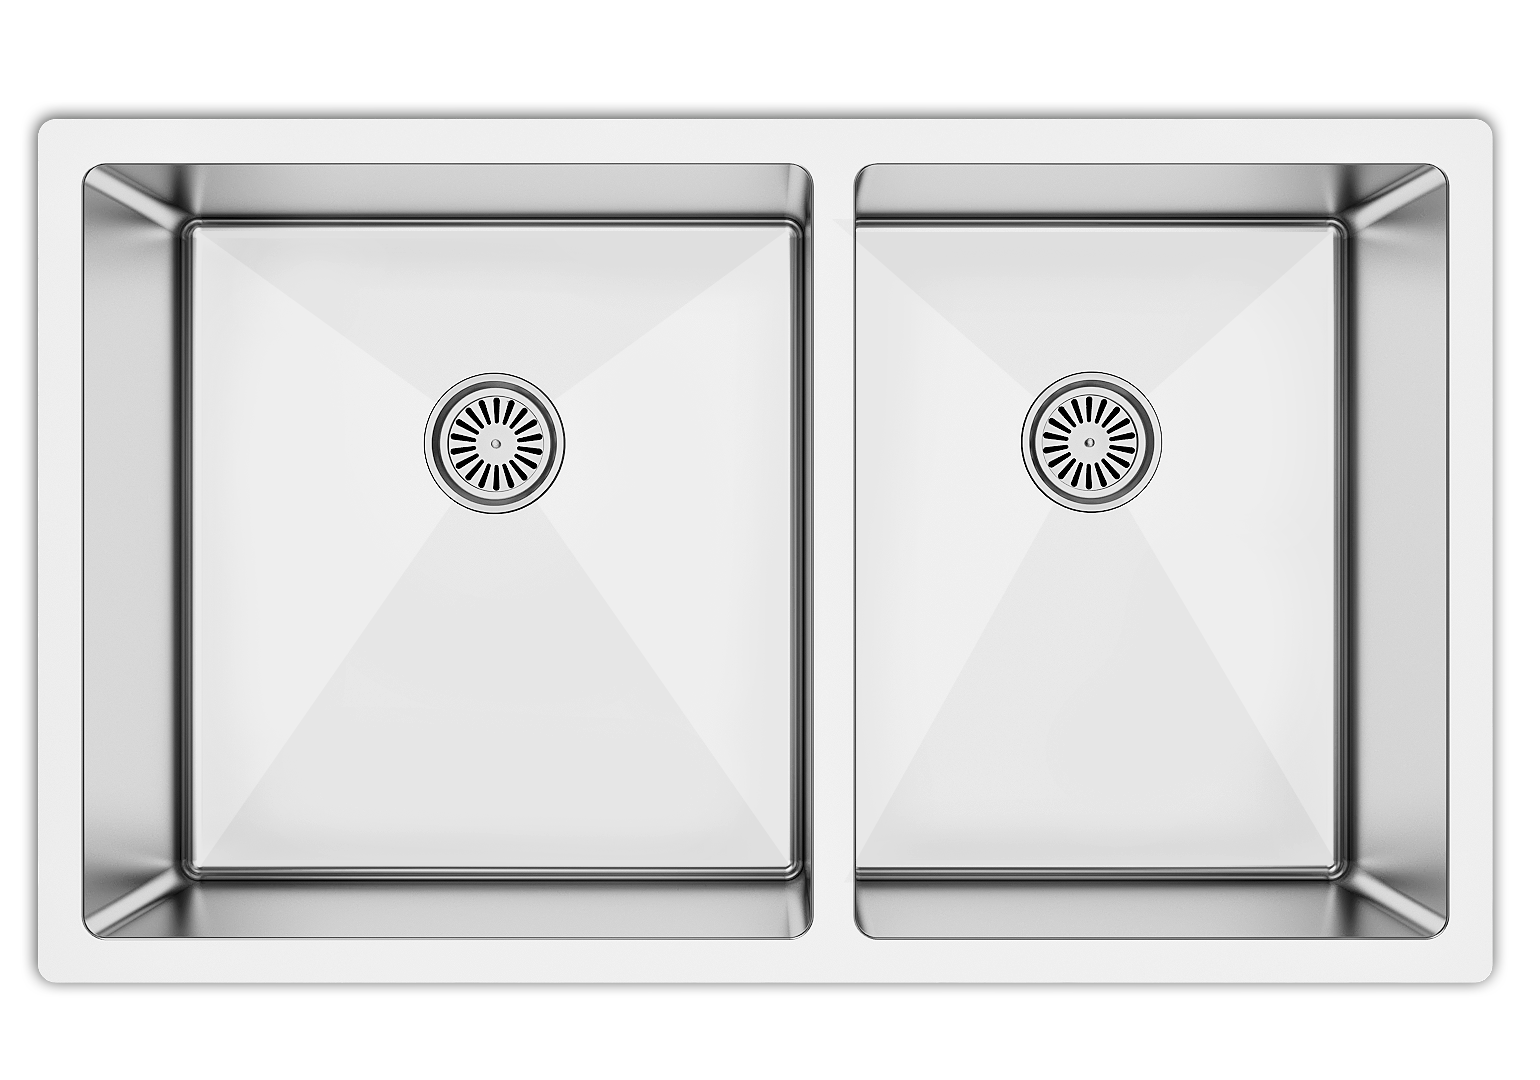
Re-caulking an undermount kitchen sink may seem like a daunting task, but with the right tools and techniques, it can be a simple and satisfying DIY project. As time goes by, caulk can become cracked, discolored, or moldy, making it important to re-caulk your sink to maintain a clean and secure seal. Follow these steps to re-caulk your undermount kitchen sink and give your kitchen a fresh, new look.How to Re-Caulk an Undermount Kitchen Sink

How to Re-Caulk an Undermount Kitchen Sink


.jpg)


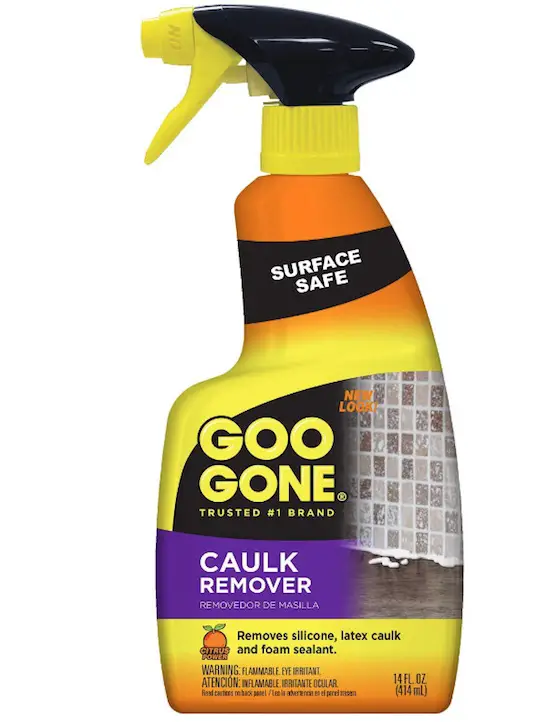
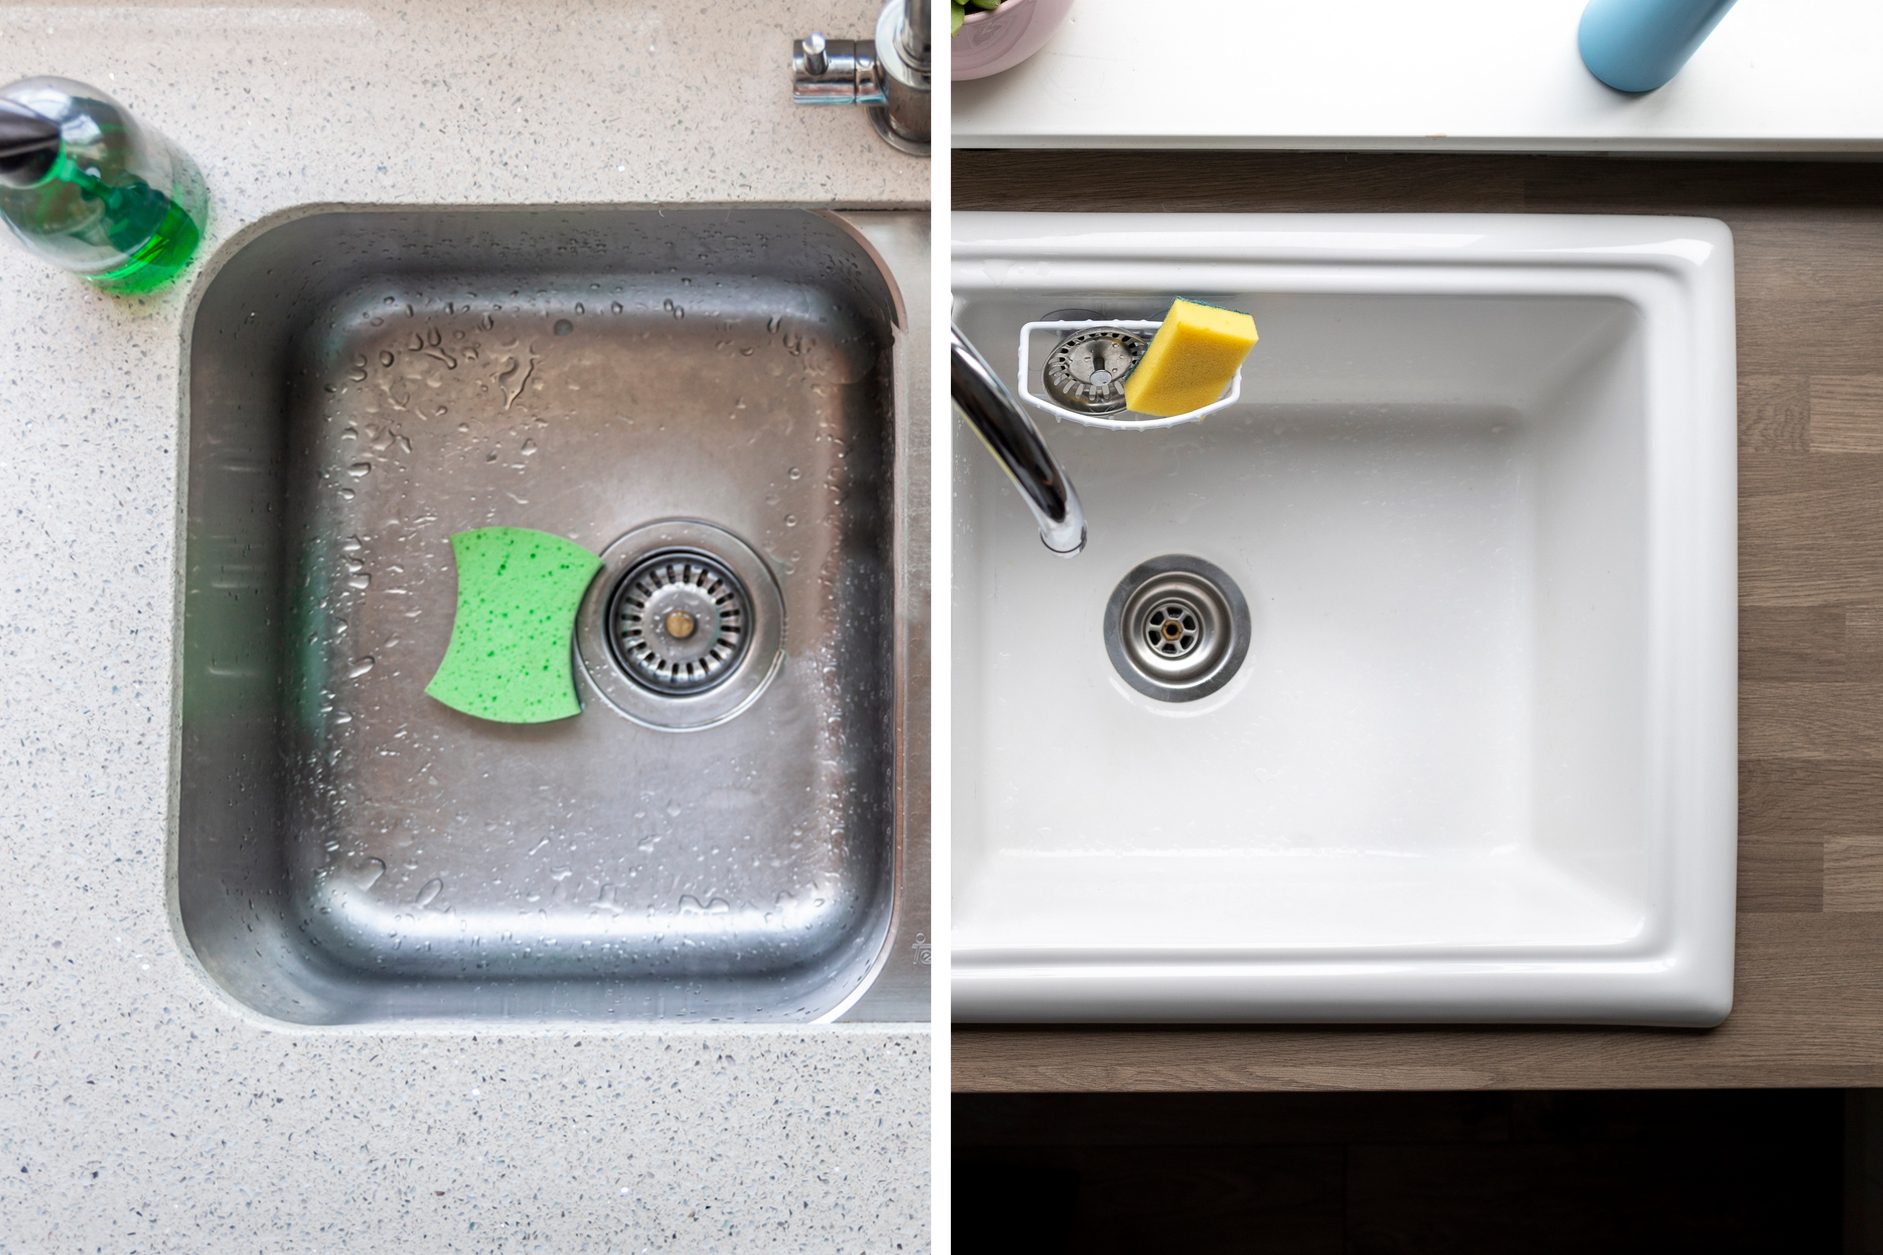
If your sink is already caulked, the first step will be to remove the old caulk. This can be done using a caulk removal tool, utility knife, or even a flathead screwdriver. Gently scrape away the old caulk, being careful not to damage the sink or countertop. Once the old caulk is removed, clean the area thoroughly with a mixture of warm water and soap.How to Remove and Re-Caulk an Undermount Kitchen Sink


How to Remove and Re-Caulk an Undermount Kitchen Sink


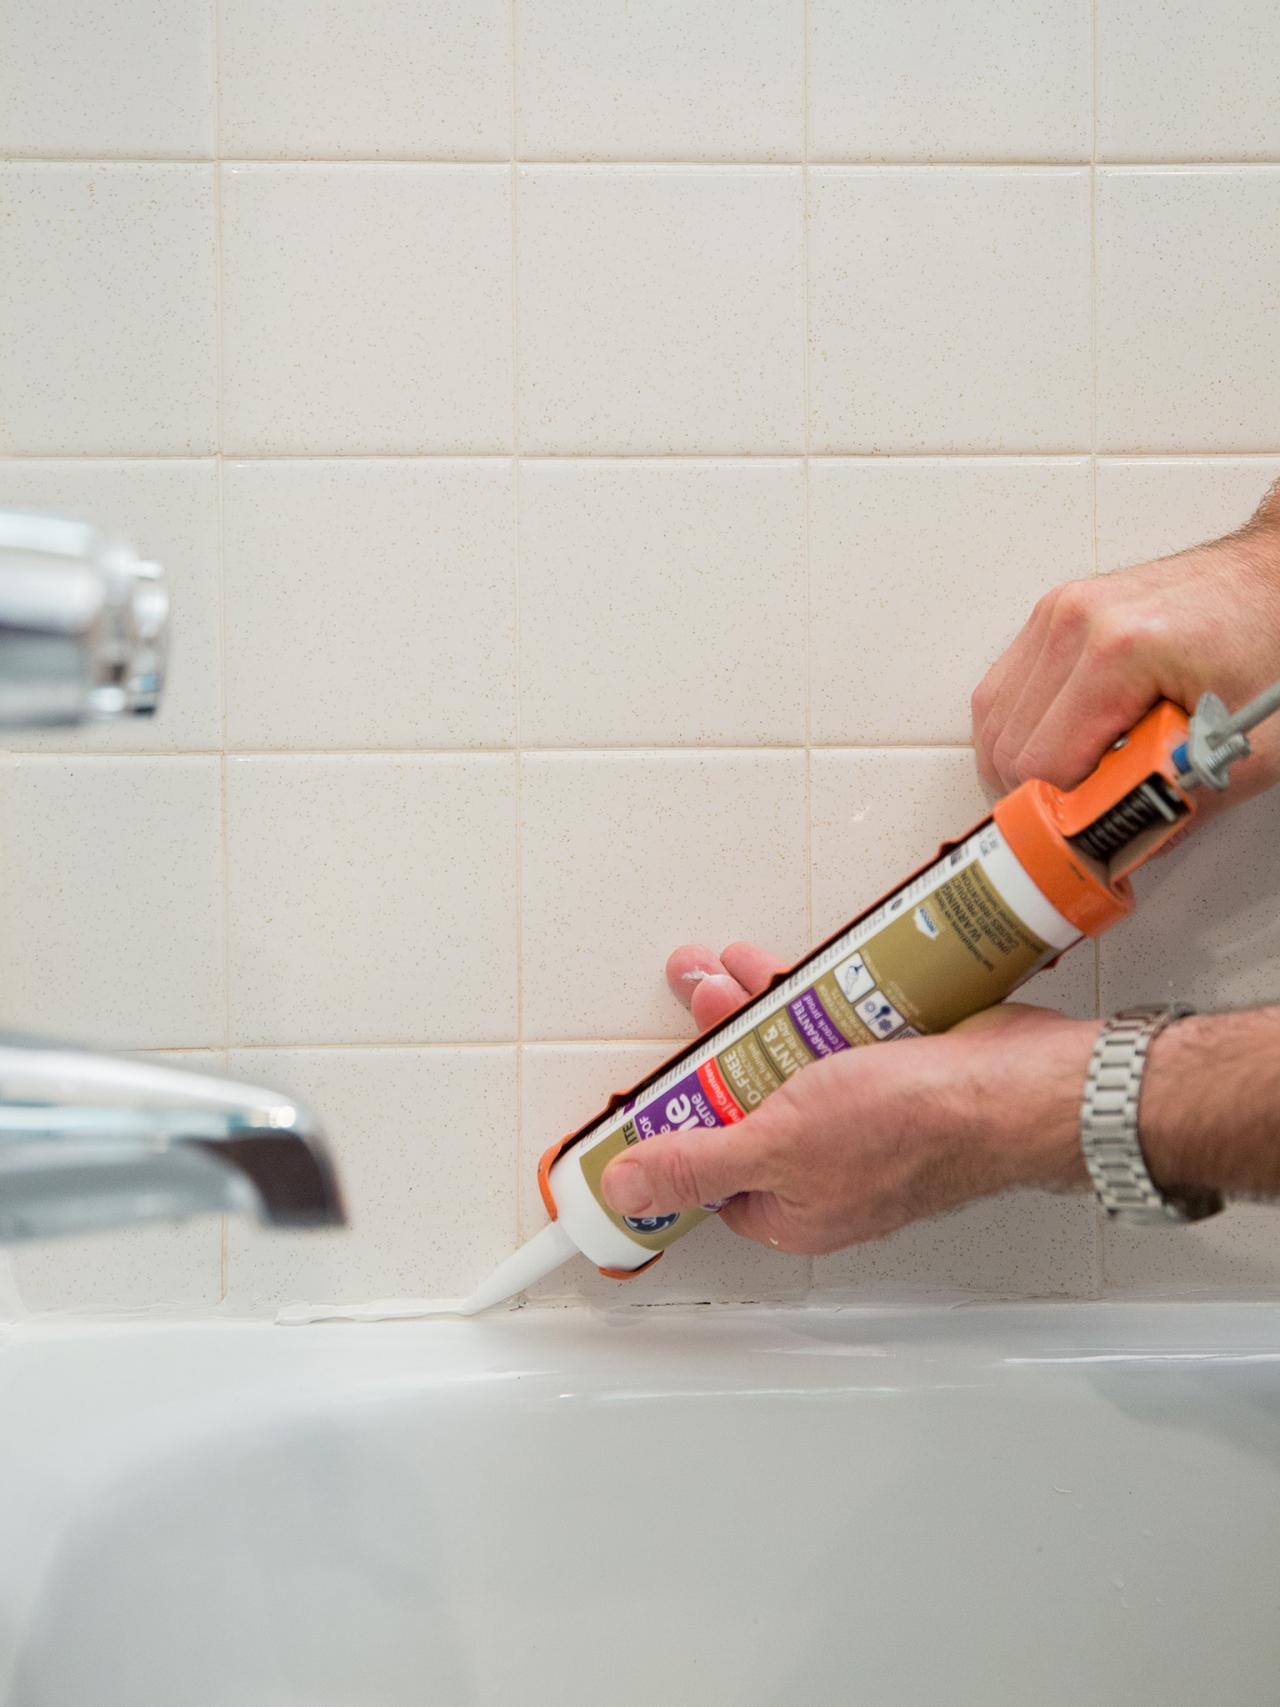
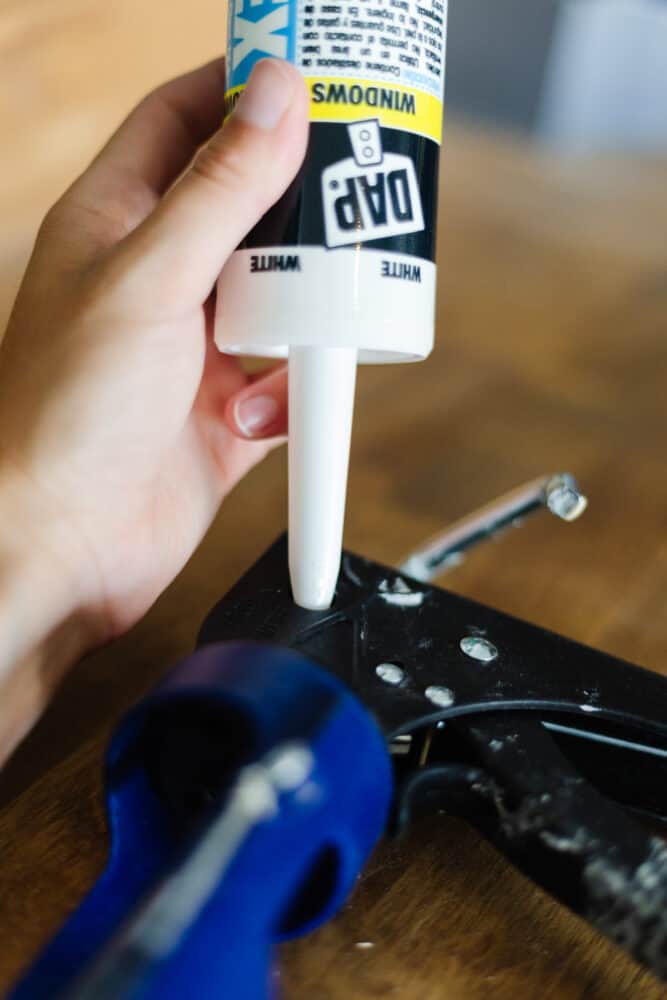
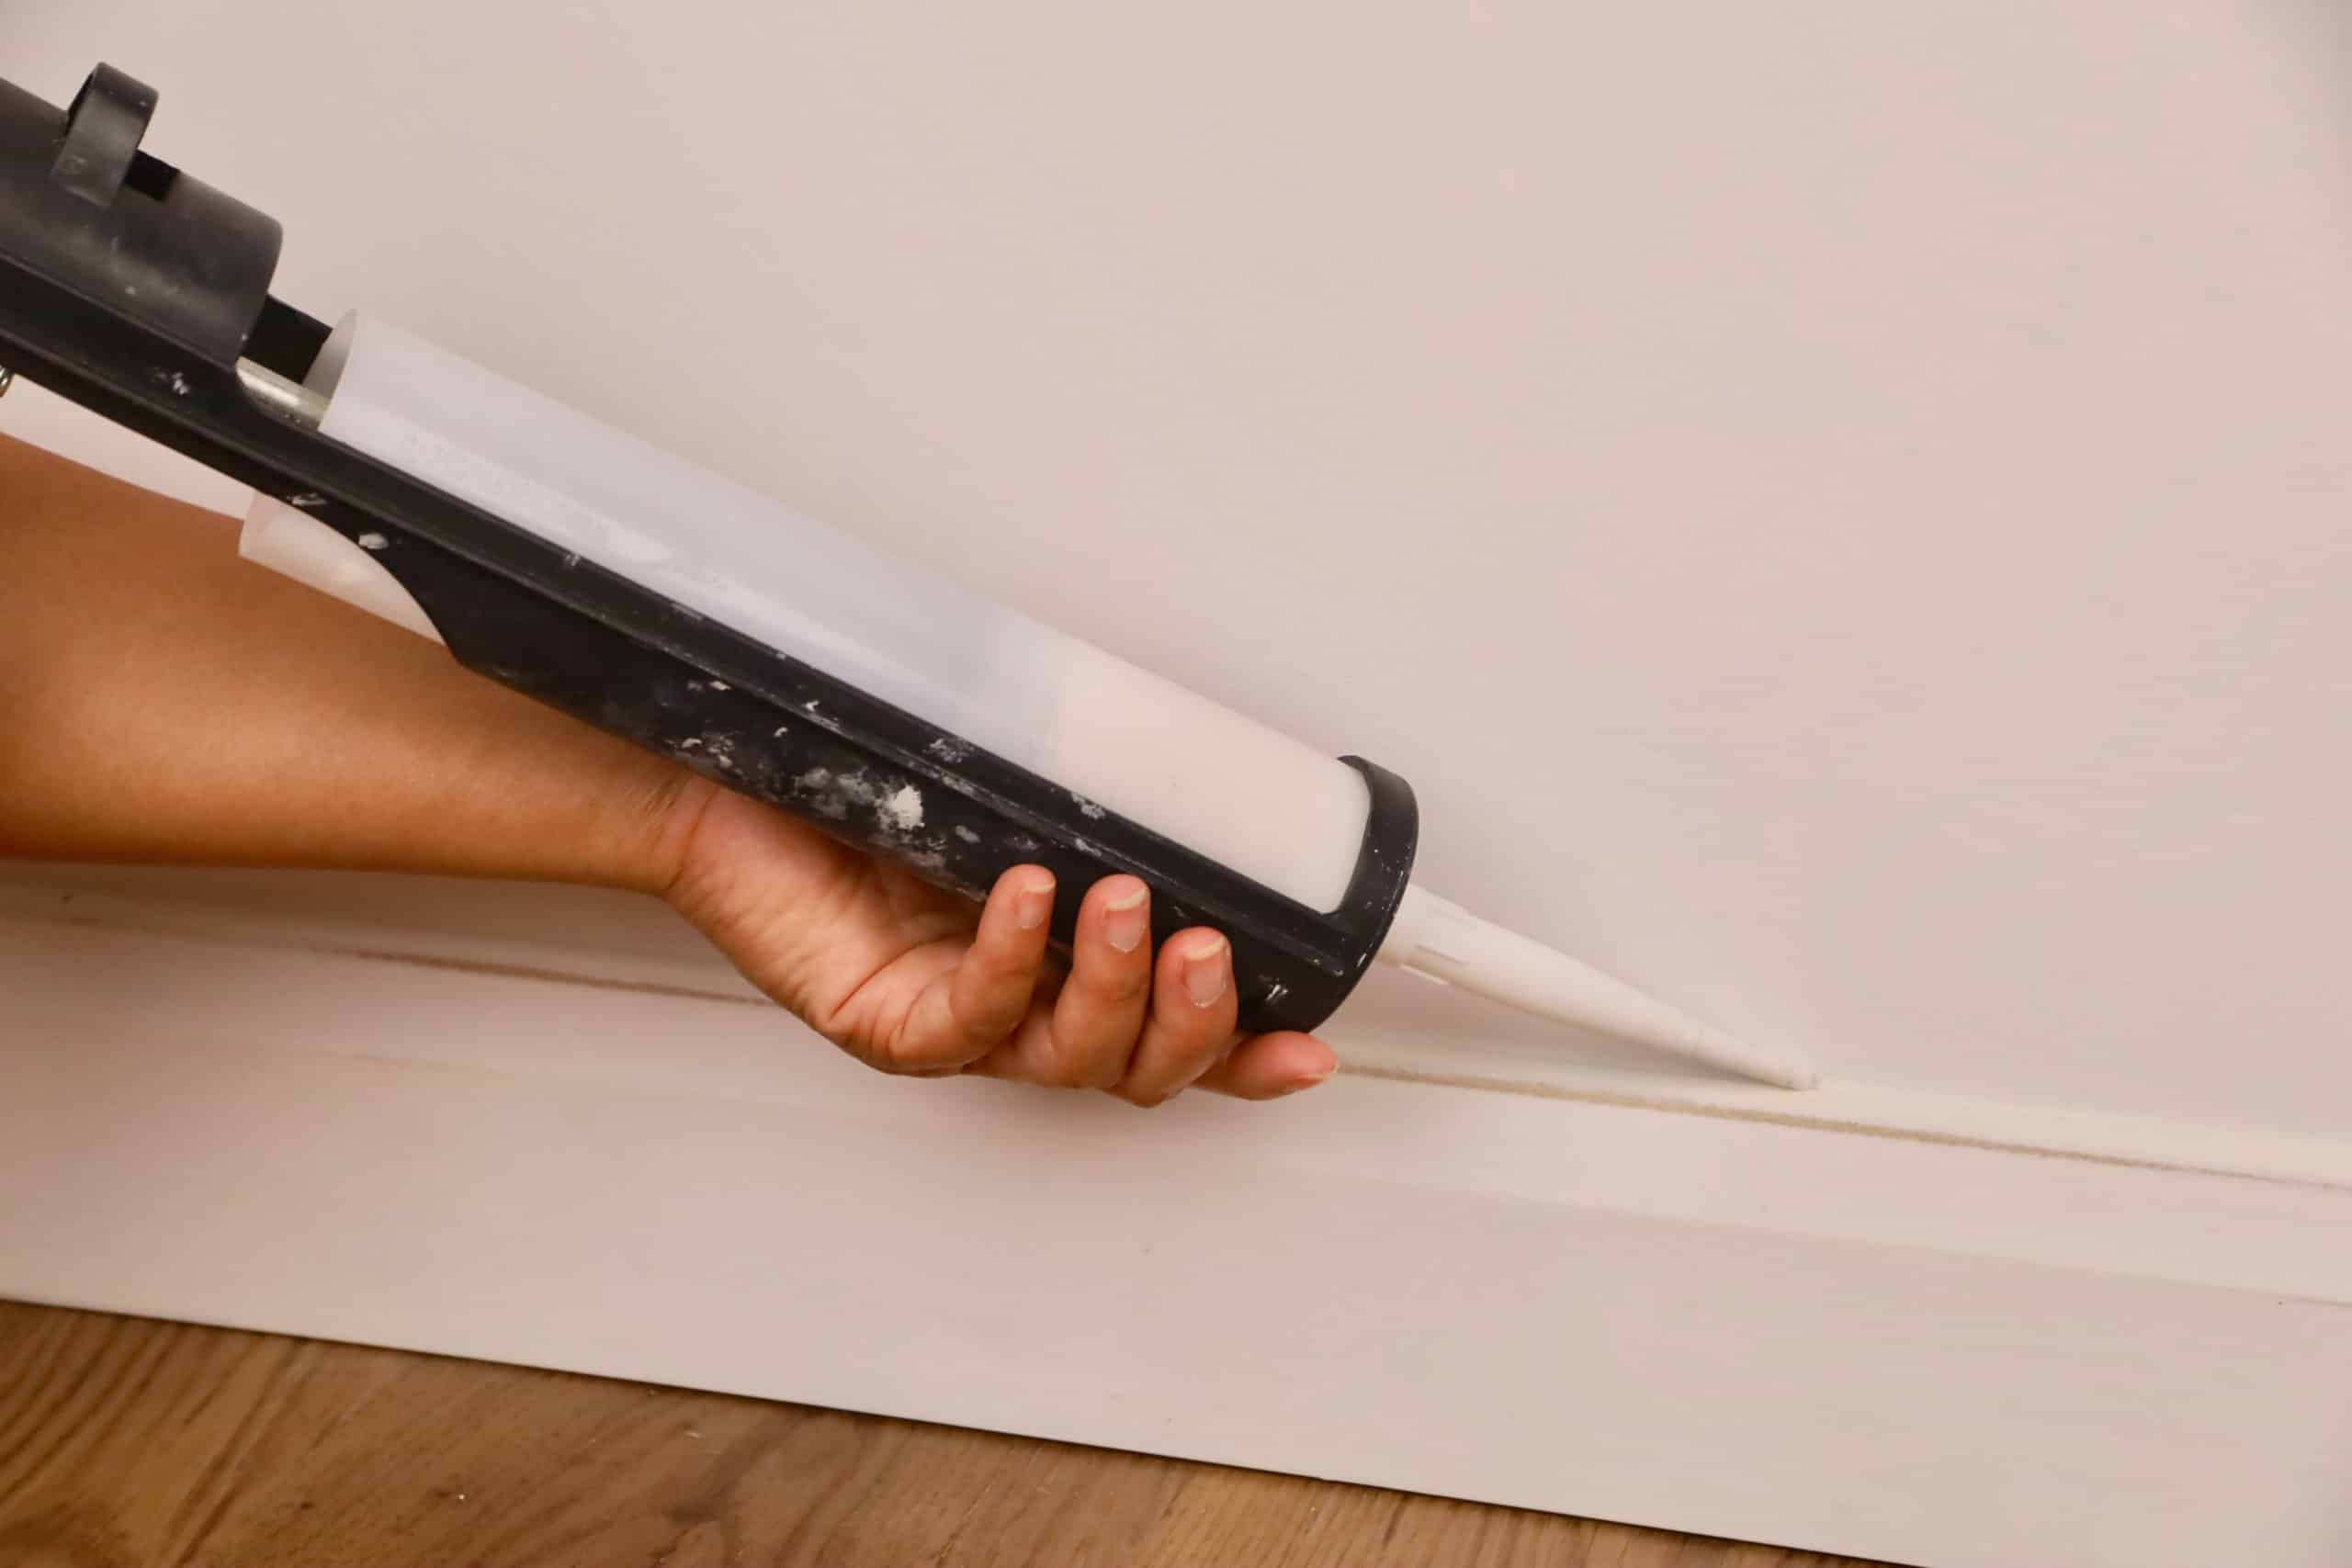
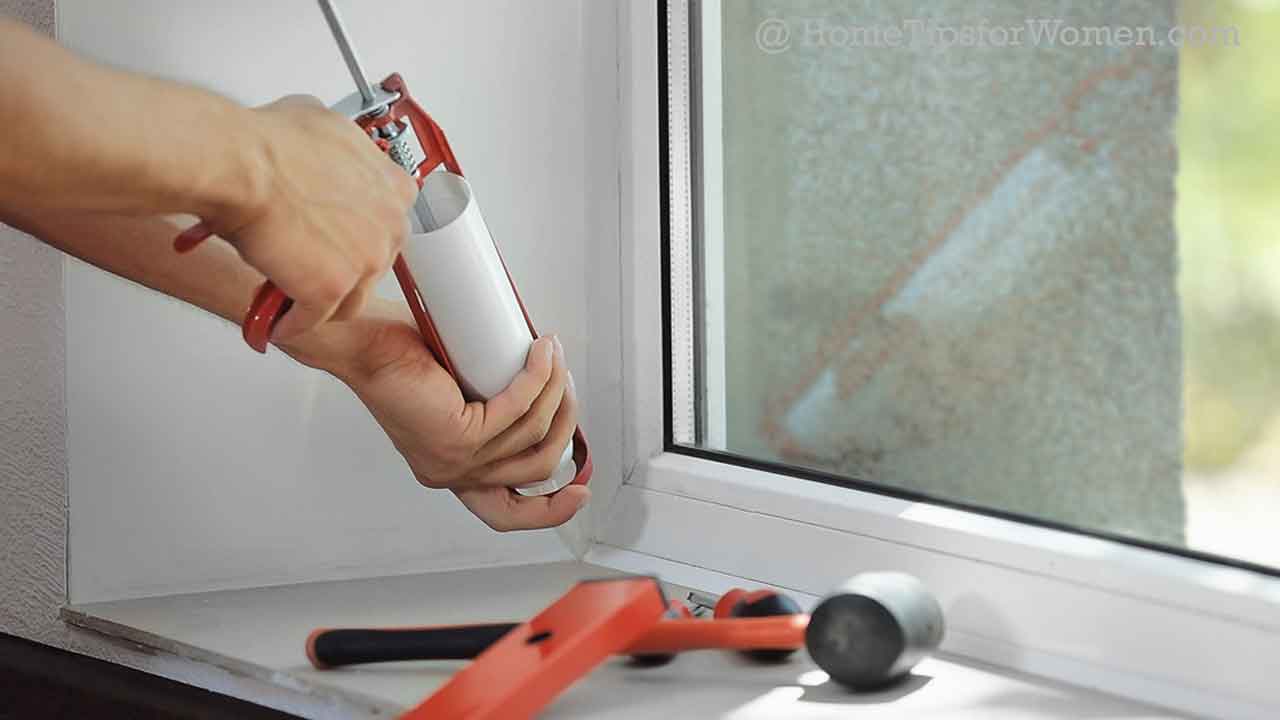
Now that the area is clean and prepped, it's time to re-caulk your undermount kitchen sink. Here's a step-by-step guide to help you through the process: Step 1: Gather your materials. You will need a caulk gun, caulk, caulk smoothing tool, and a damp cloth. Step 2: Choose the right caulk. There are many types of caulk available, but for undermount sinks, it's best to use a silicone caulk that is specifically designed for kitchen and bathroom use. These types of caulk are mold and mildew resistant, making them perfect for a kitchen environment. Step 3: Load the caulk into the gun and cut the tip at a 45-degree angle, leaving a small opening. Step 4: Starting at one corner, run a bead of caulk along the edge of the sink. Use a consistent pressure on the gun to ensure an even application. Step 5: Once the bead is complete, use a caulk smoothing tool or your finger to smooth out the caulk and create a neat, even line. Wipe away any excess caulk with a damp cloth. Step 6: Continue this process, working your way around the sink until all edges are caulked. Step 7: Let the caulk dry for the recommended time on the packaging before using the sink again.Step-by-Step Guide to Re-Caulking an Undermount Kitchen Sink

Step-by-Step Guide to Re-Caulking an Undermount Kitchen Sink


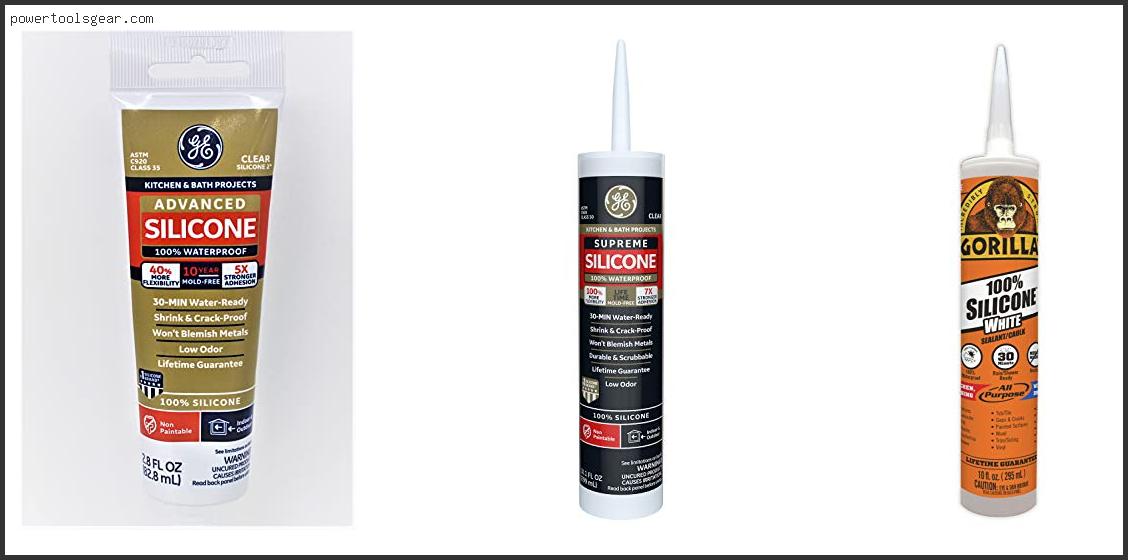
When it comes to choosing the best caulk for your undermount kitchen sink, it's important to opt for a high-quality silicone caulk. Look for options that are specifically labeled for kitchen and bathroom use and are mold and mildew resistant. Some popular brands include GE Silicone II, DAP Kwik Seal, and Loctite Polyseamseal.Best Caulk for Undermount Kitchen Sink


Best Caulk for Undermount Kitchen Sink


Here are some additional tips to keep in mind when re-caulking your undermount kitchen sink: Tip 1: Make sure the area is clean and dry before applying the new caulk. Any moisture or debris can affect the adhesion of the caulk. Tip 2: Use a damp cloth to smooth out the caulk and create a clean, even line. This will help to remove any excess caulk and give a professional finish. Tip 3: Allow the caulk to dry completely before using the sink. This will ensure a secure seal and prevent any damage to the caulk. Tip 4: Consider using masking tape to create a clean, straight edge while applying the caulk. This can help to prevent any mistakes or messiness.Tips for Re-Caulking an Undermount Kitchen Sink


Tips for Re-Caulking an Undermount Kitchen Sink


While re-caulking your undermount kitchen sink may seem like a simple task, there are a few common mistakes that can be easily avoided: Mistake 1: Not properly removing the old caulk. It's important to take the time to thoroughly remove the old caulk to ensure a clean and secure seal. Mistake 2: Using the wrong type of caulk. Make sure to choose a high-quality silicone caulk that is specifically designed for kitchen and bathroom use. Mistake 3: Not allowing the caulk to dry completely before using the sink. This can cause the caulk to shift or break, affecting the seal and causing damage.Common Mistakes When Re-Caulking an Undermount Kitchen Sink


Common Mistakes When Re-Caulking an Undermount Kitchen Sink

The frequency of re-caulking your undermount kitchen sink will depend on the quality of the caulk and the amount of use the sink gets. Generally, it's recommended to re-caulk every 1-2 years to maintain a clean and secure seal. However, if you notice any cracks or discoloration in the caulk, it's best to re-caulk as soon as possible.How Often Should You Re-Caulk an Undermount Kitchen Sink?


How Often Should You Re-Caulk an Undermount Kitchen Sink?


To re-caulk your undermount kitchen sink, you will need the following tools and materials: Tools: caulk gun, caulk smoothing tool, utility knife or caulk removal tool, damp cloth Materials: silicone caulk, masking tape (optional)Tools and Materials Needed to Re-Caulk an Undermount Kitchen Sink

Tools and Materials Needed to Re-Caulk an Undermount Kitchen Sink


To ensure a successful re-caulking job, it's important to properly clean and prep the area before applying the new caulk. Here's how: Step 1: Remove any old caulk using a caulk removal tool, utility knife, or flathead screwdriver. Step 2: Clean the area with warm water and soap, removing any debris or residue. Step 3: Rinse the area thoroughly and dry with a clean towel. Step 4: If desired, use masking tape to create a clean, straight line around the sink edges.How to Properly Clean and Prep the Area Before Re-Caulking an Undermount Kitchen Sink

How to Properly Clean and Prep the Area Before Re-Caulking an Undermount Kitchen Sink


If using a caulk gun is not your preference, there are alternative methods for re-caulking an undermount kitchen sink. These include using a squeeze tube caulk or using a caulk strip. Both of these options are available at most hardware and home improvement stores and can be a convenient and easy way to re-caulk your sink. Re-caulking your undermount kitchen sink may seem like a daunting task, but with the right tools and techniques, it can be a simple and satisfying DIY project. Remember to choose the right caulk, properly prep the area, and take your time to ensure a clean and secure seal. By following these tips and utilizing the correct materials, you can give your kitchen a fresh, new look in no time.Alternative Methods for Re-Caulking an Undermount Kitchen Sink

Alternative Methods for Re-Caulking an Undermount Kitchen Sink

Caulking Undermount Kitchen Sink: A Vital Step in Maintaining Your Kitchen's Design

The Importance of Proper Caulking
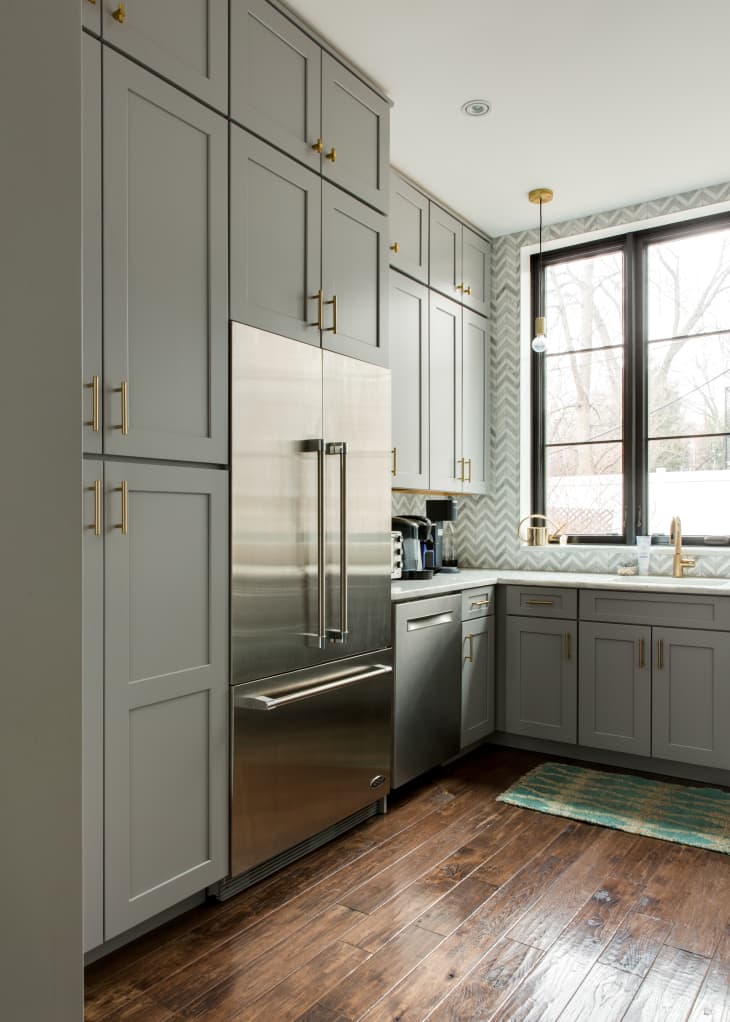
 When it comes to maintaining the design and functionality of your kitchen, proper caulking of your undermount sink is a crucial step. The caulking around your sink not only serves as a sealant to prevent water from leaking into your cabinets, but it also plays a significant role in the overall aesthetic of your kitchen. Over time, the caulk can become cracked, discolored, or even moldy, which can not only compromise the integrity of your sink but also detract from the overall design of your kitchen.
Identifying the Need for Recaulking
 Before diving into the process of recaulking, it is essential to first assess whether your undermount sink requires it. If you notice any cracks or gaps in the caulk, discoloration, or a foul odor, it is a clear sign that it's time to recaulk. Additionally, if your sink is not properly sealed, water can seep into the crevices and cause damage, not only to your sink but also to the surrounding cabinets and countertops.
The Process of Recaulking
 Now that you have identified the need for recaulking, it's time to get to work. The first step is to remove the old caulk using a razor blade or a caulk-removing tool. It's crucial to remove all the old caulk, as any residue can prevent the new caulk from adhering properly. Once the old caulk is removed, use a mixture of water and white vinegar to clean the area thoroughly and remove any remaining debris.
Choosing the Right Caulk
 When it comes to choosing the right caulk for your undermount sink, it's essential to select one that is specifically designed for use in the kitchen and is mold and mildew resistant. There are various types of caulks available, including silicone, acrylic, and latex. However, for undermount sinks, silicone caulk is the preferred option as it has a longer lifespan and is highly resistant to water and temperature changes.
Applying the Caulk
 Before applying the caulk, make sure the area is completely dry. Then, cut the tip of the caulk tube at a 45-degree angle and apply a thin bead of caulk along the seam between the sink and the countertop. Use a caulk finishing tool or your finger to smooth out the caulk and remove any excess. It's crucial to work quickly and efficiently, as silicone caulk dries quickly.
Final Thoughts
 In conclusion, recaulking your undermount kitchen sink is a vital step in maintaining the design and functionality of your kitchen. It not only ensures that your sink is properly sealed, but it also enhances the overall aesthetic of your kitchen. By following the steps outlined above, you can easily recaulk your undermount sink and keep your kitchen looking beautiful for years to come.