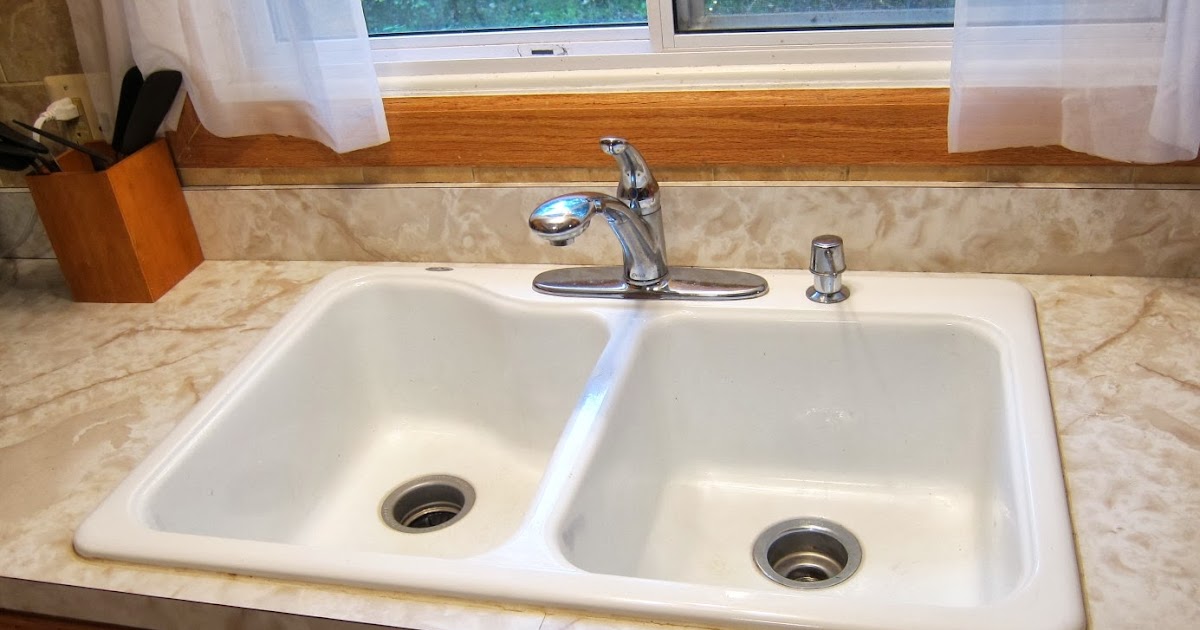
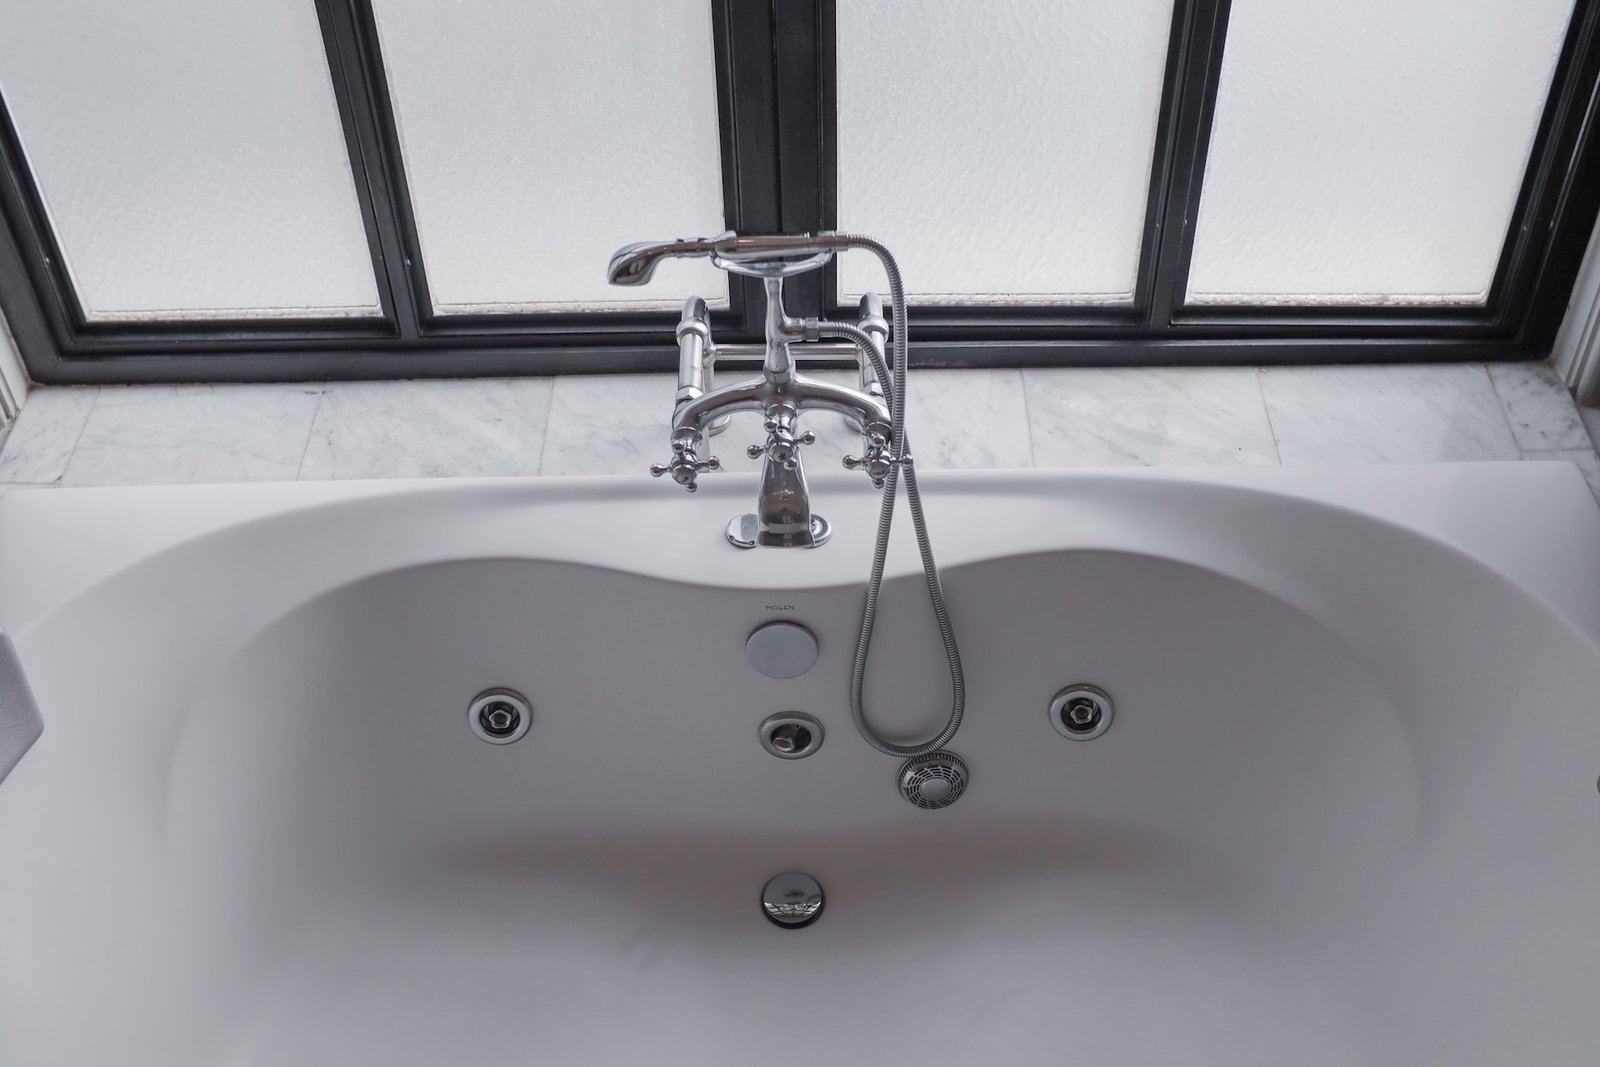
If you've noticed that the caulk around your kitchen sink is starting to crack or peel, it's time to re-caulk. Not only does this improve the appearance of your sink, but it also helps prevent water damage and mold growth. Re-caulking your kitchen sink may seem like a daunting task, but with the right tools and techniques, it can be an easy DIY project. Follow these steps to learn how to re-caulk your kitchen sink like a pro.How to Re-Caulk a Kitchen Sink


How to Re-Caulk a Kitchen Sink

.jpg)

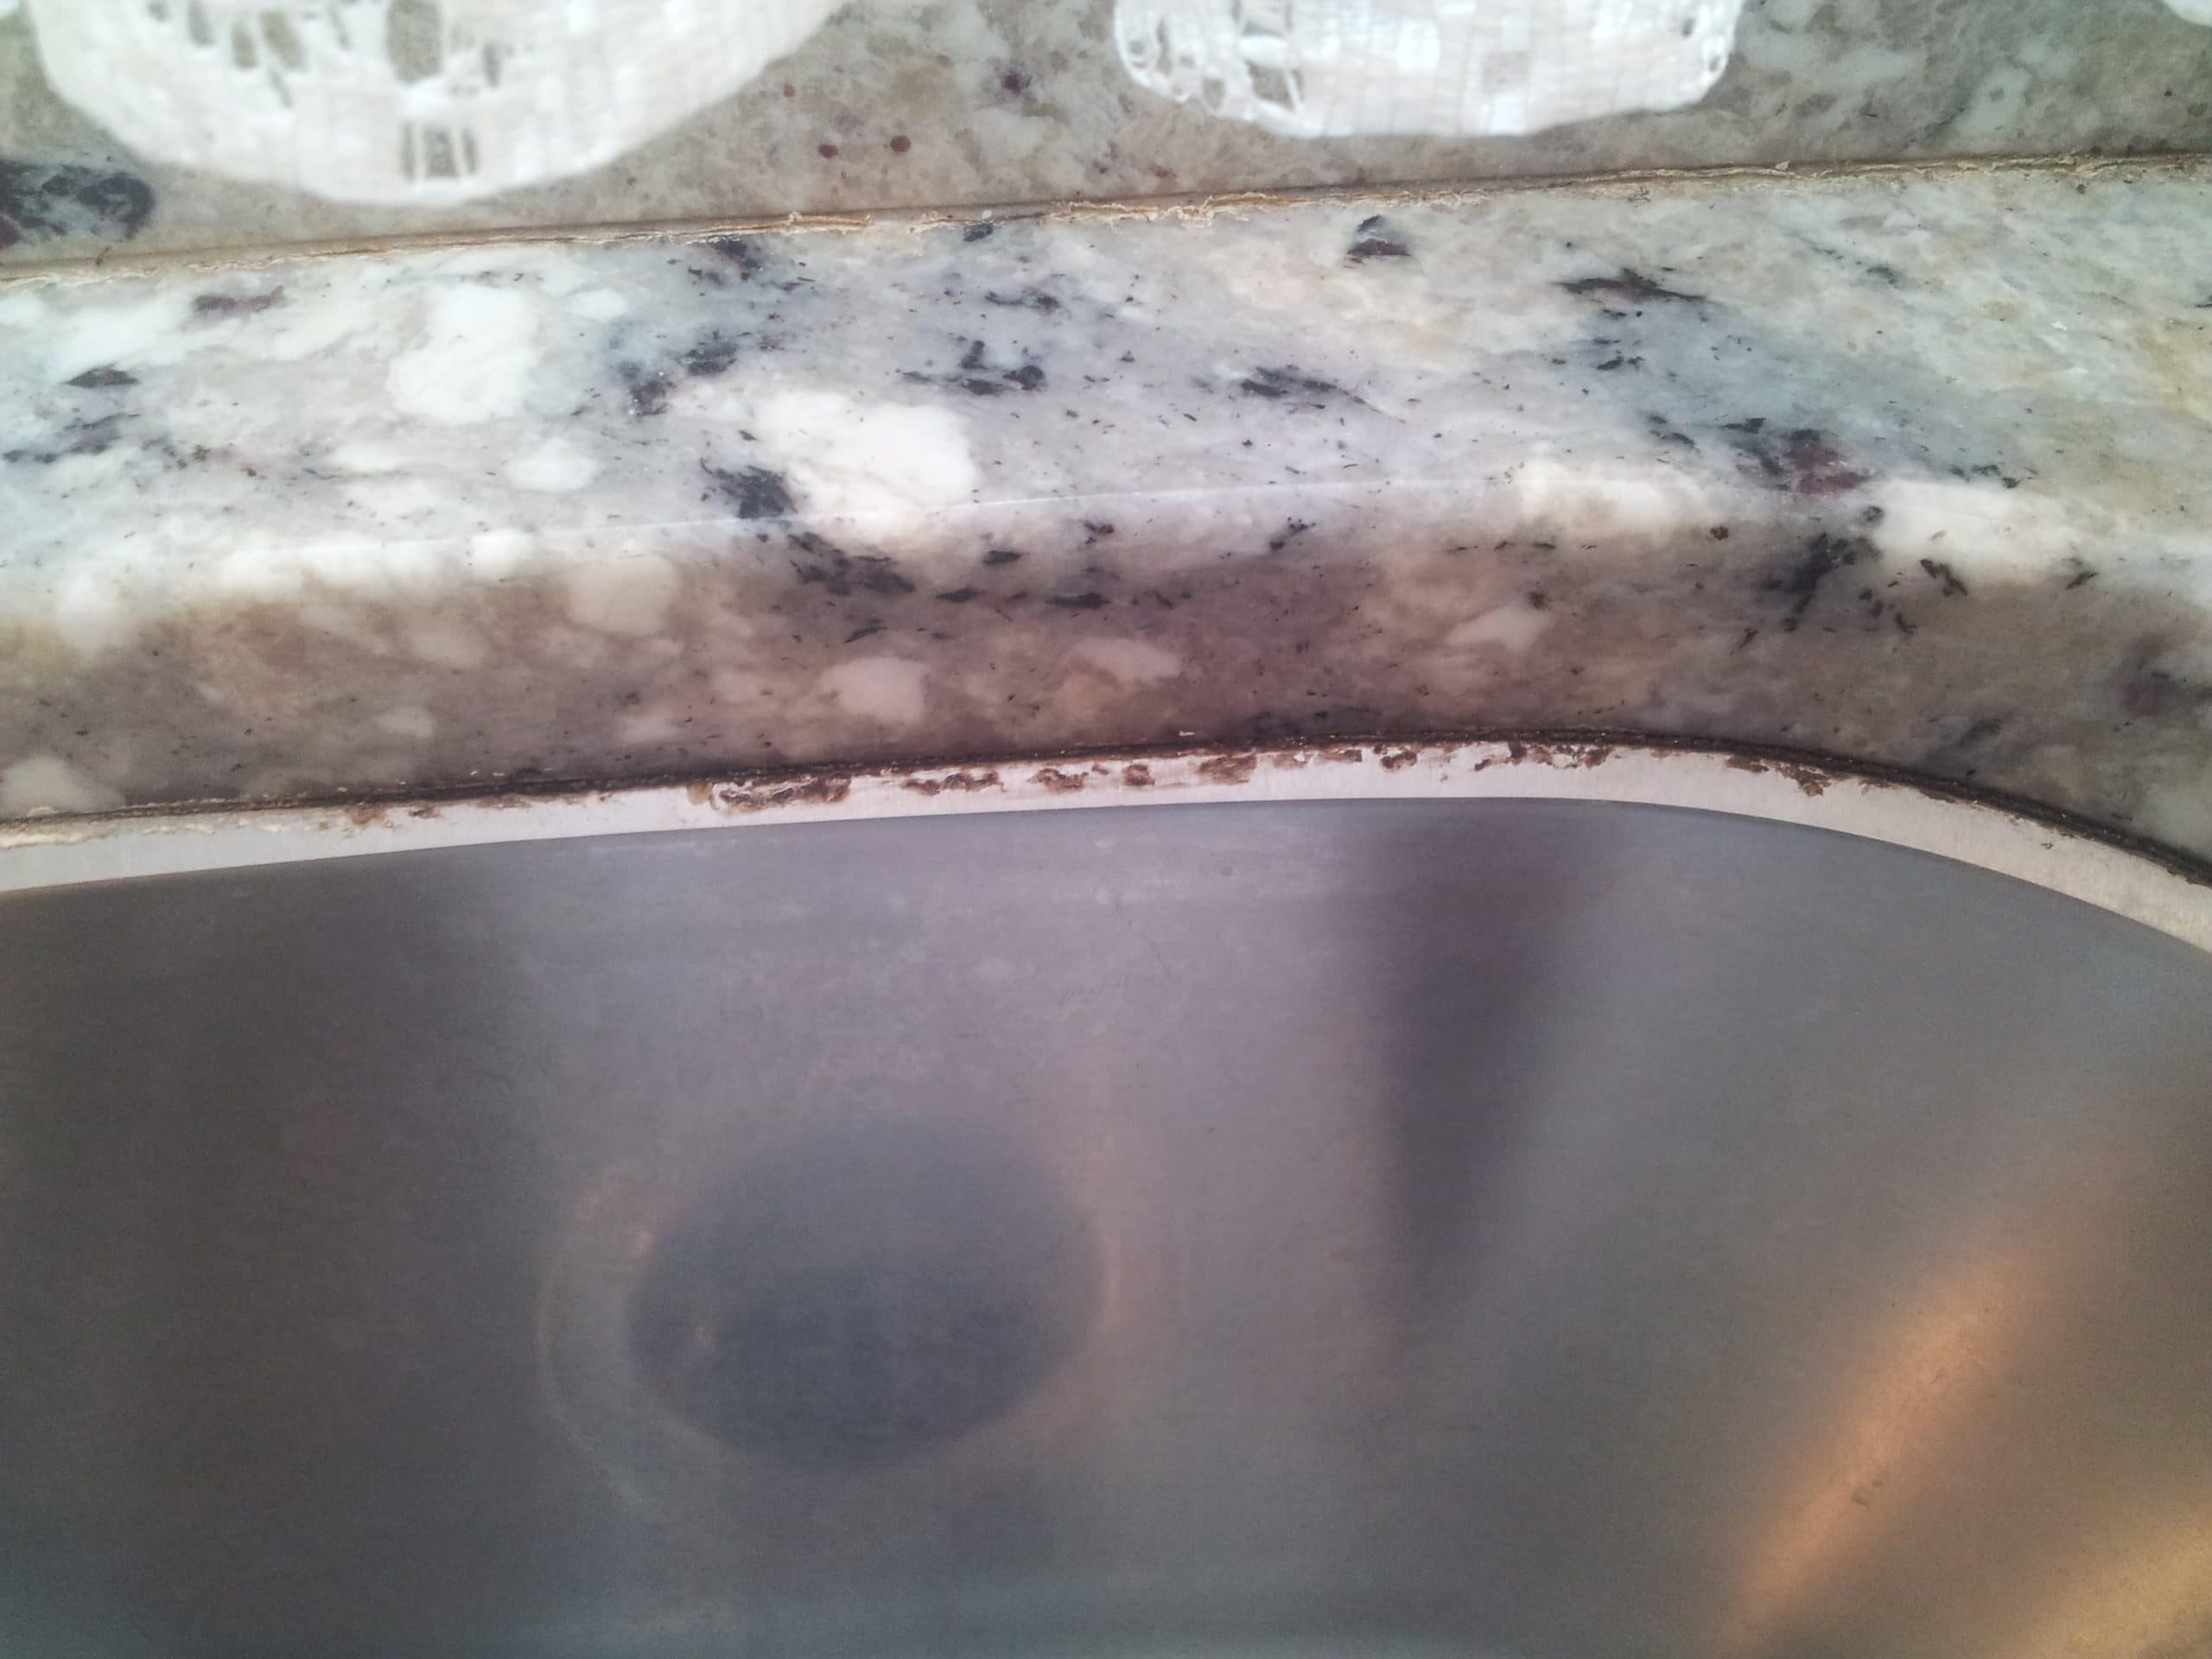


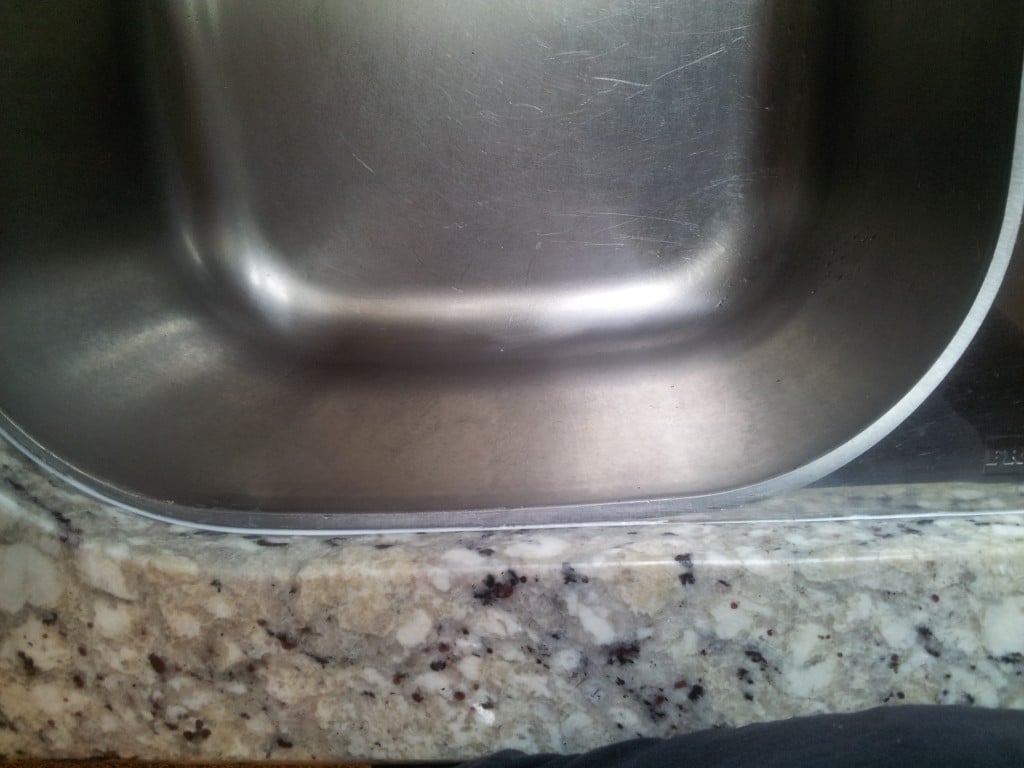
Over time, the caulk around your kitchen sink can break down and become less effective. This can lead to water seeping into the cracks and causing damage to your countertop and cabinets. It can also create a breeding ground for mold and bacteria, which can be harmful to your health. Re-caulking your kitchen sink not only keeps it looking clean and fresh, but it also helps protect the structure of your kitchen.The Importance of Re-Caulking Your Kitchen Sink


The Importance of Re-Caulking Your Kitchen Sink

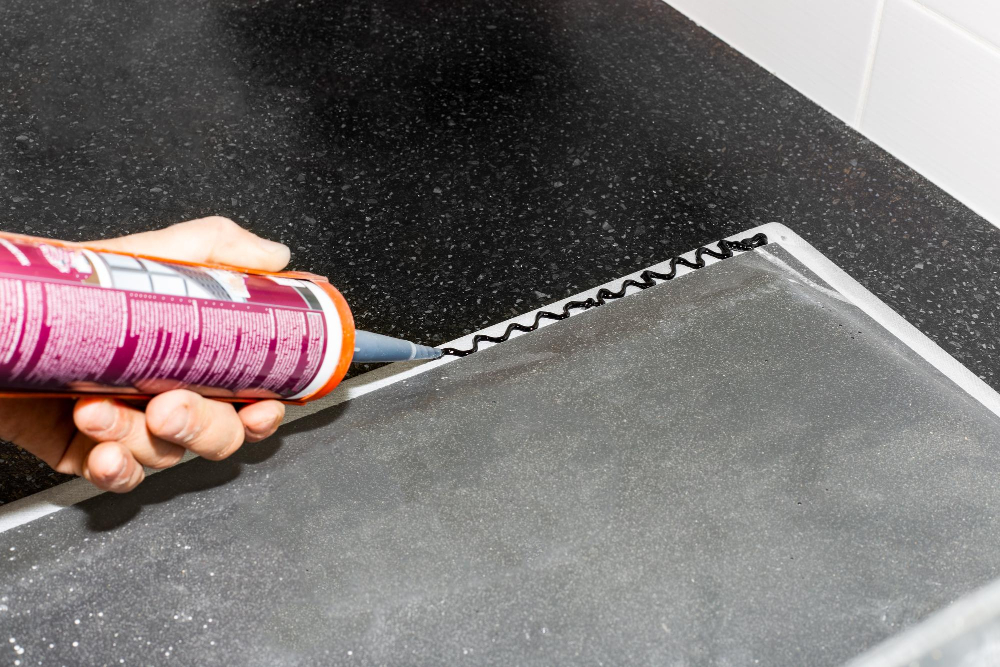


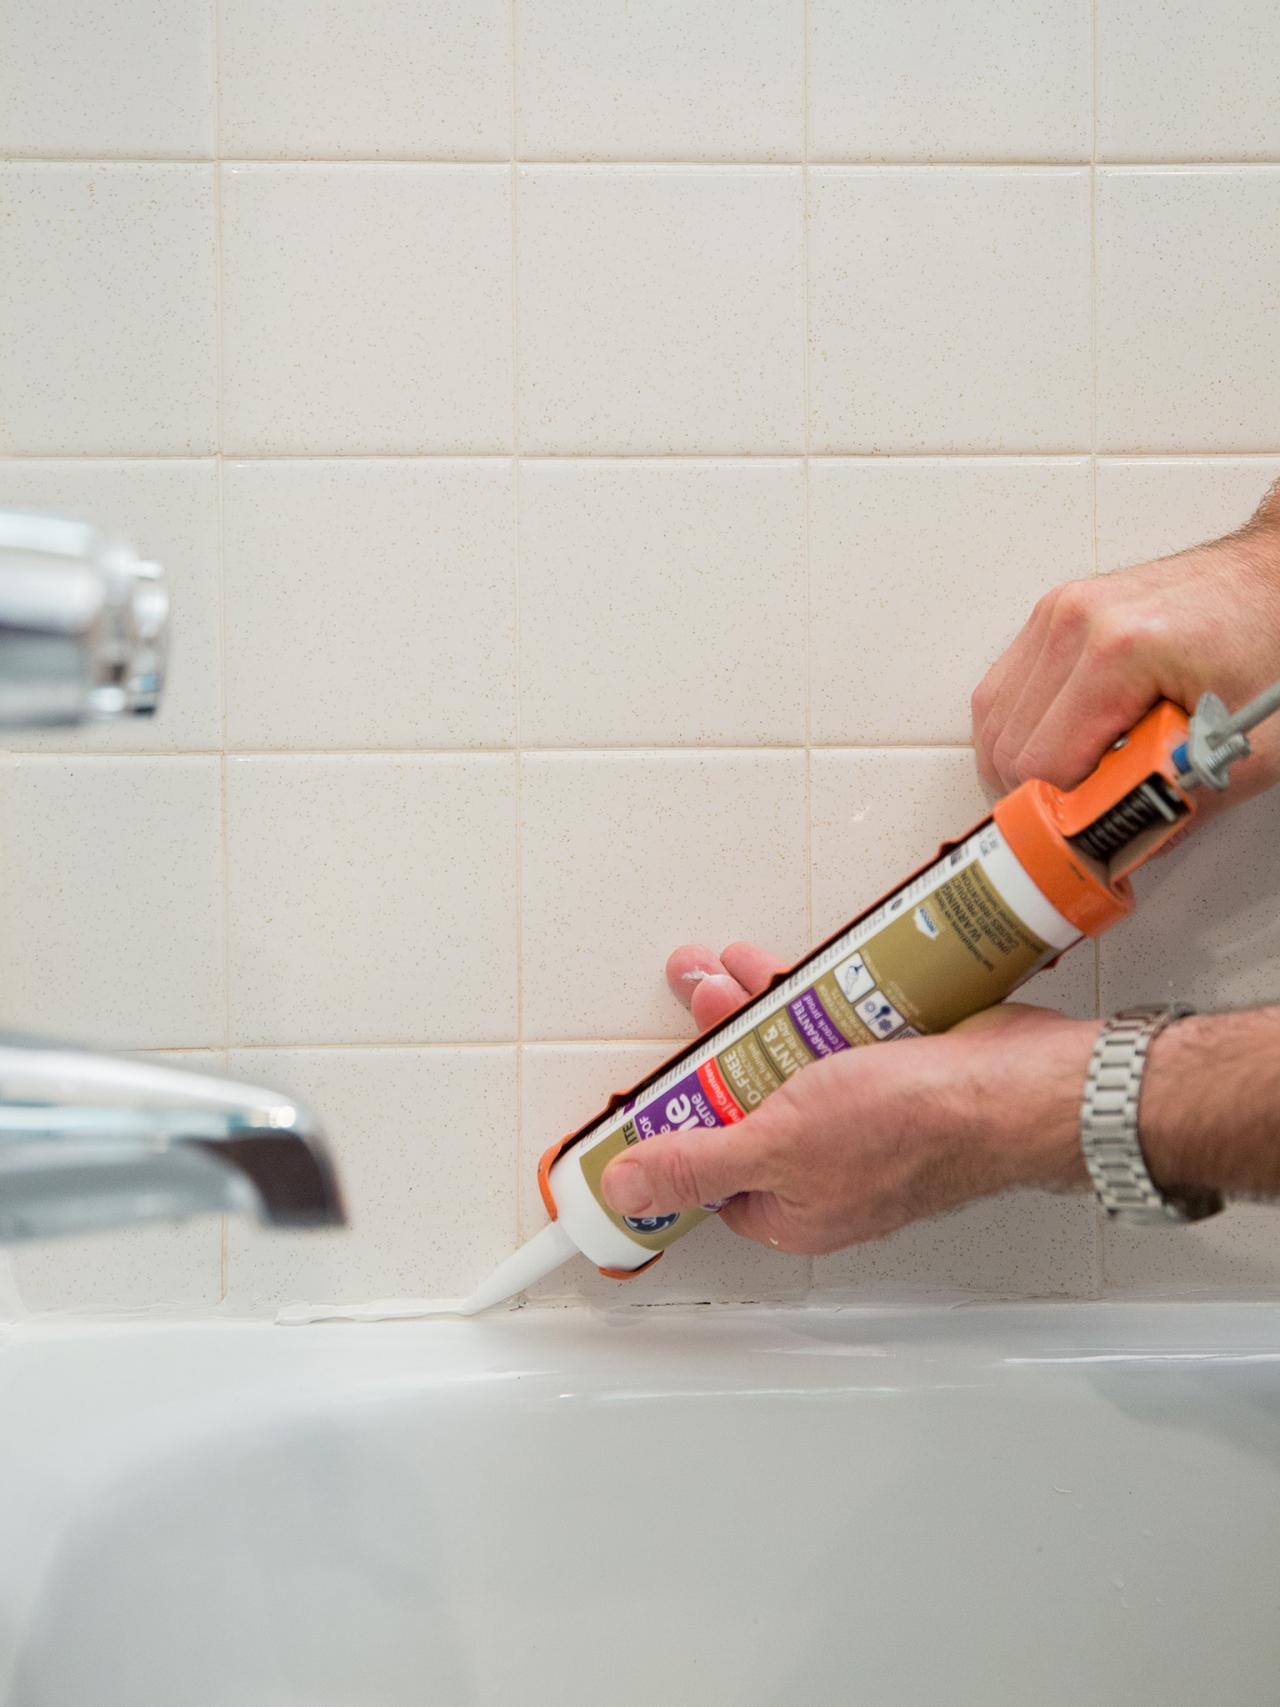
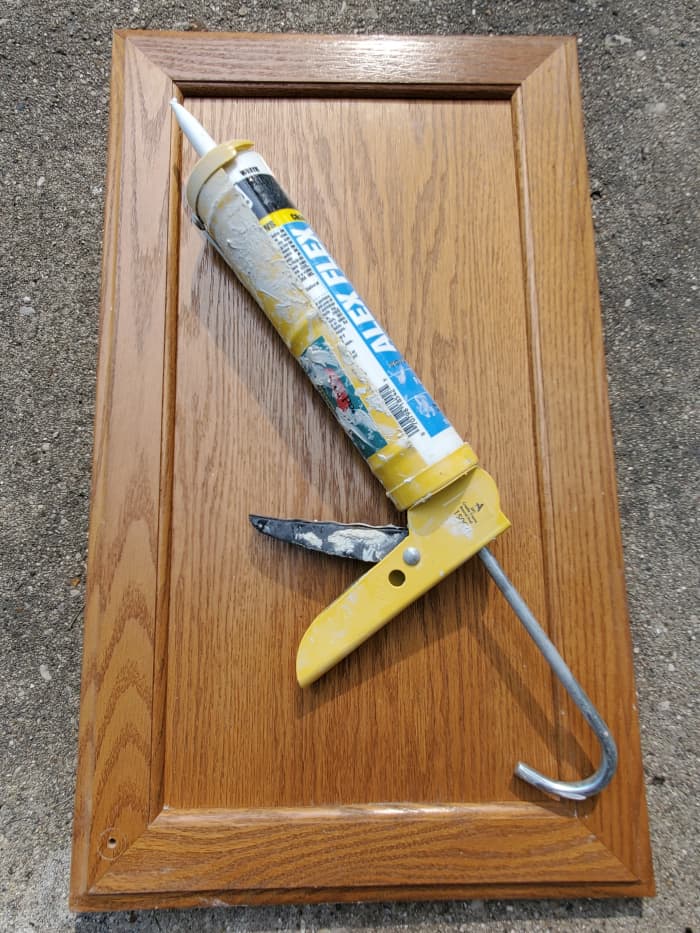
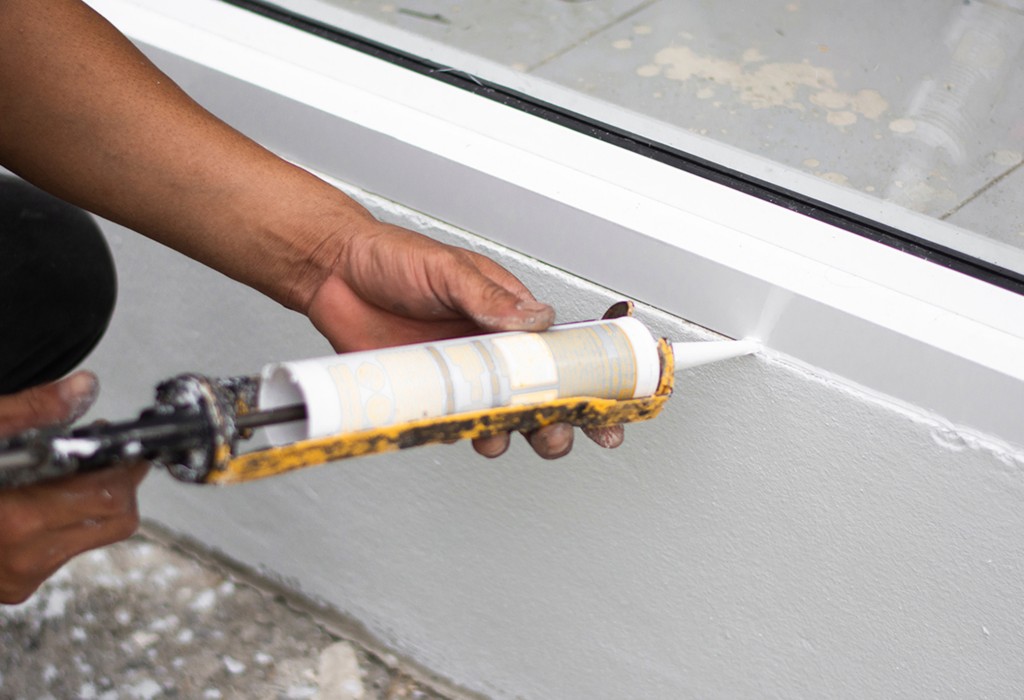
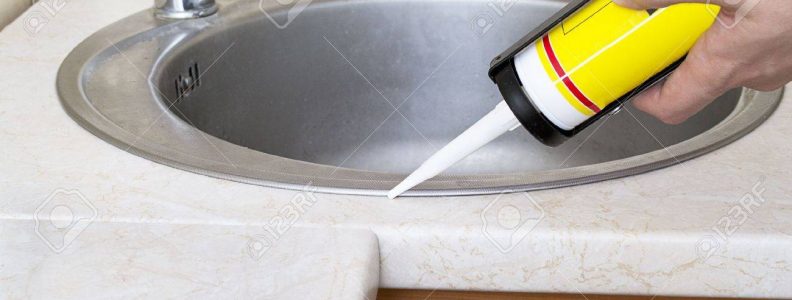
Now that you understand the importance of re-caulking your kitchen sink, let's go over the steps to do it properly: Step 1: Gather your materials. You will need a caulk gun, caulk remover, a utility knife, a putty knife, a damp cloth, and of course, caulk. Step 2: Remove the old caulk. Use the caulk remover to soften and remove the old caulk. Use a utility knife to scrape away any remaining caulk. Step 3: Clean the area. Use a damp cloth to wipe away any debris or residue left from the old caulk. Make sure the area is completely dry before moving on to the next step. Step 4: Load your caulk gun. Cut the tip of the caulk tube at a 45-degree angle, load it into the caulk gun, and puncture the seal with a nail or wire. Step 5: Apply the caulk. Hold the caulk gun at a 45-degree angle and slowly squeeze the trigger to apply a smooth and consistent bead of caulk. Make sure to cover the gap between the sink and the countertop completely. Step 6: Smooth the caulk. Use a putty knife or your finger to smooth out the caulk and remove any excess. Wipe away any excess caulk with a damp cloth. Step 7: Let it dry. Allow the caulk to dry completely before using your sink or getting it wet.Step-by-Step Guide to Re-Caulking Your Kitchen Sink


Step-by-Step Guide to Re-Caulking Your Kitchen Sink


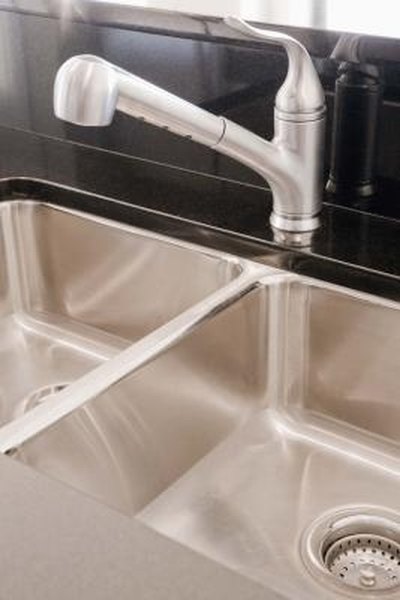
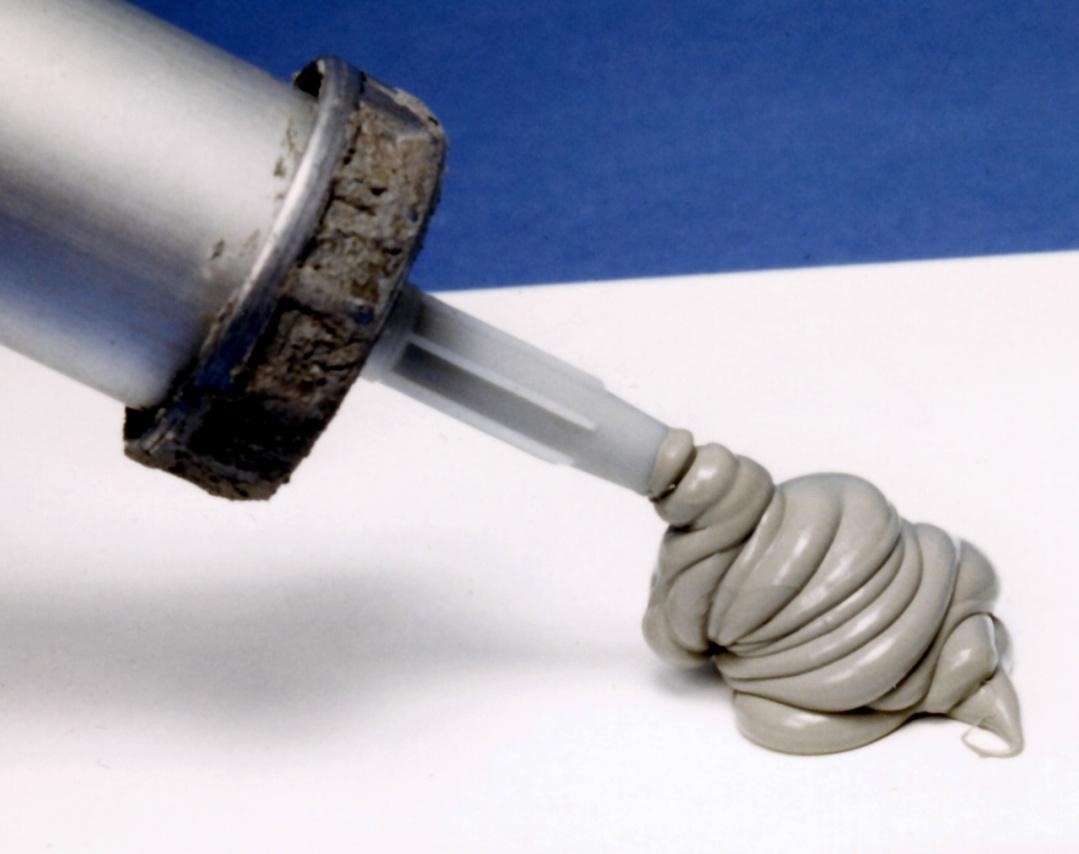
When it comes to choosing the best caulk for your kitchen sink, there are a few things to consider. Look for a caulk that is specifically designed for use in kitchens and bathrooms. It should also be waterproof and mold-resistant. Some popular options include silicone, acrylic, and hybrid caulks. Choose a caulk that matches the color of your sink and blends in seamlessly.Best Caulk for Kitchen Sink

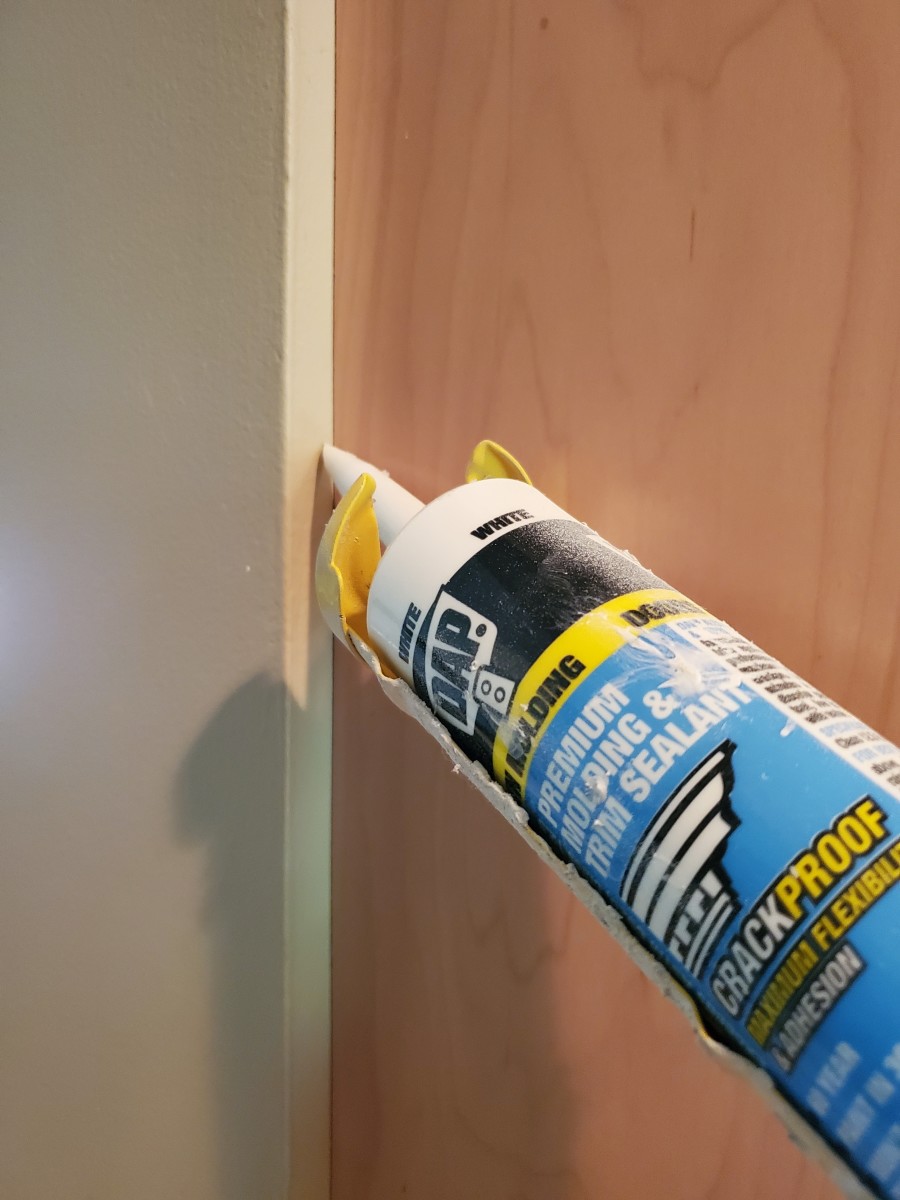

Best Caulk for Kitchen Sink


.jpg)

Re-caulking your kitchen sink can be a messy job, but with these tips, you can achieve a professional-looking result: Tip 1: Use masking tape to create clean lines and prevent excess caulk from getting on your sink or countertop. Tip 2: Smooth out the caulk with a wet finger for a more uniform finish. Tip 3: Use a hairdryer on low heat to speed up the drying process. Tip 4: Invest in a good quality caulk gun for better control and precision.Tips for a Professional-Looking Re-Caulk Job on Your Kitchen Sink
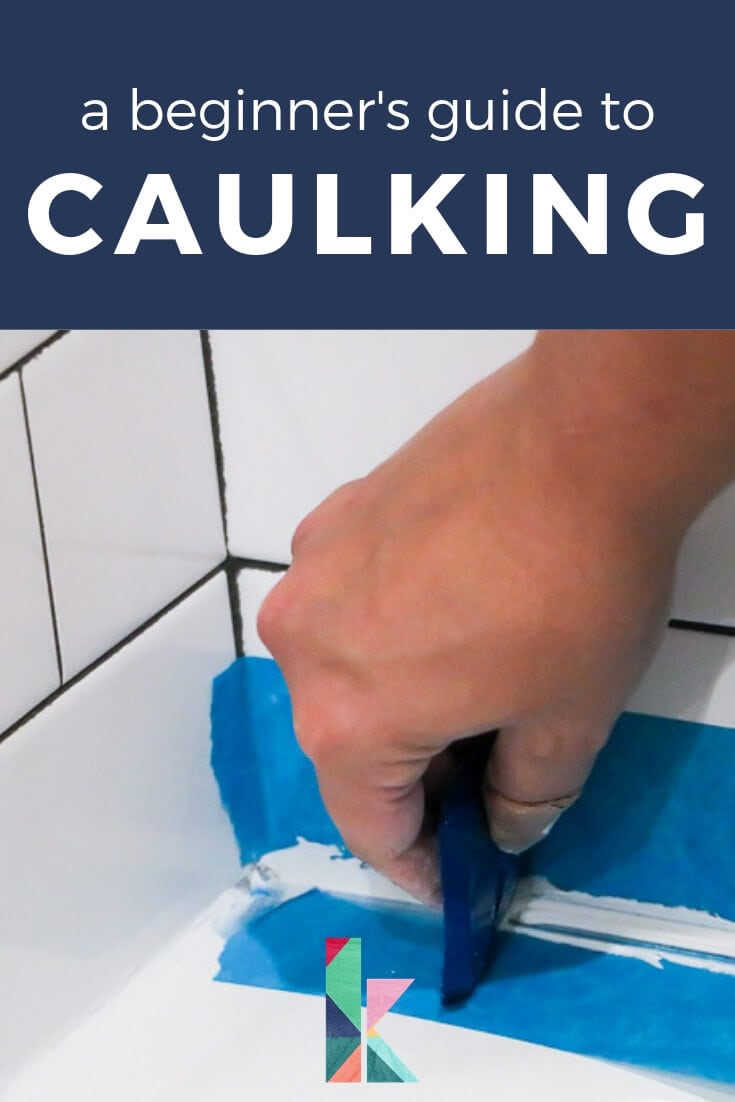

Tips for a Professional-Looking Re-Caulk Job on Your Kitchen Sink

:max_bytes(150000):strip_icc()/caulk-gun-applying-silicone-to-granite-sink-backsplash-184836078-5a767e453de4230037d26779.jpg)


Even with the right tools and techniques, there are some common mistakes that people make when re-caulking their kitchen sink. Avoid these missteps for a successful re-caulk job: Mistake 1: Using too much caulk, which can result in a messy and uneven finish. Mistake 2: Not removing all of the old caulk, which can prevent the new caulk from adhering properly. Mistake 3: Using the wrong type of caulk, which can lead to cracking and mold growth. Mistake 4: Rushing the job, which can result in a sloppy and rushed finish.Common Mistakes to Avoid When Re-Caulking Your Kitchen Sink


Common Mistakes to Avoid When Re-Caulking Your Kitchen Sink


It's recommended to re-caulk your kitchen sink every 1-2 years to ensure it stays in good condition. However, if you notice any cracks or damage to the caulk, it's best to re-caulk immediately to prevent any further damage.How Often Should You Re-Caulk Your Kitchen Sink?


How Often Should You Re-Caulk Your Kitchen Sink?


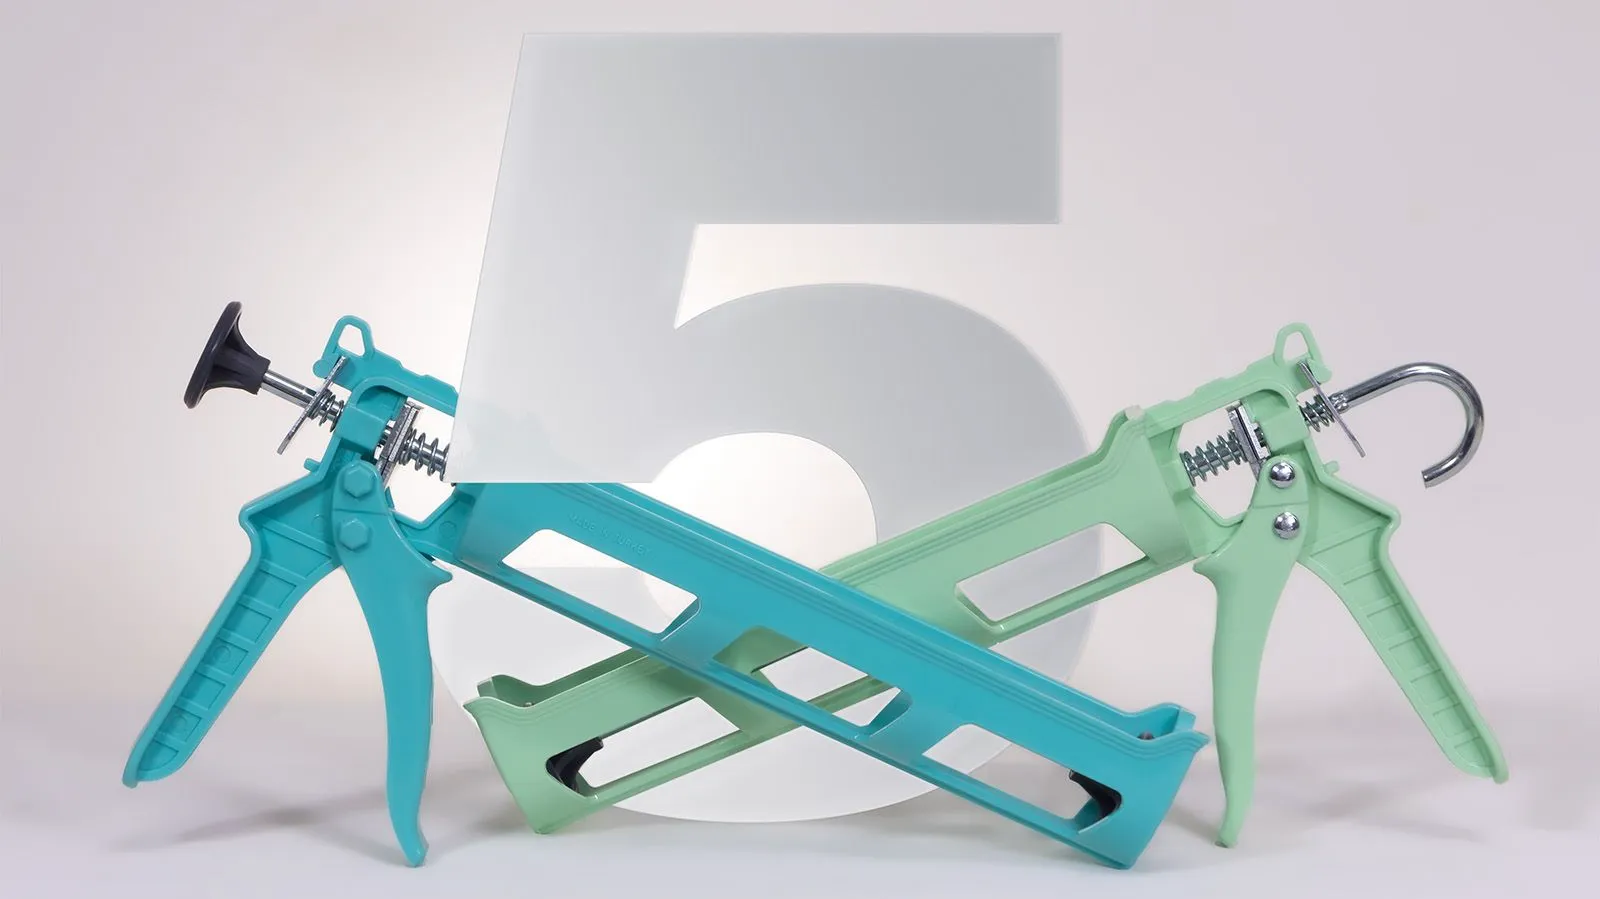
Before you begin your re-caulking project, make sure you have all the necessary tools and materials: Tools: Caulk gun, caulk remover, utility knife, putty knife, damp cloth, hairdryer (optional). Materials: Caulk, masking tape.Tools and Materials Needed for Re-Caulking a Kitchen Sink

Tools and Materials Needed for Re-Caulking a Kitchen Sink


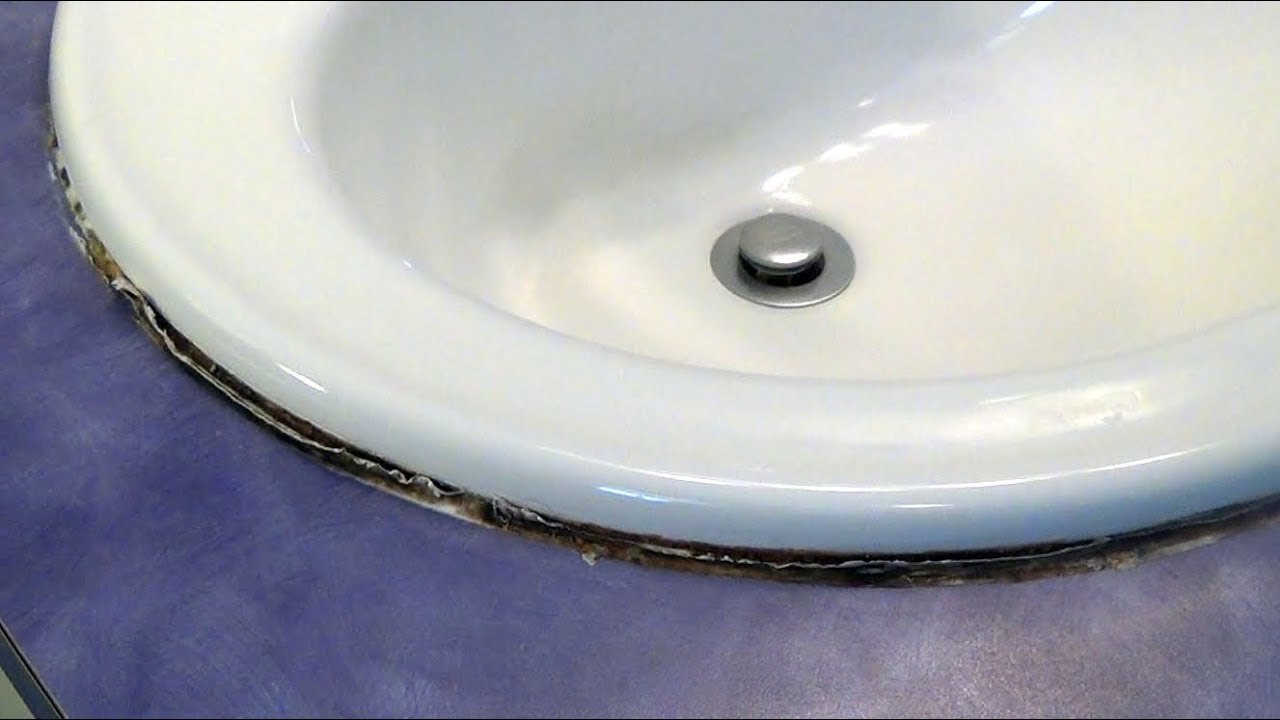
If you're not sure how to remove old caulk from your kitchen sink, follow these steps: Step 1: Soften the caulk. Use a caulk remover to soften and loosen the old caulk. Step 2: Scrape away the caulk. Use a utility knife to gently scrape away the old caulk. Be careful not to damage the sink or countertop. Step 3: Wipe away any residue. Use a damp cloth to wipe away any residue left behind from the old caulk. Step 4: Let it dry. Allow the area to dry completely before applying the new caulk.How to Remove Old Caulk from a Kitchen Sink


How to Remove Old Caulk from a Kitchen Sink

:max_bytes(150000):strip_icc()/how-to-remove-old-caulk-1824827-01-3d0370c59e124dbbaa6560c68bab111c.jpg)


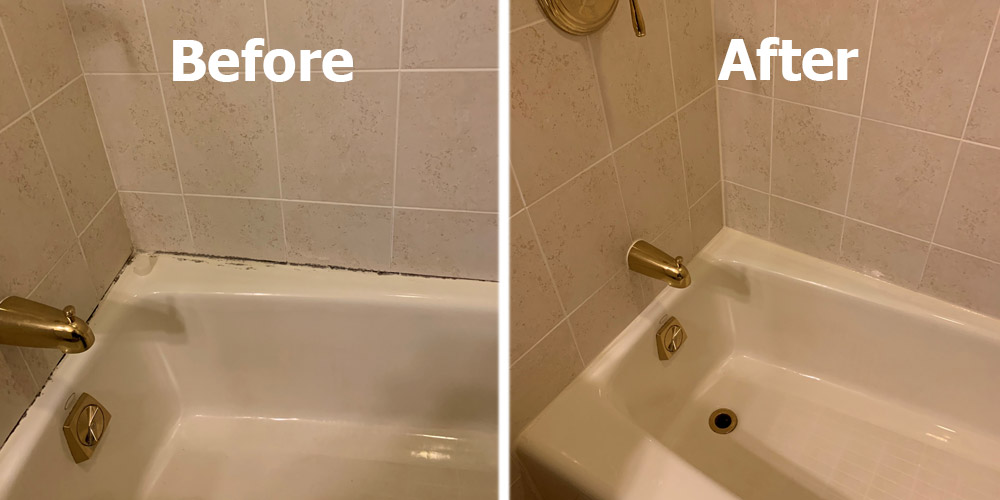
Re-caulking your kitchen sink may seem like a tedious task, but the benefits outweigh the effort. By re-caulking your sink, you can: Benefit 1: Prevent water damage and mold growth. Benefit 2: Improve the appearance of your kitchen. Benefit 3: Protect the structure of your kitchen. Benefit 4: Ensure your sink is properly sealed and functional.Benefits of Re-Caulking Your Kitchen Sink


Benefits of Re-Caulking Your Kitchen Sink

Why Re-caulking Your Kitchen Sink is Essential for a Beautiful and Functional Kitchen Design

The Importance of a Well-Maintained Kitchen Sink
 The kitchen sink is one of the most used and important areas in any household. It is where we clean and prepare our food, wash our dishes, and perform various other tasks. As such, it is crucial to keep it in good condition, not just for aesthetic purposes, but also for functionality and hygiene. However, over time, the caulking around the sink can deteriorate and become worn out, leading to a variety of problems. This is why re-caulking your kitchen sink is essential for maintaining a beautiful and functional kitchen design.
The Effects of Worn-Out Caulking
 The caulking around your kitchen sink serves as a sealant, preventing water from seeping into the cracks and crevices between the sink and the countertop. Over time, this sealant can become damaged due to constant exposure to water, heat, and cleaning chemicals. As a result, water can start to seep in, causing damage to the surrounding areas and creating a breeding ground for mold and mildew. This not only affects the overall appearance of your kitchen but also poses a health risk to you and your family.
Re-caulking: A Simple Solution for a Beautiful and Functional Kitchen
 Re-caulking your kitchen sink is a simple and cost-effective solution to these potential problems. By removing the old, worn-out caulk and replacing it with new, high-quality caulk, you can restore the sealant and prevent any water damage or mold growth. This not only keeps your kitchen looking clean and well-maintained, but it also ensures that your sink remains functional and hygienic.
In addition, re-caulking can also enhance the overall aesthetic of your kitchen design.
With a wide range of caulking colors and materials available, you can choose one that complements your existing kitchen design and adds a touch of style to your sink area. This small but significant change can make a big impact on the overall appearance of your kitchen.
Re-caulking your kitchen sink is a simple and cost-effective solution to these potential problems. By removing the old, worn-out caulk and replacing it with new, high-quality caulk, you can restore the sealant and prevent any water damage or mold growth. This not only keeps your kitchen looking clean and well-maintained, but it also ensures that your sink remains functional and hygienic.
In addition, re-caulking can also enhance the overall aesthetic of your kitchen design.
With a wide range of caulking colors and materials available, you can choose one that complements your existing kitchen design and adds a touch of style to your sink area. This small but significant change can make a big impact on the overall appearance of your kitchen.
Professional Help for a Perfect Finish
 While re-caulking may seem like a simple DIY task, it is important to seek professional help for a perfect finish. A professional contractor will have the expertise and tools to remove the old caulk without damaging your sink or countertop. They will also ensure that the new caulk is applied evenly and smoothly, creating a seamless finish that not only looks great but also provides a strong and long-lasting seal.
Don't let worn-out caulk ruin the beauty and functionality of your kitchen design. Take the necessary steps to re-caulk your kitchen sink and enjoy a beautiful and functional space for years to come.
While re-caulking may seem like a simple DIY task, it is important to seek professional help for a perfect finish. A professional contractor will have the expertise and tools to remove the old caulk without damaging your sink or countertop. They will also ensure that the new caulk is applied evenly and smoothly, creating a seamless finish that not only looks great but also provides a strong and long-lasting seal.
Don't let worn-out caulk ruin the beauty and functionality of your kitchen design. Take the necessary steps to re-caulk your kitchen sink and enjoy a beautiful and functional space for years to come.