Are you tired of dealing with a slow-draining or clogged bathroom sink? It may be time to replace your old drain and install a new one. Not only will this improve the functionality of your sink, but it can also give your bathroom a fresh look. In this guide, we will walk you through the steps of installing a bathroom sink drain.Installing a Bathroom Sink Drain


Installing a Bathroom Sink Drain


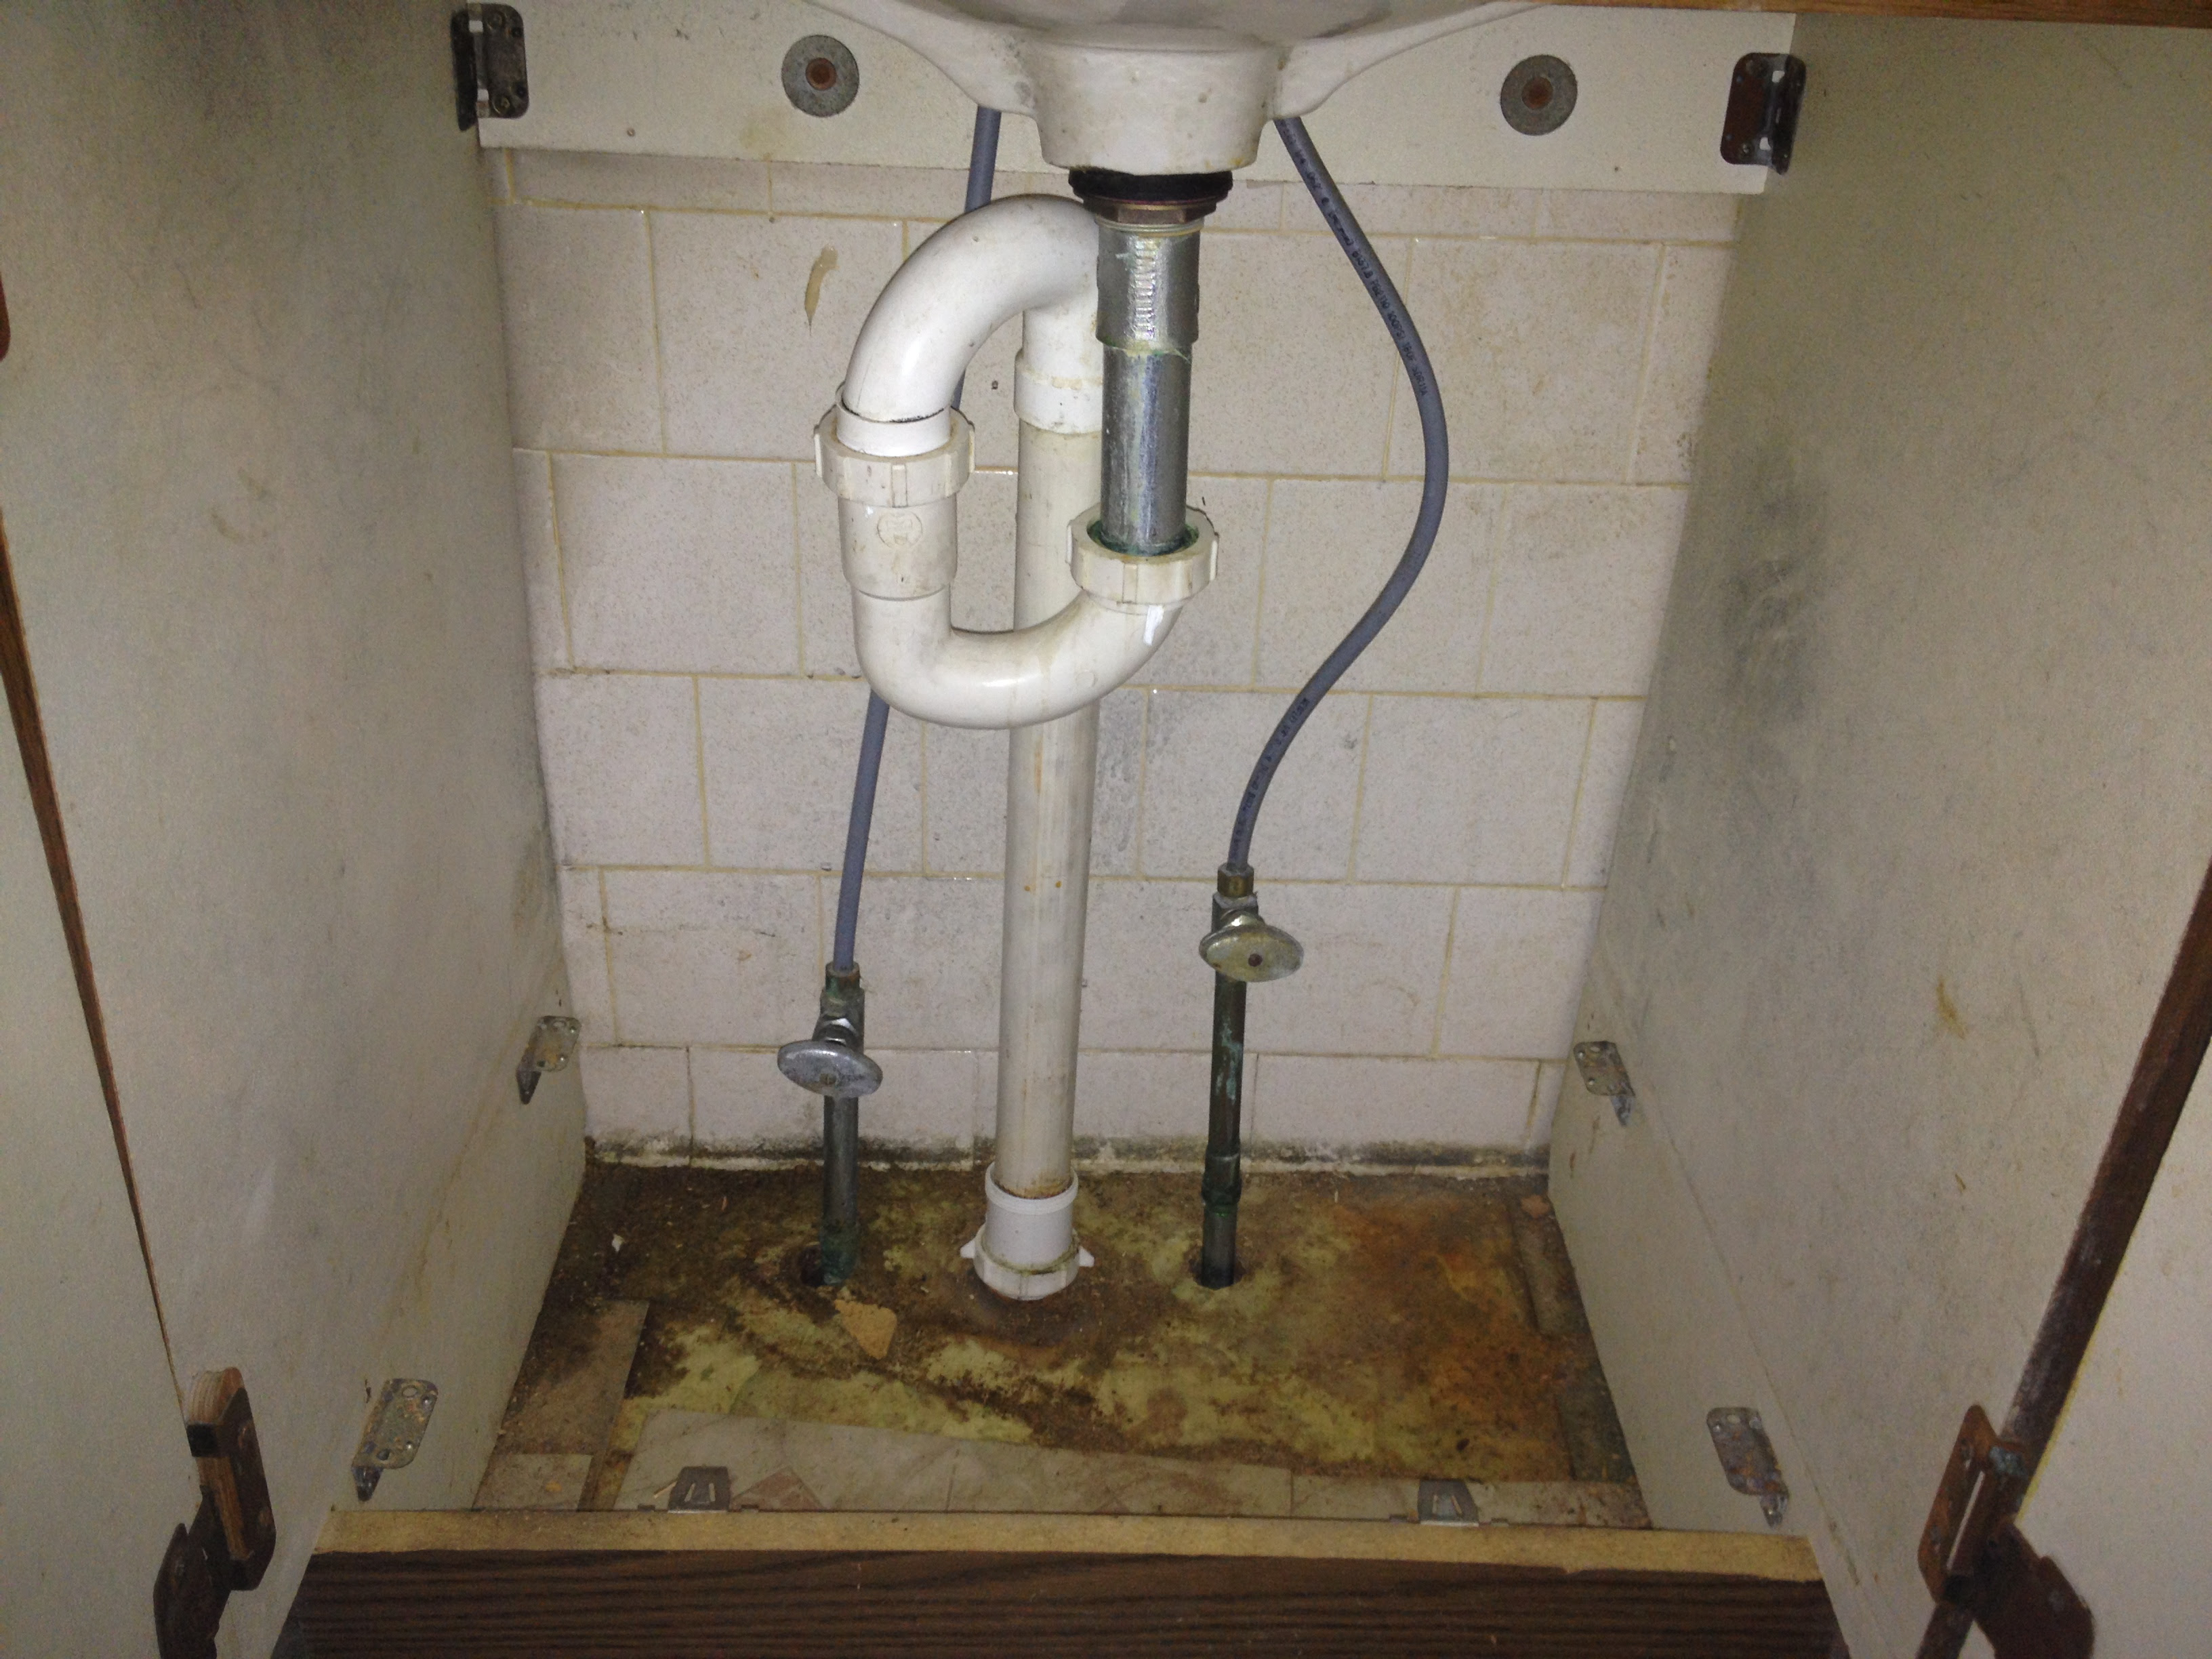


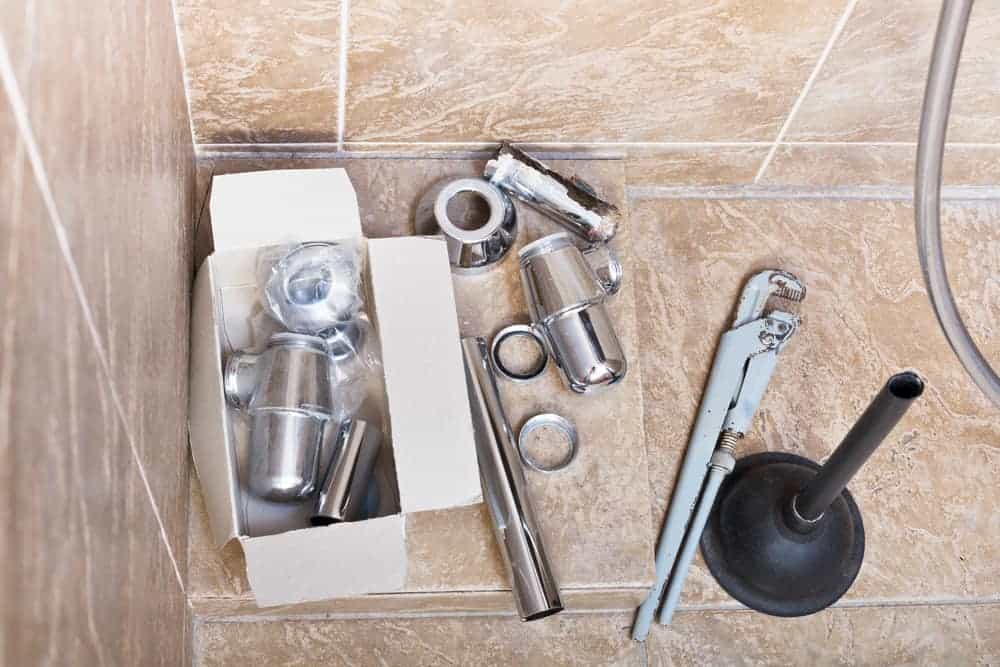
The first step in installing a bathroom sink drain is to gather all necessary tools and materials. This may include a new drain assembly, plumber's putty, a wrench, and a screwdriver. Next, turn off the water supply to your sink and place a bucket underneath the sink to catch any excess water. Then, use a wrench to disconnect the water supply lines and remove any remaining water from the pipes. Once the sink is clear, you can remove the old drain assembly by loosening the retaining nut underneath the sink. Use a screwdriver to remove the drain flange from the top of the sink.How to Install a Bathroom Sink Drain


How to Install a Bathroom Sink Drain


/bathroom-sink-drain-installation-2718843-03-6fee5b9d9f7d475abfe06a95ddb1f695.jpg)
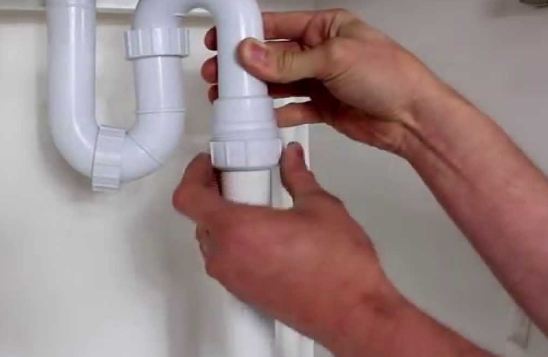
Before installing the new drain, clean the area around the sink's drain hole and apply a thin layer of plumber's putty to the underside of the flange. Then, insert the new drain into the hole and tighten the retaining nut from underneath the sink. Next, attach the new drain's tailpiece to the sink's drain pipe. Use a wrench to tighten the connection and ensure it is secure. Finally, reconnect the water supply lines and turn the water back on. Let the water run for a few minutes to check for any leaks. If everything looks good, you have successfully installed a new bathroom sink drain!Bathroom Sink Drain Installation


Bathroom Sink Drain Installation


If you are a DIY enthusiast, installing a bathroom sink drain can be a rewarding project. Not only will you save money on hiring a professional, but you will also gain valuable knowledge and skills. Just be sure to follow the steps carefully and take your time to ensure a proper installation.DIY Bathroom Sink Drain Installation
DIY Bathroom Sink Drain Installation


/bathroom-sink-drain-installation-2718843-01-4955fe1f576b447a91abe51c126d220b.jpg)
For a step-by-step guide on installing a bathroom sink drain, follow these simple steps: 1. Gather all necessary tools and materials 2. Turn off the water supply and remove any remaining water from the sink 3. Remove the old drain assembly 4. Clean and apply plumber's putty to the new drain flange 5. Install the new drain and tighten the retaining nut 6. Connect the tailpiece to the sink's drain pipe 7. Reconnect the water supply lines and turn the water back on 8. Check for any leaks and make adjustments if necessaryStep-by-Step Bathroom Sink Drain Installation


Step-by-Step Bathroom Sink Drain Installation


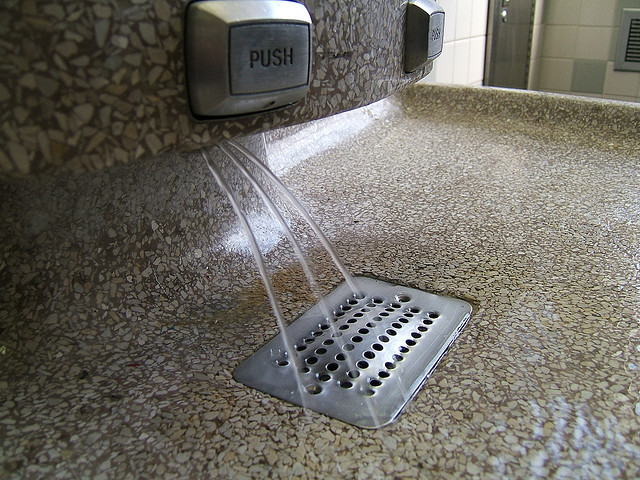
If your sink's drain is damaged or worn out, it may be time for a replacement. Follow the same steps as installing a new drain, but be sure to remove the old drain assembly carefully to avoid causing any further damage. Replacing your bathroom sink drain is also a great opportunity to upgrade to a more modern and efficient drain system. Consider options such as pop-up drains or push-button drains for added convenience.Bathroom Sink Drain Replacement


Bathroom Sink Drain Replacement


While installing a bathroom sink drain may seem like a daunting task, it can actually be quite simple with the right tools and instructions. Take your time and follow the steps carefully, and you will have a new drain installed in no time!Easy Bathroom Sink Drain Installation


Easy Bathroom Sink Drain Installation

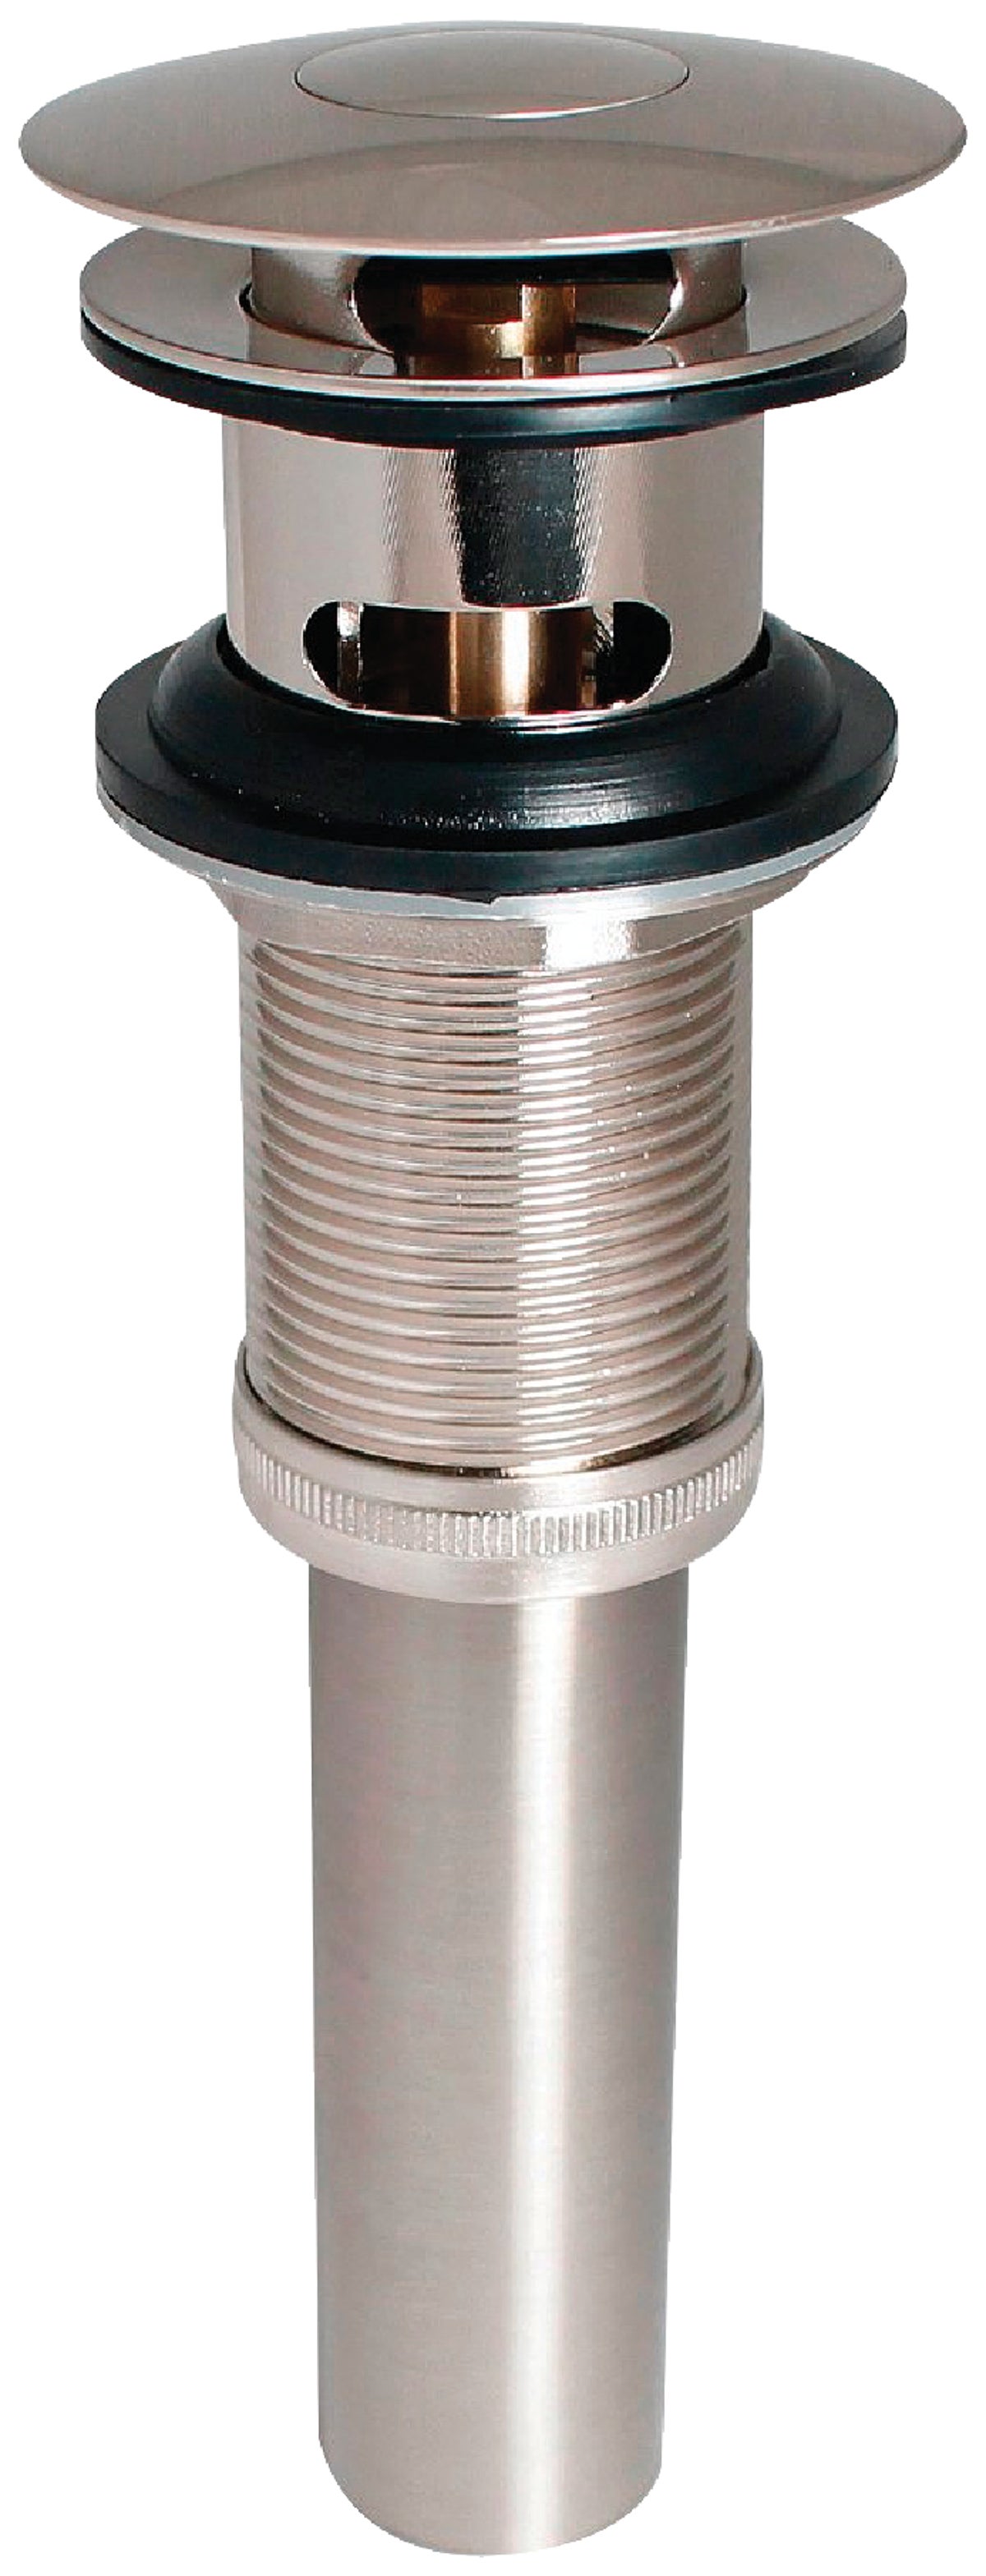
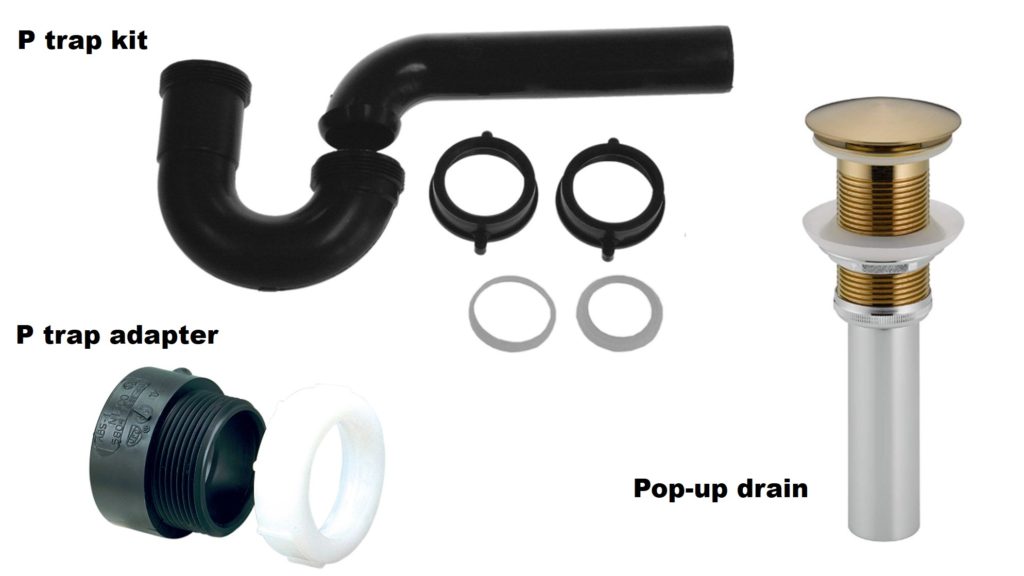
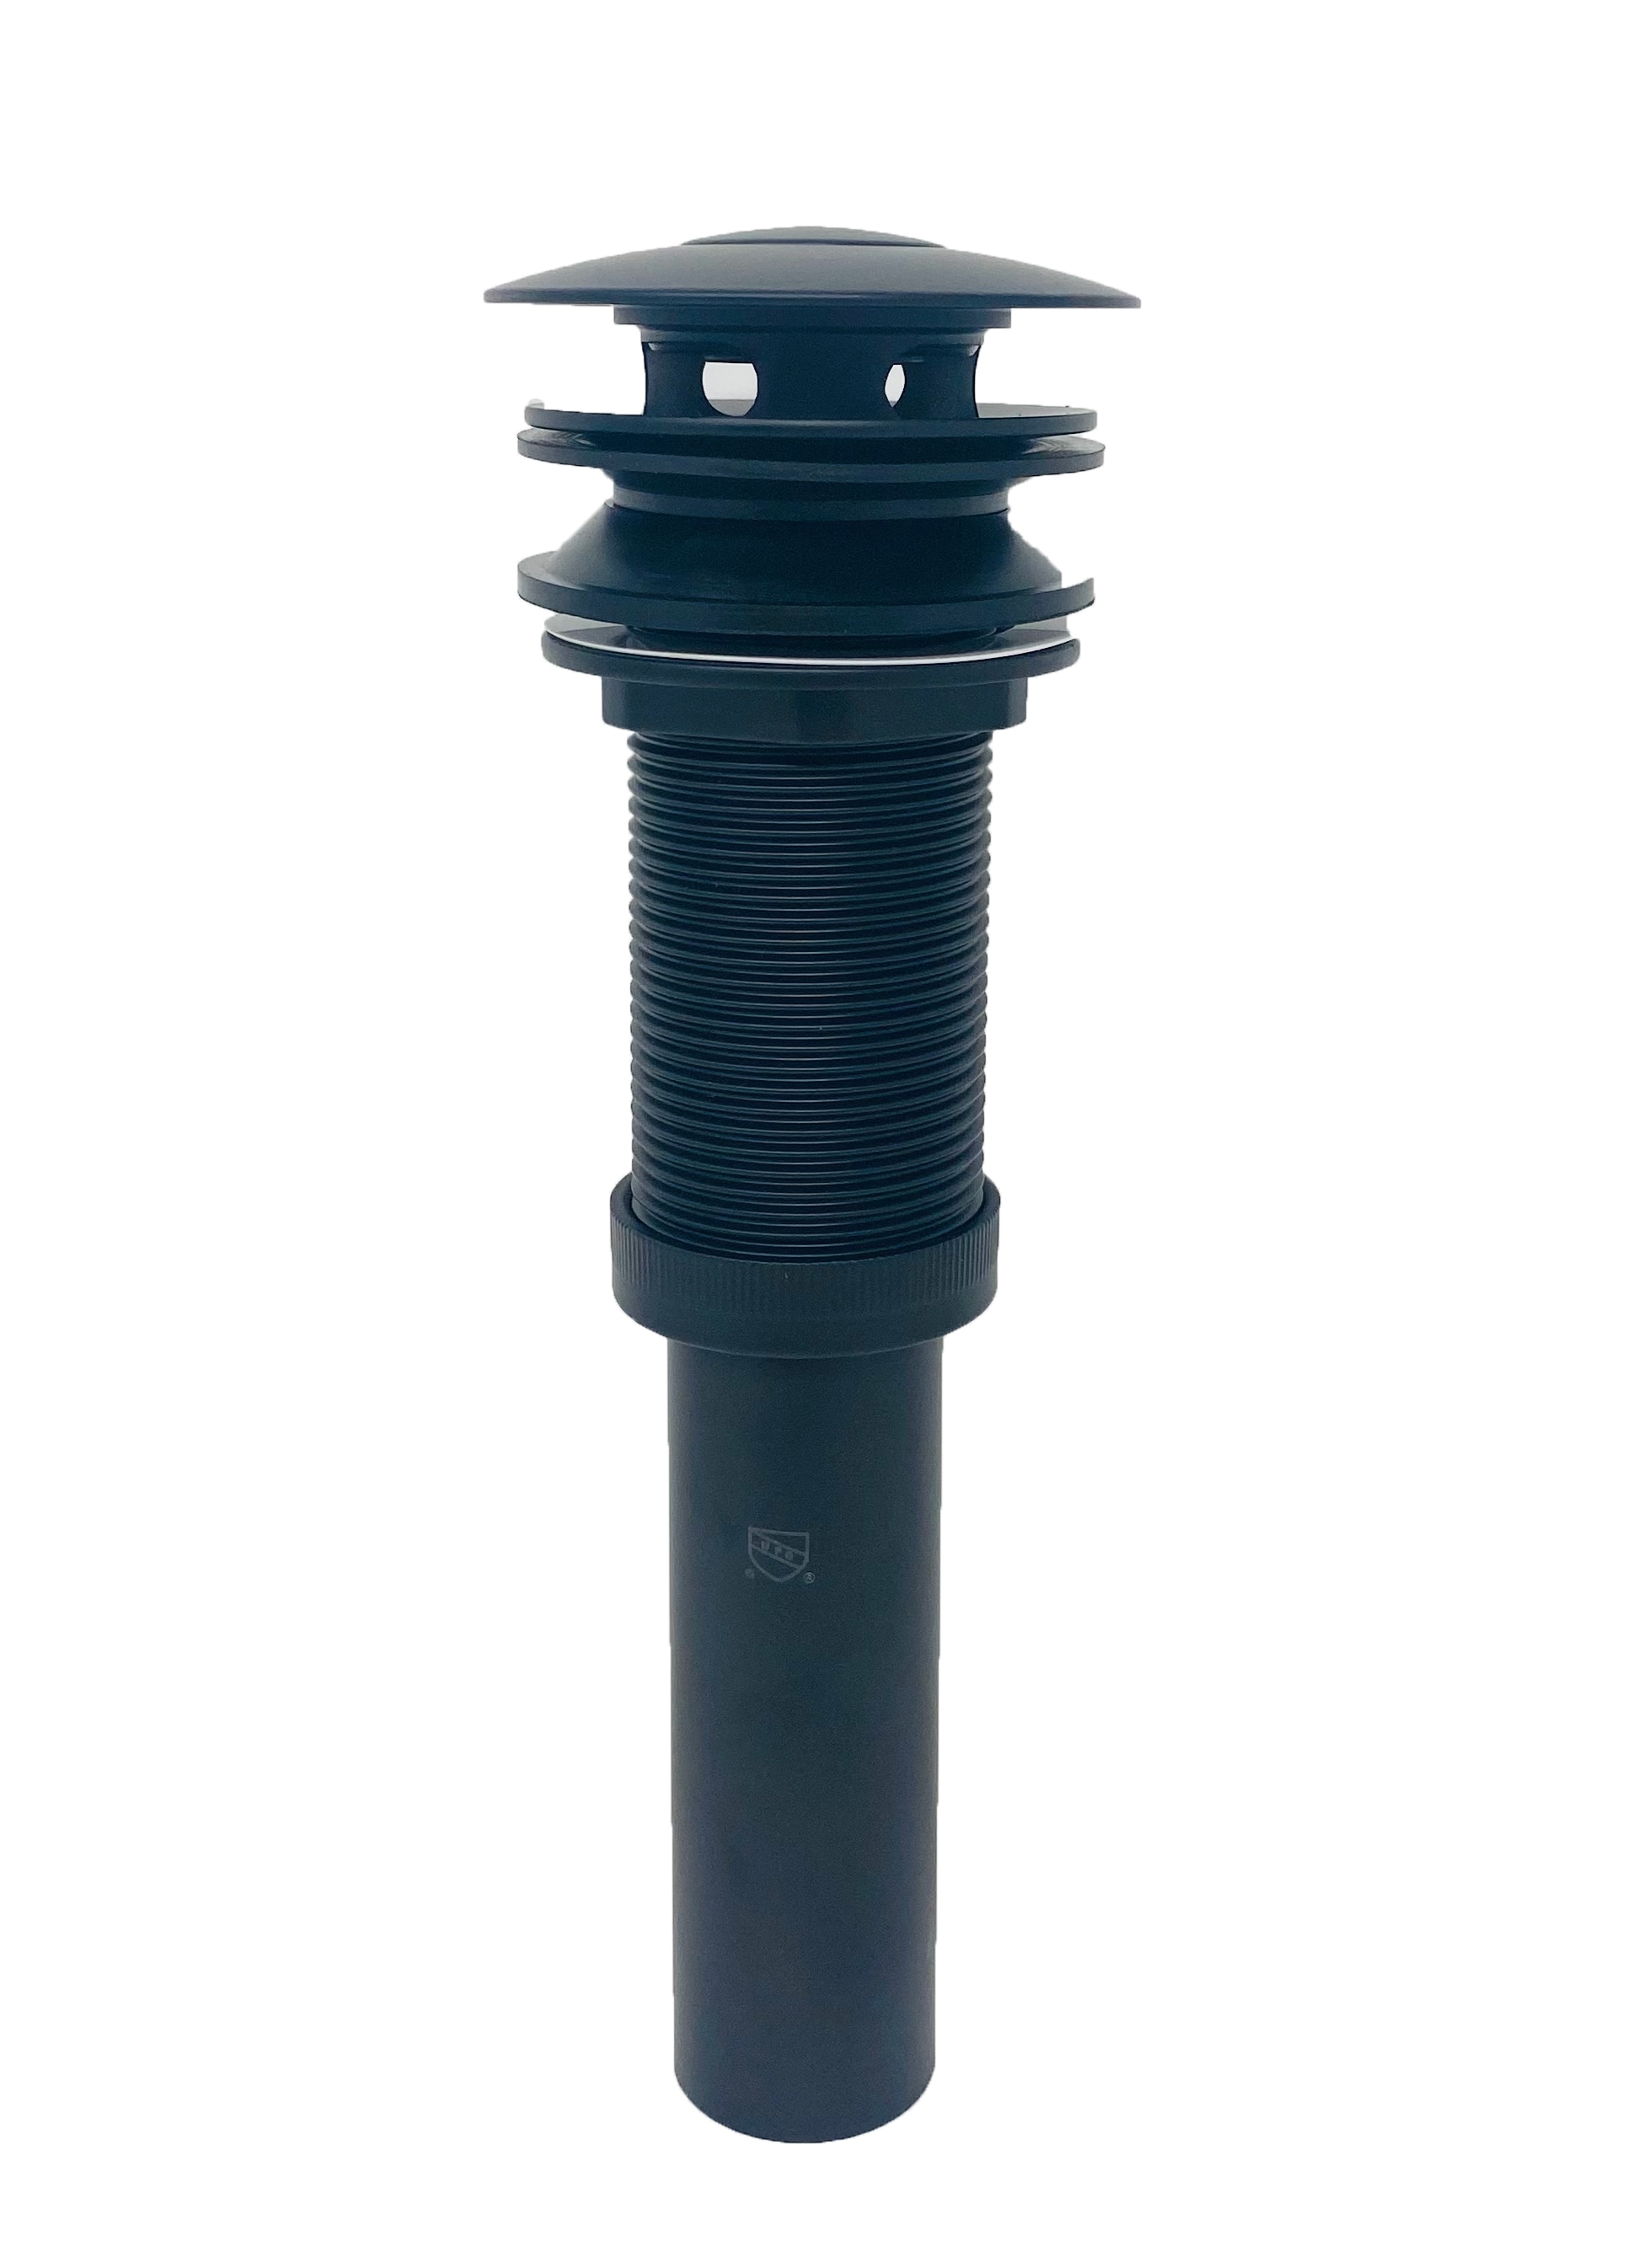
The bathroom sink drain assembly includes all the necessary parts to properly install a new drain. This typically includes the drain flange, drain body, and tailpiece. Make sure to check the compatibility of the assembly with your sink before purchasing.Bathroom Sink Drain Assembly


Bathroom Sink Drain Assembly


If you are only in need of a specific part for your bathroom sink drain, you can purchase individual parts instead of a full assembly. This can save you money and allow for more customization options.Bathroom Sink Drain Parts


Bathroom Sink Drain Parts


For those who are unsure of which parts they need for a bathroom sink drain installation, a kit can be a convenient option. These kits include all the necessary parts and are designed for easy installation. Now that you know how to install a bathroom sink drain, you can upgrade your sink and improve its functionality. Whether you are a DIY enthusiast or prefer to hire a professional, following these steps will ensure a successful installation.Bathroom Sink Drain Kit
Bathroom Sink Drain Kit


Installing a Bathroom Sink Drain: A Step-by-Step Guide

Are you looking to update your bathroom design? One simple yet effective way to do so is by installing a new bathroom sink. And while the thought of tackling a plumbing project may seem intimidating, installing a bathroom sink drain is a relatively simple process that can be done in just a few steps. So, roll up your sleeves and let's get started!

First things first, before you begin any installation, make sure you have all the necessary tools and materials. You will need a new sink drain assembly, plumber's putty, a wrench, plumber's tape, and a bucket for any excess water. It's also important to turn off the water supply to your sink before starting.
Step 1: Remove the old sink drain
The first step is to remove the old drain from your sink. Loosen the nuts that connect the drain to the bottom of the sink with a wrench. Once they are loose, you should be able to pull the drain out from the top of the sink.
Step 2: Clean the sink and drain hole
Before installing the new drain, clean the sink and the drain hole thoroughly. Use a mild cleaner and a cloth to remove any residue or debris.
Step 3: Apply plumber's putty
Next, take a small amount of plumber's putty and roll it into a snake-like shape. Place the putty around the edge of the drain hole on the sink. This will create a watertight seal between the sink and the drain.
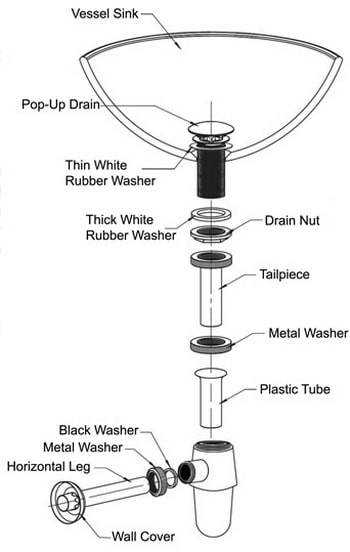
Step 4: Install the new drain
Insert the new drain into the sink hole and push it down firmly. From underneath the sink, place the rubber gasket and the metal washer over the drain and secure it in place with the nut provided. Use a wrench to tighten the nut and ensure a snug fit.
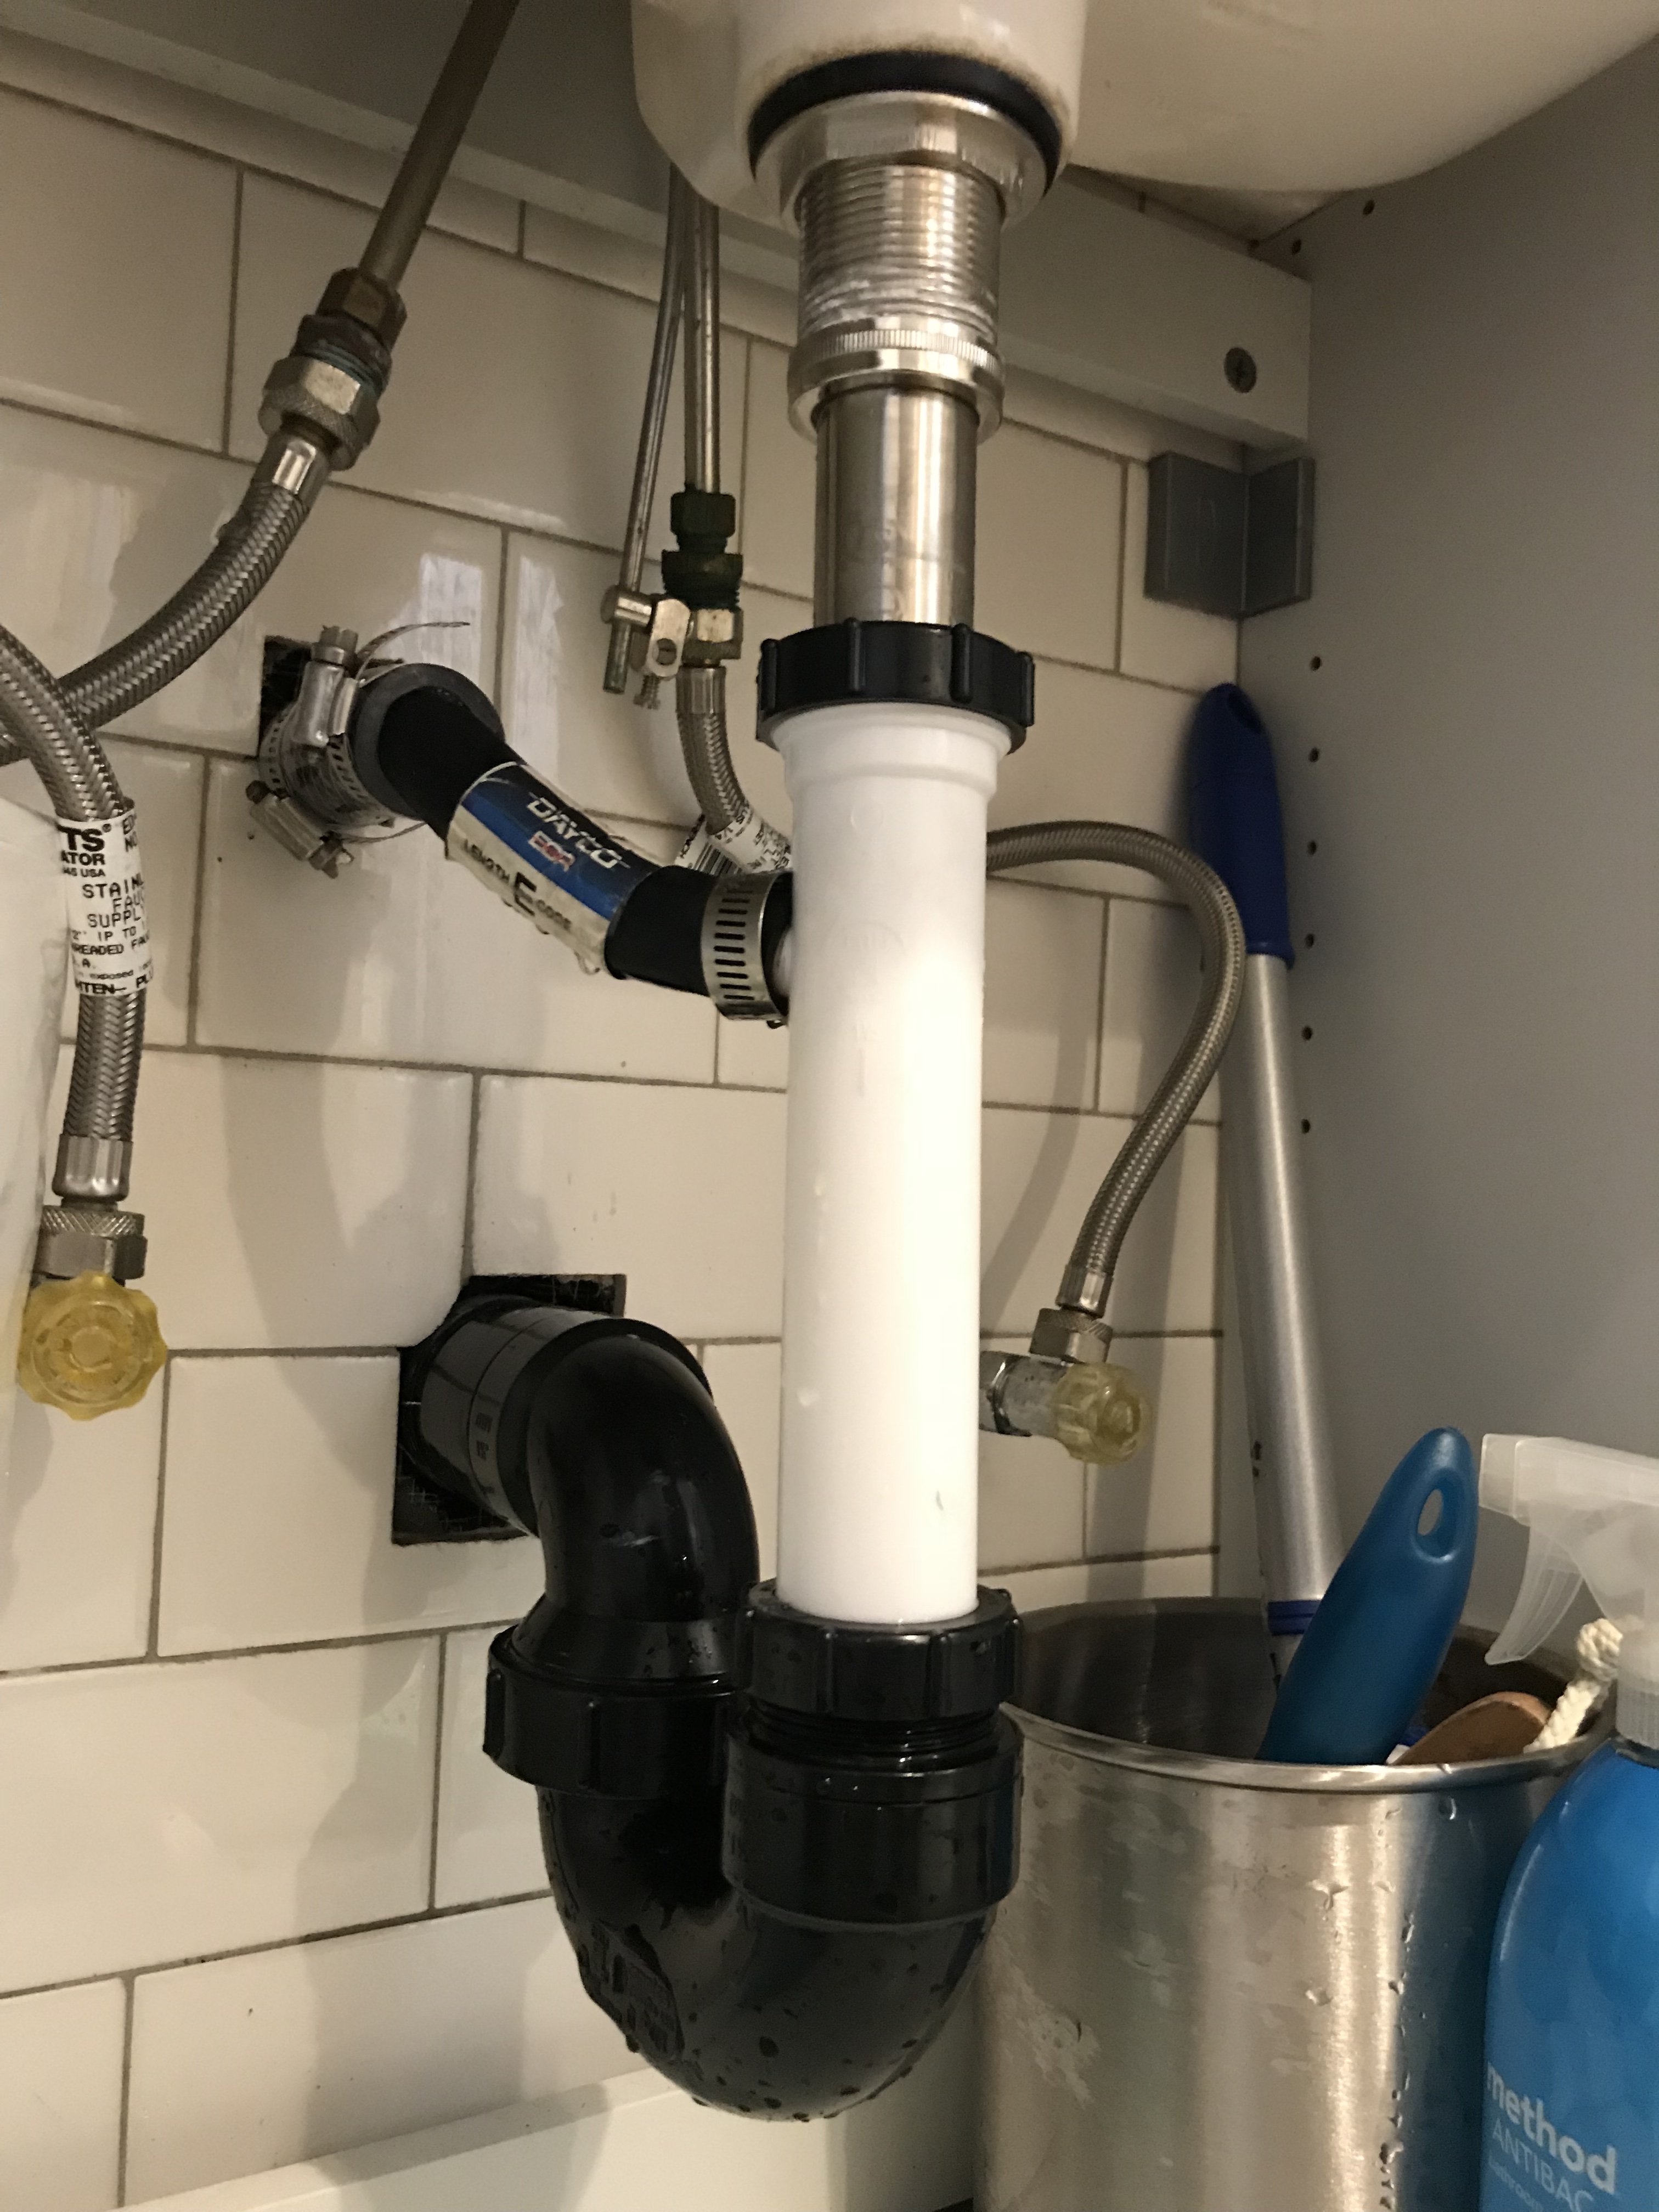
Step 5: Connect the trap
The next step is to connect the trap, which is the curved pipe that connects the drain to the main plumbing line. Use plumber's tape to wrap the threads on both ends of the trap to create a tight seal. Then, screw one end of the trap onto the bottom of the sink drain and the other end onto the main plumbing line.
Step 6: Turn on the water supply
Now that the new drain is installed, turn the water supply back on and let the water run for a few minutes. Check for any leaks and tighten any connections if necessary.
Step 7: Enjoy your new sink!
Congratulations, you have successfully installed a new bathroom sink drain! Take a step back and admire your handiwork. Not only does it function properly, but it also adds a fresh and updated look to your bathroom design.
While installing a bathroom sink drain may seem like a daunting task, with the right tools and following these simple steps, you can easily tackle this project and enhance the design of your bathroom. So go ahead and give it a try, and see the difference it can make in your space!