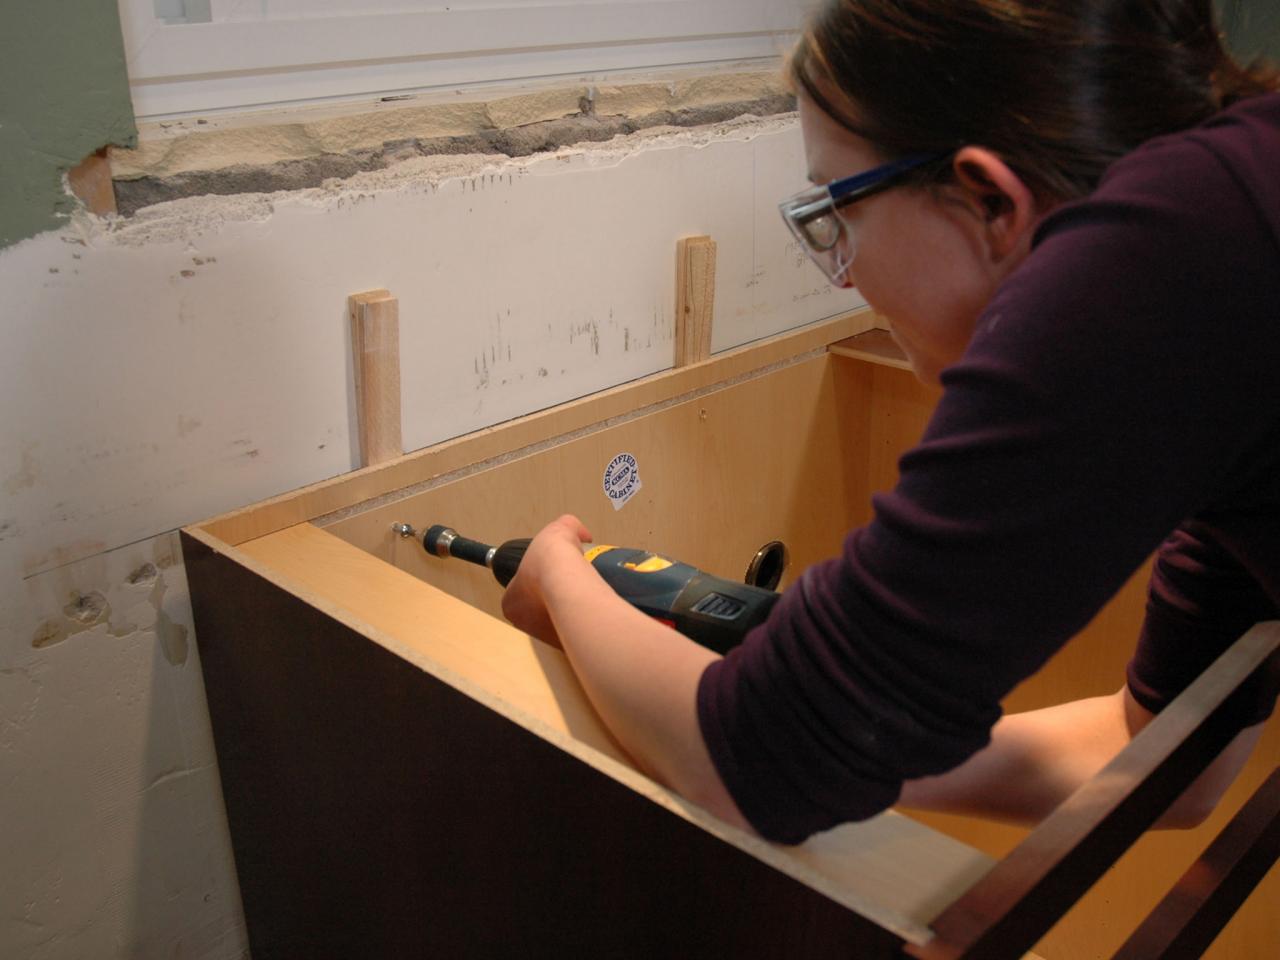
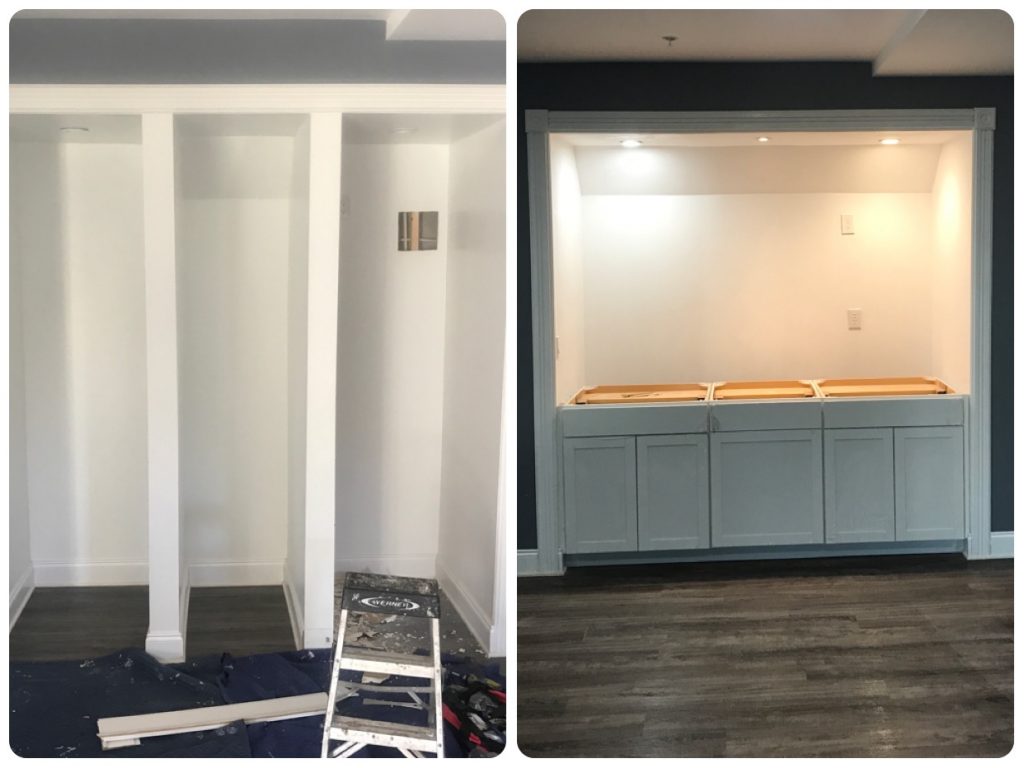
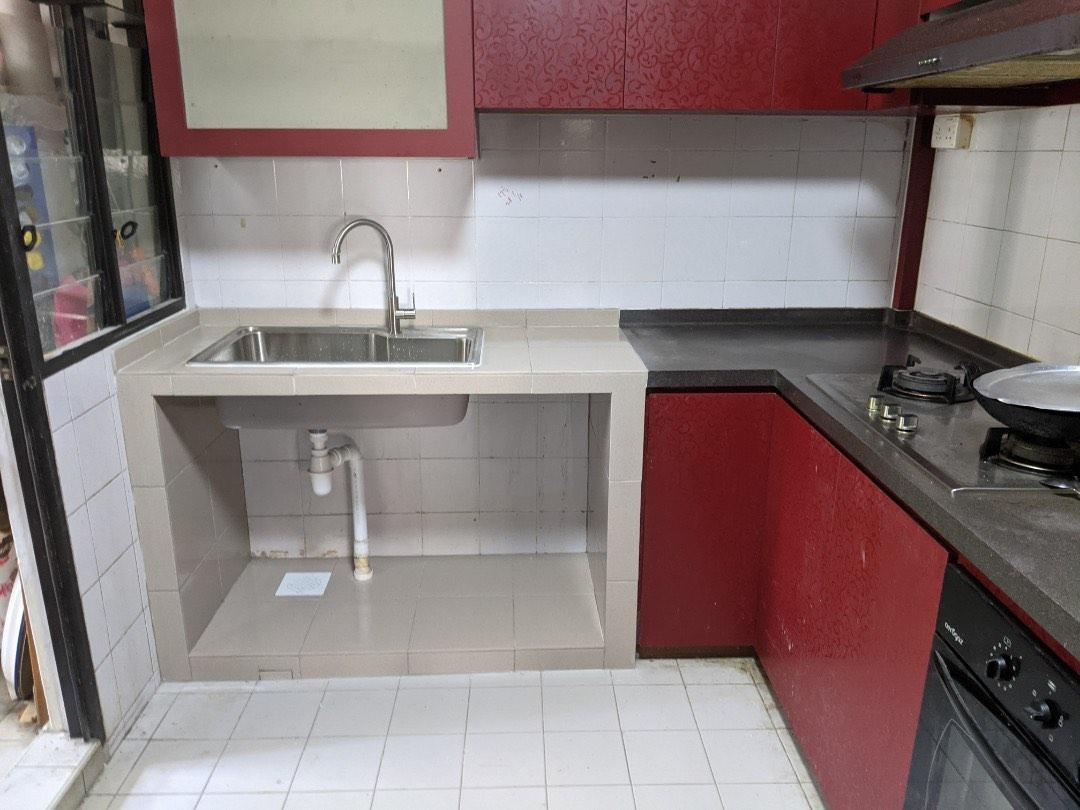
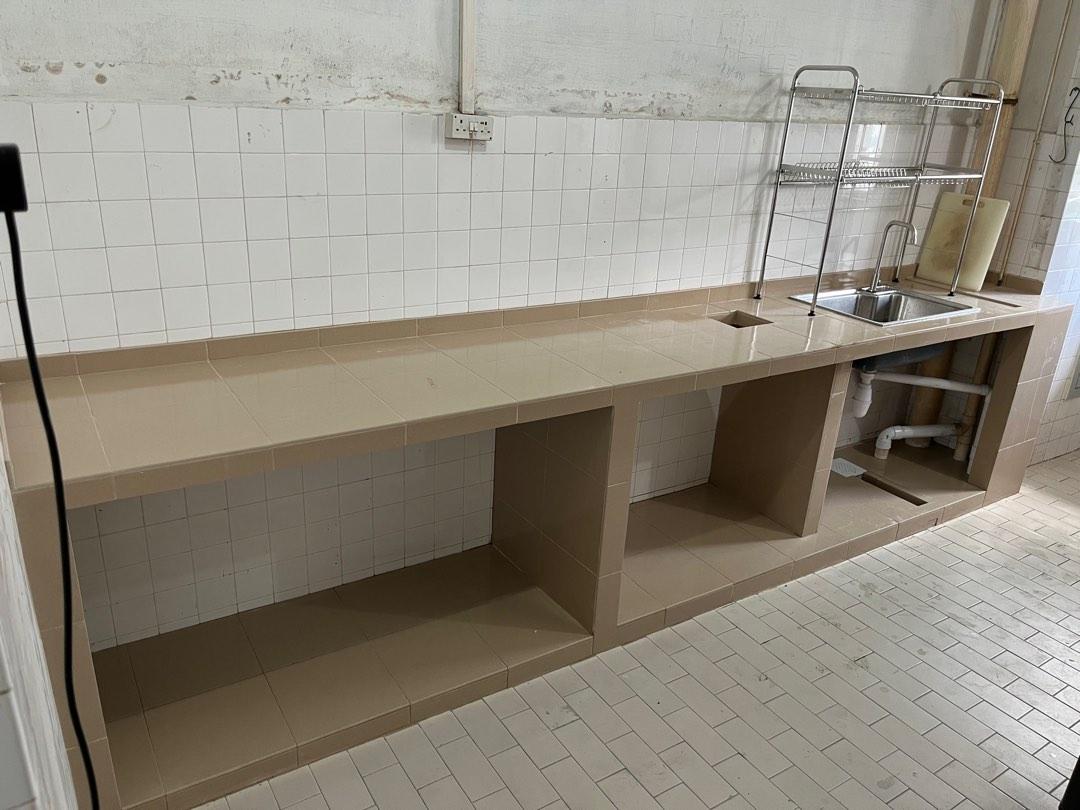
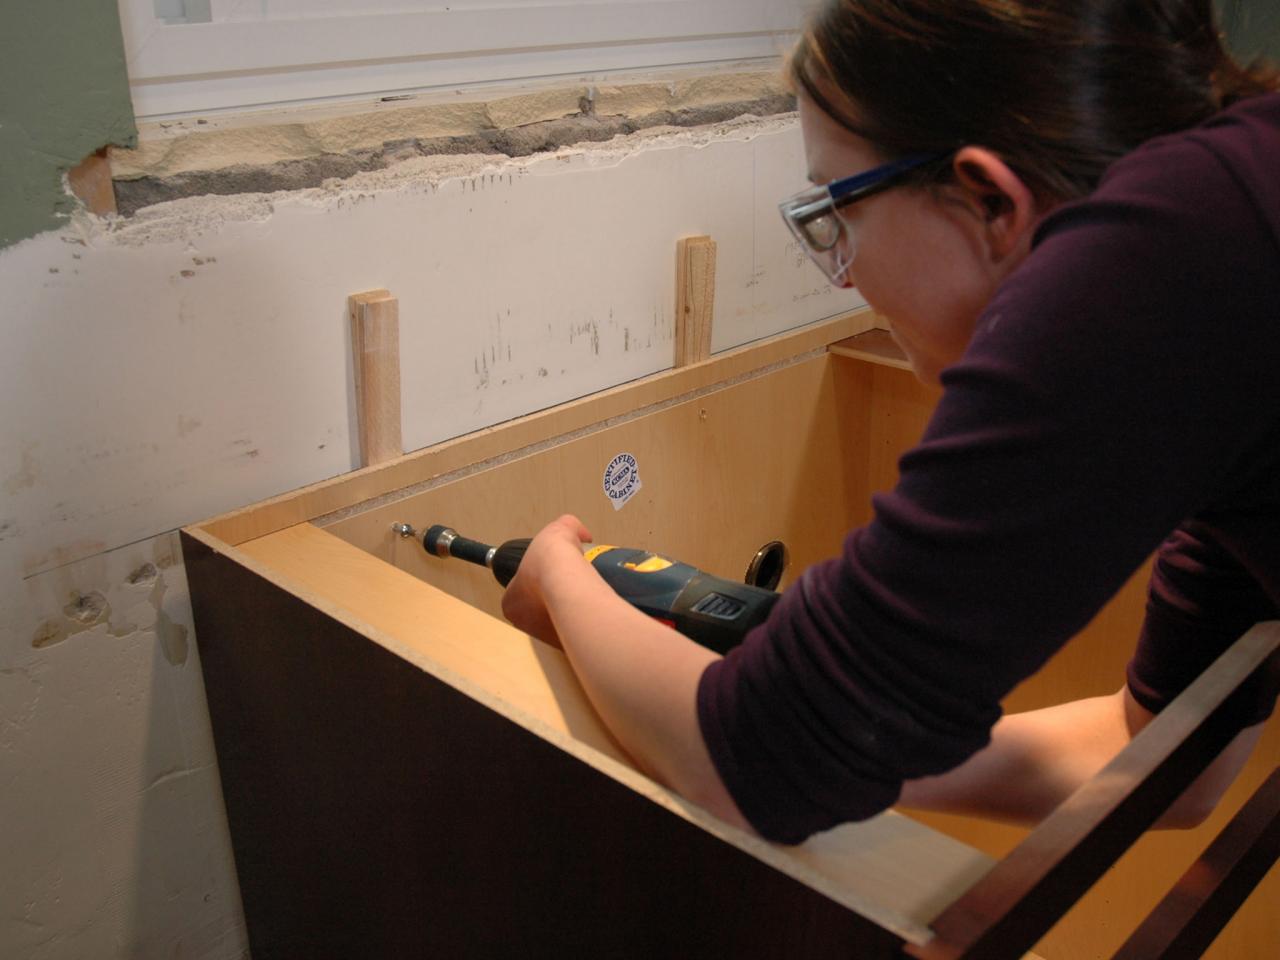
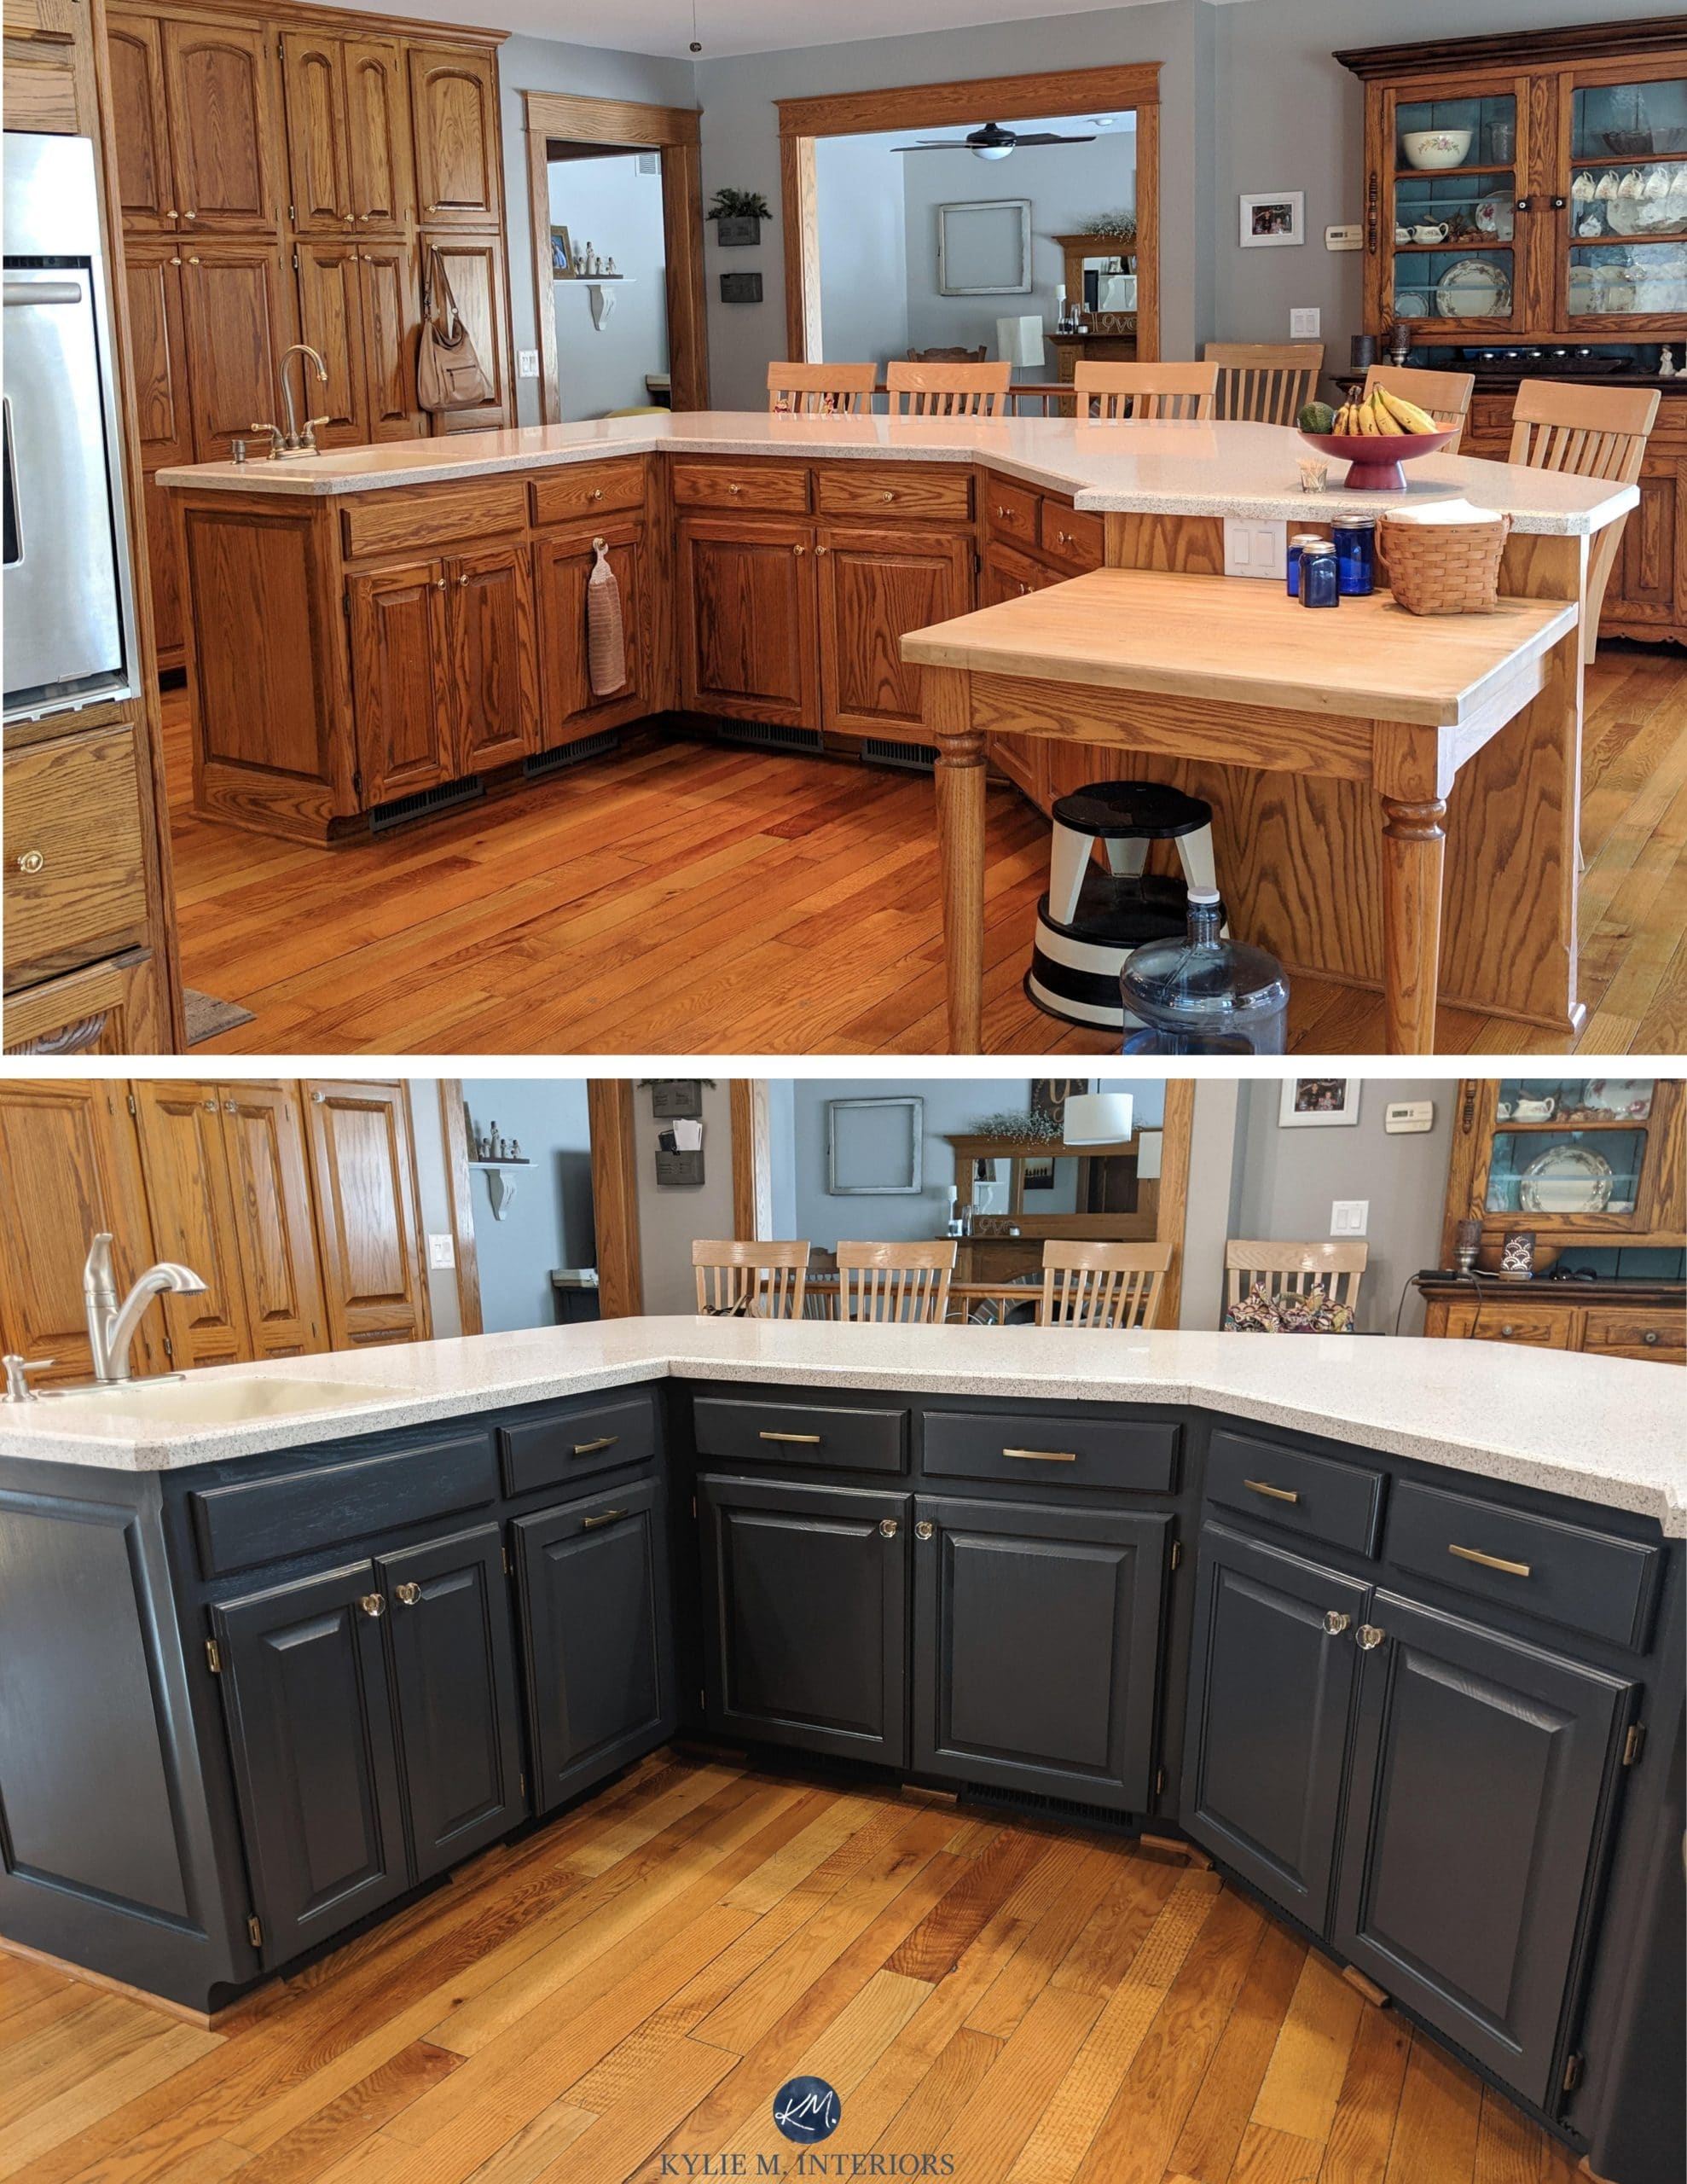
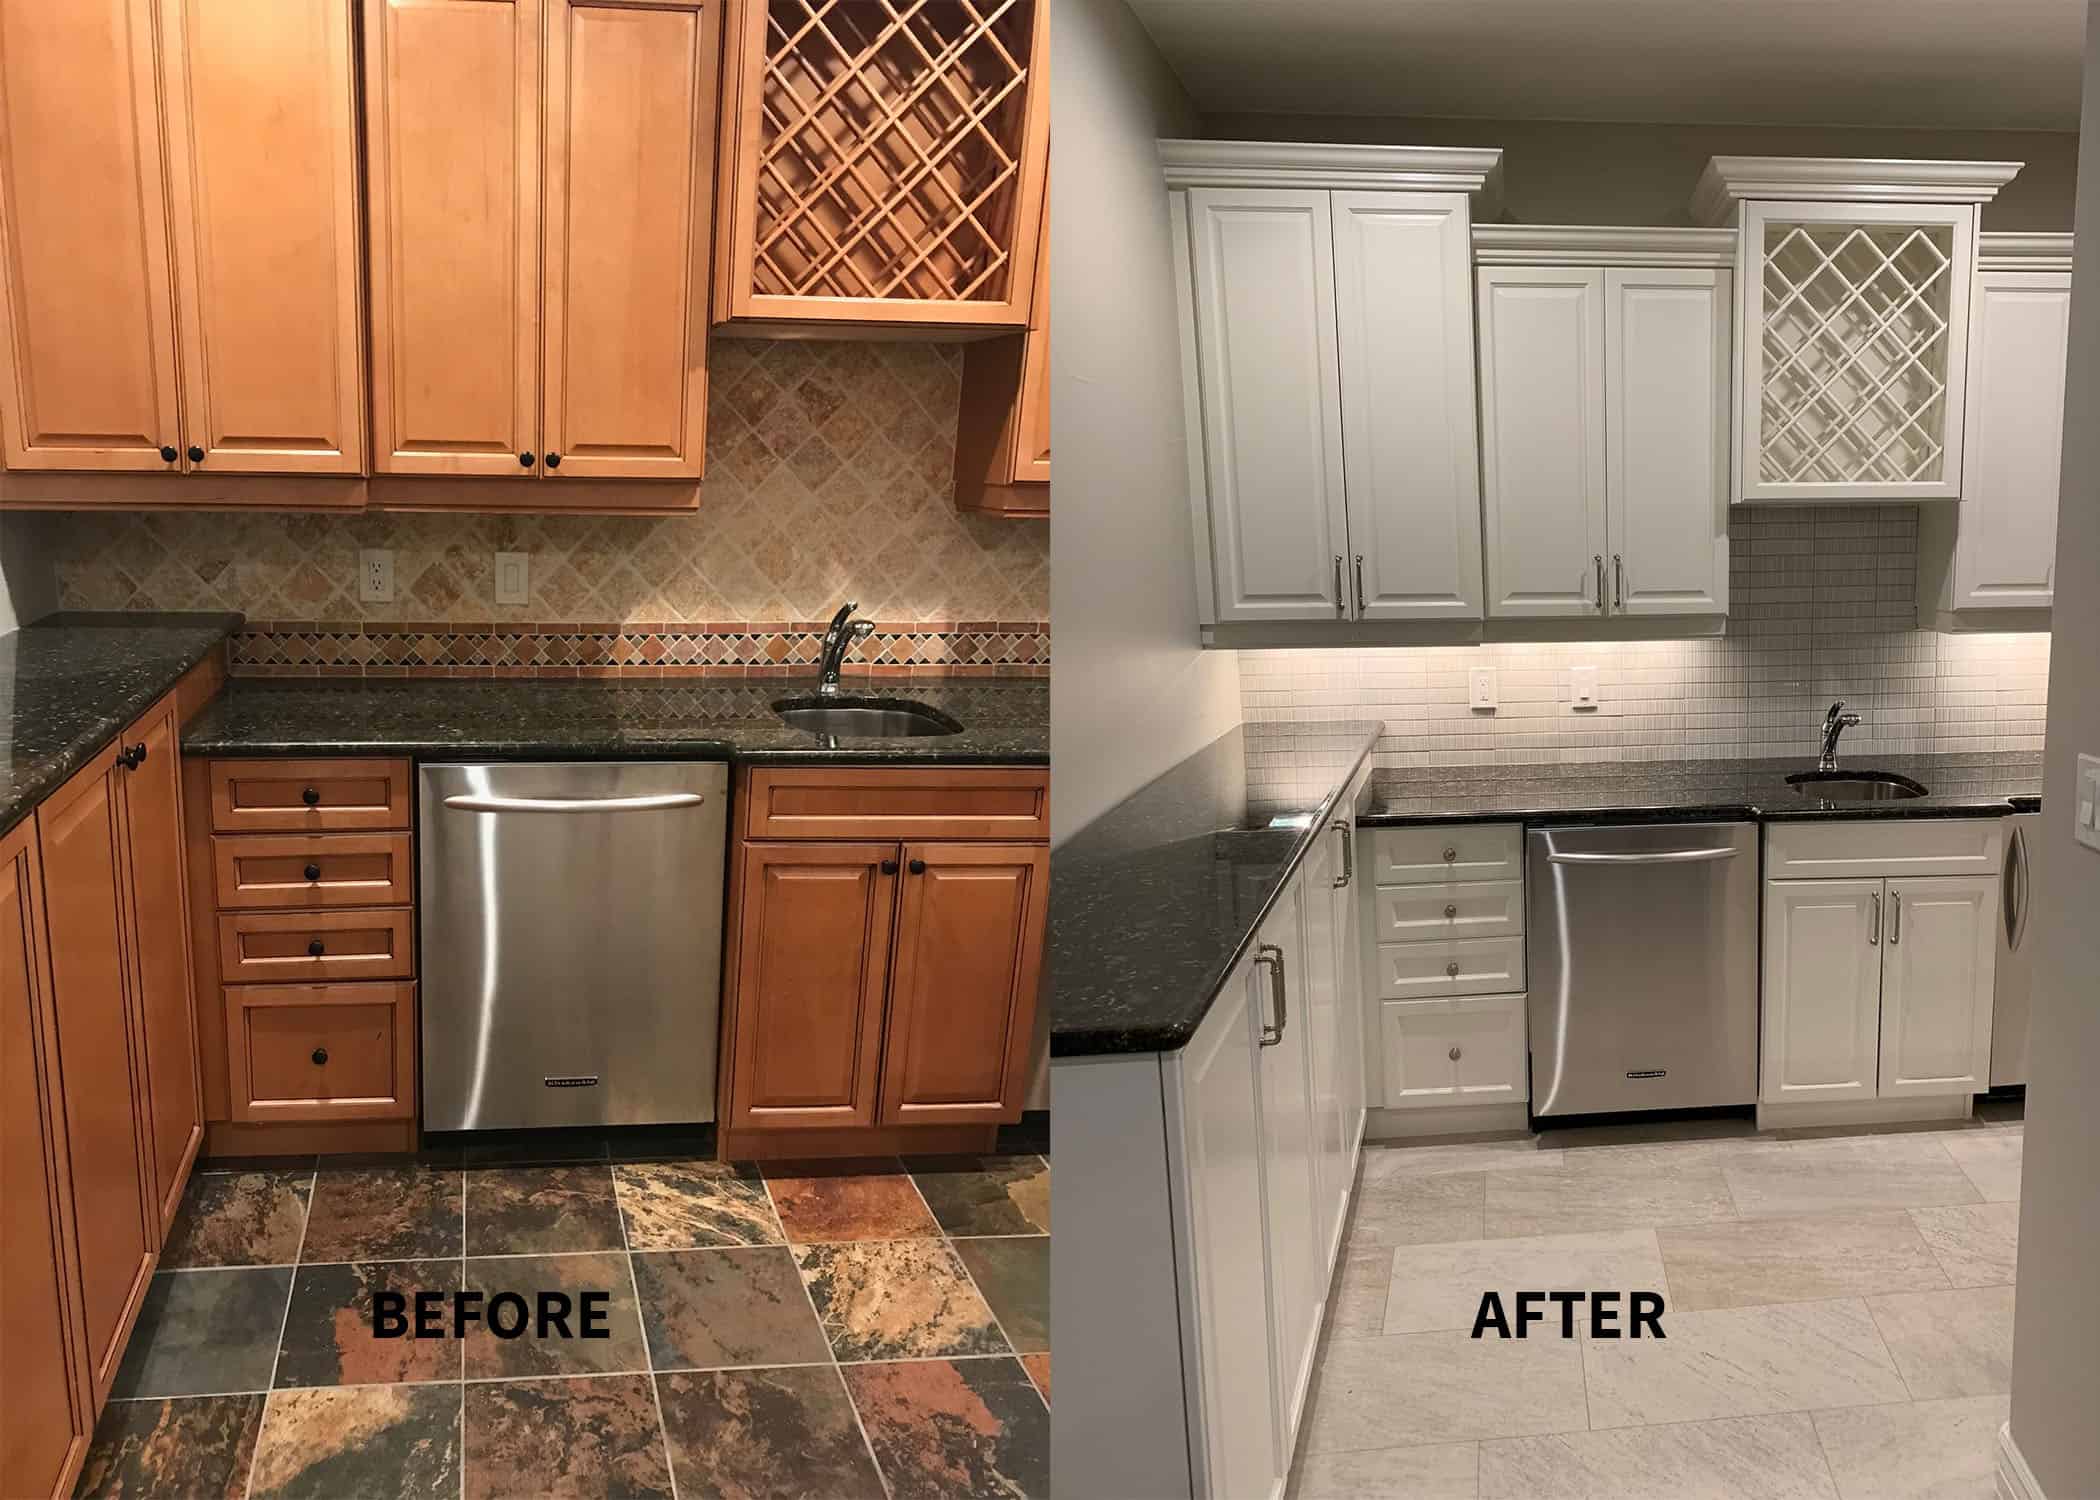
Before starting your kitchen cabinet installation, it is important to properly prepare your walls to ensure a smooth and successful process. By taking the time to prepare your walls, you can avoid any potential issues and ensure that your cabinets are installed securely and look great in your kitchen. Here are the steps for preparing your wall for kitchen cabinet installation:1. Preparing the Wall for Kitchen Cabinet Installation
The first step in preparing your wall for kitchen cabinet installation is to make sure it is clean and free of any debris. Use a damp cloth to wipe down the walls and remove any dust, dirt, or grease that may be present. This will ensure that the cabinets adhere properly to the wall and prevent any potential damage or problems in the future. Next, you will want to measure and mark the area where your cabinets will be installed. Use a pencil to mark the exact location of each cabinet on the wall. This will serve as a guide for the installation process and help ensure that your cabinets are level and evenly spaced.2. How to Prepare Your Wall for Kitchen Cabinets
Once your walls are clean and you have marked the location of your cabinets, it’s time to prepare the surface for installation. If you have drywall, make sure to fill in any holes or imperfections with spackling paste and sand it down until the surface is smooth. For plaster walls, use a plaster patching compound to fill in any cracks or holes and sand it down as well. If you have concrete walls, you may need to use a masonry drill to create holes for the screws that will hold the cabinets in place. For tile or wallpapered walls, it is important to remove any excess or loose pieces before proceeding with the installation.3. Steps for Preparing Your Wall for Kitchen Cabinet Installation
When preparing your walls for kitchen cabinet installation, it is important to make sure that the surface is level and even. Use a level to check for any unevenness and make any necessary adjustments. This will prevent your cabinets from being crooked or off-balance. Additionally, it is important to make sure that the walls are sturdy enough to support the weight of the cabinets. If you have any concerns, you may want to reinforce the walls with additional support, such as brackets or anchors.4. Tips for Preparing Your Wall for Kitchen Cabinet Installation
Drywall is a common type of wall material found in many homes. When preparing drywall for kitchen cabinet installation, it is important to make sure that it is in good condition and free of any damage. If there are any holes or imperfections, fill them in with spackling paste and sand it down until smooth. It is also important to make sure that the drywall is firmly attached to the wall studs. If there are any loose areas, use drywall screws to secure the drywall to the studs and prevent any movement.5. Preparing Drywall for Kitchen Cabinet Installation
Plaster walls can be a bit more delicate than drywall, so it is important to handle them with care when preparing for kitchen cabinet installation. Start by inspecting the walls for any cracks or holes and filling them in with a plaster patching compound. To ensure that your cabinets stay securely in place, it is recommended to use a masonry drill and anchors to attach the cabinets to the wall. This will provide extra support and prevent any potential issues in the future.6. Preparing Plaster Walls for Kitchen Cabinet Installation
Concrete walls are a strong and sturdy surface for kitchen cabinet installation, but they may require a bit more effort to prepare. Use a masonry drill to create holes for the screws that will hold the cabinets in place. It is also important to make sure that the concrete is clean and free of any debris. Use a wire brush to remove any loose particles and wipe down the surface with a damp cloth.7. Preparing Concrete Walls for Kitchen Cabinet Installation
If you have tiled walls in your kitchen, it is important to take extra care when preparing them for cabinet installation. Use a tile cutter to remove any excess or loose tiles that may interfere with the cabinets. Make sure to also remove any adhesive or grout that may be in the way. Once the surface is clear, use a masonry drill to create holes for the screws. It is important to use anchors to secure the cabinets to the tile walls to ensure they stay in place.8. Preparing Tile Walls for Kitchen Cabinet Installation
Wallpaper can add a nice touch to a kitchen, but it can also present a challenge when installing cabinets. Before installing your cabinets, make sure to remove any excess or loose pieces of wallpaper. It is also important to make sure that the wallpaper is firmly attached to the wall. If there are any areas that are peeling or loose, use wallpaper adhesive to secure them before proceeding with the installation.9. Preparing Wallpapered Walls for Kitchen Cabinet Installation
Painted walls are a popular choice for kitchens and can provide a nice backdrop for your cabinets. When preparing painted walls for installation, make sure to fill in any holes or imperfections with spackling paste and sand it down until smooth. It is also important to make sure that the paint is completely dry before proceeding with the installation. If the paint is still wet, it may not adhere properly and could cause issues with your cabinets in the future. With these tips and steps, you can properly prepare your walls for kitchen cabinet installation and ensure a successful and hassle-free process. By taking the time to prepare your walls, you can have peace of mind knowing that your cabinets will be securely installed and look great in your kitchen for years to come.10. Preparing Painted Walls for Kitchen Cabinet Installation
Choosing the Right Wall for Your Kitchen Cabinets
The Importance of Proper Wall Preparation for Kitchen Cabinets
 When it comes to designing your dream kitchen, one of the most important factors to consider is the placement and installation of your kitchen cabinets. Not only do they provide essential storage space, but they also play a significant role in the overall aesthetic of your kitchen. However, before you can start installing your cabinets, it is crucial to properly prepare your walls to ensure a smooth and secure installation process.
Why is wall preparation important?
Proper wall preparation is crucial for a successful kitchen cabinet installation for several reasons. Firstly, it ensures that your cabinets are securely attached to the wall, preventing any potential accidents or damage. It also helps to create a level surface for your cabinets, ensuring that they are evenly and correctly aligned. Additionally, proper wall preparation can also help to prevent any future issues, such as cracking or shifting of the cabinets.
Steps for Preparing Your Wall for Kitchen Cabinets
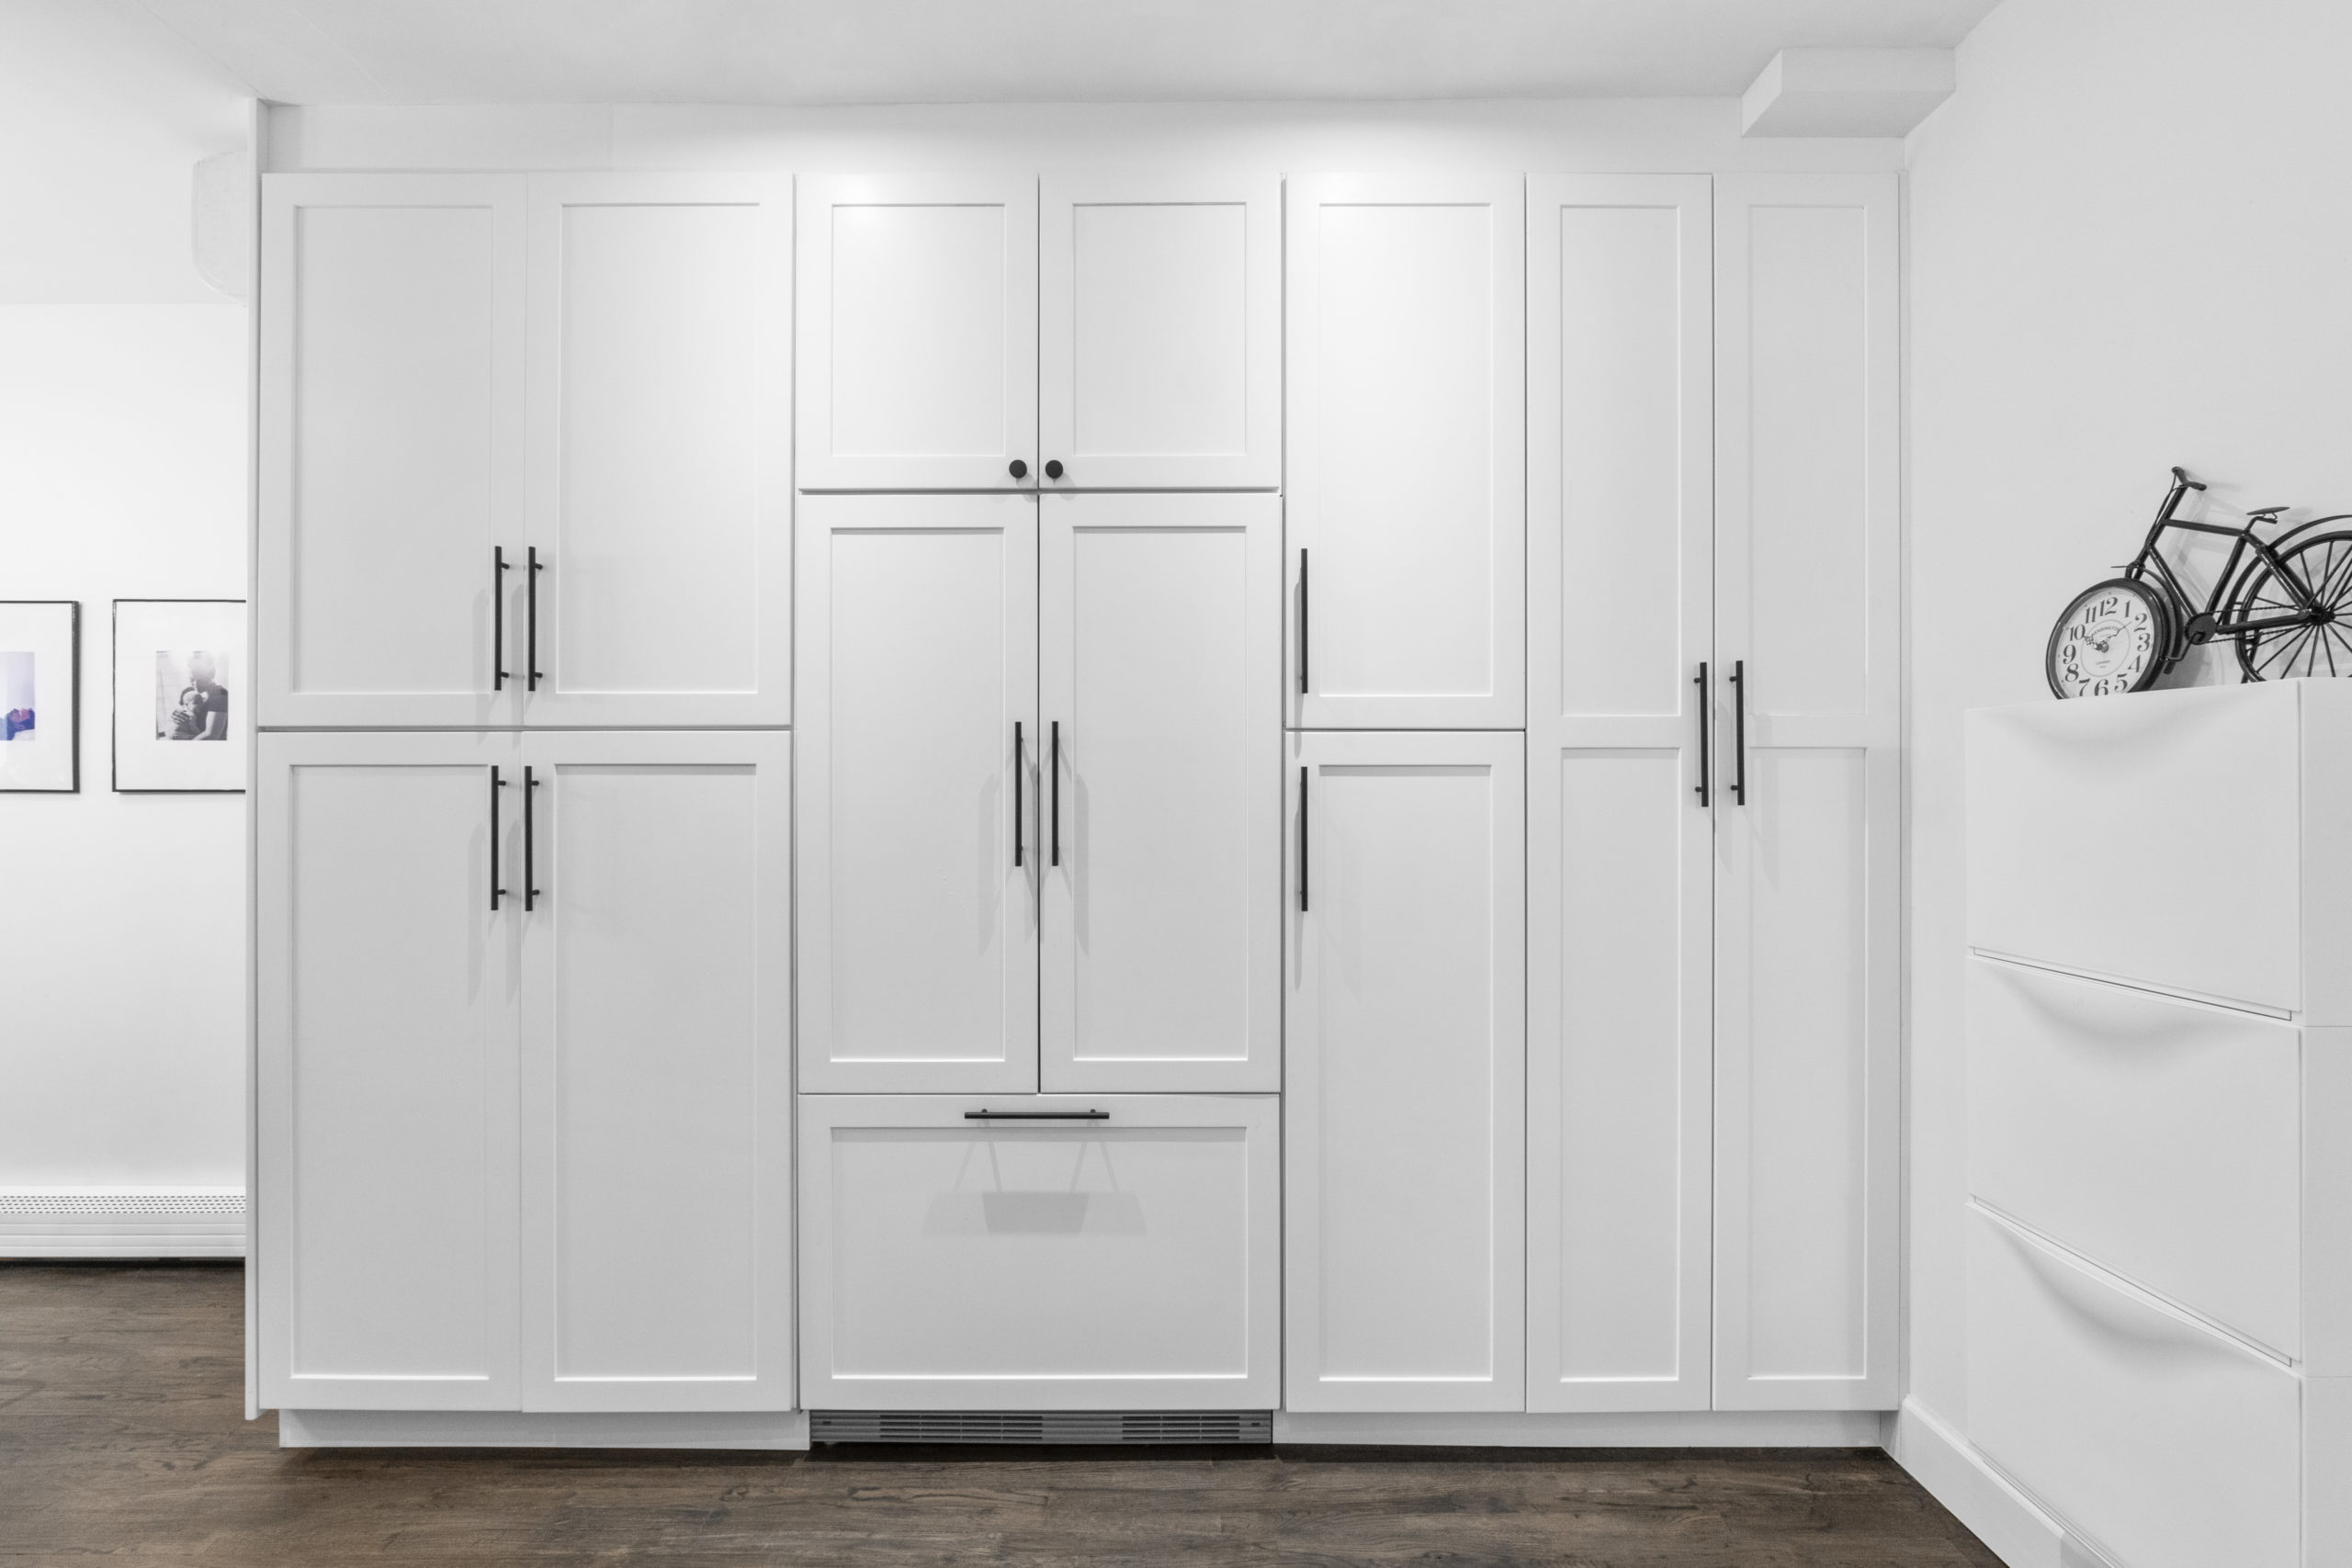 Step 1: Clear the Area
Before you begin preparing your walls, make sure to clear the area of any obstacles. Remove any existing cabinets, appliances, or furniture that may be in the way. This will provide you with a clear and open workspace to work with.
Step 2: Inspect the Wall
Once the area is clear, take the time to inspect your wall. Look for any cracks, holes, or unevenness that may need to be addressed before installing your cabinets. If you notice any issues, be sure to fix them before proceeding.
Step 3: Clean the Wall
It is essential to clean your wall thoroughly before starting the preparation process. Use a mild detergent and warm water to remove any dirt, grease, or residue that may be present. This will ensure that the surface is clean and ready for the next steps.
Step 4: Fill in Holes and Cracks
Using a spackling compound, fill in any holes or cracks in the wall. Smooth out the compound with a putty knife and let it dry completely. Once dry, sand down the surface to create a smooth and even finish.
Step 5: Sand the Wall
To create a smooth and even surface for your cabinets, it is crucial to sand the wall. This will also help to remove any remaining residue or imperfections on the wall.
Step 6: Prime the Wall
Before painting your walls, it is recommended to prime them first. This will help to create a smooth and even surface for the paint to adhere to.
Step 7: Paint the Wall
Finally, it's time to paint your walls. Choose a high-quality paint that is suitable for kitchen walls and apply at least two coats for a professional finish.
In Conclusion
 Properly preparing your walls for kitchen cabinets is a crucial step in the design and installation process. By following these steps, you can ensure that your cabinets are securely and correctly installed, creating a beautiful and functional space in your kitchen. Remember to take your time and be thorough in your preparation for the best results.


