If you're thinking of giving your kitchen a fresh coat of paint, you might be facing the challenge of dealing with greasy walls. Over time, cooking oils and food splatters can build up on your kitchen walls, making it difficult for paint to adhere properly. But don't worry, with the right cleaning and prep work, you can easily prepare your greasy kitchen walls for painting. Here are 10 steps to follow for a successful painting project.How to Prepare a Greasy Kitchen Wall for Painting


How to Prepare a Greasy Kitchen Wall for Painting


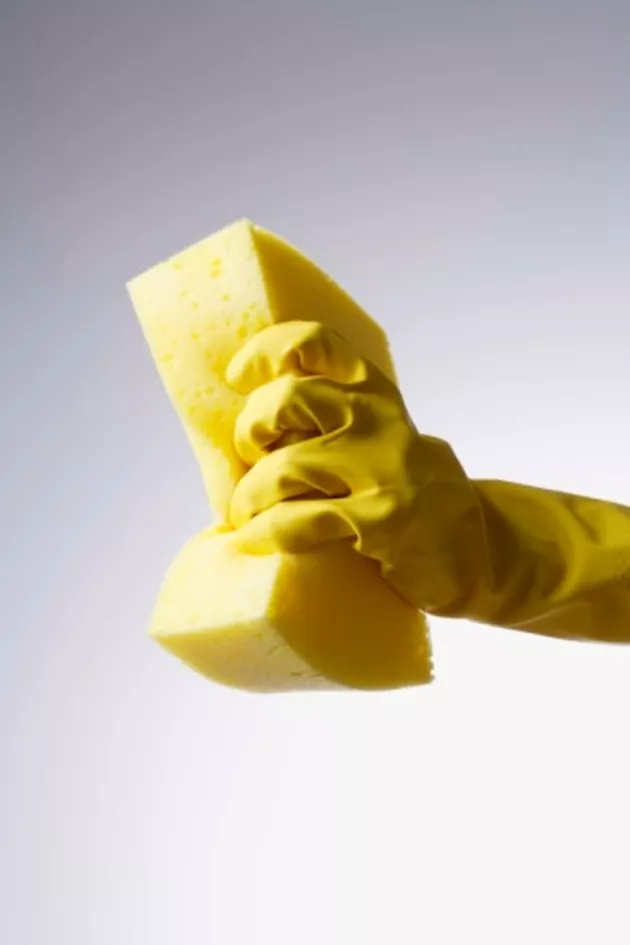
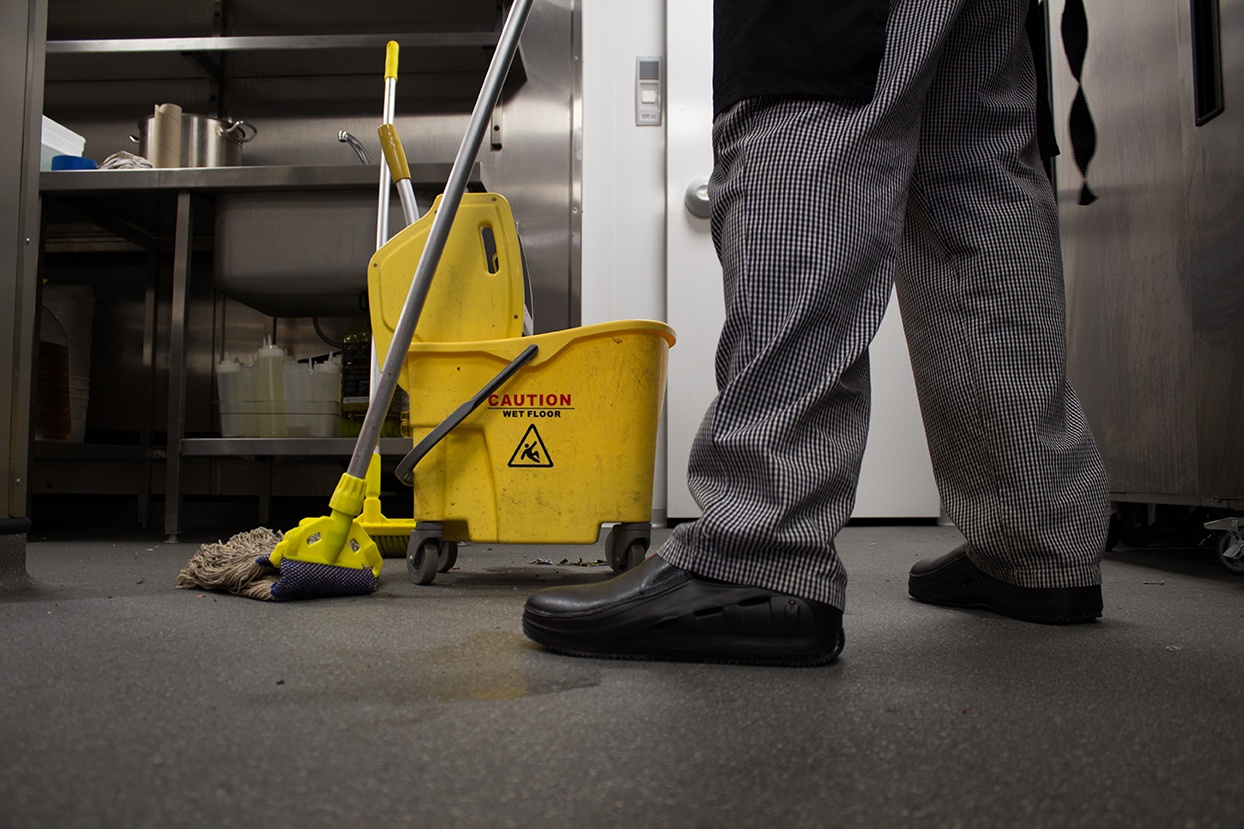
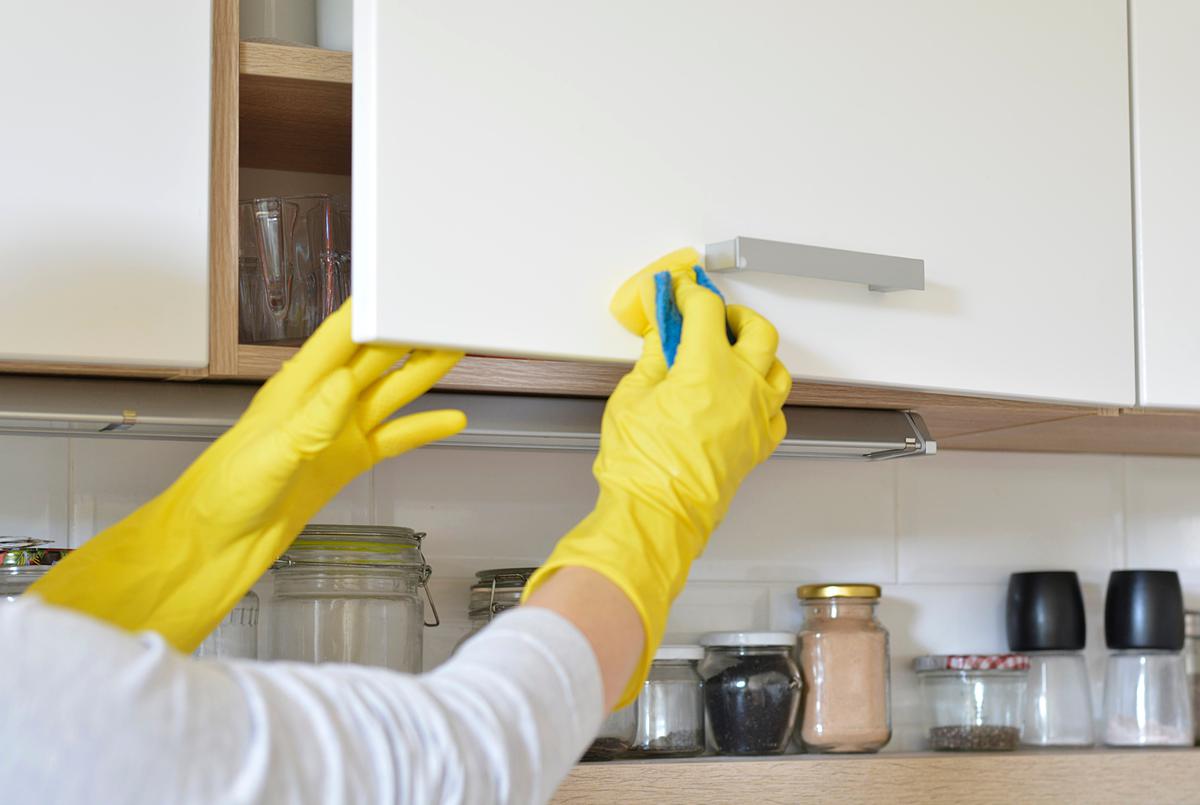
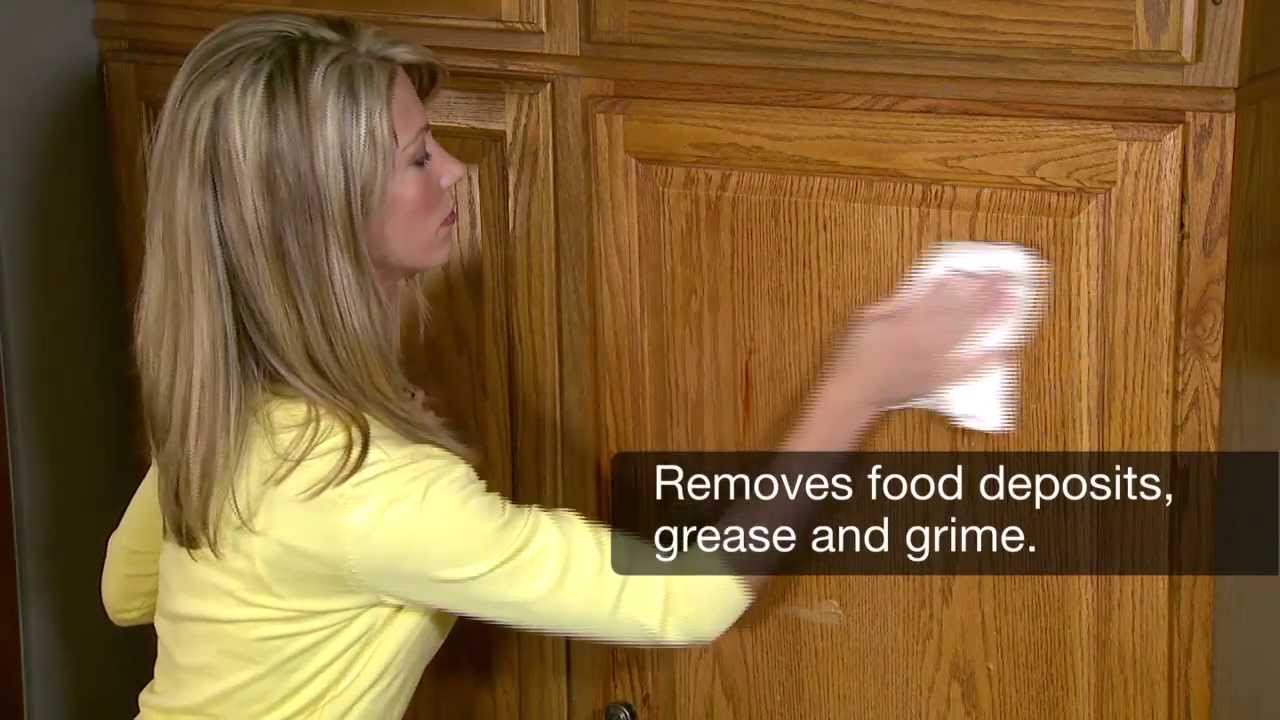
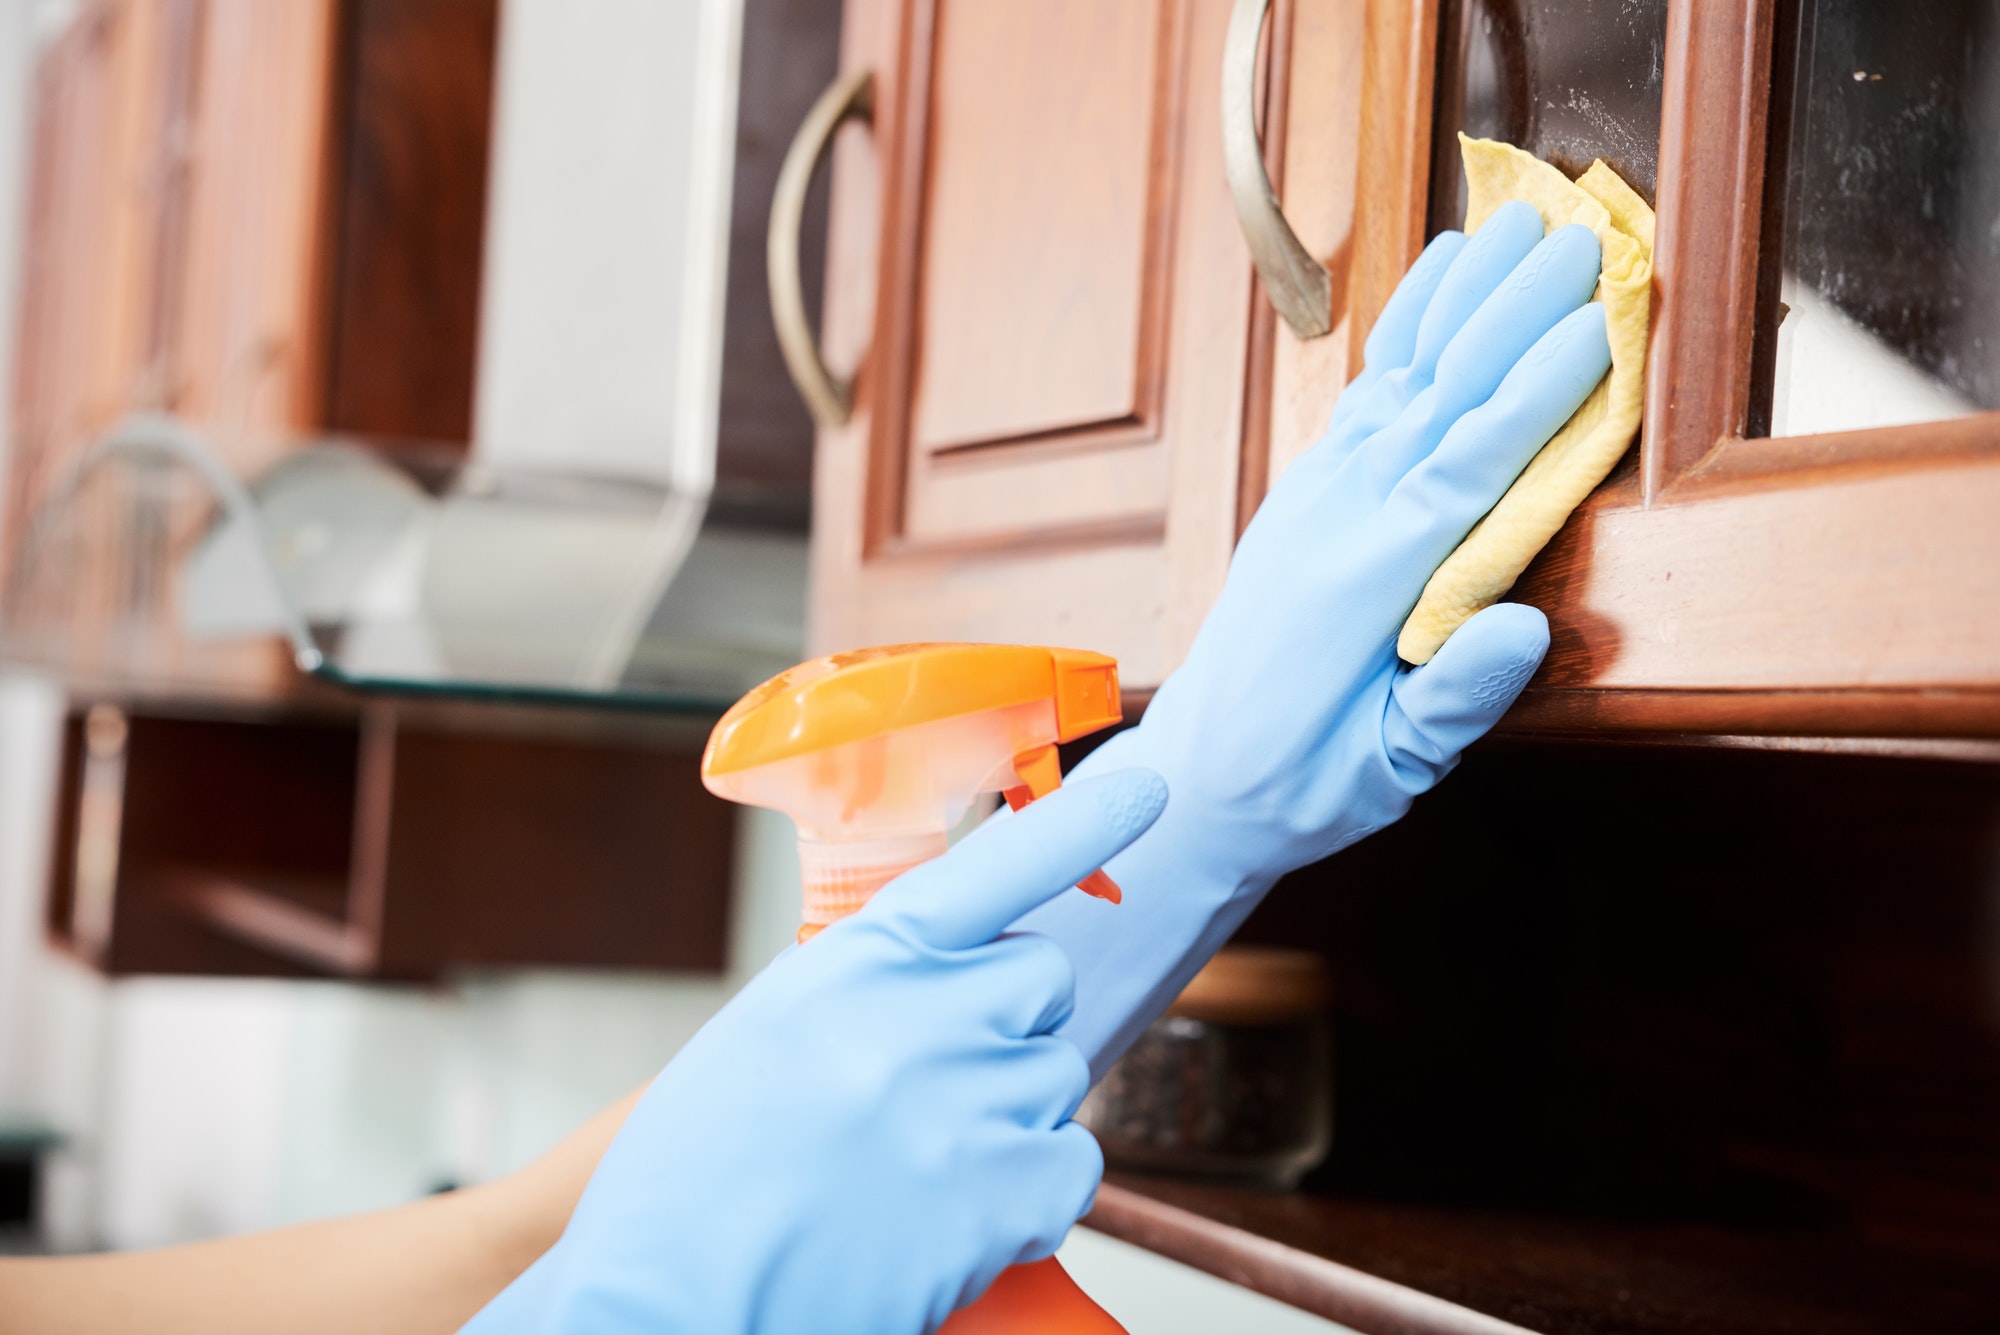
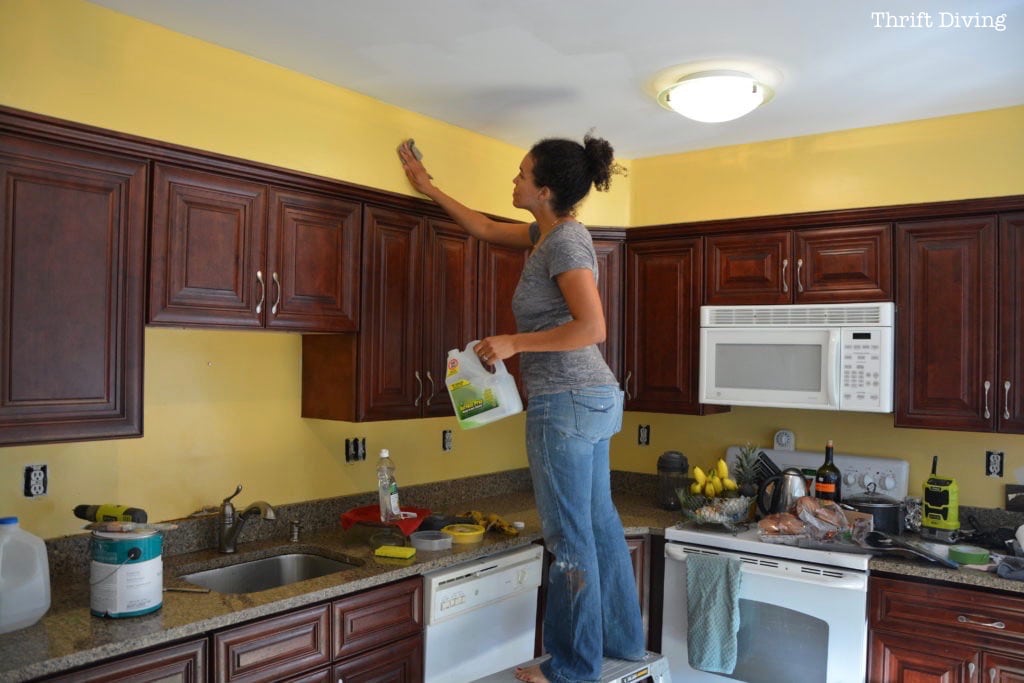
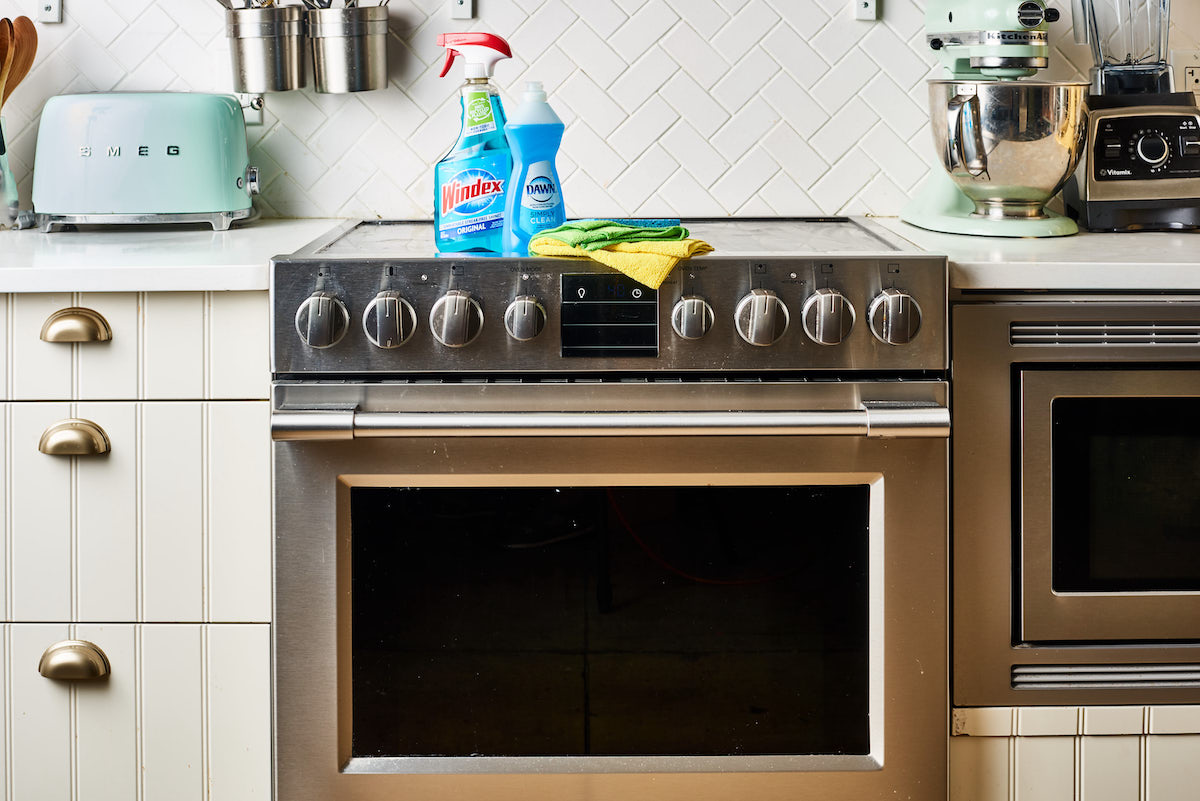
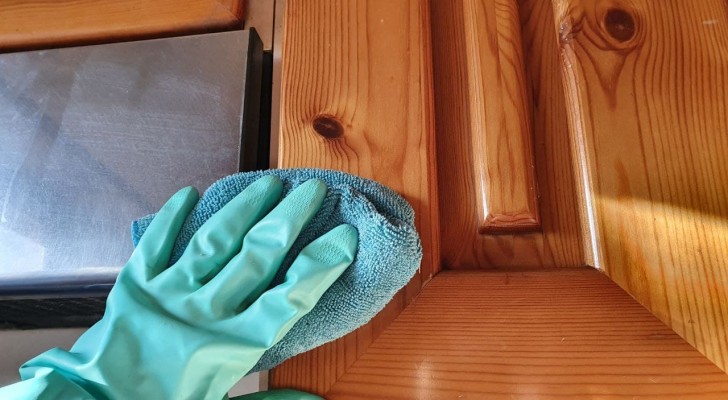
The first step in preparing a greasy kitchen wall for painting is to clean it thoroughly. This will ensure that the paint will stick properly and give you a smooth finish. Begin by removing any loose debris or dirt from the wall with a dry cloth or vacuum cleaner. This will prevent dirt from getting trapped under the paint. Next, mix warm water with a mild dish soap or all-purpose cleaner in a bucket. Use a sponge or soft cloth to scrub the walls in a circular motion, paying extra attention to any greasy areas. Rinse the walls with clean water and let them dry completely before moving on to the next step.How to Clean a Greasy Kitchen Wall for Painting

How to Clean a Greasy Kitchen Wall for Painting


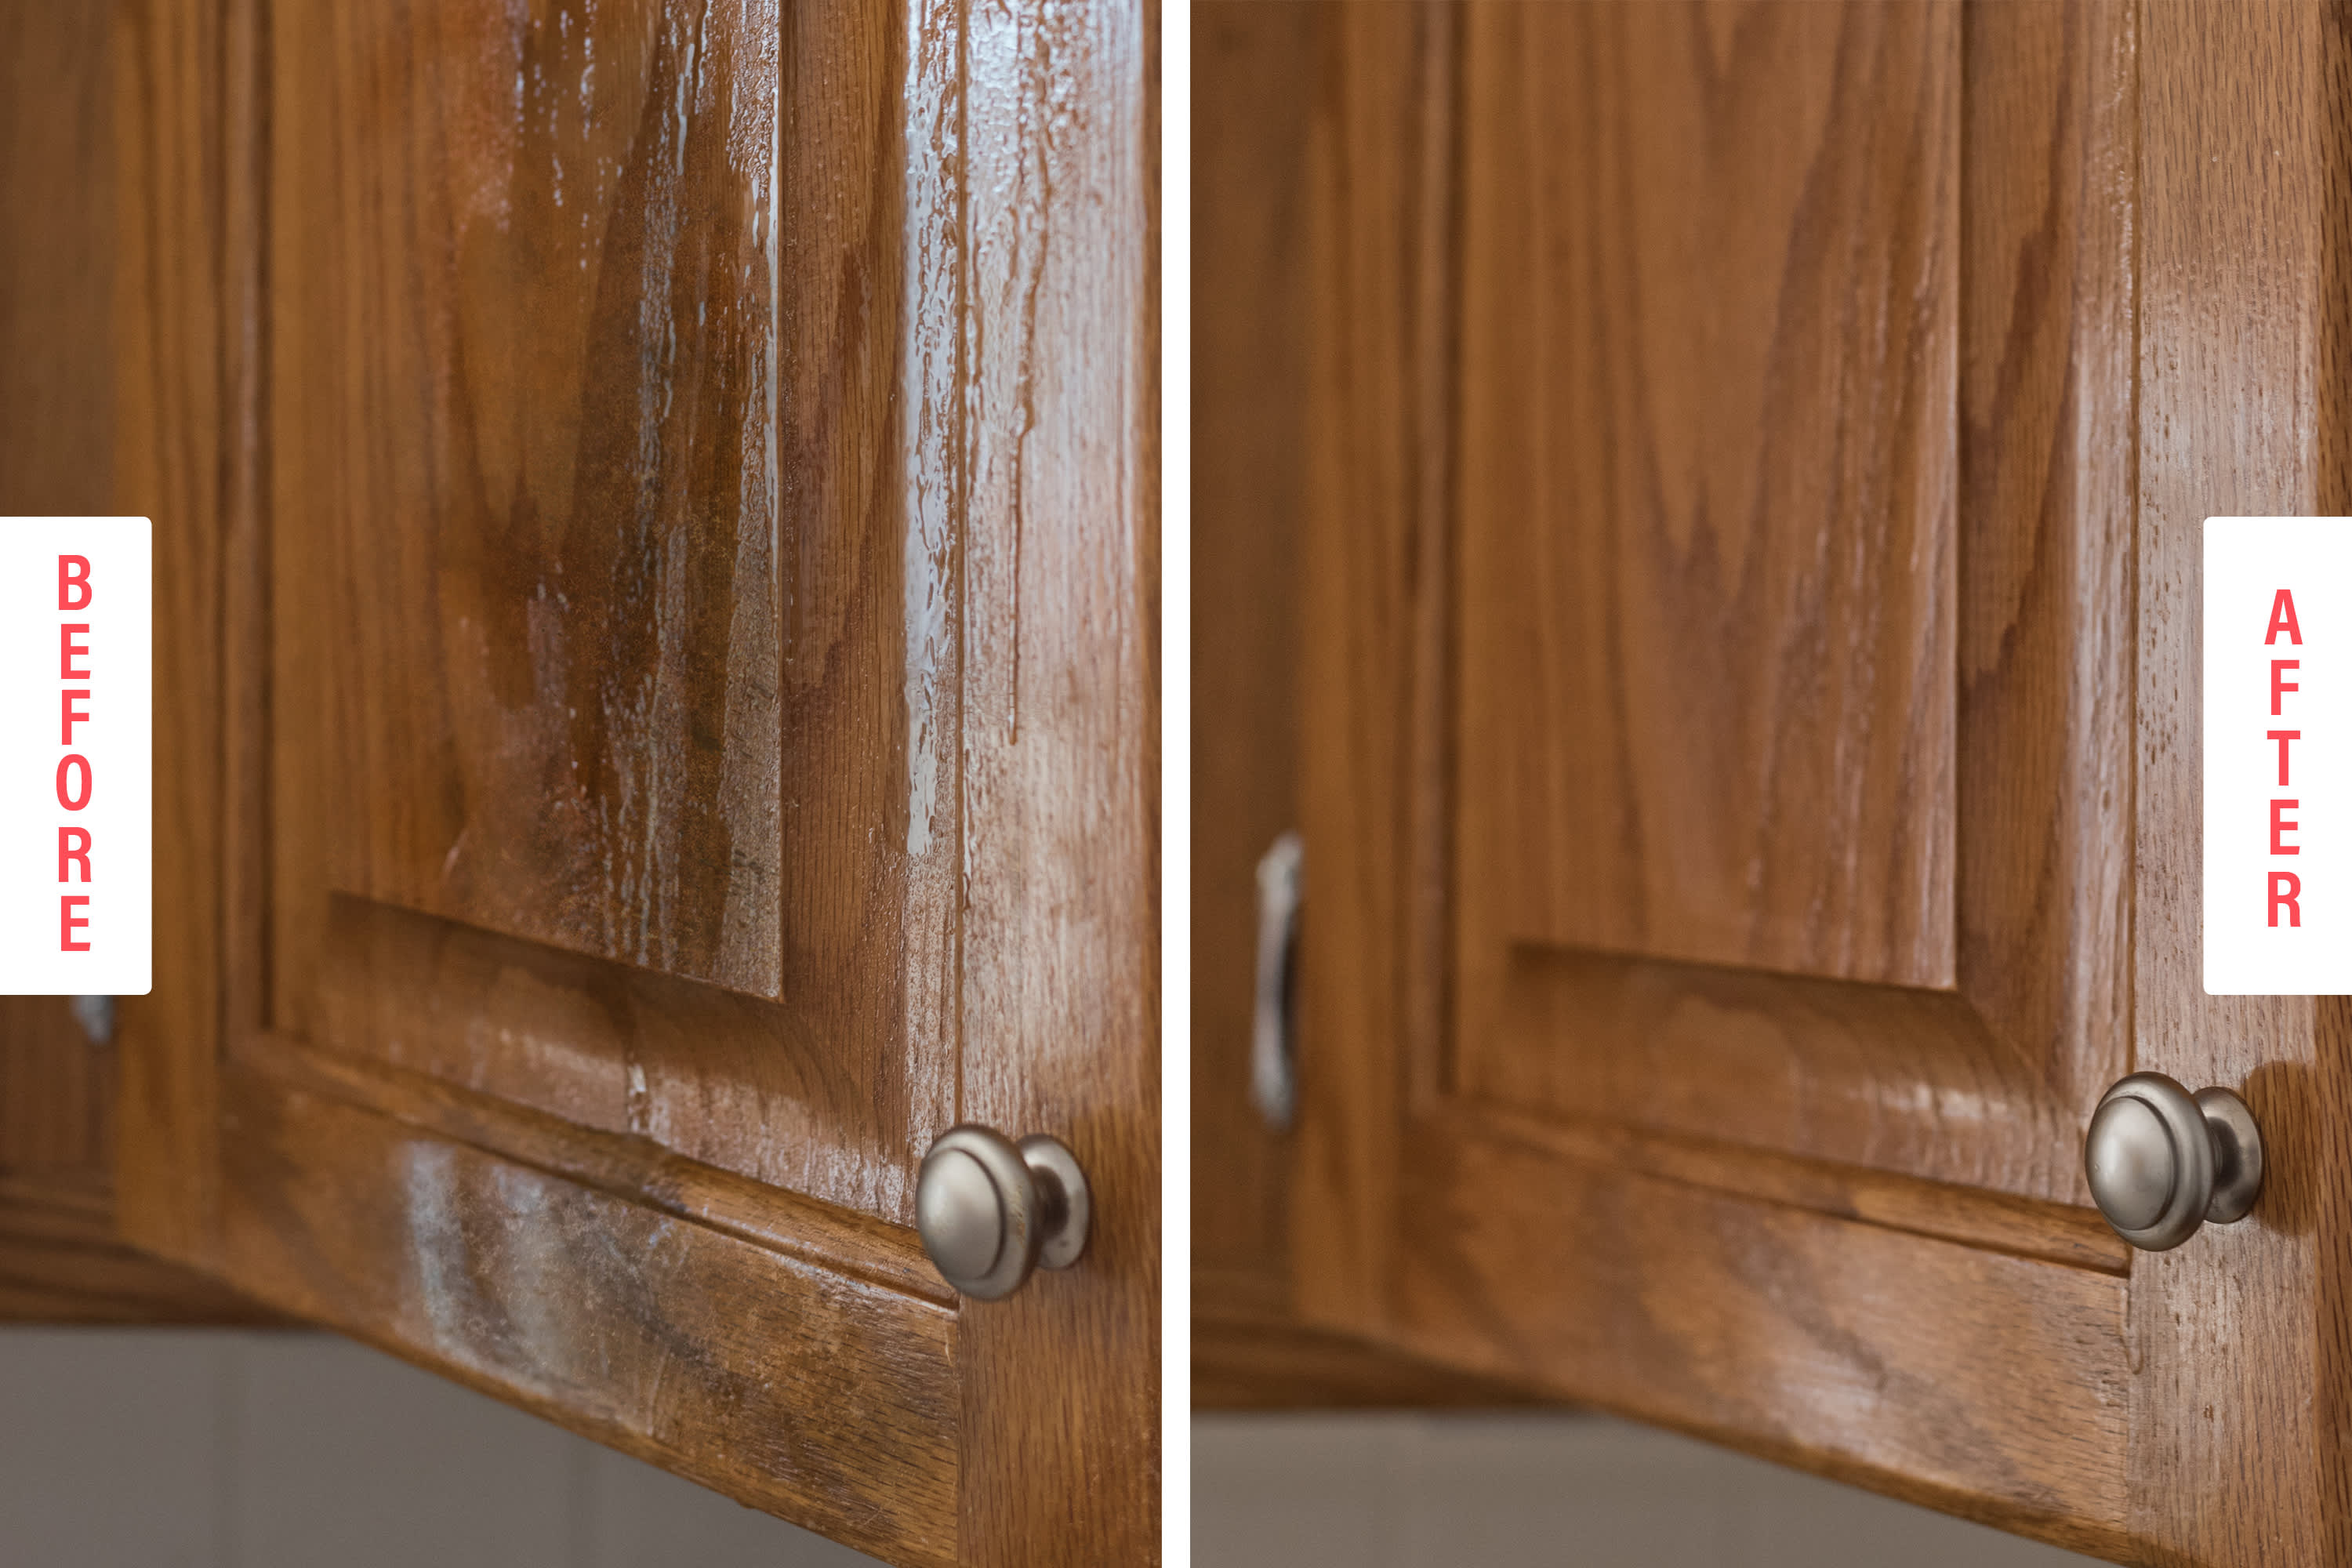

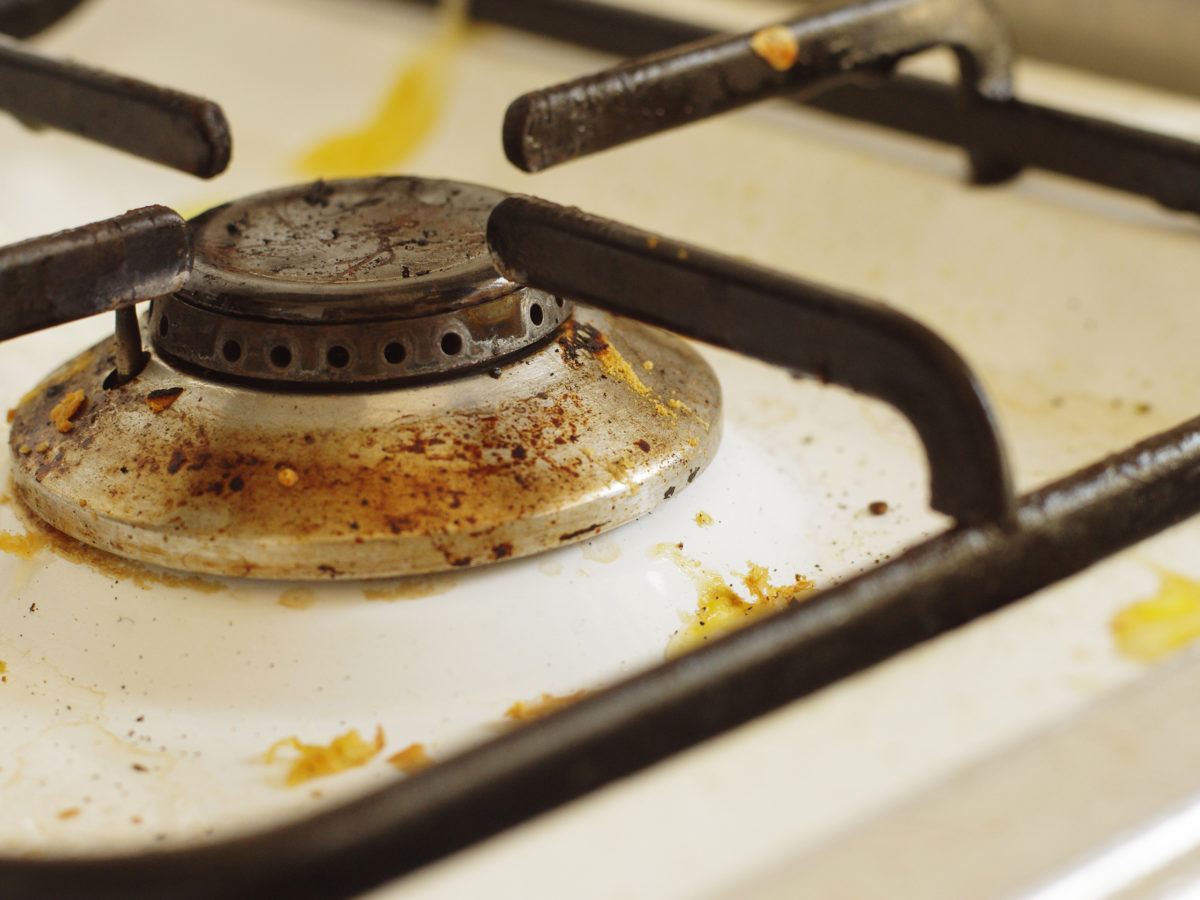
If your kitchen walls are heavily greasy, you may need to use a stronger cleaning solution to remove the buildup. A mixture of equal parts vinegar and water can be effective in breaking down grease and grime. Apply the solution to the walls and let it sit for a few minutes before scrubbing with a sponge or cloth. Rinse with clean water and dry the walls thoroughly.Removing Grease from Kitchen Walls for Painting


Removing Grease from Kitchen Walls for Painting


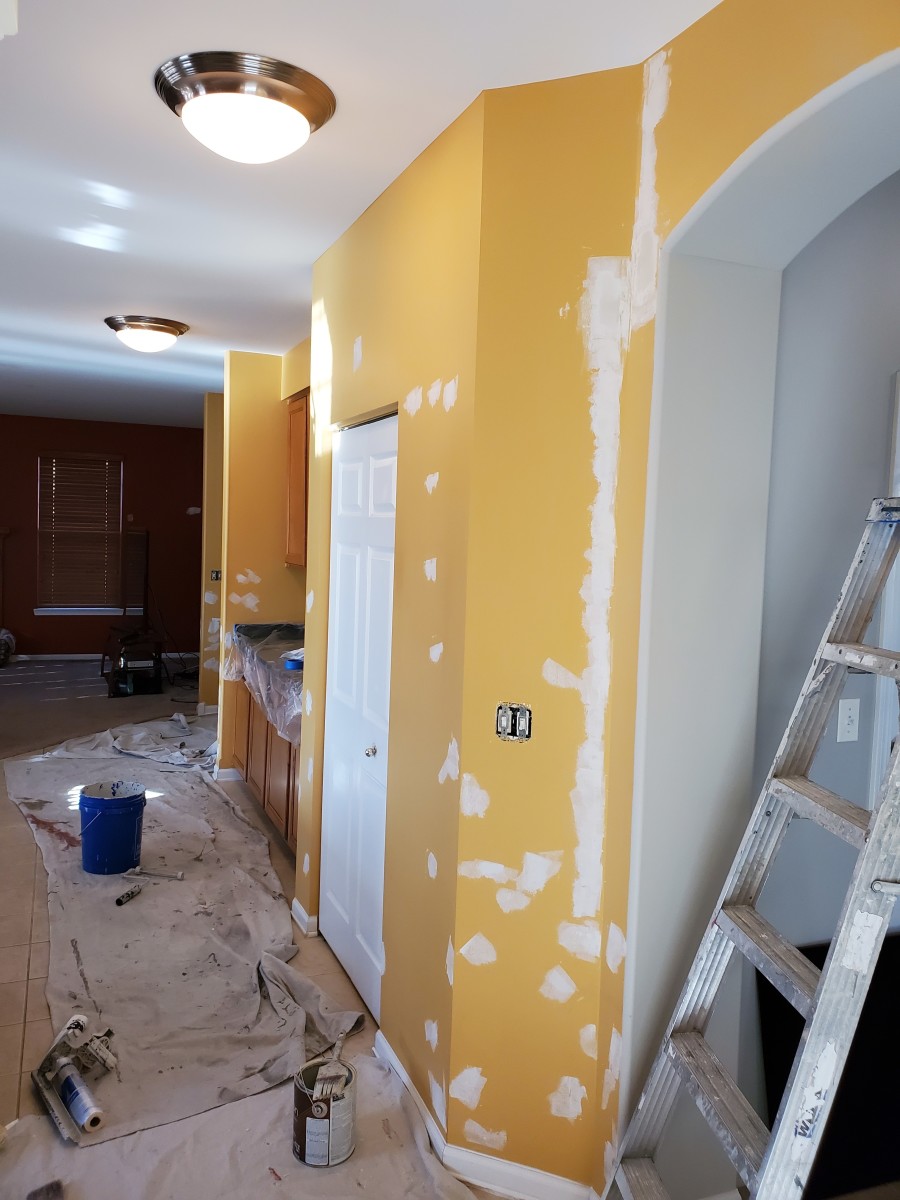
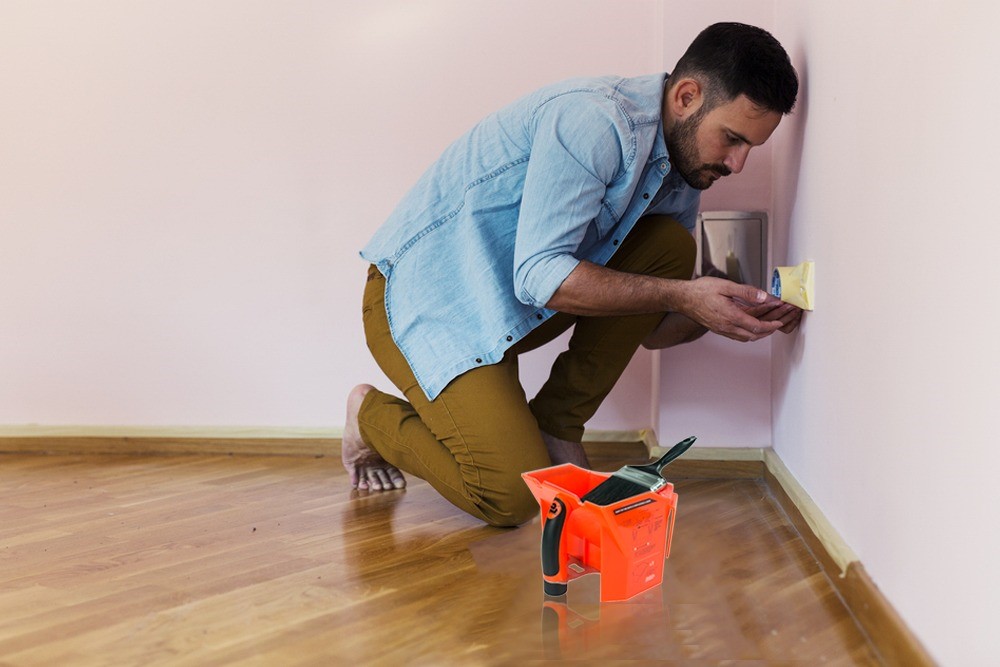
Once your walls are clean and dry, it's time to prepare them for painting. Start by protecting your floors and countertops with drop cloths or plastic sheeting. Then, use painter's tape to cover any areas that you don't want to paint, such as trim, outlets, and light switches. Next, apply a coat of primer to the walls. This will help the paint adhere better and cover up any remaining grease stains. Choose a primer specifically formulated for kitchen walls, such as one that is stain-blocking and moisture-resistant.Steps for Preparing a Greasy Kitchen Wall for Painting


Steps for Preparing a Greasy Kitchen Wall for Painting


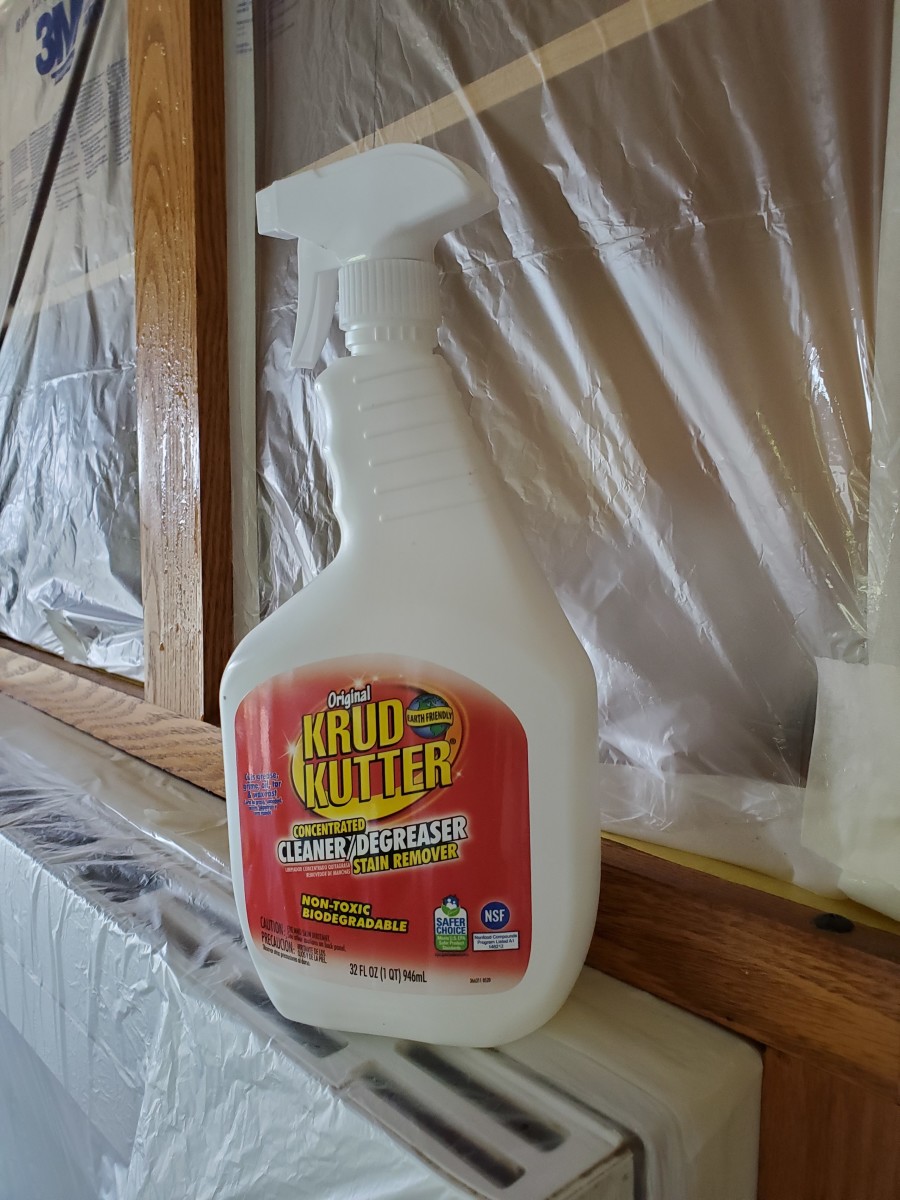
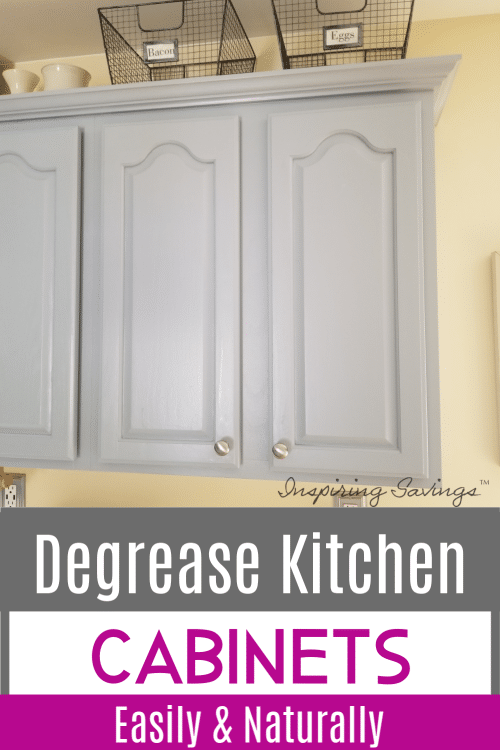
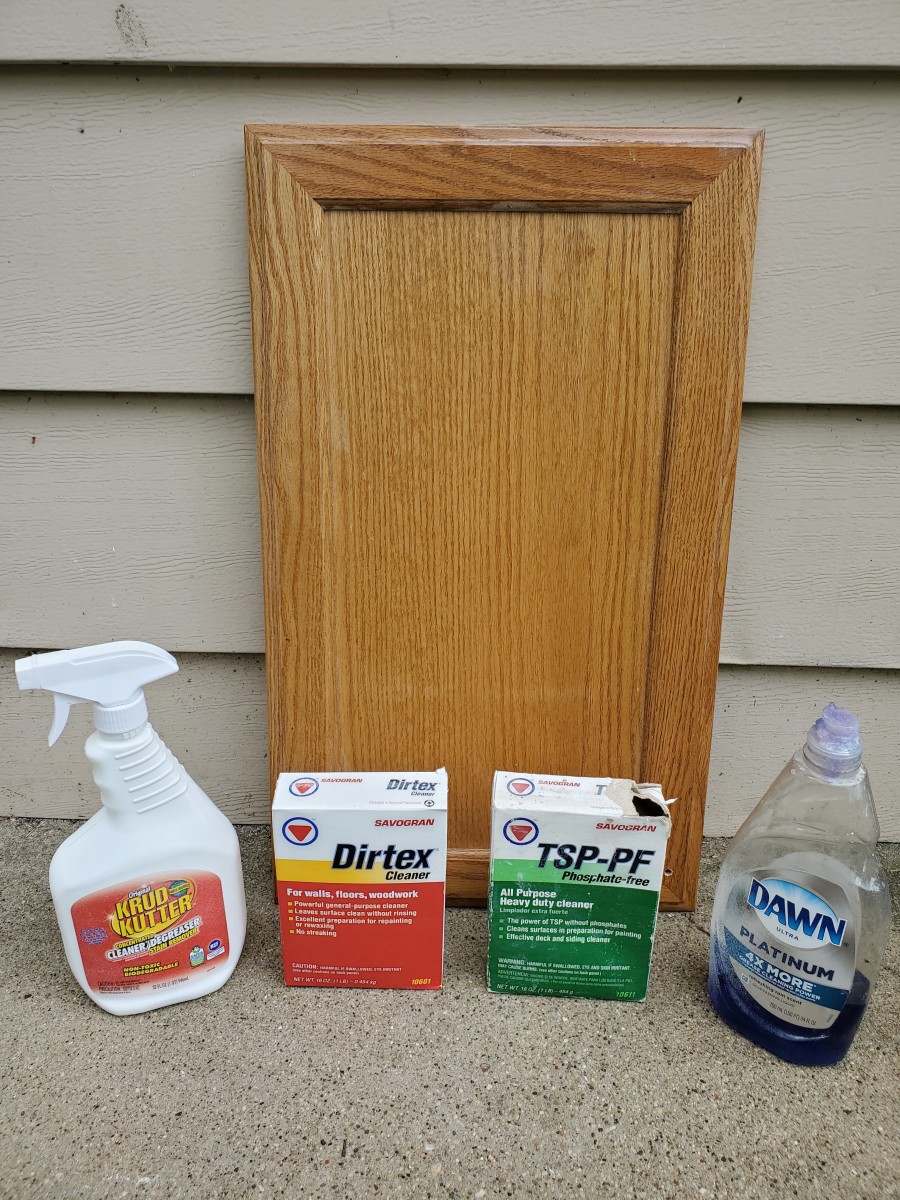
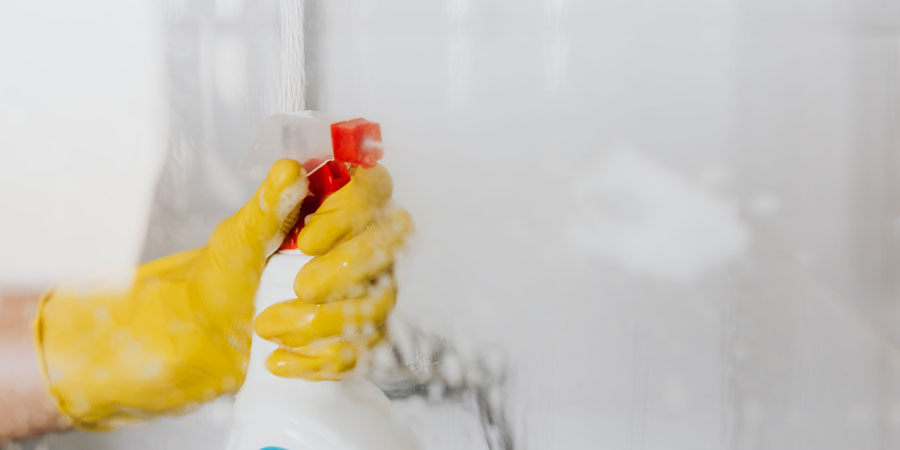
The best way to prepare a greasy kitchen wall for painting is to use a degreaser. These products are specifically designed to cut through tough grease and grime, making it easier to clean and prime your walls. Look for a degreaser that is safe for use on painted surfaces and follow the instructions on the label for best results.Best Way to Prepare a Greasy Kitchen Wall for Painting


Best Way to Prepare a Greasy Kitchen Wall for Painting

If you prefer to use natural cleaning products, there are several options for preparing your greasy kitchen walls for painting. Baking soda and water can be used as a gentle scrub to remove grease, while lemon juice or vinegar can be effective in cutting through tough buildup. Just be sure to rinse the walls with clean water and let them dry completely before priming.Cleaning Products for Preparing a Greasy Kitchen Wall for Painting


Cleaning Products for Preparing a Greasy Kitchen Wall for Painting


Here are a few additional tips to keep in mind when preparing greasy kitchen walls for painting:Tips for Preparing a Greasy Kitchen Wall for Painting

Tips for Preparing a Greasy Kitchen Wall for Painting
After cleaning, priming, and letting the walls dry, you may notice that there are still some small areas of grease or stains. In this case, use a sanding block or sandpaper to gently sand those spots until they are smooth. Wipe away any dust with a tack cloth before painting.Prepping a Greasy Kitchen Wall for Painting
Prepping a Greasy Kitchen Wall for Painting

If you're short on time or don't want to deal with multiple cleaning products, there are degreasing sprays available specifically for preparing walls for painting. These sprays are designed to cut through grease and grime quickly and can be wiped away with a cloth or sponge.How to Degrease a Kitchen Wall for Painting
How to Degrease a Kitchen Wall for Painting


If you prefer to use natural and budget-friendly methods, there are several DIY options for preparing greasy kitchen walls for painting. Some people swear by using a mixture of equal parts vinegar and baking soda to create a paste that can be applied to the walls and scrubbed with a sponge. Others recommend using a solution of warm water and borax. Whichever method you choose, be sure to rinse the walls thoroughly and let them dry completely before painting. With these 10 steps, you can easily prepare your greasy kitchen walls for painting and achieve a beautiful, long-lasting finish. Just remember to take the time to clean and prime your walls properly before painting to ensure the best results. Happy painting!DIY Methods for Preparing a Greasy Kitchen Wall for Painting


DIY Methods for Preparing a Greasy Kitchen Wall for Painting


How to Prepare a Greasy Kitchen Wall for Painting

Introduction
 When it comes to house design, the walls are an essential element that can greatly impact the overall look and feel of a space. However, before applying a fresh coat of paint, it is crucial to properly prepare the surface, especially if your kitchen walls are greasy. Grease and grime buildup in the kitchen is a common problem, and if not addressed, can affect the adhesion and longevity of your paint job. In this article, we will discuss the steps to prepare a greasy kitchen wall for painting, ensuring a smooth and professional finish.
Clean the Walls Thoroughly
 The first step to preparing a greasy kitchen wall for painting is to clean it thoroughly.
Use a degreaser or a mixture of warm water and dish soap
to remove any surface grease and grime. You can also
use a scrub brush or sponge
to gently scrub away any stubborn stains. Be sure to
rinse the walls with clean water
and dry them with a clean cloth before moving on to the next step.
The first step to preparing a greasy kitchen wall for painting is to clean it thoroughly.
Use a degreaser or a mixture of warm water and dish soap
to remove any surface grease and grime. You can also
use a scrub brush or sponge
to gently scrub away any stubborn stains. Be sure to
rinse the walls with clean water
and dry them with a clean cloth before moving on to the next step.
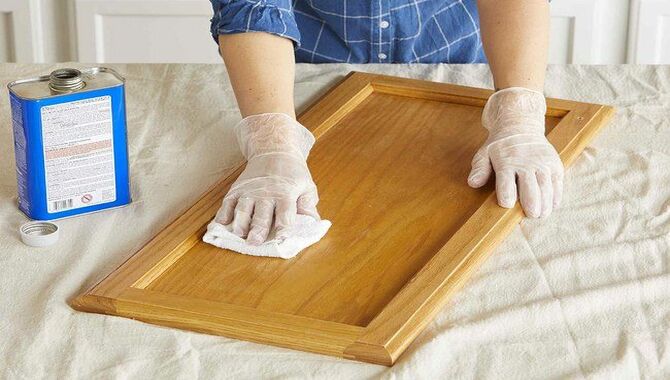
Prime the Walls
 Next,
apply a coat of primer
to the walls. A primer will help to seal any remaining grease and create a smooth and even surface for the paint to adhere to.
Choose a high-quality, oil-based primer
specifically designed for kitchen walls. Apply the primer with a roller, starting at the top and working your way down, making sure to cover the entire surface.
Next,
apply a coat of primer
to the walls. A primer will help to seal any remaining grease and create a smooth and even surface for the paint to adhere to.
Choose a high-quality, oil-based primer
specifically designed for kitchen walls. Apply the primer with a roller, starting at the top and working your way down, making sure to cover the entire surface.
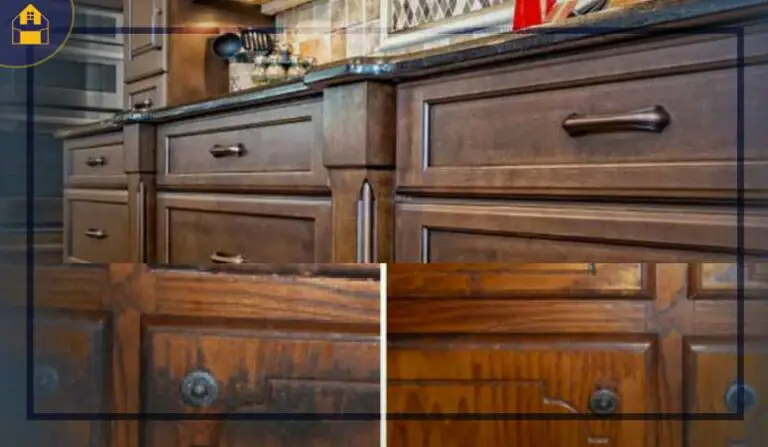
Repair Any Imperfections
 After the primer has dried, inspect the walls for any imperfections such as cracks, holes, or dents.
Fill in any gaps with spackling compound
and
sand down any rough areas
with fine-grit sandpaper. This step is essential to ensure a smooth and flawless paint job.
After the primer has dried, inspect the walls for any imperfections such as cracks, holes, or dents.
Fill in any gaps with spackling compound
and
sand down any rough areas
with fine-grit sandpaper. This step is essential to ensure a smooth and flawless paint job.
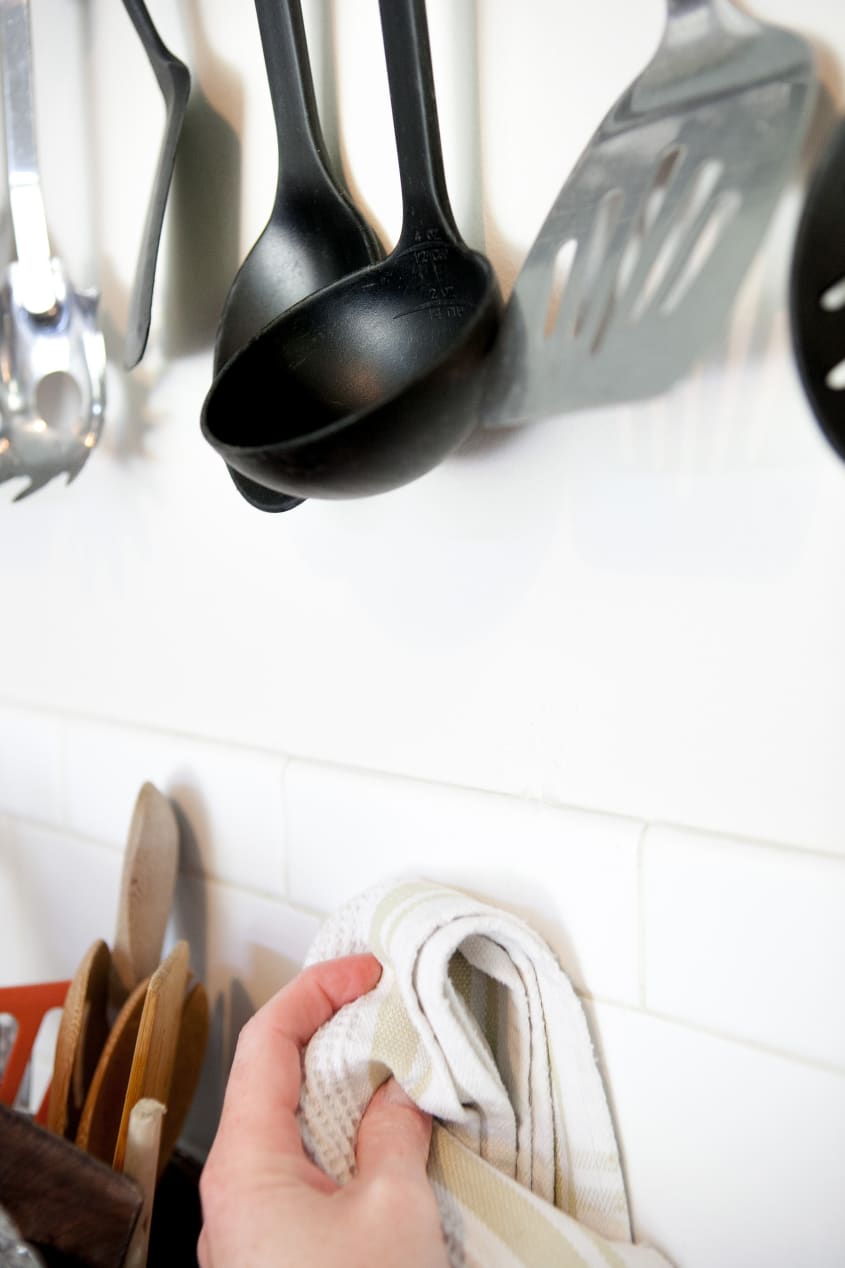
Final Cleaning
 Before you can start painting, it is crucial to give the walls a final cleaning.
Wipe down the walls with a damp cloth
to remove any dust or debris from sanding.
Allow the walls to dry completely
before applying the paint.
Before you can start painting, it is crucial to give the walls a final cleaning.
Wipe down the walls with a damp cloth
to remove any dust or debris from sanding.
Allow the walls to dry completely
before applying the paint.
Conclusion
 In conclusion, preparing a greasy kitchen wall for painting requires a few extra steps, but it is well worth the effort for a professional and long-lasting finish. By following these simple steps, you can ensure that your kitchen walls are clean and properly primed for a fresh coat of paint. So, roll up your sleeves and get ready to transform your greasy kitchen walls into a beautiful and inviting space.