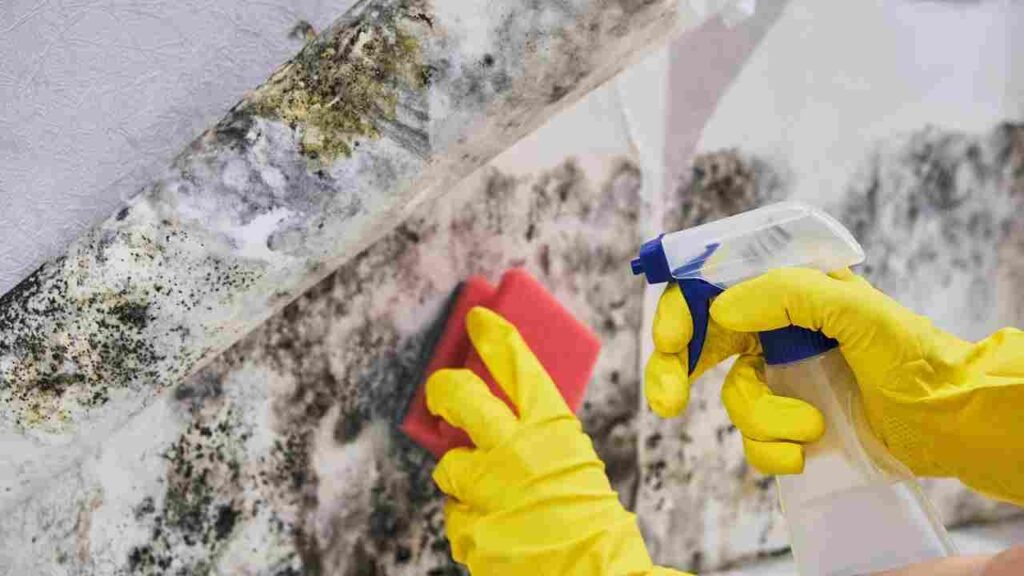
Before you start painting your kitchen walls, it's important to make sure they are clean and free of any dirt, dust, or grime. Use a damp cloth or sponge with a mild cleaner to wipe down the walls, paying special attention to any greasy or sticky areas. This will ensure that the paint adheres properly and gives you a smooth, professional-looking finish.1. Clean the walls thoroughly
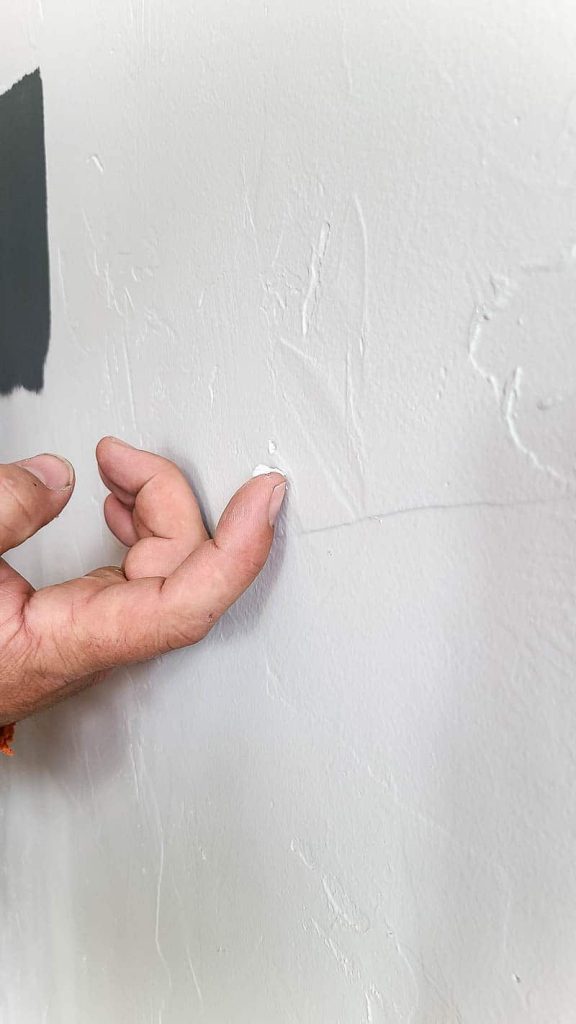
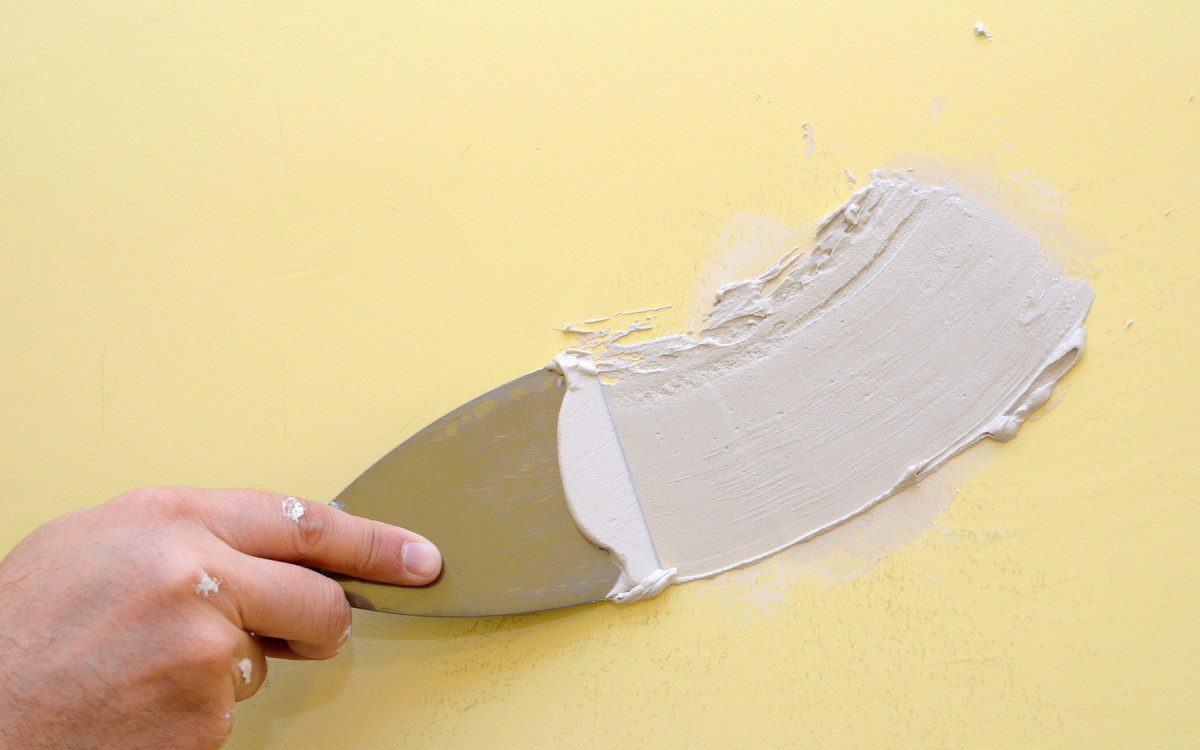
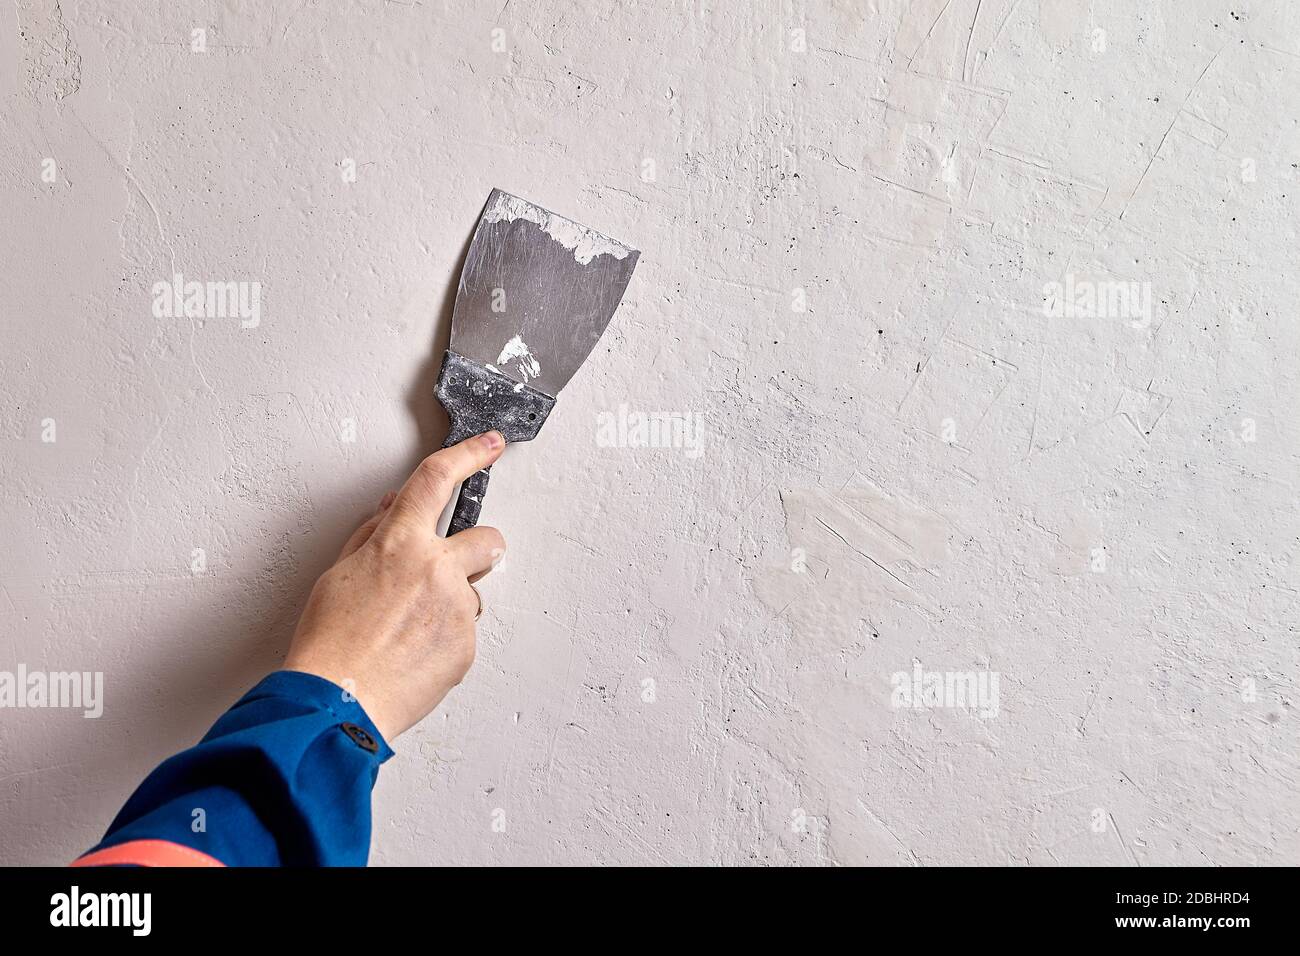
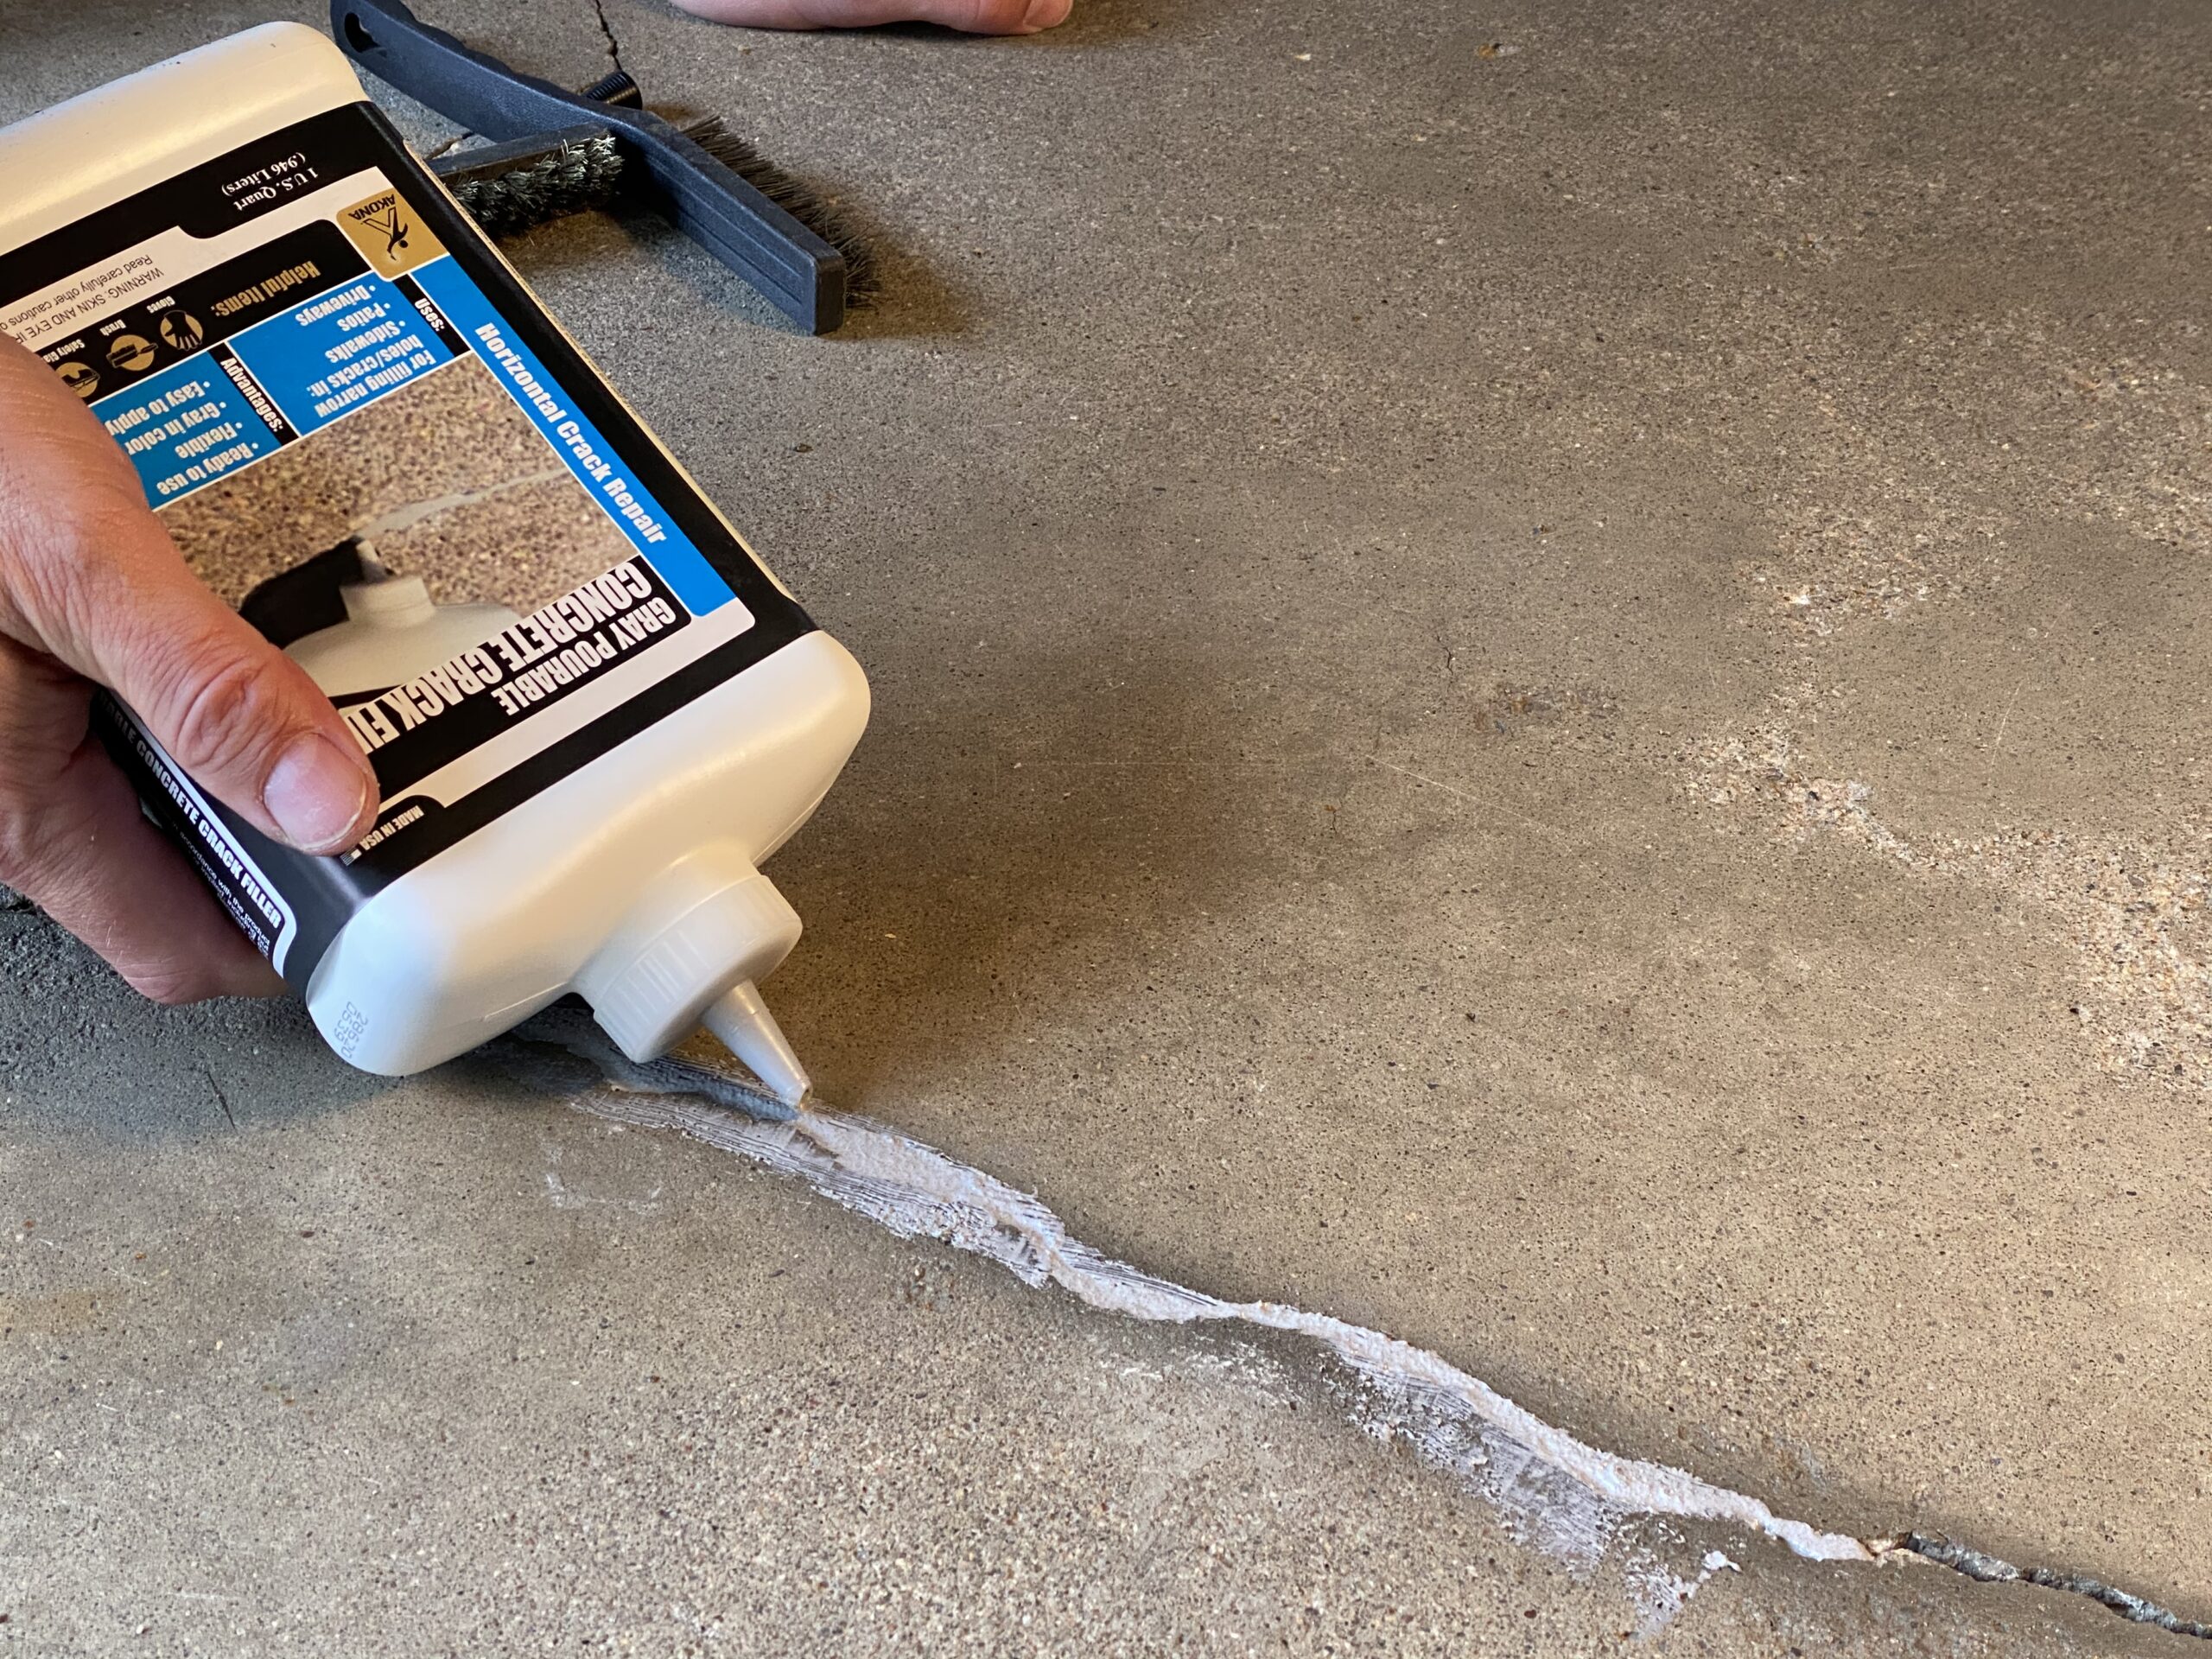
Inspect your walls for any holes, cracks, or imperfections. These can be filled in with spackling compound, which is a putty-like substance that dries hard and can be sanded down to a smooth finish. Use a putty knife to apply the compound, making sure to fill in the holes completely. Once dry, sand down the area until it is smooth and flush with the rest of the wall.2. Fill in any holes or cracks with spackling compound
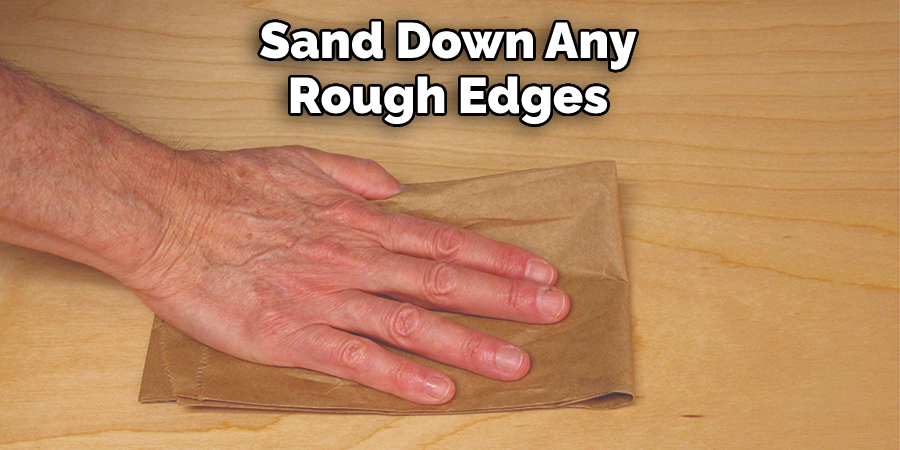
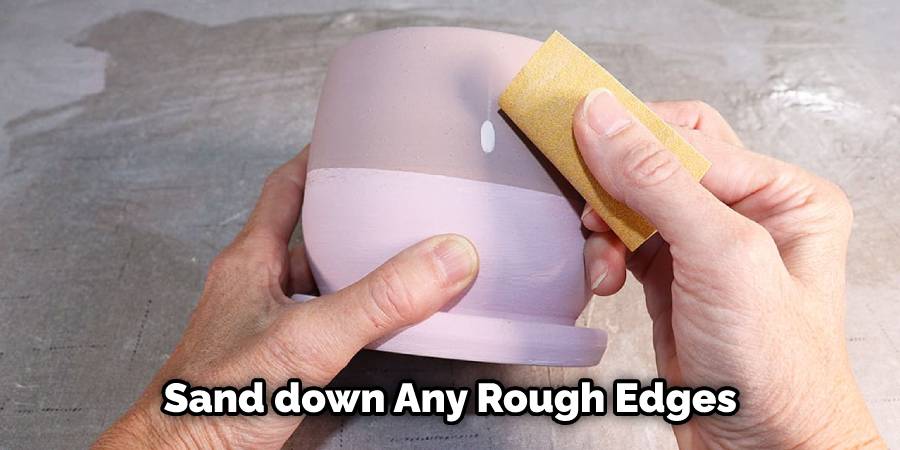
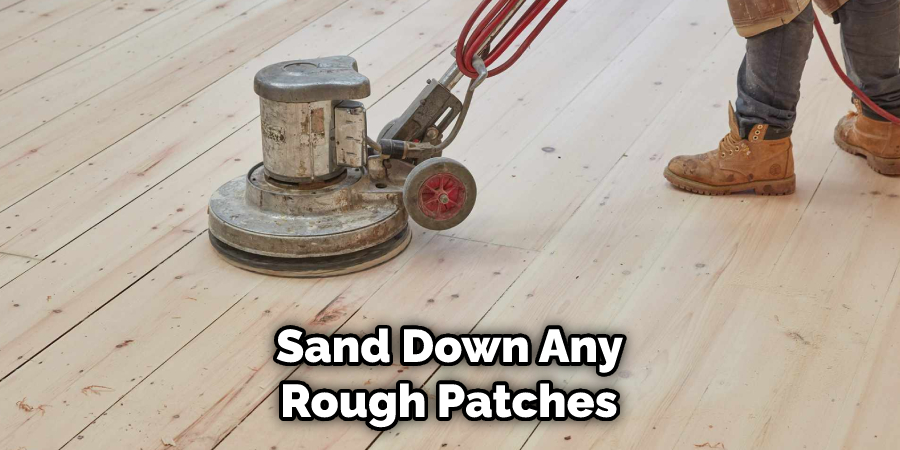
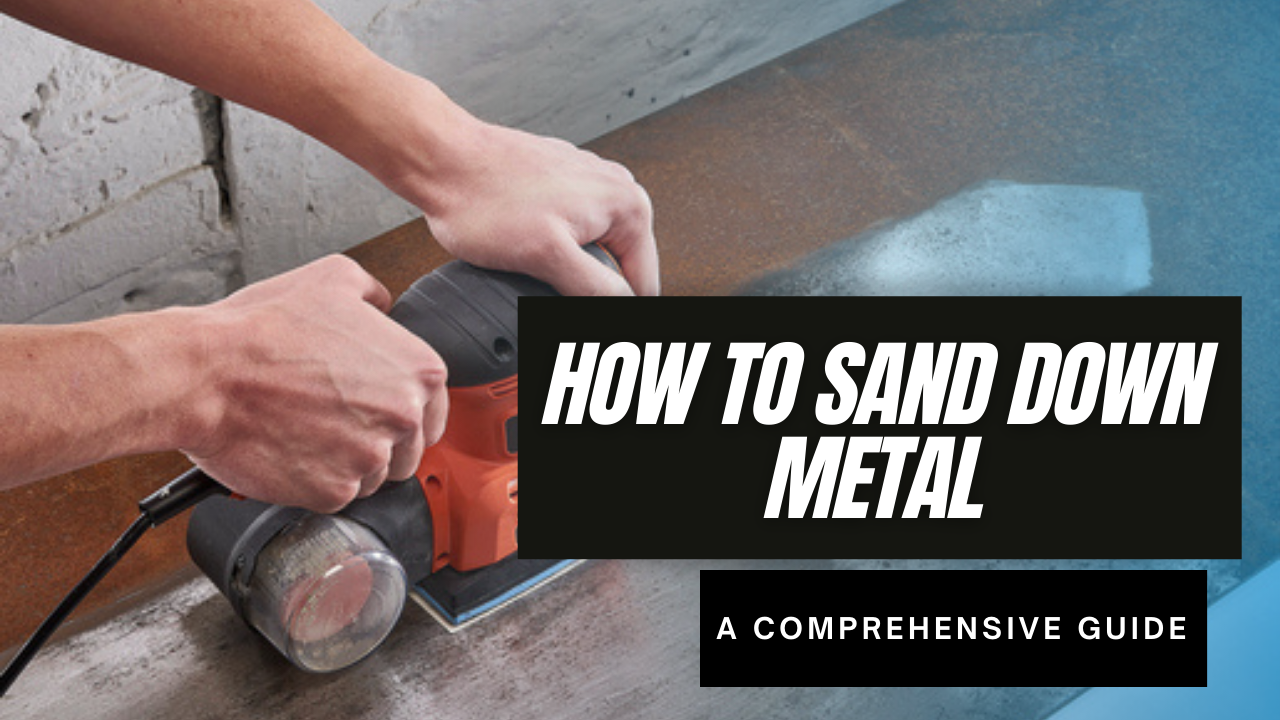
If you notice any rough or uneven areas on your walls, use a fine-grit sandpaper to smooth them out. This will help the paint to go on more evenly and give you a professional-looking finish. Be sure to wipe down the walls afterwards to remove any dust created from sanding.3. Sand down any rough areas
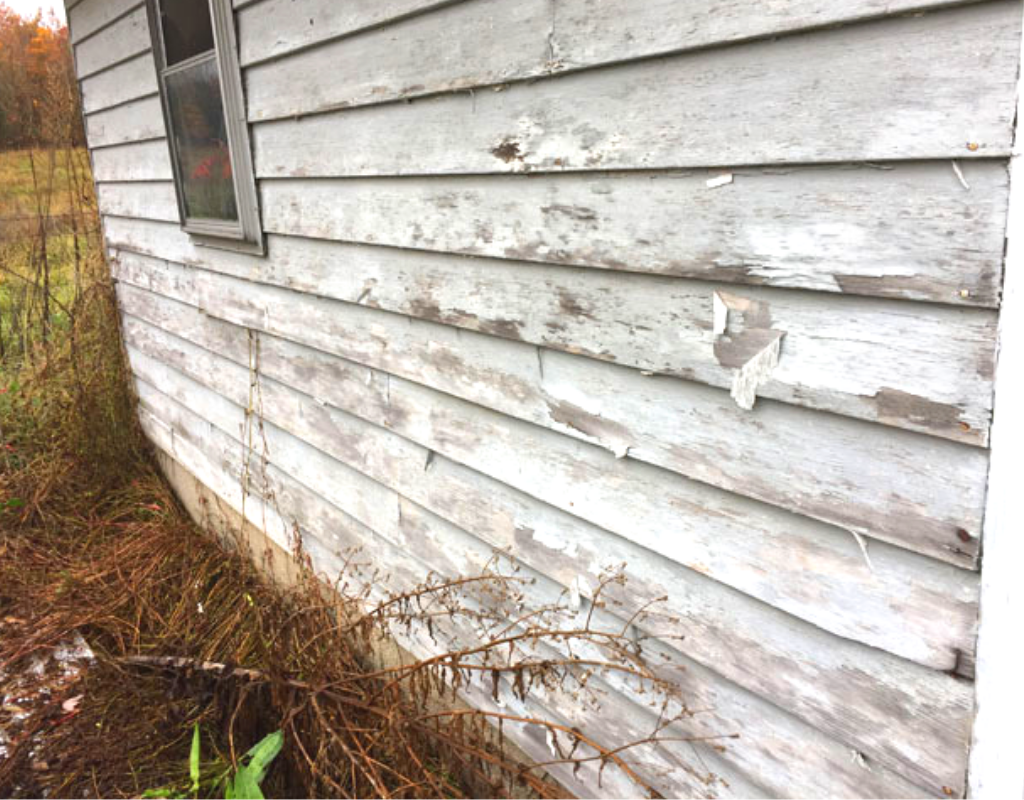
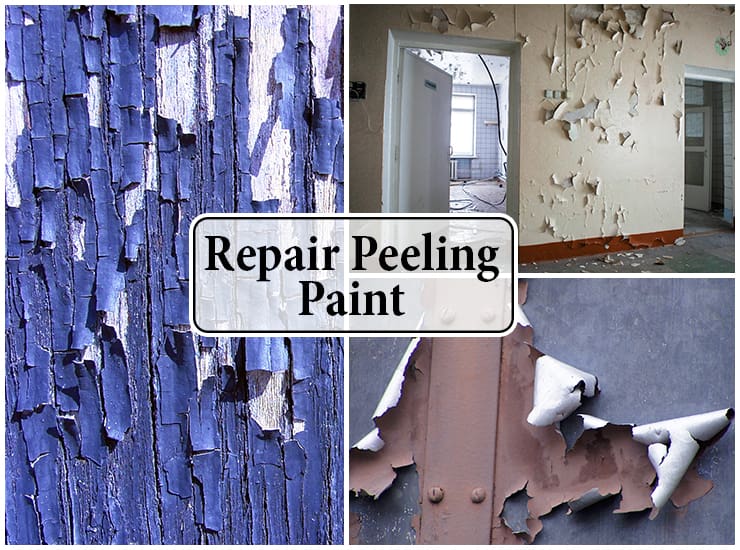
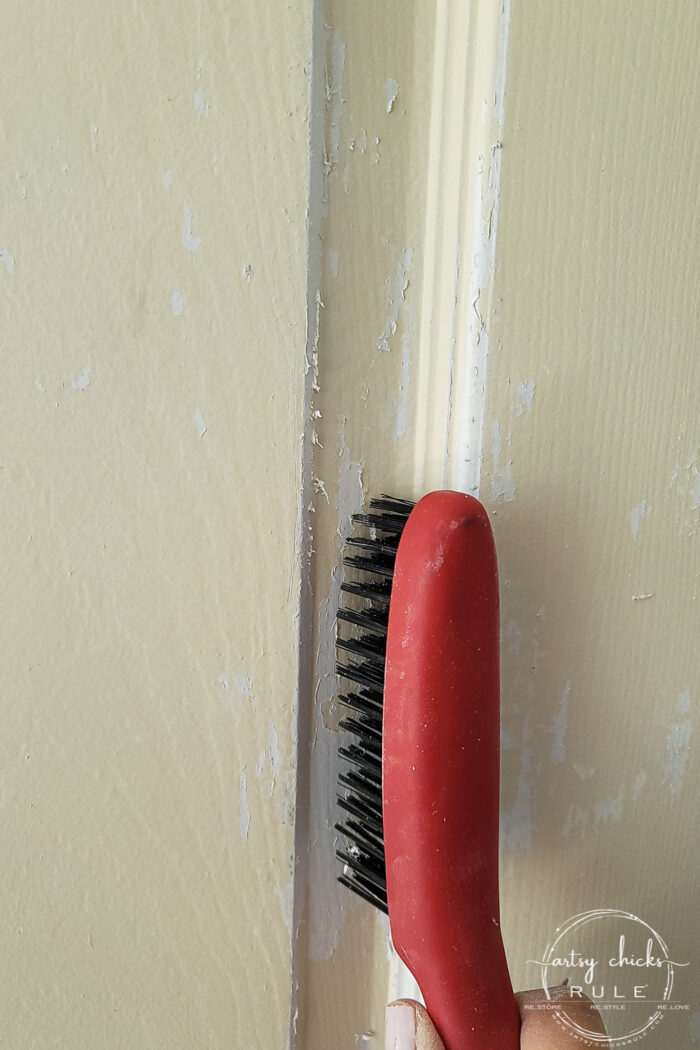
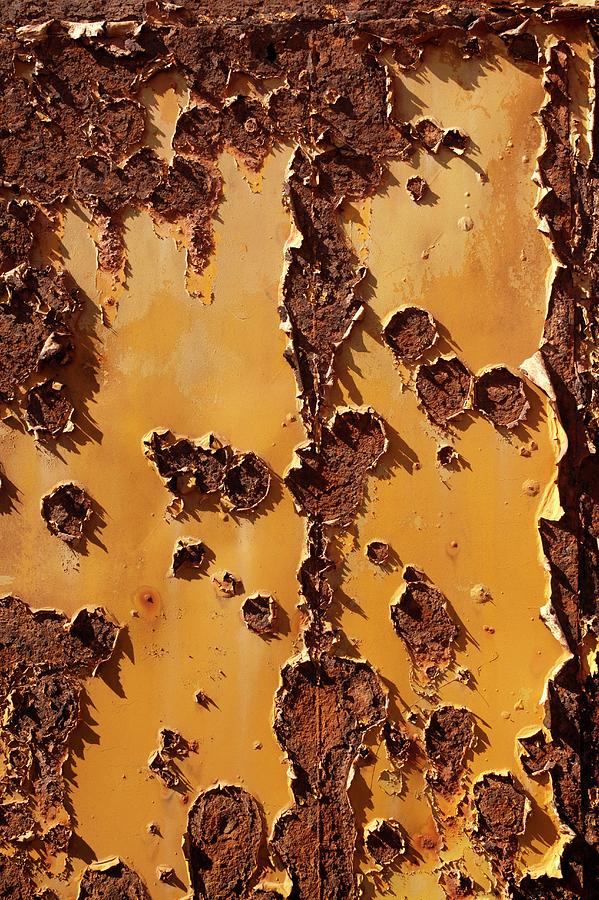
If there are any areas where the paint is peeling or loose, it's important to remove it before painting. Use a paint scraper or sandpaper to gently remove the loose paint, being careful not to damage the wall underneath. Once the area is smooth and free of loose paint, wipe it down to remove any dust.4. Remove any loose or peeling paint
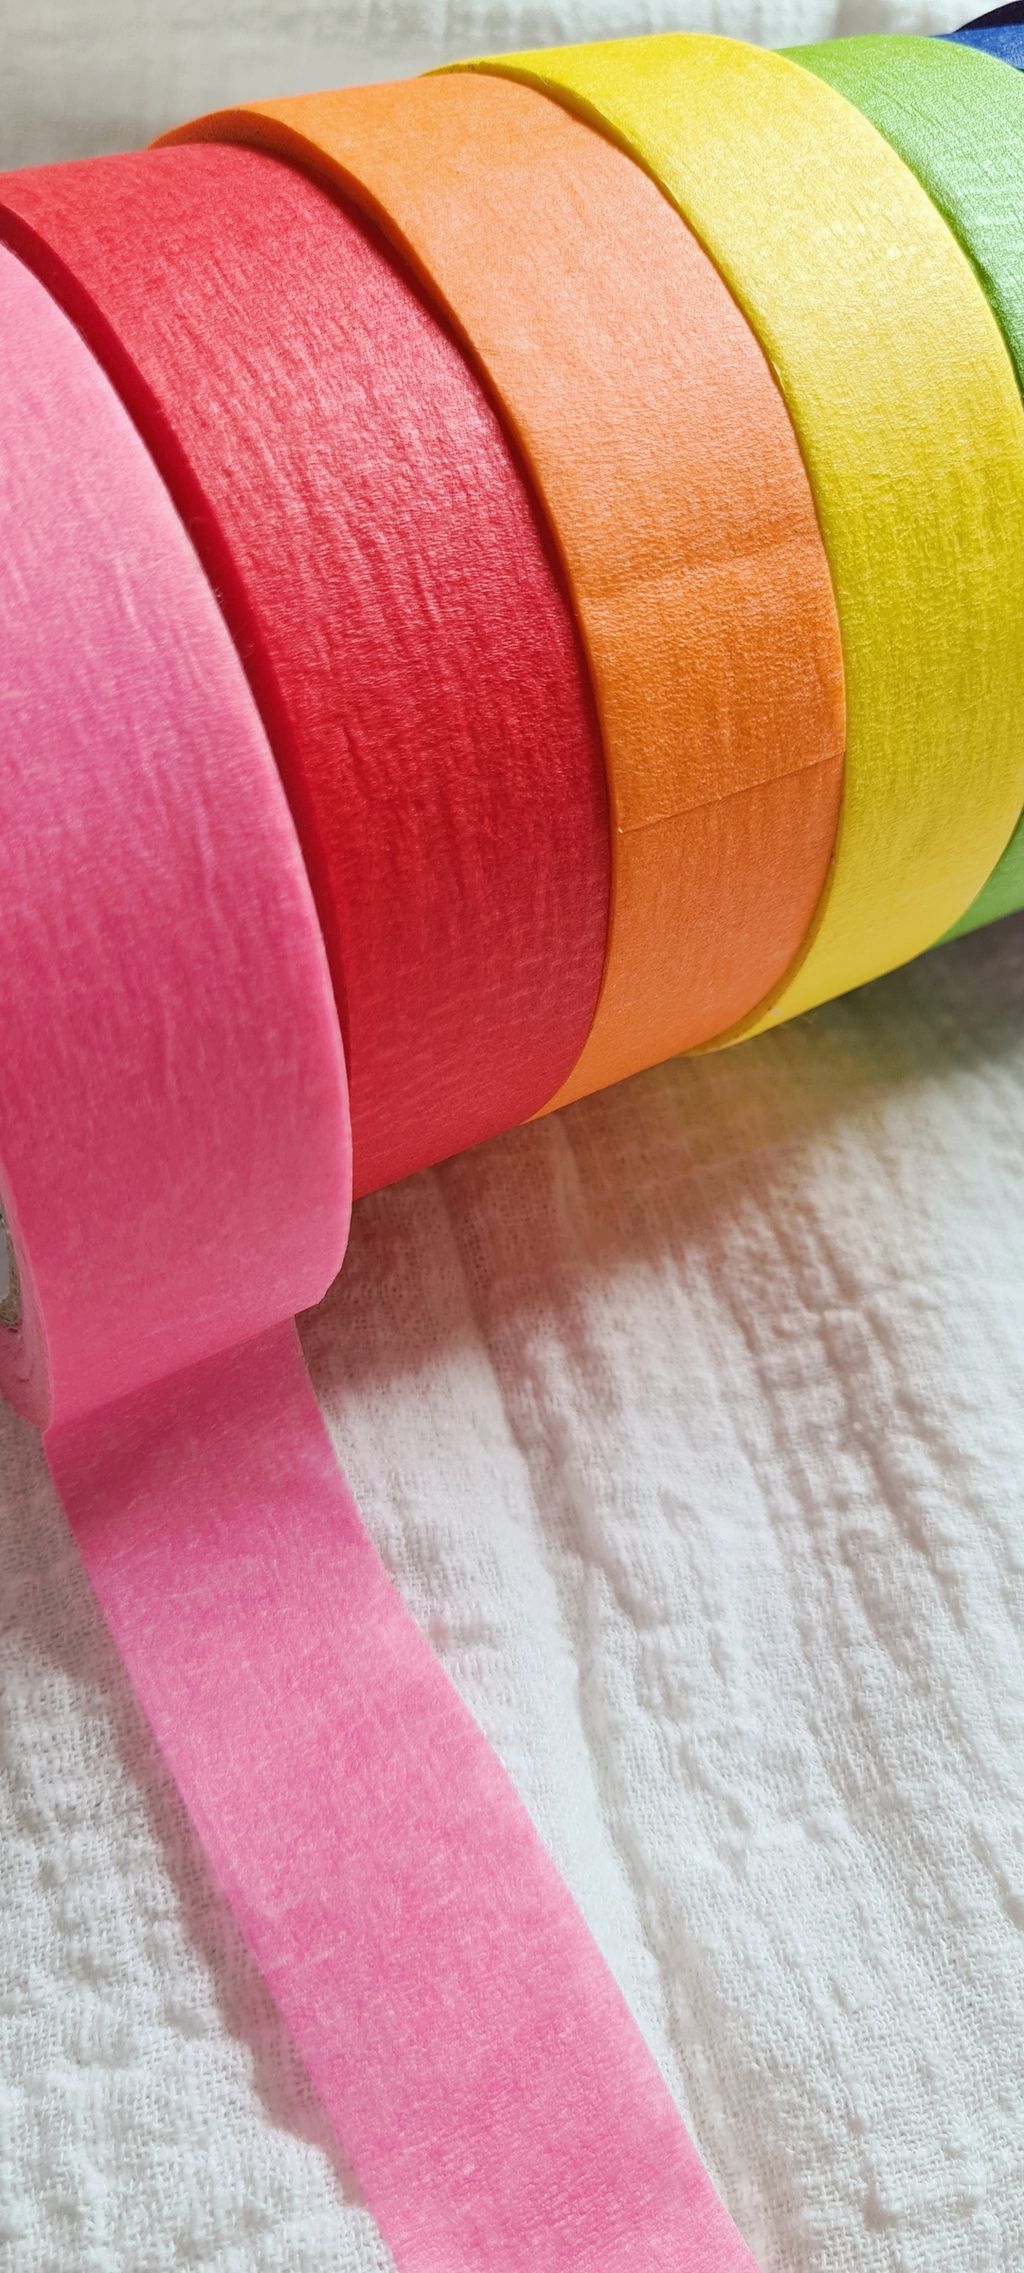
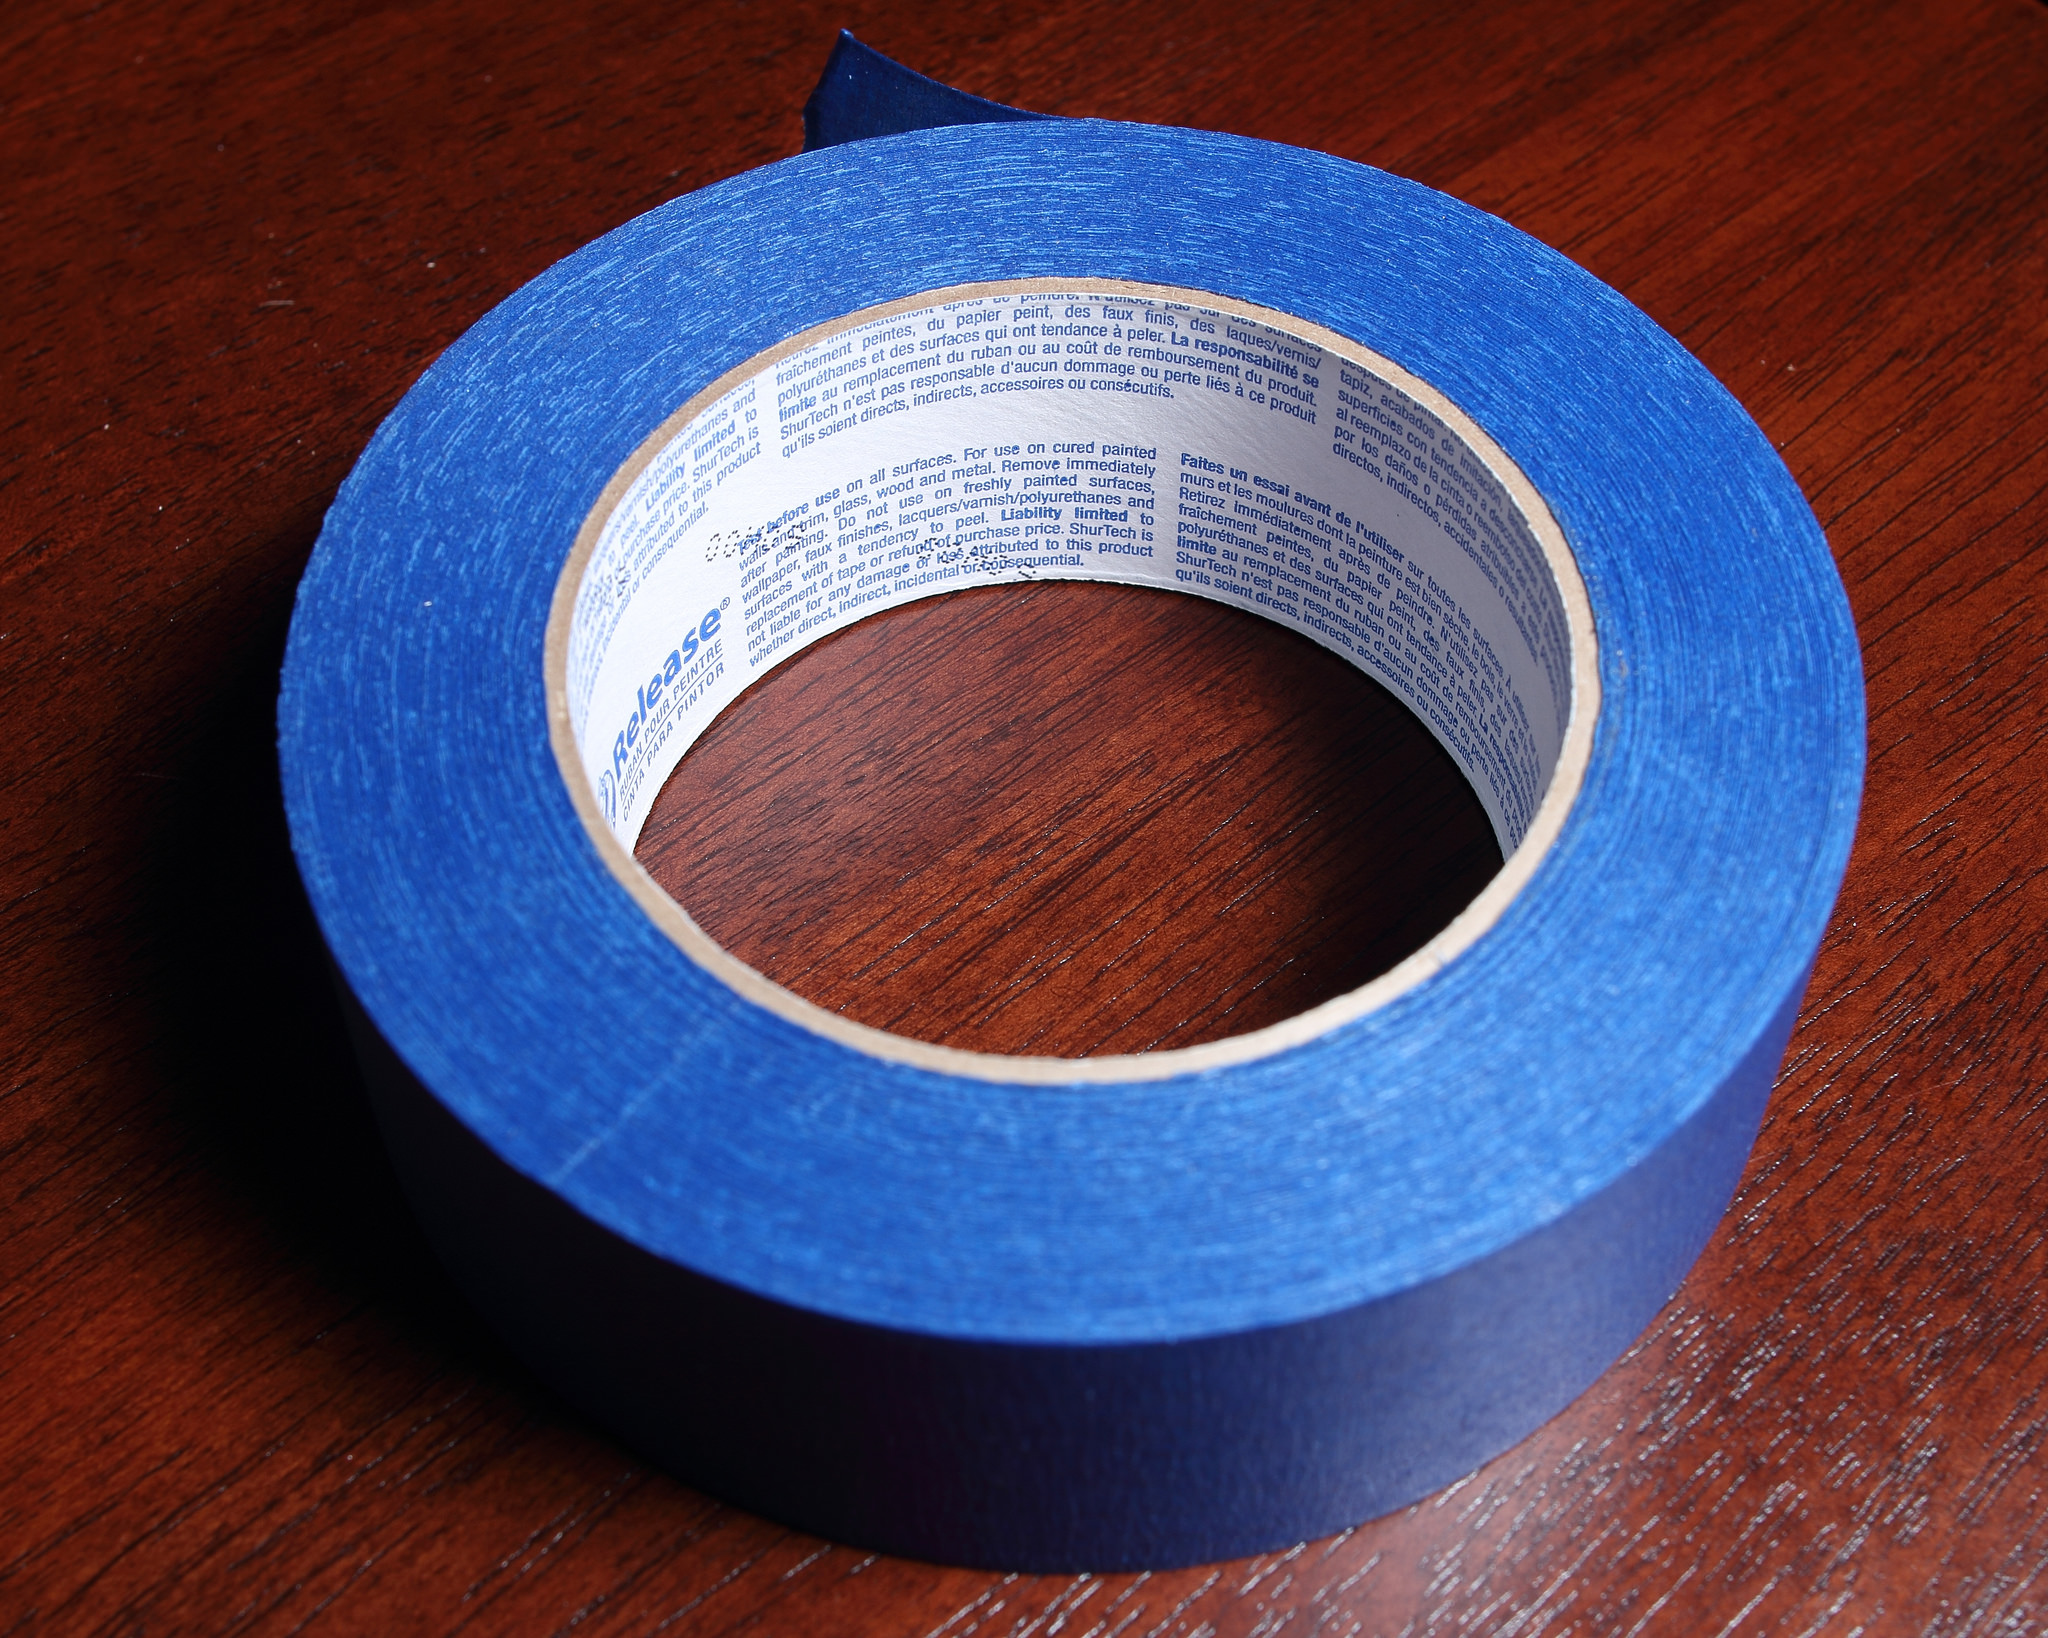
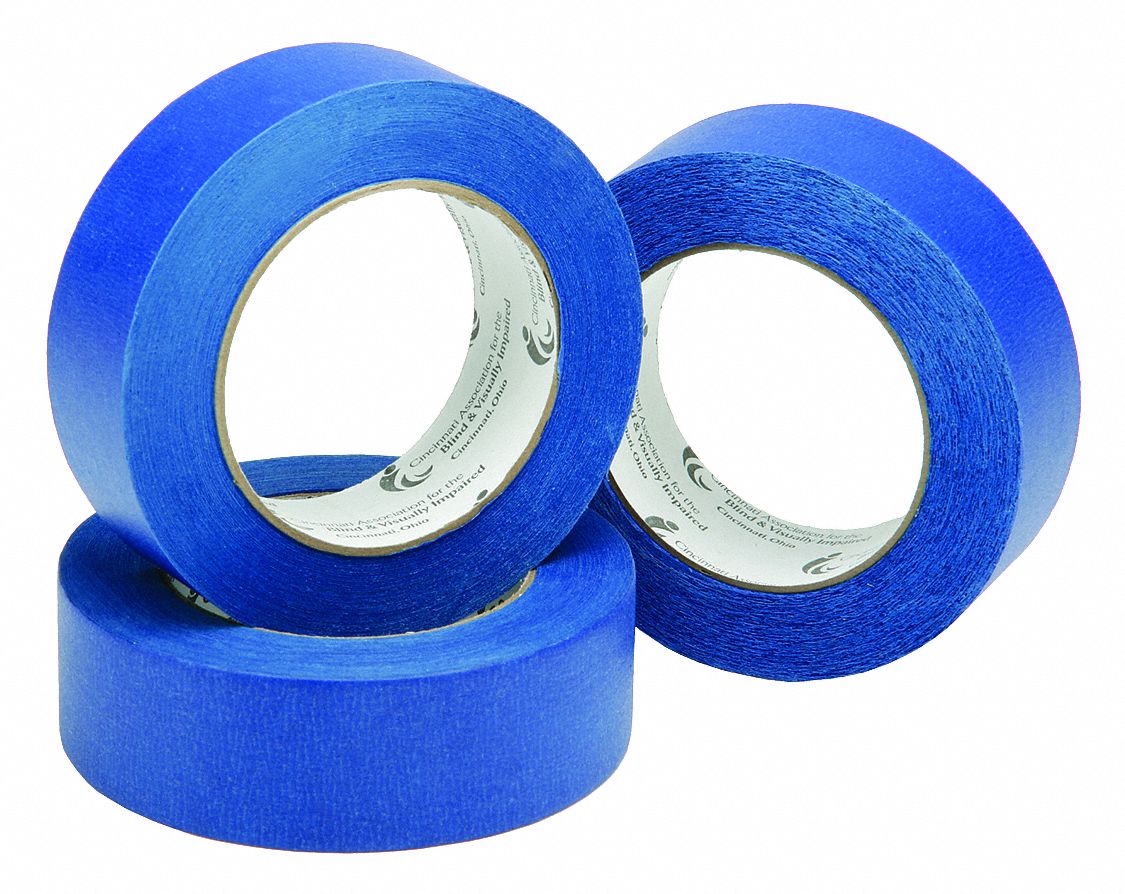
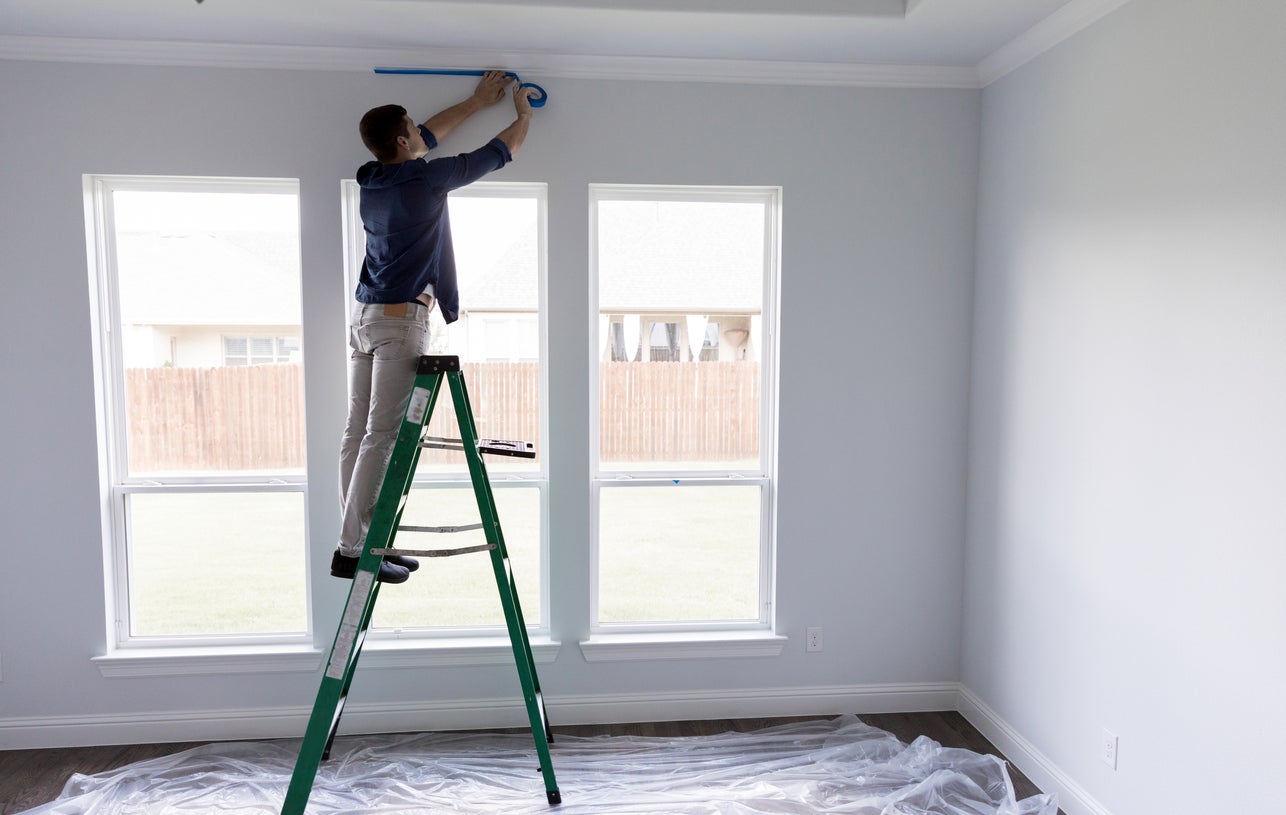
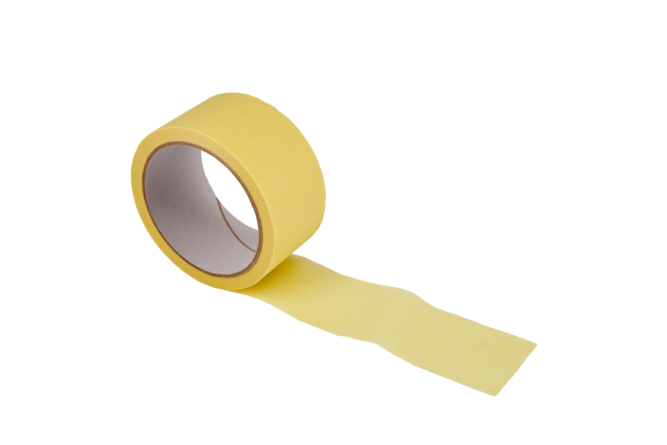
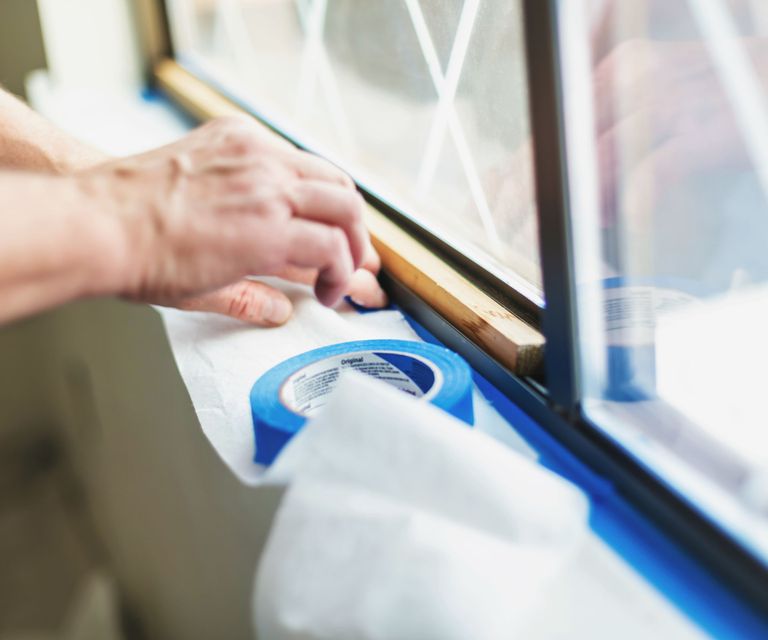
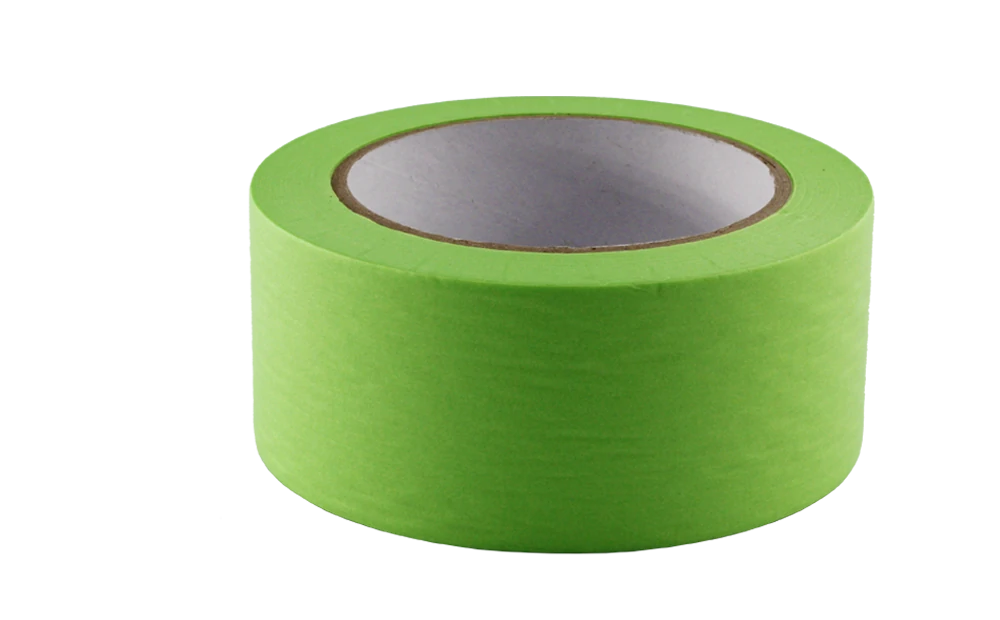
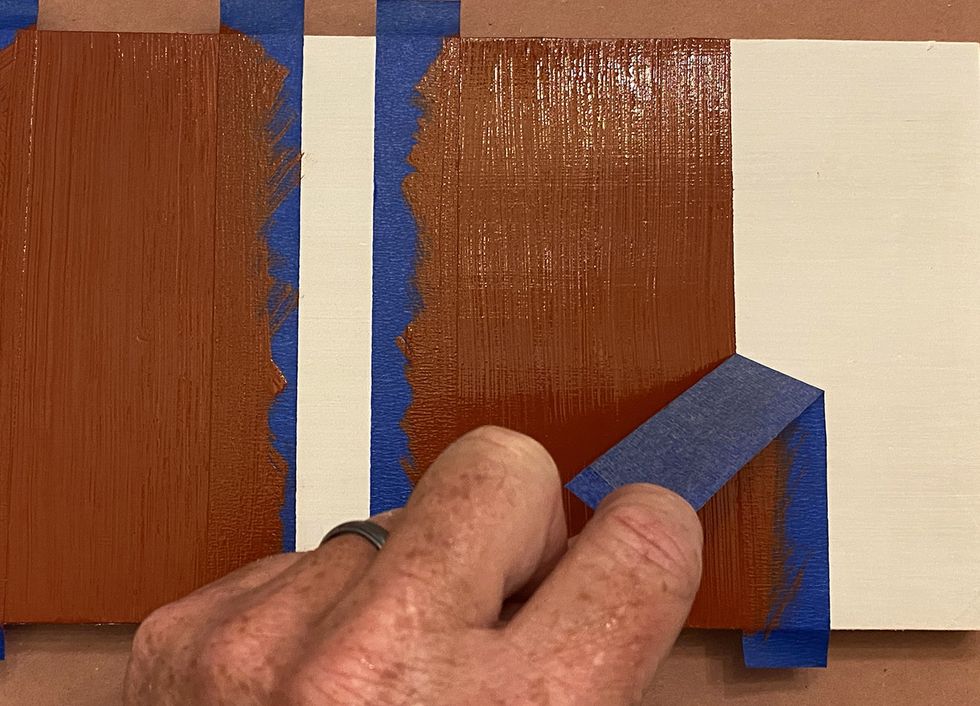
Before you start painting, use painter's tape to protect any trim, baseboards, or edges that you don't want to get paint on. Simply apply the tape along the edges, pressing it down firmly to ensure a clean line. This will save you time and effort when it comes to touch-ups later on.5. Use painter's tape to protect trim and edges
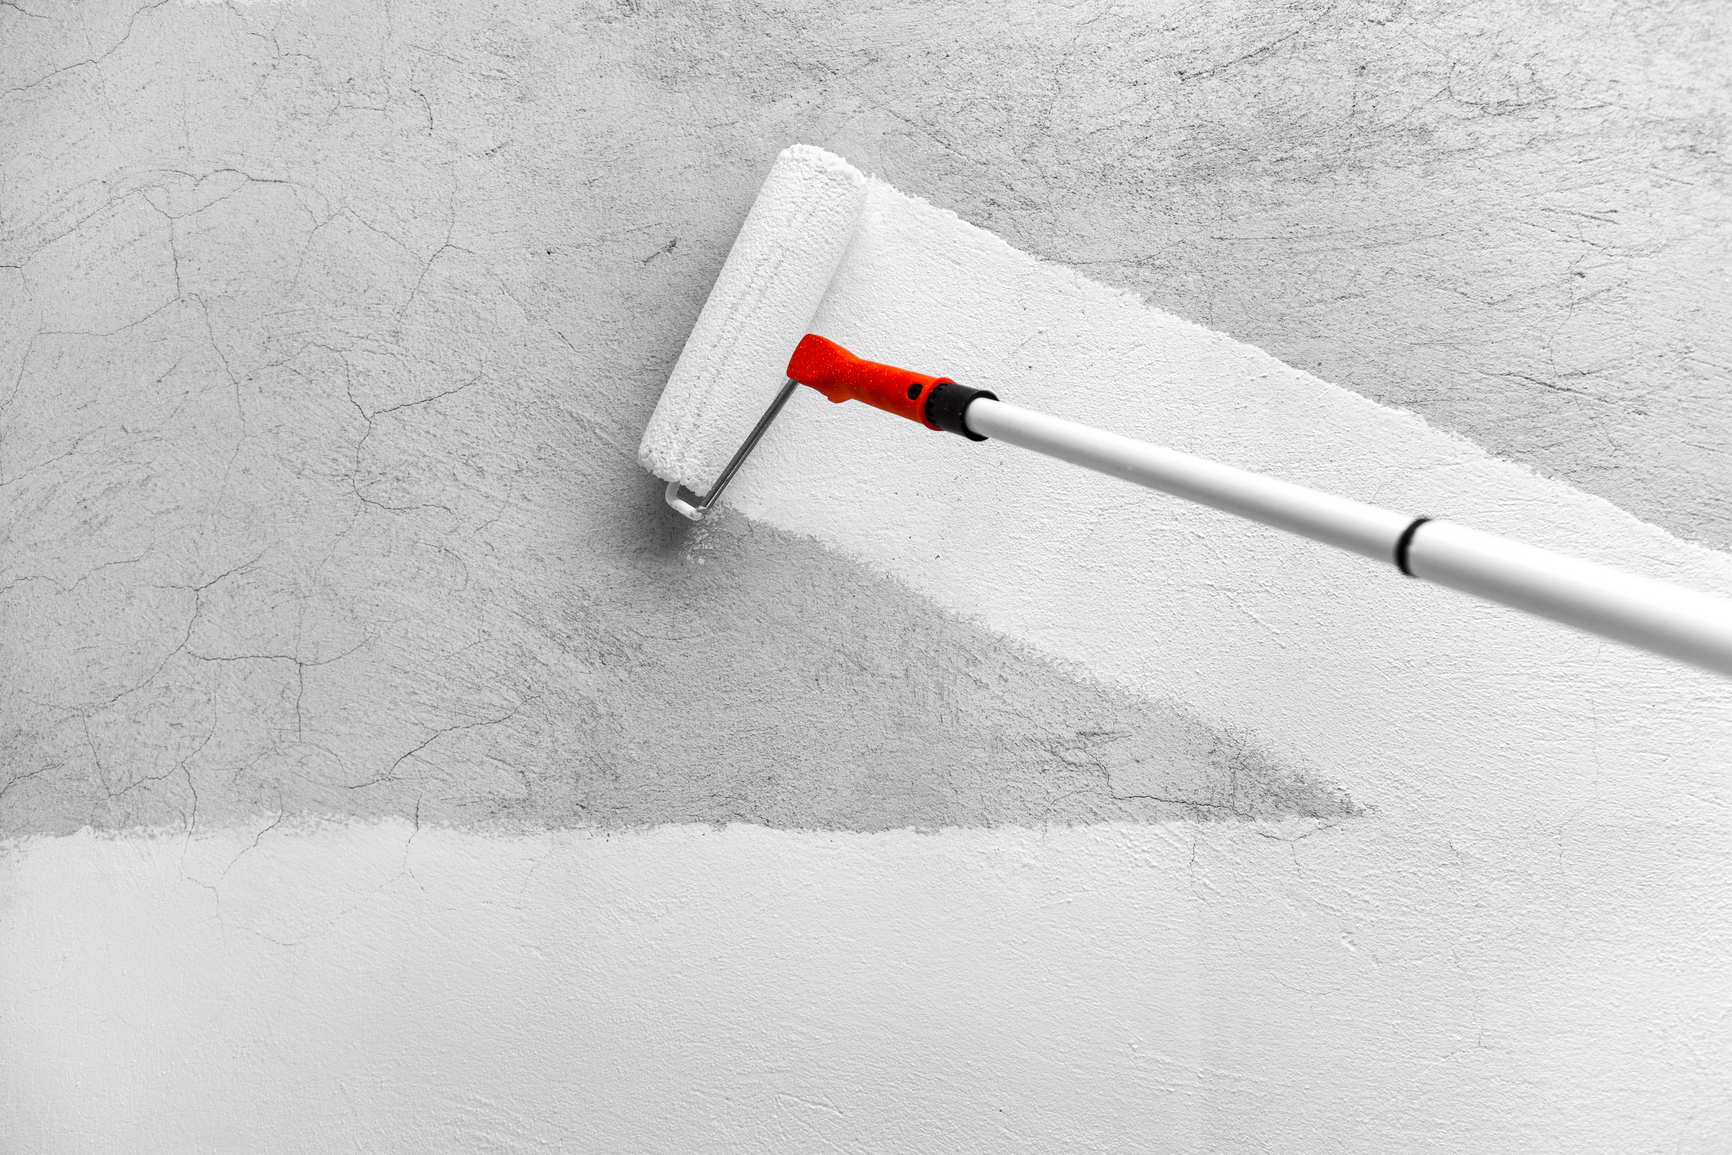
Primer is an important step in preparing your walls for painting. It helps to seal the surface and creates a smooth, even base for the paint to adhere to. Use a high-quality primer and apply it evenly with a paintbrush or roller. Be sure to cover the entire wall, including the edges and corners.6. Apply a coat of primer
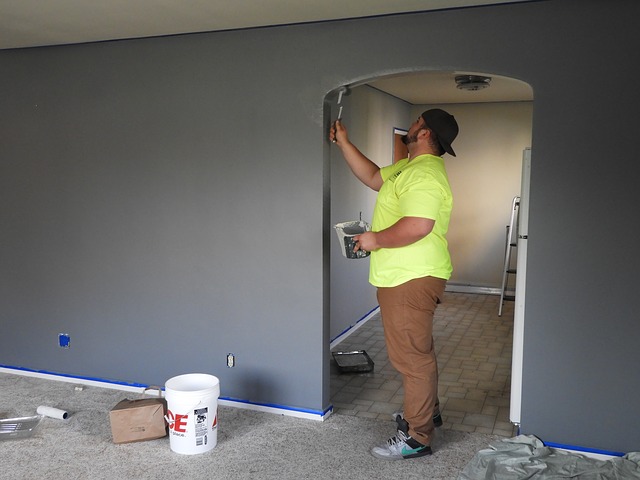
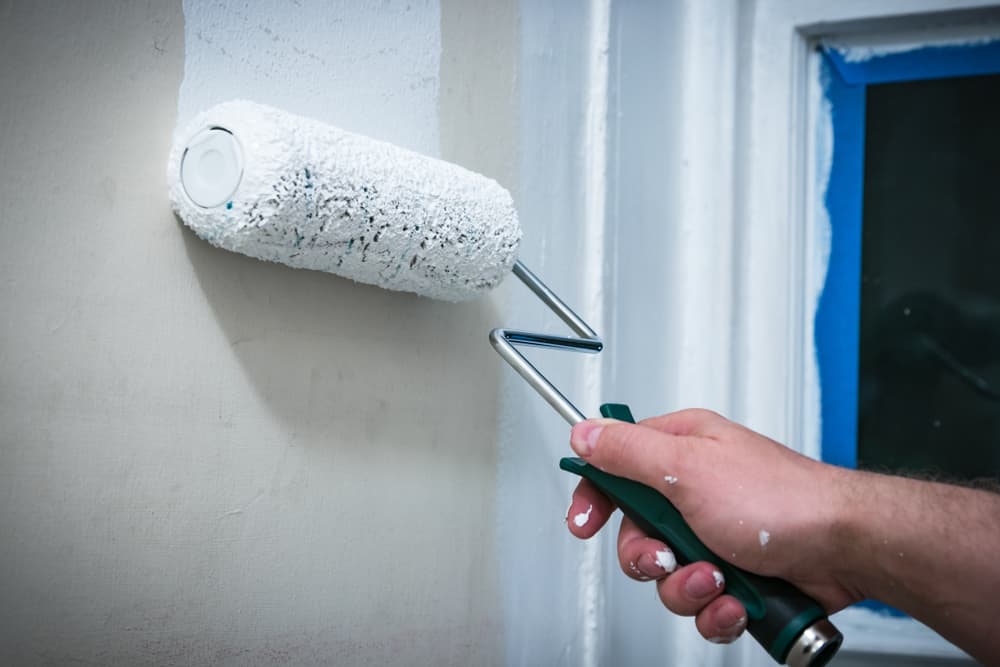
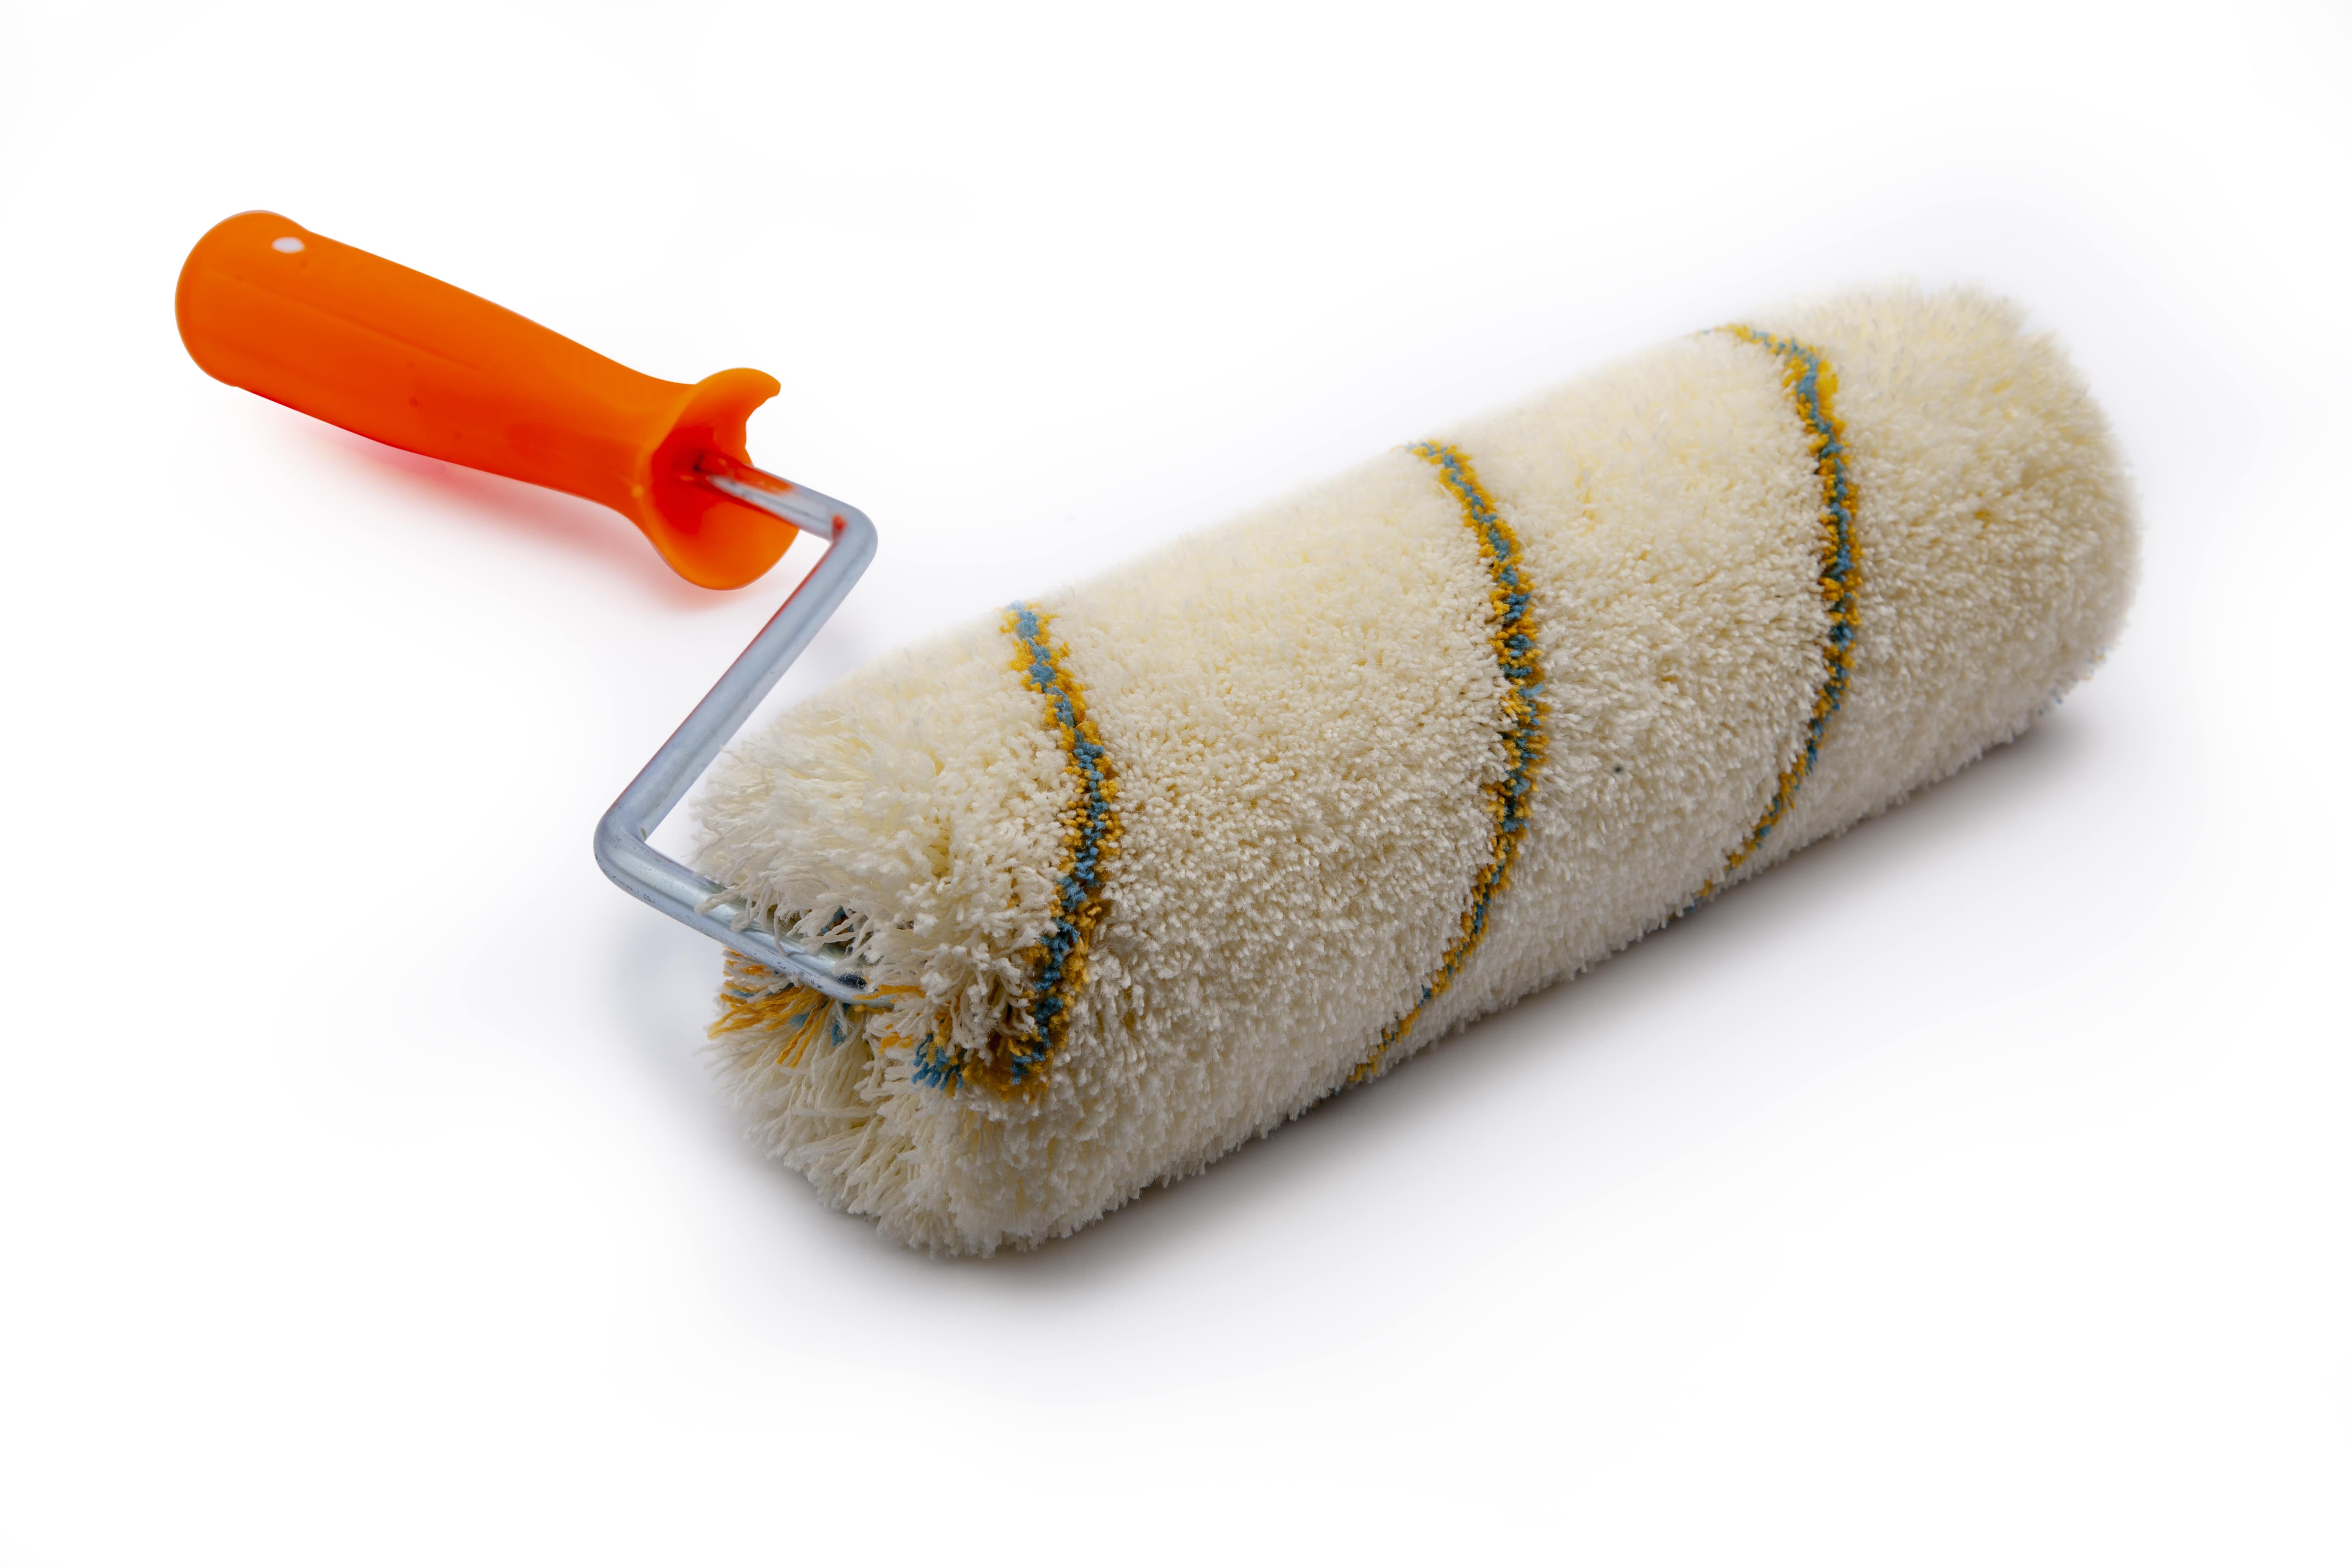
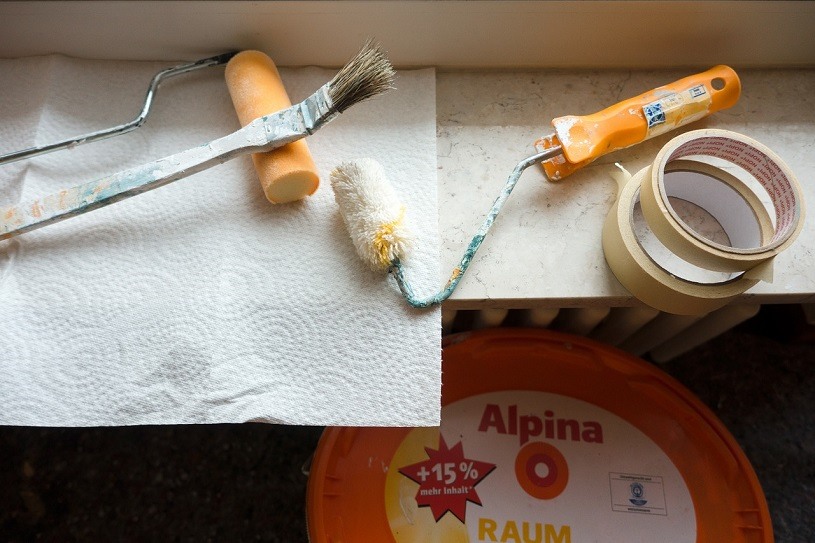
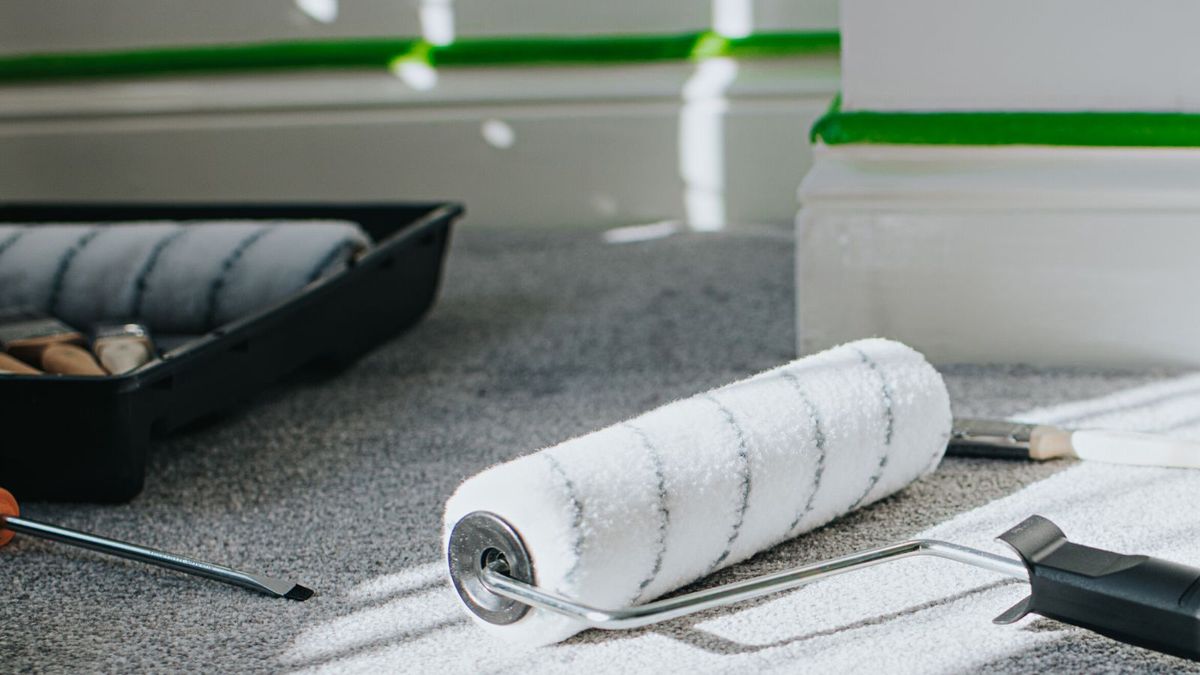
When it comes to painting your kitchen walls, it's worth investing in a high-quality paint and paintbrush or roller. This will ensure that the paint goes on smoothly and evenly, giving you a professional-looking finish. Choose a paint that is specifically designed for kitchens, as it will be more durable and easier to clean.7. Use a high-quality paint and paintbrush or roller
Instead of trying to cover your walls with one thick coat of paint, it's better to apply multiple thin coats. This will give you better coverage and a smoother finish. Allow each coat to dry completely before applying the next one, and be sure to follow the manufacturer's recommended drying time.8. Apply multiple thin coats of paint
It's important to be patient and allow the paint to dry completely between coats. This will ensure that the paint adheres properly and will prevent any peeling or cracking in the future. Follow the manufacturer's recommended drying time, and avoid touching or leaning on the walls until they are completely dry.9. Allow paint to dry completely between coats
Once your final coat of paint is dry, carefully remove the painter's tape to reveal clean, crisp edges. If you notice any missed spots or imperfections, use a small paintbrush to touch them up. Once your walls are completely dry, you can begin to enjoy your newly painted kitchen!10. Remove painter's tape and touch up any missed spots
Preparing Your Kitchen Wall for a Fresh Coat of Paint
Transform Your Kitchen with a Fresh Coat of Paint
 When it comes to house design, the kitchen is often referred to as the heart of the home. It's where families gather, meals are prepared, and memories are made. That's why it's important to keep this space looking fresh and inviting. One of the easiest and most cost-effective ways to do this is by giving your kitchen walls a fresh coat of paint. However, before you can start painting, you need to properly prepare your kitchen walls to ensure a smooth and long-lasting finish.
Inspect Your Kitchen Walls
 Before you begin any painting project, it's important to inspect your kitchen walls for any damage or imperfections. Look for cracks, holes, or uneven surfaces. These issues should be addressed and fixed before you start painting. Use a putty knife to fill in any holes or cracks with spackling compound and sand down any rough spots. This will create a smooth and even surface for the paint to adhere to.
Clean Your Kitchen Walls
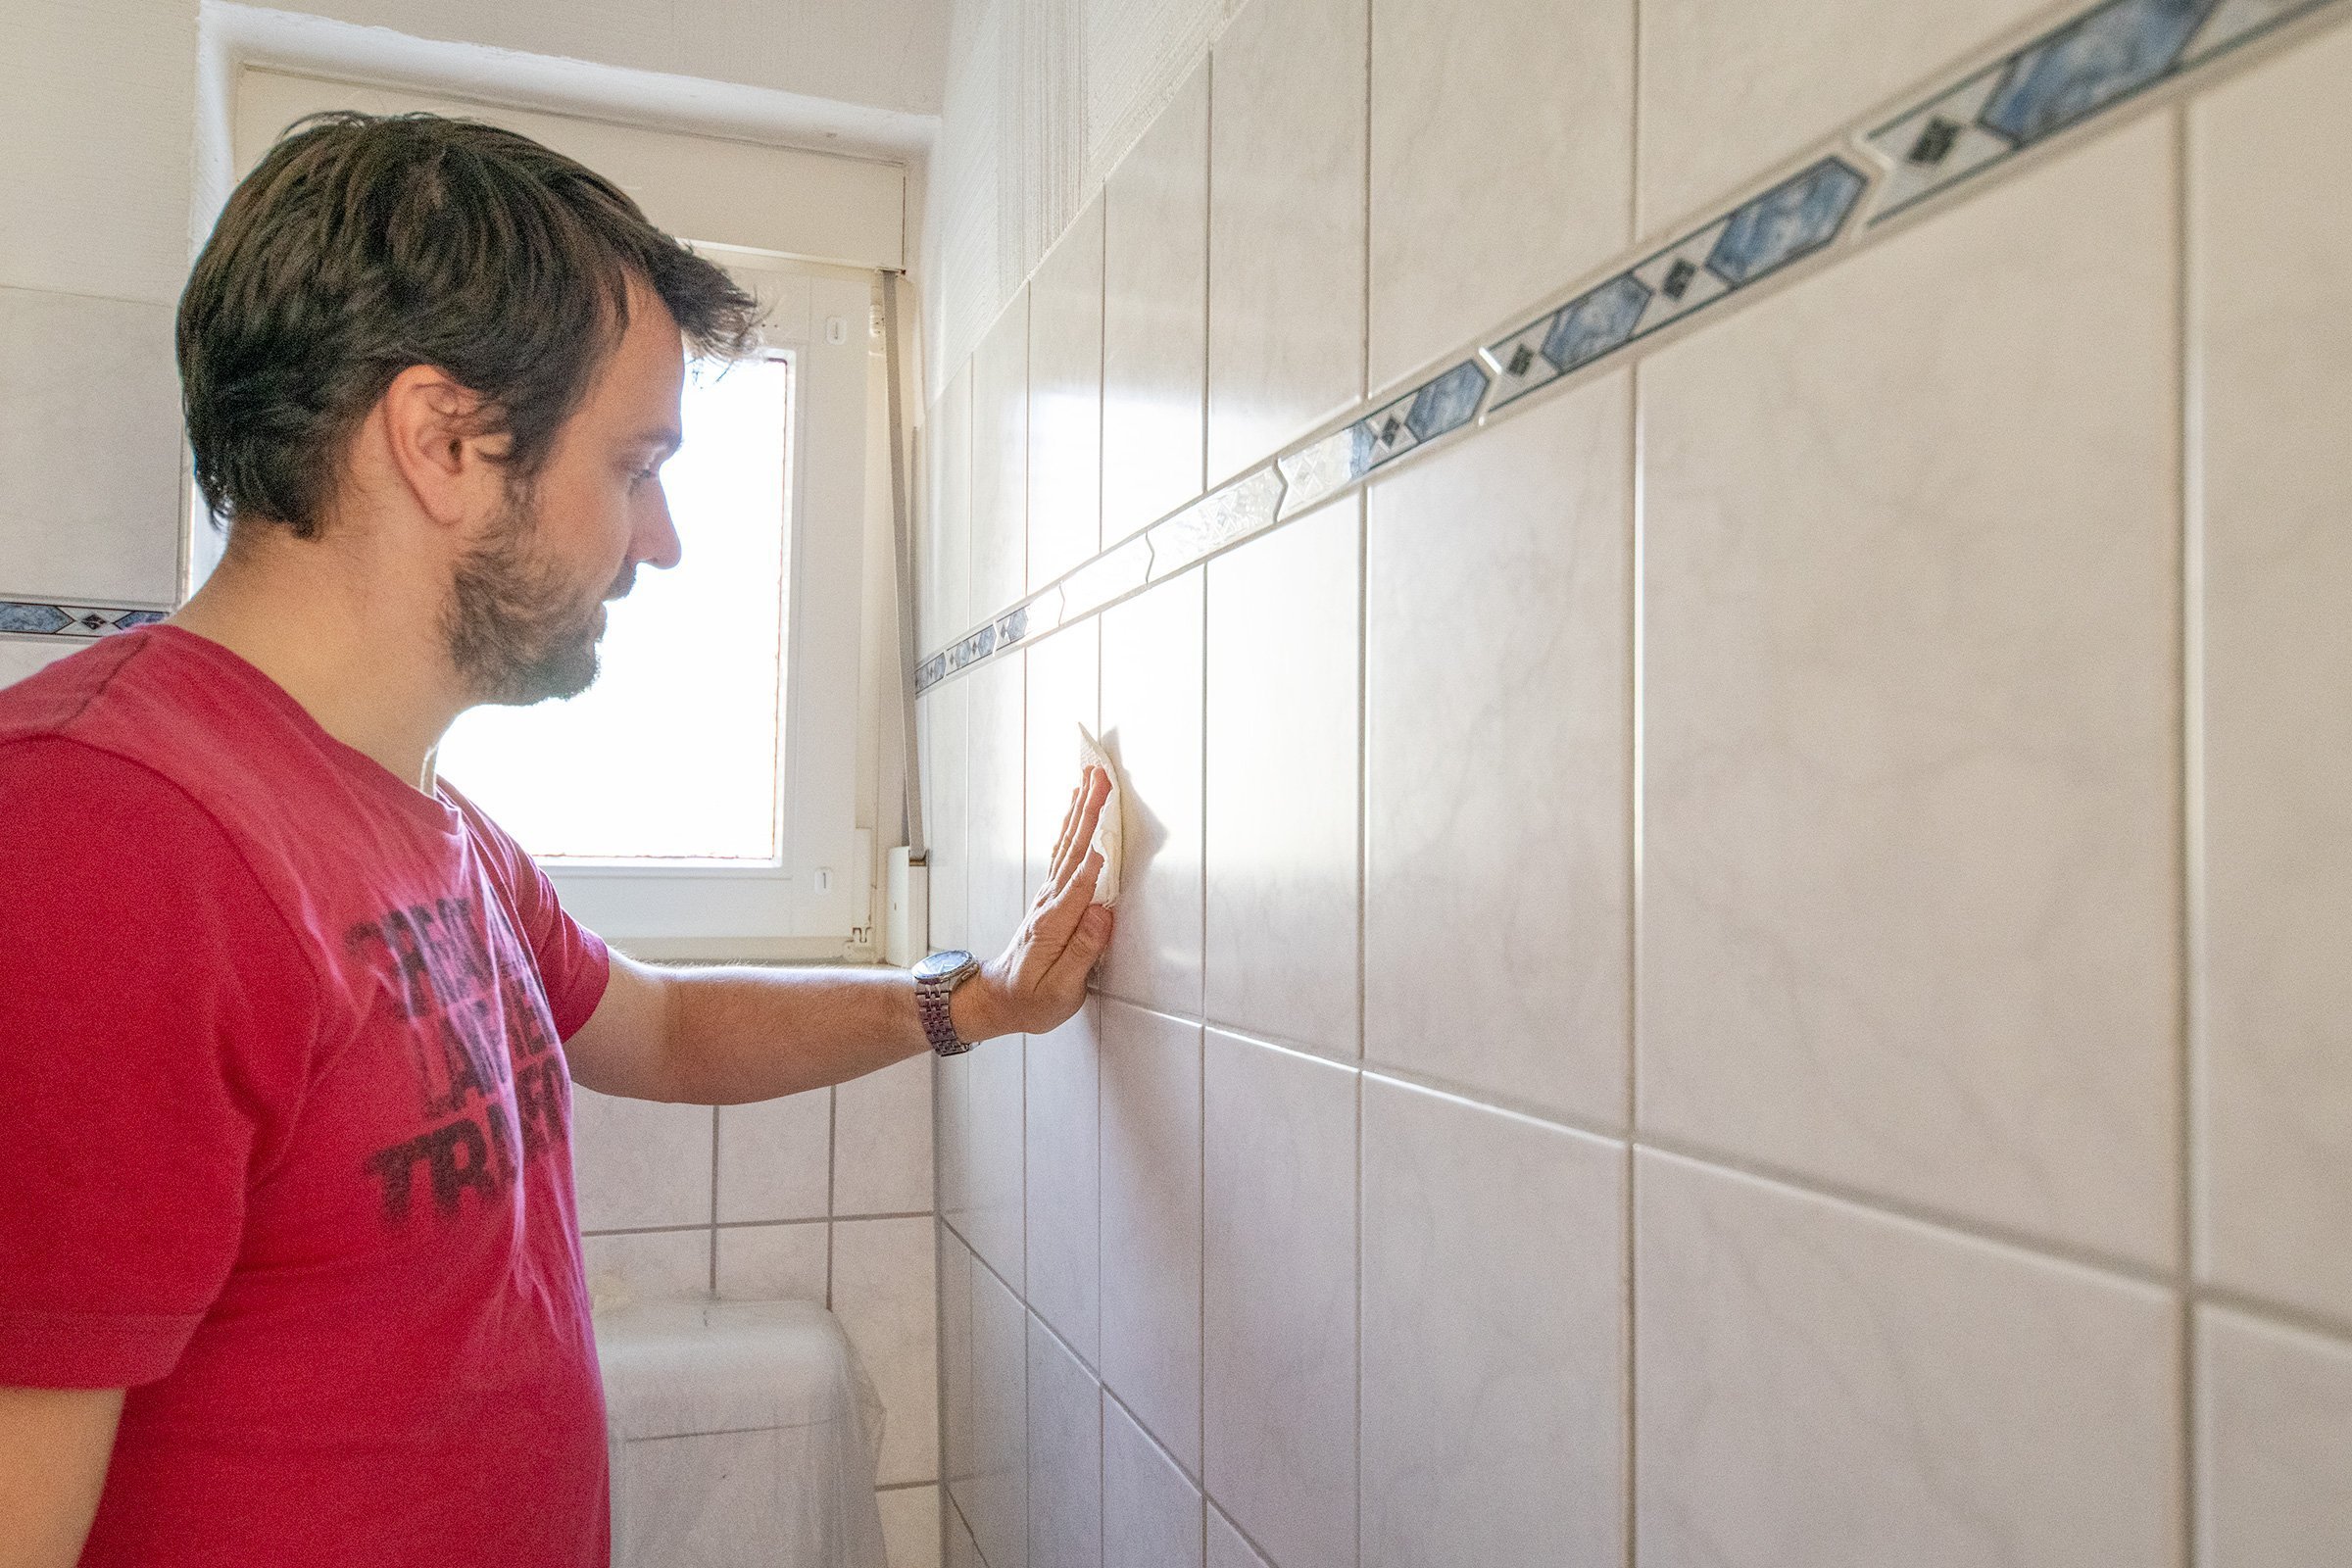 Next, it's important to thoroughly clean your kitchen walls. Over time, grease, dirt, and grime can build up on your walls, which can affect the paint's ability to adhere and create a smooth finish. Use a mixture of warm water and mild detergent to clean the walls. You can also use a degreaser for stubborn buildup. Once the walls are clean, rinse them with clean water and allow them to dry completely before moving on to the next step.
Protect Your Kitchen
 Before you start painting, it's important to protect your kitchen from any potential paint splatters or spills. Cover your countertops, floors, and any furniture with drop cloths or plastic sheeting. This will save you time and effort in the long run, as you won't have to worry about cleaning up any accidental messes.
Prime Your Kitchen Walls
 Using a high-quality primer is essential for a professional-looking paint job. Not only does it help the paint adhere better, but it also helps to cover up any imperfections on your walls. Apply a coat of primer to your kitchen walls and allow it to dry completely before moving on to the final step.
Get Ready to Paint
 Now that your kitchen walls are prepped and primed, it's time to paint! Choose a high-quality paint in a color that compliments your kitchen's design and style. Use a roller or paintbrush to apply the paint in long, even strokes. Allow the first coat to dry completely before applying a second coat. Once the final coat is dry, remove any protective coverings and admire your beautifully painted kitchen walls.
By following these simple steps, you can easily prepare your kitchen walls for a fresh coat of paint and transform your kitchen into a welcoming and stylish space.
Remember to always use high-quality materials and tools for the best results. With a little bit of effort and some creativity, you can give your kitchen a whole new look without breaking the bank.

















/detail-of-paint-peeling-of-a-brick-wall-976111072-4557ff5f0d3b4c92a0c889515661b6c7.jpg)

