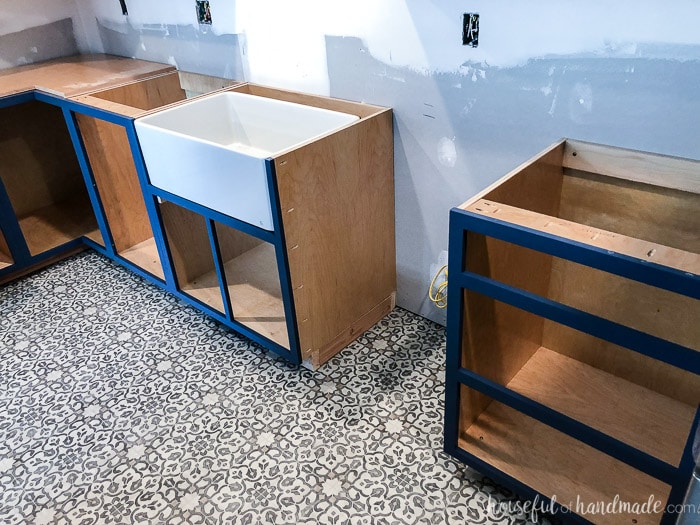
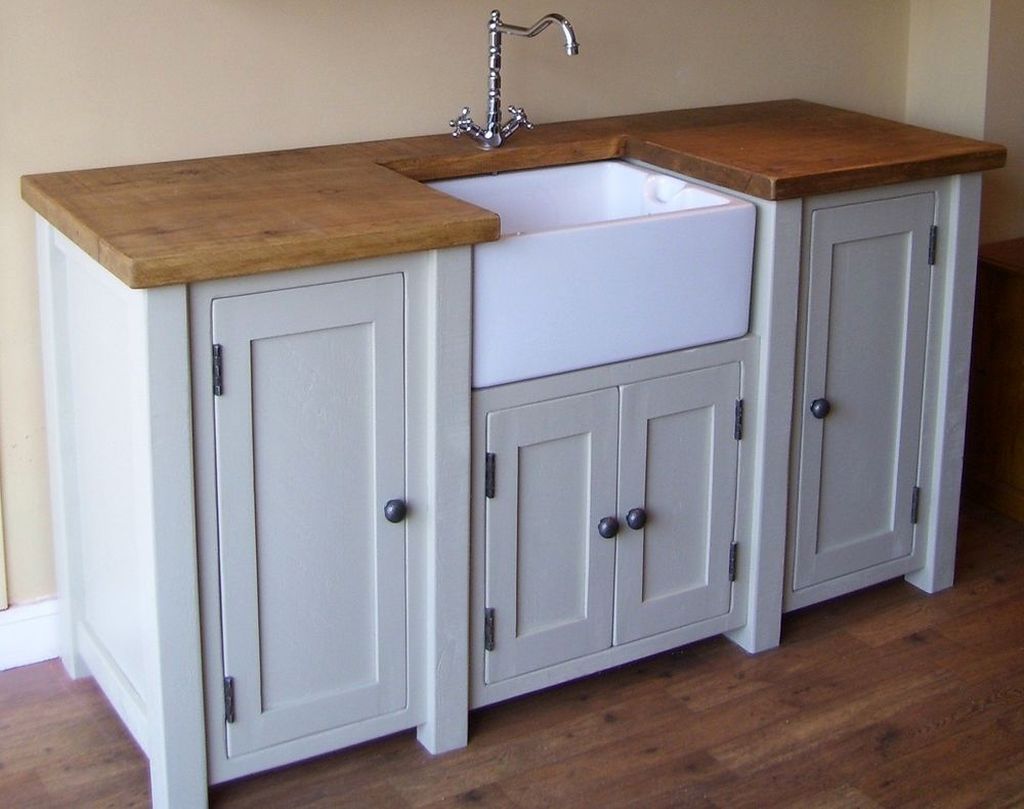
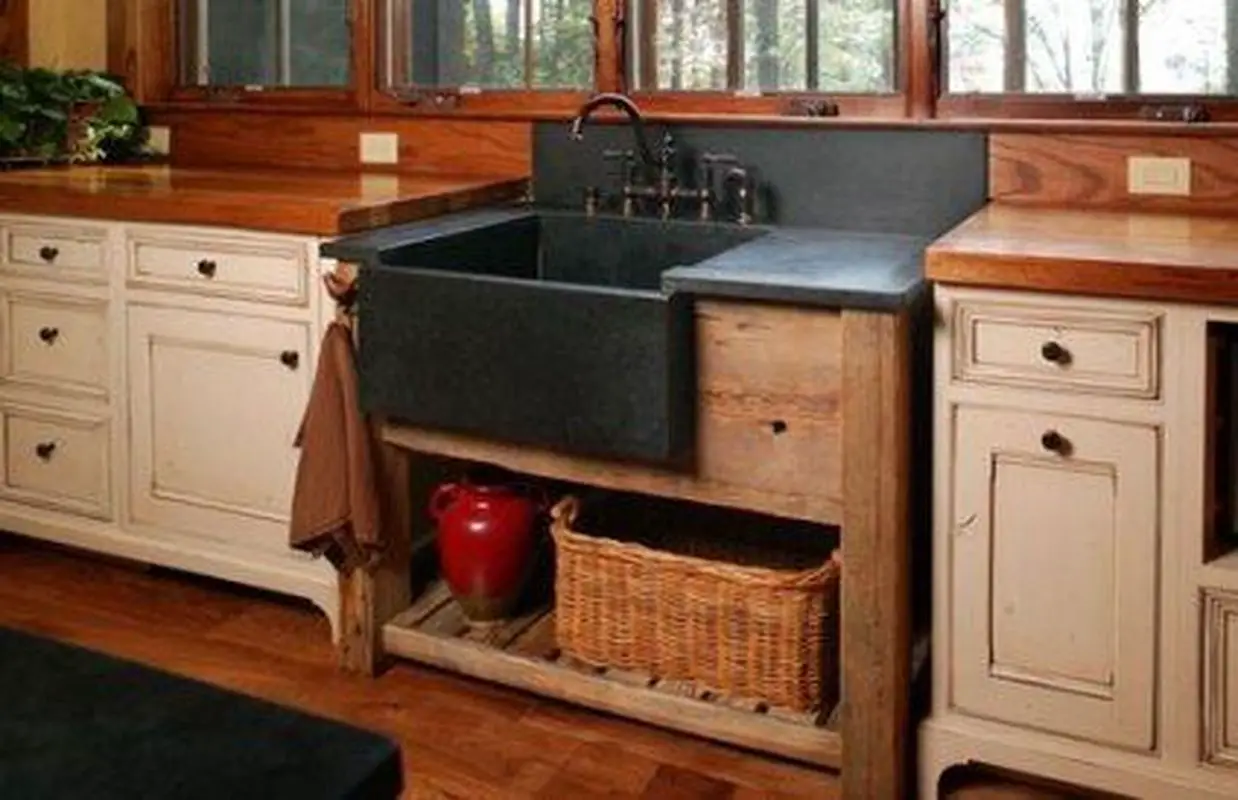
If you're looking to upgrade your kitchen, one of the essential components you need to consider is the sink base cabinet. This piece of furniture not only provides storage space for your kitchen essentials but also supports your kitchen sink. However, purchasing a ready-made sink base cabinet can be costly, and it may not always fit your kitchen's exact specifications. That's why building your own kitchen sink base cabinet is a cost-effective and customizable option. In this article, we'll discuss the top 10 main plans for a kitchen base sink cabinet that you can easily follow to build your own.How to Build a Kitchen Sink Base Cabinet
Before you start building, you need to determine the size and style of your kitchen sink base cabinet. Measure the space where you plan to install the cabinet and take into account the size of your sink. You'll also need to decide on the style of your cabinet, whether it's a traditional or modern design. Having a clear idea of the size and style will help you determine the materials and tools you'll need.1. Determine the Size and Style
Now that you know the size and style of your sink base cabinet, it's time to gather the necessary materials and tools. You'll need plywood or MDF boards for the cabinet frame, screws, wood glue, and a circular saw or jigsaw. You'll also need a drill, measuring tape, and a level to ensure your cabinet is sturdy and level.2. Gather Materials and Tools
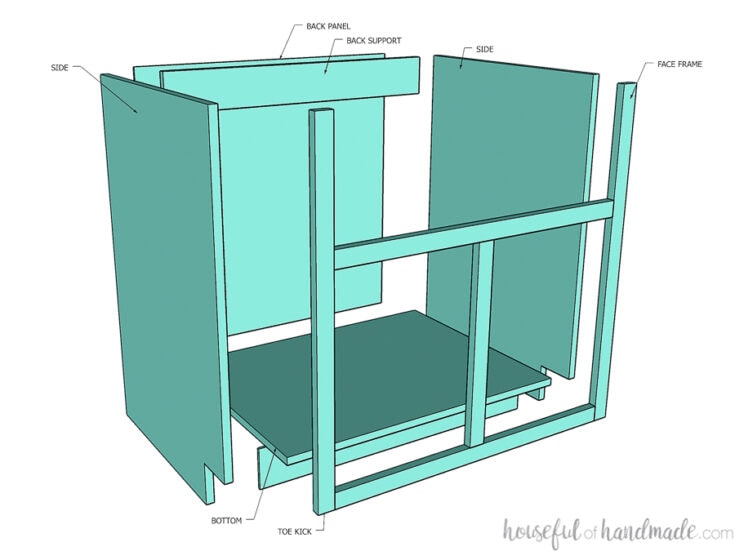
Using your circular saw or jigsaw, cut the boards according to your measurements. You'll need four pieces for the sides and top and bottom of the cabinet, and two more for the back. Make sure to cut the boards precisely to ensure a professional-looking cabinet.3. Cut the Boards
Once you have all the boards cut, it's time to assemble the frame of the cabinet. Start by attaching the top and bottom boards to the sides using wood glue and screws. Then, attach the back boards to the frame. Make sure to use a level to ensure the frame is straight and sturdy.4. Assemble the Frame
If you want shelves or dividers inside your sink base cabinet, now is the time to install them. Cut the boards according to your desired measurements and attach them to the frame using wood glue and screws. This will provide you with additional storage space and help organize your cabinet.5. Install Shelves and Dividers
Before installing the cabinet, you need to cut out a hole for your sink. Measure the size of your sink and mark the area on the top board of the cabinet. Use a jigsaw or hole saw to cut out the hole. Make sure to leave enough space for the sink to fit comfortably.6. Cut Out Sink Hole
If you want your sink base cabinet to have legs, now is the time to install them. Measure and cut four pieces of wood to the desired length and attach them to the bottom of the cabinet using wood glue and screws. This will provide extra stability and elevate the cabinet off the ground, making it easier to clean underneath.7. Install Cabinet Legs
Before installing the cabinet, it's essential to sand it down to create a smooth surface. You can also paint or stain the cabinet to match your kitchen's color scheme. Make sure to let the paint dry completely before moving on to the next step.8. Sand and Paint the Cabinet
Once the cabinet is assembled, it's time to install it in your kitchen. Use a level to ensure the cabinet is straight and attach it to the wall using screws. You can also attach it to the neighboring cabinets for extra stability.9. Install the Cabinet
Designing the Perfect Kitchen Base Sink Cabinet

Maximizing Space and Functionality
 When it comes to designing a kitchen, one of the most important factors to consider is the functionality and efficient use of space. This is where the kitchen base sink cabinet comes into play. Not only does it serve as a storage area for your kitchen essentials, but it also holds your sink, one of the most used areas in the kitchen. In order to make the most out of your kitchen base sink cabinet, it is crucial to carefully plan and design its layout.
Customization and Personalization
 One of the great things about kitchen base sink cabinets is that they can be customized and personalized to fit your specific needs and preferences. Whether you prefer a traditional or modern style, there are various options for you to choose from. You can also decide on the type of material, color, and finish that best complements the overall design of your kitchen. Additionally, you can add features such as pull-out shelves, spice racks, and even a built-in cutting board to make your cabinet more functional and tailored to your cooking habits.
Considerations for Installation
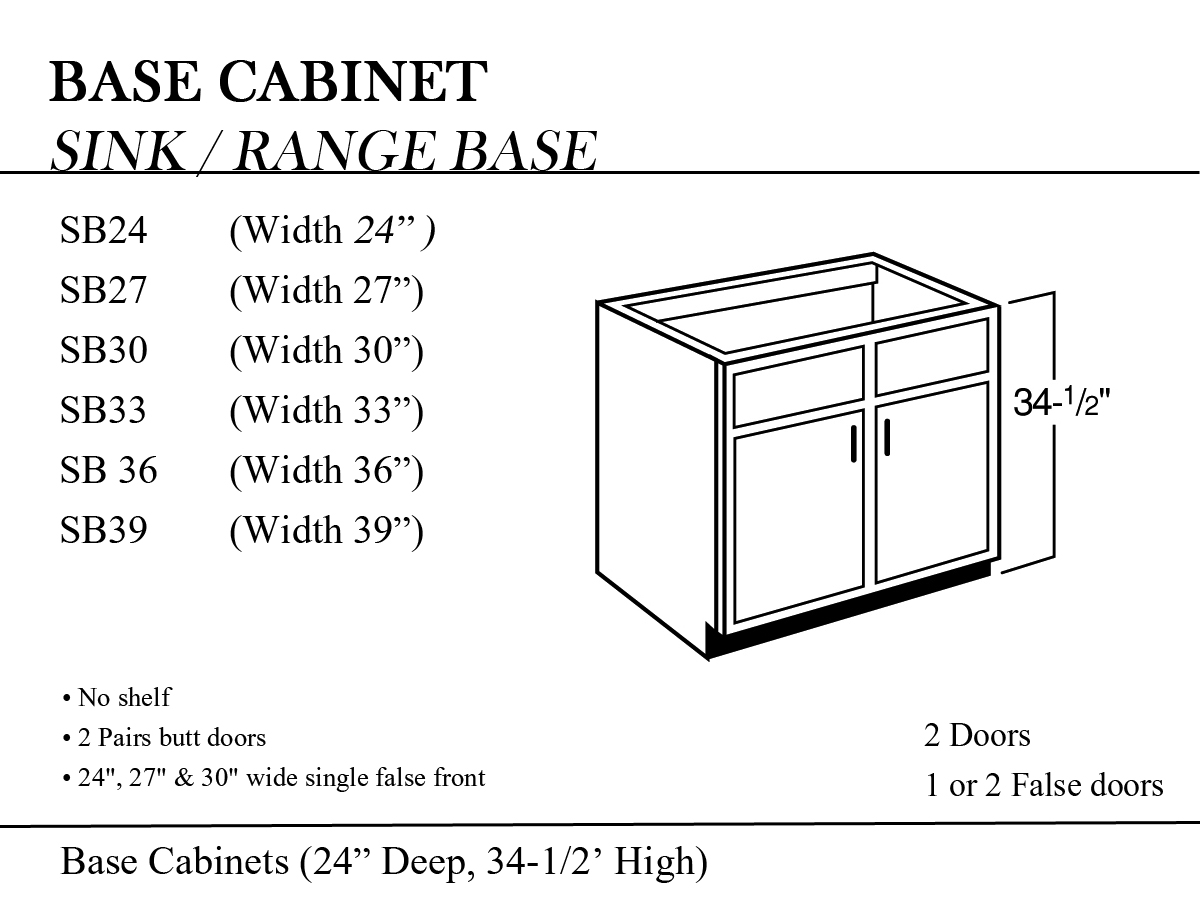 When planning for your kitchen base sink cabinet, it is important to take into consideration the installation process. Make sure to accurately measure the space where the cabinet will be placed, as well as the size of your sink and other fixtures. This will ensure a seamless installation process and prevent any potential issues in the future. It is also recommended to consult with a professional contractor to ensure that the cabinet is securely installed and meets all safety standards.
Quality and Durability
 Investing in a high-quality kitchen base sink cabinet is crucial for the longevity and functionality of your kitchen. Look for cabinets made from durable materials such as solid wood or plywood, as well as a sturdy construction. This will not only ensure that your cabinet can withstand daily use, but also add value to your home in the long run. Don't be afraid to splurge a little on a quality cabinet, as it can save you from the hassle of frequent replacements and repairs.
In Conclusion
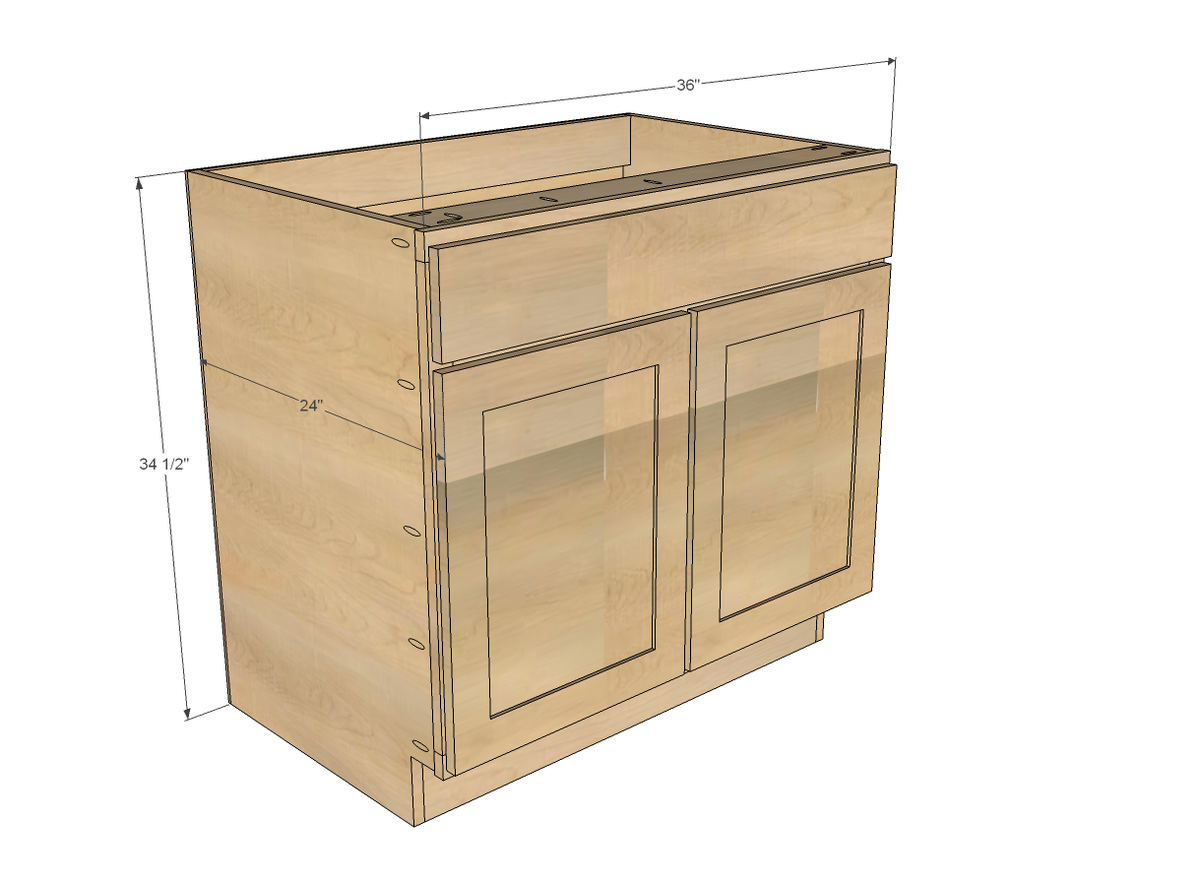 A well-designed kitchen base sink cabinet is an essential component of any functional and stylish kitchen. By considering the layout, customization options, installation process, and quality of materials, you can create a cabinet that not only meets your needs, but also elevates the overall design of your kitchen. Remember to carefully plan and invest in a high-quality cabinet, and you will have a functional and beautiful kitchen for years to come.



/interiors-of-the-kitchen-126173645-5835288f5f9b58d5b1b96af2.jpg)
