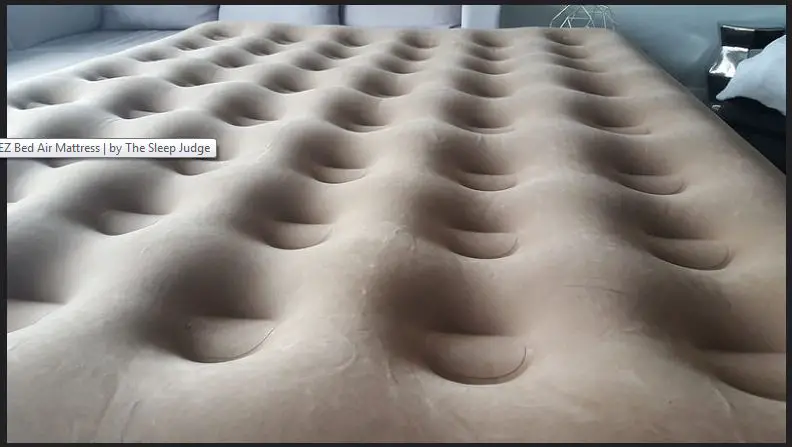
An air mattress can be a convenient and comfortable option for sleeping, whether for guests or for camping trips. However, over time, these mattresses can develop leaks and lose air, making them uncomfortable and unusable. The good news is that patching an air mattress is a simple and cost-effective solution. With the right tools and techniques, you can easily repair your air mattress and have it ready for use in no time. Here's a step-by-step guide on how to patch an air mattress.How to Patch an Air Mattress


How to Patch an Air Mattress


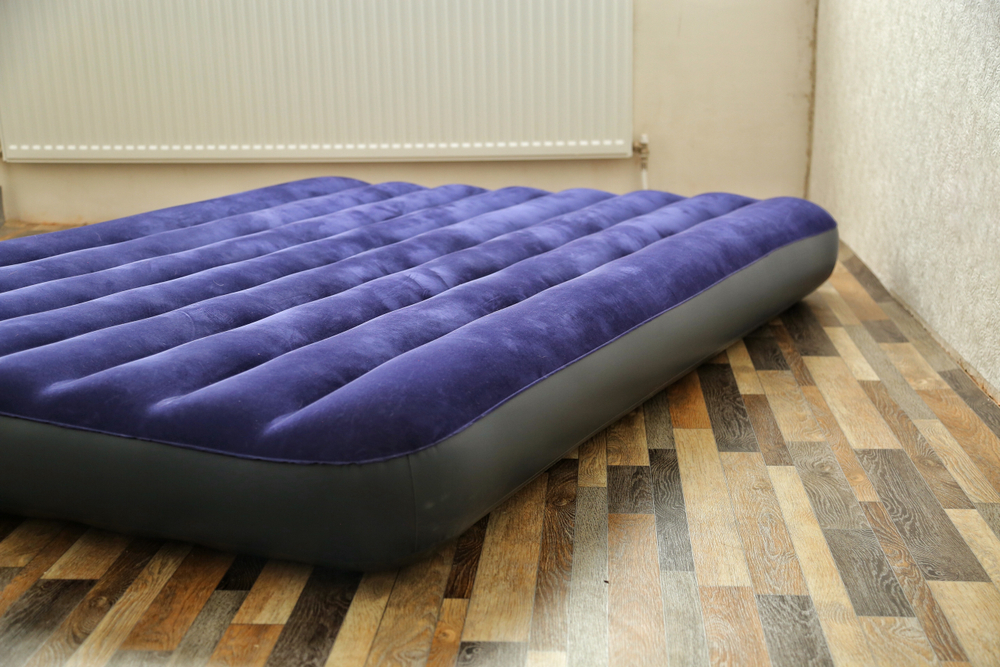
:max_bytes(150000):strip_icc()/inflatable-mattress-in-an-empty-room-1165771286-cdef8878a02c456188562f33c8f66d5d.jpg)

If you have a punctured air mattress, you can save money by fixing it yourself rather than purchasing a new one. DIY patching is a simple and effective solution that can be done with materials you may already have at home. The key is to identify the leak and properly seal it using the right tools and techniques.DIY Air Mattress Patching


DIY Air Mattress Patching


The first step in repairing an air mattress is to locate the leak. This can be done by inflating the mattress and listening for the sound of air escaping, or by applying a mixture of soap and water to the surface of the mattress and looking for bubbles. Once you've identified the leak, follow these steps to repair it:Steps for Repairing an Air Mattress


Steps for Repairing an Air Mattress


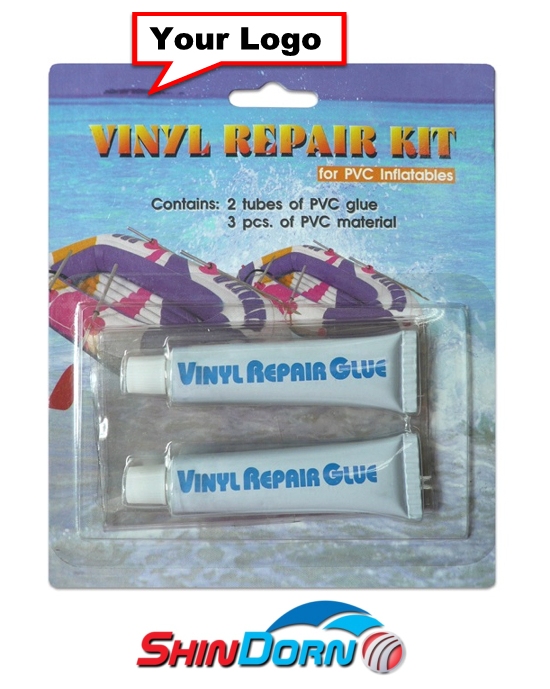
Having a good quality air mattress patch kit on hand is essential for any air mattress owner. These kits typically include everything you need to patch your air mattress, including adhesive, patches, and instructions. While some kits may be specifically designed for certain brands or types of air mattresses, there are universal kits available that can work for most leaks.Air Mattress Patch Kit


Air Mattress Patch Kit


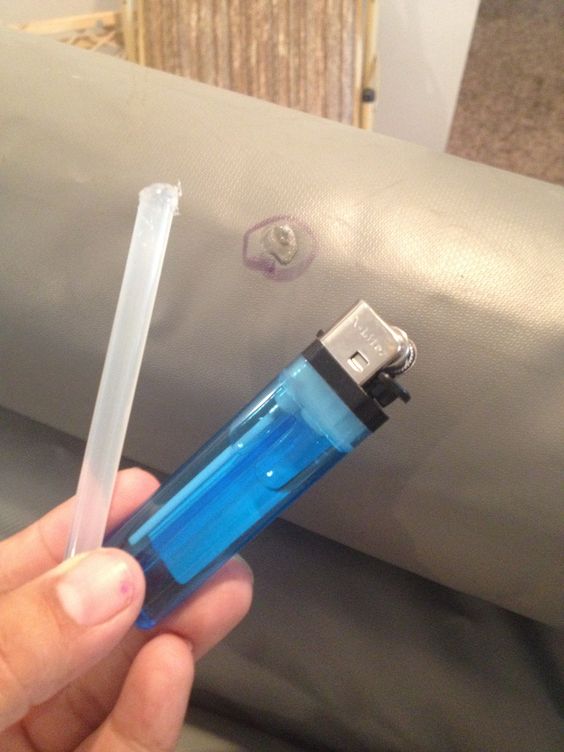
If you don't have a patch kit on hand or need a quick fix for a small leak, there are a few temporary solutions you can try. These may not be as long-lasting as a proper patch, but they can provide a temporary fix until you can properly repair your air mattress.Quick Fixes for a Leaky Air Mattress


Quick Fixes for a Leaky Air Mattress


If you have a larger hole or tear in your air mattress, a patch kit may not be enough to repair it. In this case, you may need to use a special air mattress repair glue or sealant. These products are specifically designed to fill in larger holes and create a strong bond that can withstand the weight and pressure of the mattress.Fixing a Hole in an Air Mattress


Fixing a Hole in an Air Mattress


When it comes to patching an air mattress, there are a few tips and tricks that can help make the process easier and more effective. These include:Air Mattress Repair Tips

Air Mattress Repair Tips


Once you've successfully patched the leak in your air mattress, it's important to properly seal it to prevent any future leaks. To do this, make sure the patch is completely dry and then apply a thin layer of sealant over the patch. This will help to reinforce the patch and ensure a strong bond.Sealing an Air Mattress Leak


Sealing an Air Mattress Leak


While there are several methods for patching an air mattress, the best method will depend on the type and size of the leak. For small punctures and tears, a patch kit or DIY patching method may be sufficient. For larger holes, using a special repair glue or sealant may be necessary. If you're unsure of the best method for your specific leak, it's always best to consult the manufacturer or a professional for advice.Best Methods for Patching an Air Mattress


Best Methods for Patching an Air Mattress


Finding and fixing a leak in an air mattress may seem like a daunting task, but with the right tools and techniques, it can be a simple and easy process. By regularly checking your air mattress for leaks and properly patching and sealing them, you can extend the life of your mattress and ensure a comfortable night's sleep for years to come.How to Find and Fix a Leak in an Air Mattress


How to Find and Fix a Leak in an Air Mattress


Patching an Air Mattress: A Simple Solution for a Common Household Problem

Why Patching an Air Mattress is Important
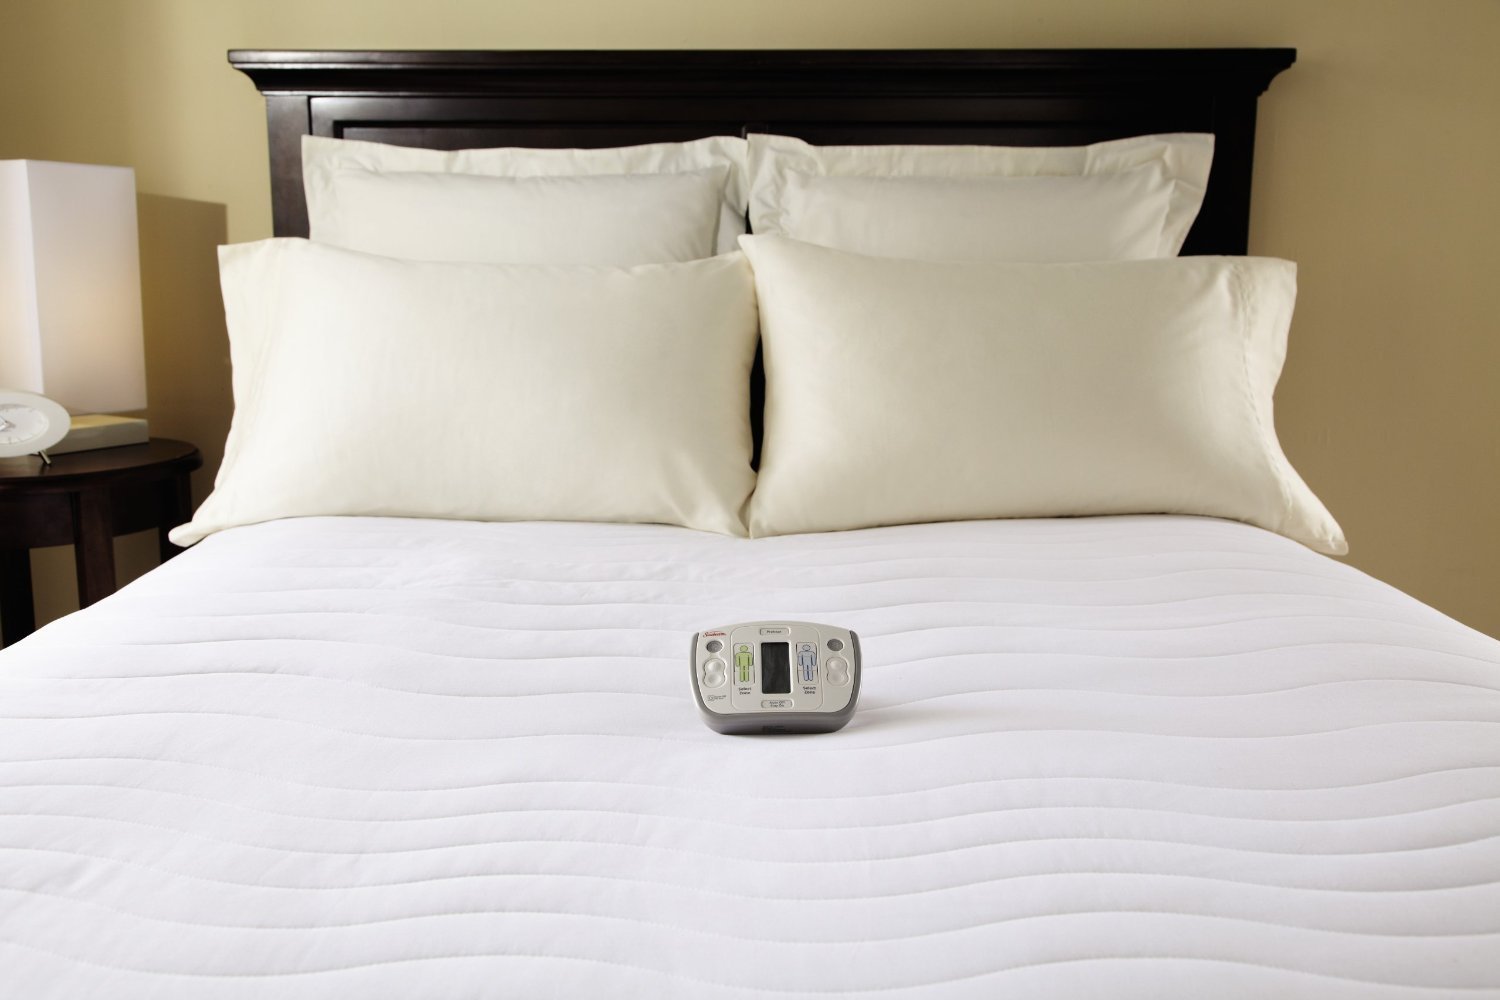
 Air mattresses are a popular choice for temporary sleeping arrangements, camping trips, and even as a permanent bed for some people. However, like any inflatable product, they are susceptible to punctures and leaks. This can be a major inconvenience and can even ruin your plans if you don't know how to properly patch your air mattress. That's why it's important to learn how to patch an air mattress in order to prolong its lifespan and save yourself the hassle of constantly buying new ones.
How to Identify a Leak
 The first step in patching an air mattress is identifying the leak. This can be done by inflating the mattress and running your hand over the surface, feeling for any escaping air. Another method is to listen for a hissing sound while the mattress is inflated. If you are unable to locate the leak, you can also submerge the mattress in water and look for bubbles. Once you have identified the location of the leak, you can begin the patching process.
Materials Needed for Patching
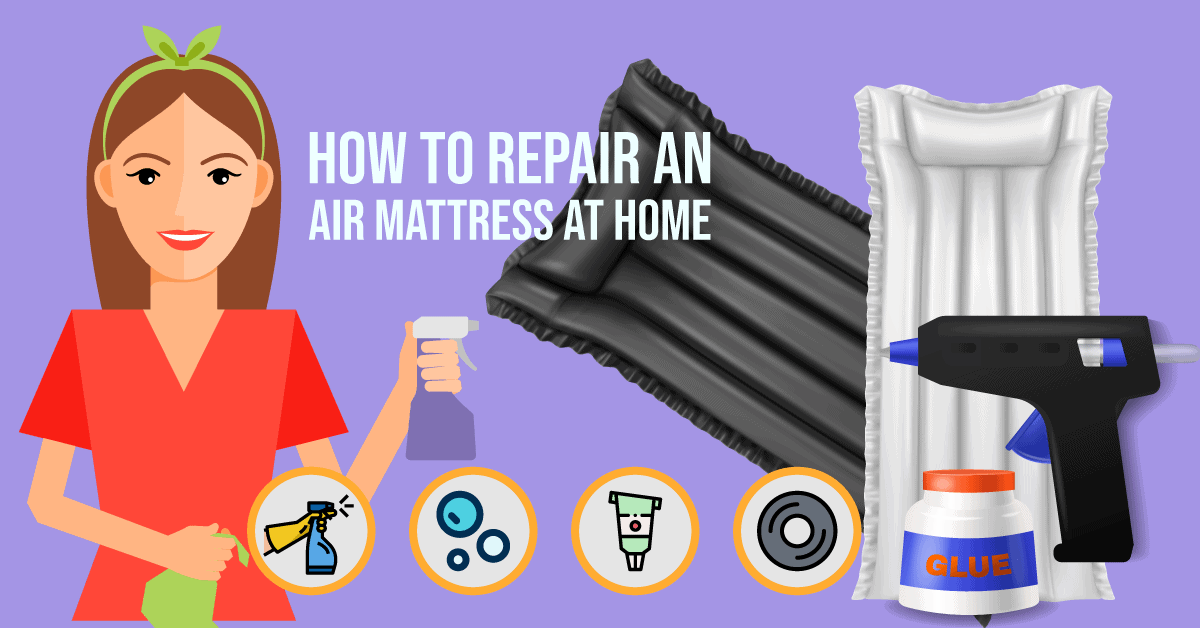
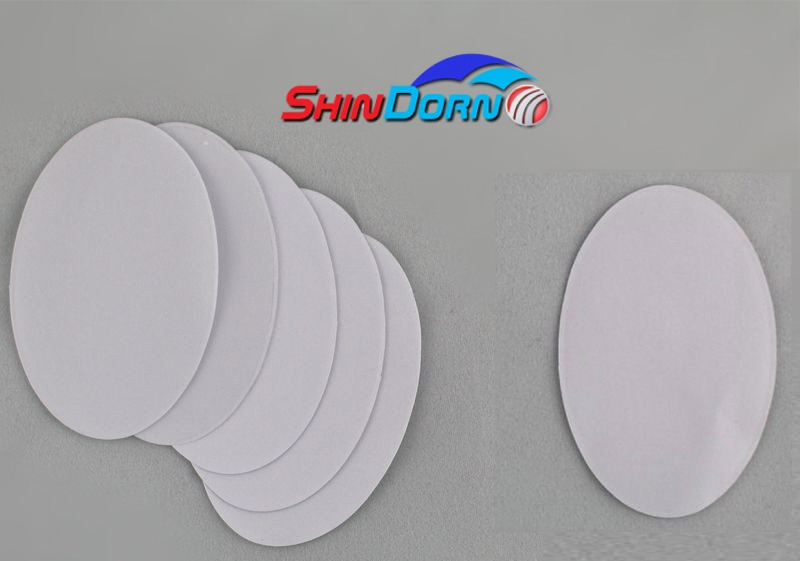
 Before you start patching your air mattress, make sure you have all the necessary materials. You will need a patch kit, which can usually be purchased from the manufacturer or at a local hardware store. The patch kit typically includes a patch, adhesive, and sometimes sandpaper. You may also need scissors, a marker, and a clean cloth.
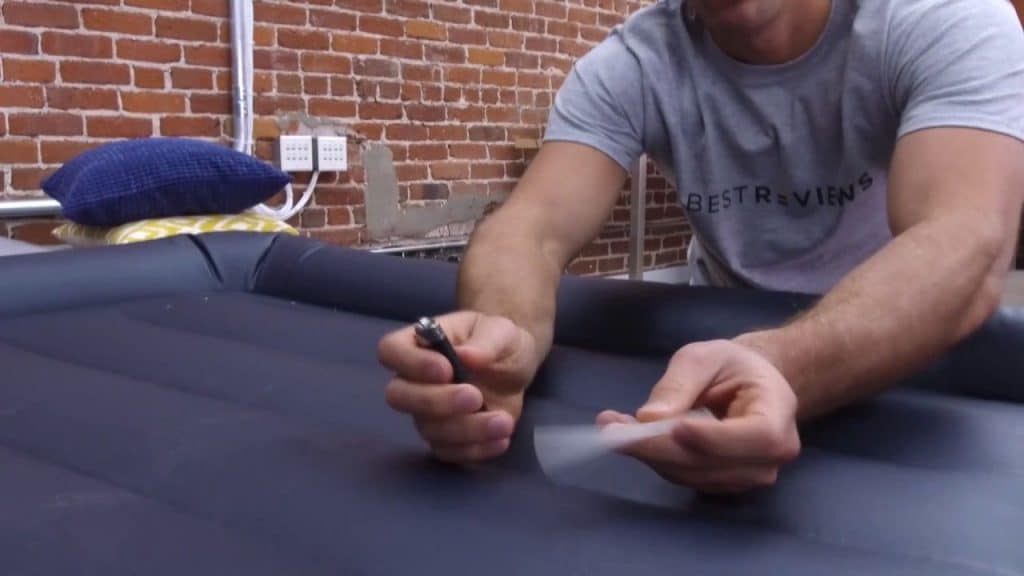
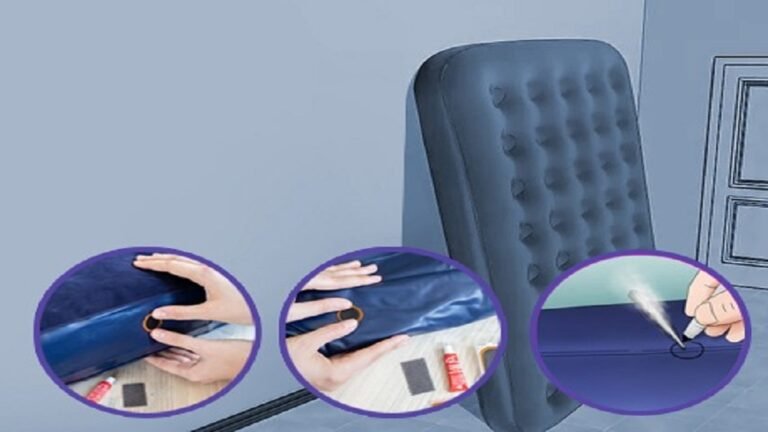
The Patching Process
:max_bytes(150000):strip_icc()/81QHm8NXr2L._AC_SL1500_1-17bafdc326cf4922b0d8acca4d9b5639.jpg) 1. Begin by deflating the air mattress completely and wiping the area around the leak with a clean cloth to remove any dirt or debris.
2. Use the marker to mark the location of the leak.
3. If your patch kit includes sandpaper, lightly sand the area around the leak to create a rough surface for the adhesive to adhere to.
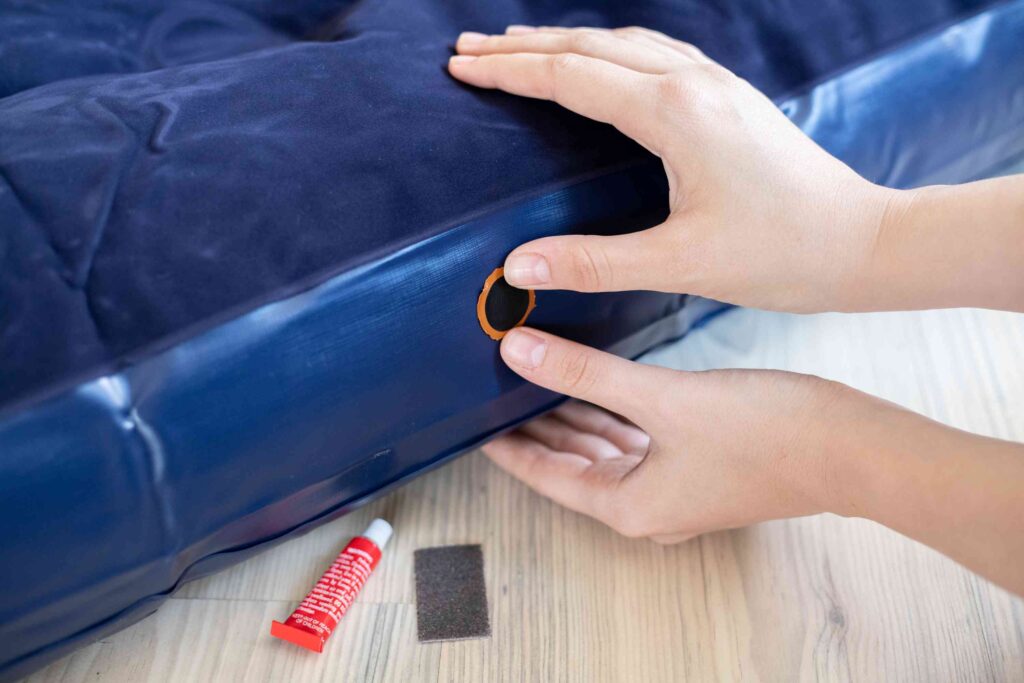
4. Apply a thin layer of adhesive to the patch and the area around the leak.
5. Carefully place the patch over the leak and press down firmly to ensure it is securely in place.
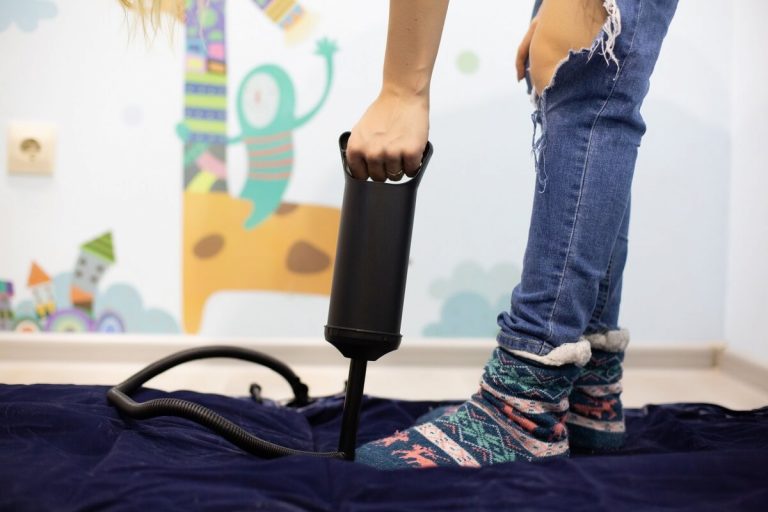
6. Allow the adhesive to dry completely before inflating the mattress again.
7. Once the adhesive has dried, inflate the mattress and check for any additional leaks. If there are any, repeat the patching process.
1. Begin by deflating the air mattress completely and wiping the area around the leak with a clean cloth to remove any dirt or debris.
2. Use the marker to mark the location of the leak.
3. If your patch kit includes sandpaper, lightly sand the area around the leak to create a rough surface for the adhesive to adhere to.
4. Apply a thin layer of adhesive to the patch and the area around the leak.
5. Carefully place the patch over the leak and press down firmly to ensure it is securely in place.
6. Allow the adhesive to dry completely before inflating the mattress again.
7. Once the adhesive has dried, inflate the mattress and check for any additional leaks. If there are any, repeat the patching process.
Tips for Successful Patching
 - Make sure the area around the leak is completely dry before applying the patch.
- Use a generous amount of adhesive to ensure a strong bond between the patch and the mattress.
- Let the adhesive dry completely before inflating the mattress again.
- Test the patch by applying pressure to the area to make sure it is secure and there are no additional leaks.
- Make sure the area around the leak is completely dry before applying the patch.
- Use a generous amount of adhesive to ensure a strong bond between the patch and the mattress.
- Let the adhesive dry completely before inflating the mattress again.
- Test the patch by applying pressure to the area to make sure it is secure and there are no additional leaks.
In Conclusion
 Knowing how to patch an air mattress is a valuable skill that can save you time and money. By following these simple steps and using the right materials, you can easily repair any leaks and extend the life of your air mattress. Don't let a puncture ruin your plans, be prepared and patch your air mattress with confidence.