How to Patch a Leak in an Air Mattress
Having an air mattress is great for accommodating guests or for camping trips, but it can be frustrating when it starts leaking. There's nothing worse than waking up on the cold, hard ground because your air mattress has deflated overnight. Don't worry, though, because with the right tools and techniques, you can easily patch a leak in your air mattress and get back to enjoying a comfortable night's sleep. Here are 10 steps to help you patch a leak in an air mattress like a pro.


How to Patch a Leak in an Air Mattress


How to Repair an Air Mattress Leak
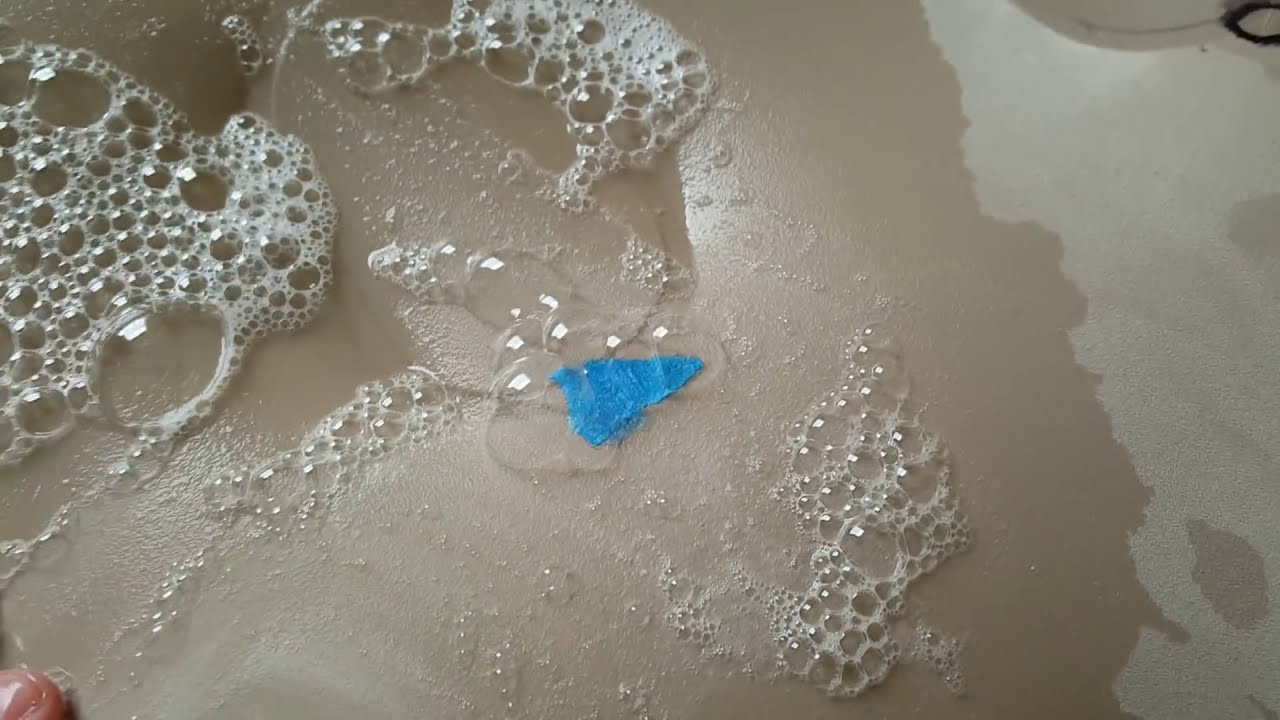
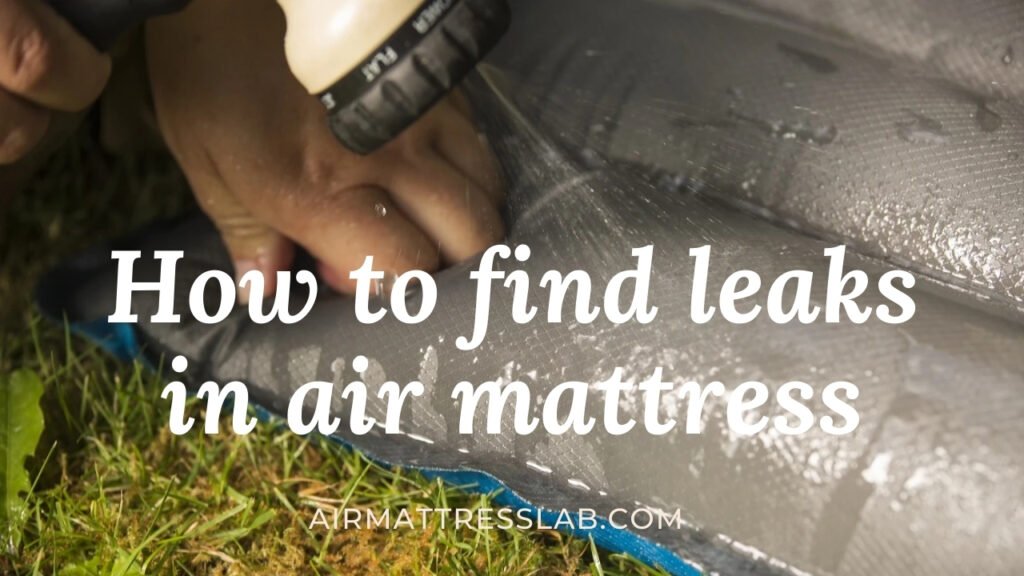
If you notice your air mattress is losing air, it's important to locate and repair the leak before it gets worse. The first step to repairing a leak is to inflate your air mattress to its full capacity. This will help you identify where the leak is coming from. Once you've located the leak, you can start the repair process.
How to Repair an Air Mattress Leak


Fixing a Leak in an Air Mattress
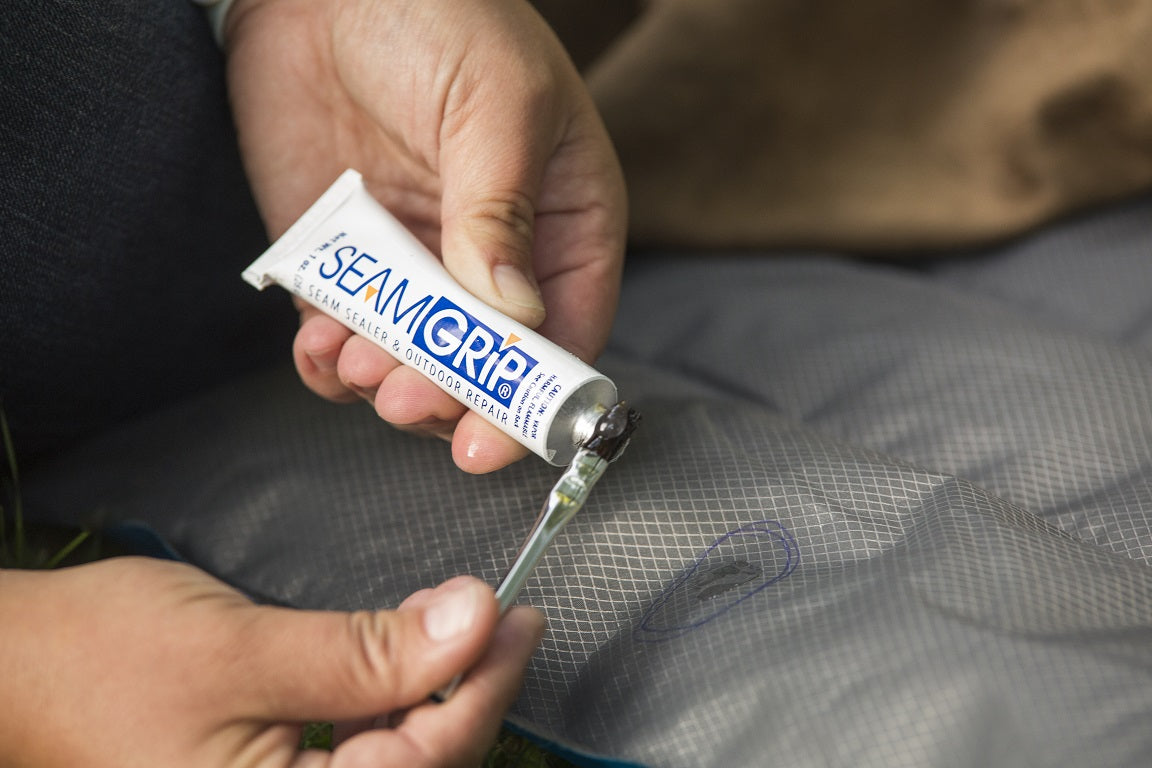
The most common way to fix a leak in an air mattress is by using a patch kit. These kits are readily available at most stores that sell air mattresses. They typically include a patch, adhesive, and sandpaper. Before starting the repair process, make sure to clean and dry the area around the leak. This will ensure that the patch sticks properly and creates a strong seal.


Fixing a Leak in an Air Mattress

DIY Air Mattress Leak Repair
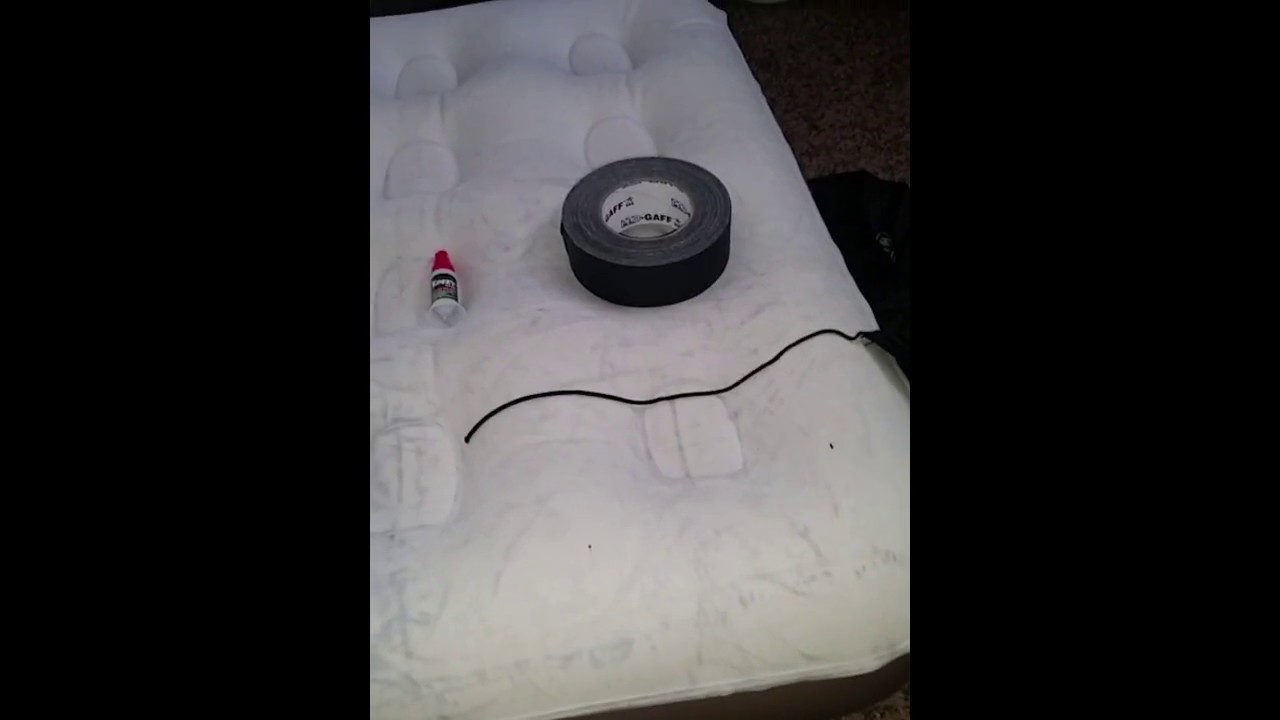
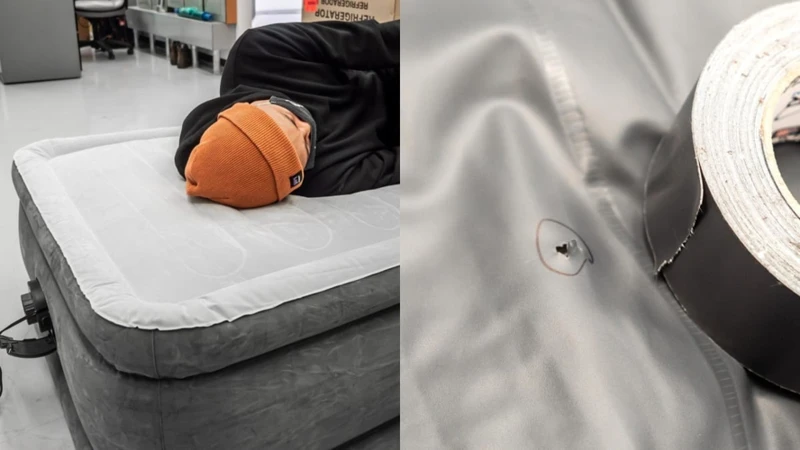
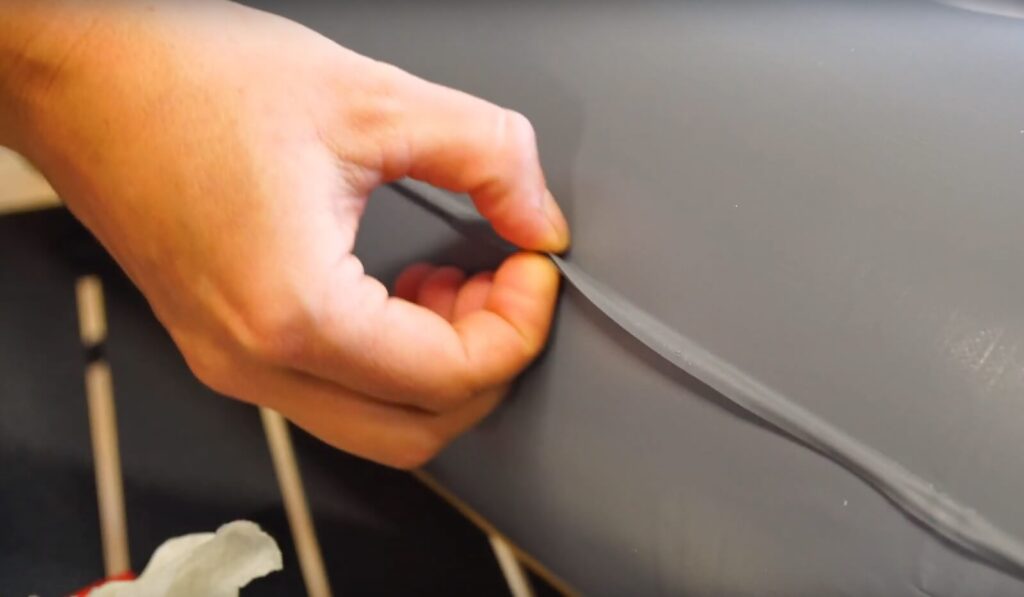
If you don't have a patch kit on hand, you can still fix a leak in your air mattress using household items. One DIY method is to use duct tape. Cut a small piece of duct tape and place it over the leak, making sure to cover the entire area. This should provide a temporary fix until you can purchase a patch kit.


DIY Air Mattress Leak Repair


Steps for Patching an Air Mattress Leak
To properly patch a leak in your air mattress, follow these steps:
Step 1: Clean and dry the area around the leak.
Step 2: Cut a patch from the patch kit or use a piece of duct tape.
Step 3: Apply a generous amount of adhesive to the patch or the back of the duct tape.
Step 4: Place the patch or duct tape over the leak and press firmly to create a strong seal.
Step 5: Let the adhesive dry completely before inflating the air mattress again.


Steps for Patching an Air Mattress Leak


Quick and Easy Air Mattress Leak Fix
If you're in a rush and need a quick fix for your leaking air mattress, you can use a hot glue gun. Simply apply a small amount of hot glue over the leak and let it dry. This should provide a temporary seal until you can properly patch the leak.


Quick and Easy Air Mattress Leak Fix


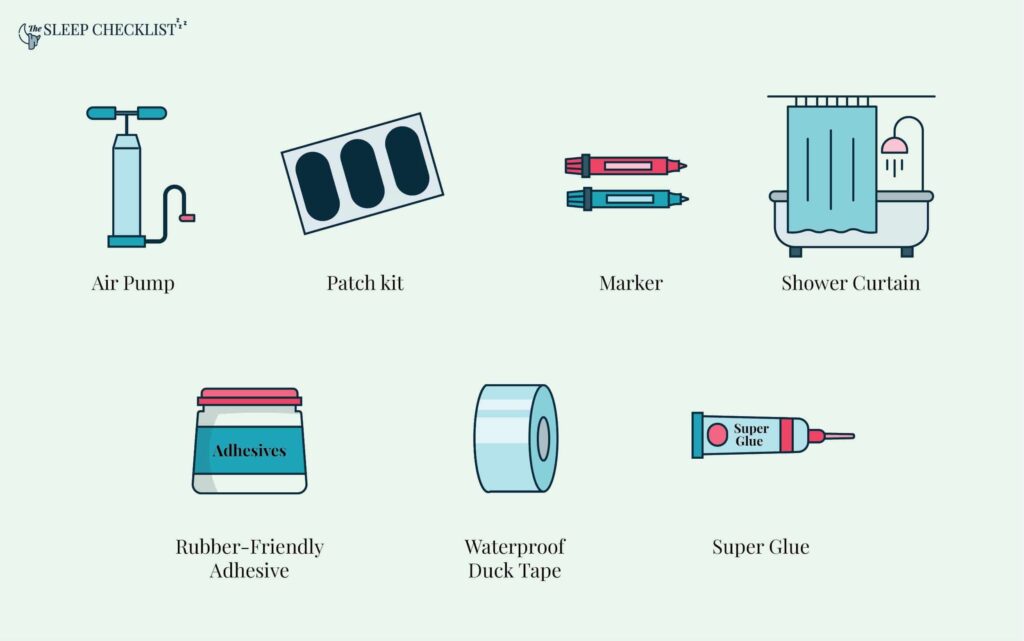
Materials Needed for Patching an Air Mattress Leak
To patch a leak in an air mattress, you will need the following materials:
1. Patch kit or duct tape
2. Adhesive
3. Sandpaper (included in patch kit)
4. Hot glue gun (optional)


Materials Needed for Patching an Air Mattress Leak

Best Techniques for Patching an Air Mattress Leak
The key to successfully patching an air mattress leak is to ensure that the area around the leak is clean and dry before applying the patch. This will help the adhesive stick and create a strong seal. It's also important to apply pressure to the patch once it's in place to ensure it adheres properly.


Best Techniques for Patching an Air Mattress Leak
Common Causes of Air Mattress Leaks
Air mattress leaks can be caused by a variety of factors, including wear and tear, sharp objects, or manufacturing defects. It's important to properly handle and store your air mattress to prevent any damage that could lead to leaks. Regularly checking for leaks and repairing them as soon as possible can also help prevent bigger problems in the future.


Common Causes of Air Mattress Leaks


Tips for Preventing Air Mattress Leaks
To prevent your air mattress from developing leaks, here are a few tips to keep in mind:
1. Avoid placing your air mattress on rough surfaces.
2. Keep sharp objects away from your air mattress.
3. Follow the manufacturer's instructions for proper use and storage.
4. Regularly check for leaks and repair them immediately.

Tips for Preventing Air Mattress Leaks


Patching a Leak in an Air Mattress: A Simple Fix for a Common Problem

The Importance of a Good Night's Sleep
 A good night's sleep is essential for our physical and mental well-being. However, sometimes unexpected problems can disrupt our sleep, such as a leak in an air mattress. This can be frustrating and uncomfortable, especially when we are away from home and have no easy access to a replacement. But fear not, patching a leak in an air mattress is a simple fix that can save your sleep and your wallet.
The Causes of Air Mattress Leaks
 Before we dive into the steps to patch a leak, let's understand what causes air mattresses to leak in the first place. The most common cause of a leak is wear and tear. Over time, the material of the air mattress can become thin and prone to punctures from sharp objects. Another common cause is improper inflation. If an air mattress is overinflated, the pressure on the material can cause it to stretch and weaken, leading to leaks.
Materials You Will Need
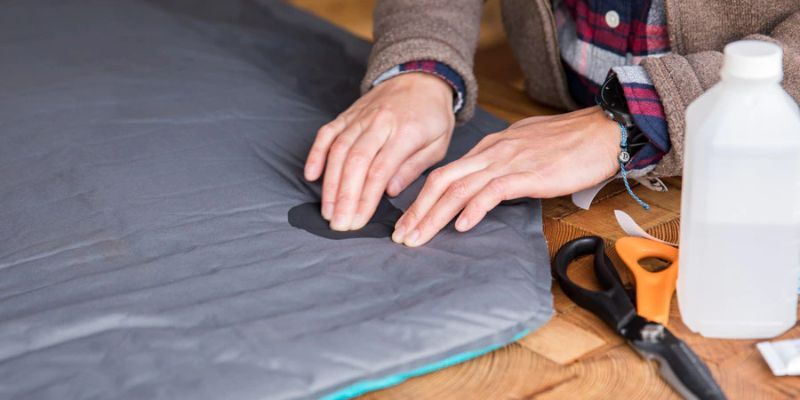
 To patch a leak in an air mattress, you will need a few materials that can easily be found at home or purchased at a local store. These include a patch kit, rubbing alcohol, and a clean cloth or sponge.
The Step-by-Step Process
 Now, let's get into the steps to patch a leak in an air mattress.
Step 1:
Deflate the air mattress completely and make sure it is dry.
Step 2:
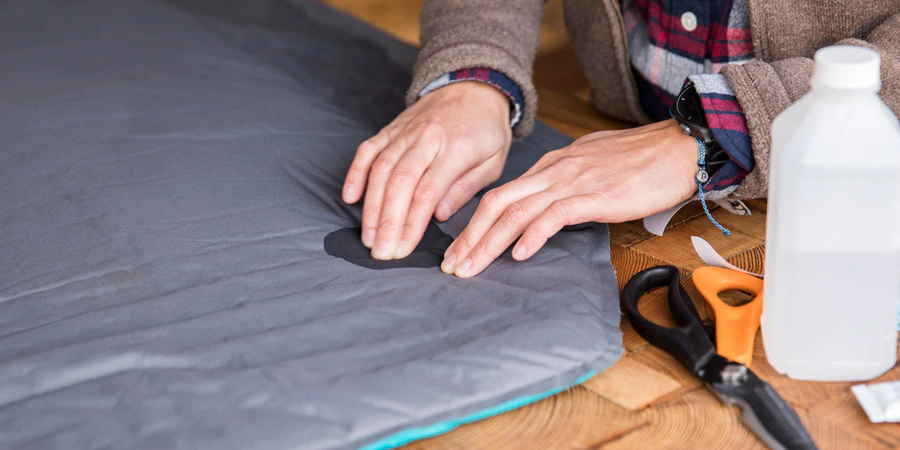
Clean the area around the leak with rubbing alcohol and a clean cloth or sponge. This will help remove any dirt or oils that may prevent the patch from sticking.
Step 3:
Cut a small piece of the patch from the patch kit, making sure it is slightly bigger than the size of the leak.
Step 4:
Apply a thin layer of glue from the patch kit to the back of the patch and the area around the leak.
Step 5:
Place the patch over the leak and firmly press it down, making sure there are no air bubbles.
Step 6:
Let the patch dry completely, following the instructions on the patch kit.
Step 7:
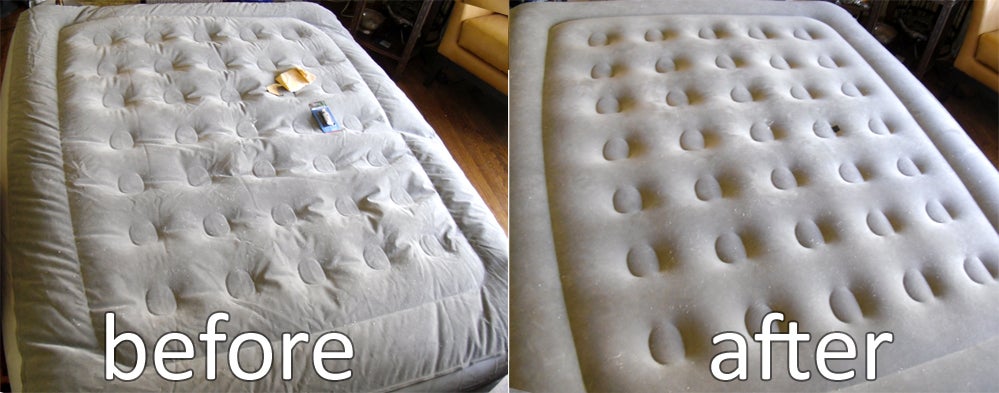
Once dry, inflate the air mattress and check for any additional leaks. If there are no more leaks, you're all set!
Now, let's get into the steps to patch a leak in an air mattress.
Step 1:
Deflate the air mattress completely and make sure it is dry.
Step 2:
Clean the area around the leak with rubbing alcohol and a clean cloth or sponge. This will help remove any dirt or oils that may prevent the patch from sticking.
Step 3:
Cut a small piece of the patch from the patch kit, making sure it is slightly bigger than the size of the leak.
Step 4:
Apply a thin layer of glue from the patch kit to the back of the patch and the area around the leak.
Step 5:
Place the patch over the leak and firmly press it down, making sure there are no air bubbles.
Step 6:
Let the patch dry completely, following the instructions on the patch kit.
Step 7:
Once dry, inflate the air mattress and check for any additional leaks. If there are no more leaks, you're all set!
Preventative Measures for Future Leaks
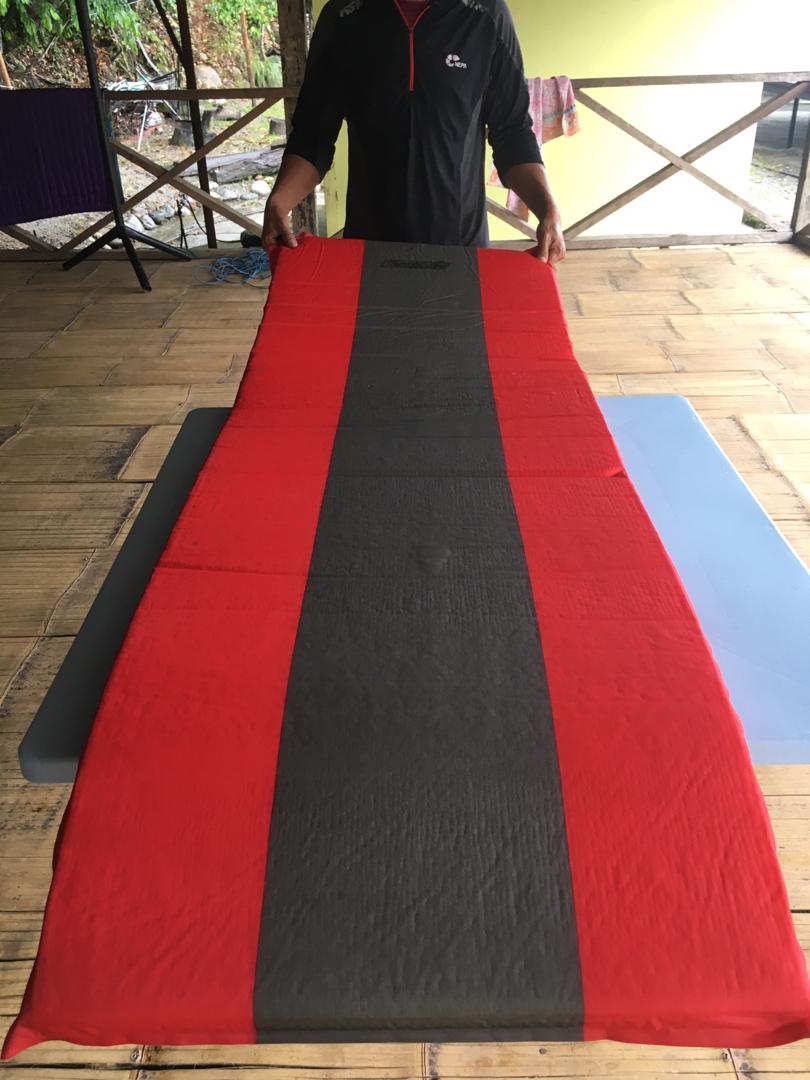
 To prevent future leaks, make sure to properly inflate your air mattress and avoid placing it on rough or sharp surfaces. You can also use a mattress protector to add an extra layer of protection. Regularly inspect your air mattress for wear and tear and fix any small holes before they become bigger leaks.
In Conclusion
:max_bytes(150000):strip_icc()/81QHm8NXr2L._AC_SL1500_1-17bafdc326cf4922b0d8acca4d9b5639.jpg) Patching a leak in an air mattress is a quick and easy fix that can save you from a sleepless night. With the right materials and a few simple steps, you can extend the life of your air mattress and ensure a comfortable and restful sleep. Remember to always be prepared with a patch kit when traveling or using an air mattress for guests. So the next time you encounter a leak, you'll know exactly what to do.
Patching a leak in an air mattress is a quick and easy fix that can save you from a sleepless night. With the right materials and a few simple steps, you can extend the life of your air mattress and ensure a comfortable and restful sleep. Remember to always be prepared with a patch kit when traveling or using an air mattress for guests. So the next time you encounter a leak, you'll know exactly what to do.