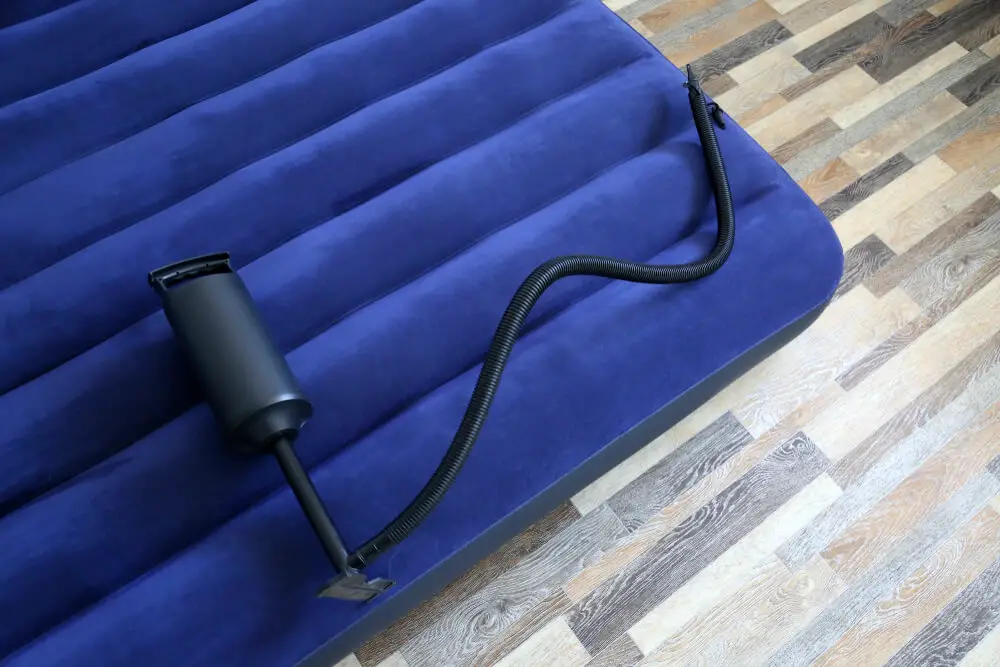
Patching a hole in an air mattress may seem like a daunting task, but with the right materials and techniques, it can be a simple and effective DIY project. Whether your air mattress has sprung a leak during a camping trip or is a staple in your guest room, it's important to know how to patch it up and extend its lifespan. Here are 10 steps to successfully patching a hole in an air mattress.How to Patch a Hole in an Air Mattress
Before diving into the patching process, it's important to determine the best method for repairing your specific air mattress. Some may require a simple patch, while others may need a more thorough repair. Identify the type of material your air mattress is made of and research the best method for fixing it. This will ensure that your patch is effective and long-lasting.Best Way to Repair an Air Mattress
Instead of spending money on a new air mattress or sending it off to a professional for repairs, save yourself some cash and try patching it yourself. With a few simple materials and some patience, you can easily fix a hole in your air mattress and have it ready for use in no time.DIY Air Mattress Patching
If you need a quick fix for a small hole in your air mattress, try using a duct tape patch. This is a temporary solution that can hold up until you have the time and resources to properly repair the mattress. Simply cut a piece of duct tape and place it over the hole, pressing down firmly to ensure it sticks. This should hold up for a few uses, but it's important to still follow through with a proper patch for a long-term fix.Quick Fix for an Air Mattress Hole
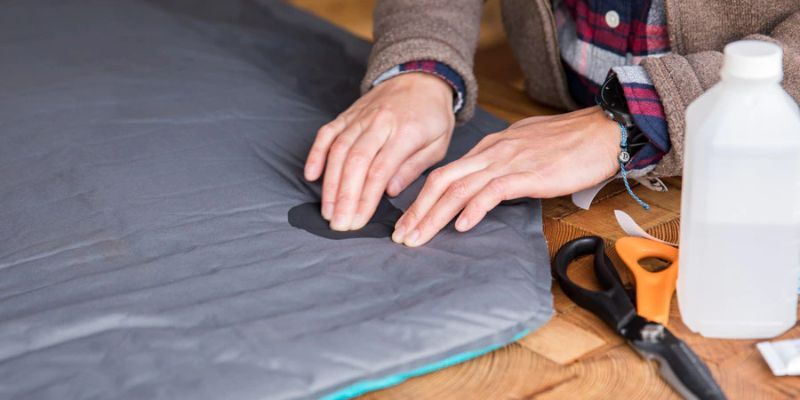
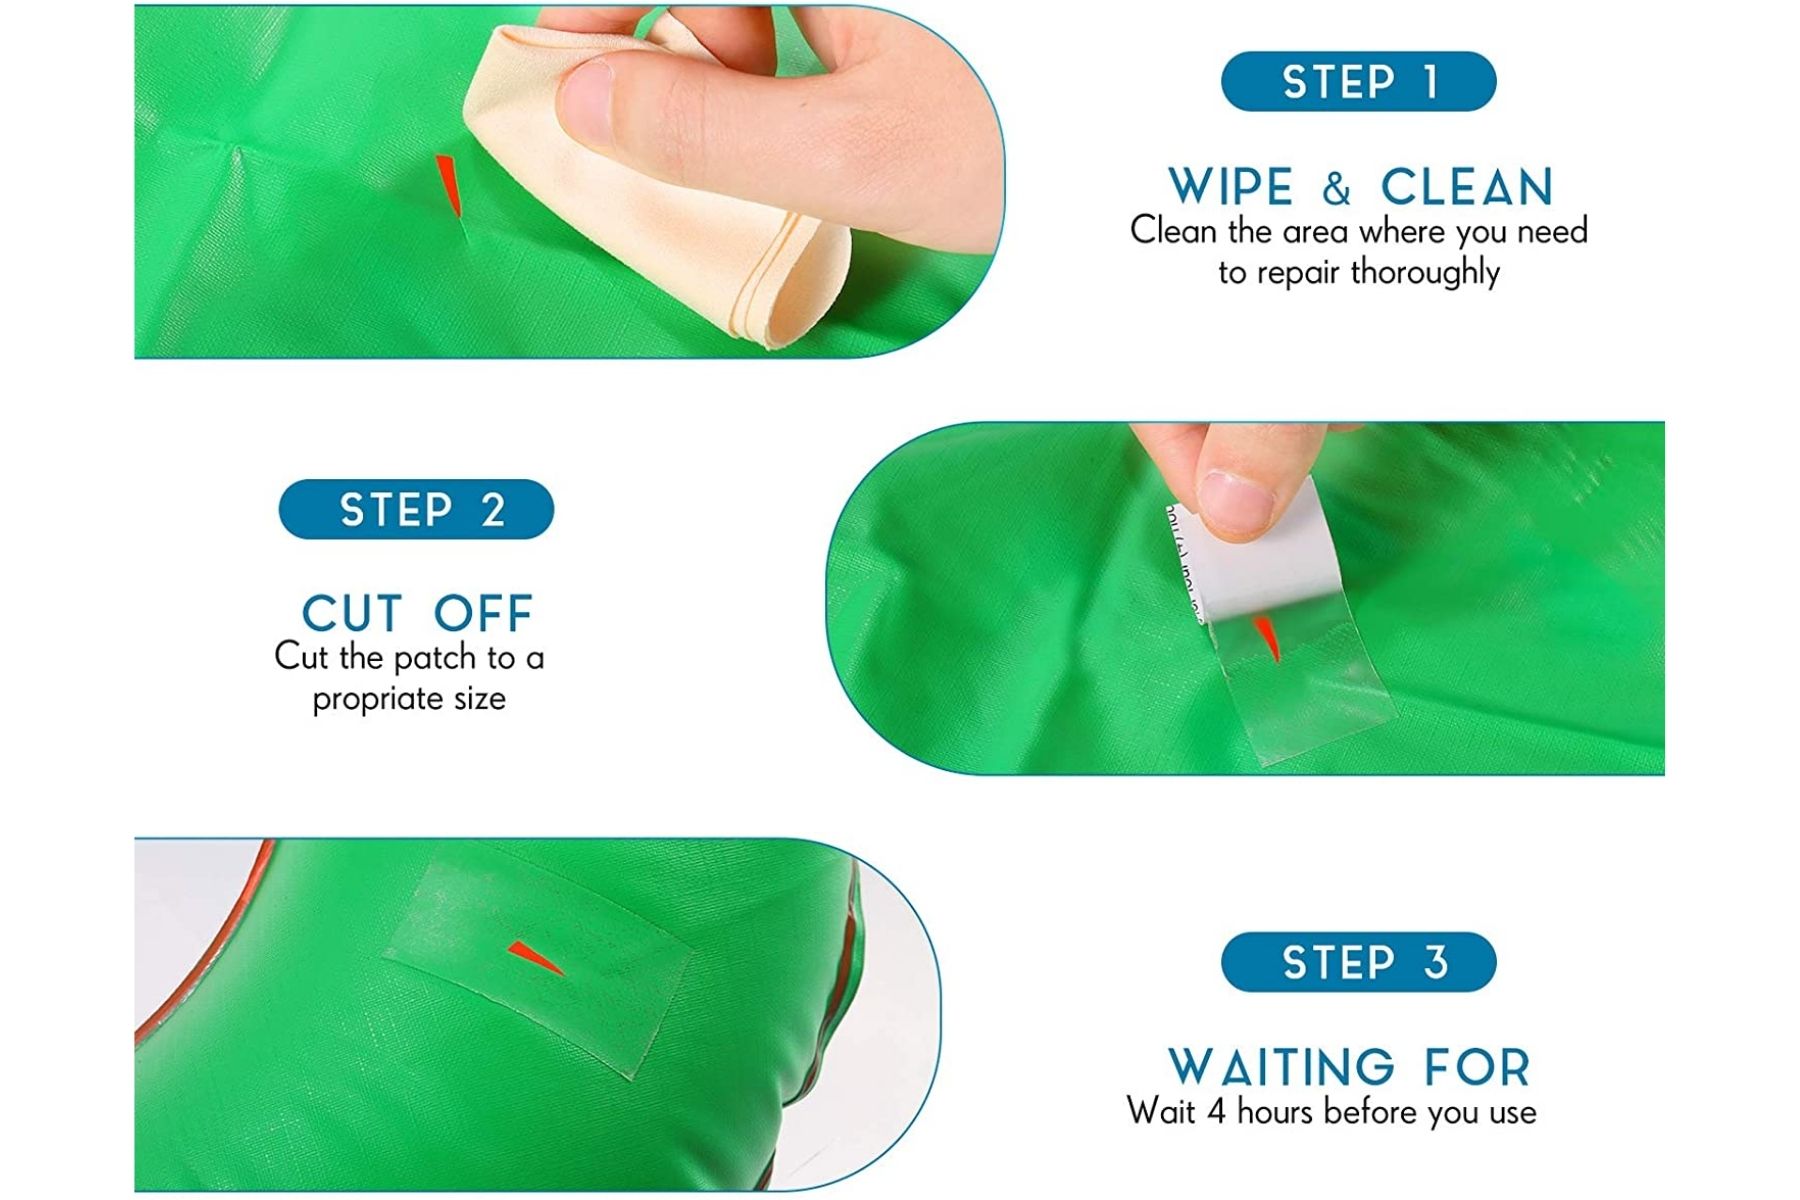
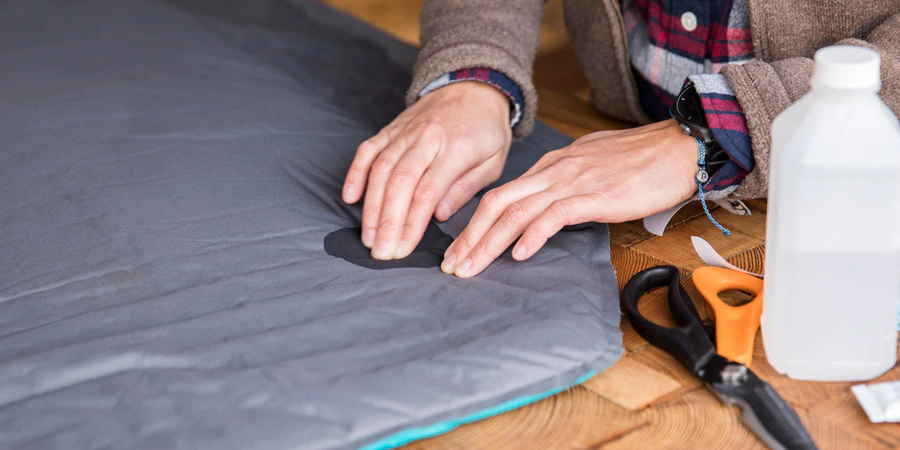
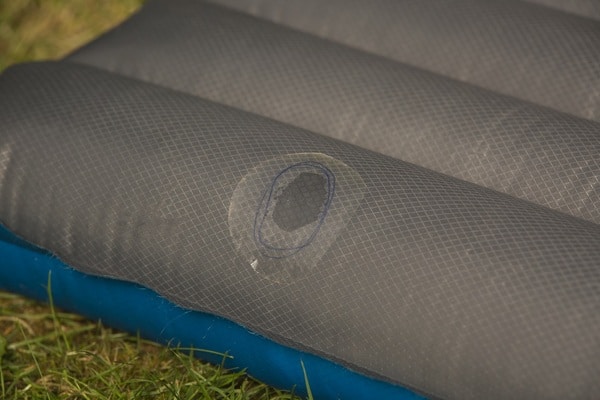
To properly patch an air mattress, follow these steps: 1. Deflate the mattress completely. 2. Clean the area around the hole with rubbing alcohol to remove any dirt or debris. 3. Cut a piece of patch material (such as vinyl or rubber) that is at least 1 inch larger than the hole on all sides. 4. Apply a thin layer of adhesive to both the patch and the area around the hole. 5. Place the patch over the hole and press down firmly. 6. Allow the adhesive to dry completely before inflating the mattress again. 7. Test the patch by inflating the mattress and checking for any air leaks.Steps for Fixing an Air Mattress Leak
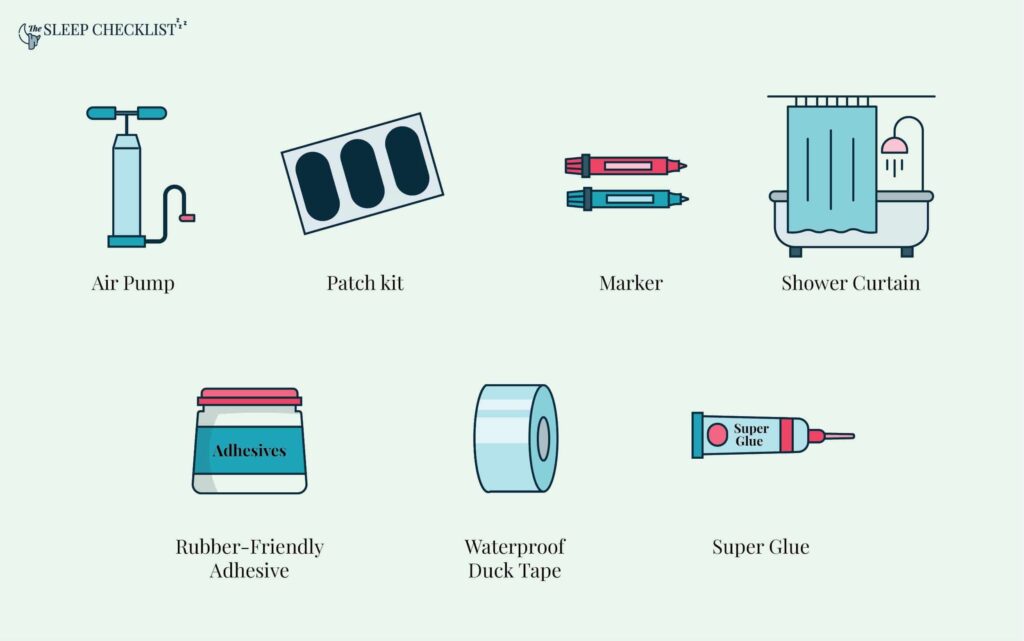
For a proper patch, you will need the following materials: - Patch material (vinyl, rubber, or similar) - Adhesive (specifically made for patching air mattresses) - Scissors - Rubbing alcohol - Clean cloth - Sandpaper (for roughing up the surface of the mattress and patch for better adhesion)Materials Needed for Patching an Air Mattress
Here are a few tips to keep in mind to ensure your patch is effective: - Choose a patch material that is similar to the material of your air mattress. - Make sure the area around the hole is completely clean and dry before applying the patch. - Apply the adhesive in a thin layer to avoid any lumps or bumps under the patch. - Press down firmly on the patch and hold for a few minutes to ensure it adheres well. - Allow the adhesive to dry completely before using the mattress again.Tips for Successfully Patching an Air Mattress
While patching an air mattress may seem like a simple task, there are a few common mistakes that can lead to an ineffective patch. Avoid these mistakes to ensure your patch holds up: - Using the wrong type of patch material. - Applying too much adhesive, which can create lumps and bumps. - Not cleaning and drying the area around the hole properly. - Not allowing the adhesive to dry completely before using the mattress again.Common Mistakes to Avoid When Patching an Air Mattress
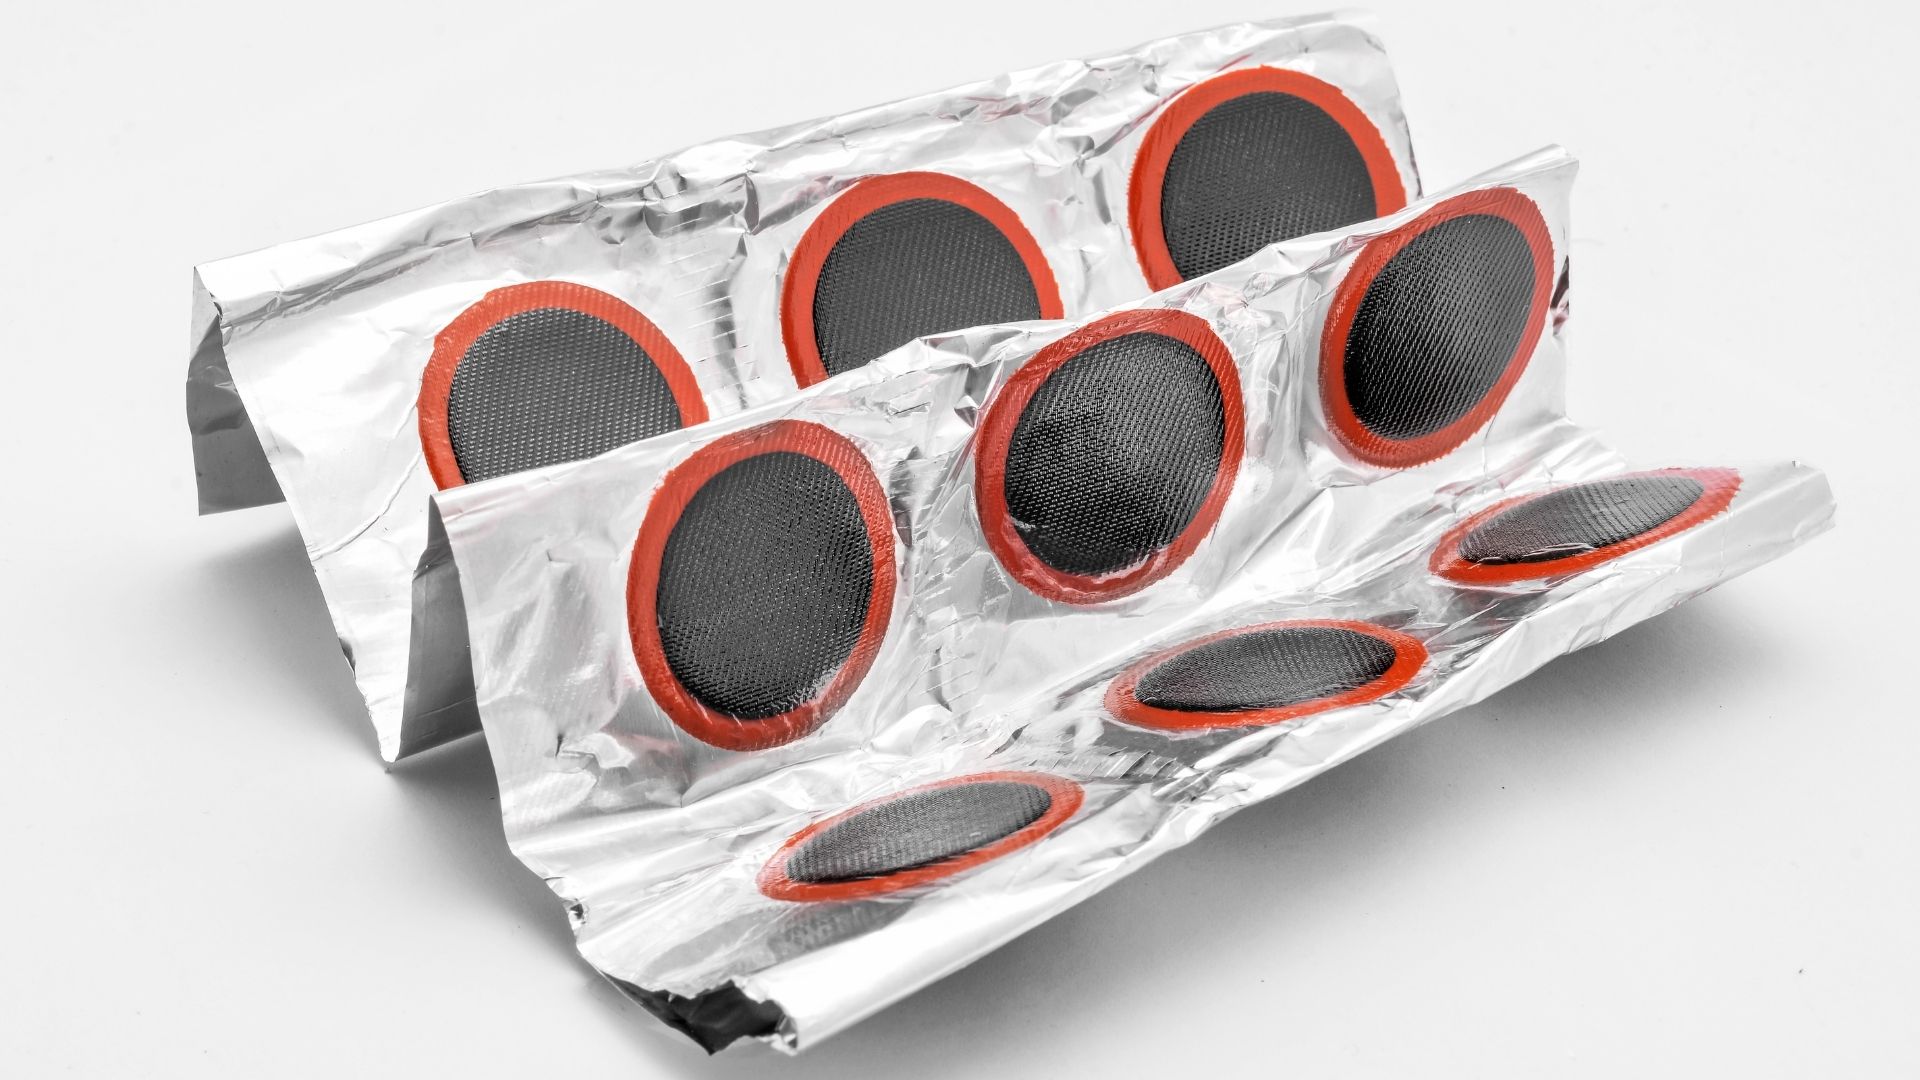
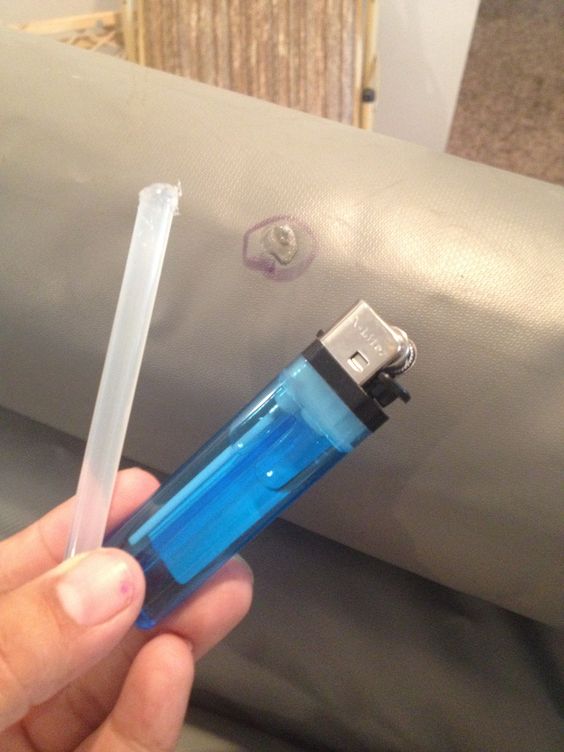
If you don't have access to patch material and adhesive, or if the hole in your air mattress is too large to effectively patch, there are alternative methods you can try: - Use a hot glue gun to seal the hole. - Apply a piece of duct tape over the hole. While this is not a long-term solution, it can work in a pinch. - Use a bicycle tire repair kit to patch the hole. These kits typically come with a patch and adhesive that can work well on air mattresses.Alternative Methods for Patching an Air Mattress
Of course, the best way to deal with a hole in an air mattress is to prevent it from happening in the first place. Here are a few tips to help prevent holes in your air mattress: - Avoid placing the mattress on rough surfaces. - Keep sharp objects away from the mattress. - Don't over-inflate the mattress, as this can put unnecessary strain on the material. - Use a mattress protector or cover to add an extra layer of protection. With these tips and techniques, you can easily patch a hole in your air mattress and have it ready for use in no time. Remember to always follow the proper steps and use the right materials for a long-lasting fix. Happy sleeping!How to Prevent Holes in an Air Mattress
Patching a Hole in an Air Mattress: A Simple and Cost-Effective Solution

Why Patching a Hole in an Air Mattress is Important
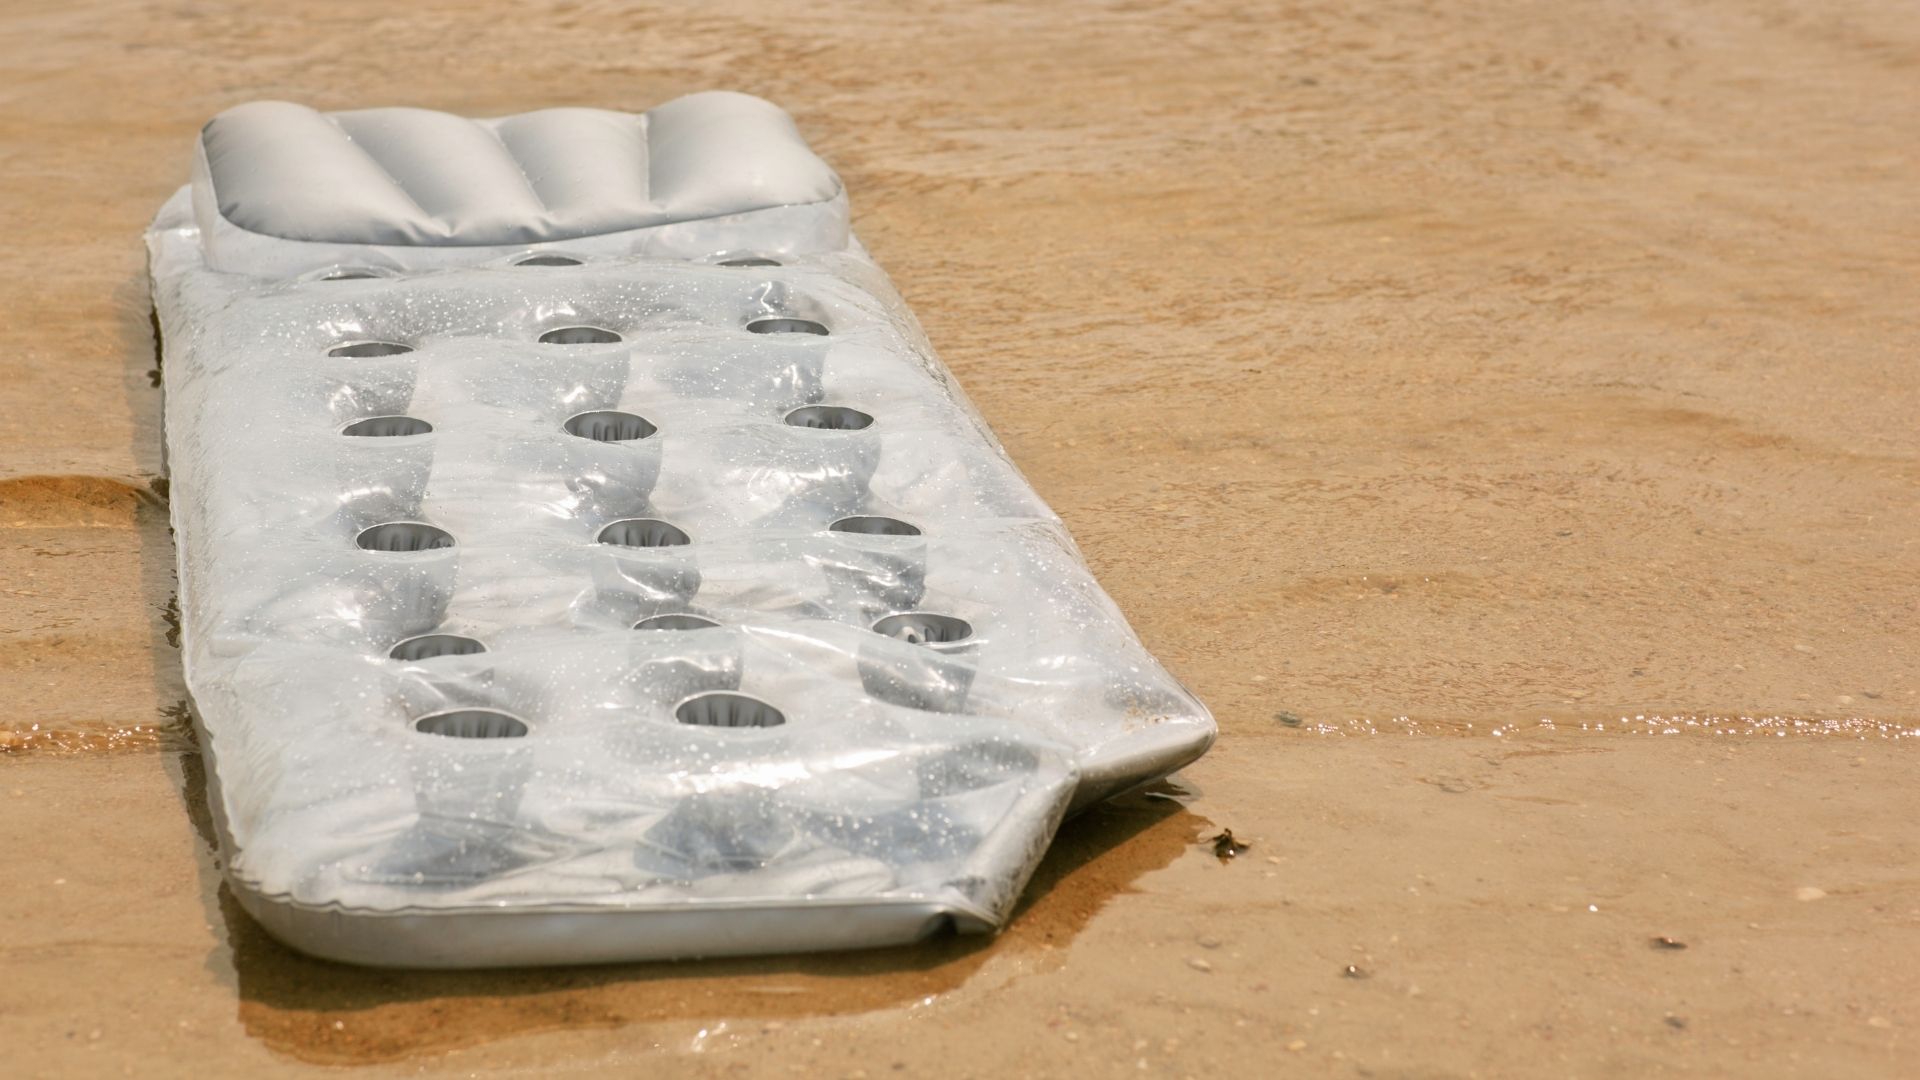
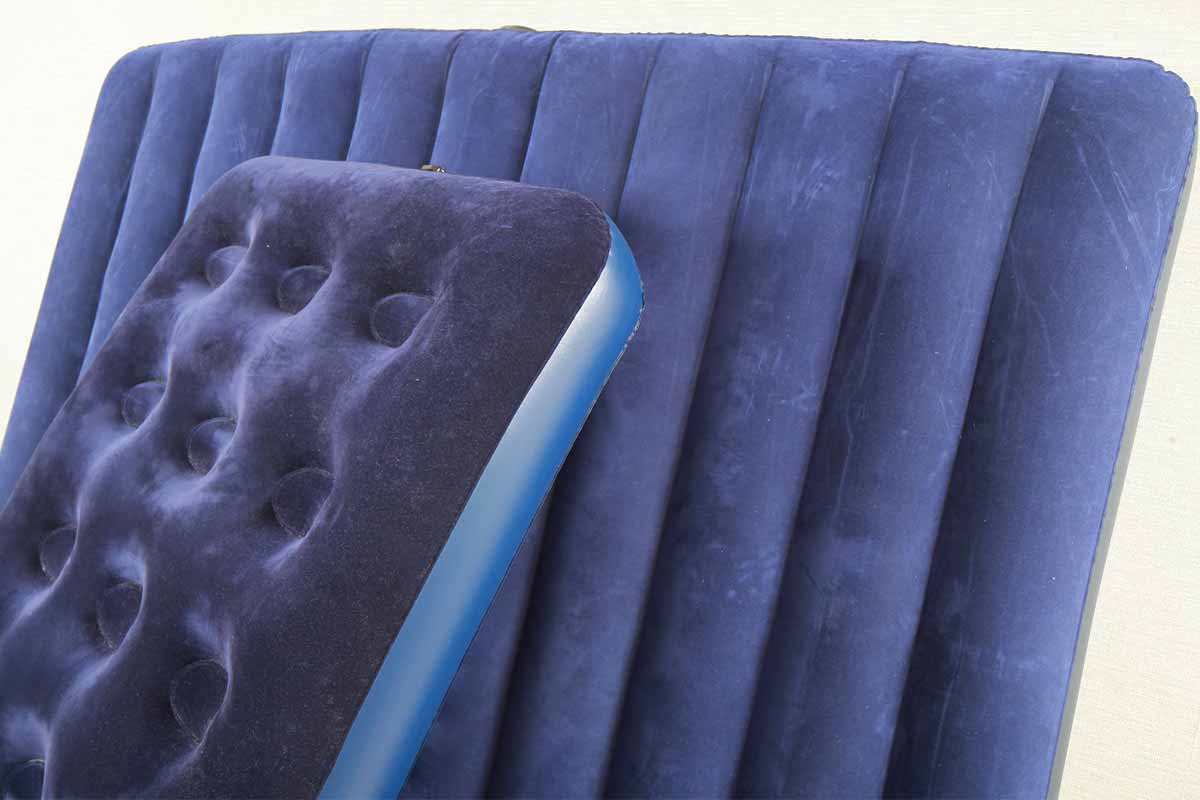
 Air mattresses are a popular and convenient option for extra sleeping space in homes. They are also commonly used for camping trips, sleepovers, and other outdoor activities. However, like any other inflatable item, air mattresses are prone to punctures and holes. These can be caused by sharp objects, rough handling, or even everyday wear and tear. A small hole in an air mattress can quickly turn into a big problem, causing it to lose air and become unusable. This is why knowing how to properly patch a hole in an air mattress is important in order to extend its lifespan and save you from having to purchase a new one.
The Tools You Will Need
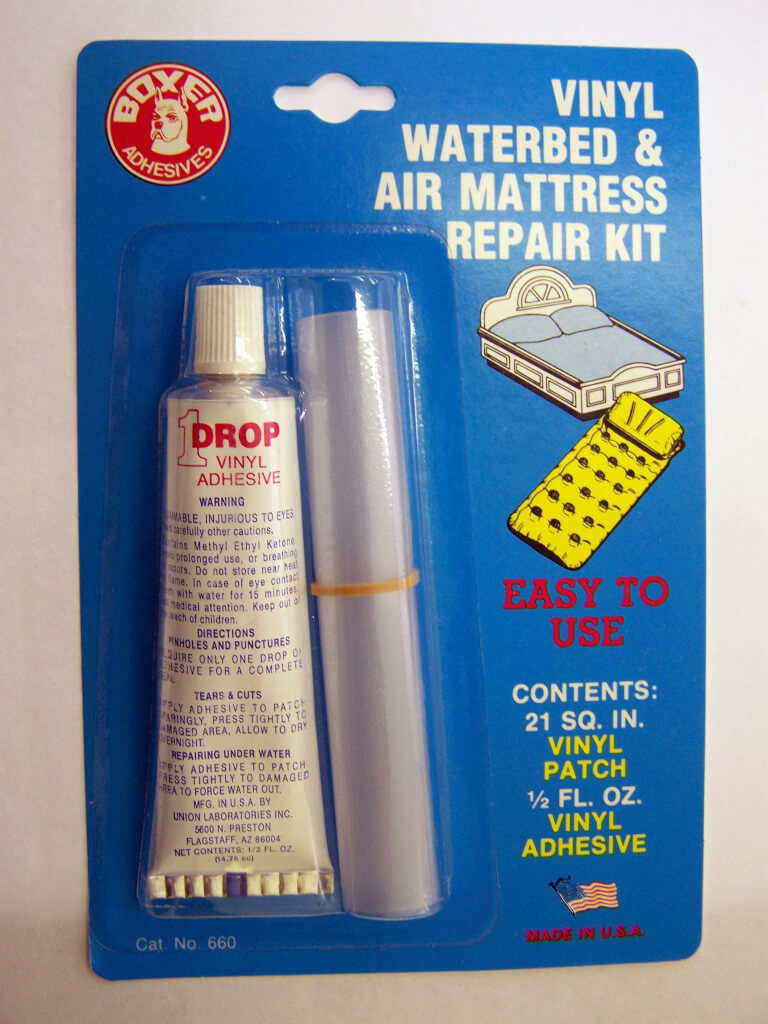
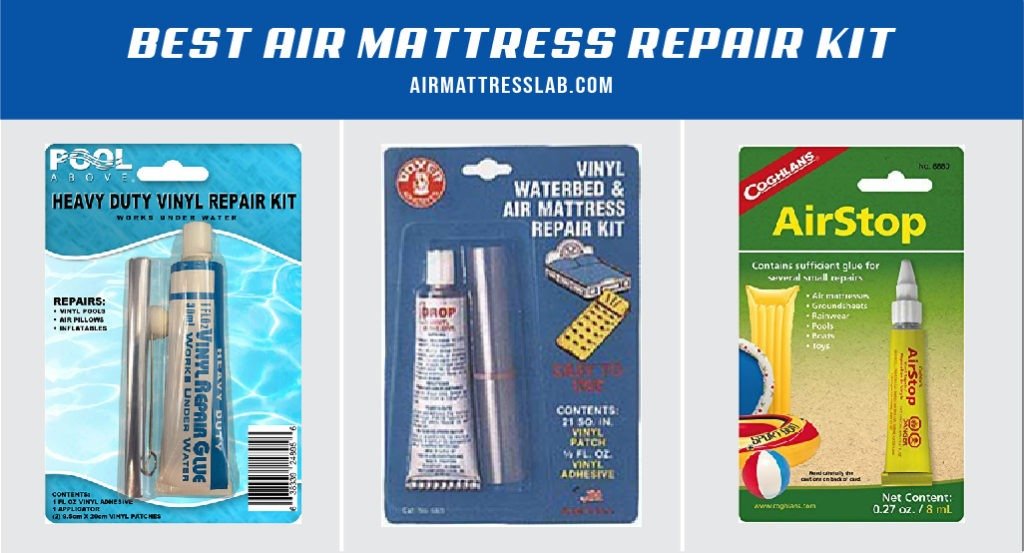
 Before starting the patching process, it is important to gather all the necessary tools and materials. These include a patch kit, which can be purchased at most hardware or camping supply stores, rubbing alcohol, and a pair of scissors. The patch kit typically includes a patch, adhesive, and instructions on how to apply them. It is important to read and follow the instructions carefully for the best results.
The Step-by-Step Process
 1. Locate the hole: The first step is to locate the hole in your air mattress. This can be done by inflating the mattress and listening for the sound of air escaping or by running your hand over the surface to feel for any bumps or dips.
2. Clean the area: Once the hole is located, use rubbing alcohol to clean the area around it. This will remove any dirt, oils, or debris that may prevent the patch from adhering properly.
3. Cut the patch: Use scissors to cut the patch from the kit into a circle or square shape, ensuring that it is slightly larger than the hole.
4. Apply adhesive: Apply a thin layer of adhesive to the back of the patch and to the area around the hole. If the adhesive is not included in the patch kit, you can use a strong adhesive such as super glue.
5. Apply the patch: Carefully place the patch over the hole and press down firmly. Make sure there are no air bubbles trapped underneath the patch.
6. Let it dry: Allow the adhesive to dry completely according to the instructions on the kit. This can take anywhere from a few minutes to a few hours depending on the type of adhesive used.
7. Test the patch: Once the patch is dry, inflate the mattress and check for any leaks. If the patch was applied correctly, there should be no more air escaping from the hole.
Conclusion
 Patching a hole in an air mattress is a simple and cost-effective solution that can save you from having to buy a new one. By following these steps and using the right tools and materials, you can easily fix any holes in your air mattress and get back to enjoying a good night's sleep. Remember to always keep a patch kit on hand for any future mishaps and to regularly check for any new holes that may need patching.

















:max_bytes(150000):strip_icc()/81QHm8NXr2L._AC_SL1500_1-17bafdc326cf4922b0d8acca4d9b5639.jpg)

