Are you tired of looking at your outdated and worn plastic bathroom sink? Maybe you want to give your bathroom a fresh new look without breaking the bank. Well, painting your plastic bathroom sink might just be the solution you're looking for. With a little bit of effort and the right materials, you can transform your sink into a stylish and modern feature in your bathroom. Here's everything you need to know about painting plastic bathroom sinks.Painting Plastic Bathroom Sinks


Painting Plastic Bathroom Sinks
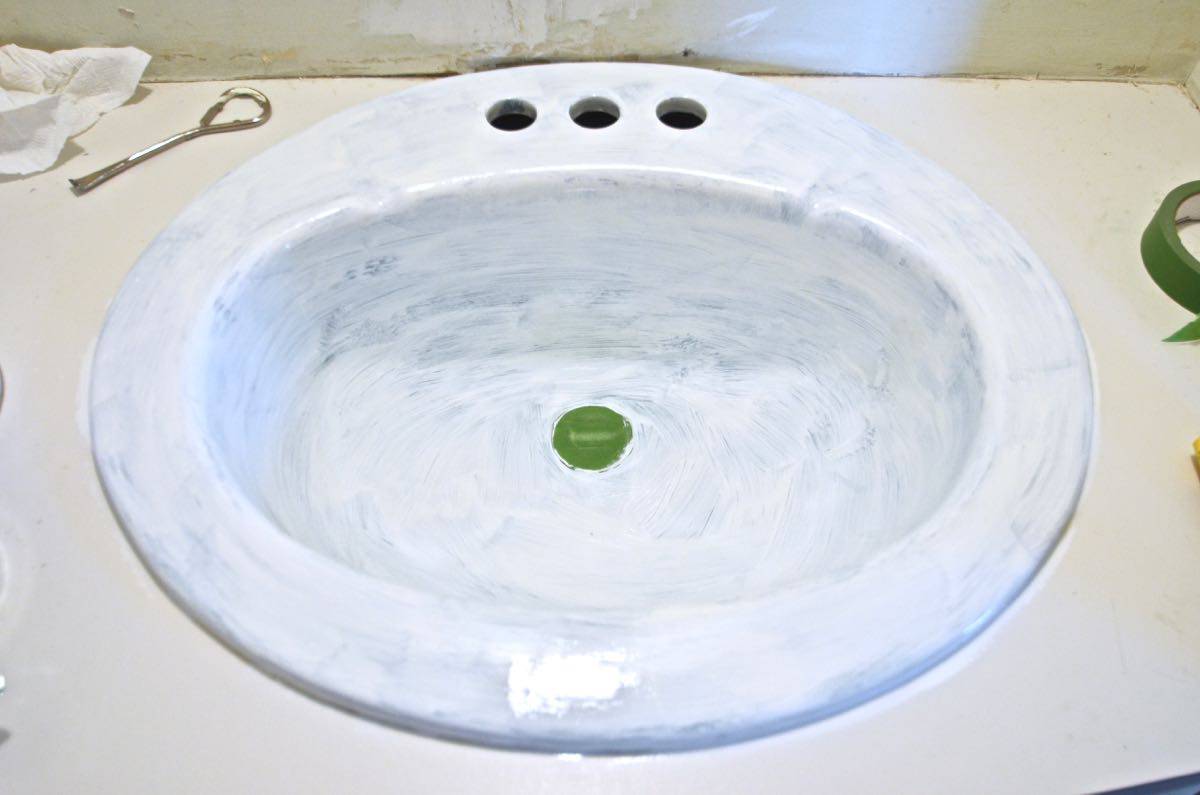


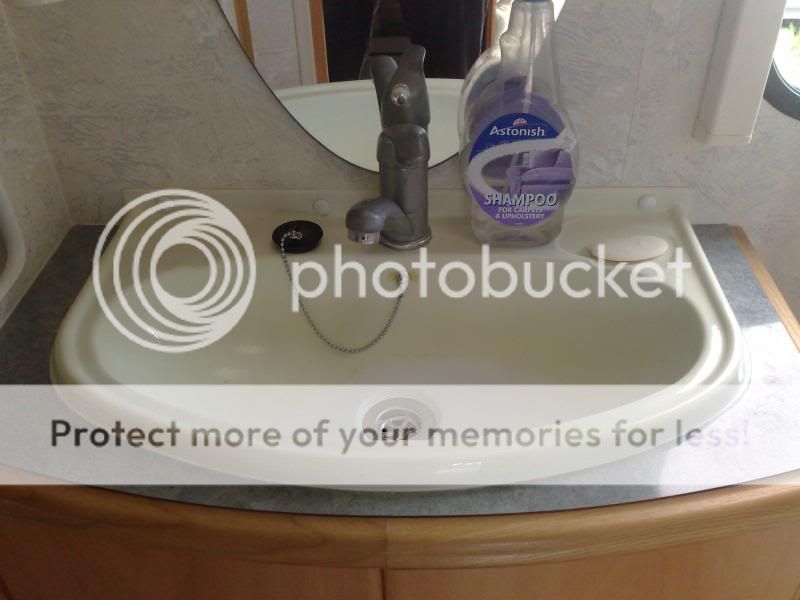
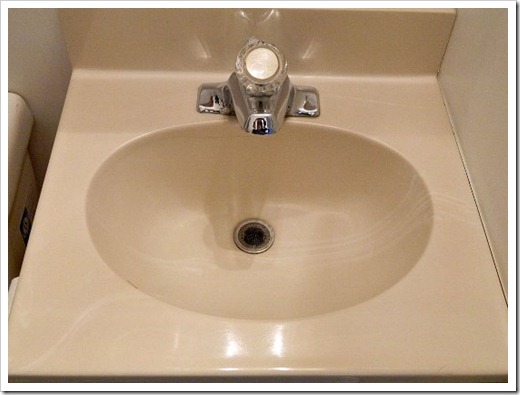
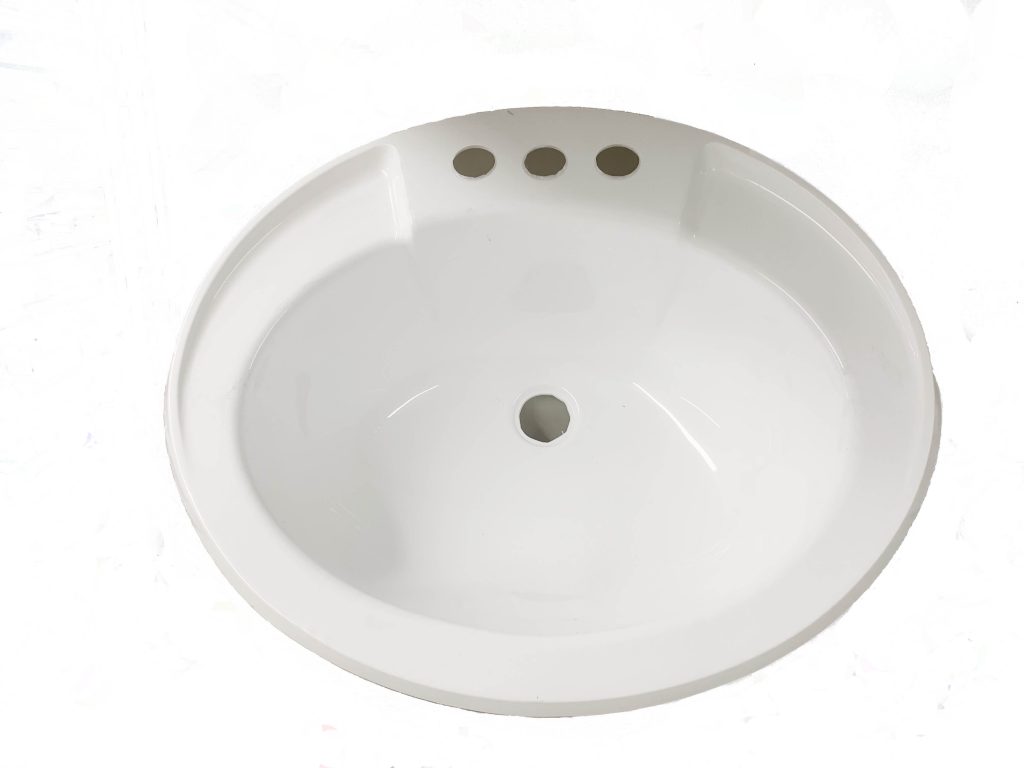
If you're wondering how to paint your plastic bathroom sink, don't worry, it's a relatively simple process. The first step is to thoroughly clean the sink with a mild cleaner and warm water. This will remove any dirt, grime, or soap scum that may prevent the paint from adhering properly. Once the sink is clean and dry, lightly sand the surface with fine-grit sandpaper. This will create a rough surface for the paint to stick to. Next, wipe down the sink with a damp cloth to remove any dust from sanding. Now comes the fun part – painting! Choose a high-quality paint specifically designed for plastic surfaces. It's important to choose a paint that is waterproof and can withstand frequent exposure to water and cleaning products. Using a small brush or roller, apply a thin and even coat of paint to the sink, making sure to cover all areas. Allow the first coat to dry completely before applying a second coat. Depending on the color and coverage you desire, you may need to apply a third coat. Finally, let the sink dry completely before using it. This can take anywhere from 24-72 hours, depending on the type of paint you used. Once it's dry, your painted plastic bathroom sink will be ready to use and will look like new!How to Paint a Plastic Bathroom Sink


How to Paint a Plastic Bathroom Sink


Painting your plastic bathroom sink is a great DIY project that can save you money and give your bathroom a fresh new look. Plus, it's relatively easy and doesn't require any special skills or tools. With a little bit of patience and attention to detail, you can achieve professional-looking results. If you're feeling adventurous, you can even experiment with different colors or create a unique design on your sink. Just make sure to use the right type of paint and follow the instructions carefully for the best results.DIY Painting Plastic Bathroom Sinks


DIY Painting Plastic Bathroom Sinks


Choosing the right paint for your plastic bathroom sink is crucial for a successful painting project. As mentioned, it's important to choose a paint specifically designed for plastic surfaces, as it will adhere better and last longer. Some popular options for painting plastic bathroom sinks include acrylic enamel, epoxy, and spray paint. These types of paint are durable, waterproof, and come in a variety of colors to suit your preferences. Just make sure to read the label and choose a paint that is suitable for plastic surfaces.Best Paint for Plastic Bathroom Sinks


Best Paint for Plastic Bathroom Sinks


To summarize, here's a step-by-step guide for painting your plastic bathroom sink: 1. Clean the sink with a mild cleaner and warm water. 2. Lightly sand the surface with fine-grit sandpaper. 3. Wipe down the sink with a damp cloth to remove dust. 4. Choose a high-quality paint suitable for plastic surfaces. 5. Apply thin and even coats of paint, letting each coat dry completely before applying the next. 6. Allow the sink to dry completely before using it. Following these steps will ensure a smooth and successful painting project.Step-by-Step Guide for Painting Plastic Bathroom Sinks


Step-by-Step Guide for Painting Plastic Bathroom Sinks


While painting your plastic bathroom sink is a relatively simple process, here are some tips to keep in mind to achieve the best results: • Make sure the sink is clean and dry before painting. • Use a high-quality paint specifically designed for plastic surfaces. • Apply thin and even coats for a smooth finish. • Allow each coat to dry completely before applying the next. • Be patient and let the sink dry completely before using it. Following these tips will help you achieve a professional-looking result and avoid any potential mistakes.Tips for Painting Plastic Bathroom Sinks

Tips for Painting Plastic Bathroom Sinks


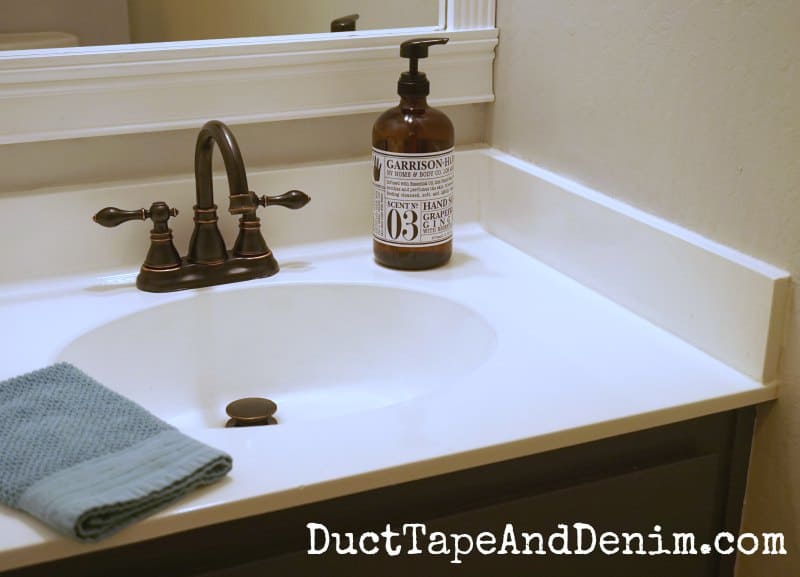
Painting your plastic bathroom sink can completely transform the look of your bathroom. Whether you choose a bold color or a more subtle one, a painted sink can add a touch of style and personality to your bathroom. Additionally, painting your plastic sink is a budget-friendly option compared to replacing it with a new one. You can achieve a fresh and modern look without spending a fortune.Transform Your Bathroom with Painted Plastic Sinks
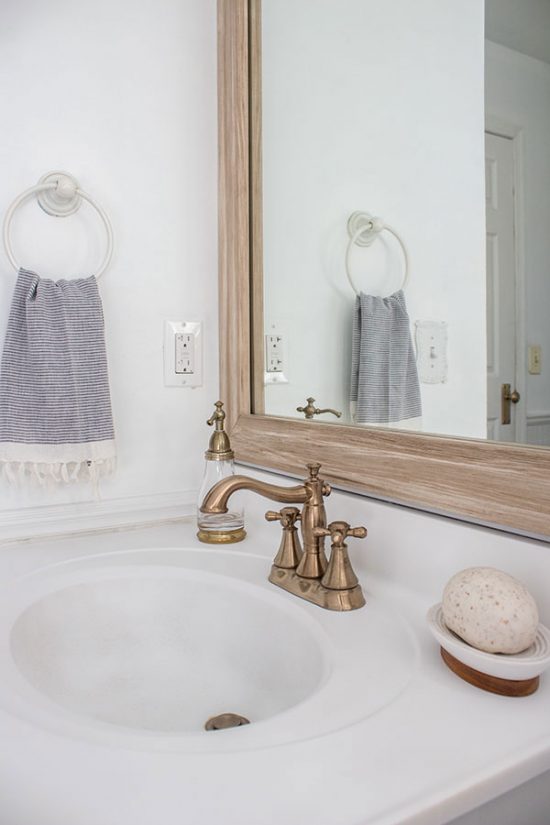


Transform Your Bathroom with Painted Plastic Sinks


If you're looking for a budget-friendly way to upgrade your bathroom, painting your plastic sink is a great option. As mentioned, it's cost-effective and doesn't require any special skills or tools. Plus, you can customize the look to your liking without breaking the bank. So instead of splurging on a new sink, give painting a try and see the amazing transformation it can bring to your bathroom.Budget-Friendly Bathroom Upgrade: Painting Plastic Sinks


Budget-Friendly Bathroom Upgrade: Painting Plastic Sinks


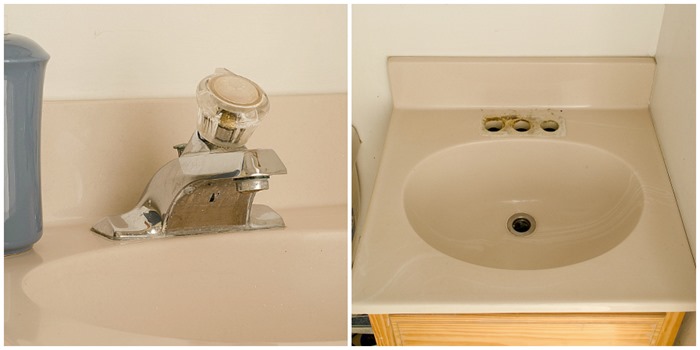
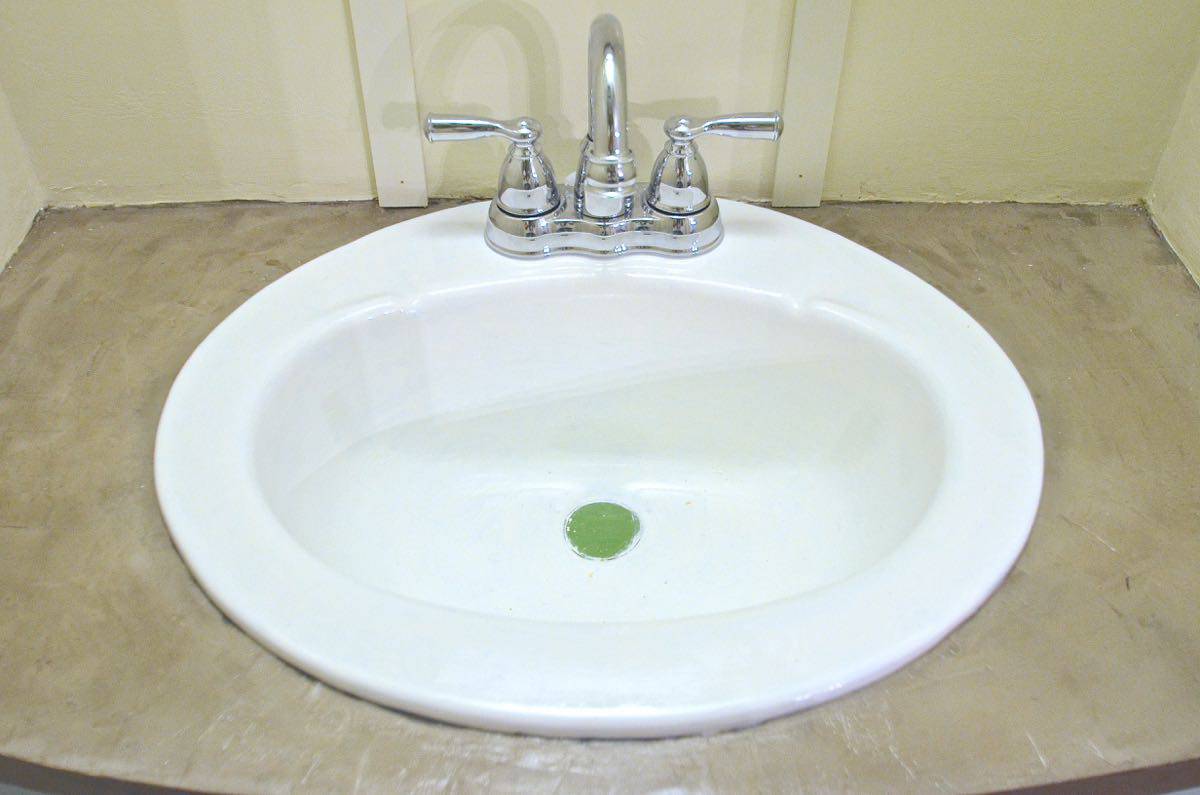
If you're still not convinced that painting your plastic bathroom sink can make a big difference, just take a look at some before and after photos. You'll be amazed at the transformation a simple coat of paint can bring to an old and outdated sink. With a little bit of effort and the right paint, you can achieve a stunning before and after result for your own bathroom.Before and After: Painting Plastic Bathroom Sinks

Before and After: Painting Plastic Bathroom Sinks


Here are some additional tips from experts to help you achieve the best results when painting your plastic bathroom sink: • Use a primer to help the paint adhere better and improve durability. • Consider using stencils or painter's tape to create a unique design on your sink. • Apply a clear sealant after the paint is completely dry to protect the finish. • If you're not confident in your painting skills, consider hiring a professional to do the job. Following these expert tips will ensure a successful painting project and a beautiful result for your plastic bathroom sink.Expert Tips for Painting Plastic Bathroom Sinks

Expert Tips for Painting Plastic Bathroom Sinks


Transforming Your Bathroom with a Fresh Coat of Paint

Revamp Your Plastic Bathroom Sink with a Splash of Color
 Are you tired of looking at your old, dull plastic bathroom sink? Is it time for a change, but you're not ready to invest in a whole new sink? Look no further, because painting your plastic bathroom sink is a simple and budget-friendly way to give your bathroom a fresh new look. Not only will it add a pop of color and style to your space, but it will also protect your sink from further wear and tear. Here's everything you need to know to successfully paint your plastic bathroom sink.
Preparation is Key
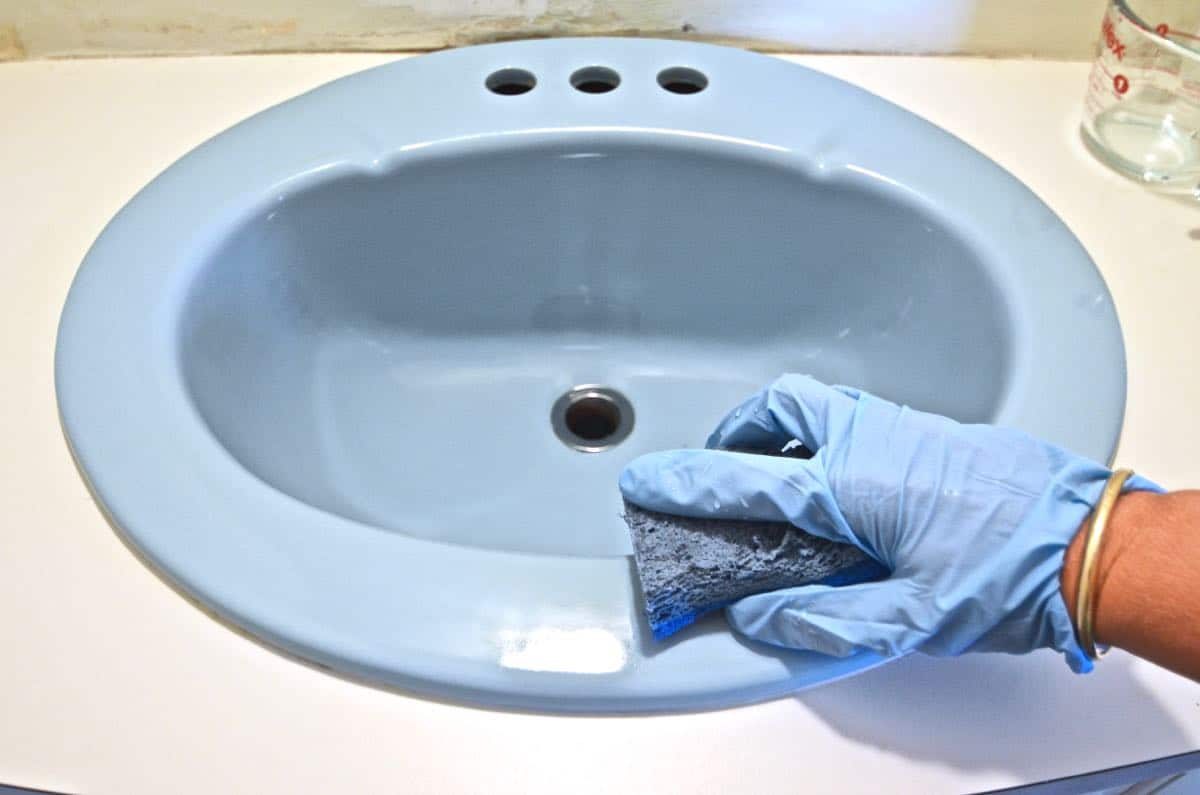
Before diving into the painting process, it's important to properly prepare your plastic bathroom sink. This includes thoroughly cleaning it with a mild detergent and warm water to remove any dirt, grime, or soap scum. You can also use a degreaser to get rid of any stubborn stains. Once clean, rinse off the sink and let it dry completely.
Next, lightly sand the surface of the sink with a fine-grit sandpaper. This will help the paint adhere better and create a smoother finish. Don't forget to wipe down the sink again to remove any dust from sanding.
Choose the Right Paint
When it comes to painting plastic, it's important to use the right type of paint. Look for a high-quality, acrylic-based paint that is specifically designed for plastic surfaces. This type of paint will provide better coverage, durability, and adhesion compared to regular paint. You can also opt for a paint and primer combo for an even easier application process.
Get Creative with Color
Now comes the fun part – choosing a color for your bathroom sink. Think about the overall style and color scheme of your bathroom. Do you want to add a pop of color or keep it neutral? You can also use this opportunity to match your sink to other elements in the bathroom, such as the walls or shower curtain. Don't be afraid to get creative and choose a bold color or even create a pattern with stencils.
Apply the Paint
Using a small foam brush or a mini roller, carefully apply the paint to the sink. Start from the top and work your way down, making sure to cover all areas evenly. It's better to apply multiple thin coats rather than one thick coat to avoid drips and unevenness. Let the paint dry completely between coats.
Protect Your Newly Painted Sink
Once the final coat is dry, you can add a clear coat for extra protection and shine. This will also help the paint withstand water and cleaning products. Be sure to let the clear coat dry completely before using the sink.
With these simple steps, you can easily transform your plastic bathroom sink into a stylish and colorful focal point. Don't be afraid to experiment and have fun with different colors and patterns. Your bathroom will thank you for this budget-friendly and creative update.
Are you tired of looking at your old, dull plastic bathroom sink? Is it time for a change, but you're not ready to invest in a whole new sink? Look no further, because painting your plastic bathroom sink is a simple and budget-friendly way to give your bathroom a fresh new look. Not only will it add a pop of color and style to your space, but it will also protect your sink from further wear and tear. Here's everything you need to know to successfully paint your plastic bathroom sink.
Preparation is Key
Before diving into the painting process, it's important to properly prepare your plastic bathroom sink. This includes thoroughly cleaning it with a mild detergent and warm water to remove any dirt, grime, or soap scum. You can also use a degreaser to get rid of any stubborn stains. Once clean, rinse off the sink and let it dry completely.
Next, lightly sand the surface of the sink with a fine-grit sandpaper. This will help the paint adhere better and create a smoother finish. Don't forget to wipe down the sink again to remove any dust from sanding.
Choose the Right Paint
When it comes to painting plastic, it's important to use the right type of paint. Look for a high-quality, acrylic-based paint that is specifically designed for plastic surfaces. This type of paint will provide better coverage, durability, and adhesion compared to regular paint. You can also opt for a paint and primer combo for an even easier application process.
Get Creative with Color
Now comes the fun part – choosing a color for your bathroom sink. Think about the overall style and color scheme of your bathroom. Do you want to add a pop of color or keep it neutral? You can also use this opportunity to match your sink to other elements in the bathroom, such as the walls or shower curtain. Don't be afraid to get creative and choose a bold color or even create a pattern with stencils.
Apply the Paint
Using a small foam brush or a mini roller, carefully apply the paint to the sink. Start from the top and work your way down, making sure to cover all areas evenly. It's better to apply multiple thin coats rather than one thick coat to avoid drips and unevenness. Let the paint dry completely between coats.
Protect Your Newly Painted Sink
Once the final coat is dry, you can add a clear coat for extra protection and shine. This will also help the paint withstand water and cleaning products. Be sure to let the clear coat dry completely before using the sink.
With these simple steps, you can easily transform your plastic bathroom sink into a stylish and colorful focal point. Don't be afraid to experiment and have fun with different colors and patterns. Your bathroom will thank you for this budget-friendly and creative update.