Are you tired of the same old boring walls in your kitchen? Want to give it a new, modern look without breaking the bank? Painting your kitchen walls grey may be the perfect solution. Not only is grey a versatile and on-trend color, but it can also make your kitchen feel more spacious and sophisticated. In this article, we'll guide you through the top 10 steps for painting your kitchen walls grey like a DIY pro.How to Paint a Room: 10 Steps to Painting Walls Like a DIY Pro
The first step to painting your kitchen walls grey is to gather all the necessary supplies. This includes paint (in your desired shade of grey), paint rollers, paintbrushes, painter's tape, drop cloths, and paint trays. Make sure to also have a ladder, some old clothes, and a mask to protect yourself from paint fumes.Step 1: Gather Your Supplies
Before you start painting, it's important to prepare the room. Move all the furniture to the center of the room and cover it with drop cloths. Use painter's tape to cover any light switches, outlets, and moldings. This will ensure that you have clean, crisp edges and avoid getting paint on any surfaces that you don't want to be painted.Step 2: Prepare the Room
For the best results, it's essential to have clean and smooth walls. Use a damp cloth to wipe away any dust or dirt on the walls. If your walls have any imperfections, use spackling compound to fill them in and sand them down once they are dry. Then, apply a coat of primer to create a smooth and even surface for the paint to adhere to.Step 3: Clean and Prime the Walls
Now it's time to mix your paint. Grey comes in a variety of shades, so make sure to choose one that complements your kitchen's color scheme and style. Follow the instructions on the paint can to properly mix the paint. It's always a good idea to test a small patch of paint on the wall to make sure you're happy with the color before starting the entire project.Step 4: Mix the Paint
Using a paint roller, start at the top corner of the wall and work your way down in a "W" shape. This will help to evenly distribute the paint on the wall. For smaller areas and corners, use a paintbrush. Make sure to apply a thin and even coat of paint, and don't overload your roller or brush.Step 5: Start Painting
Once you've painted the main areas of the wall, it's time to cut in. This means using a paintbrush to paint along the edges and corners of the wall, where a roller can't reach. Take your time and use long, smooth strokes to create clean lines.Step 6: Cut In
Before applying a second coat, make sure to let the paint dry completely. This usually takes about 2-4 hours, depending on the type of paint and the humidity in your home. You can use a fan to help speed up the drying process.Step 7: Let the Paint Dry
For a more professional and long-lasting finish, it's recommended to apply a second coat of paint. Repeat the same steps as before, starting with cutting in and then using a roller to cover the main areas of the wall. This will ensure that the color is even and any imperfections are covered.Step 8: Apply a Second Coat
Once the second coat is dry, carefully remove the painter's tape from the walls. Make sure to do this slowly and at an angle to avoid pulling off any paint. If any paint has bled under the tape, you can use a sharp razor blade to gently scrape it off.Step 9: Remove the Tape
Why Grey is the Perfect Color for Your Kitchen Walls
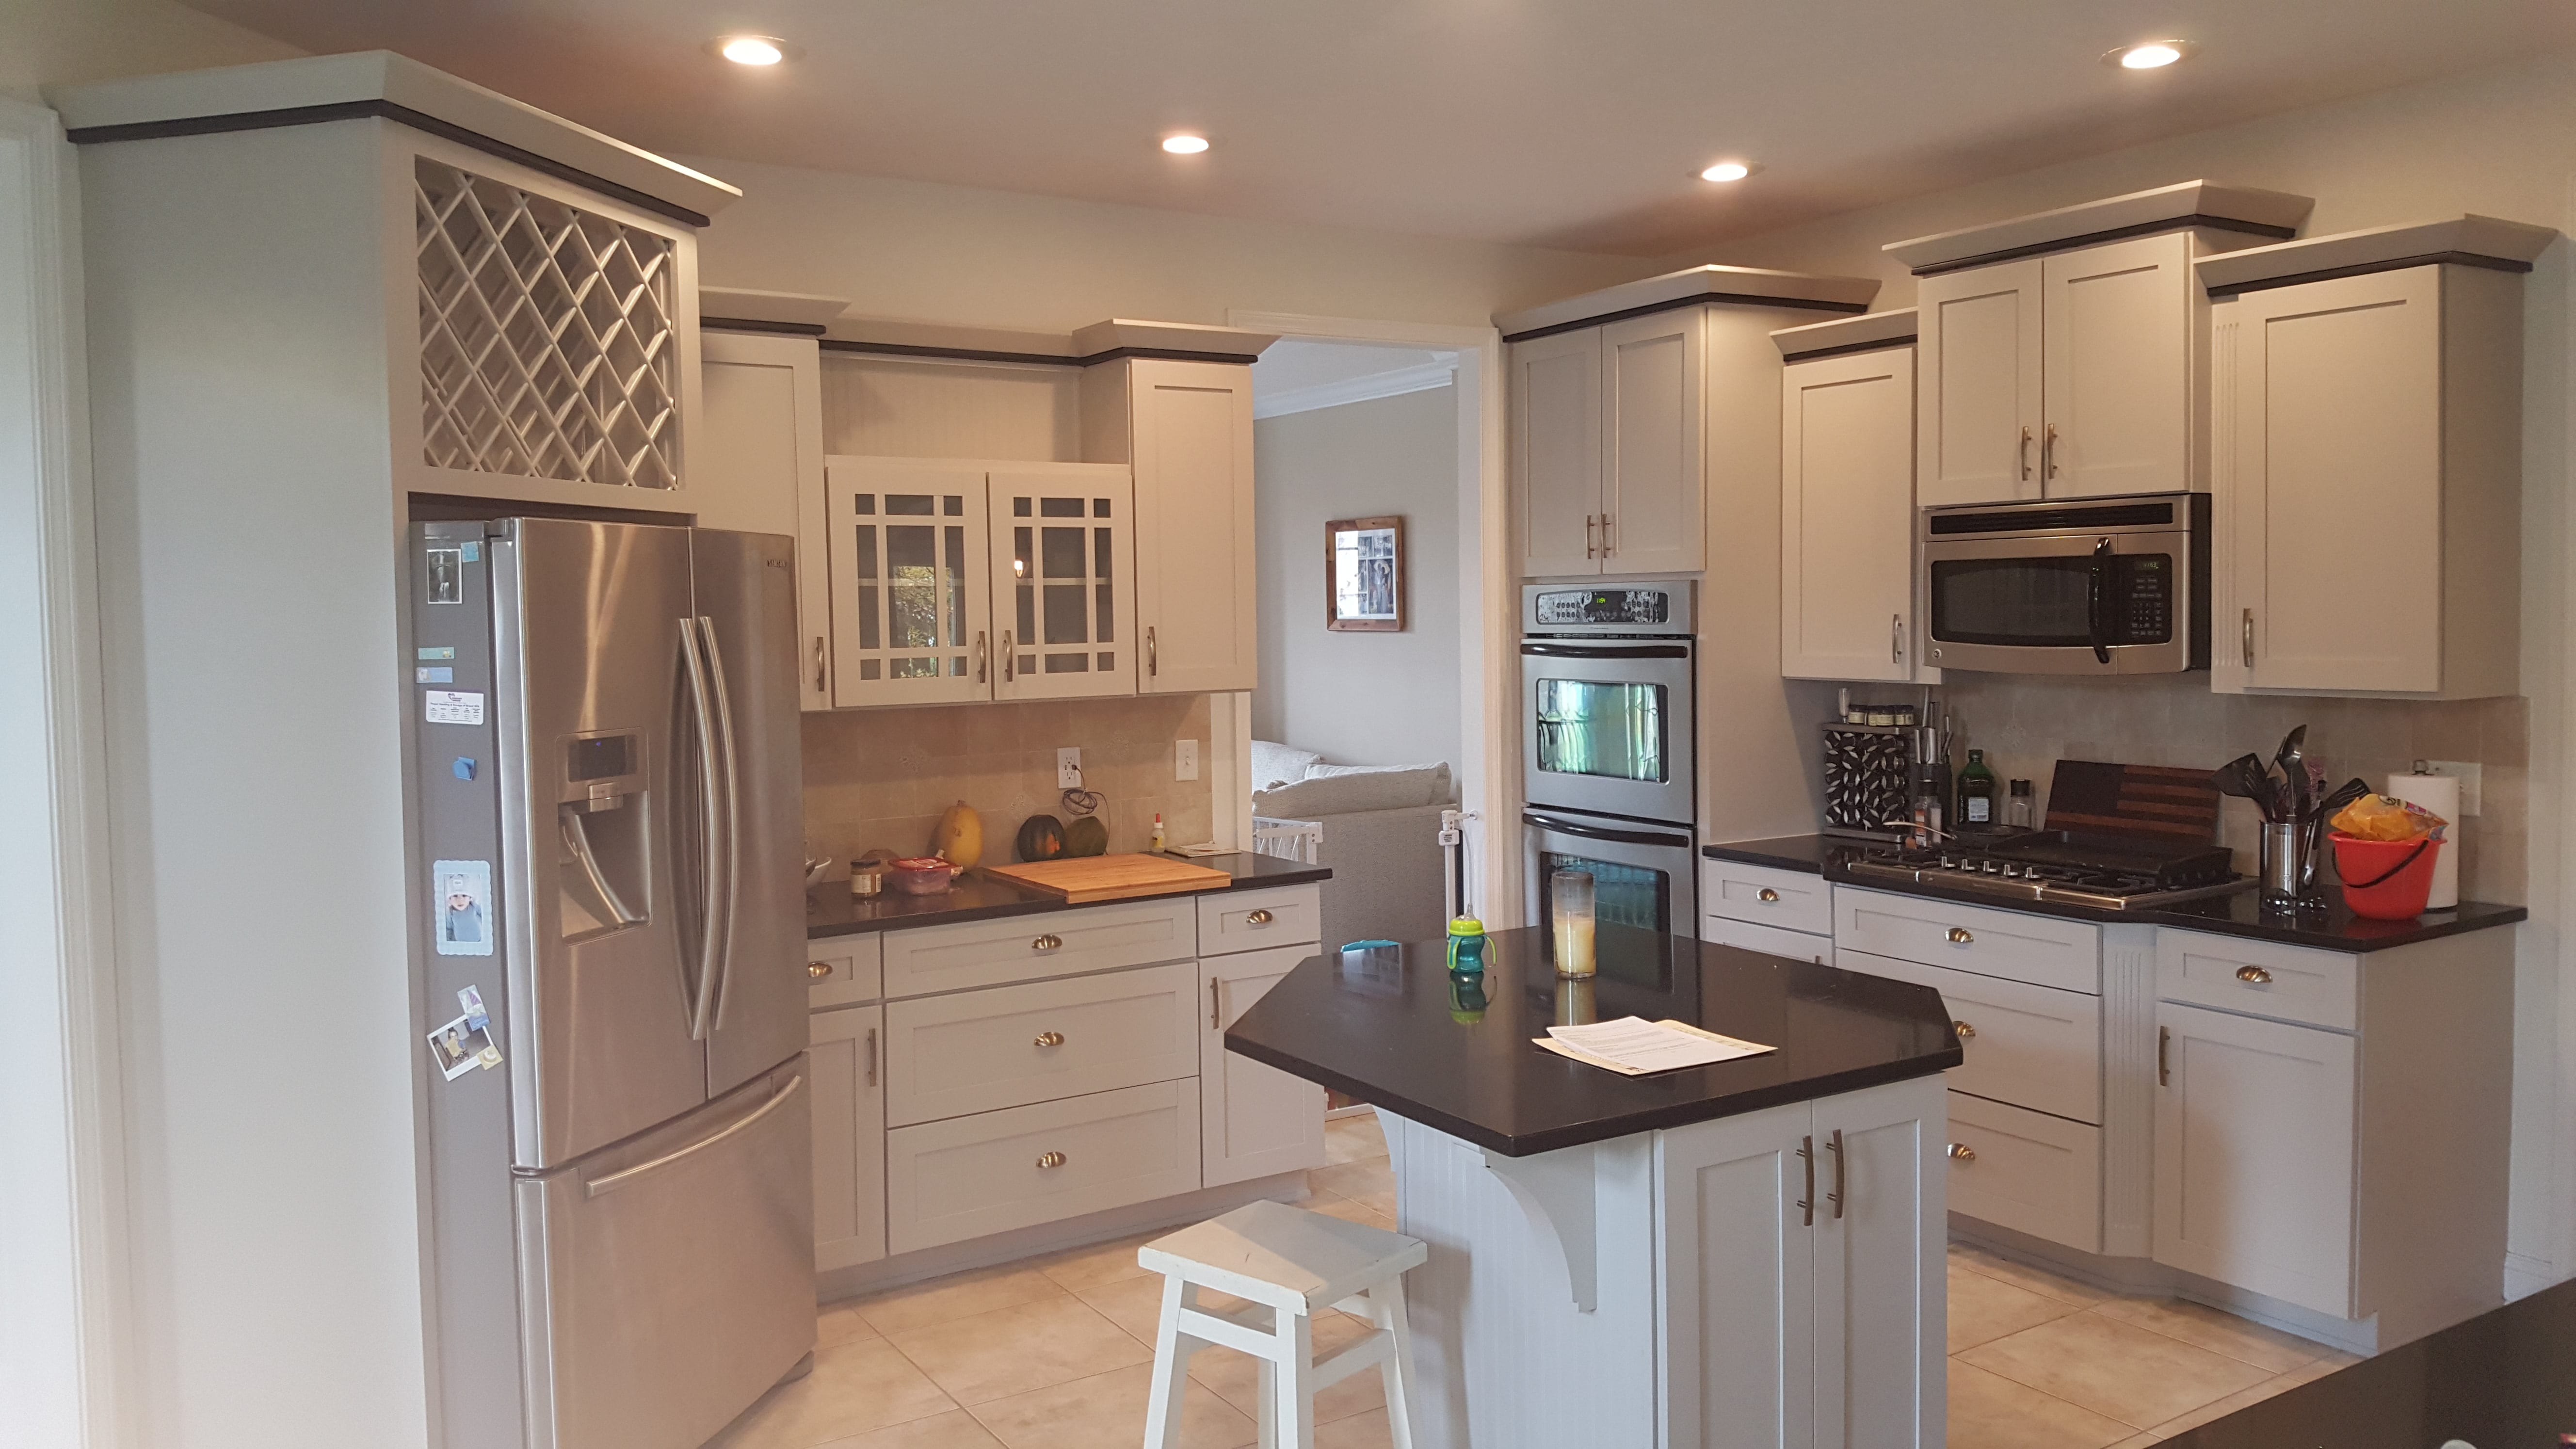
Elevate Your Kitchen Design
 When it comes to choosing a color for your kitchen walls,
grey
may not be the first color that comes to mind. However, this versatile and
modern
hue can elevate your kitchen design in ways you may not have thought possible.
Grey
has become increasingly popular in recent years for its ability to create a
sophisticated
and
sleek
look, making it the perfect choice for your kitchen walls.
Neutral and Timeless
 One of the main reasons why
grey
is a great color choice for your kitchen walls is because it is neutral and
timeless
. Unlike bolder colors,
grey
can easily adapt to any design style and color scheme. This makes it a
versatile
and
safe
choice that will never go out of style. Whether you have a
contemporary
or
traditional
kitchen,
grey
can seamlessly blend in and enhance the overall look of your space.
Creates a Sense of Depth
 Another benefit of
painting
your kitchen walls
grey
is that it can create a sense of
depth
in your space. By using different shades of
grey
on your walls, you can add visual interest and depth to your kitchen. This can make your kitchen appear larger and more
dynamic
, making it a more enjoyable space to cook and entertain in.
Complements Other Colors
 While
grey
is a stunning color on its own, it also
complements
other colors incredibly well. This means that you can use
grey
on your walls and still incorporate your favorite accent colors through decor, furniture, and kitchen accessories.
Grey
can serve as a
neutral base
that allows other colors to pop and stand out, creating a visually appealing and
harmonious
design.
Conclusion
 In conclusion,
painting
your kitchen walls
grey
is a
smart
and
stylish
choice that can elevate your kitchen design. Its
versatility
,
timelessness
, and ability to create a sense of
depth
make it a great option for any kitchen. Plus, its ability to
complement
other colors allows you to add your own personal touch to your space. So why not consider
grey
for your next kitchen renovation project? Your walls will thank you.








:no_upscale()/cdn.vox-cdn.com/uploads/chorus_asset/file/19522064/muted_hues.jpg)


/cdn.vox-cdn.com/uploads/chorus_image/image/65895156/historic_paint_promo.0.jpg)

/cdn.vox-cdn.com/uploads/chorus_image/image/65889956/iStock_1223022367.8.jpg)




/172156932-56a49f303df78cf772834e5a.jpg)






:max_bytes(150000):strip_icc()/Screen-Shot-2015-03-30-at-4.08.30-PM-56a192e65f9b58b7d0c0c291.png)


/Screen-Shot-2015-07-31-at-7.43.58-PM-56a193555f9b58b7d0c0c6a0.png)


/behr_agedbeige-56a1933e3df78cf7726c206e.png)


:max_bytes(150000):strip_icc()/BEHR-Color-Currents-2017_Comfortable-Living-Room-57df79955f9b586516e255ac.jpg)


