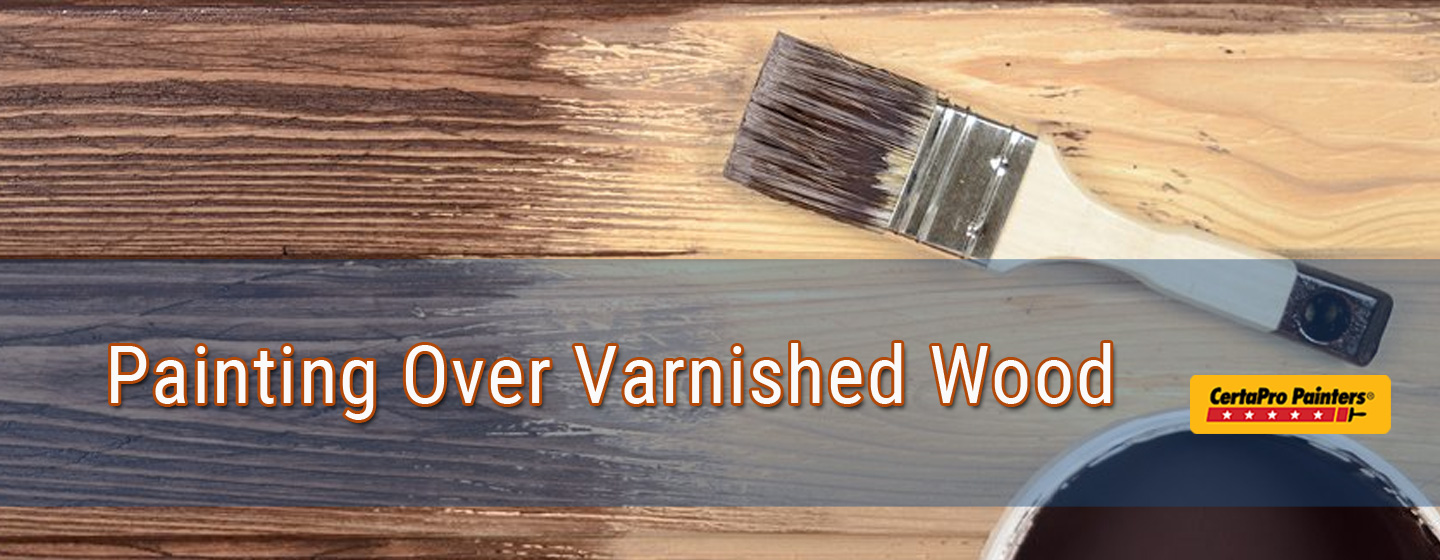
Painting a varnished kitchen table is a great way to give new life to an old piece of furniture. The process may seem daunting, but with the right tools and techniques, you can achieve professional-looking results. In this article, we will guide you through the steps of painting a varnished kitchen table and provide tips to make the process easier.How to Paint a Varnished Kitchen Table


How to Paint a Varnished Kitchen Table


Choosing the right paint for a varnished kitchen table is crucial for achieving a long-lasting and durable finish. Look for paint specifically designed for wood surfaces, such as acrylic or latex paint. These types of paint adhere well to varnished surfaces and provide a smooth finish.Best Paint for Varnished Kitchen Table


Best Paint for Varnished Kitchen Table


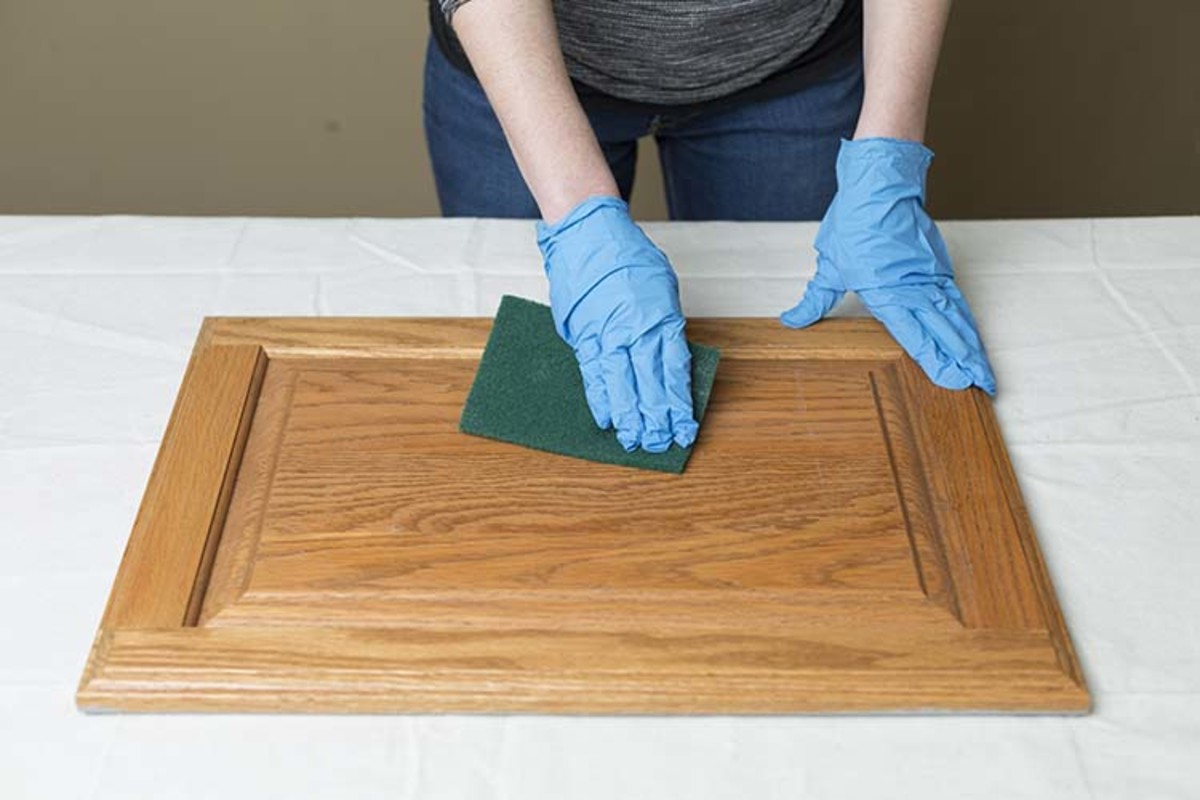
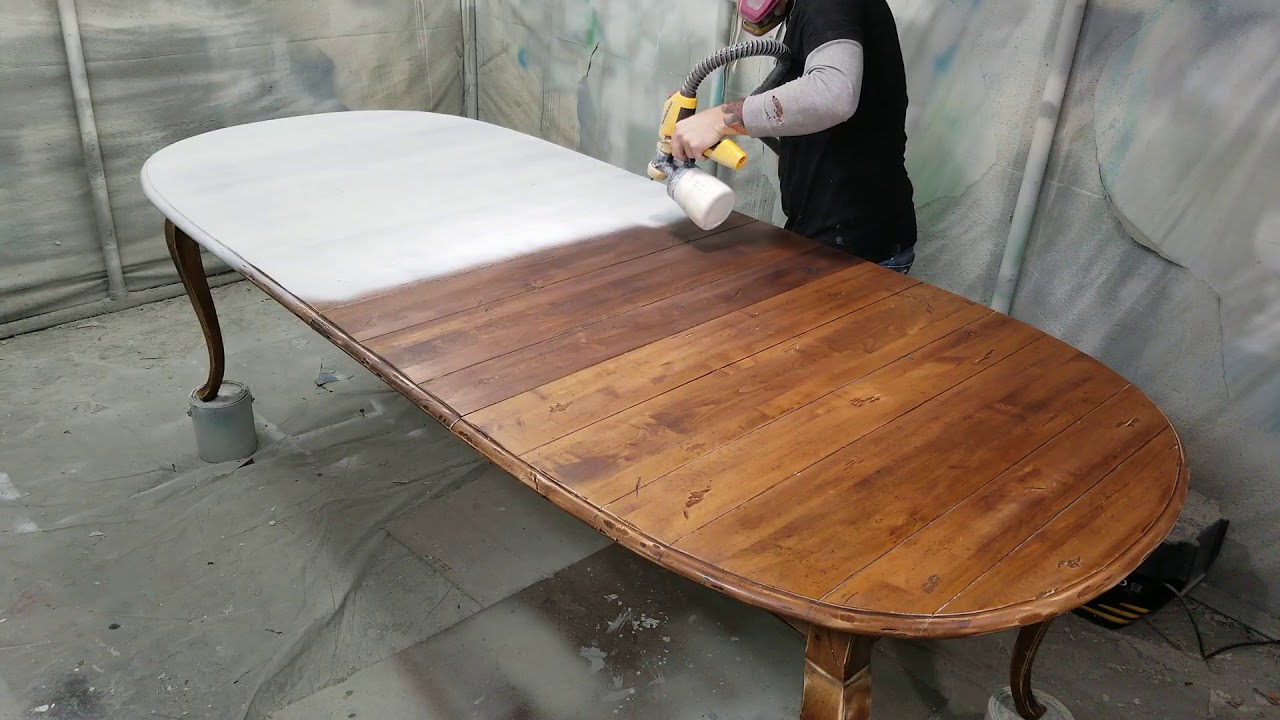
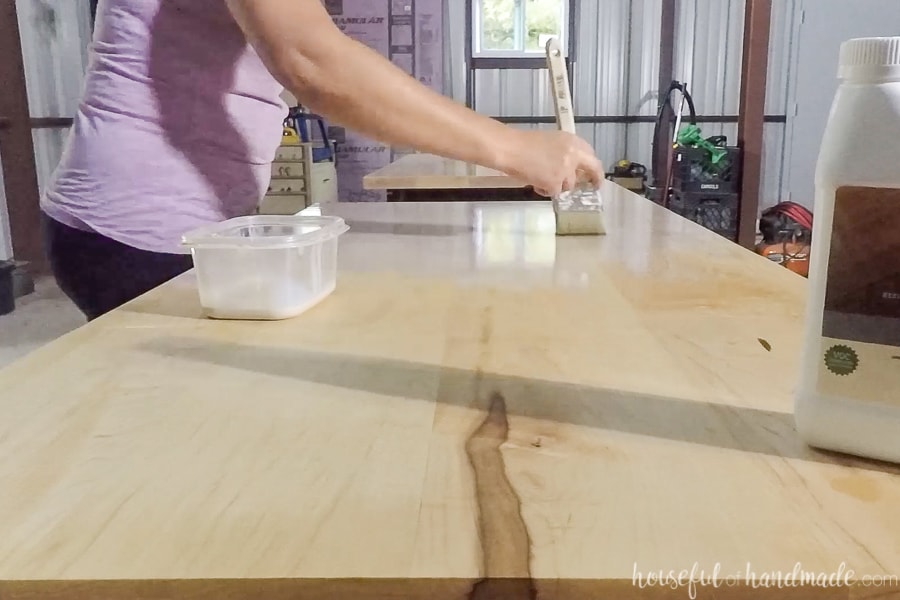
Follow these steps to paint a varnished kitchen table: Step 1: Prep the table Start by cleaning the table with a mild detergent and warm water. This will remove any dirt, grime, or grease from the surface. Then, sand the table lightly with fine-grit sandpaper to remove any glossy finish and create a rough surface for the paint to adhere to. Step 2: Prime the table If your varnished table has a dark or uneven color, it is recommended to use a primer before painting. This will help the paint to adhere better and create a more even finish. Apply the primer using a brush or roller and let it dry completely. Step 3: Paint the table Using a paintbrush or roller, apply the paint in thin, even coats. Start from one end of the table and work your way to the other, making sure to cover all surfaces. For best results, apply 2-3 coats of paint, letting each coat dry completely before applying the next one. Step 4: Sand and smooth Once the paint is completely dry, use fine-grit sandpaper to lightly sand the table. This will help to smooth out any brush strokes or imperfections in the paint. Wipe away any dust with a damp cloth before moving on to the next step. Step 5: Seal the table To protect the paint and create a durable finish, apply a clear sealant over the painted surface. This will also give the table a glossy or matte finish, depending on the type of sealant you choose. Apply 2-3 coats of sealant, letting each one dry completely before adding the next.Step-by-Step Guide for Painting a Varnished Kitchen Table


Step-by-Step Guide for Painting a Varnished Kitchen Table


Here are some additional tips to help you achieve a professional-looking painted varnished kitchen table: • Choose a well-ventilated area to paint and wear protective gear to avoid inhaling fumes. • Use a high-quality brush or roller for a smooth and even application of paint. • Always paint in thin, even coats to avoid drips or bubbles. • If you make a mistake or want to change the color, sand the table lightly and start over.DIY Varnished Kitchen Table Painting Tips

DIY Varnished Kitchen Table Painting Tips

/cdn.vox-cdn.com/uploads/chorus_image/image/66181129/iStock_1152705690.7.jpg)


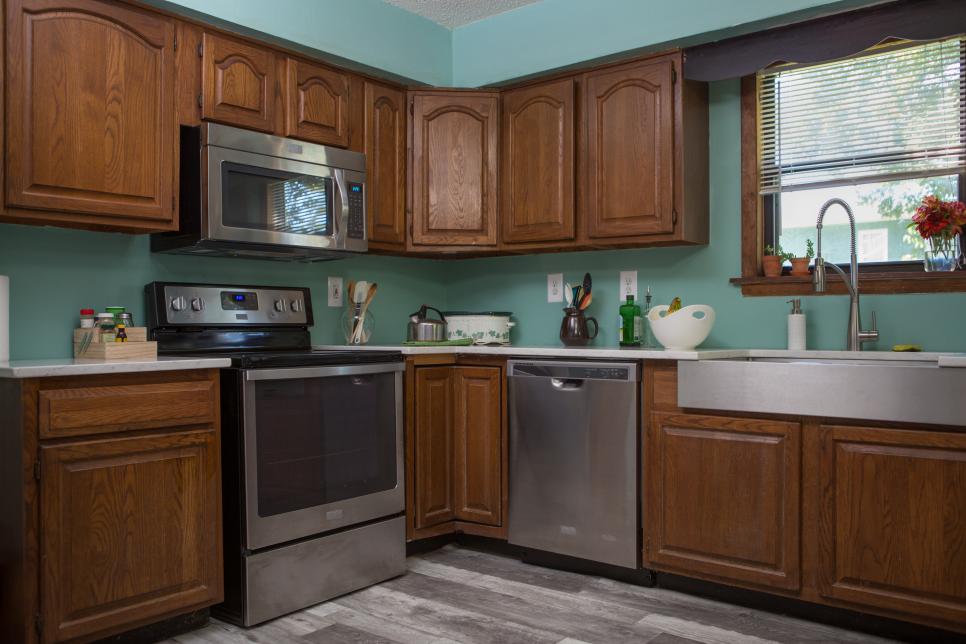
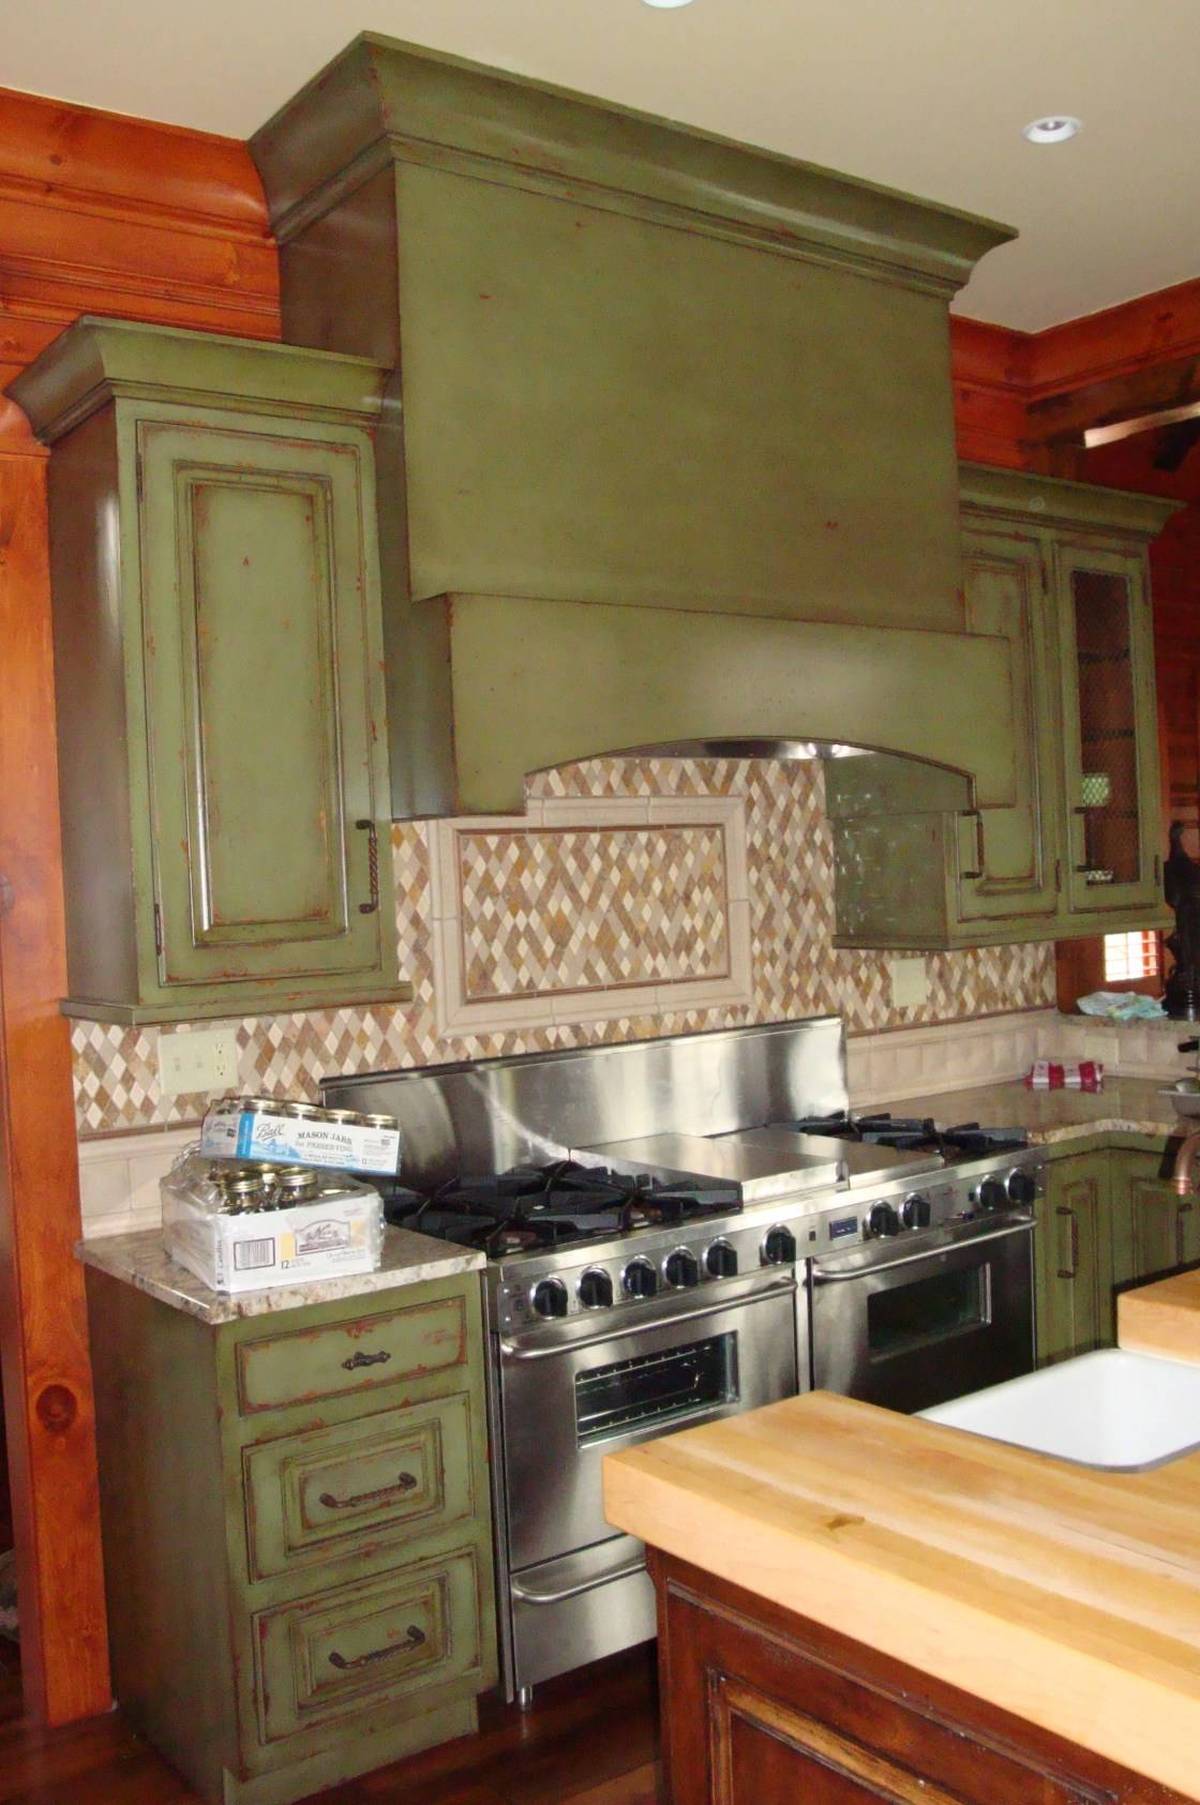
Proper preparation is crucial for achieving a successful paint job on a varnished kitchen table. As mentioned earlier, cleaning and sanding the table are important steps. You should also remove any hardware, such as drawer pulls or knobs, and cover any areas you don't want to paint with painter's tape.Prepping a Varnished Kitchen Table for Painting


Prepping a Varnished Kitchen Table for Painting


When it comes to choosing the right paint for your varnished kitchen table, consider the type of finish you want, the color, and the durability. Acrylic or latex paint is the most recommended for this type of project, but you can also opt for chalk paint for a distressed look or oil-based paint for a glossy finish.Choosing the Right Paint for a Varnished Kitchen Table

Choosing the Right Paint for a Varnished Kitchen Table


:max_bytes(150000):strip_icc()/149957873-56a49ee15f9b58b7d0d7e016.jpg)


There are different techniques you can use to paint a varnished kitchen table, such as brush strokes, rolling, or spraying. The technique you choose will depend on your preference and the type of paint you are using. For example, chalk paint is best applied with a brush, while oil-based paint can be sprayed for a smoother finish.Painting Techniques for a Varnished Kitchen Table


Painting Techniques for a Varnished Kitchen Table


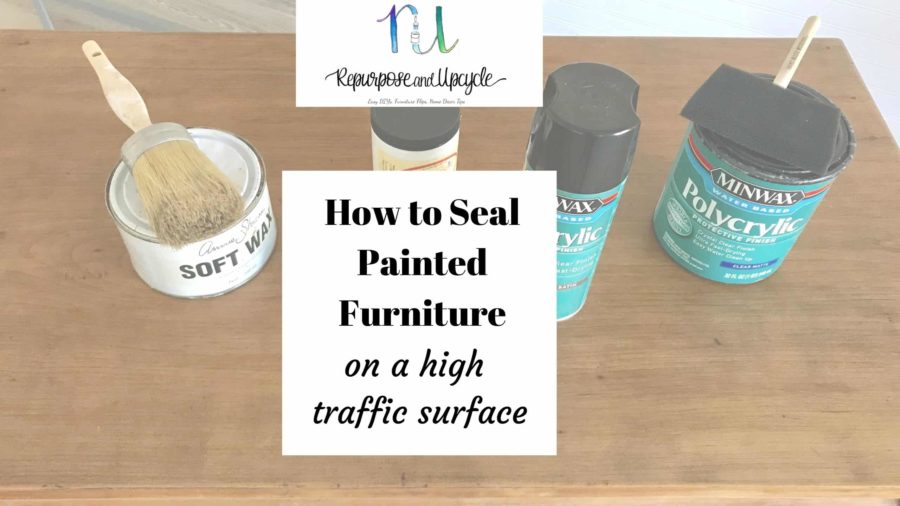
To seal a painted varnished kitchen table, you can use a clear sealant or wax. Both options will protect the paint and give the table a finished look. If you opt for wax, apply it using a clean cloth and buff it in circular motions until the surface is smooth and glossy.How to Seal a Painted Varnished Kitchen Table


How to Seal a Painted Varnished Kitchen Table


Some common mistakes to avoid when painting a varnished kitchen table include: • Not prepping the table properly, resulting in paint not adhering well. • Skipping the sanding step, which can lead to an uneven finish. • Applying too thick of a coat of paint, resulting in drips and bubbles. • Using the wrong type of paint for the project, which can result in poor adhesion and durability.Common Mistakes When Painting a Varnished Kitchen Table


Common Mistakes When Painting a Varnished Kitchen Table


To achieve a professional-looking painted varnished kitchen table, follow these tips: • Take your time and follow the steps carefully for best results. • Use high-quality tools and materials for a smoother and more even finish. • Allow enough time for each coat of paint and sealant to dry completely. • Add a personal touch by distressing the paint or using stencils for a unique design. With these tips and techniques, you can successfully paint a varnished kitchen table and give it a fresh, new look. Remember to take your time and be patient for the best results. Enjoy your newly painted kitchen table and the sense of accomplishment that comes with a DIY project!Tips for a Professional-Looking Painted Varnished Kitchen Table
Tips for a Professional-Looking Painted Varnished Kitchen Table


Painting a Varnished Kitchen Table: A Simple Guide to Refreshing Your Space

The Importance of a Varnished Kitchen Table
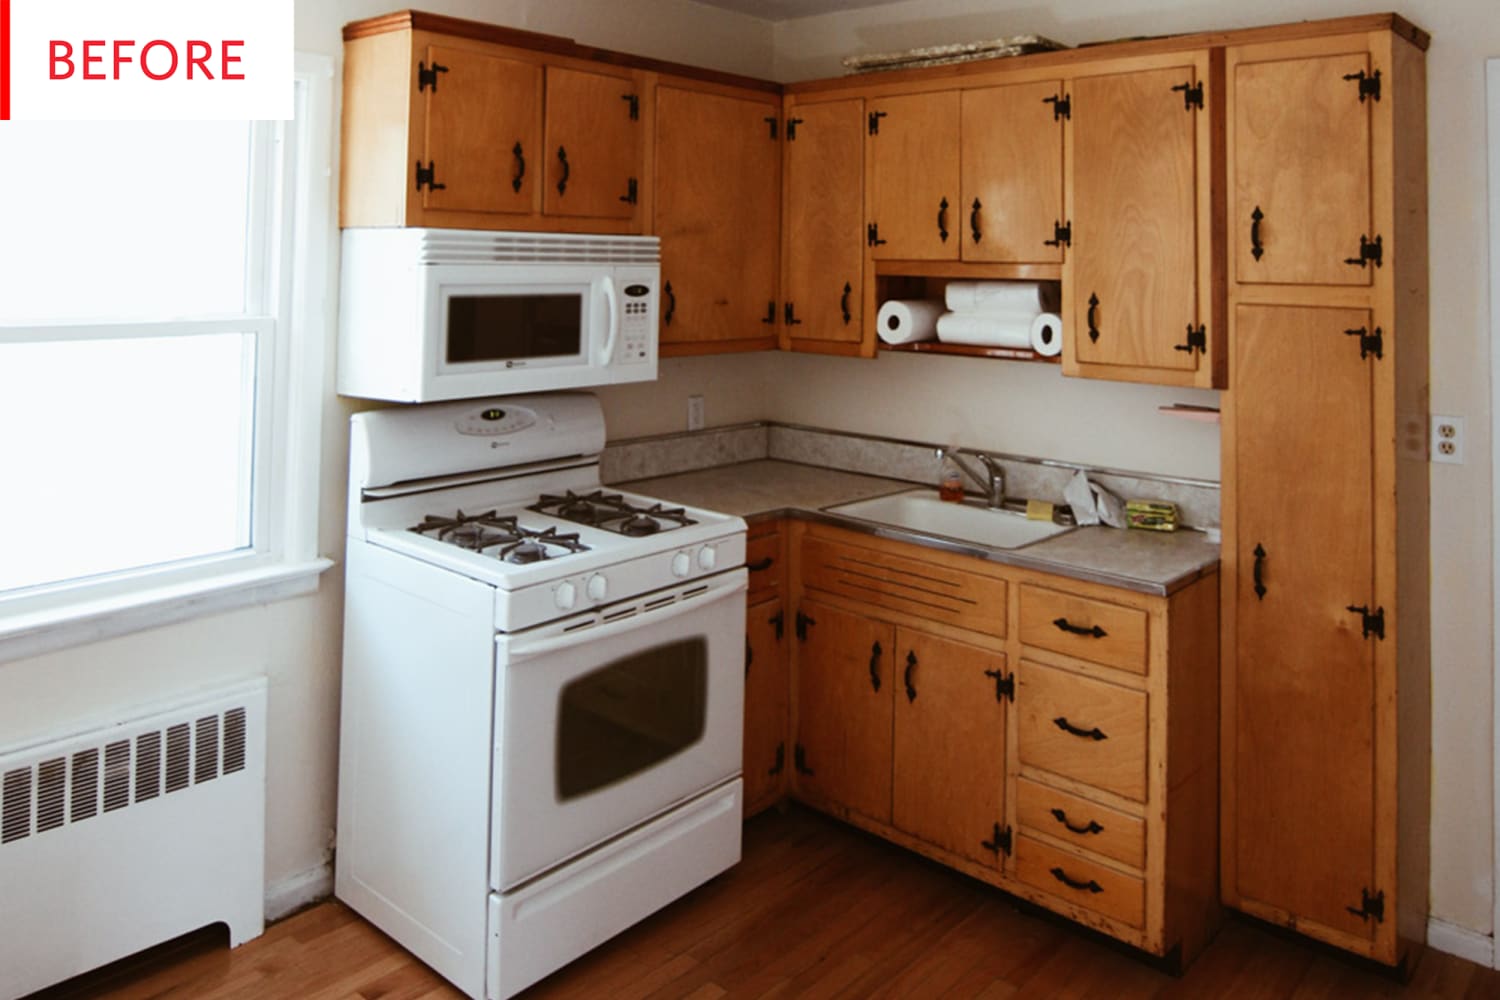
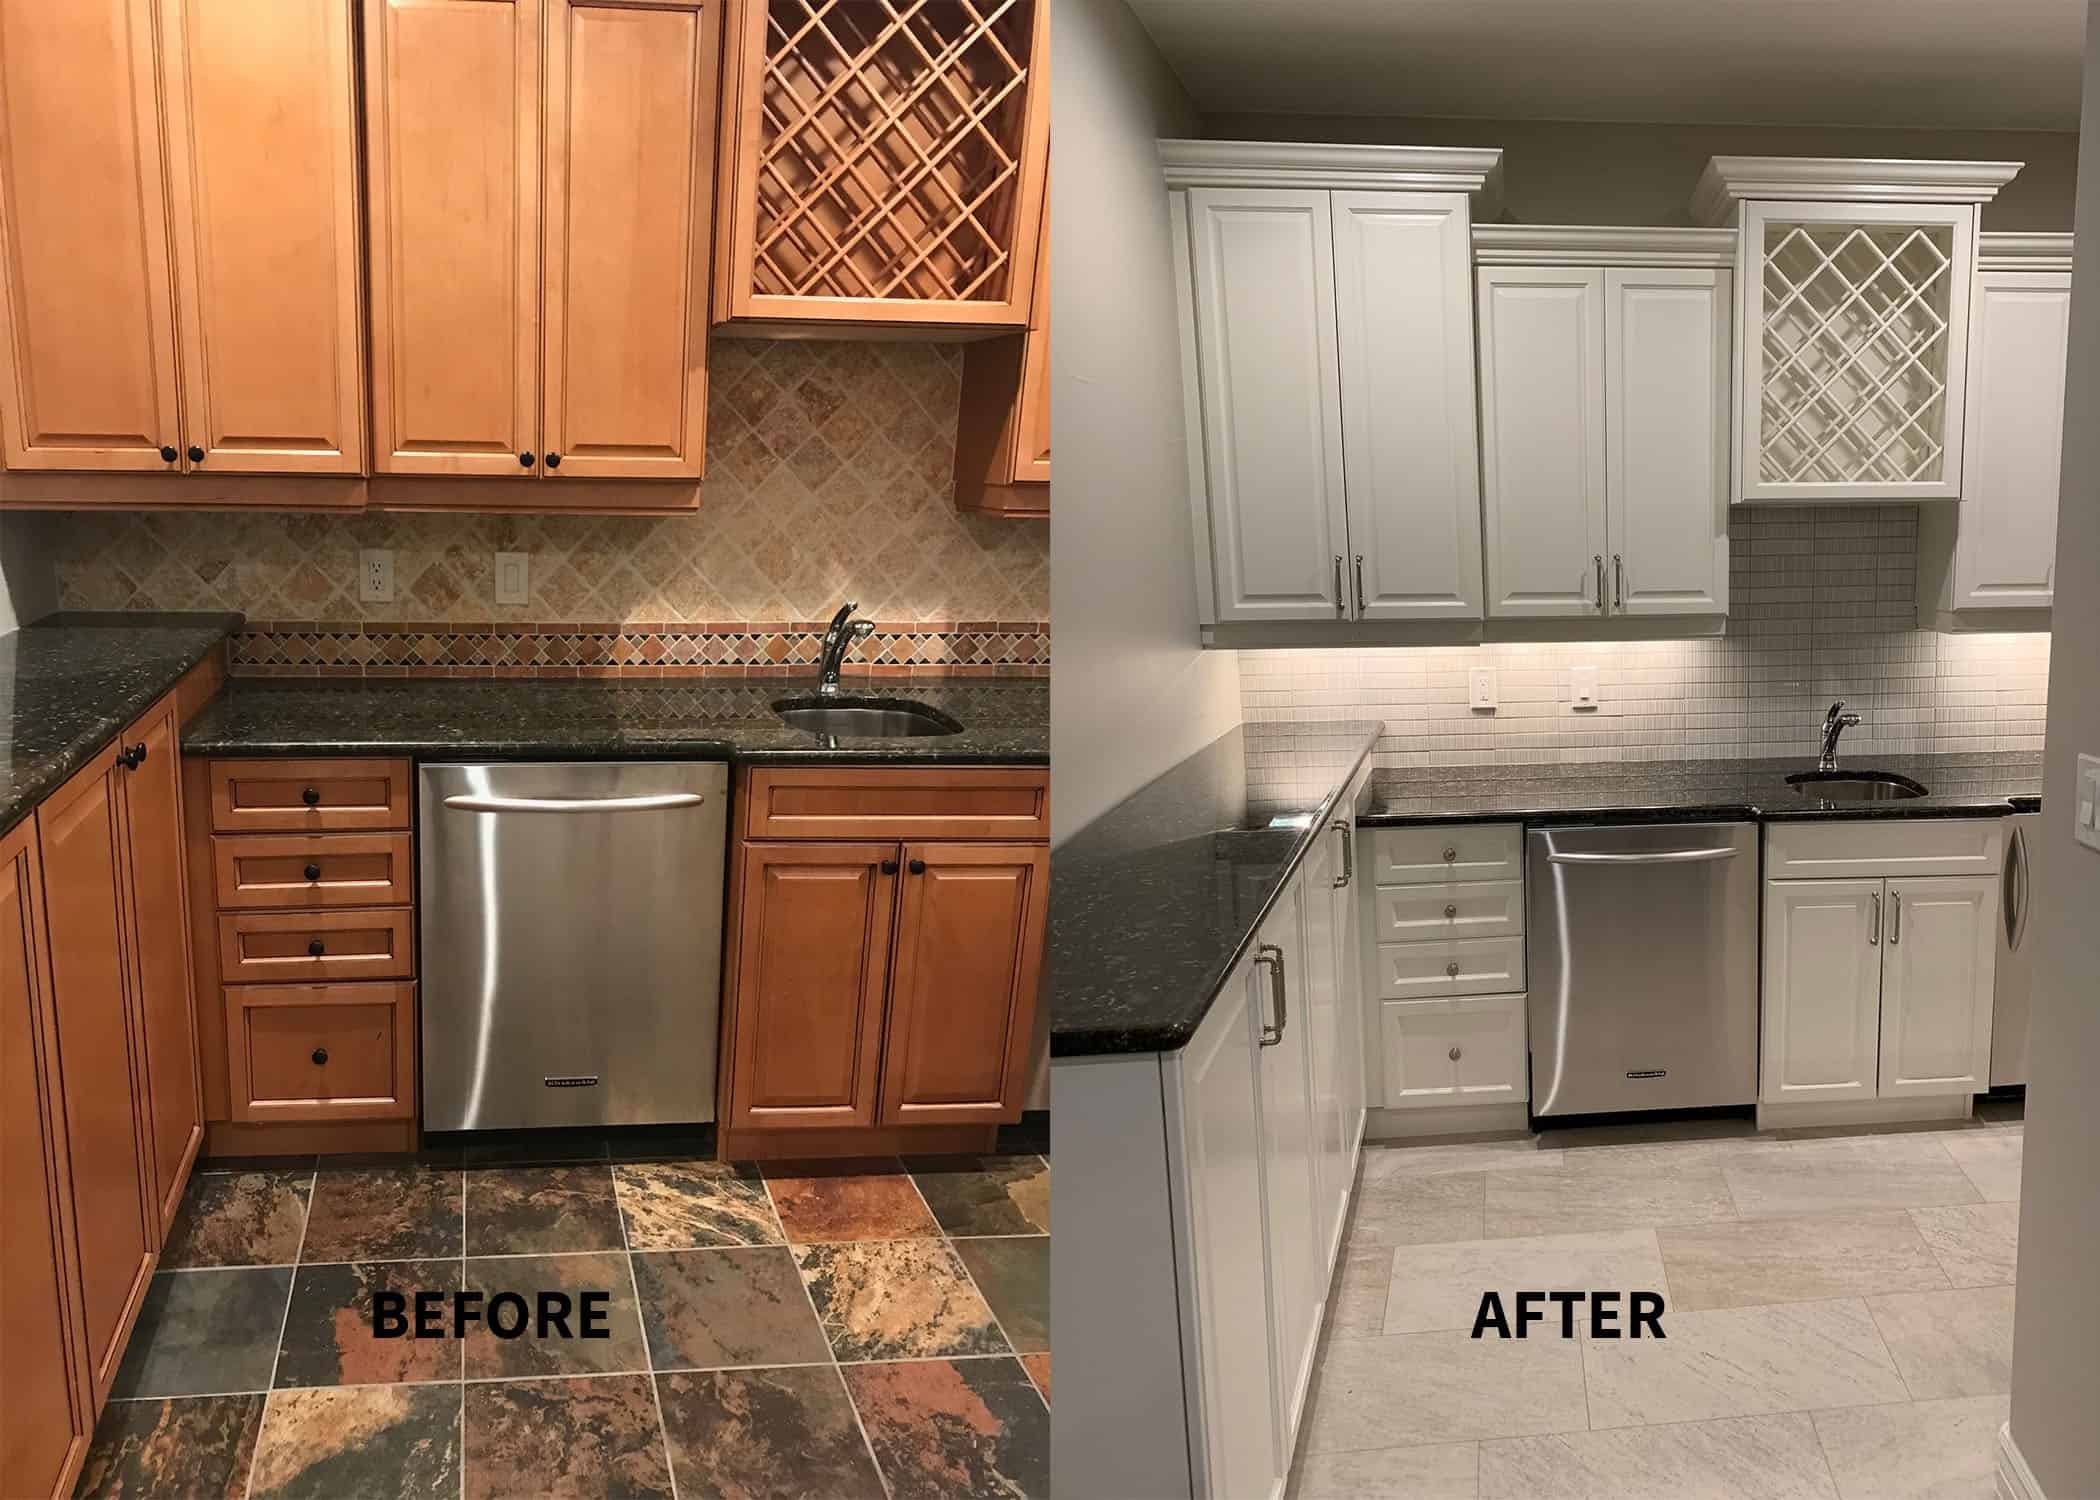
 A varnished kitchen table is not just a piece of furniture, it is the heart of the home. It is where family and friends gather to share meals, stories, and laughter. It is where memories are made and traditions are passed down. But over time, that once beautiful varnished kitchen table may start to lose its shine and charm. The varnish may become dull and scratched, and the color may fade. This is where painting a varnished kitchen table comes in. It is a simple and cost-effective way to refresh your space and bring new life to your kitchen.
The Benefits of Painting a Varnished Kitchen Table
 Painting a varnished kitchen table has many benefits. Firstly, it allows you to customize the look of your kitchen table to match your personal style and the overall design of your home. You can choose from a variety of colors and finishes to create a unique and personalized look. Additionally, painting your varnished kitchen table can help protect it from everyday wear and tear. The paint acts as a protective layer, making your table more durable and easier to clean. Lastly, painting your varnished kitchen table is a budget-friendly option compared to buying a brand new table, making it a great option for those on a tight budget.
The Step-by-Step Guide to Painting a Varnished Kitchen Table
 Now that you understand the importance and benefits of painting a varnished kitchen table, let's go through the steps to achieve a professional-looking result.
Step 1: Prepare the Table
Before you begin, make sure to gather all the necessary tools and materials. This includes sandpaper, primer, paint, paintbrush, and a protective top coat. Start by cleaning the table thoroughly to remove any dirt or grime. Then, lightly sand the surface to remove the glossy finish of the varnish. This will help the paint adhere better.
Step 2: Prime the Table
Priming is an essential step in painting a varnished kitchen table. It helps to create a smooth and even surface for the paint to adhere to. Apply a thin layer of primer using a paintbrush, making sure to cover all areas evenly. Let it dry completely before moving on to the next step.
Step 3: Paint the Table
Now comes the fun part - painting! Choose a high-quality paint suitable for furniture. Apply the first coat using a paintbrush, following the grain of the wood. Let it dry completely before applying a second coat. You may need to apply a third coat for a more opaque finish. Don't forget to let each coat dry completely before adding the next one.
Step 4: Protect the Table
To protect your newly painted kitchen table and make it more durable, apply a protective top coat. This can be a clear varnish or a wax finish. Apply it using a paintbrush, making sure to cover all surfaces evenly. Let it dry completely before using your table.
Now that you understand the importance and benefits of painting a varnished kitchen table, let's go through the steps to achieve a professional-looking result.
Step 1: Prepare the Table
Before you begin, make sure to gather all the necessary tools and materials. This includes sandpaper, primer, paint, paintbrush, and a protective top coat. Start by cleaning the table thoroughly to remove any dirt or grime. Then, lightly sand the surface to remove the glossy finish of the varnish. This will help the paint adhere better.
Step 2: Prime the Table
Priming is an essential step in painting a varnished kitchen table. It helps to create a smooth and even surface for the paint to adhere to. Apply a thin layer of primer using a paintbrush, making sure to cover all areas evenly. Let it dry completely before moving on to the next step.
Step 3: Paint the Table
Now comes the fun part - painting! Choose a high-quality paint suitable for furniture. Apply the first coat using a paintbrush, following the grain of the wood. Let it dry completely before applying a second coat. You may need to apply a third coat for a more opaque finish. Don't forget to let each coat dry completely before adding the next one.
Step 4: Protect the Table
To protect your newly painted kitchen table and make it more durable, apply a protective top coat. This can be a clear varnish or a wax finish. Apply it using a paintbrush, making sure to cover all surfaces evenly. Let it dry completely before using your table.
Conclusion
 Painting a varnished kitchen table is a simple and effective way to refresh your space and bring new life to your kitchen. By following these steps, you can achieve a professional-looking result and enjoy your beautiful and personalized kitchen table for years to come. So why wait? Grab your paintbrush and give your varnished kitchen table the makeover it deserves.