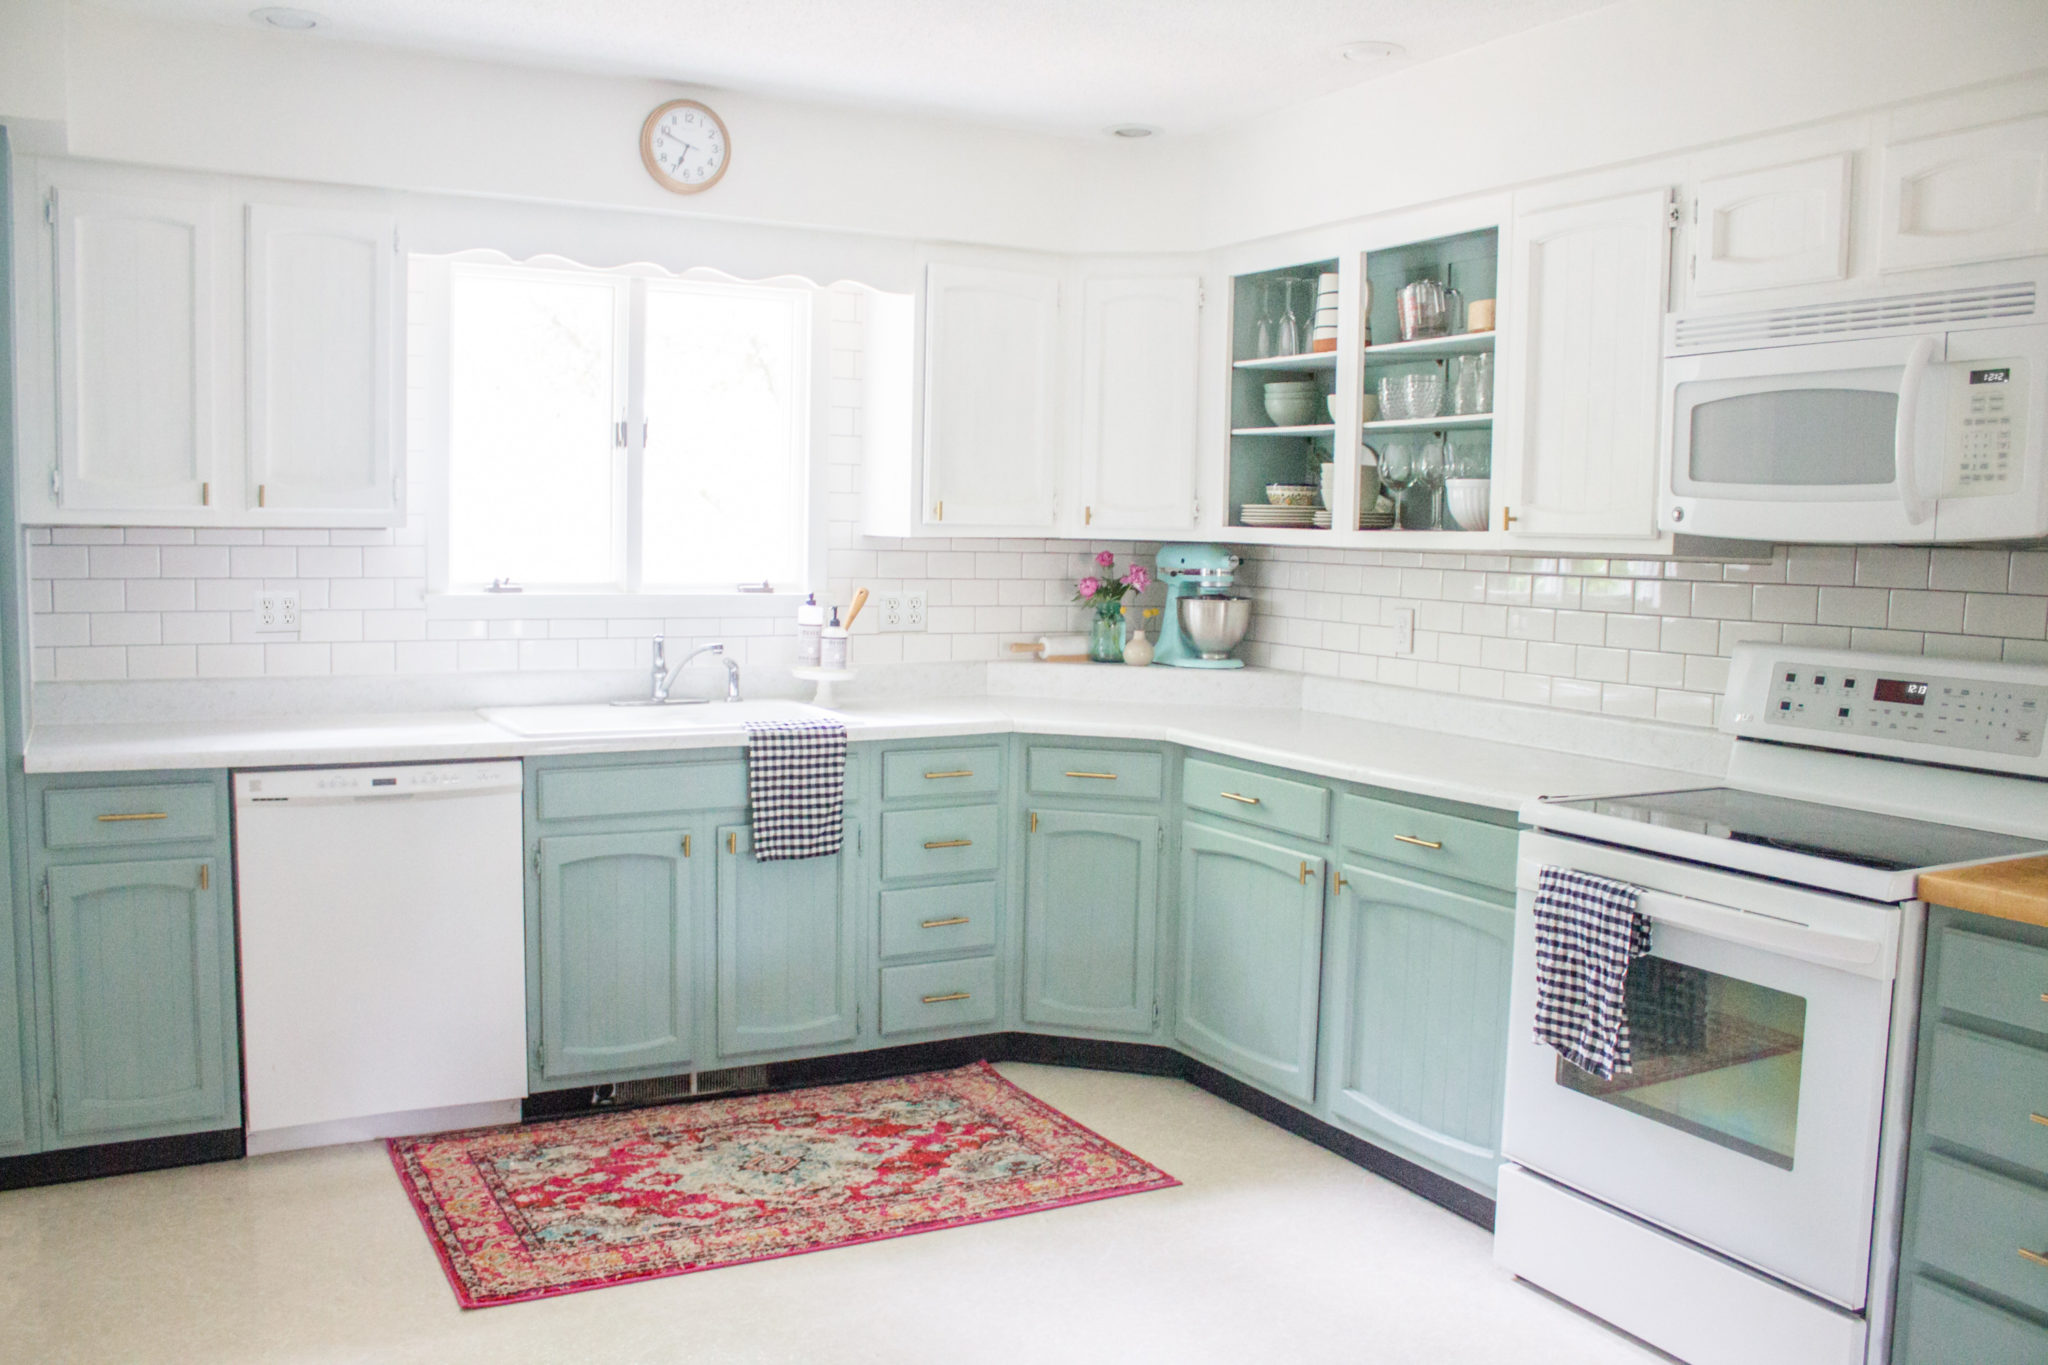
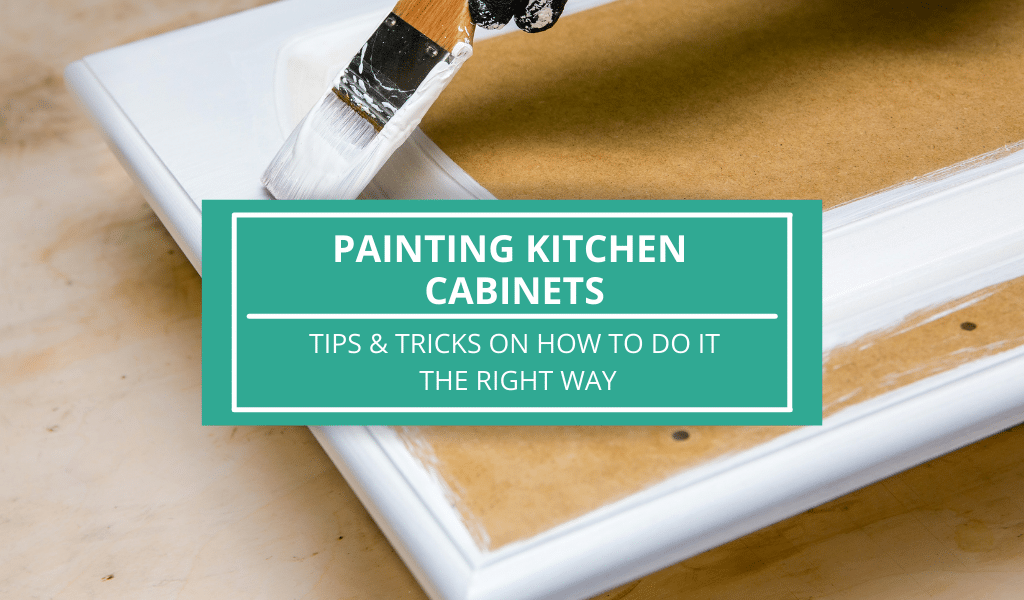
Painting kitchen cabinets is a great way to give your kitchen a fresh new look without breaking the bank. And what better way to do it than with wall paint? Not only is wall paint more affordable than traditional cabinet paint, but it also offers a wider range of colors and finishes to choose from. So if you're ready to transform your kitchen cabinets, here's a step-by-step guide on how to paint them with wall paint.How to Paint Kitchen Cabinets with Wall Paint
The first step in painting your kitchen cabinets is to prep the surface. Remove all cabinet doors, drawers, and hardware and clean them thoroughly with a degreaser. Sand down any rough spots and wipe away any dust. Next, use painter's tape to protect your walls and countertops from any accidental spills or drips. It's also a good idea to cover your floors with a drop cloth.How to Paint Kitchen Cabinets with Wall Paint: 5 Steps (with Pictures)
When it comes to painting kitchen cabinets, a smooth finish is key. Here are a few tips to help you achieve a professional-looking finish: 1. Use a high-quality primer: This will help the paint adhere better and prevent any stains or discoloration from showing through. 2. Invest in a good paintbrush: A high-quality paintbrush will make all the difference in achieving a smooth finish. Look for one with synthetic bristles specifically designed for painting cabinets. 3. Apply thin coats: It's better to apply multiple thin coats of paint rather than one thick coat. This will prevent any drips or brush marks and ensure a smoother finish. 4. Sand between coats: Lightly sanding between coats of paint will help smooth out any imperfections and create a smoother finish. 5. Let it dry completely: Be patient and let each coat of paint dry completely before applying the next one. This will prevent any smudging or smearing.How to Paint Kitchen Cabinets with Wall Paint: 5 Tips for a Smooth Finish
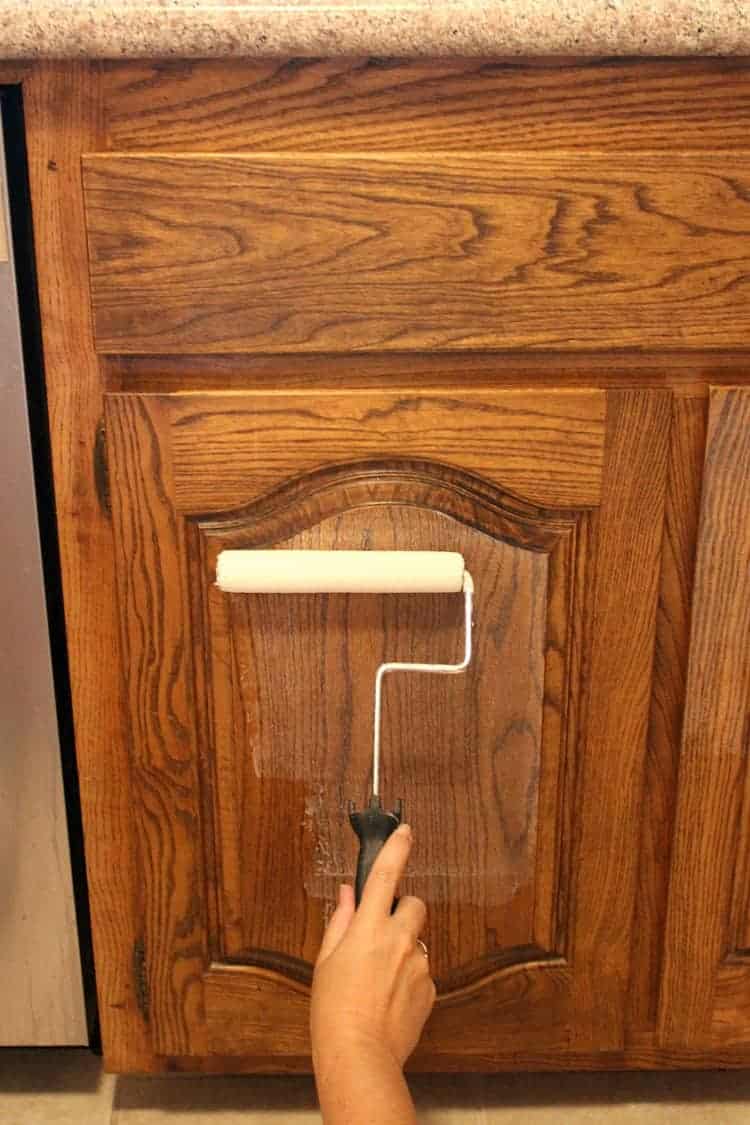
Now that you have prepped your cabinets and have all your materials ready, it's time to start painting. Here's a step-by-step guide to help you through the process: Step 1: Prime the cabinets: Use a high-quality primer and a paintbrush to prime all surfaces of the cabinets. Let it dry completely. Step 2: Paint the cabinet frames: Use a paintbrush to paint the cabinet frames. Start from the inside and work your way out, applying thin coats of paint. Let it dry completely. Step 3: Paint the cabinet doors and drawers: Use a paintbrush to paint the cabinet doors and drawers, following the same method as the frames. Let them dry completely. Step 4: Apply a second coat: Once the first coat is dry, lightly sand the surfaces and apply a second coat of paint. Let it dry completely. Step 5: Reattach hardware and doors: Once everything is completely dry, reattach the hardware and cabinet doors. Your newly painted cabinets are now ready to be admired!How to Paint Kitchen Cabinets with Wall Paint: A Step-by-Step Guide
To ensure a successful painting project, here are some dos and don'ts to keep in mind: Do: - Invest in high-quality materials - Take your time and be patient - Use a primer before painting - Follow proper painting techniques Don't: - Rush the process - Skip the primer - Neglect proper prep work - Use old or low-quality materialsHow to Paint Kitchen Cabinets with Wall Paint: The Dos and Don'ts
Even with the best intentions, mistakes can still happen. Here are some common mistakes to avoid when painting your kitchen cabinets with wall paint: 1. Not sanding or cleaning the surface properly: This can lead to an uneven finish and paint that won't adhere properly. 2. Using the wrong type of paint: Make sure to use paint specifically designed for cabinets to ensure a durable and long-lasting finish. 3. Applying too thick of a coat: This will lead to drips and brush marks, making it difficult to achieve a smooth finish. 4. Skipping the primer: A primer is essential for proper adhesion and preventing any stains or discoloration from showing through. 5. Not letting the paint dry completely: Rushing the process and not allowing the paint to dry completely between coats can result in a messy finish.How to Paint Kitchen Cabinets with Wall Paint: Common Mistakes to Avoid
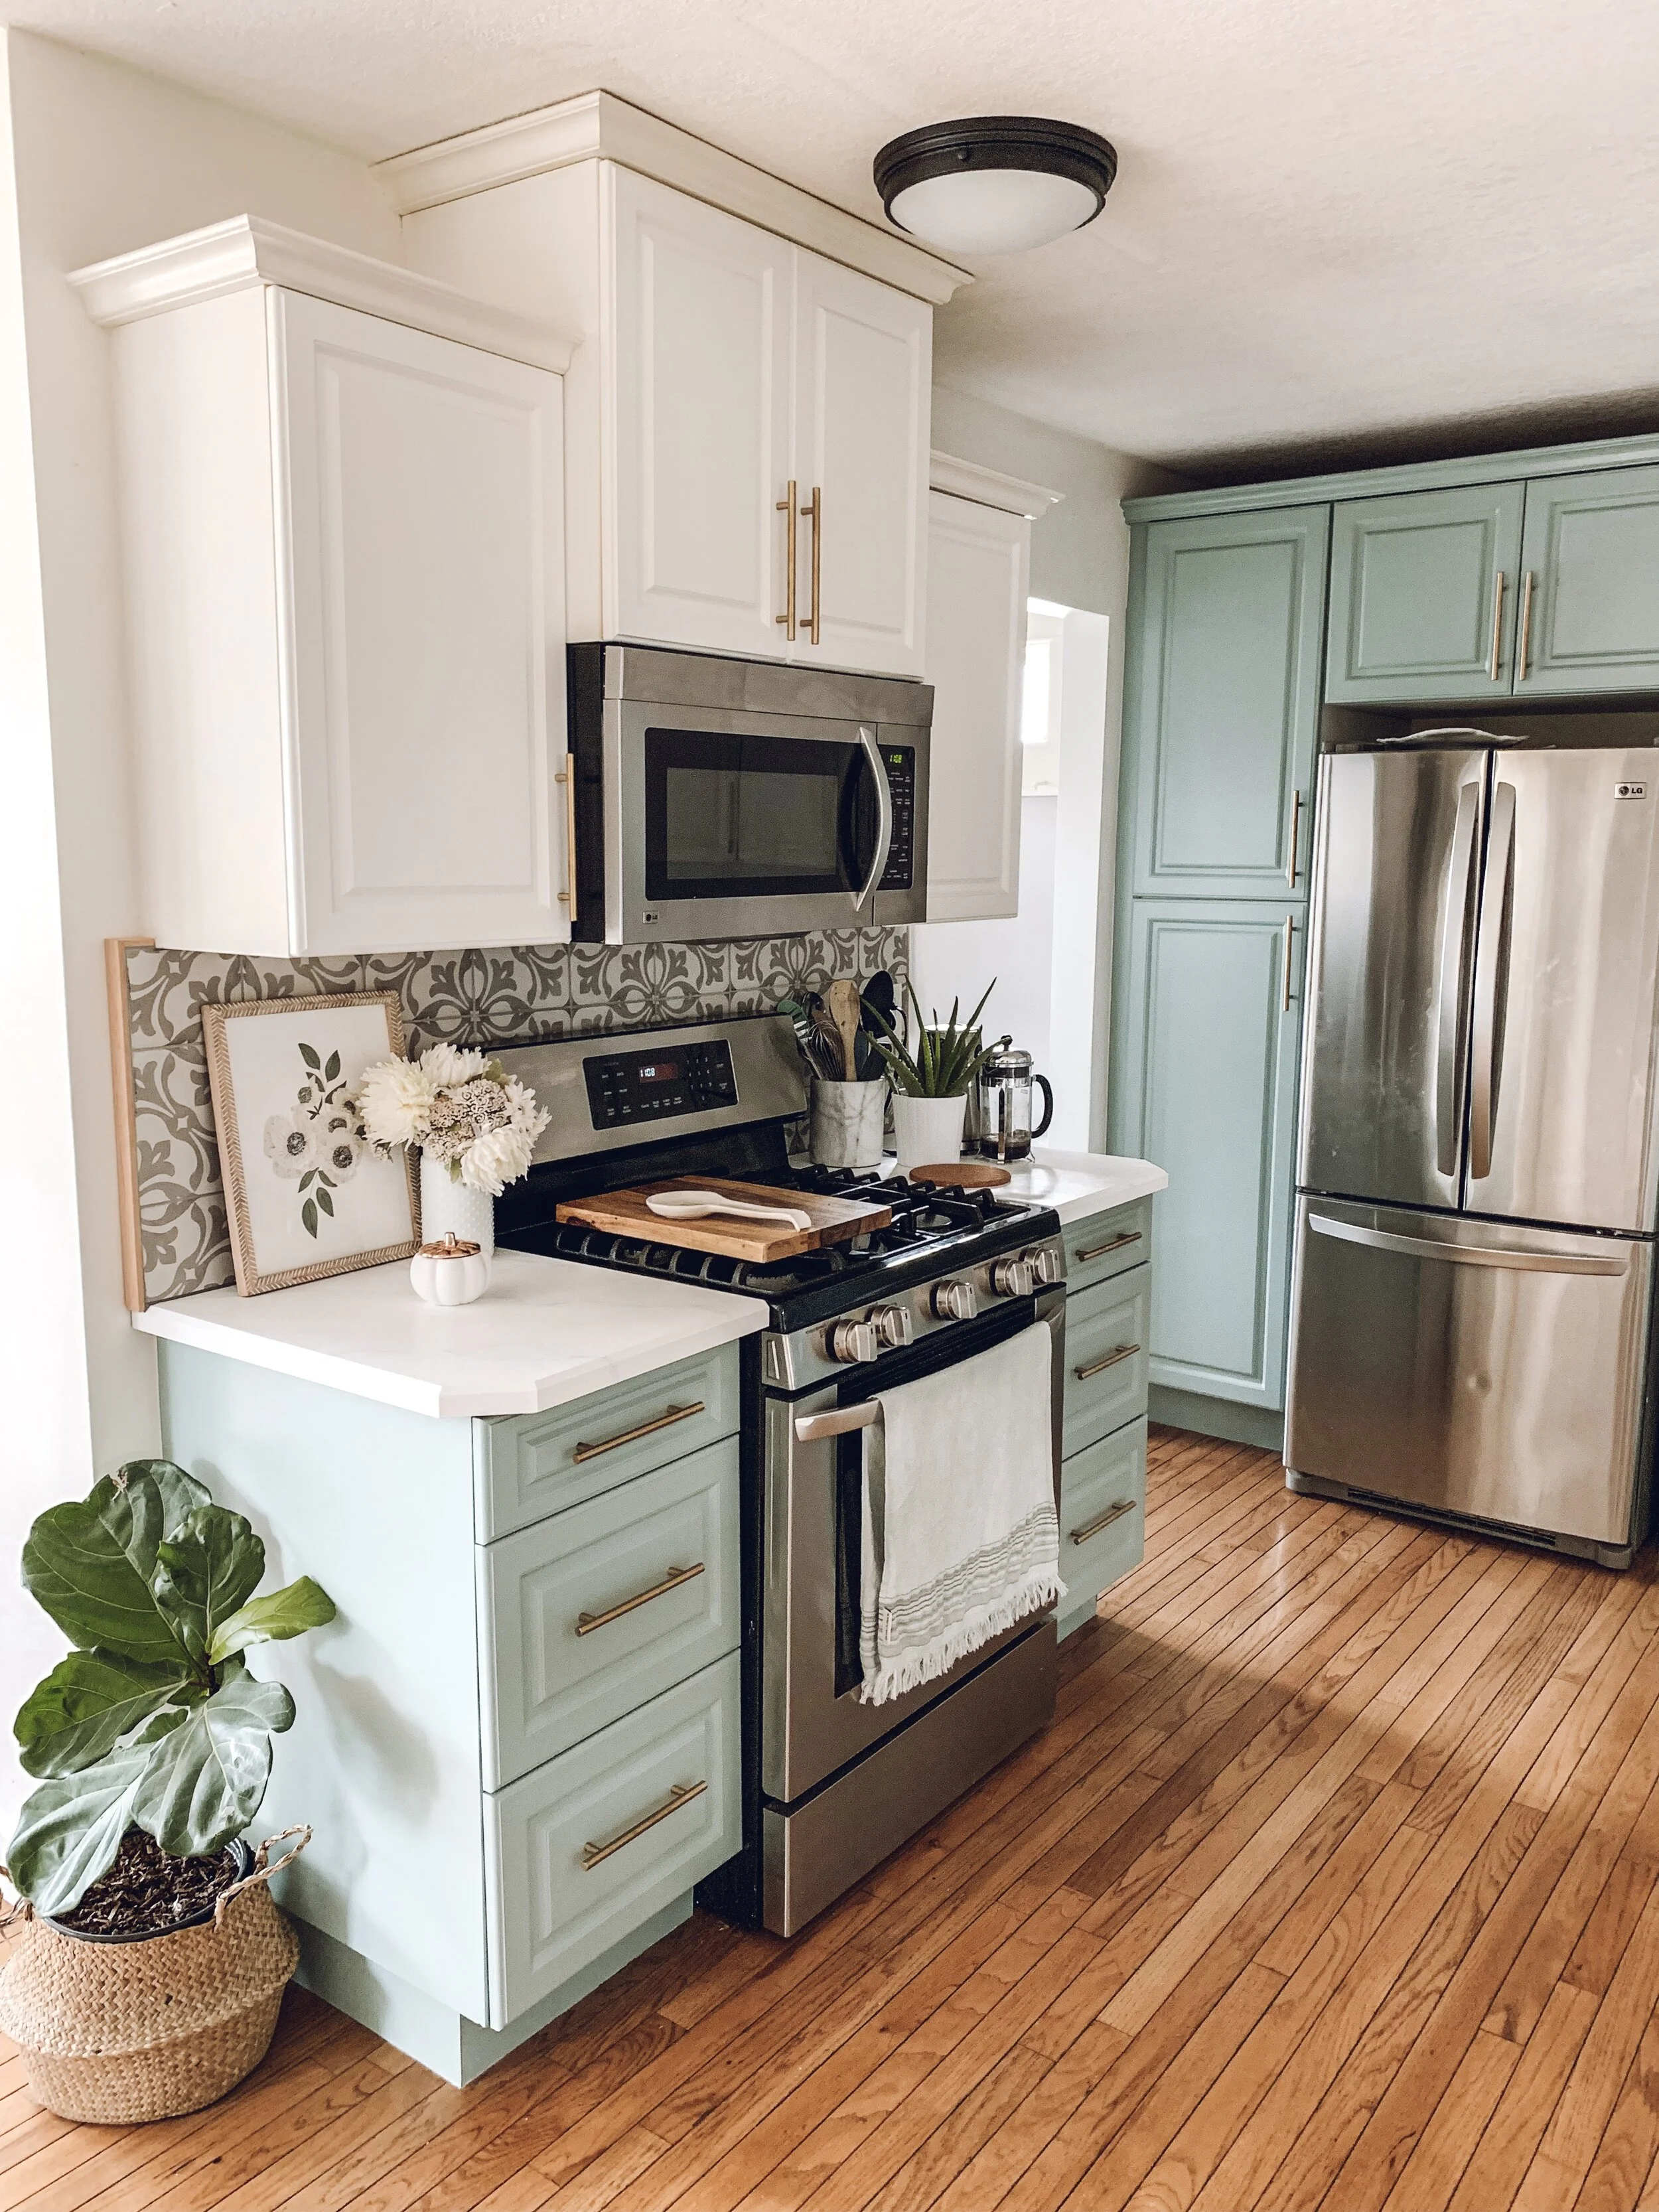
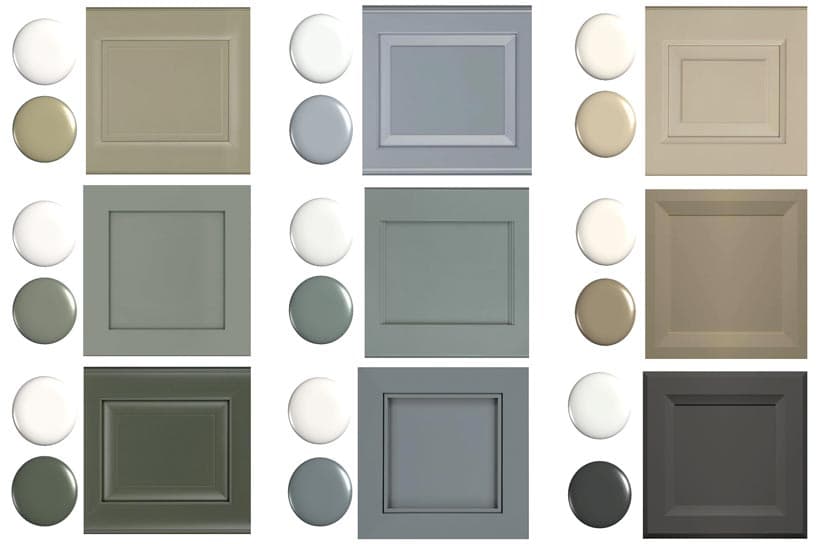
One of the great things about using wall paint for your kitchen cabinets is the vast array of colors and finishes to choose from. When selecting a color, consider the overall style and color scheme of your kitchen. You can also choose to go bold and make a statement with a pop of color or keep it classic with a neutral shade.How to Paint Kitchen Cabinets with Wall Paint: Choosing the Right Color
To successfully paint your kitchen cabinets with wall paint, you will need the following tools and materials: - Degreaser - Sandpaper - Painter's tape - Drop cloth - High-quality primer - Paintbrush - Wall paint - ScrewdriverHow to Paint Kitchen Cabinets with Wall Paint: Tools and Materials You'll Need
While painting kitchen cabinets with wall paint may seem like a great and cost-effective option, there are some pros and cons to consider: Pros: - More affordable than traditional cabinet paint - Wide range of colors and finishes to choose from - Can easily be touched up or repainted in the future Cons: - May not provide as durable of a finish as traditional cabinet paint - Requires proper prep work and techniques for a smooth finish - May not be as long-lasting as traditional cabinet paintHow to Paint Kitchen Cabinets with Wall Paint: Pros and Cons
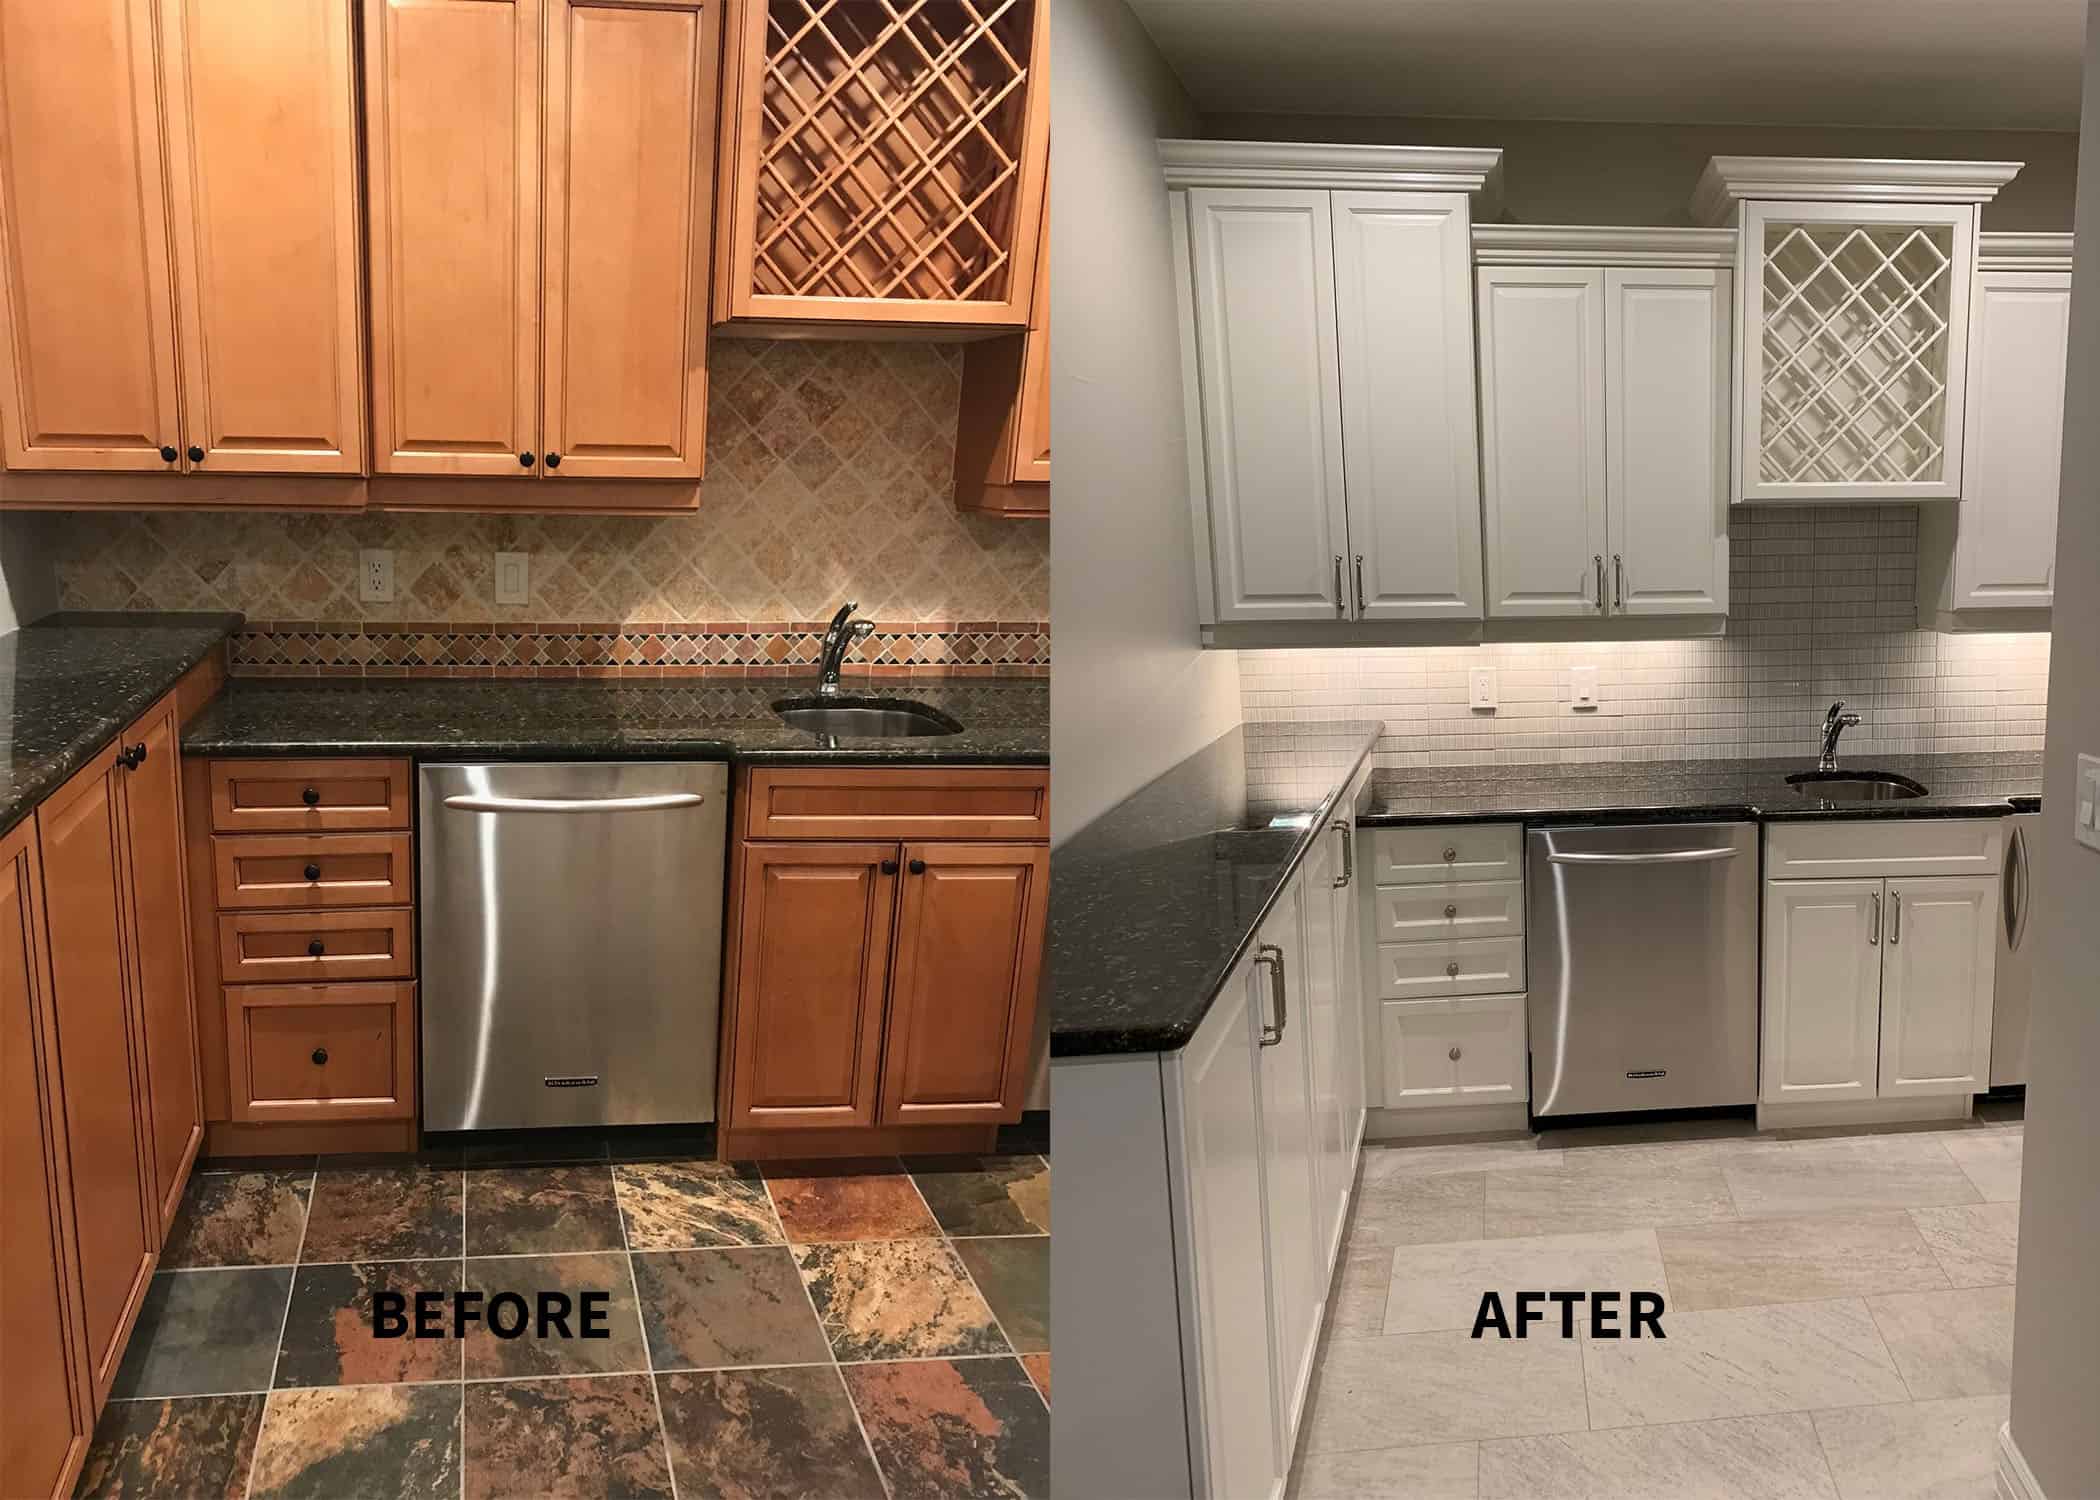
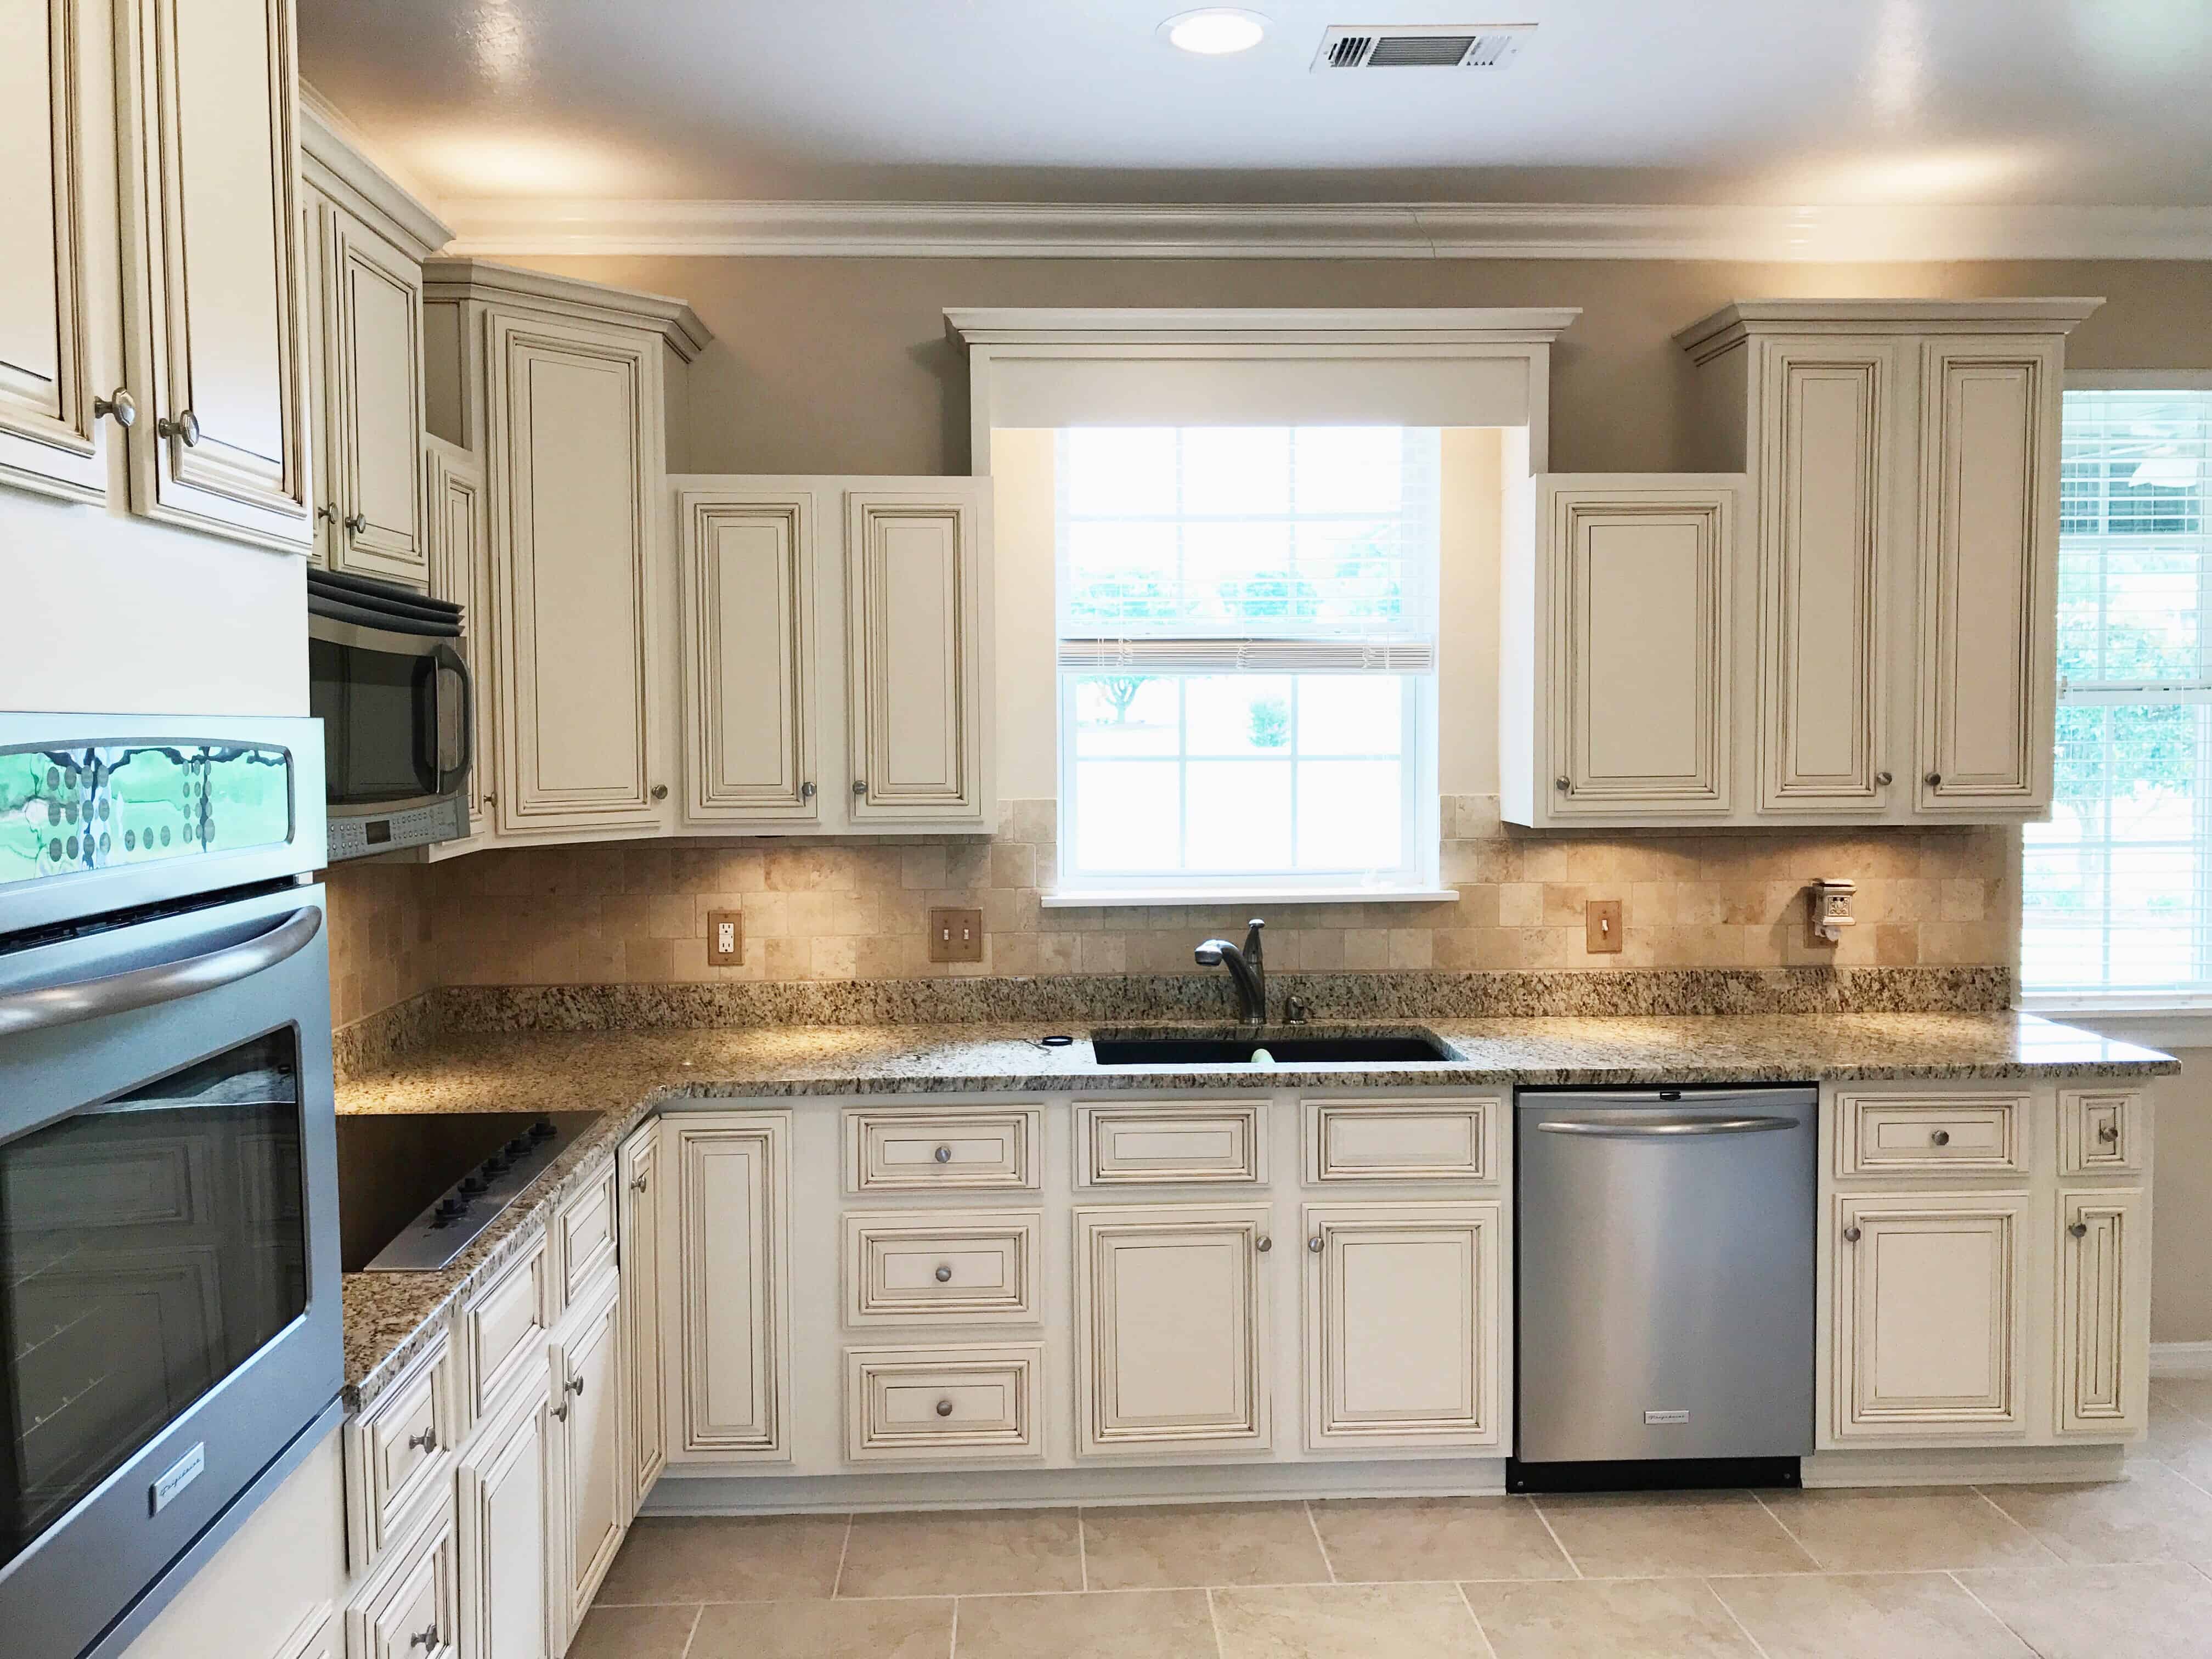
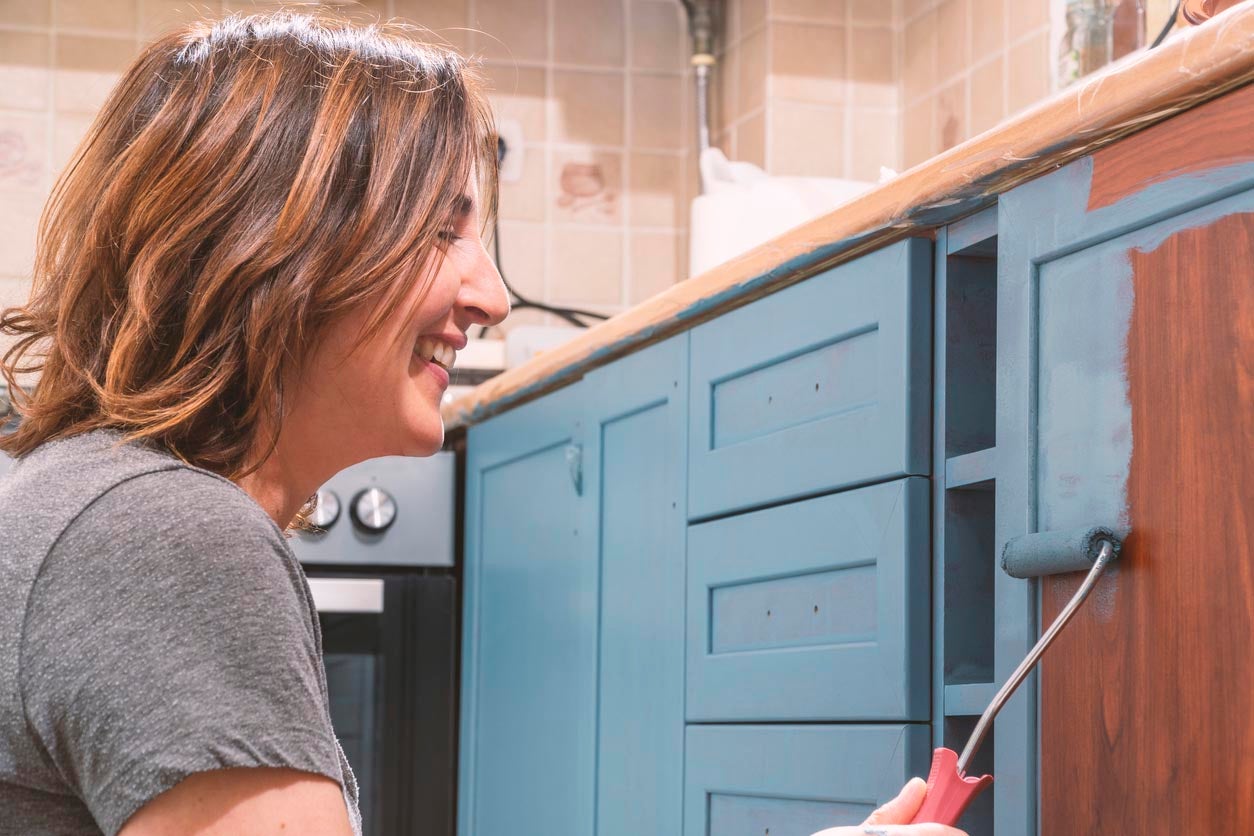
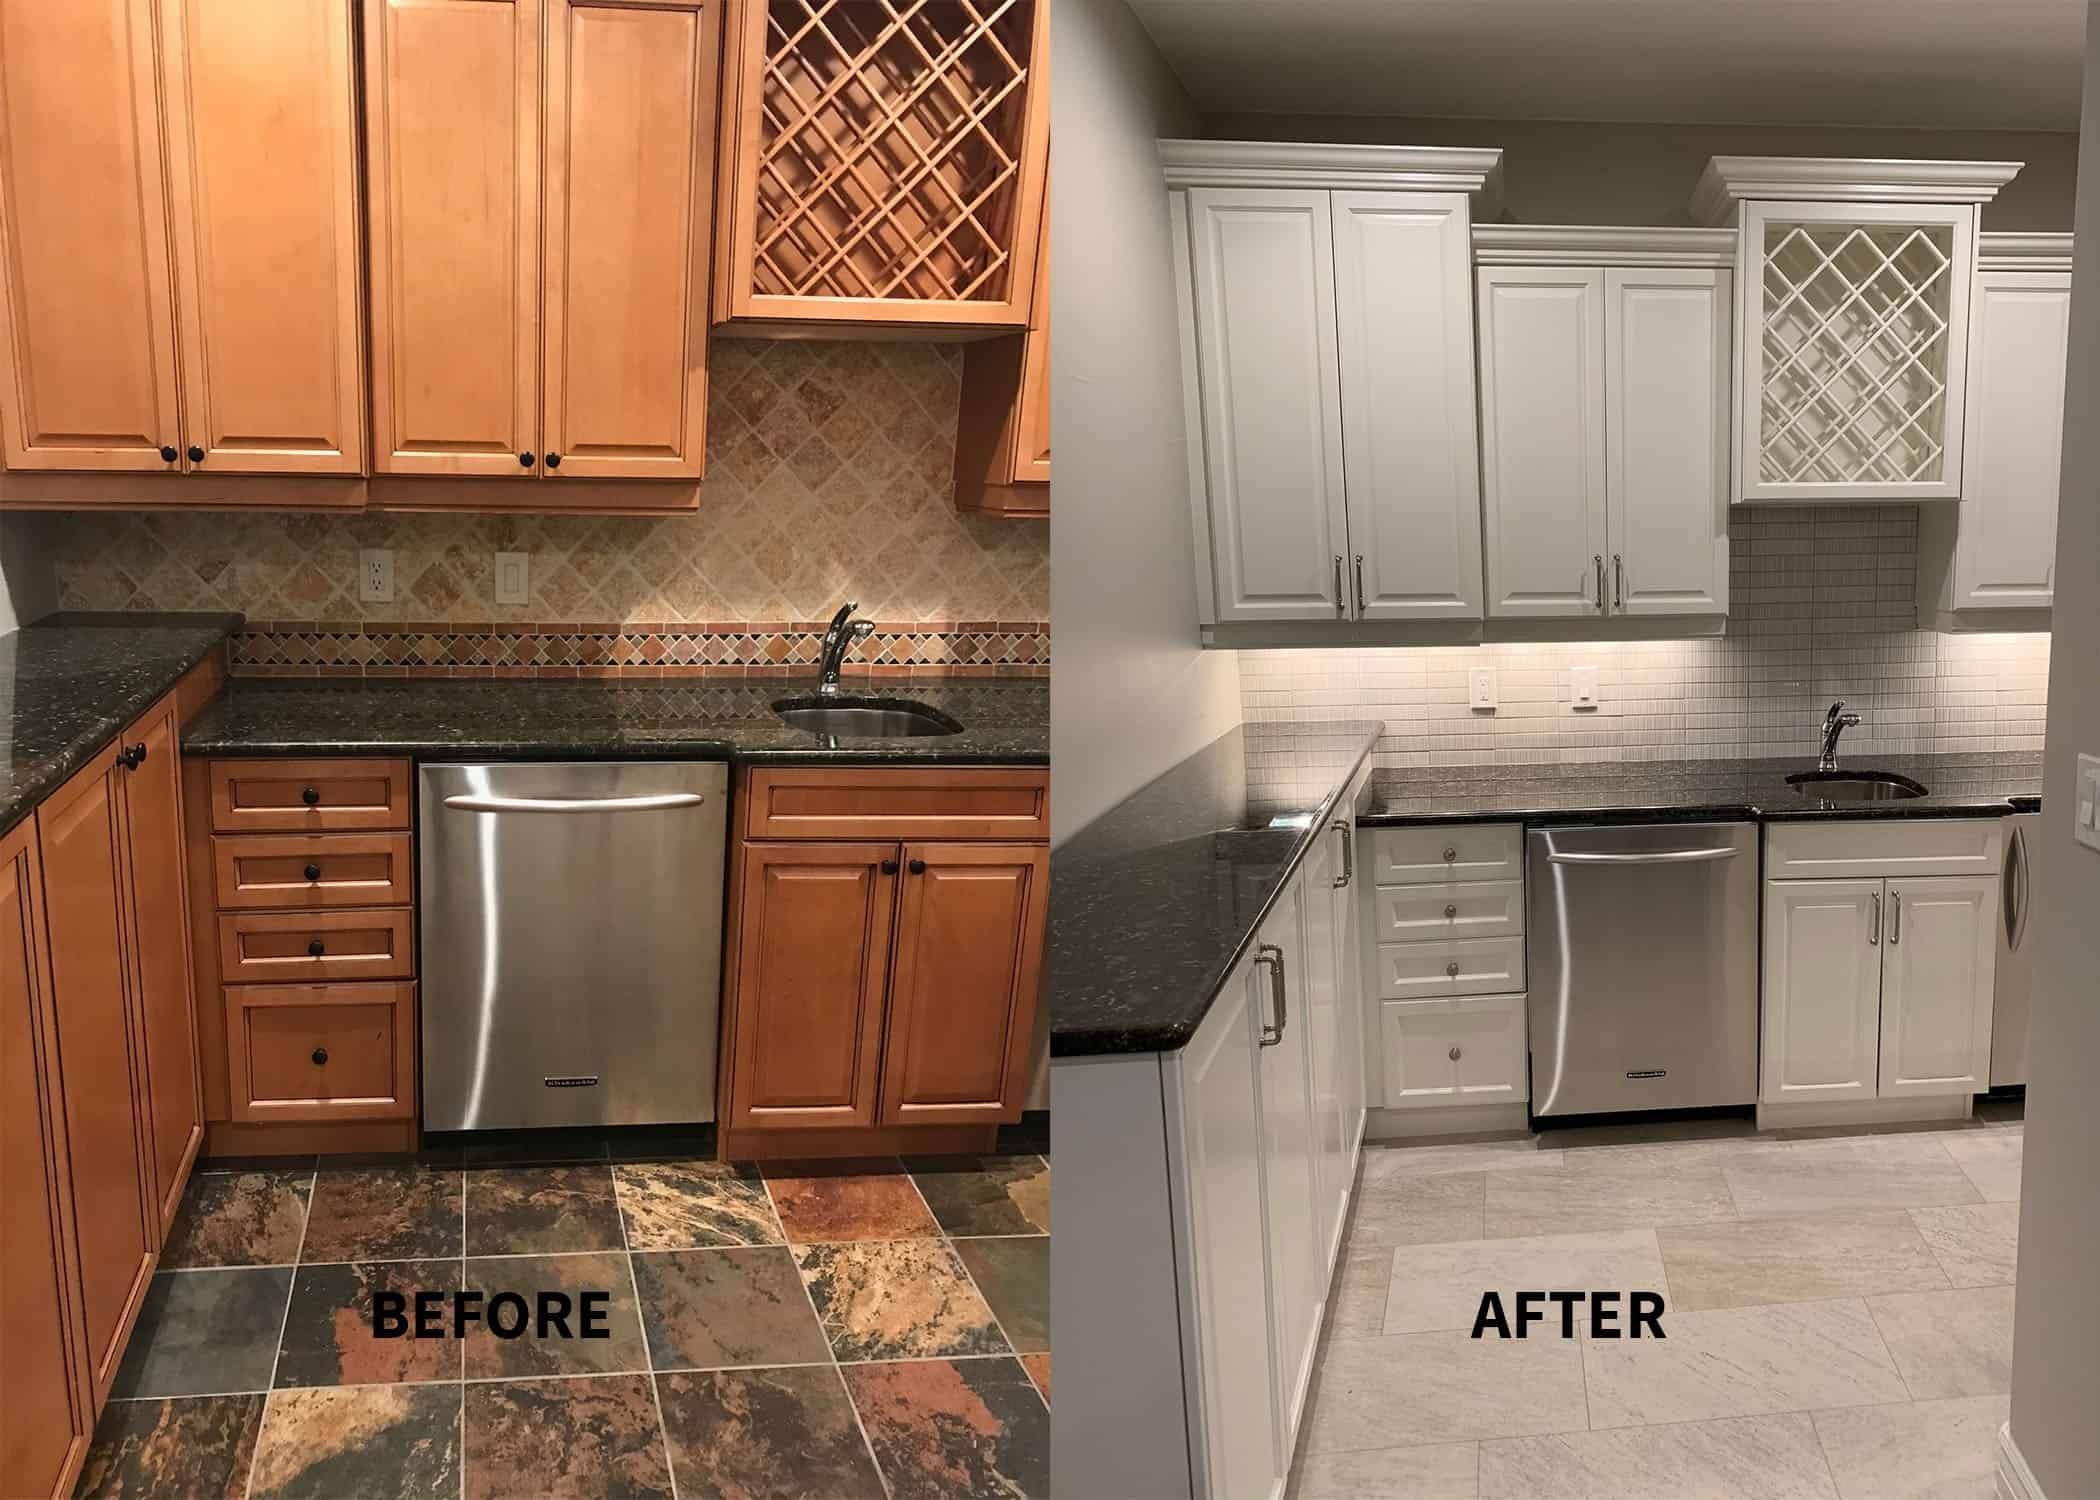
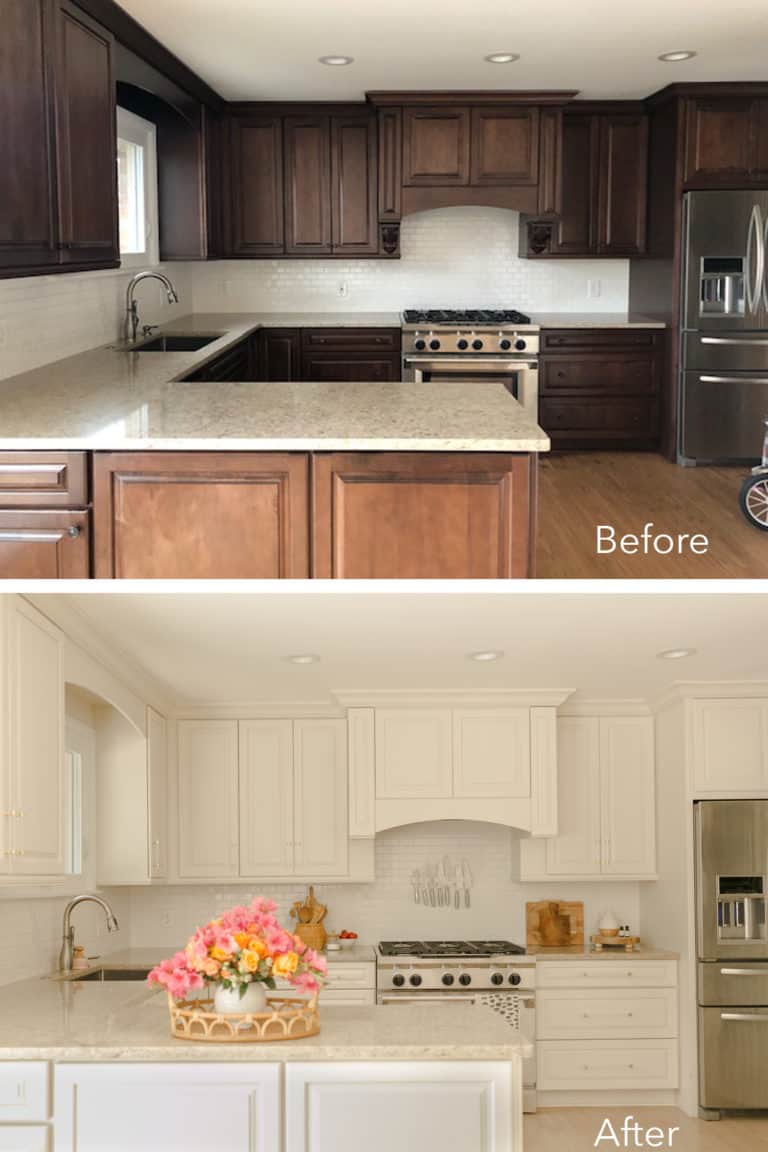
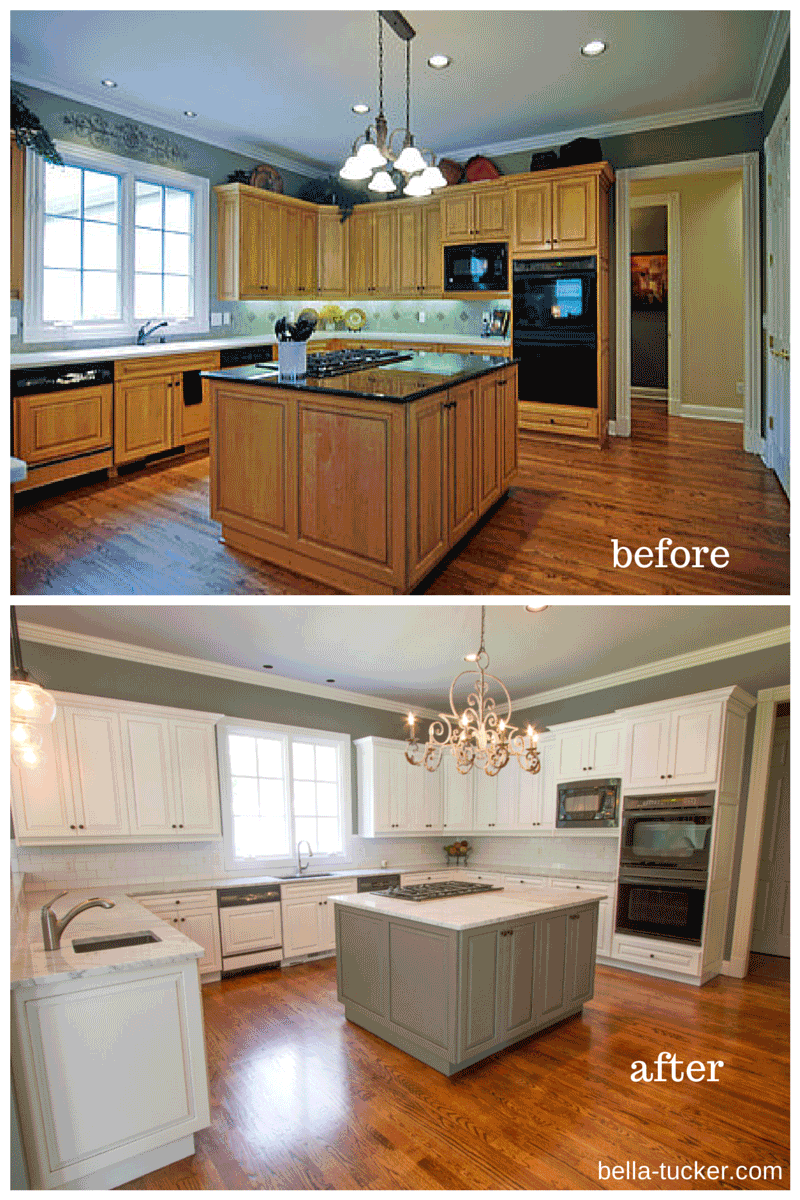
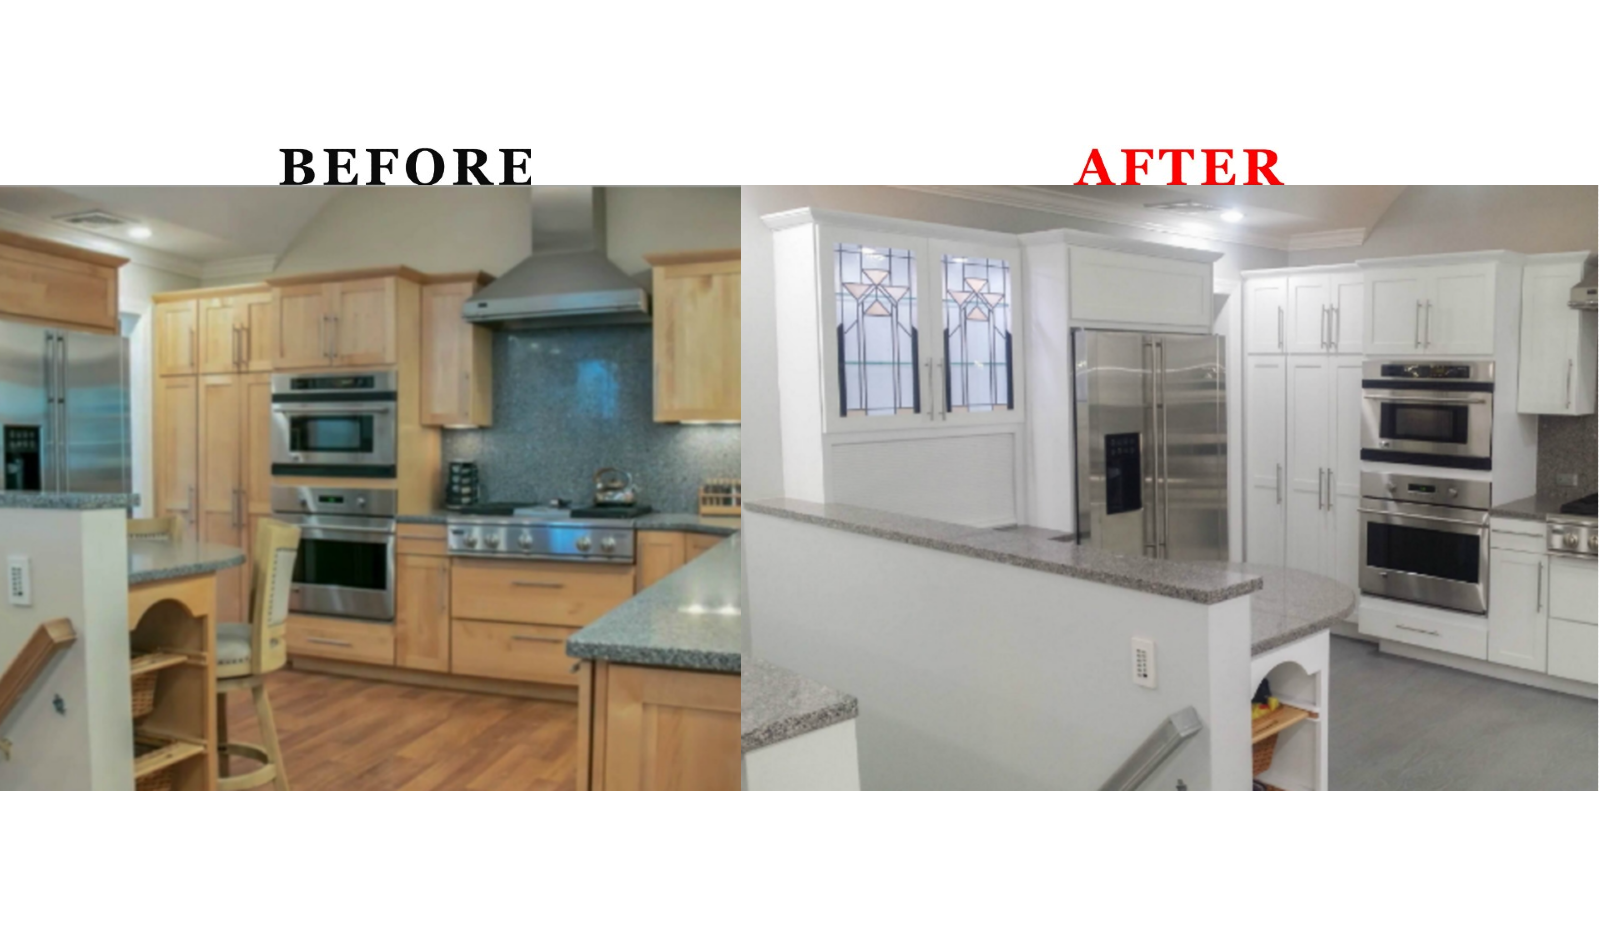
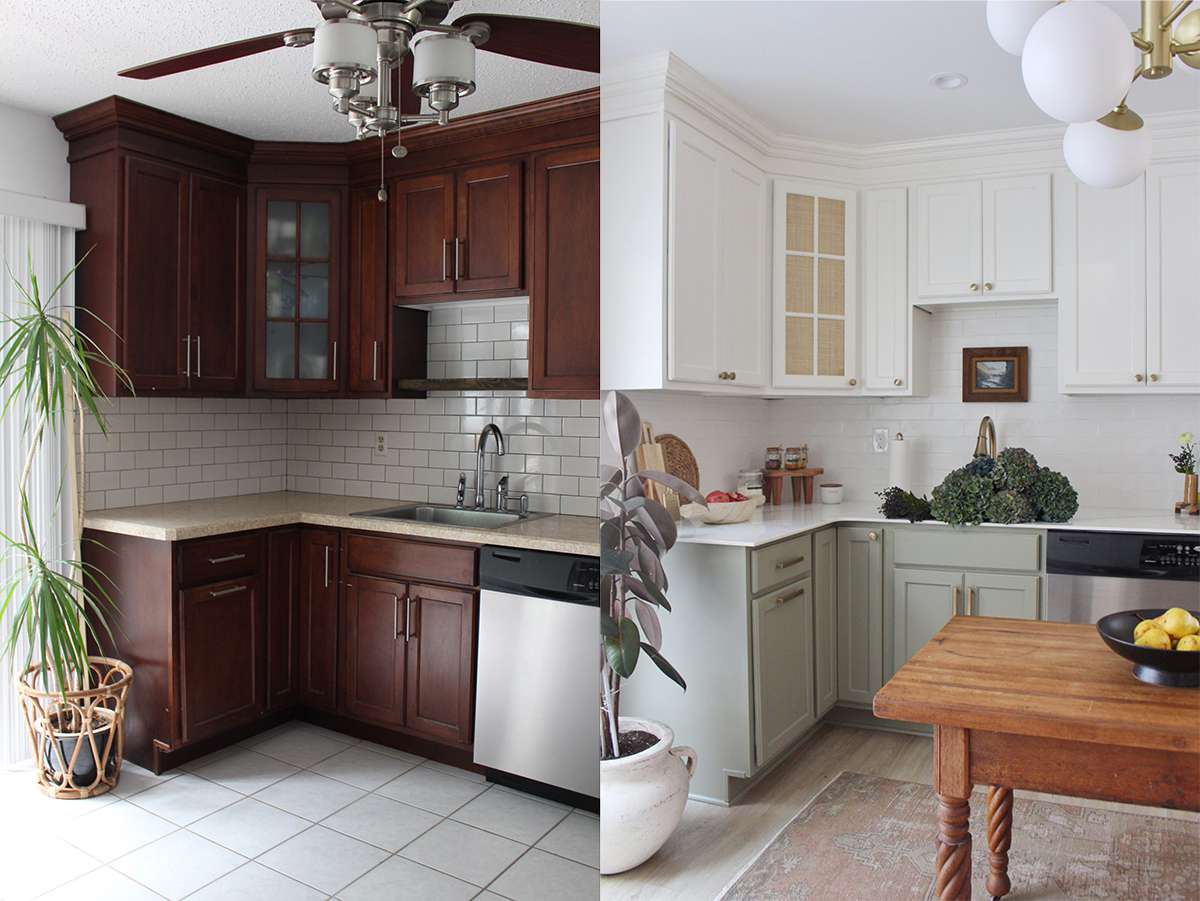
To truly see the transformation that painting kitchen cabinets with wall paint can have, here are some before and after examples: Before: Dull and dated wooden kitchen cabinets. After: Bright and modern kitchen cabinets in a bold blue color. Before: Old and worn white cabinets with chipped paint. After: Fresh and crisp white cabinets with a glossy finish. With these tips and steps, you can easily paint your kitchen cabinets with wall paint and give your kitchen a brand new look. And with the wide range of colors and finishes available, the possibilities are endless. So why wait? Start planning your kitchen cabinet transformation today!How to Paint Kitchen Cabinets with Wall Paint: Before and After Examples
Why Painted Kitchen Cabinets are the Perfect Choice for Your Home

Transform Your Kitchen with a Fresh Coat of Paint
 Painting kitchen cabinets is an easy and cost-effective way to give your kitchen a whole new look. While many homeowners opt for traditional wood-stained cabinets, painted cabinets are becoming increasingly popular. And the best part? You can use
wall paint
to achieve a professional and stylish finish. Here's why painted kitchen cabinets should be your top choice for your next home design project.
Endless Color Options
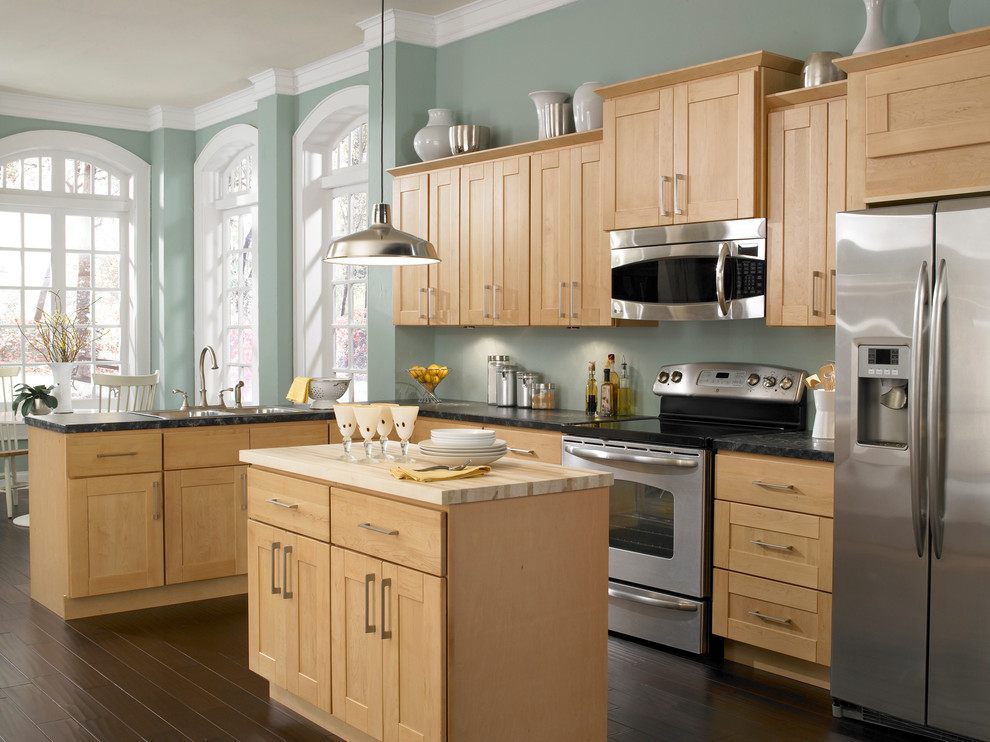
 One of the main advantages of painting your kitchen cabinets is the endless selection of colors to choose from. Whether you want to stick to a classic white or go bold with a pop of color, the options are endless. You can even choose multiple colors for a fun and unique look. The color possibilities are only limited by your imagination. Plus, painting your cabinets allows you to easily change the color in the future if you ever want to update your kitchen again.
Cost-Effective Solution
 Compared to replacing your entire kitchen cabinets, painting them is a much more affordable option. By using
wall paint
instead of specialized cabinet paint, you can save even more money. Plus, painting cabinets is a relatively simple DIY project that can easily be done over a weekend, saving you the cost of hiring a professional. With just a few supplies and some elbow grease, you can achieve a brand new look for a fraction of the cost.
Customize to Your Style
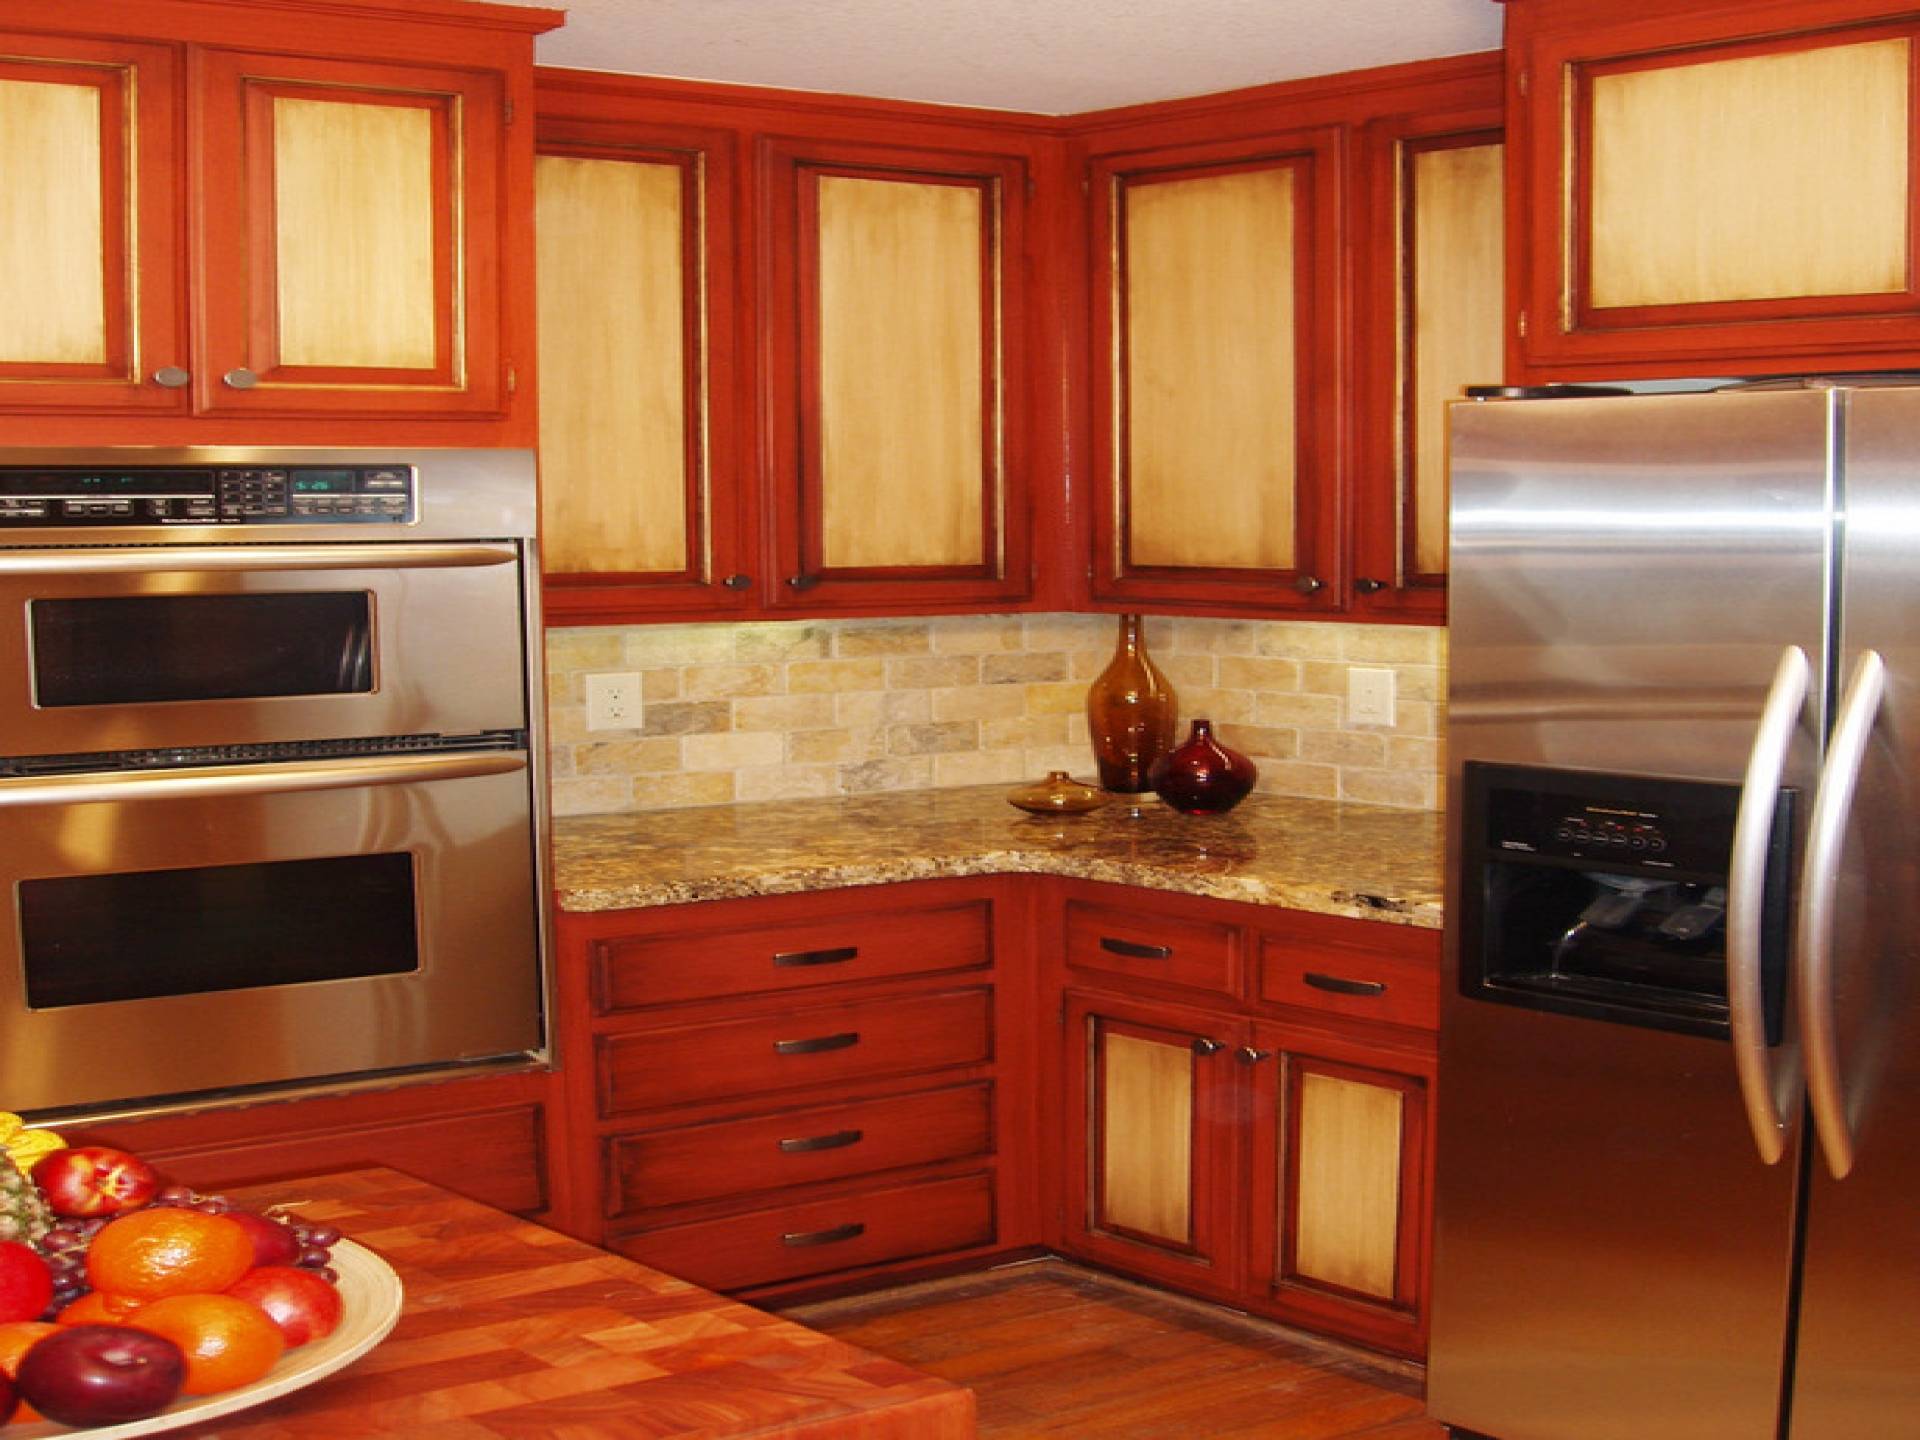
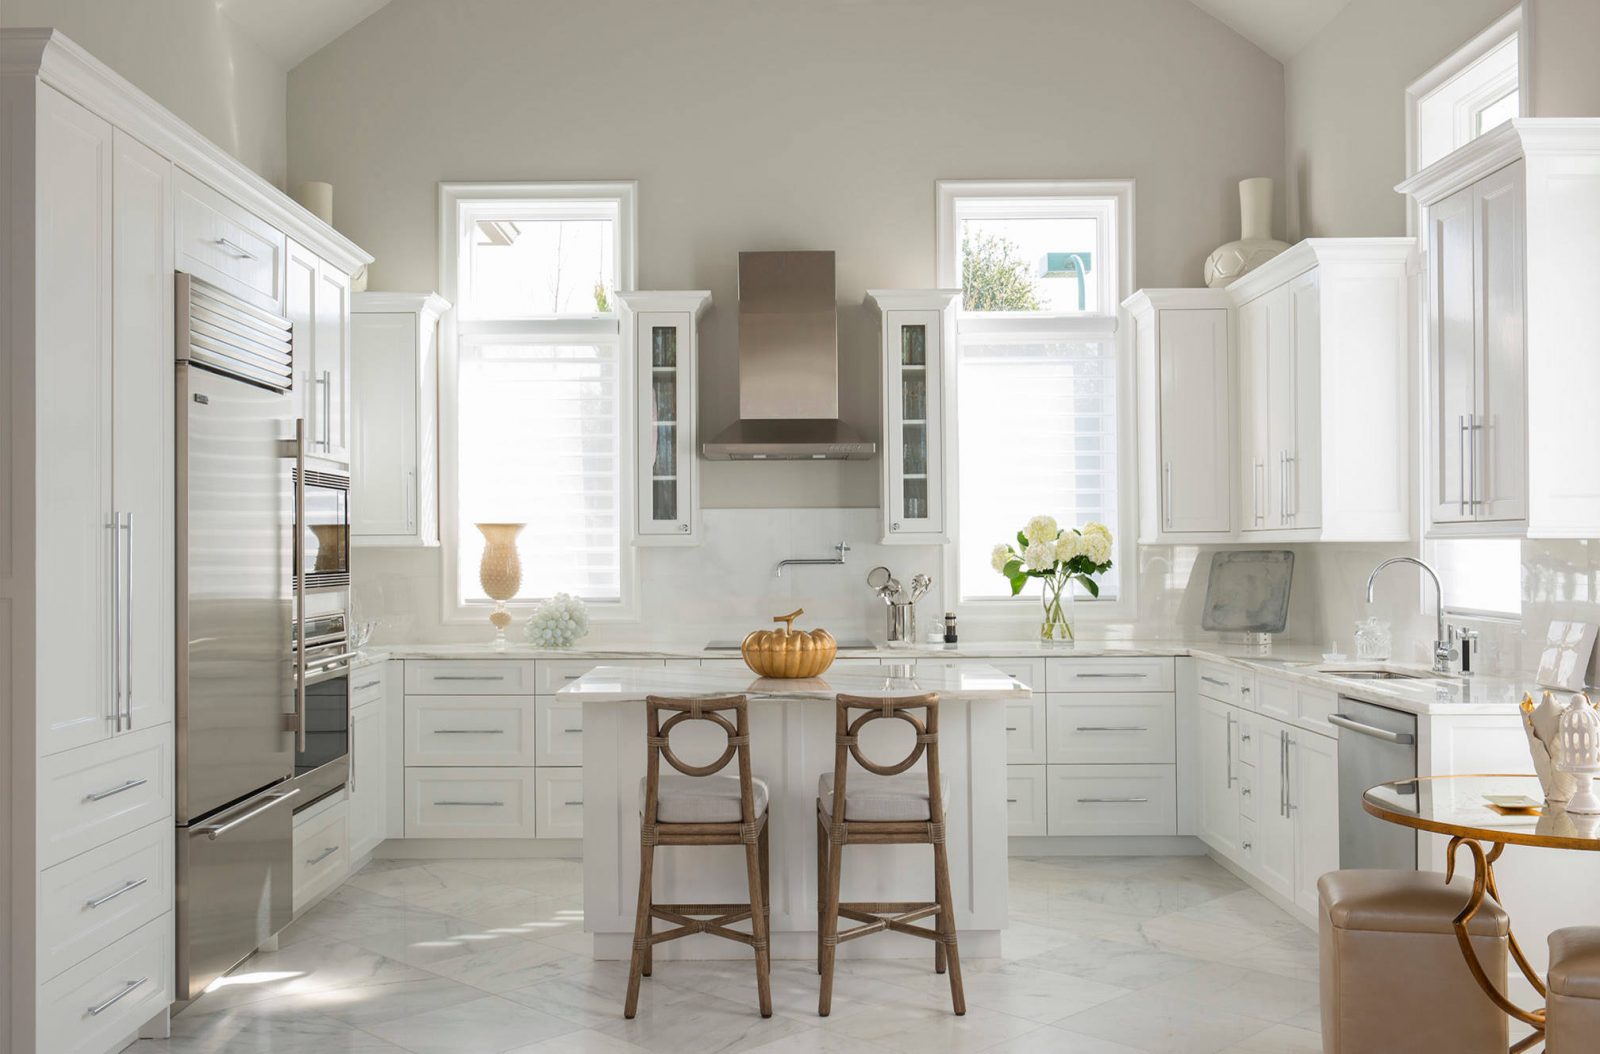 Painting your kitchen cabinets gives you the freedom to customize your kitchen to your specific style. Whether you prefer a modern, sleek look or a cozy, rustic feel, you can achieve it with paint. You can also add personal touches, such as stenciling or distressing, to make your cabinets truly unique. By choosing the right paint and techniques, you can transform your kitchen into a space that reflects your personality and taste.
Durable and Long-Lasting
 Contrary to popular belief, painted cabinets can be just as durable as their stained counterparts. With proper preparation and sealing,
wall paint
can withstand the daily wear and tear of a busy kitchen. In fact, painted cabinets can be easier to clean and maintain than wood cabinets. And if any scratches or chips do occur, they can easily be touched up with a little bit of paint, making them look like new again.
In conclusion, painting your kitchen cabinets with
wall paint
is a budget-friendly, customizable, and durable option for your home design project. With endless color options and the ability to add your personal touch, painted cabinets can elevate the look of your kitchen and add value to your home. So, grab your paintbrush and get ready to transform your kitchen into a space you'll love to cook and entertain in.
















/kitchen-cabinet-painting-mistakes-2000-70d96e5b20d34d9f983816d1c06c88db.jpg)

