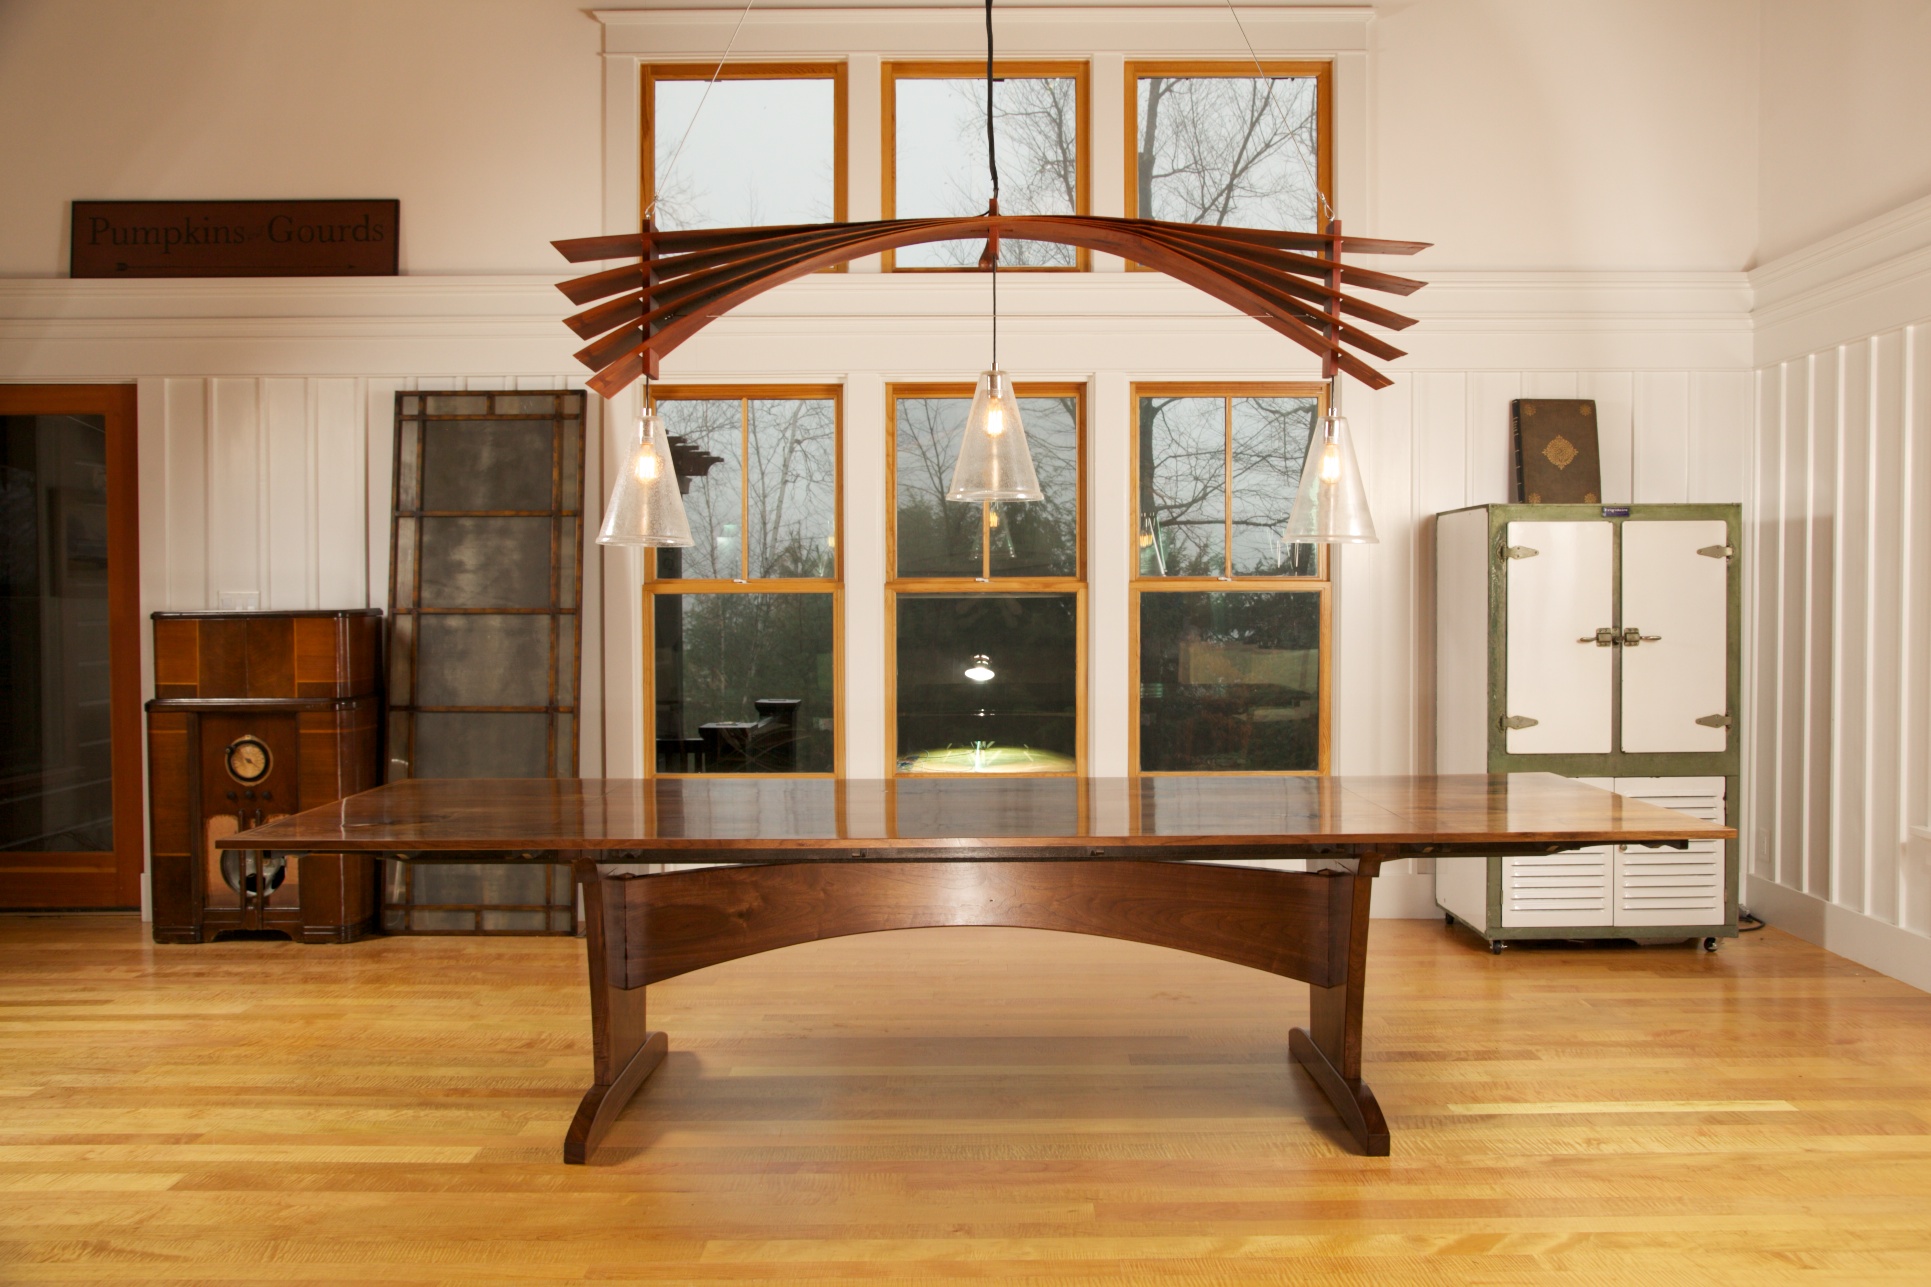
How to Move a Dining Room Chandelier
Moving a dining room chandelier can be a daunting task, especially if you have never done it before. However, with the right tools and knowledge, it can be a smooth process. Follow these steps to safely and successfully move your dining room chandelier.


How to Move a Dining Room Chandelier


Tips for Moving a Dining Room Chandelier
Before you begin the process of moving your dining room chandelier, here are some helpful tips to keep in mind:


Tips for Moving a Dining Room Chandelier


DIY Guide for Moving a Dining Room Chandelier
If you want to save some money and move your dining room chandelier yourself, here is a step-by-step guide to help you:


DIY Guide for Moving a Dining Room Chandelier


Step 1: Gather Your Tools
Make sure you have all the necessary tools and equipment before you begin the process. This may include a ladder, screwdriver, pliers, wire cutters, and a cloth or bubble wrap to protect the chandelier.


Step-by-Step Instructions for Moving a Dining Room Chandelier


Step 2: Turn off the Power
Before you start working on the chandelier, make sure to turn off the power to the fixture. You can do this by flipping the designated switch on your circuit breaker.


Essential Tools for Moving a Dining Room Chandelier


Step 3: Remove the Light Bulbs and Shades
Carefully remove all the light bulbs and shades from the chandelier. Place them in a safe place where they won't get damaged during the move.


Precautions to Take When Moving a Dining Room Chandelier

:max_bytes(150000):strip_icc()/hot-to-hang-a-chandelier-1976284-PSD-V5-4a70c51cbdda4bf58d4226c5a7c937a2.gif)

Step 4: Disconnect the Chandelier from the Ceiling
Using a screwdriver, carefully remove the screws that hold the chandelier to the ceiling. Once the screws are removed, you should be able to lower the chandelier gently to the ground.


Expert Advice on Moving a Dining Room Chandelier


Step 5: Prepare the Chandelier for Transport
Once the chandelier is safely on the ground, cover it with a cloth or bubble wrap to protect it during transport. You can also use zip ties to secure any loose parts.


Common Mistakes to Avoid When Moving a Dining Room Chandelier

(1).jpg)

Step 6: Transport the Chandelier
Carefully transport the chandelier to its new location. If you have a large chandelier, it may be best to use a dolly or hand cart to move it.


How to Safely Pack and Transport a Dining Room Chandelier

Step 7: Reinstall the Chandelier
Once you have safely transported the chandelier, it's time to reinstall it. Use the same steps in reverse to reattach the chandelier to the ceiling. Make sure to turn the power back on once it's securely in place.

Professional Services for Moving a Dining Room Chandelier

Moving a Dining Room Chandelier: Tips and Tricks
/Chandelier_0635-0b1c24a8045f4a2cbdf083d80ef0f658.jpg)
Why Move a Dining Room Chandelier?
 Dining room chandeliers are a beautiful and functional addition to any home. They provide ambient lighting and add a touch of elegance to the space. However, there are times when you may need to move your dining room chandelier, whether it's due to a renovation, a change in decor, or simply because you want to try a new layout. Moving a chandelier may seem like a daunting task, but with the right tips and tricks, you can do it easily and safely. Here's everything you need to know about moving a dining room chandelier.
Preparation is Key
 Before you start moving your chandelier, it's important to prepare the space and gather all the necessary tools. First, make sure to turn off the power to the chandelier by flipping the circuit breaker. Next, remove any delicate items from the room and cover the dining table with a drop cloth to protect it from any potential damage. You'll also need a ladder, wire cutters, and a voltage detector to ensure there is no electricity running through the wires.
Map Out the New Location
 One of the most important steps when moving a chandelier is to plan out the new location. Measure the distance between the current location and the desired location to make sure the chandelier will fit. Consider the height of the ceiling and the size of the chandelier to ensure it will be proportional to the space. Mark the new location with a piece of tape or a small sticker to serve as a guide when you start rehanging the chandelier.
Remove the Chandelier
 To remove the chandelier, first, remove any decorative elements such as crystals or shades. Then, carefully unscrew the canopy cover and remove the electrical wires from the ceiling. Make sure to secure the chandelier with one hand while removing the wires with the other. Once the chandelier is detached from the ceiling, gently lower it onto the drop cloth and disassemble any remaining parts.
Rehang the Chandelier
 Now that the chandelier is removed, it's time to rehang it in its new location. Start by threading the wires through the new hole in the ceiling, making sure to leave enough slack for the chandelier to hang at the desired height. Then, reattach the wires to the electrical box in the ceiling and secure them with wire nuts. Finally, reattach the canopy cover, decorative elements, and light bulbs.
Test and Adjust
 After the chandelier is rehung, it's important to test it to ensure it is working properly. Flip the circuit breaker back on and turn on the chandelier. If everything is working correctly, adjust the height and positioning of the chandelier as needed. If there are any issues, double-check the wiring and connections before adjusting the chandelier.
In Conclusion
 Moving a dining room chandelier may seem like a daunting task, but with the right preparation and steps, it can be done easily and safely. Just remember to plan out the new location, remove the chandelier carefully, and rehang it in its new spot. With these tips and tricks, you can successfully move your dining room chandelier and give your space a whole new look.