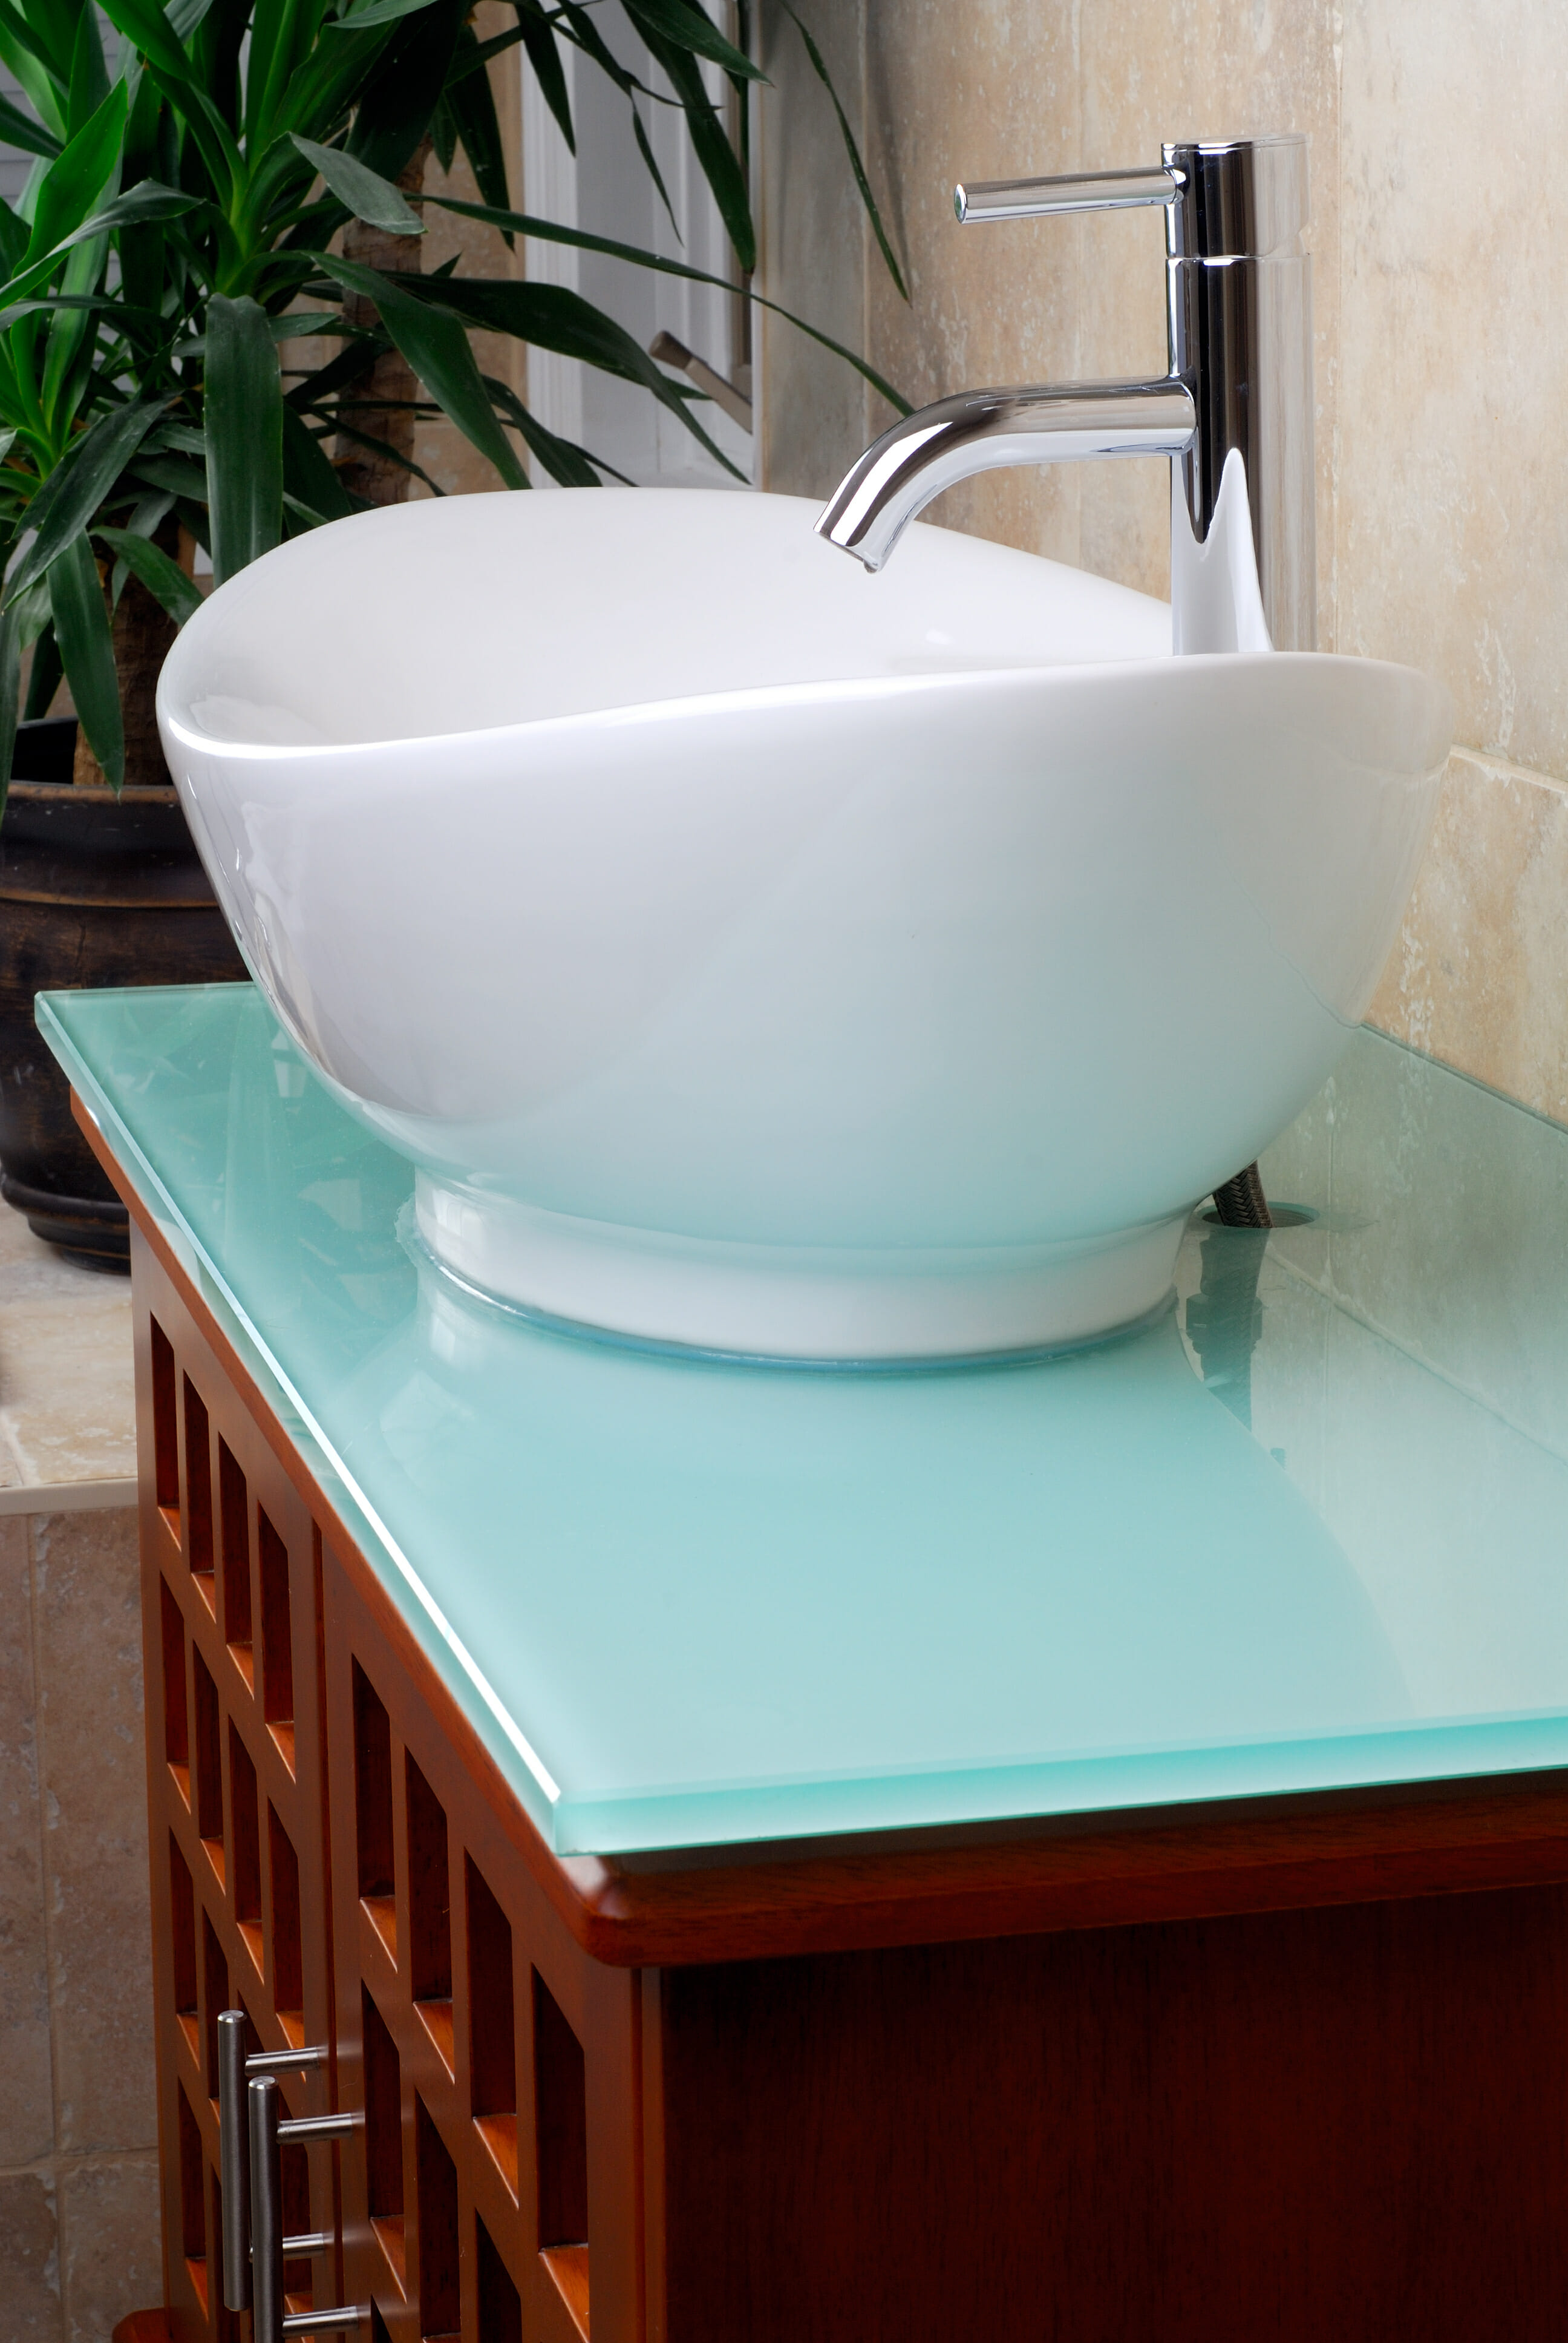
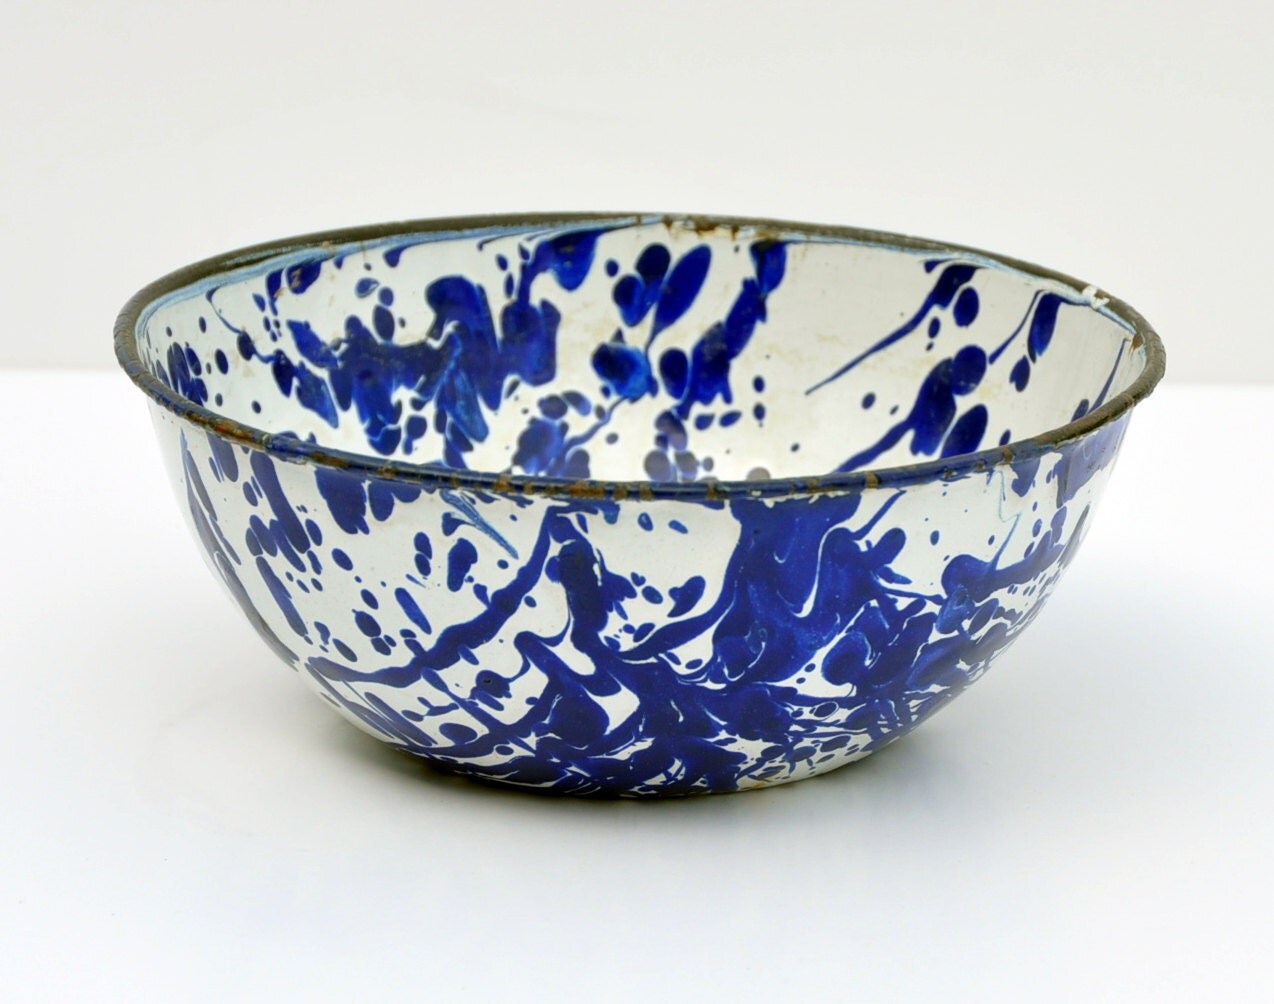
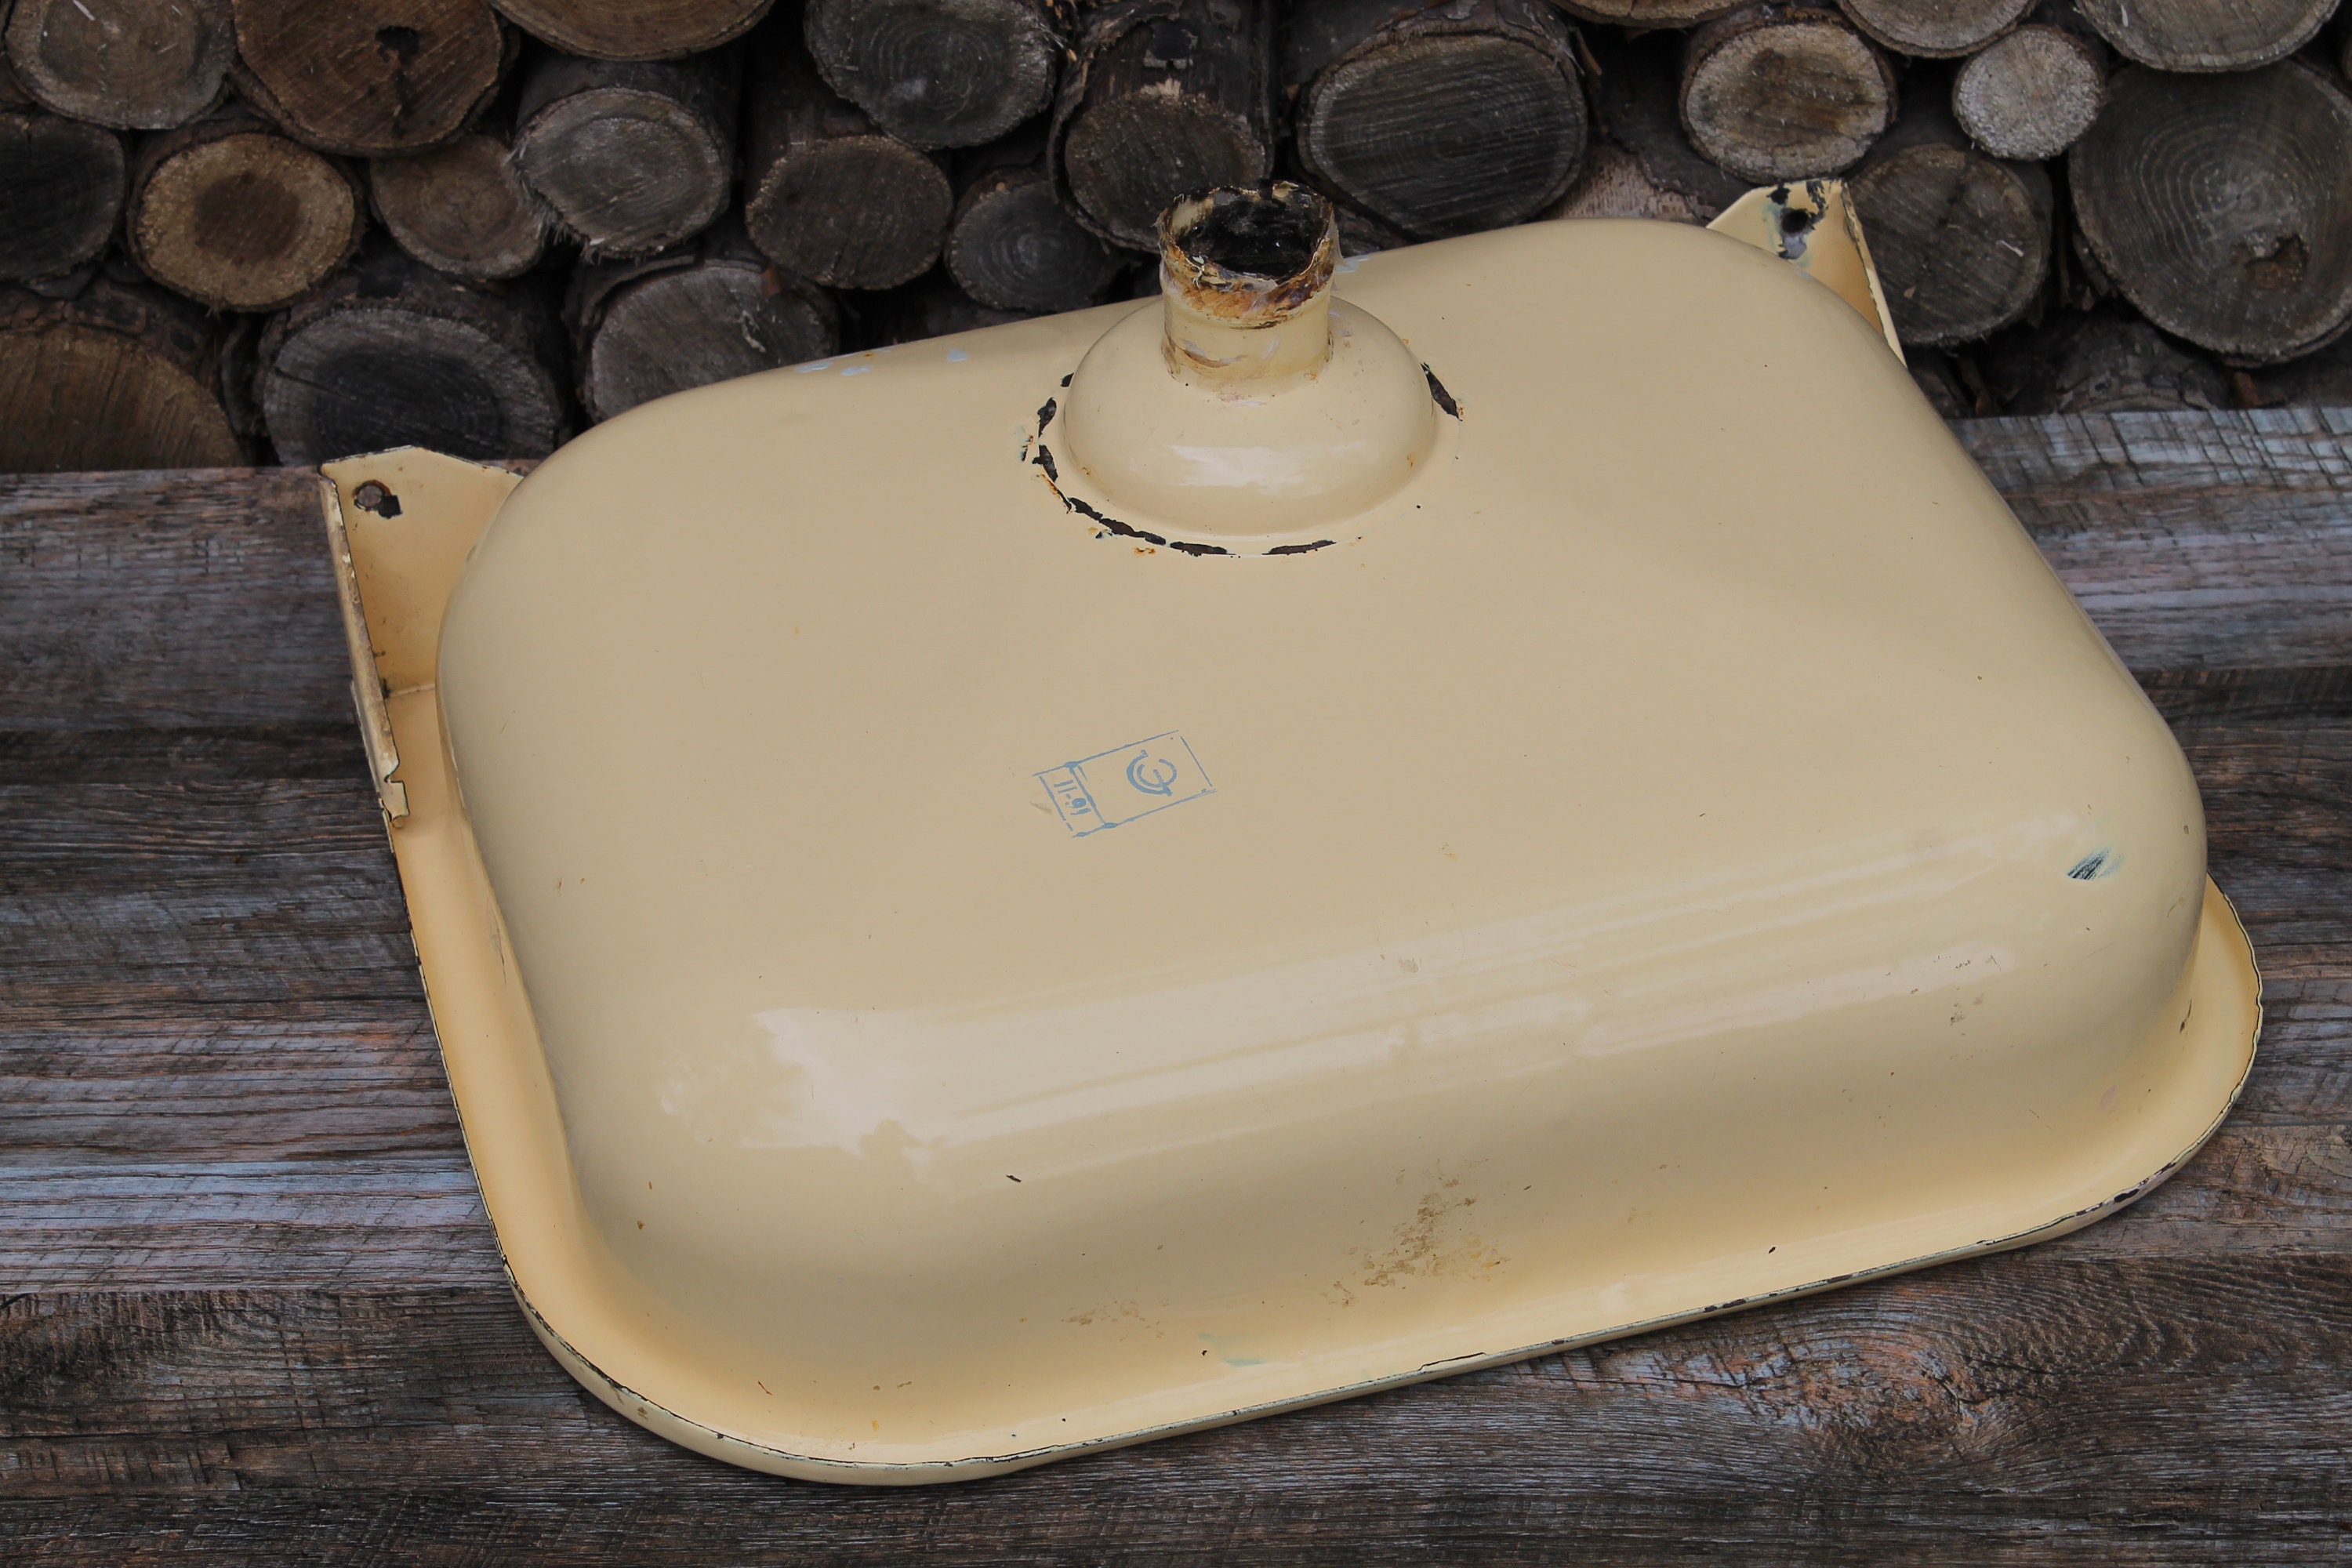
Enamel bowls are not just for the kitchen anymore. With a little creativity and DIY know-how, you can transform an enamel bowl into a unique and stylish bathroom sink. This home improvement project is not only budget-friendly, but it also adds a touch of charm and personality to your bathroom. Plus, enamelware is durable and easy to clean, making it the perfect material for a bathroom sink.1. Why Use an Enamel Bowl as a Bathroom Sink?
Before you start this DIY project, you'll need to gather all the necessary materials. Of course, the main ingredient is the enamel bowl itself. You can find these at most kitchen supply stores or online. You'll also need a sink drain and any necessary plumbing hardware, as well as tools such as a drill, jigsaw, and silicone adhesive. Make sure to measure your enamelware bowl and your bathroom vanity or countertop to ensure a proper fit.2. Gather Your Materials
Before you can start using your enamelware bowl as a bathroom sink, you'll need to do some prep work. Start by drilling a hole in the bottom of the bowl for the sink drain. You may also need to enlarge the hole for the faucet if your bowl doesn't already have one. Use a jigsaw to carefully cut out any additional holes needed.3. Prep Your Enamel Bowl
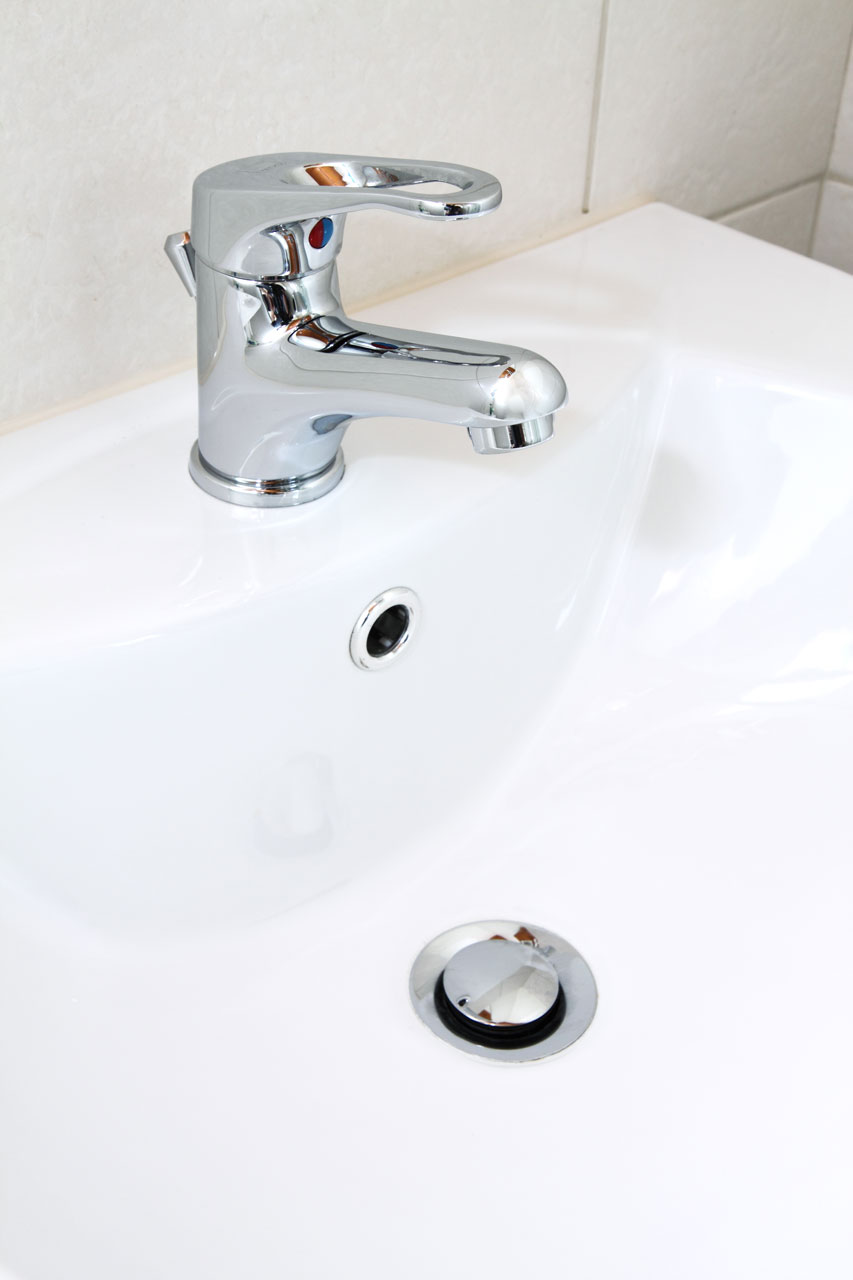
Once your enamel bowl is prepped, it's time to install the sink drain. This is an important step, as it will ensure that your sink functions properly. Follow the instructions provided with your sink drain and use silicone adhesive to secure it in place. Let it dry completely before moving on to the next step.4. Install the Sink Drain
If your enamelware bowl doesn't already have a hole for a faucet, you'll need to carefully drill one. Once the hole is drilled, attach the faucet according to the manufacturer's instructions. This may involve using caulk or plumber's tape to create a watertight seal.5. Attach the Faucet
Now that your sink is prepped and the faucet is installed, it's time to set up the plumbing. This may involve connecting the sink drain to the main plumbing system and installing any necessary pipes or fittings. If you're not comfortable with plumbing, it's best to hire a professional to ensure everything is properly connected.6. Set Up the Plumbing
Once the plumbing is in place, it's time to secure your enamel bowl to the vanity or countertop. Use silicone adhesive to secure the bowl in place and let it dry completely. This will ensure that your sink is stable and won't move around when in use.7. Secure the Enamel Bowl to the Vanity
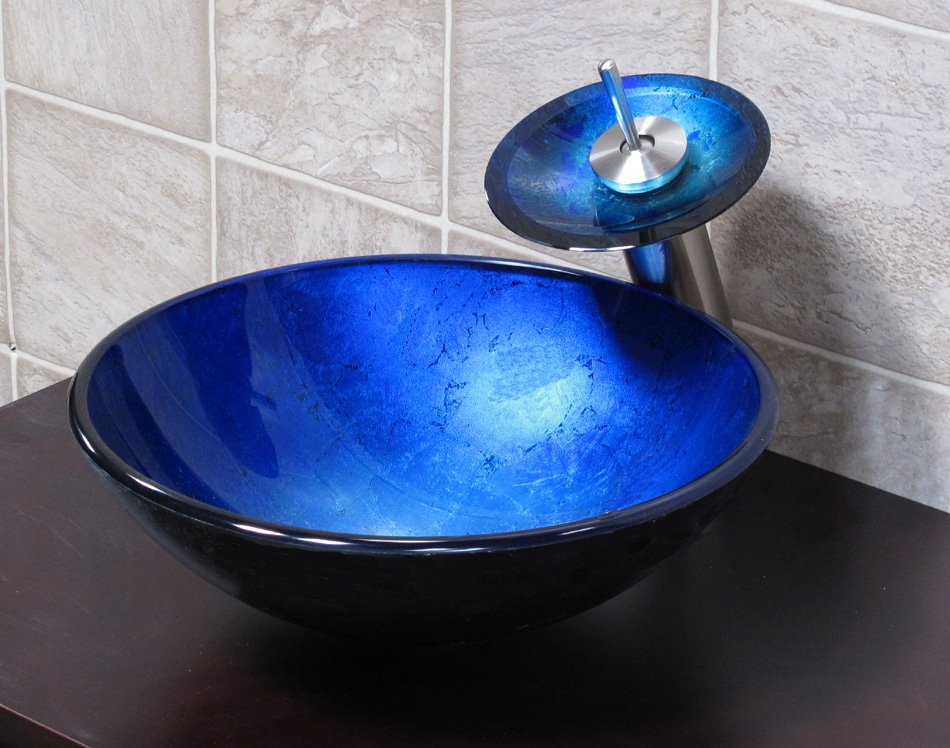
If you want to add a little more personality to your enamel sink, consider adding a pop of color. You can do this by painting the outside of the bowl or adding a colorful pattern using adhesive vinyl. This will make your sink a true statement piece in your bathroom.8. Add a Pop of Color
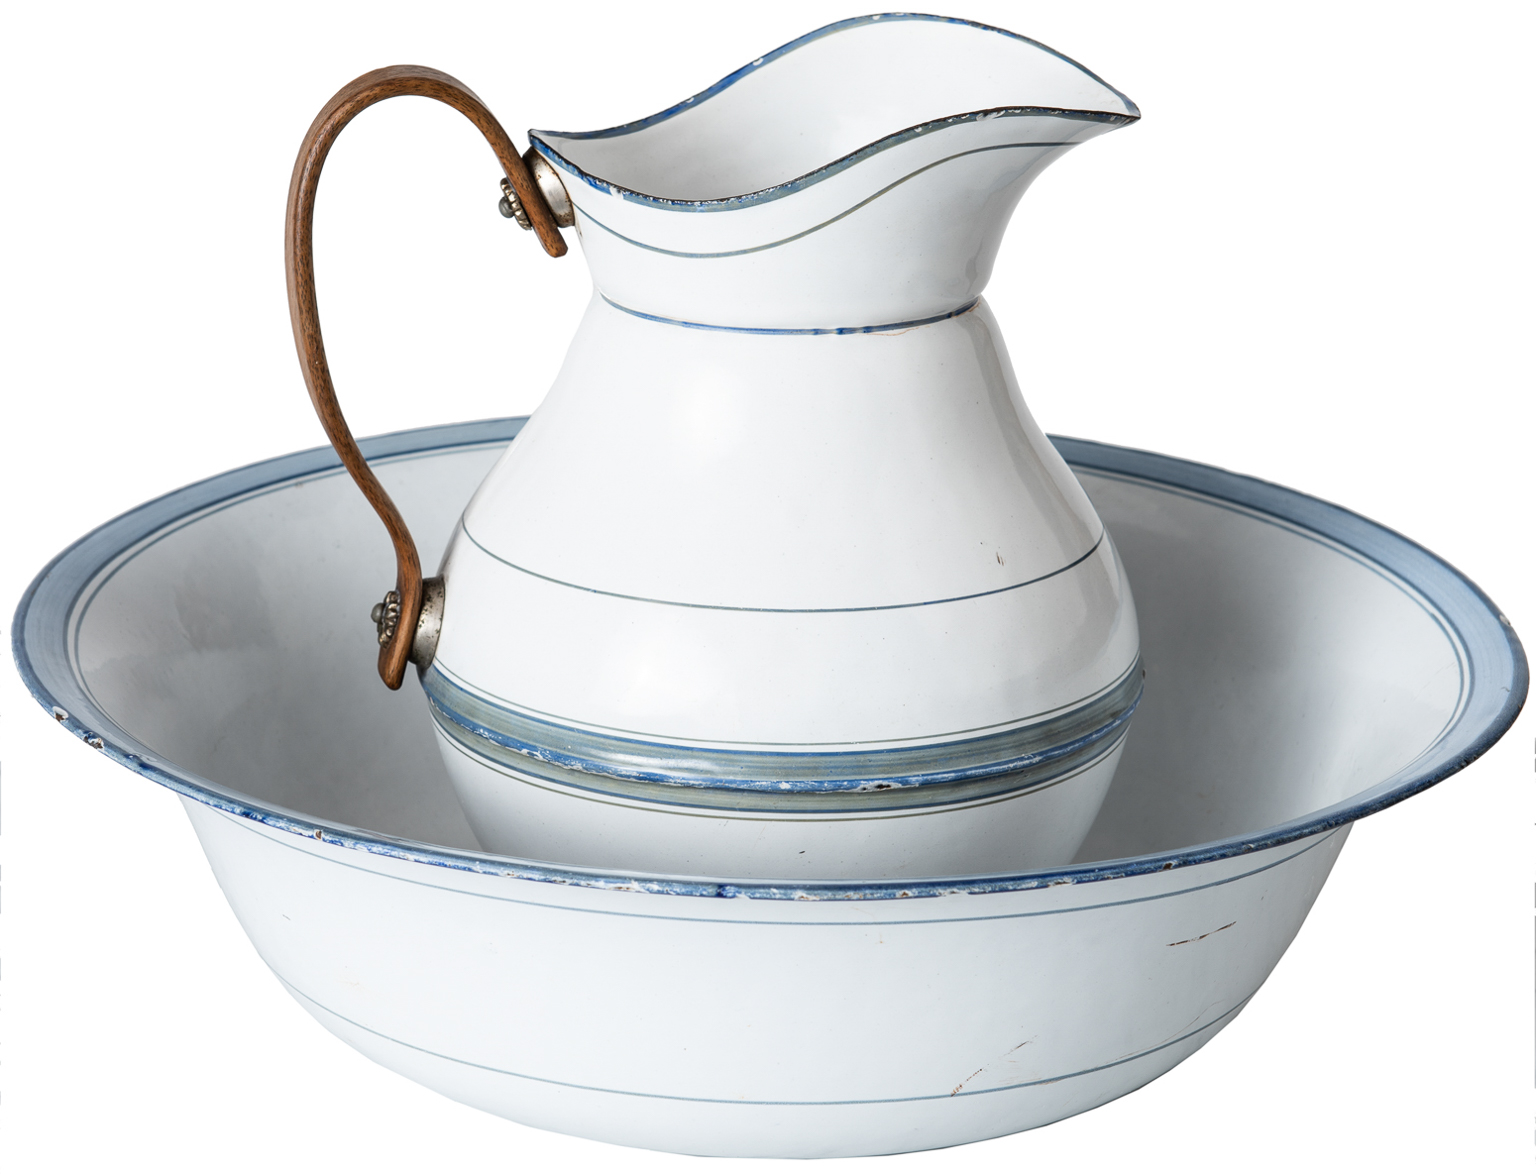
Once everything is in place and dry, it's time to enjoy your new vessel sink. Not only is it functional, but it also adds a unique touch to your bathroom. You can even repurpose other enamelware items, such as pitchers or bowls, to use as soap dispensers or toothbrush holders to complete the look.9. Enjoy Your New Enamel Sink
Transforming an enamel bowl into a bathroom sink is a simple and affordable way to add character to your bathroom. With just a few materials and some DIY skills, you can create a one-of-a-kind sink that will be the envy of all your guests. So don't be afraid to think outside the box and incorporate unexpected items into your home renovation projects.10. Conclusion
The Versatility of Enamel Bowls in House Design

Introduction
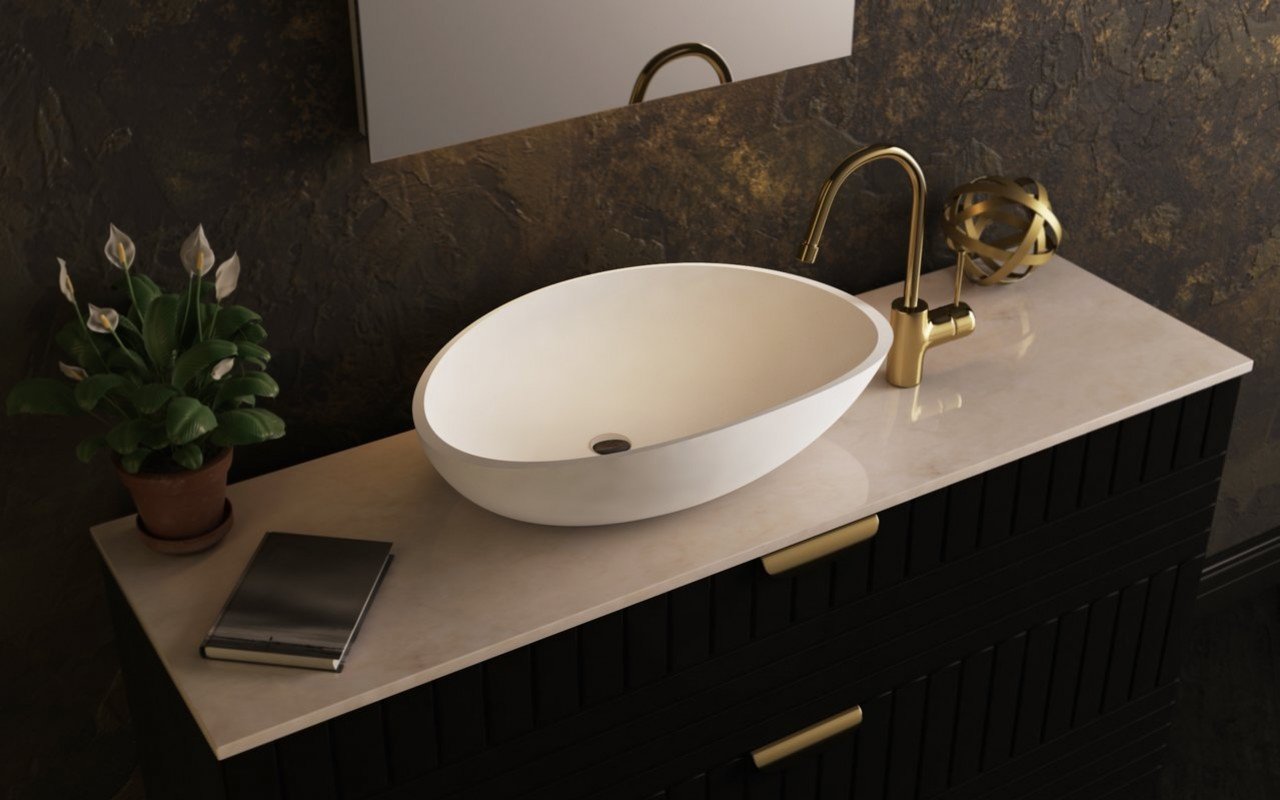
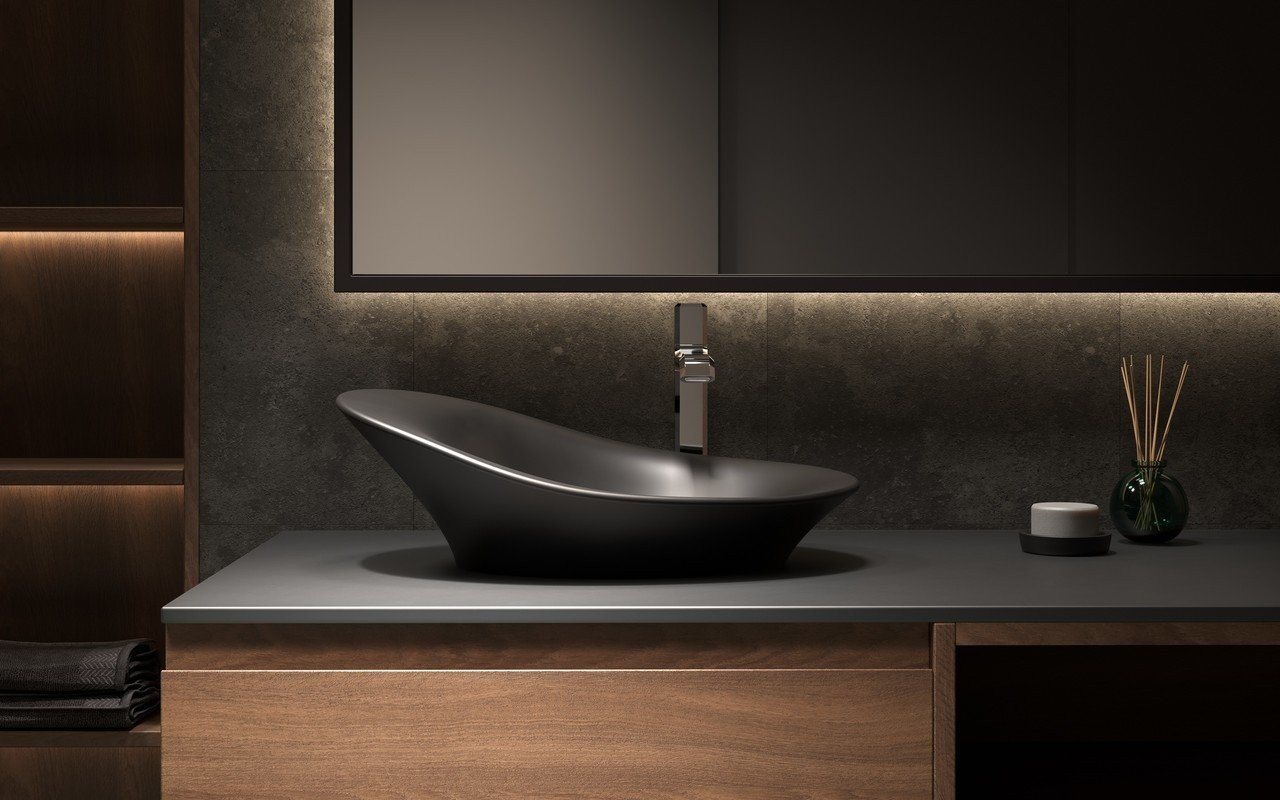
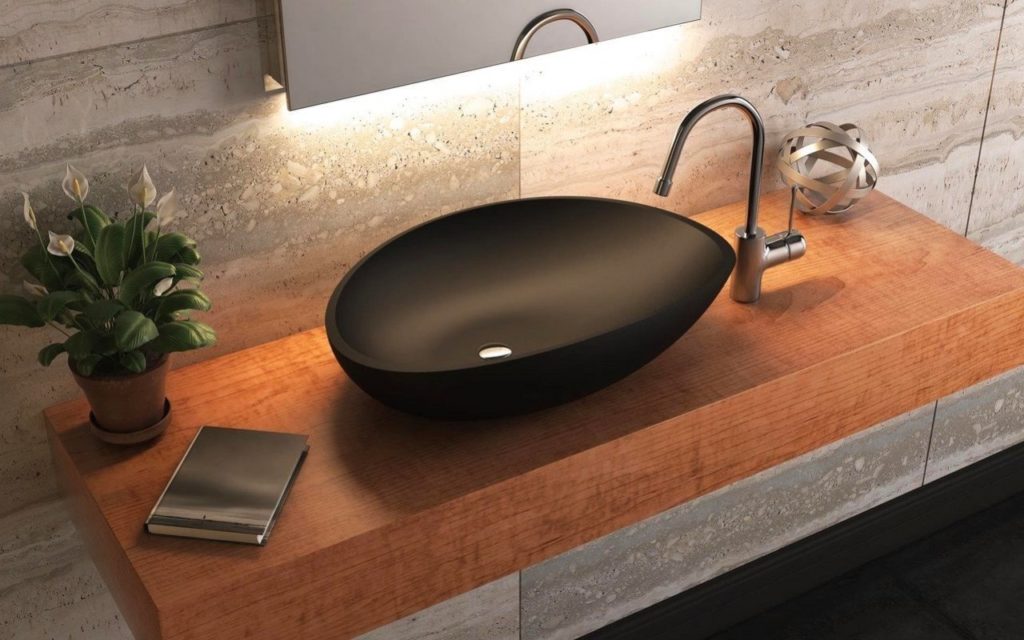
 When it comes to house design, every detail matters. From the furniture to the decorations, every element contributes to the overall aesthetic and functionality of a space. One often overlooked item that has gained popularity in recent years is the enamel bowl. Originally used for cooking and serving food, these bowls have now found their way into other areas of the house, including the bathroom. In this article, we will explore how a simple enamel bowl can be transformed into a unique and stylish bathroom sink.
The Appeal of Enamel Bowls
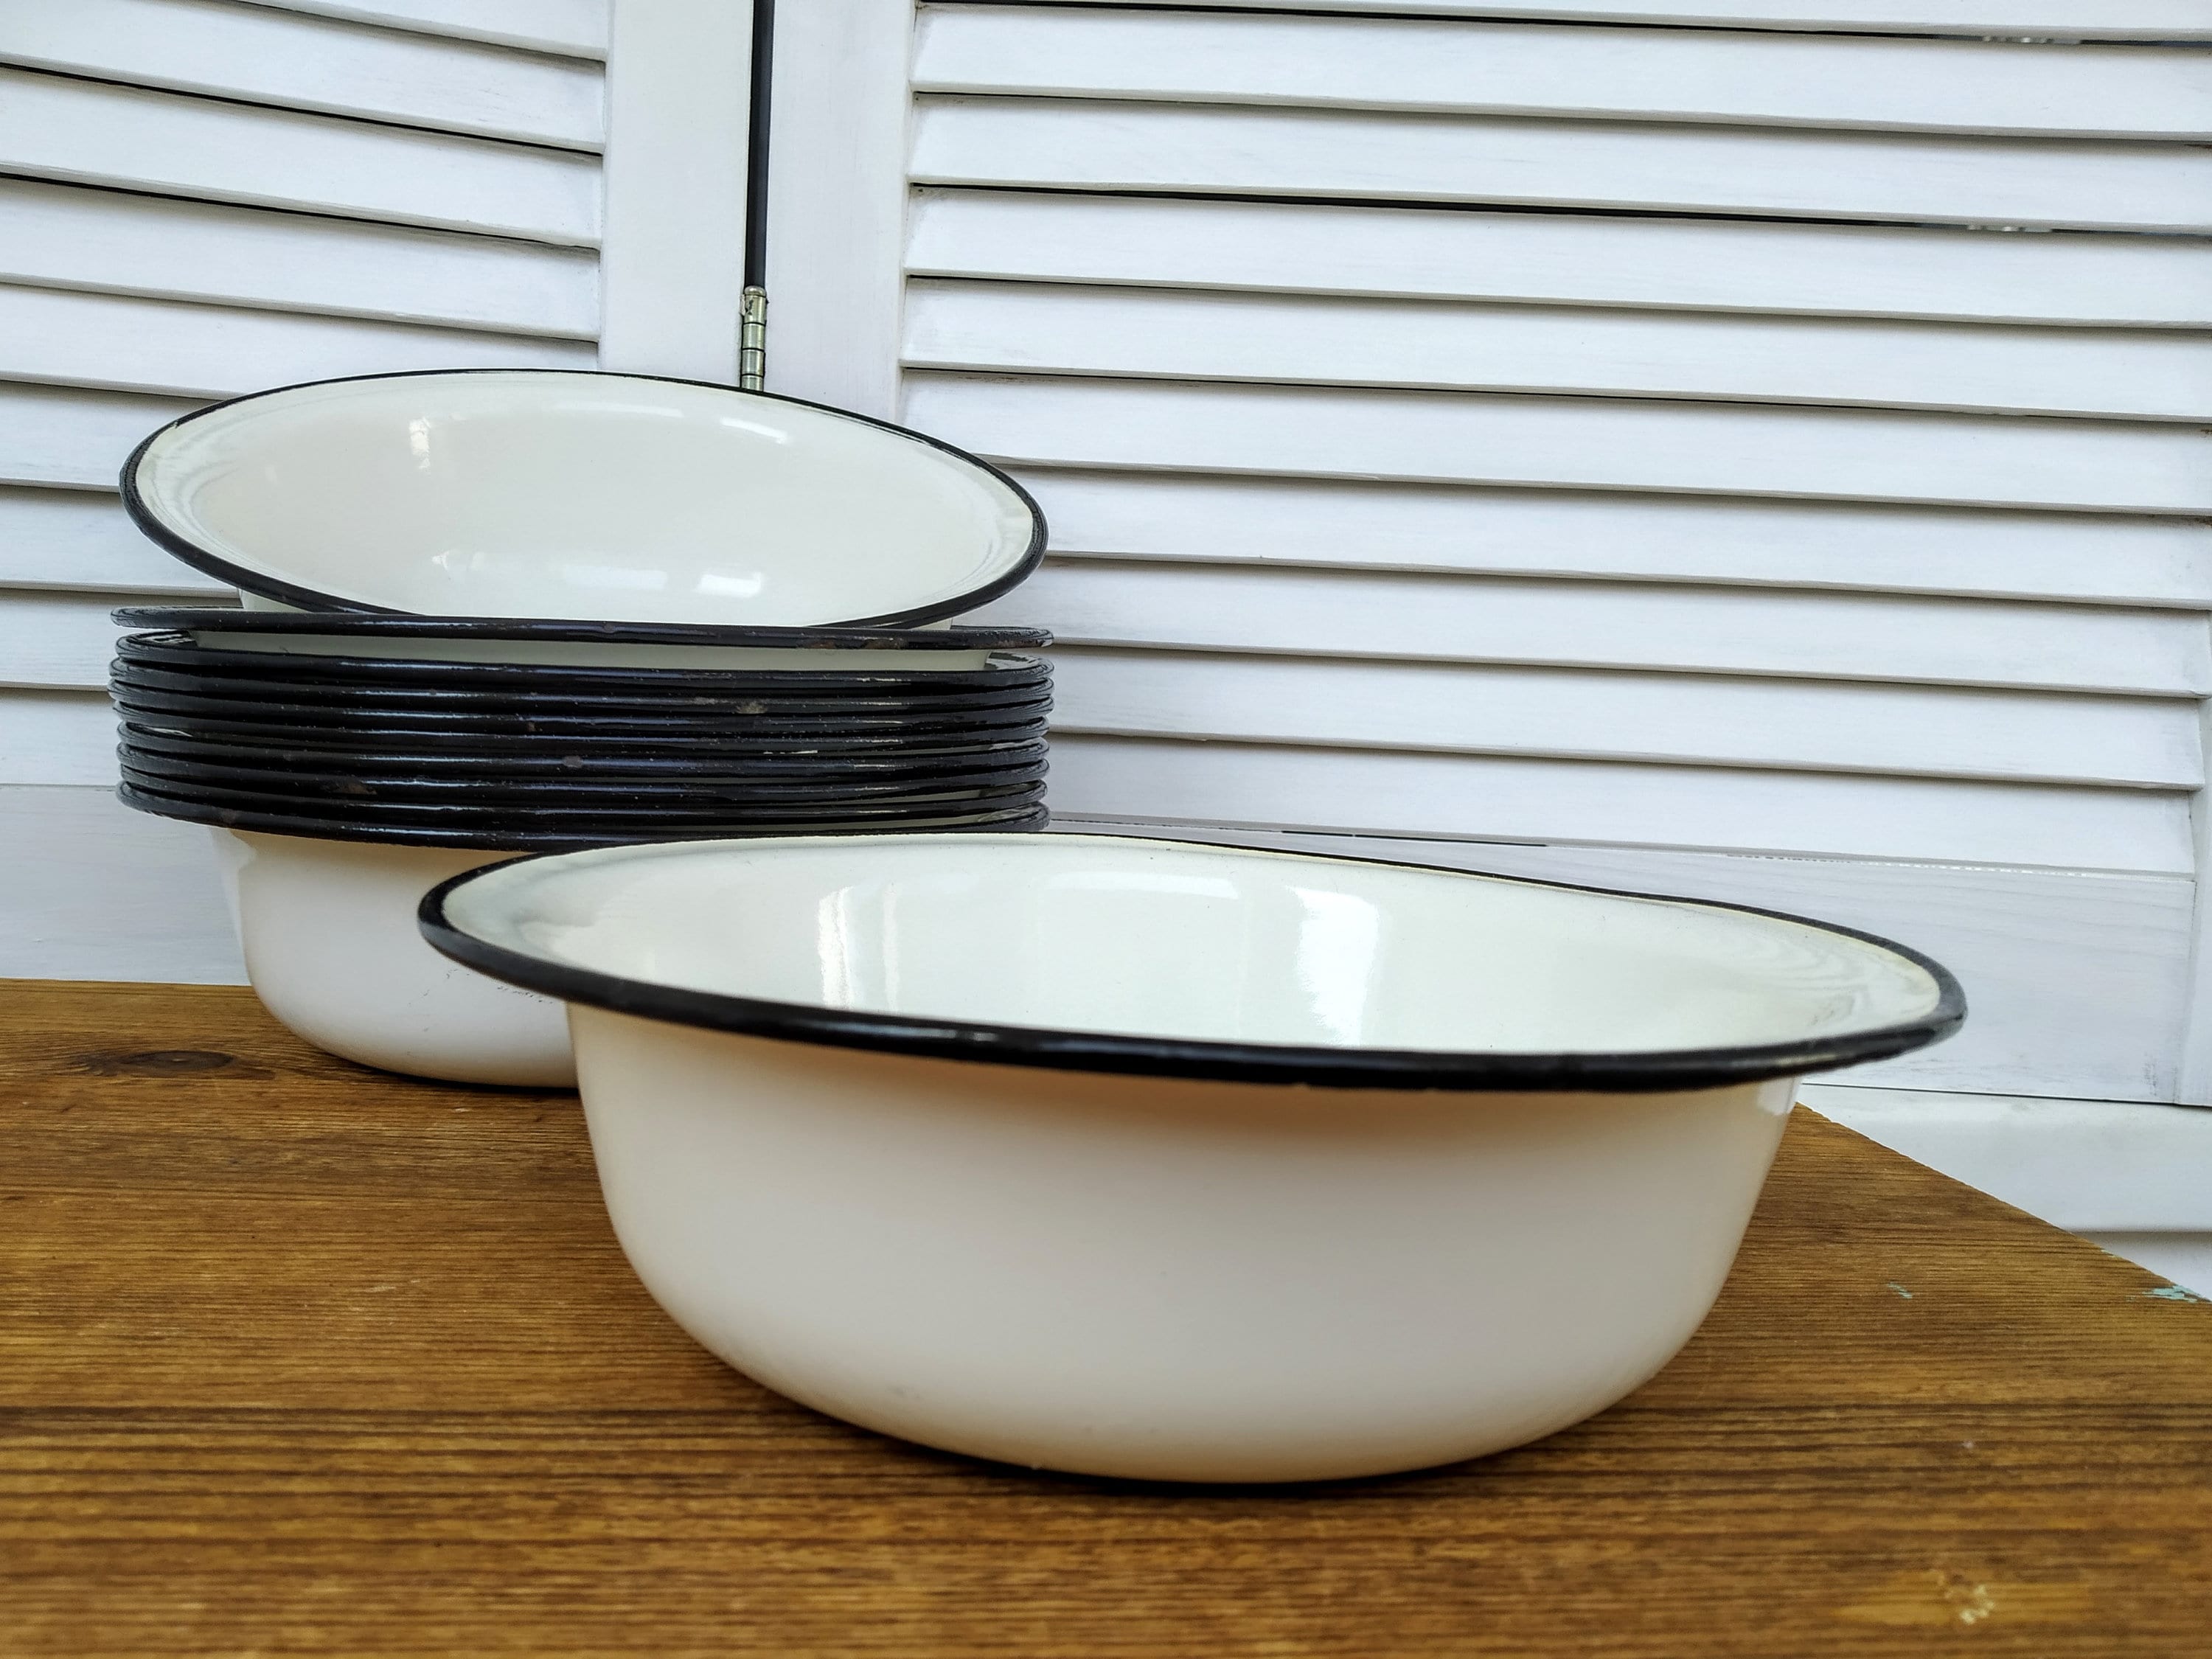
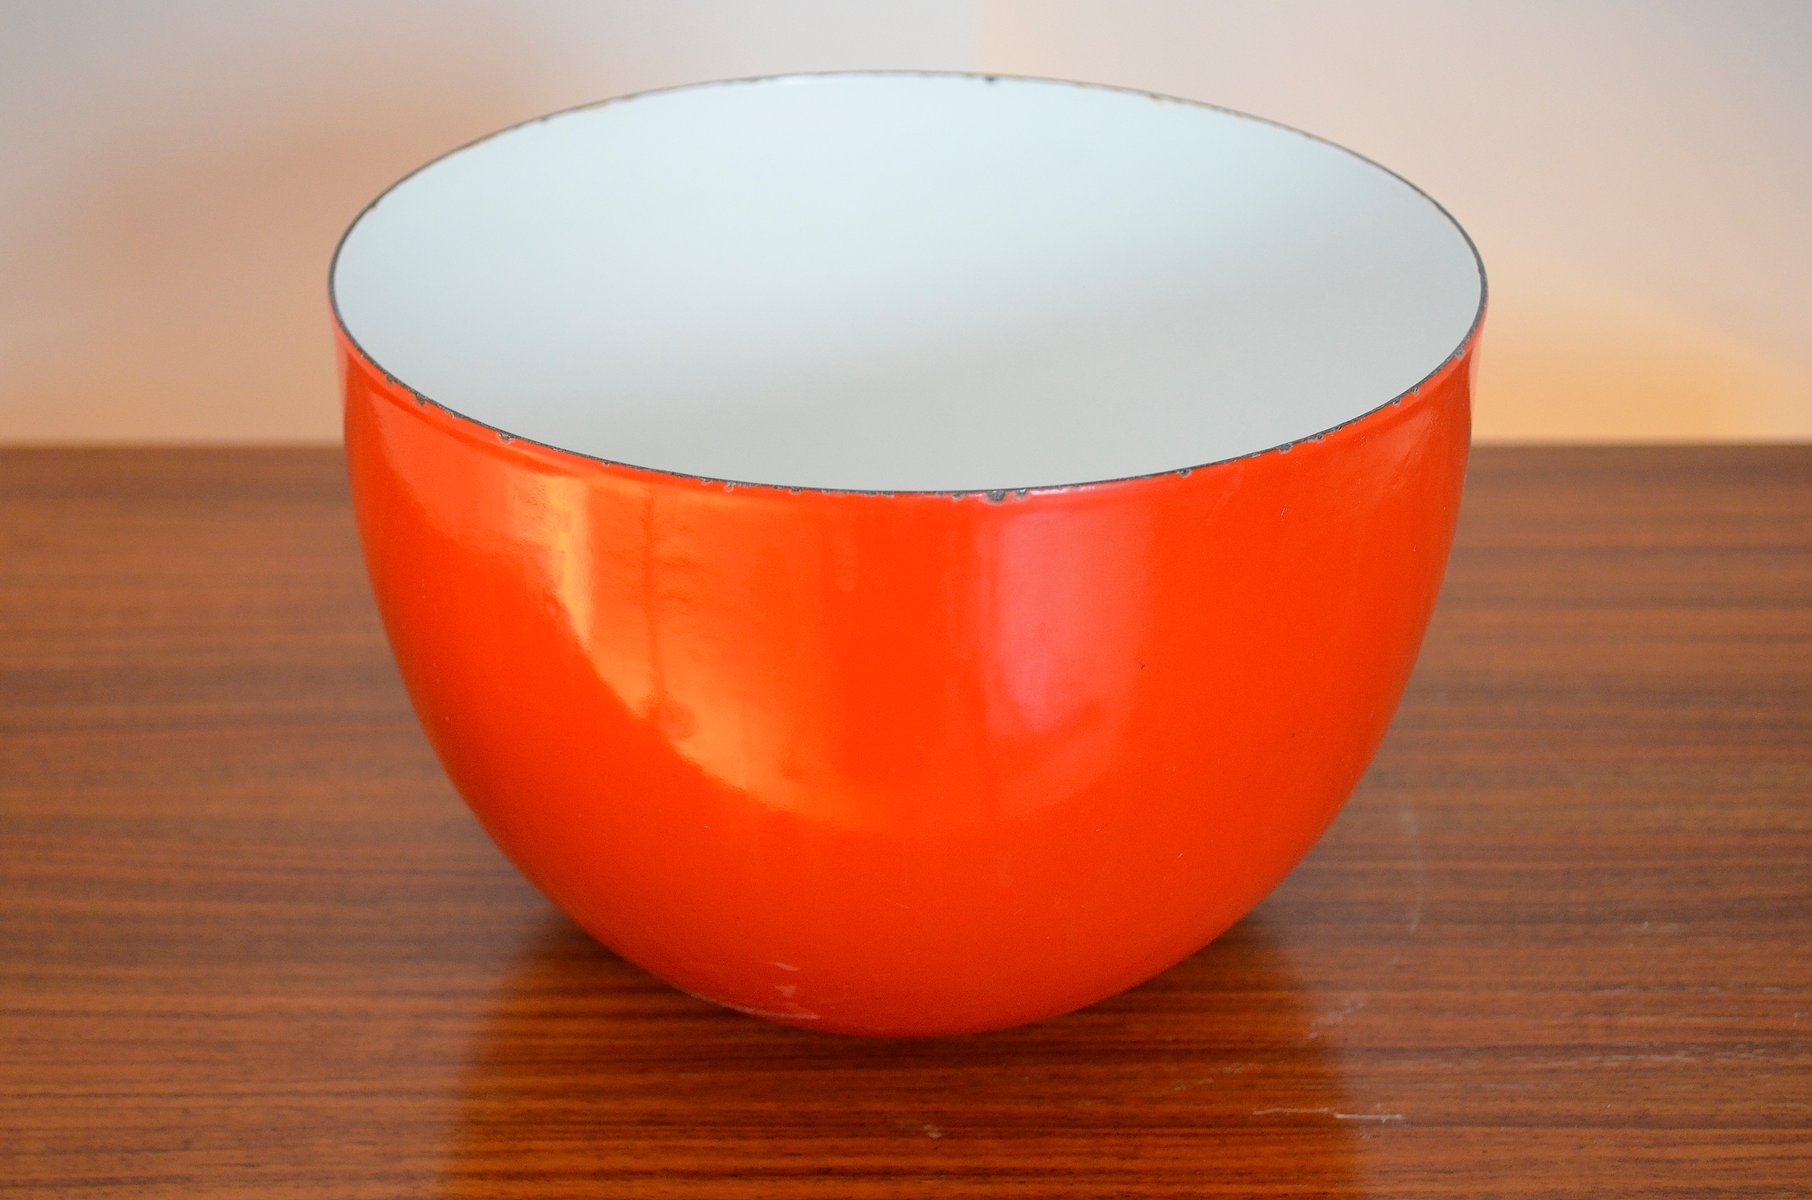
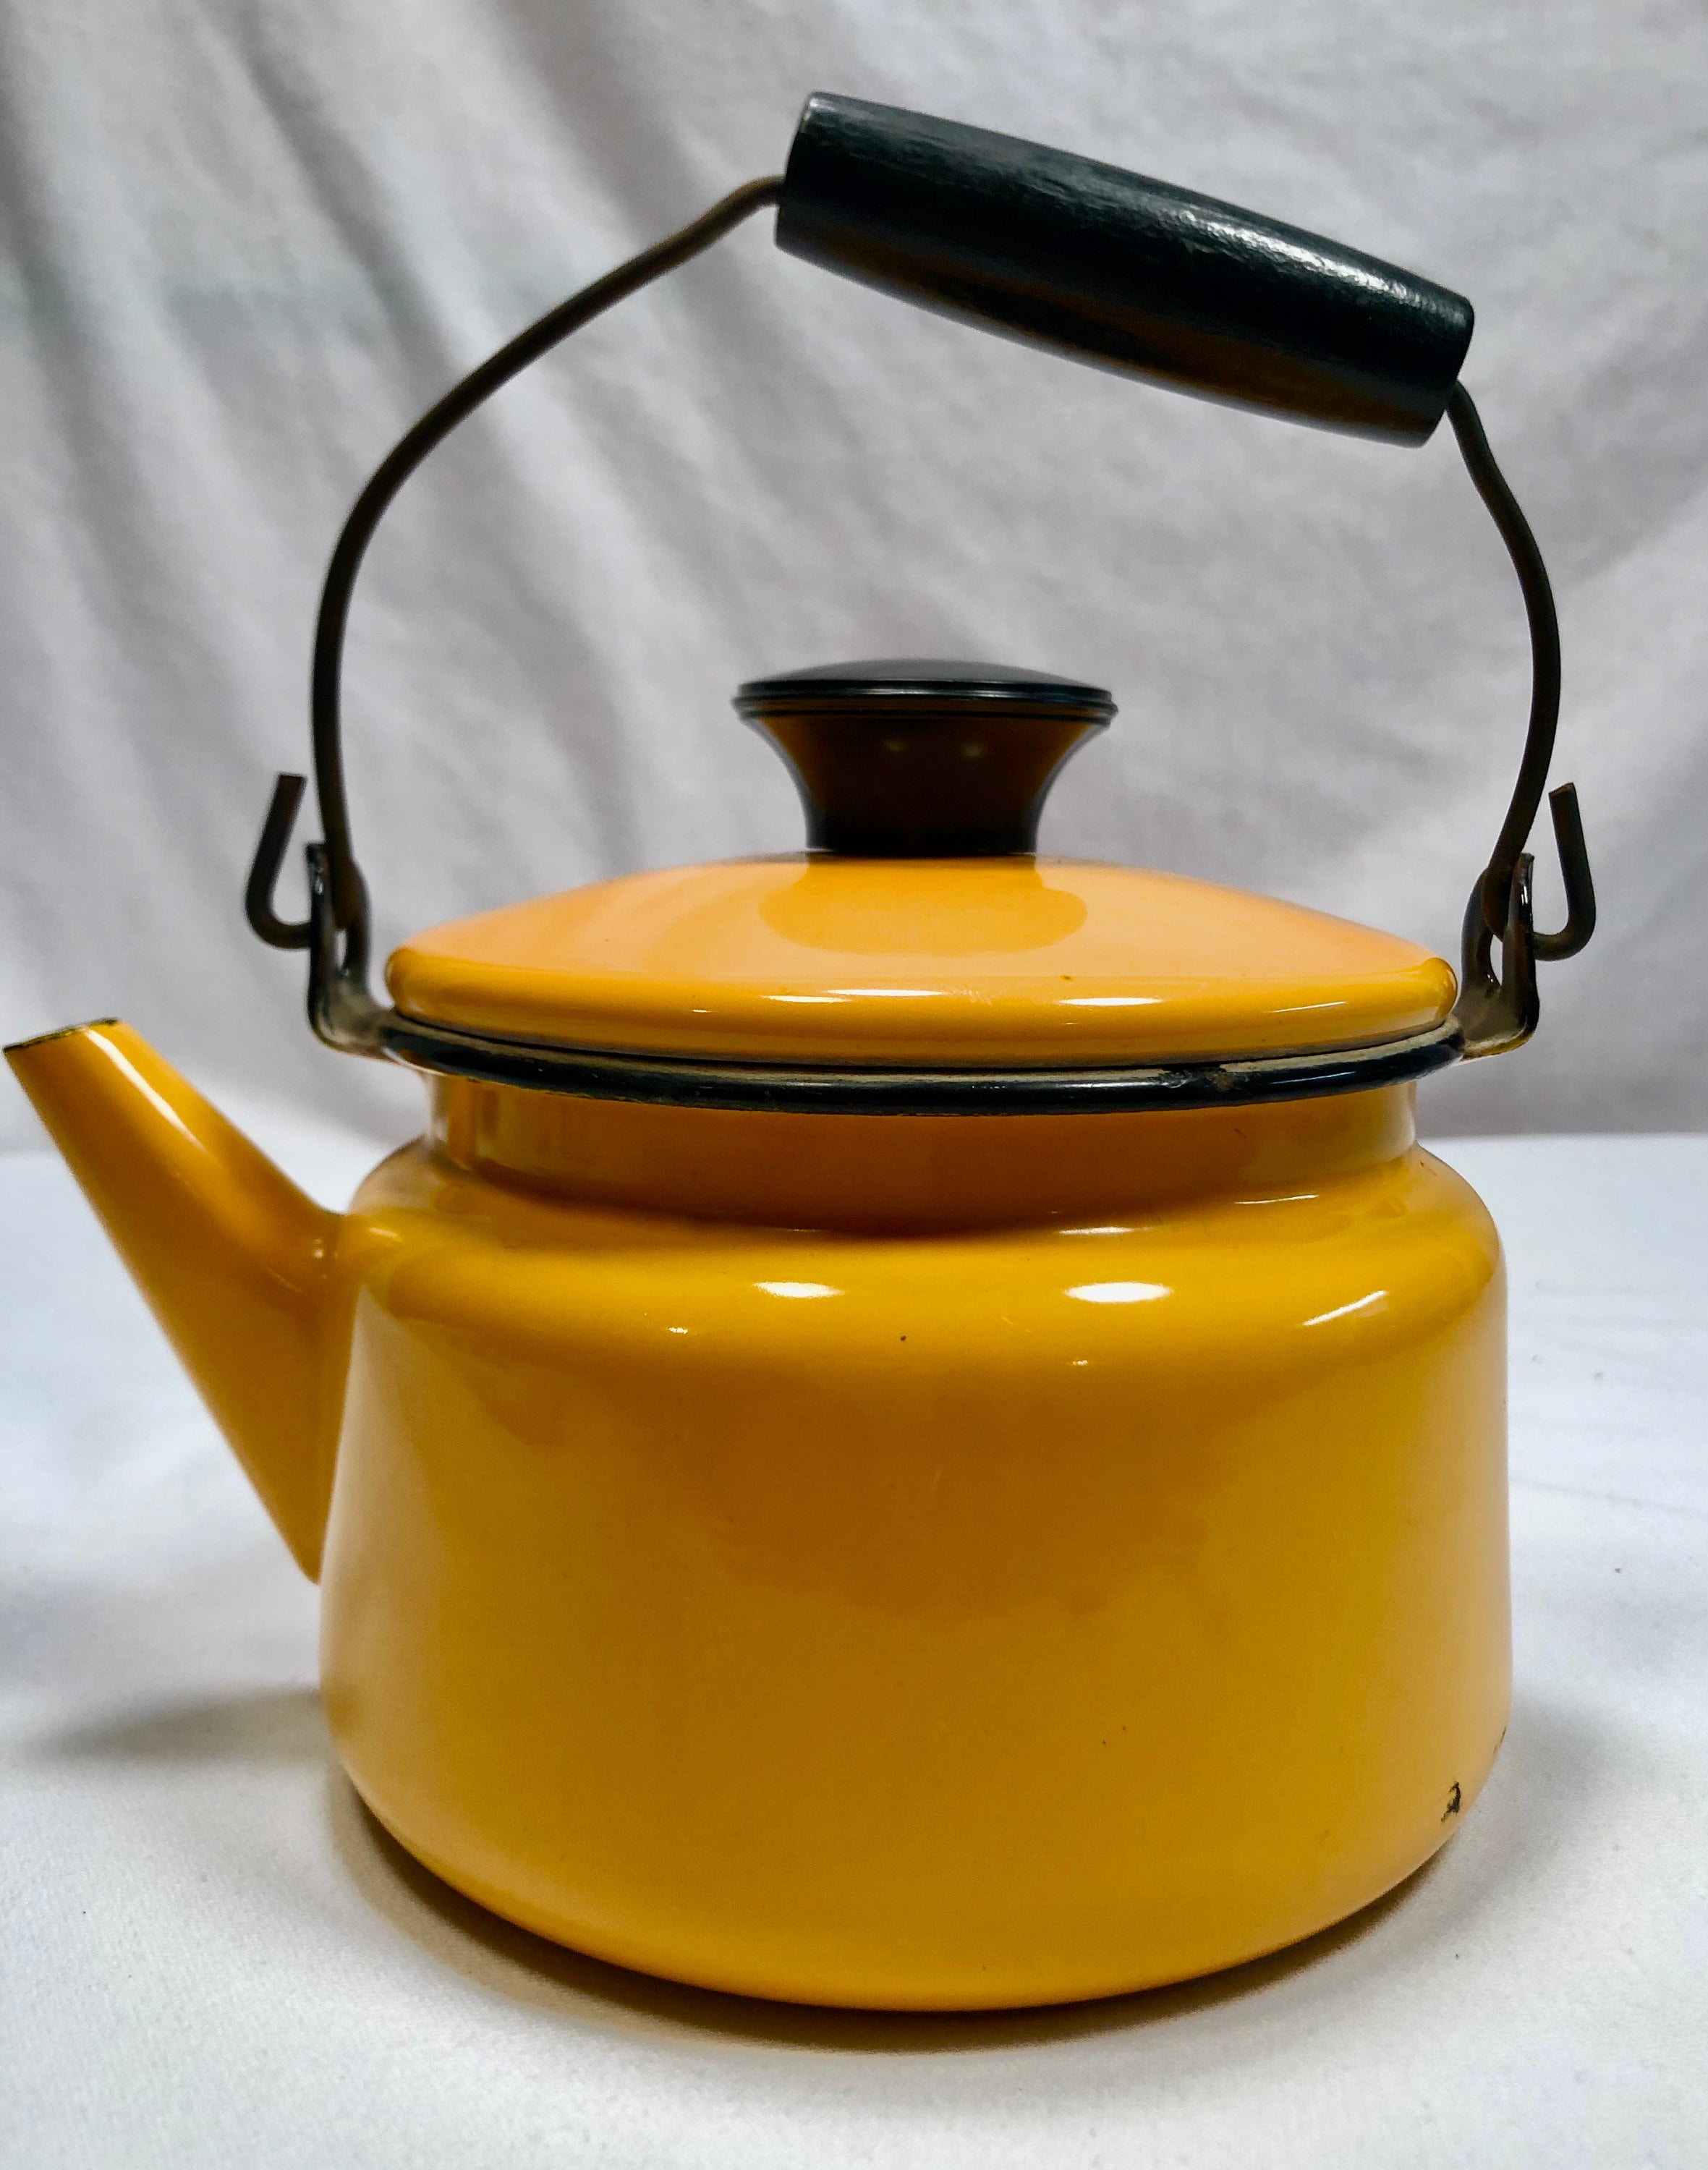
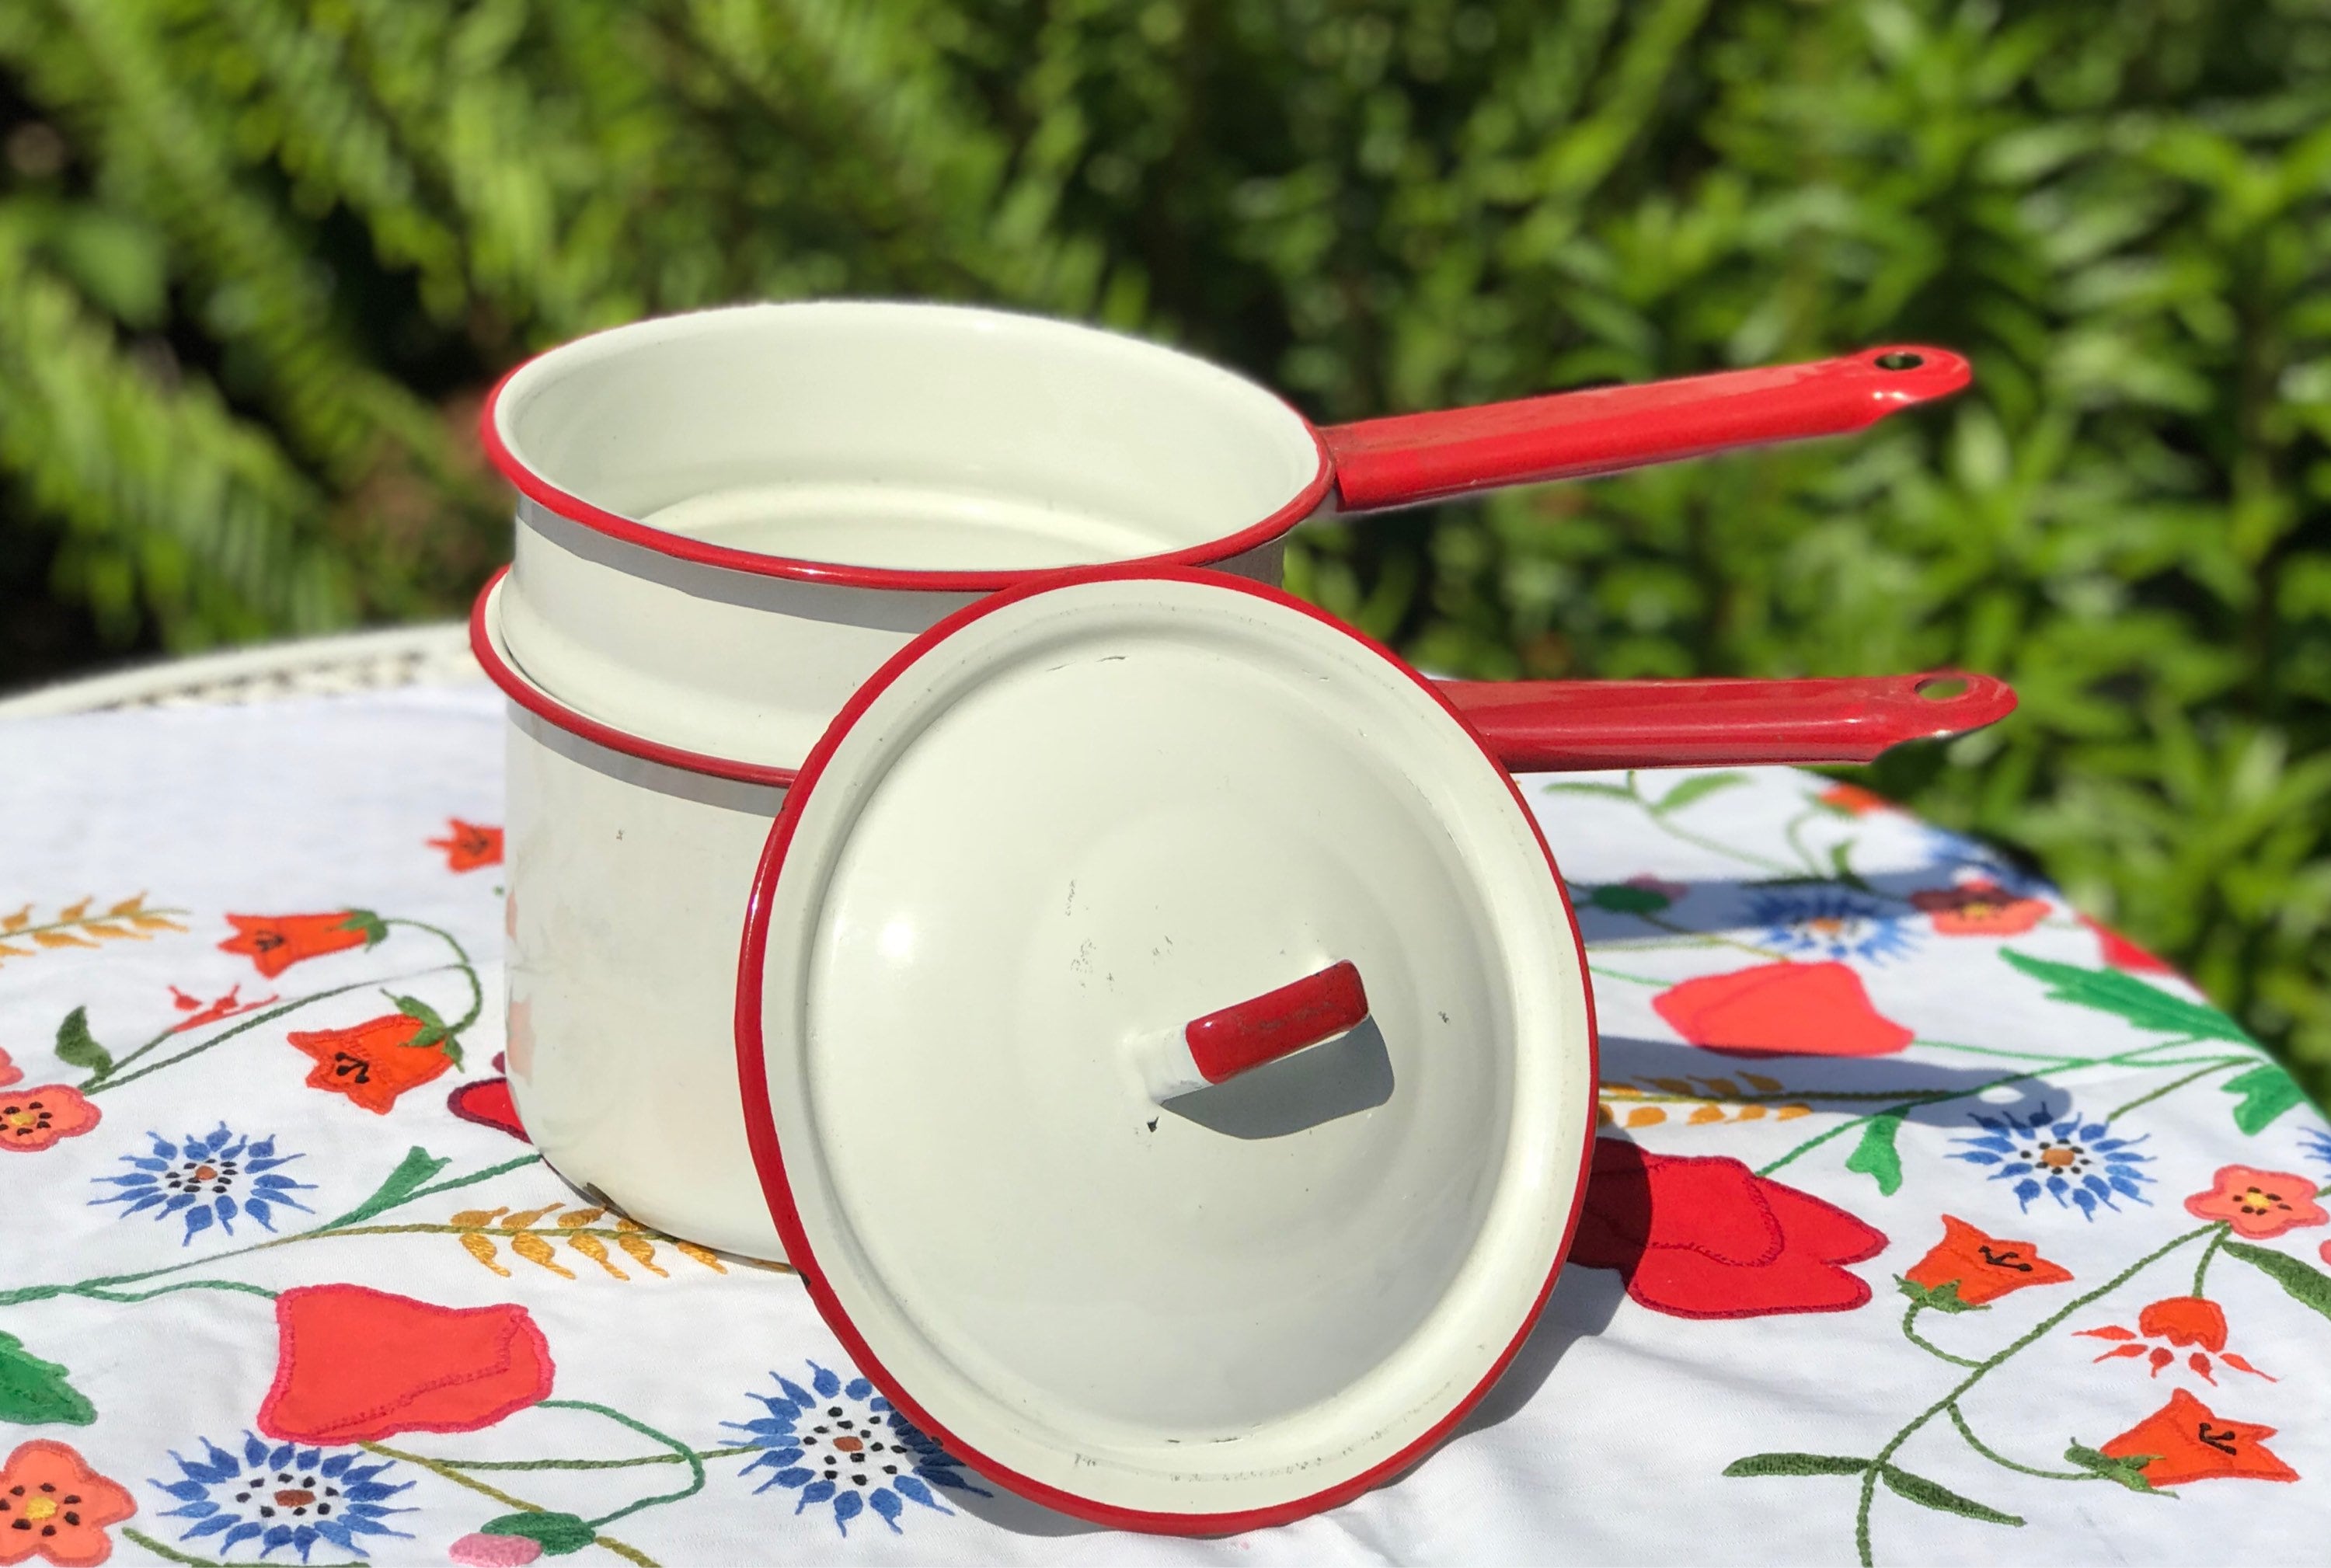
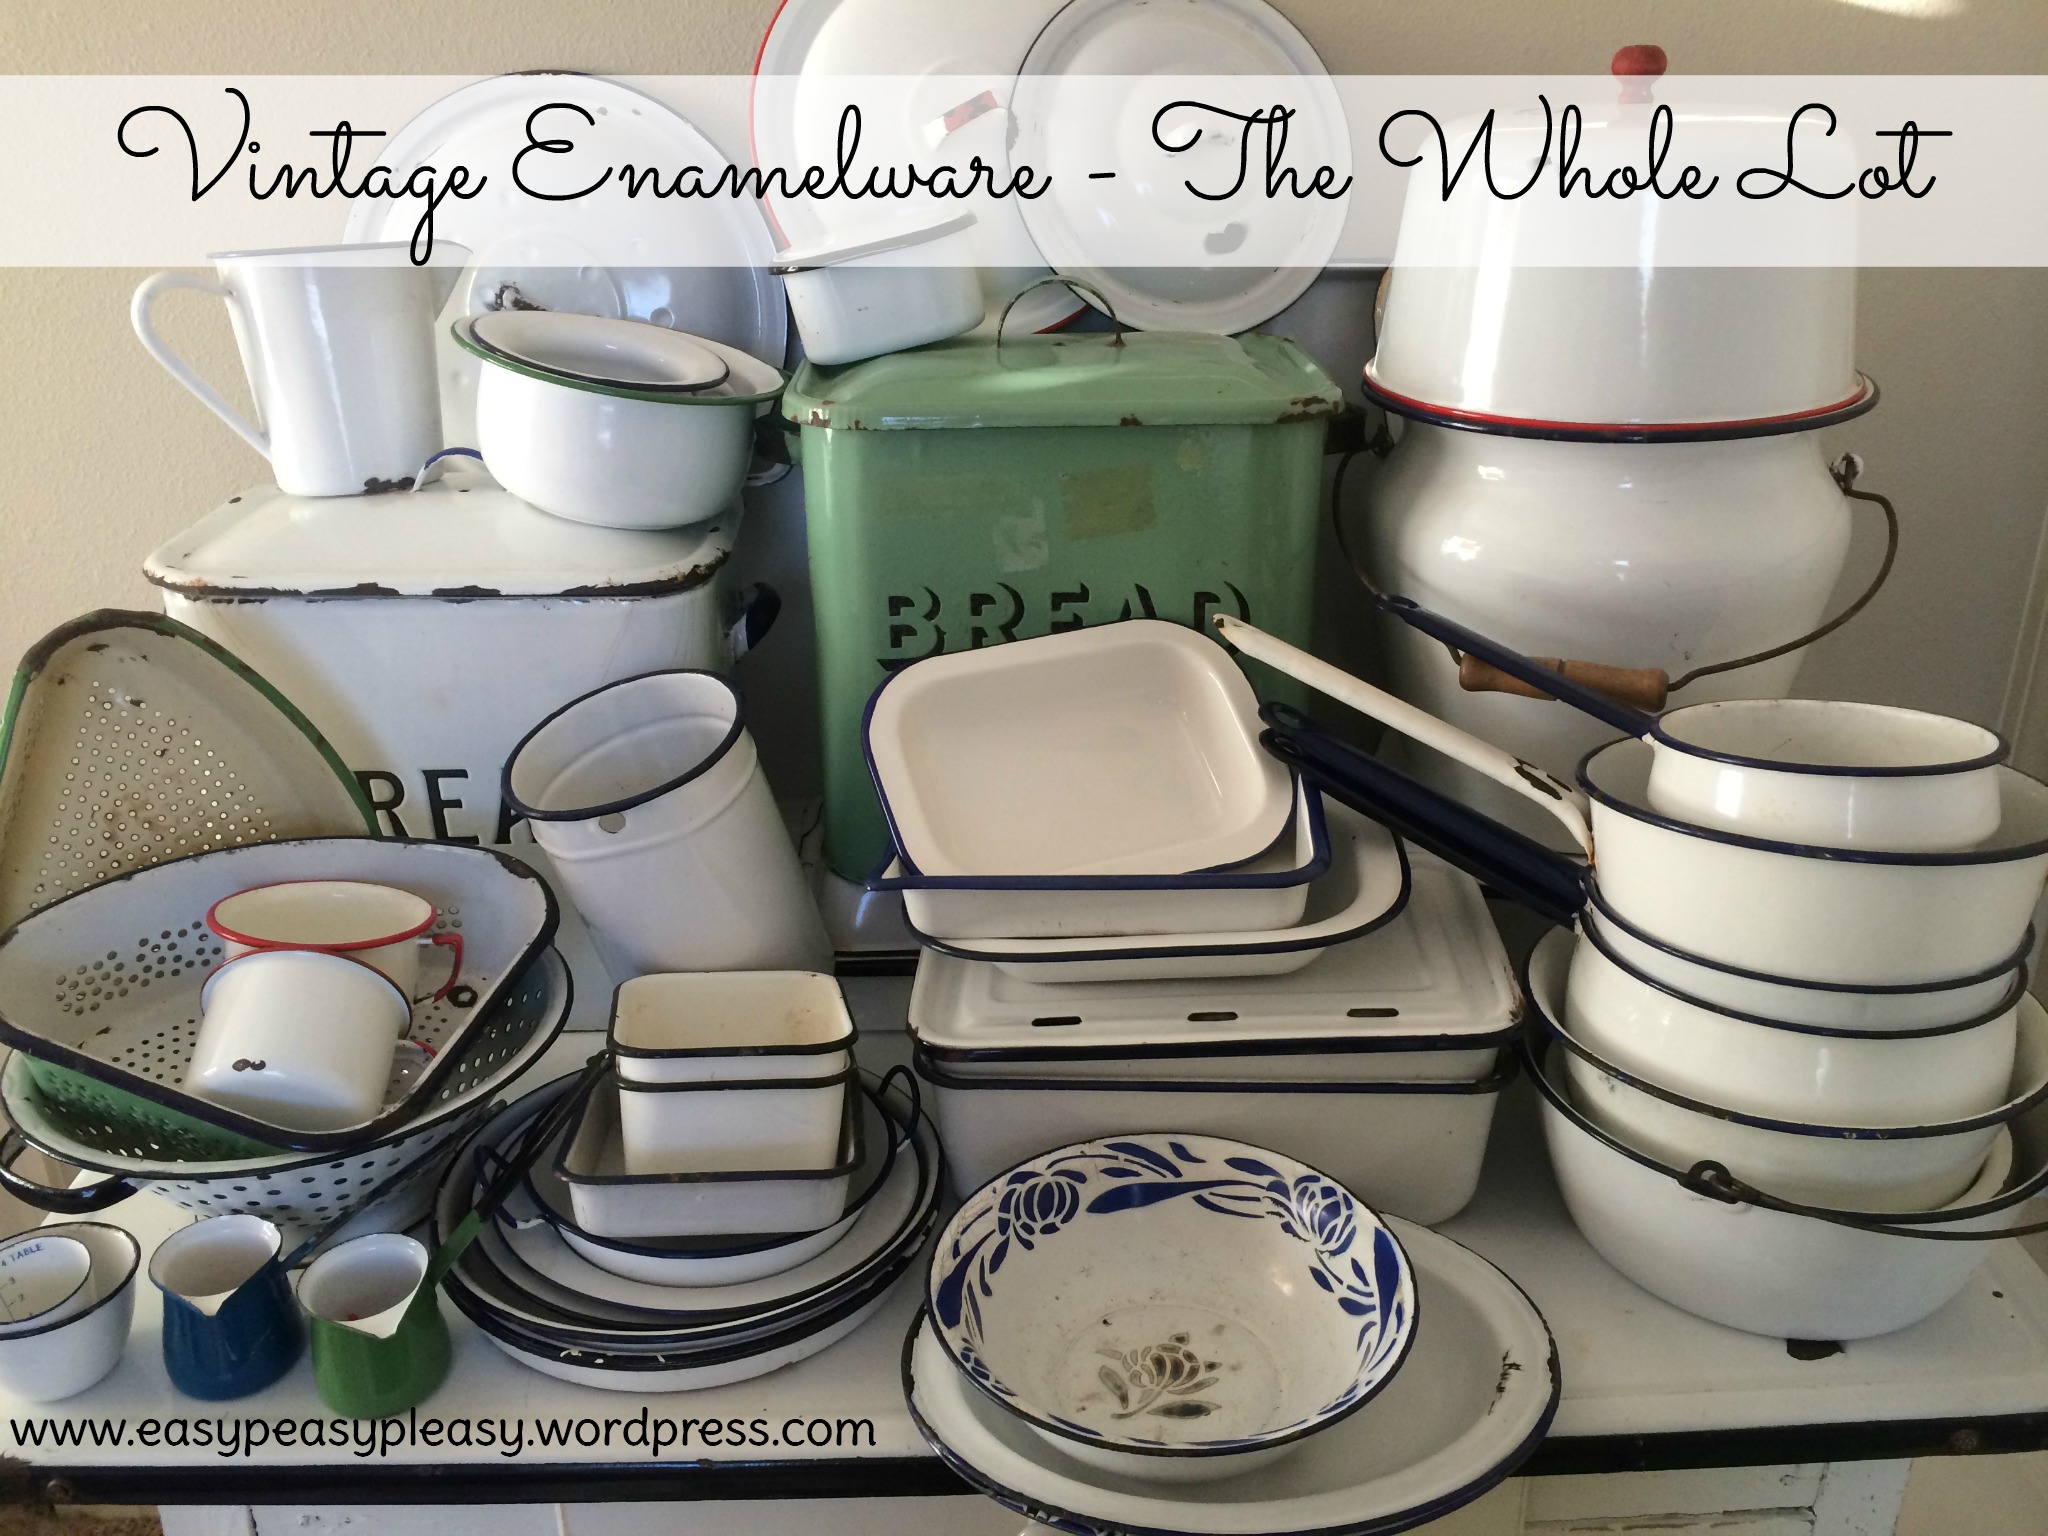
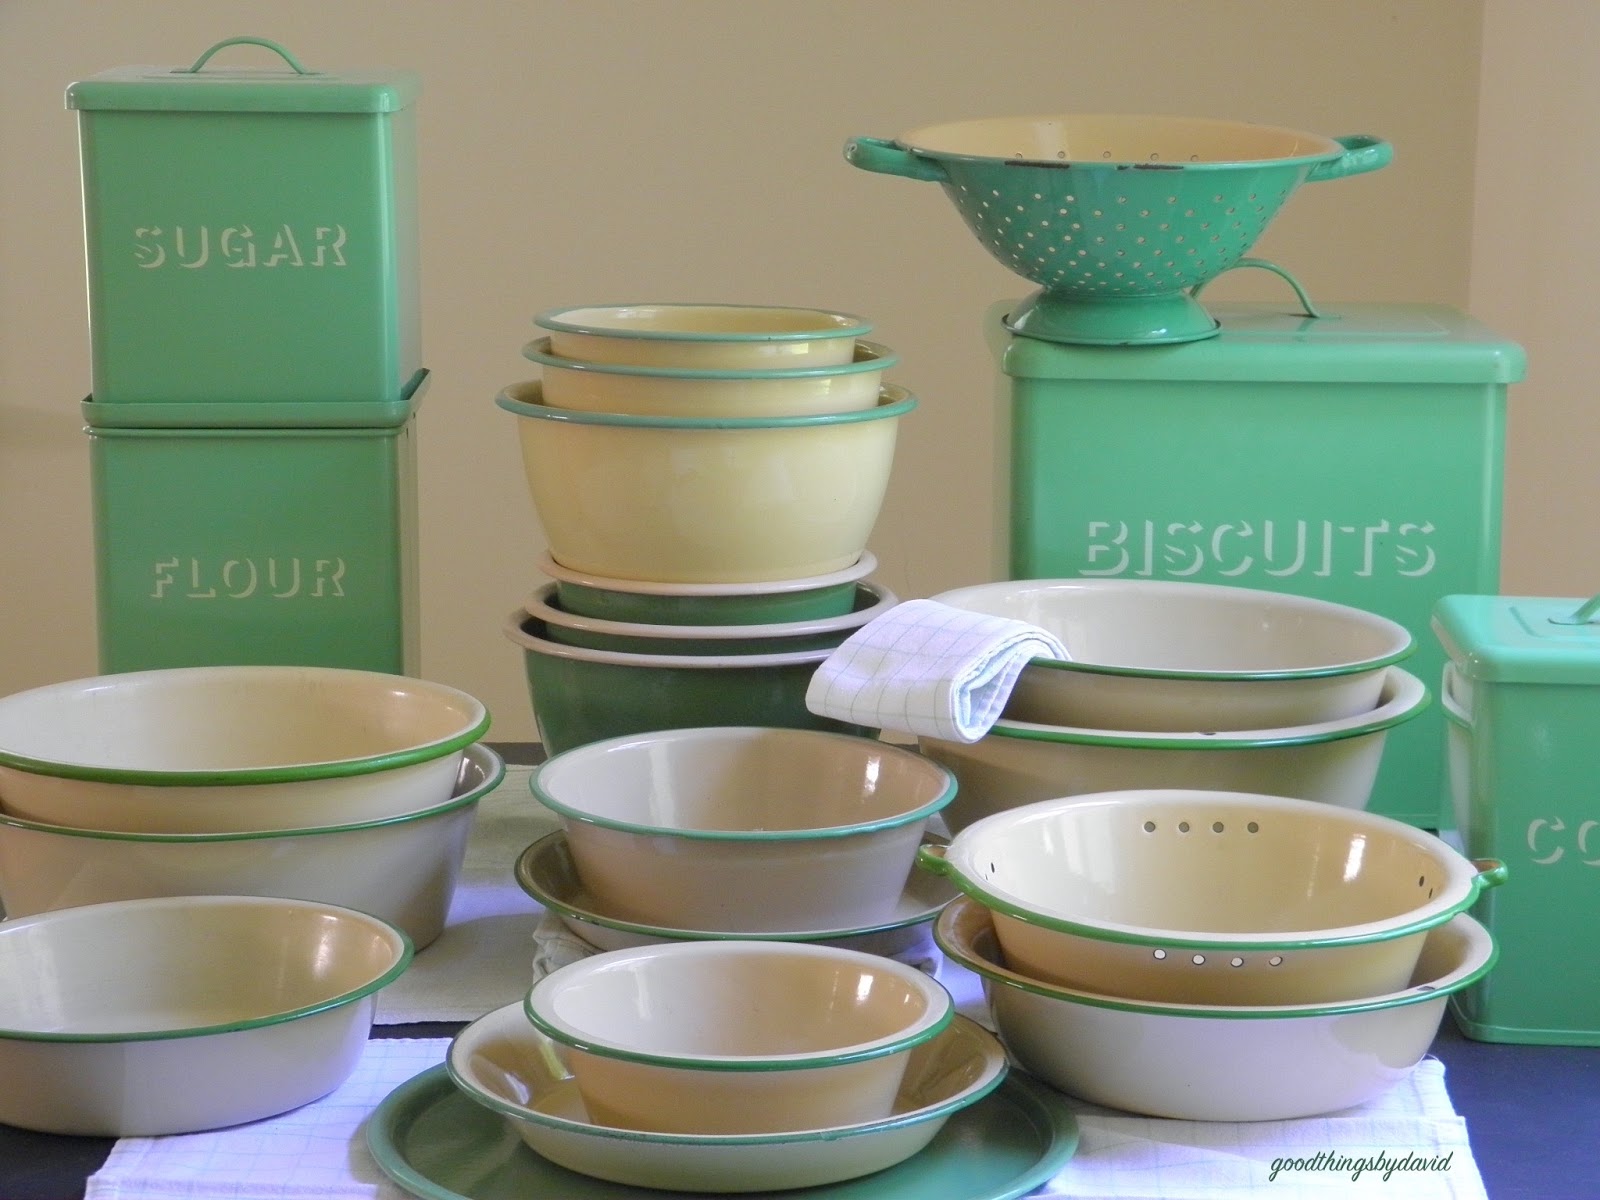
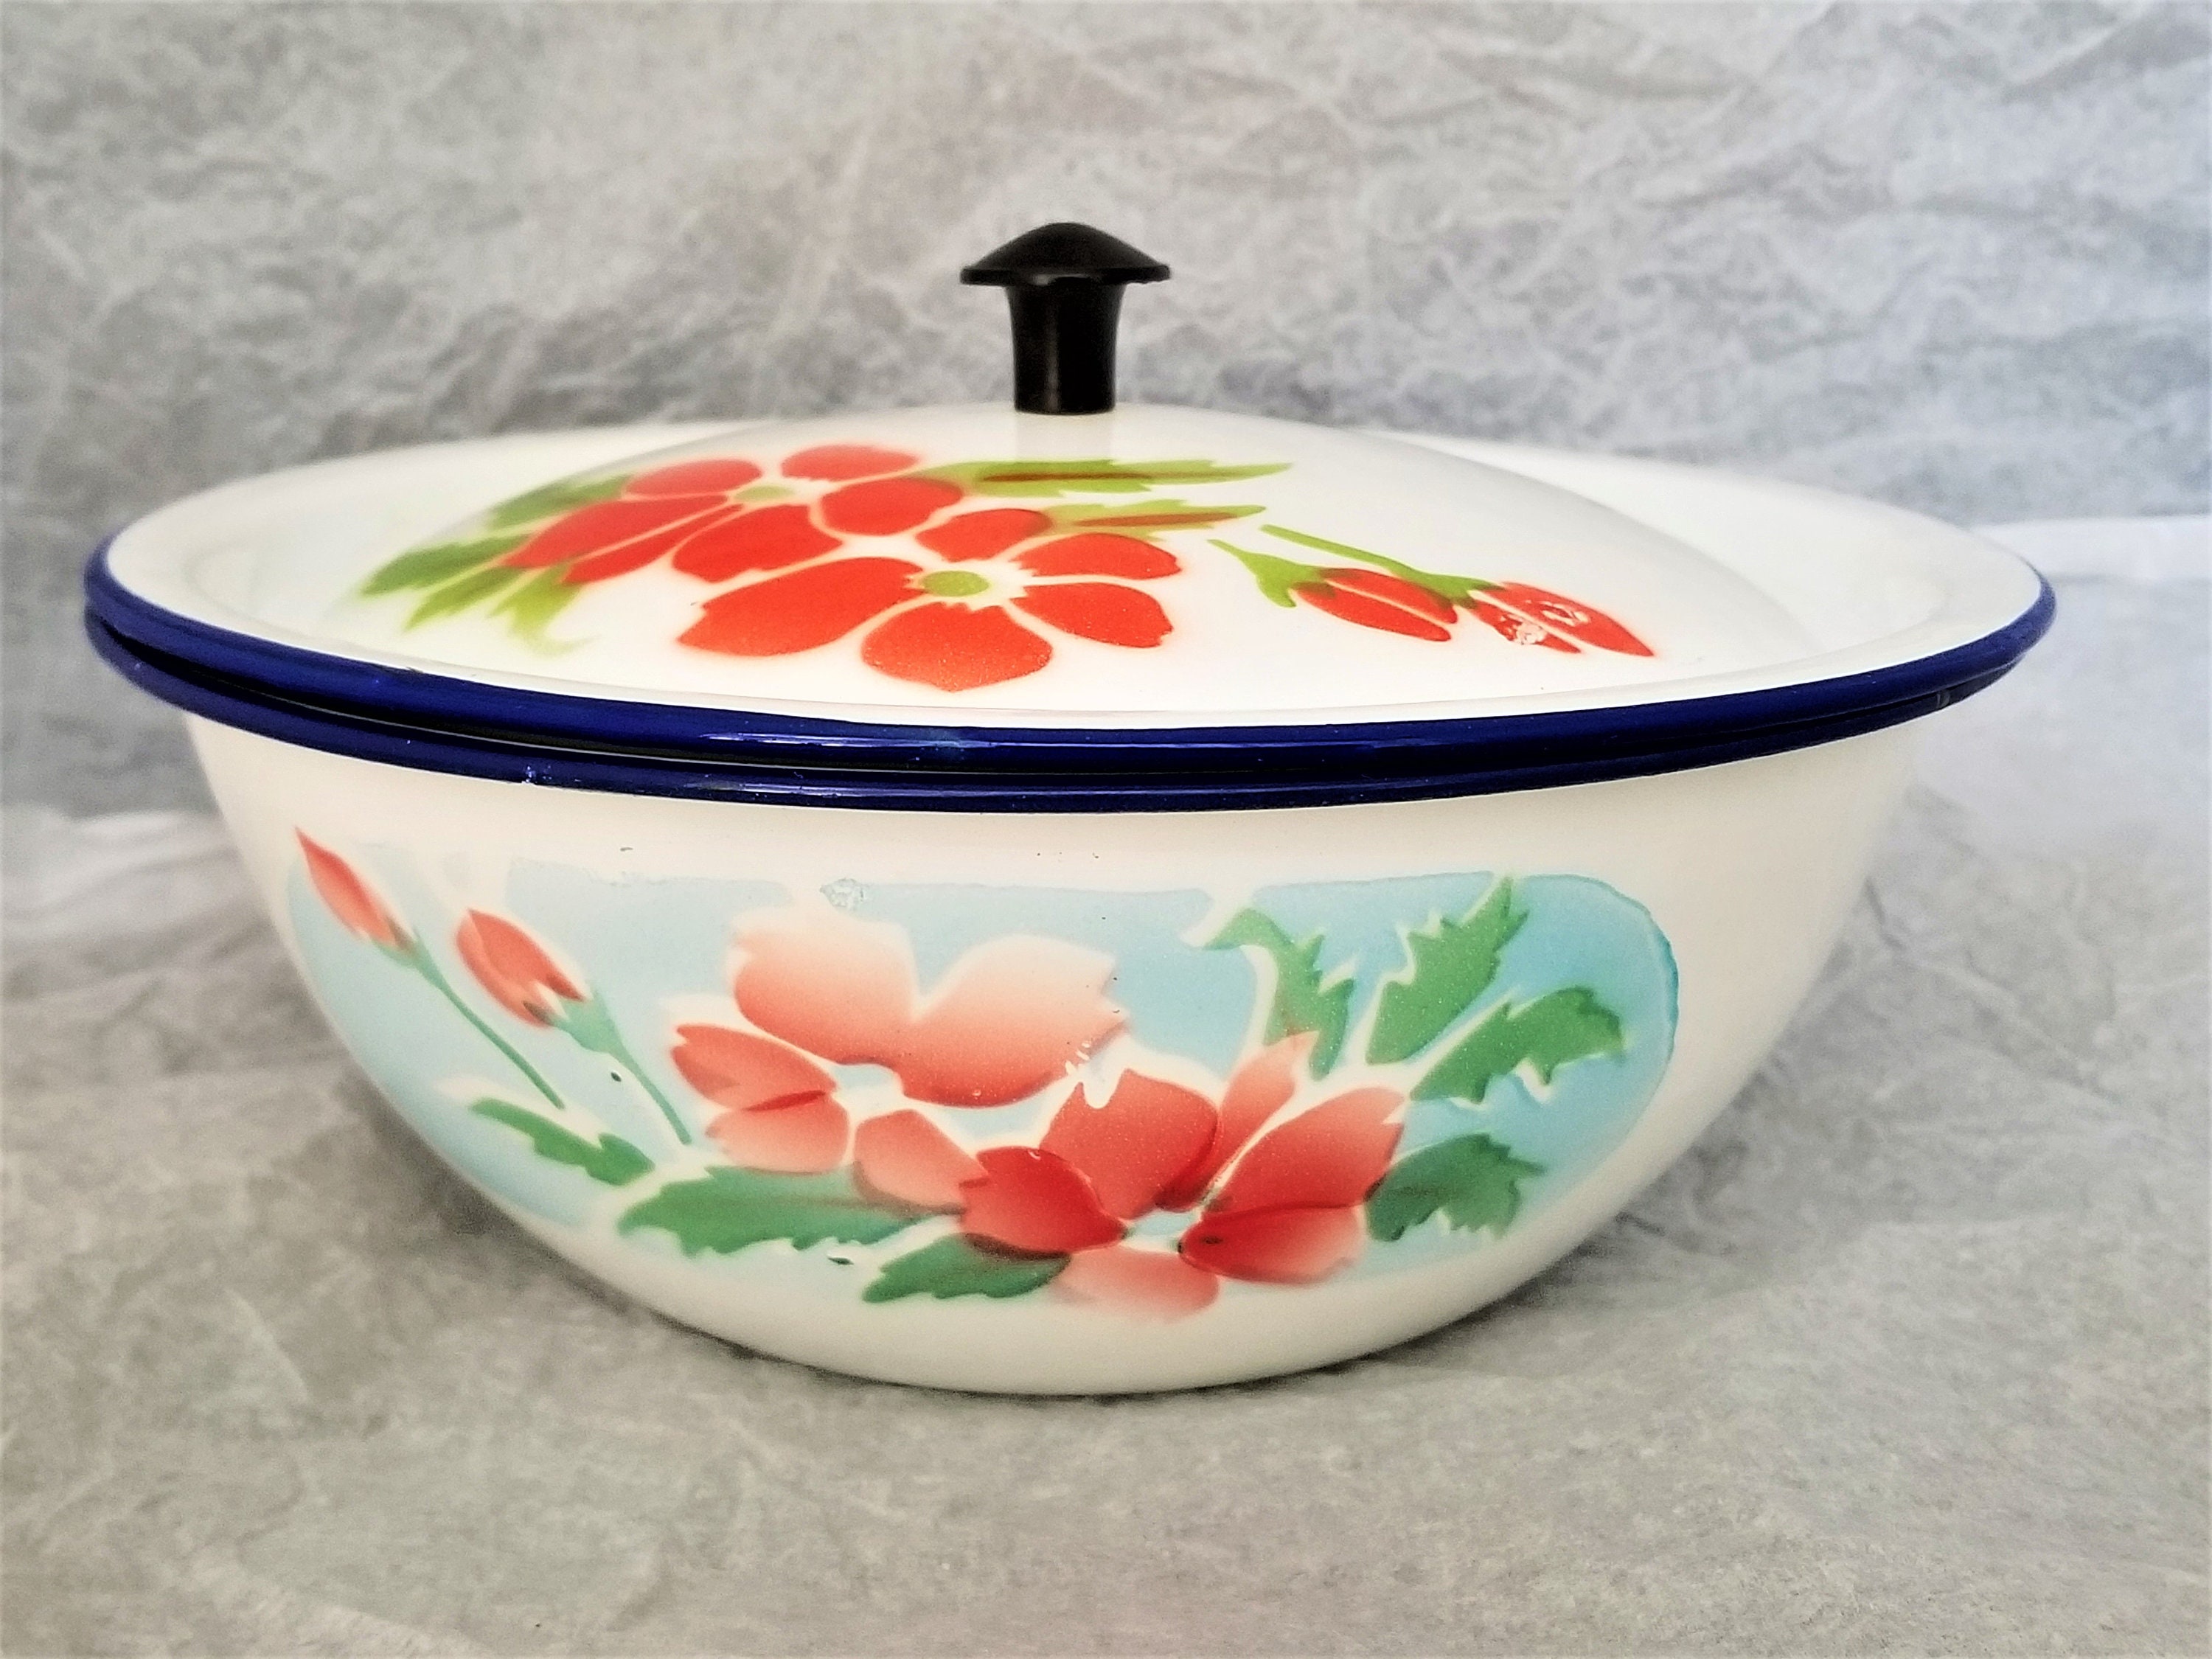
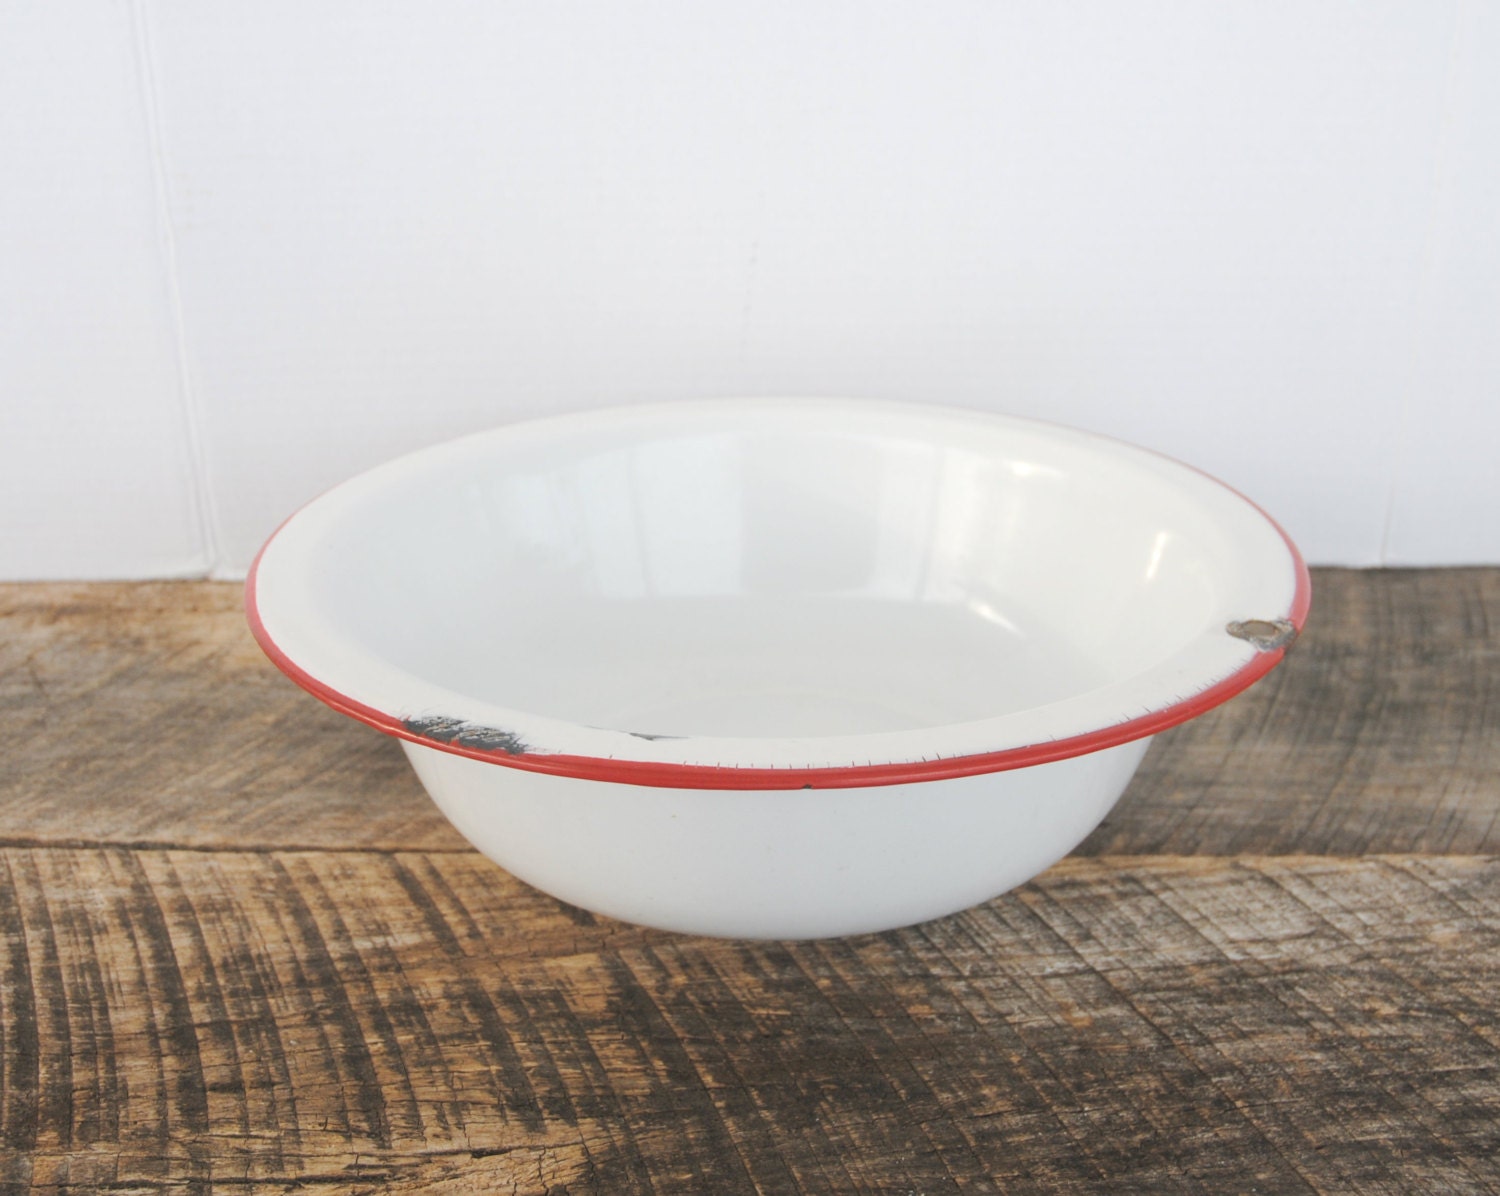
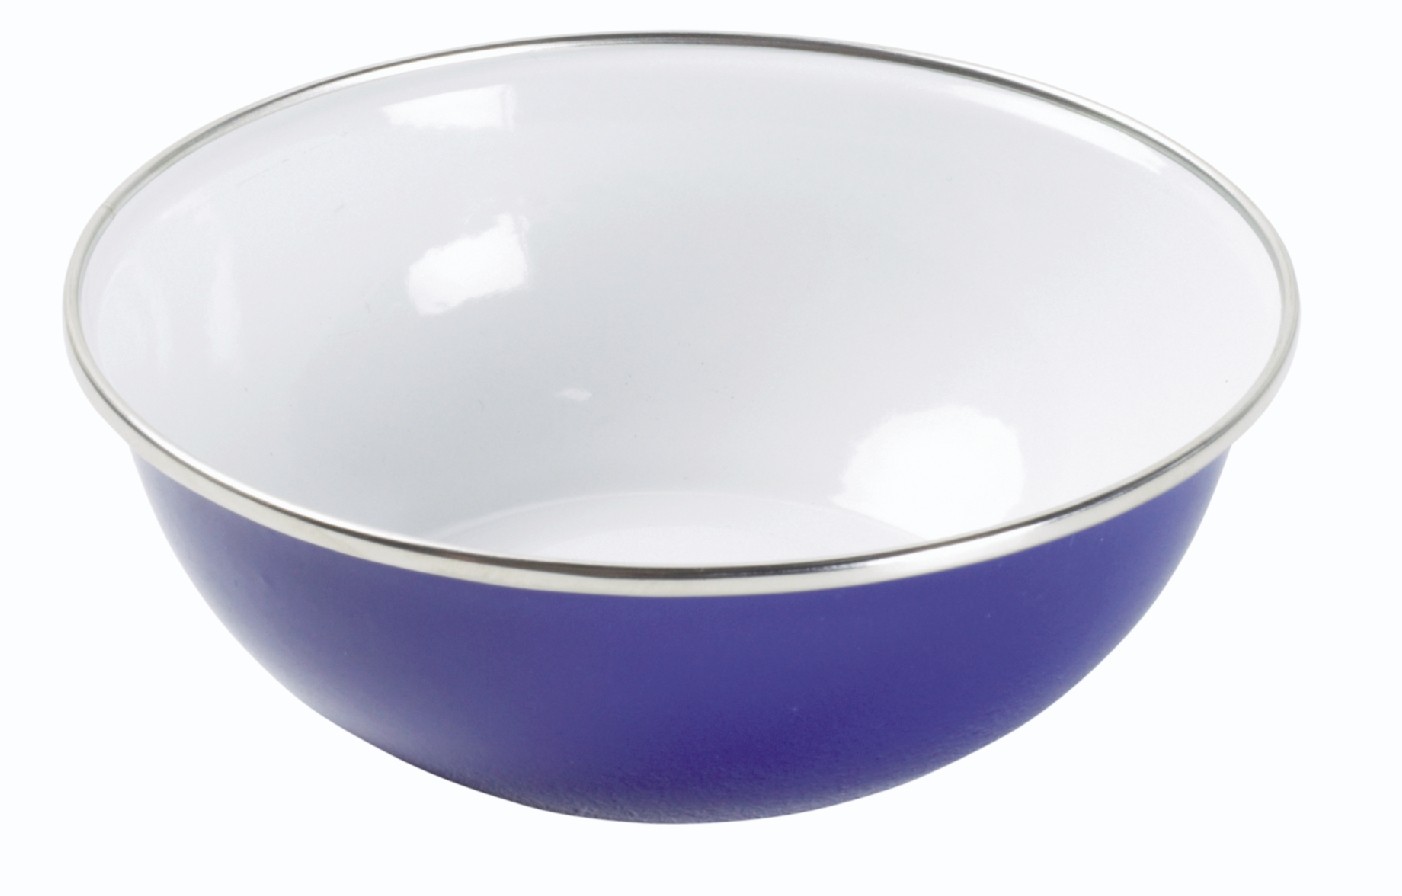
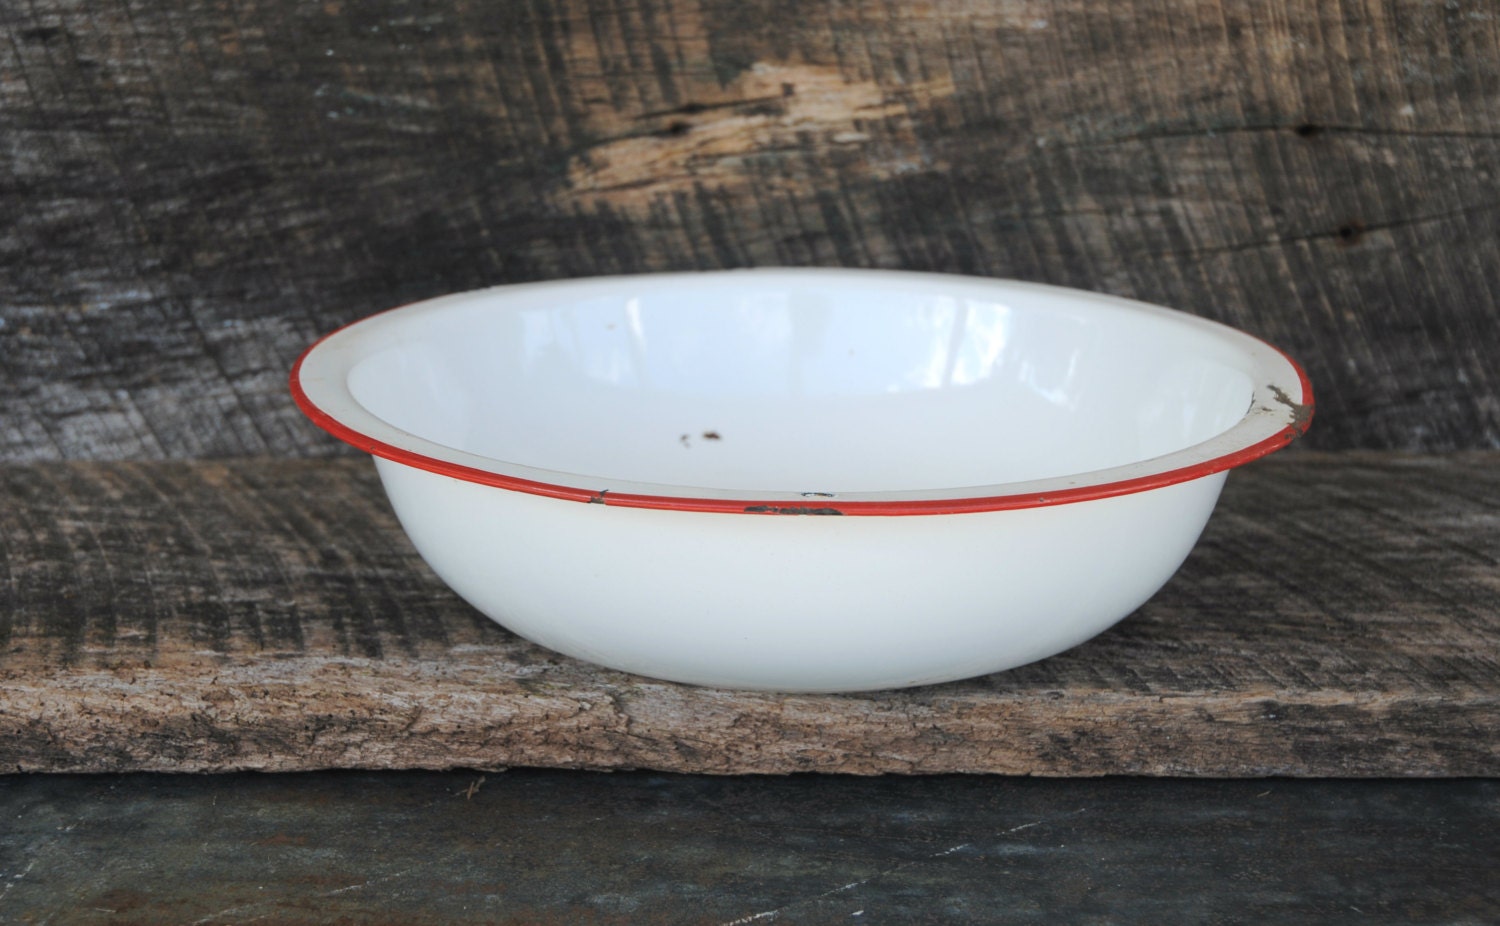
 Enamel bowls have been around for centuries, and their timeless appeal has stood the test of time. Made of a glass coating over a metal base, these bowls are durable and versatile. They come in a variety of colors and designs, making it easy to find one that fits your personal style. Plus, their smooth surface makes them easy to clean and maintain.
The Process of Turning an Enamel Bowl into a Bathroom Sink
 The process of turning an enamel bowl into a bathroom sink is relatively simple and can be done by anyone with basic DIY skills. The first step is to choose the right size and shape of the bowl. Depending on your bathroom's size and layout, you can opt for a small round bowl or a larger rectangular one.
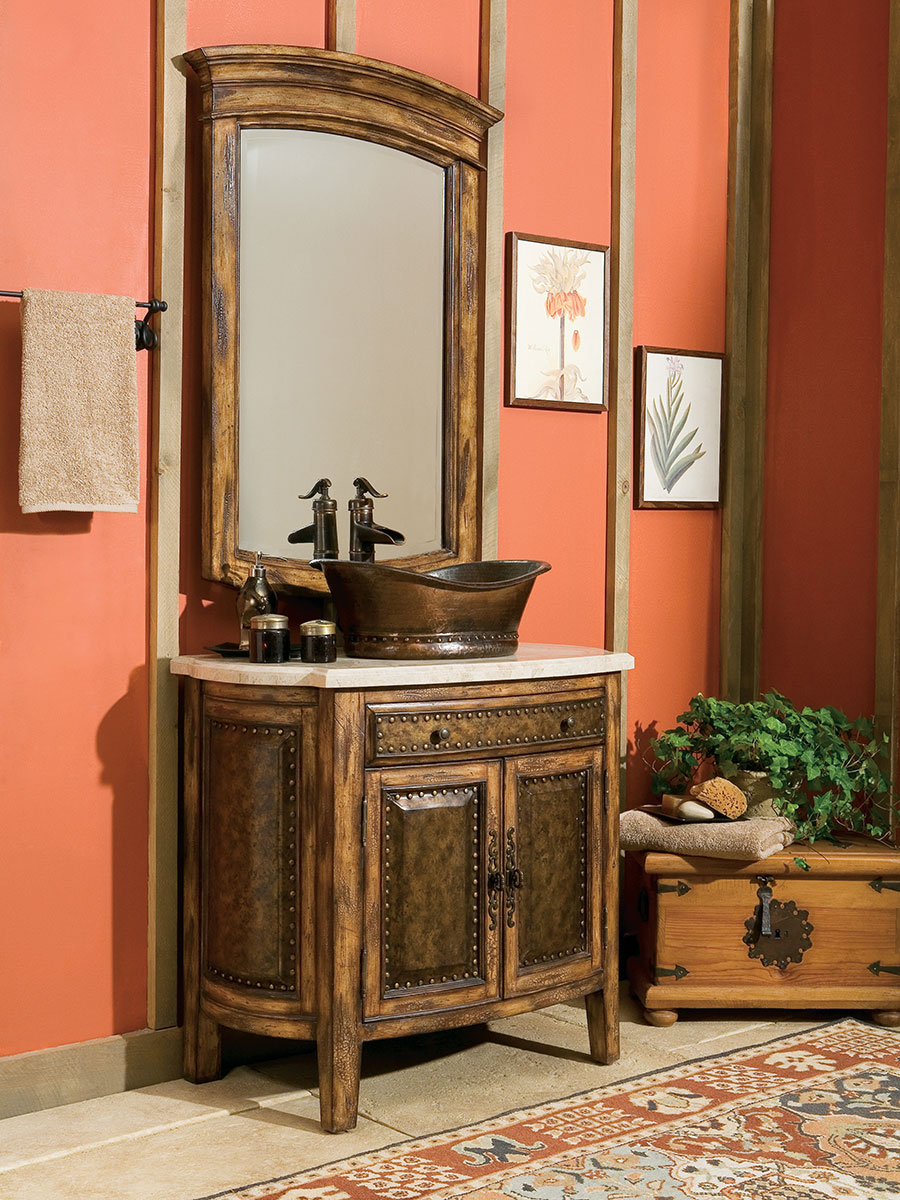
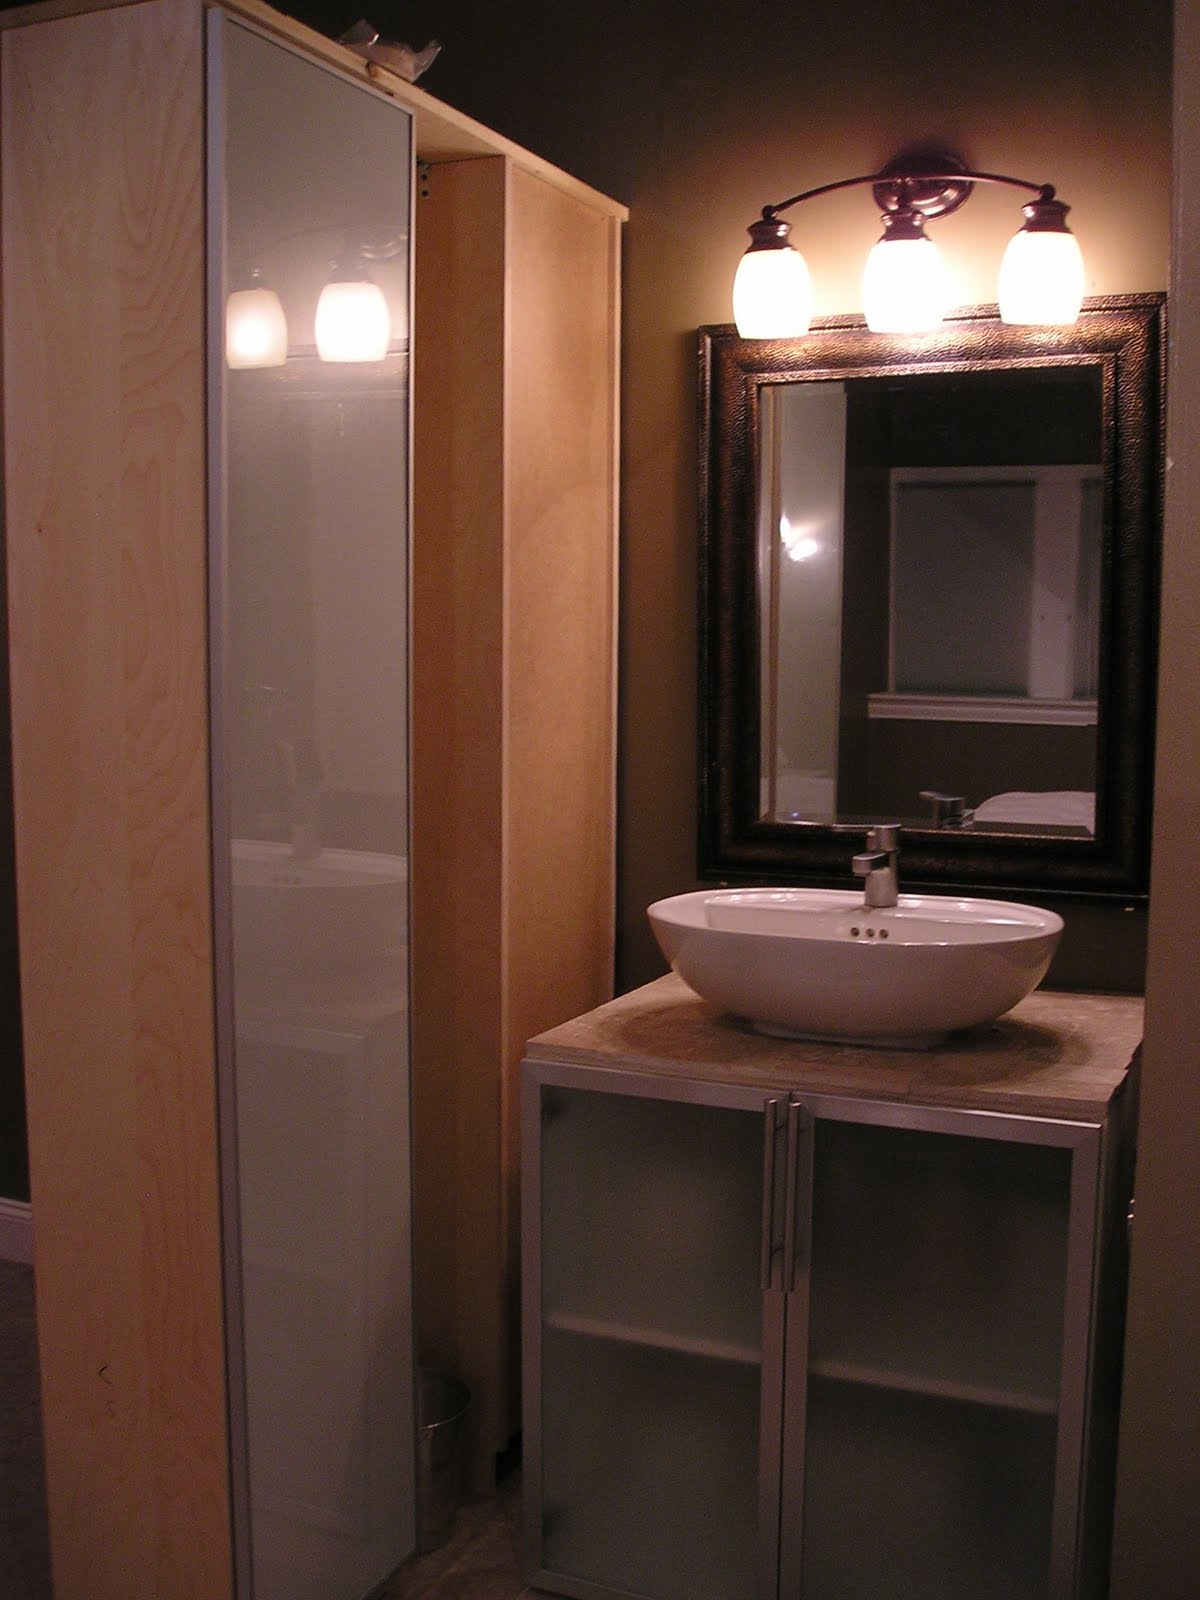
Next, you will need to find a suitable base for the bowl. This can be an old cabinet or a custom-made wooden stand. The base should be sturdy enough to hold the weight of the bowl and any water that may be inside it.
Once you have your bowl and base ready, it's time to install the sink. First, cut a hole in the base that is slightly smaller than the diameter of the bowl. Then, using a strong adhesive, secure the bowl onto the base. Make sure to follow the manufacturer's instructions for the adhesive and allow it to dry completely before use.
For the final touch, you can add a faucet and drain to the bowl. This can be done by drilling holes through the bowl's bottom and attaching the necessary hardware. And voila, you now have a unique and eye-catching bathroom sink!
The Benefits of Using an Enamel Bowl as a Bathroom Sink
 Aside from the aesthetic appeal, using an enamel bowl as a bathroom sink has many benefits. As mentioned earlier, these bowls are easy to clean and maintain, making them a practical choice for a high-traffic area like the bathroom. They are also less expensive compared to traditional bathroom sinks, making them a budget-friendly option for those looking to renovate their bathroom on a budget.
Conclusion
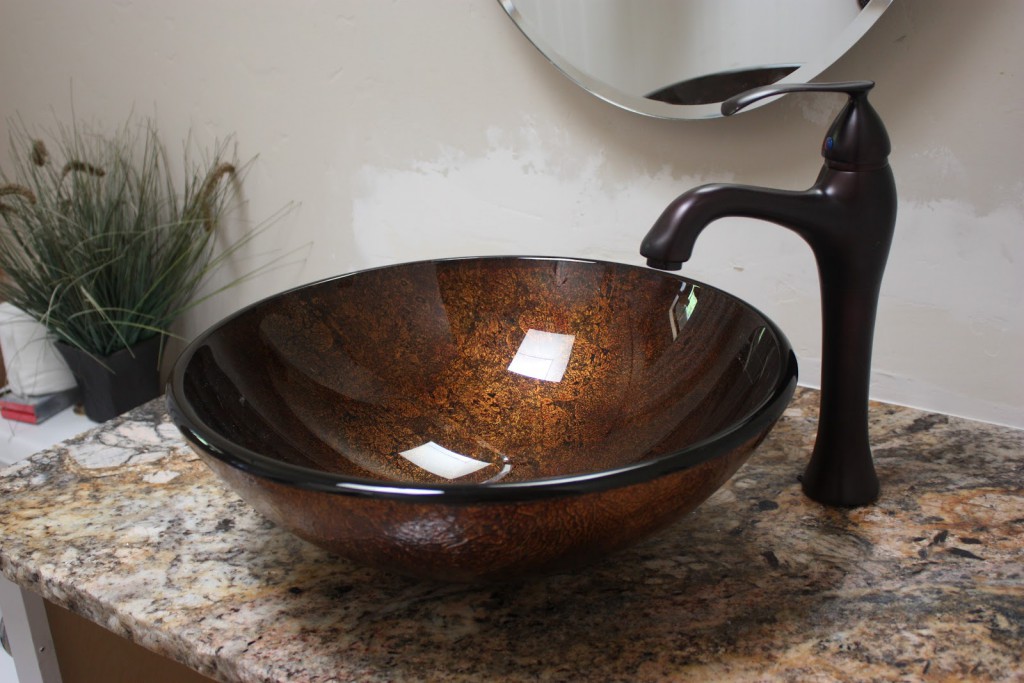 In conclusion, enamel bowls are not just limited to the kitchen anymore. With a little creativity and some DIY skills, they can be transformed into unique and stylish bathroom sinks. So why settle for a boring and ordinary sink when you can have a one-of-a-kind piece that adds personality and charm to your bathroom? Give an enamel bowl a try and see the difference it can make in your house design.











/Epoxy-DIY-Countertops-Via-Smallspaces.about.com-56d33a003df78cfb37d23f47.jpg)


















/GettyImages-155017605-5c6625ea46e0fb00015e7889.jpg)
/173239777-copy-56a49c725f9b58b7d0d7d17a.jpg)




:max_bytes(150000):strip_icc()/SleeponLatex-b287d38f89374e4685ab0522b2fe1929.jpeg)
