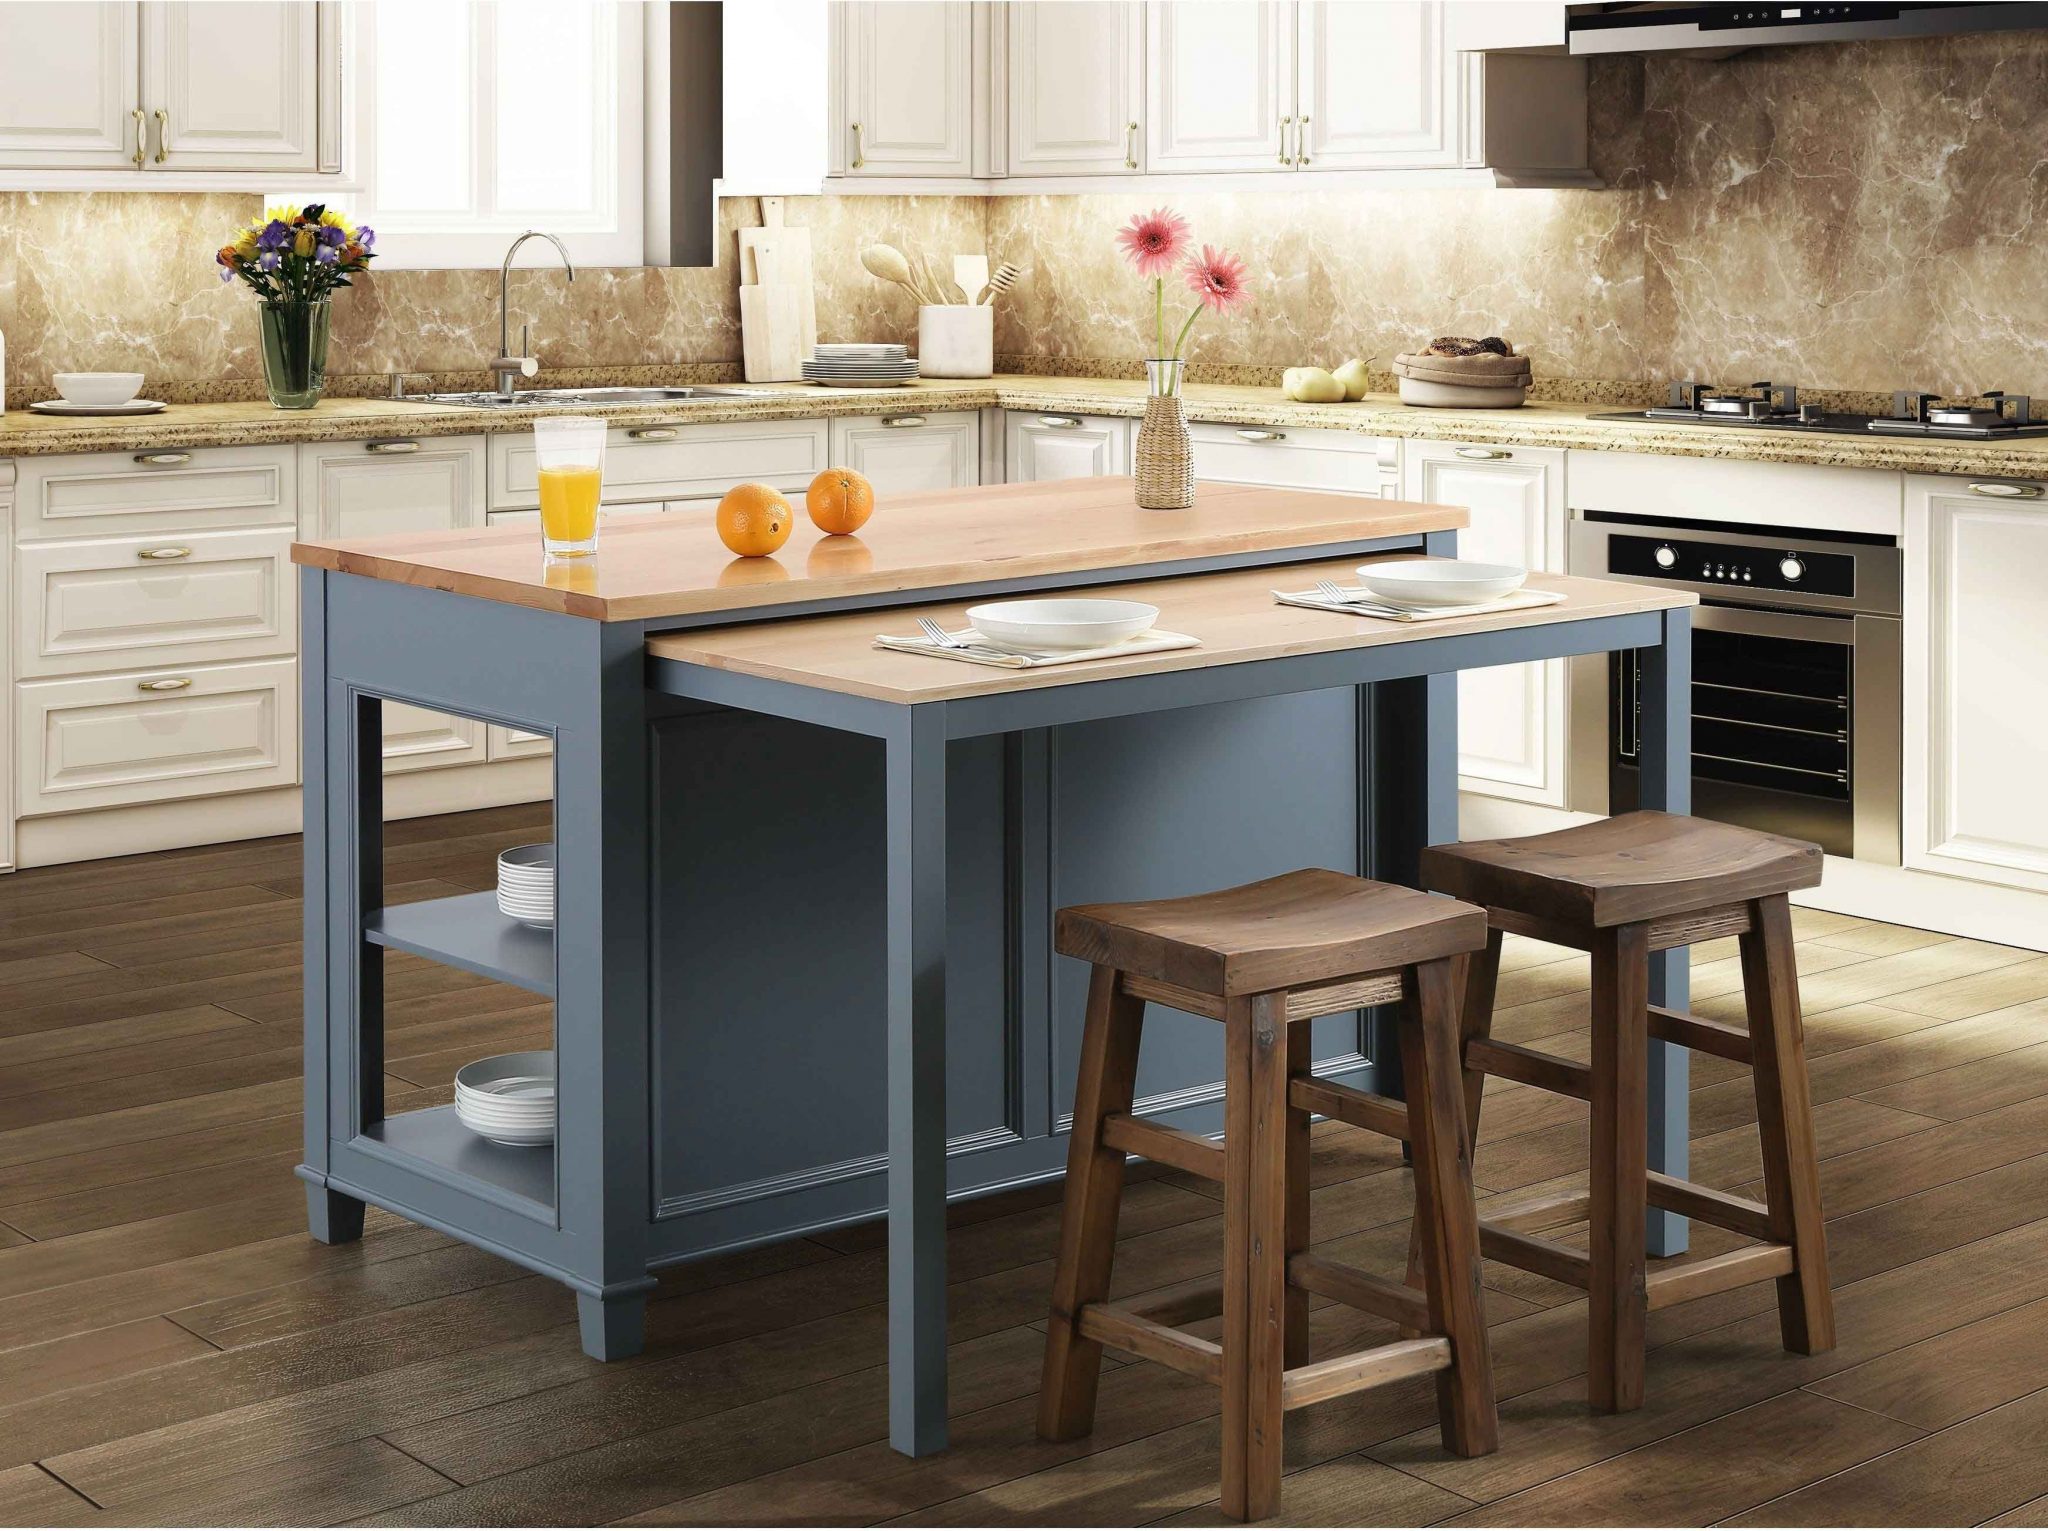
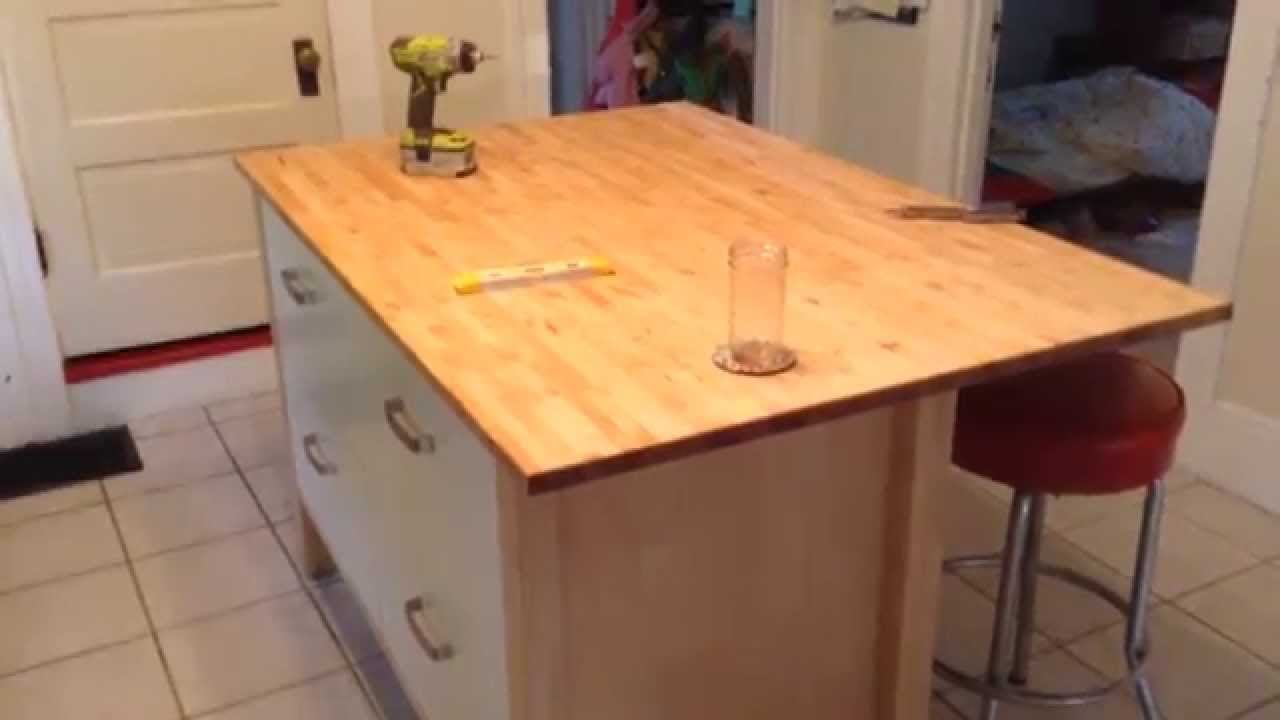
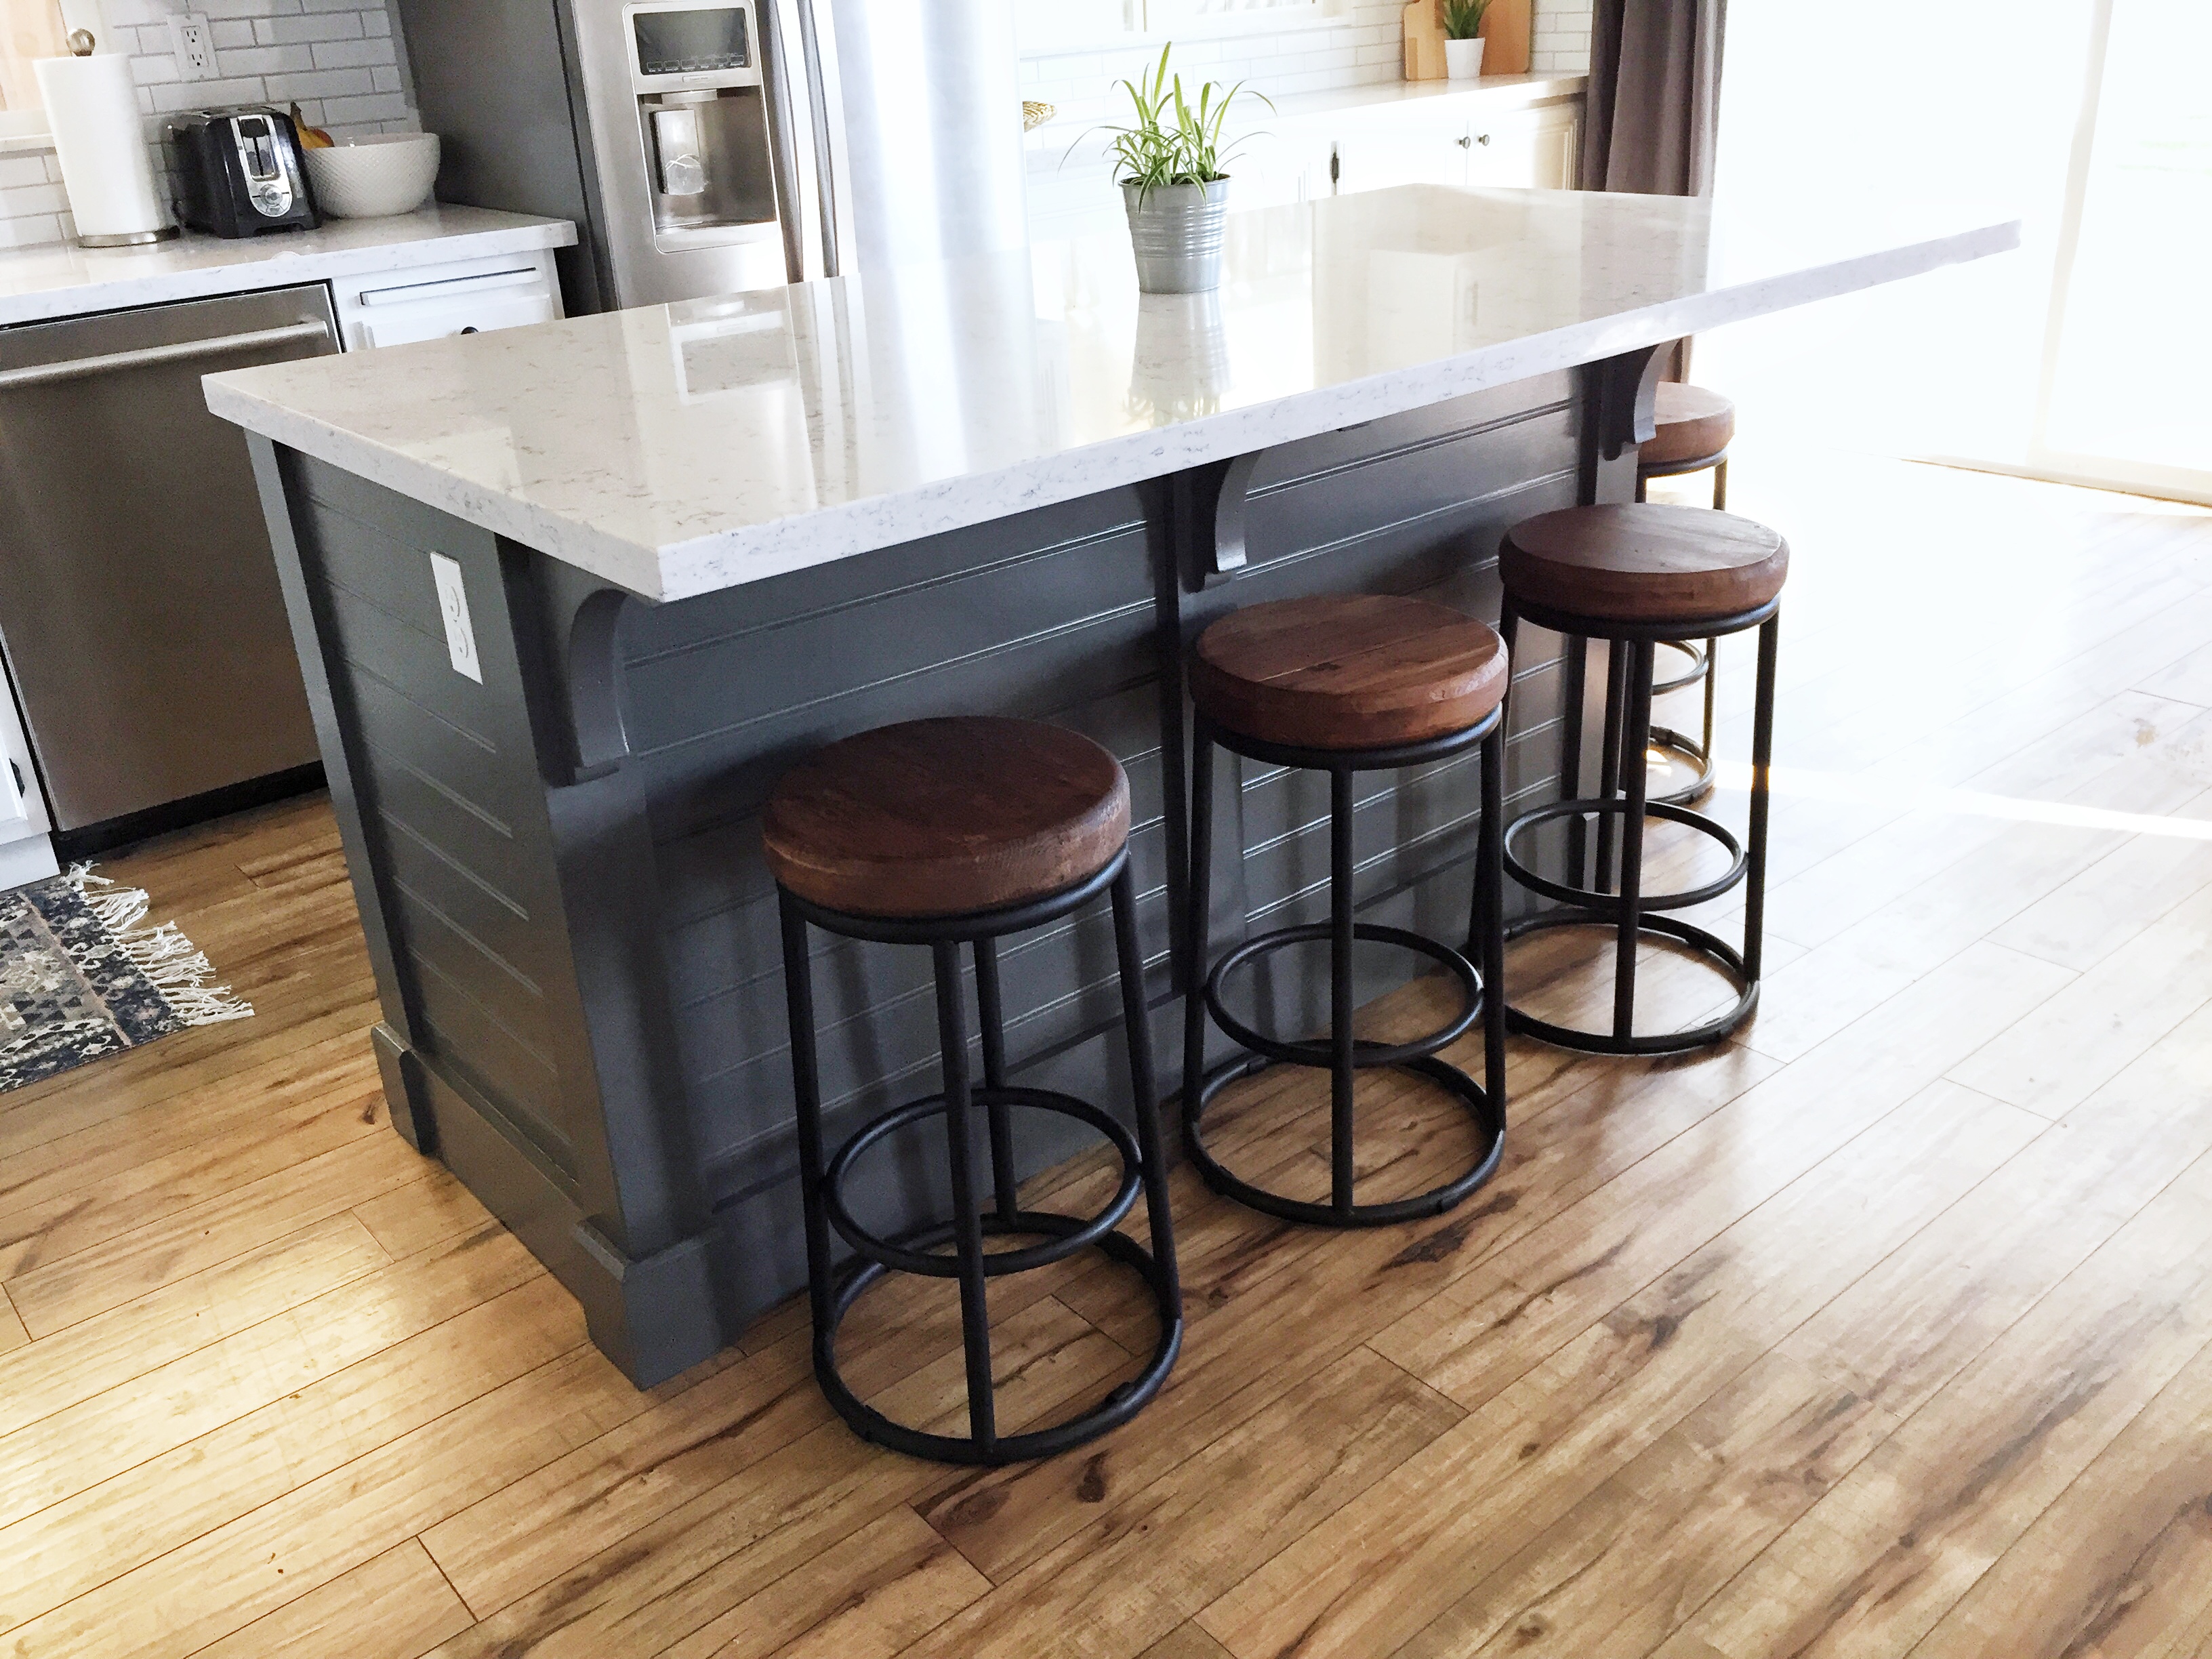
Are you looking to add some extra counter space and storage to your kitchen without breaking the bank? Look no further than your old table! With just a few simple steps, you can transform your table into a beautiful and functional kitchen island. Not only is this project budget-friendly, but it also gives new life to an old piece of furniture. First, start by measuring the width and length of your table. This will determine the size of your kitchen island. You can choose to keep the table as is or cut off any excess length to fit your desired size. Next, remove the legs and any other attachments on the bottom of the table. If your table has a drawer, you can choose to keep it on or remove it for a more open design. Once the table is stripped down, it's time to add some new features. You can attach caster wheels to the bottom of the table for easy mobility. Or, if you want a more permanent fixture, you can attach wooden legs to the corners of the table. For added storage, you can attach shelves or cabinets to the bottom of the table. This is a great option for storing pots, pans, or other kitchen essentials. You can also add hooks or a towel rack to the sides of the table for easy access to utensils or towels. Finally, give your new kitchen island a fresh coat of paint or stain to match your kitchen's aesthetic. You can also add a new countertop made from butcher block, granite, or any other material of your choice. With just a few simple steps, you can have a beautiful and functional kitchen island made from an old table. Get creative with your design and make it your own. Your kitchen will thank you!1. DIY Kitchen Island from an Old Table


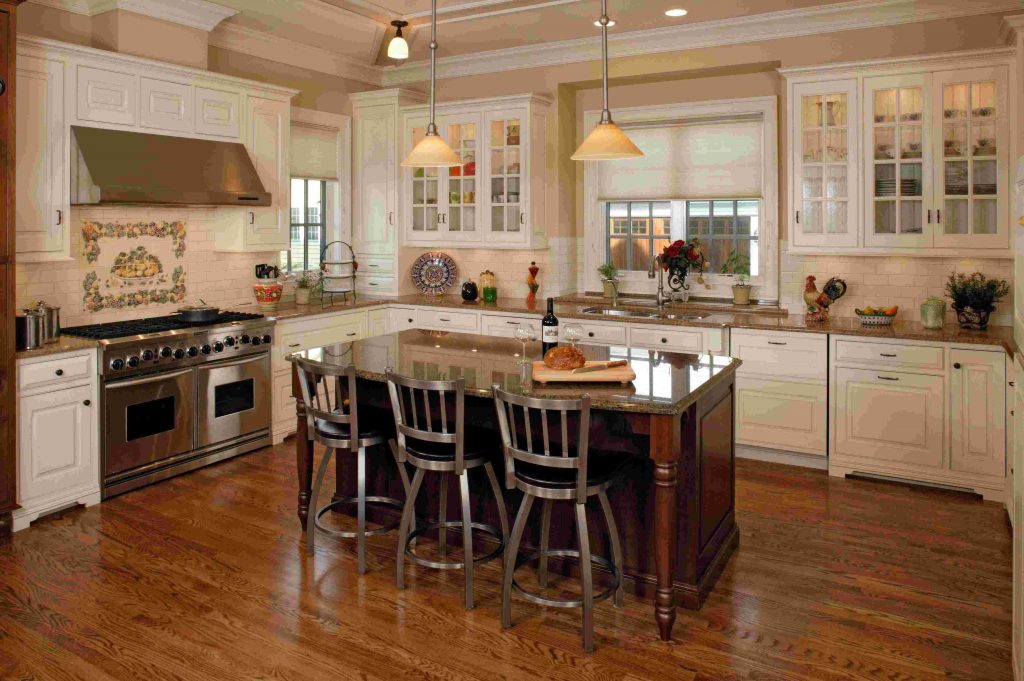
1. DIY Kitchen Island from an Old Table


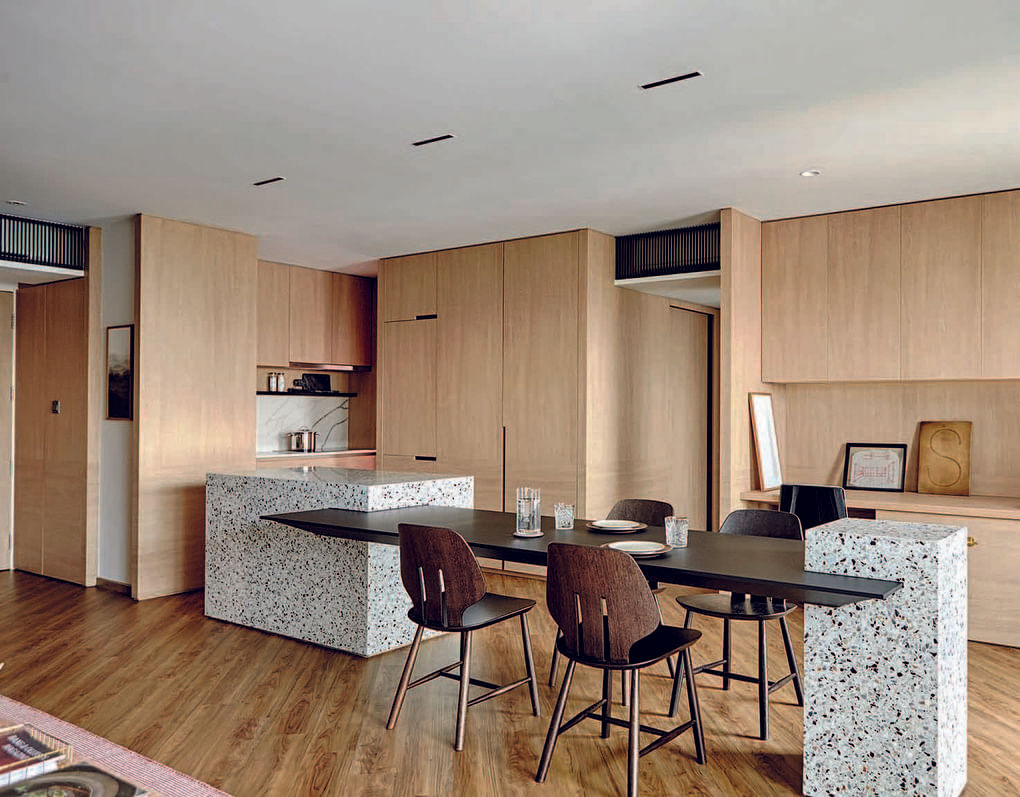
Looking for a unique and budget-friendly way to add a kitchen island to your space? Why not repurpose an old table? With a little bit of creativity and some DIY skills, you can easily transform an old table into a beautiful and functional kitchen island. Start by choosing the right table for your project. Keep in mind the size of your kitchen and the functionality you want from your island. A longer table will provide more counter space, while a smaller table may be better for a compact kitchen. Next, prepare your table for its transformation. Remove any legs or attachments on the bottom of the table. If your table has a drawer, you can choose to keep it or remove it for a more open design. Now it's time to add some new features to your table. You can attach caster wheels to the bottom of the table for easy mobility. Or, for a more permanent fixture, you can attach wooden legs to the corners of the table. For added storage, consider attaching shelves or cabinets to the bottom of the table. This is a great option for storing pots, pans, or other kitchen essentials. You can also add hooks or a towel rack to the sides of the table for easy access to utensils or towels. Once your new features are in place, give your kitchen island a fresh coat of paint or stain to match your kitchen's aesthetic. You can also add a new countertop made from butcher block, granite, or any other material of your choice. Transforming an old table into a kitchen island is not only budget-friendly, but it also adds character and uniqueness to your space. Get creative and make it your own!2. How to Make a Kitchen Island Out of a Table


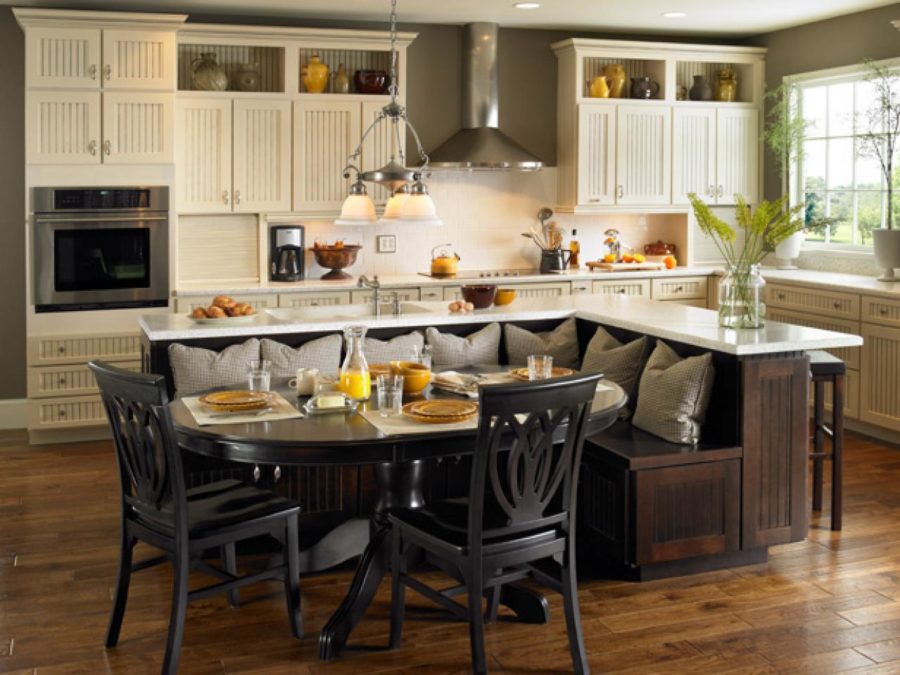
2. How to Make a Kitchen Island Out of a Table

:max_bytes(150000):strip_icc()/farmhouse-style-kitchen-island-7d12569a-85b15b41747441bb8ac9429cbac8bb6b.jpg)


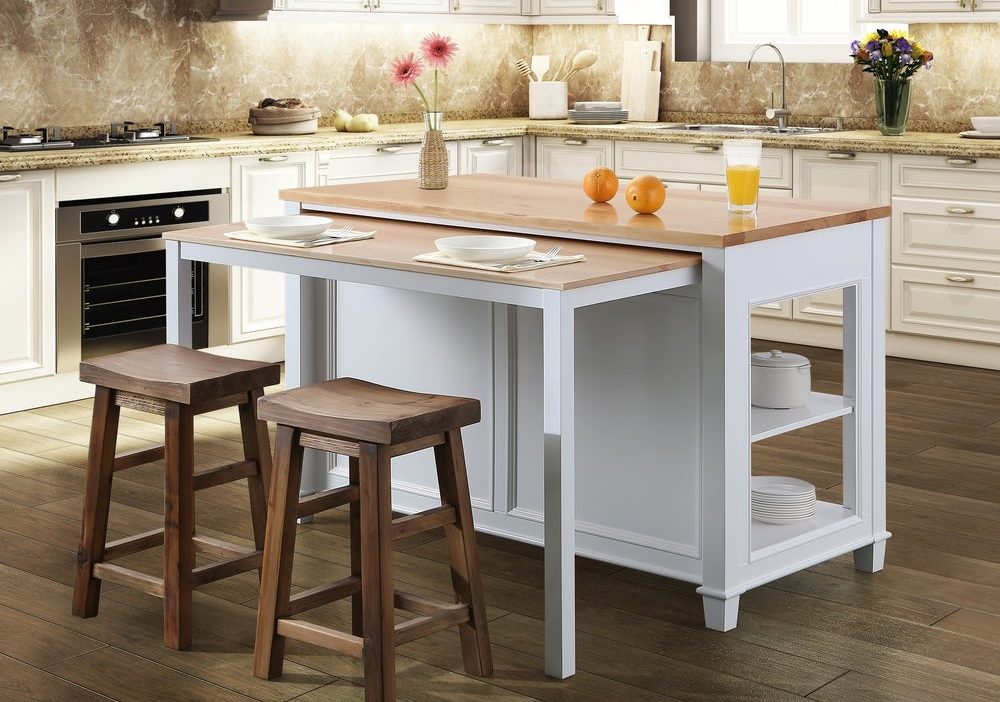
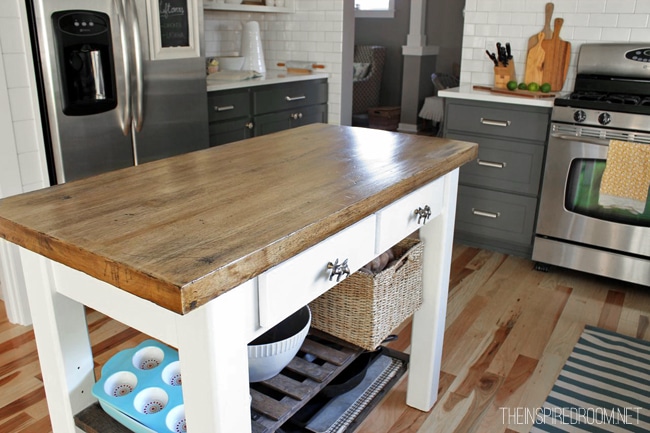
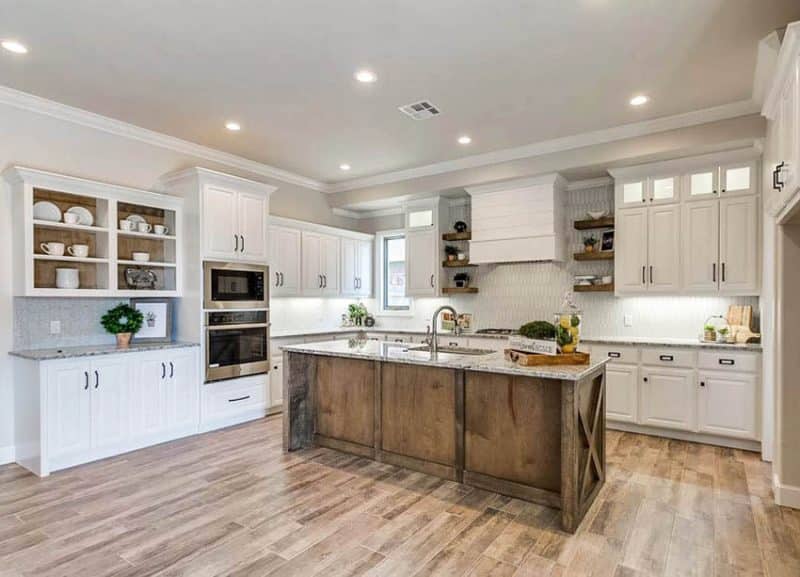
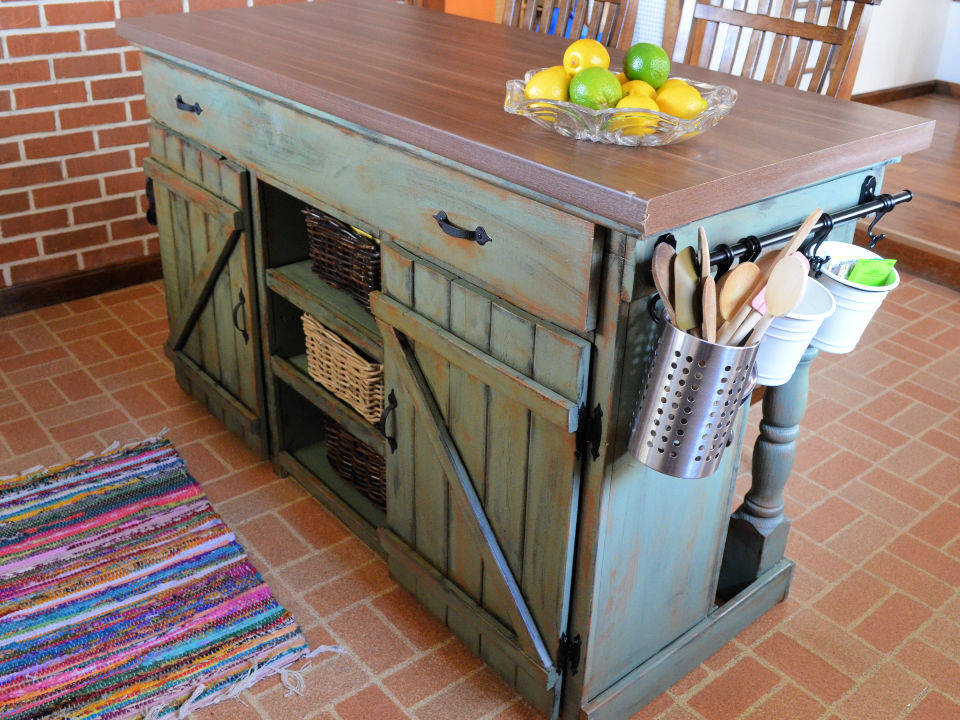
Are you tired of your old table taking up space in your garage or basement? Why not give it new life as a kitchen island? This repurposed table kitchen island tutorial will guide you through the steps to transform your old table into a beautiful and functional addition to your kitchen. Start by selecting the right table for your project. Remember to consider the size and functionality you want from your island. A longer table will provide more counter space, while a smaller table may be better for a compact kitchen. Next, prepare your table for its transformation by removing any legs or attachments on the bottom. You can also choose to remove a drawer if your table has one. Now it's time to add some new features to your table. Attach caster wheels for easy mobility or wooden legs for a more permanent fixture. You can also add shelves, cabinets, or hooks for added storage and functionality. Once your new features are in place, give your kitchen island a fresh coat of paint or stain to match your kitchen's aesthetic. You can also add a new countertop made from butcher block, granite, or any other material of your choice. Repurposing an old table into a kitchen island not only saves you money, but it also adds character and individuality to your space. Follow this tutorial and get creative with your design!3. Repurposed Table Kitchen Island Tutorial


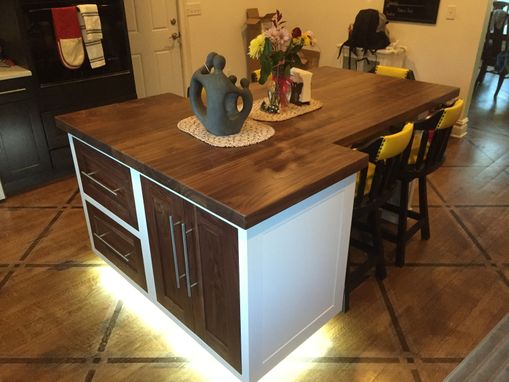
3. Repurposed Table Kitchen Island Tutorial


Are you looking to add some extra counter space and storage to your kitchen without the hefty price tag? Look no further than your old table! With just a few simple steps, you can transform your table into a beautiful and functional kitchen island. Not only is this project budget-friendly, but it also gives new life to an old piece of furniture. Start by measuring the width and length of your table to determine the size of your kitchen island. You can choose to keep the table as is or cut off any excess length to fit your desired size. Next, remove the legs and any other attachments on the bottom of the table. If your table has a drawer, you can choose to keep it on or remove it for a more open design. Now it's time to add some new features to your table. Attach caster wheels for easy mobility or wooden legs for a more permanent fixture. You can also add shelves, cabinets, or hooks for added storage and functionality. Once your new features are in place, give your kitchen island a fresh coat of paint or stain to match your kitchen's aesthetic. You can also add a new countertop made from butcher block, granite, or any other material of your choice. Transforming an old table into a kitchen island is a great way to add character and functionality to your space. Get creative and make it your own!4. Transforming an Old Table into a Kitchen Island


4. Transforming an Old Table into a Kitchen Island

Are you looking for a unique and eco-friendly way to add a kitchen island to your space? Look no further than your old table! Upcycling your table into a kitchen island not only saves you money, but it also gives new life to an old piece of furniture. Start by selecting the right table for your project. Keep in mind the size of your kitchen and the functionality you want from your island. A longer table will provide more counter space, while a smaller table may be better for a compact kitchen. Next, prepare your table for its transformation by removing any legs or attachments on the bottom. You can also choose to remove a drawer if your table has one. Now it's time to get creative with your design! You can attach caster wheels for easy mobility or wooden legs for a more permanent fixture. You can also add shelves, cabinets, or hooks for added storage and functionality. Consider using repurposed materials, such as old crates or pallets, to add a unique touch to your island. Finally, give your kitchen island a fresh coat of paint or stain to match your kitchen's aesthetic. You can also add a new countertop made from butcher block, granite, or any other material of your choice. Transforming an old table into a kitchen island is not only budget-friendly, but it also adds character and individuality to your space. Get creative with your design and make it your own!5. Upcycled Table Kitchen Island Ideas


5. Upcycled Table Kitchen Island Ideas


Are you looking to add a unique and functional piece to your kitchen? Look no further than your old table! With a little bit of creativity, you can transform your table into a beautiful and functional kitchen island. Not only is this project budget-friendly, but it also gives new life to an old piece of furniture. Start by selecting the right table for your project. Keep in mind the size of your kitchen and the functionality you want from your island. A longer table will provide more counter space, while a smaller table may be better for a compact kitchen. Next, prepare your table for its transformation by removing any legs or attachments on the bottom. You can also choose to remove a drawer if your table has one. Now it's time to get creative with your design! You can attach caster wheels for easy mobility or wooden legs for a more permanent fixture. You can also add shelves, cabinets, or hooks for added storage and functionality. Consider using repurposed materials, such as old crates or pallets, to add a unique touch to your island. For a more rustic look, you can keep the natural wood finish of your table or give it a distressed look with some sandpaper and paint. For a more modern look, you can paint the table a bold color or add a sleek countertop. Transforming an old table into a kitchen island is a great way to add character and functionality to your space. Get creative and make it your own!6. Creative Ways to Use an Old Table as a Kitchen Island


6. Creative Ways to Use an Old Table as a Kitchen Island


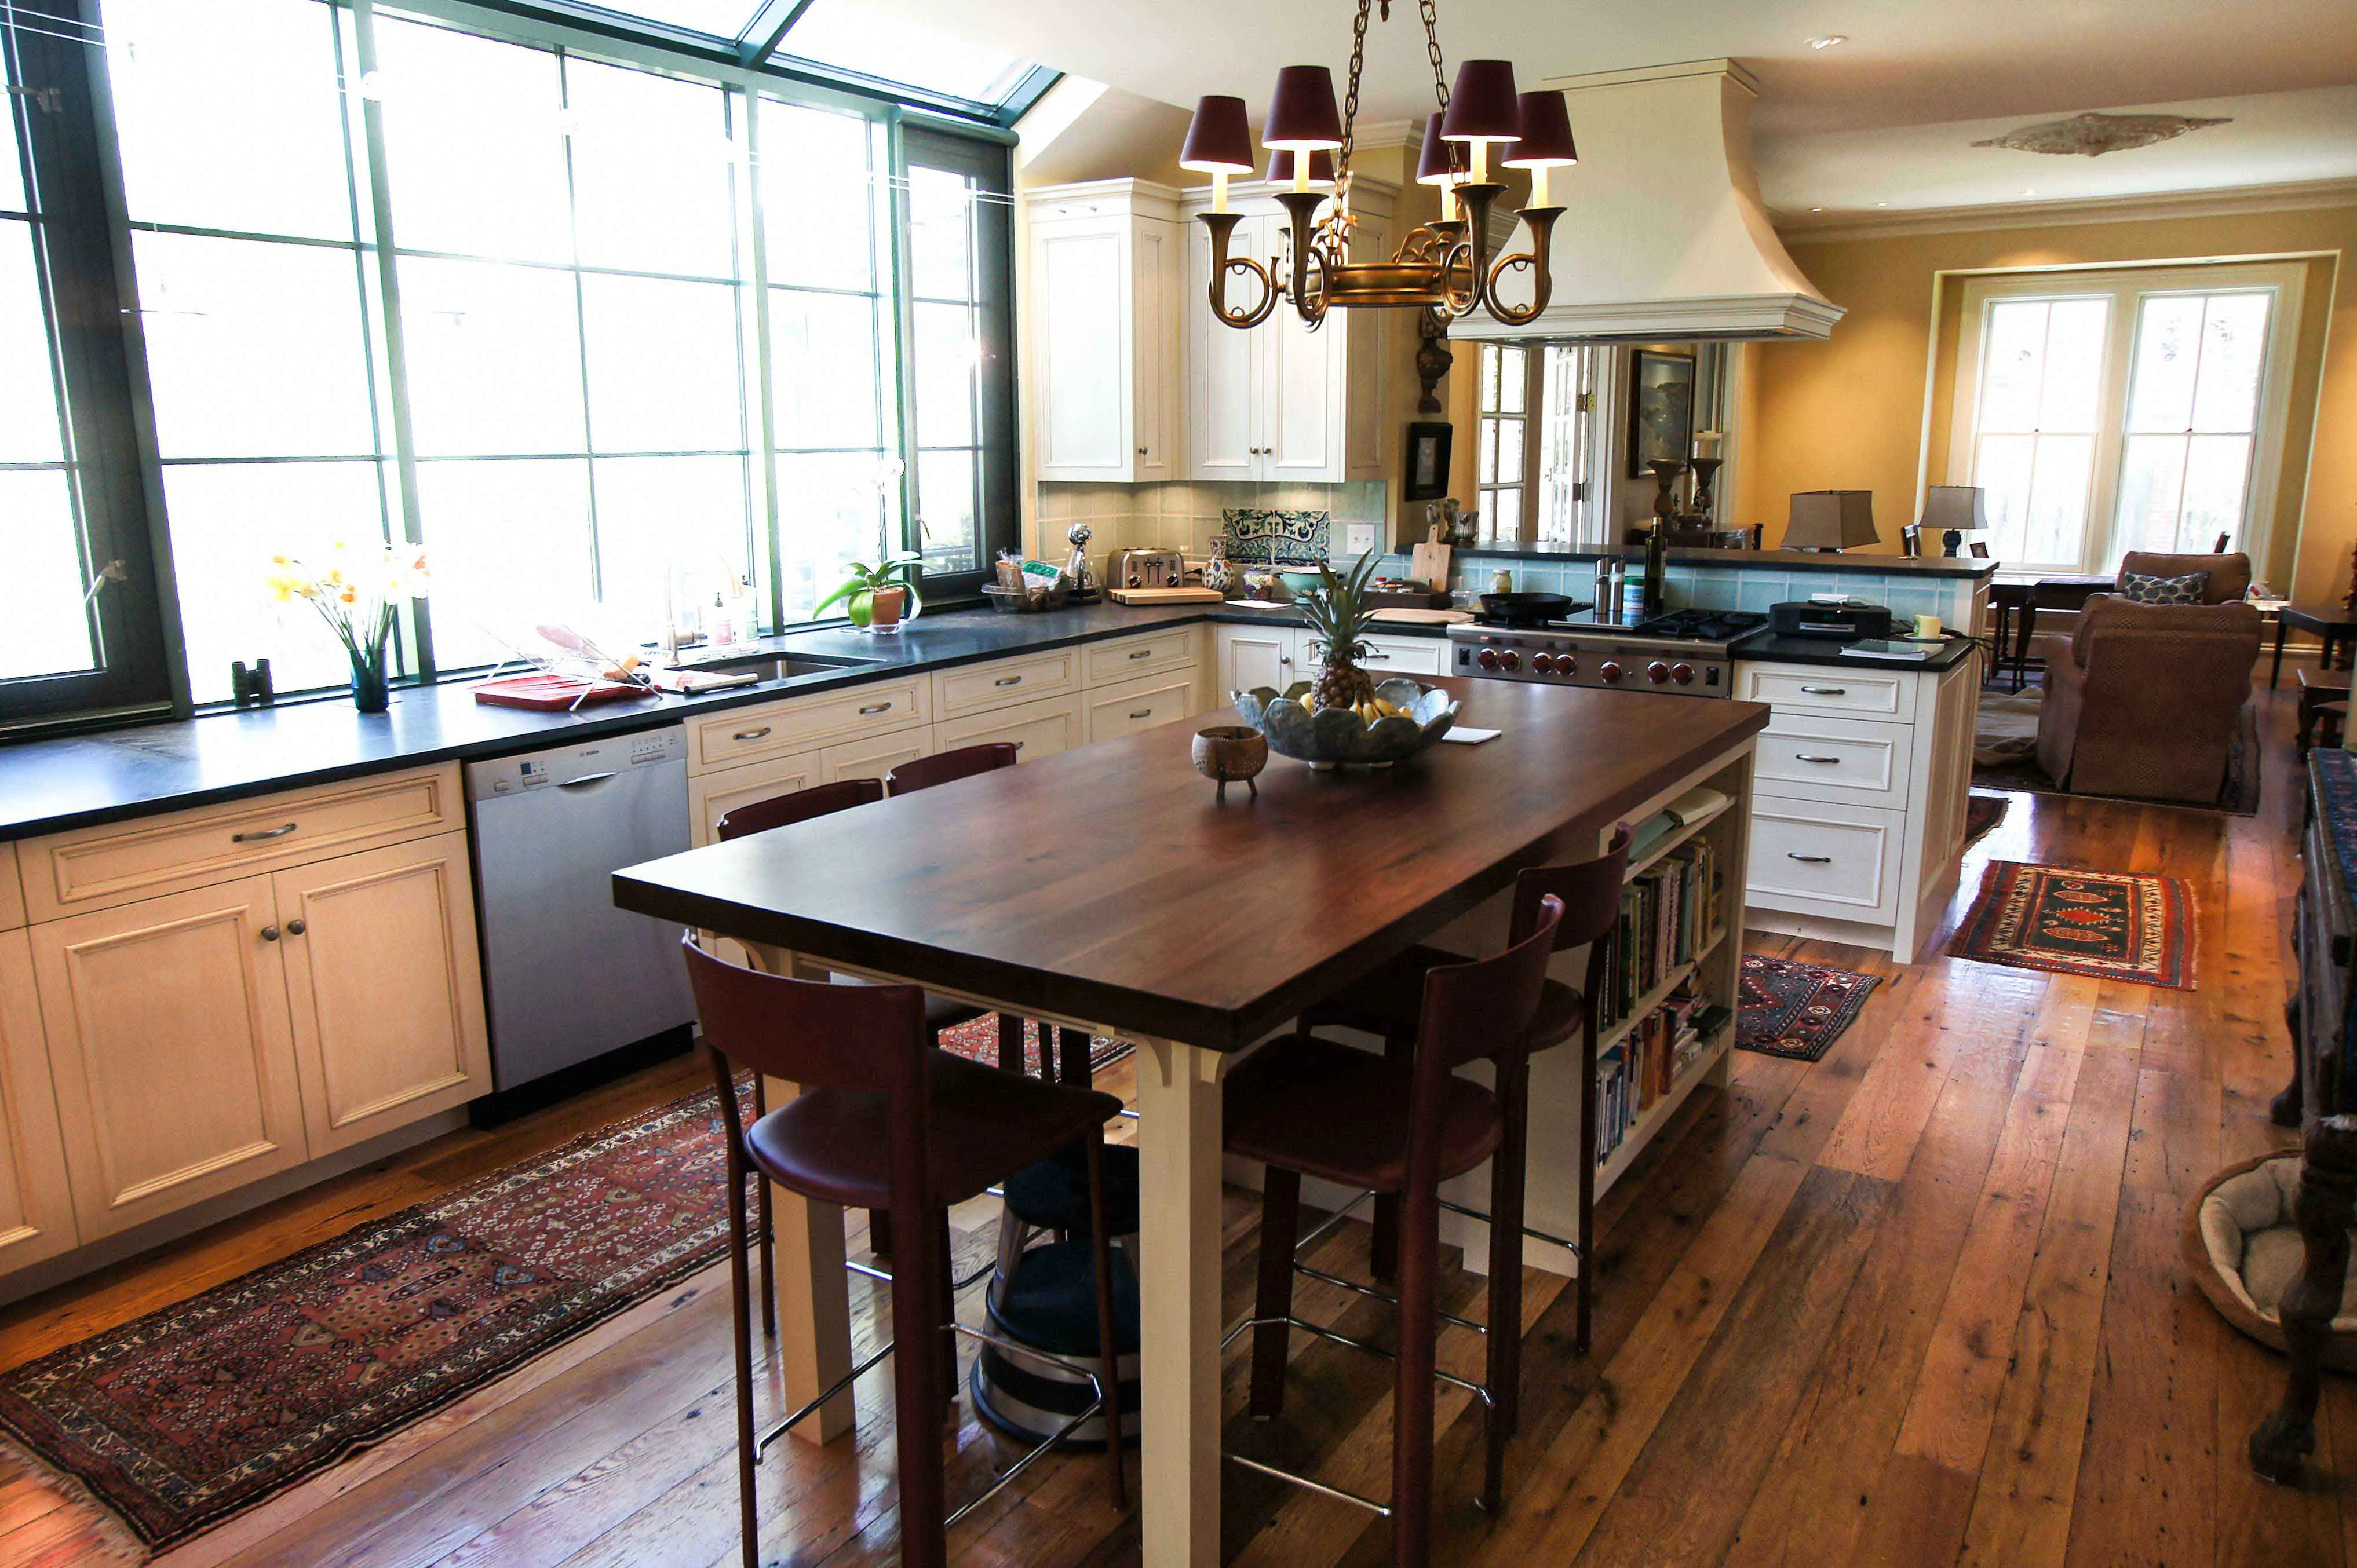
Transforming an old table into a kitchen island is a fun and budget-friendly project that can add character and functionality to your space. If you're looking to tackle this project, here is a step-by-step guide to help you along the way. Step 1: Measure the width and length of your table to determine the size of your kitchen island. Step 2: Remove any legs or attachments on the bottom of the table. Step 3: Optional - Cut off any excess length to fit your desired size. Step 4: Optional - Remove a drawer if your table has one. Step 5: Attach caster wheels to the bottom of the table for easy mobility or wooden legs for a more permanent fixture. Step 6: Optional - Add shelves, cabinets, or hooks for added storage and functionality. Step 7: Give your kitchen island a fresh coat of paint or stain to match your kitchen's aesthetic. Step 8: Optional - Add a new countertop made from butcher block, granite, or any other material of your choice. With these simple steps, you can transform your old table into a beautiful and functional kitchen island. Get creative and make it your own!7. Step-by-Step Guide to Making a Kitchen Island with an Old Table


7. Step-by-Step Guide to Making a Kitchen Island with an Old Table


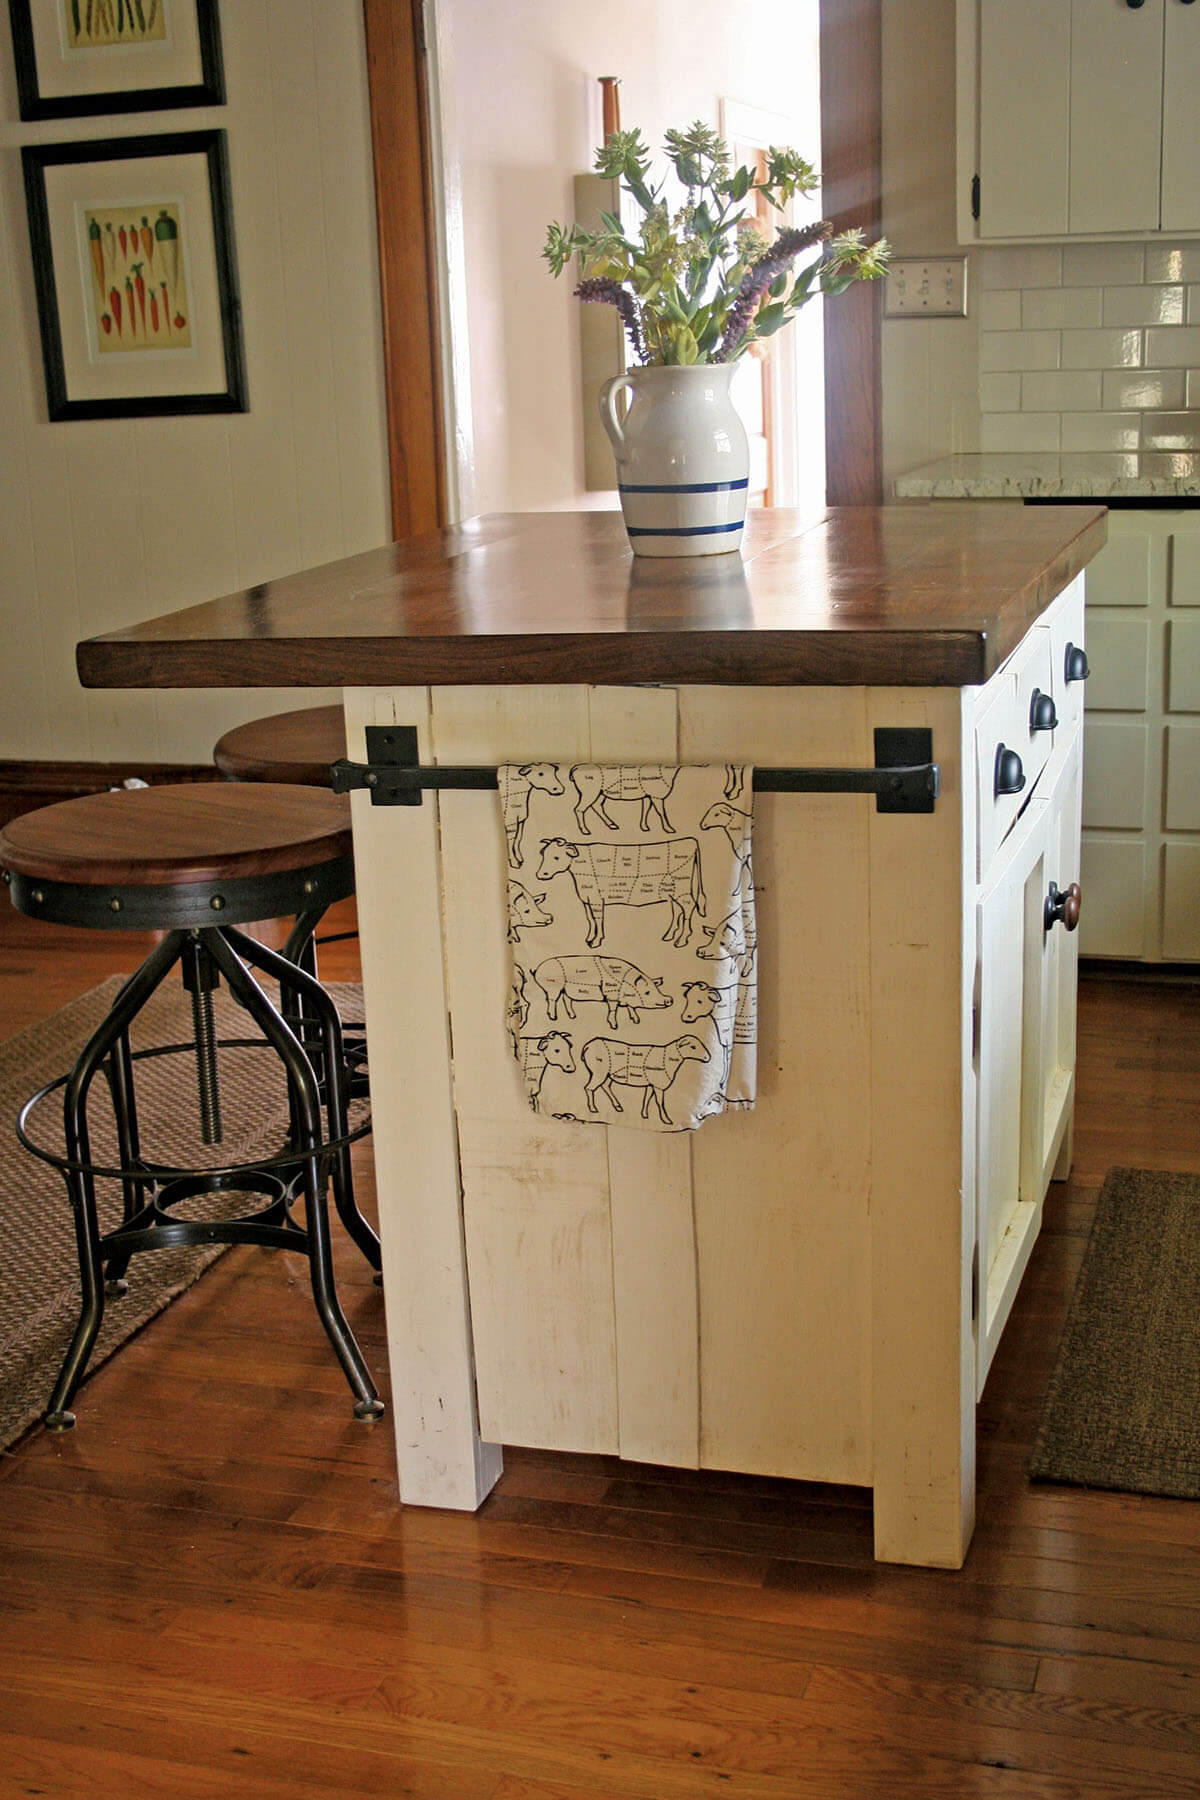
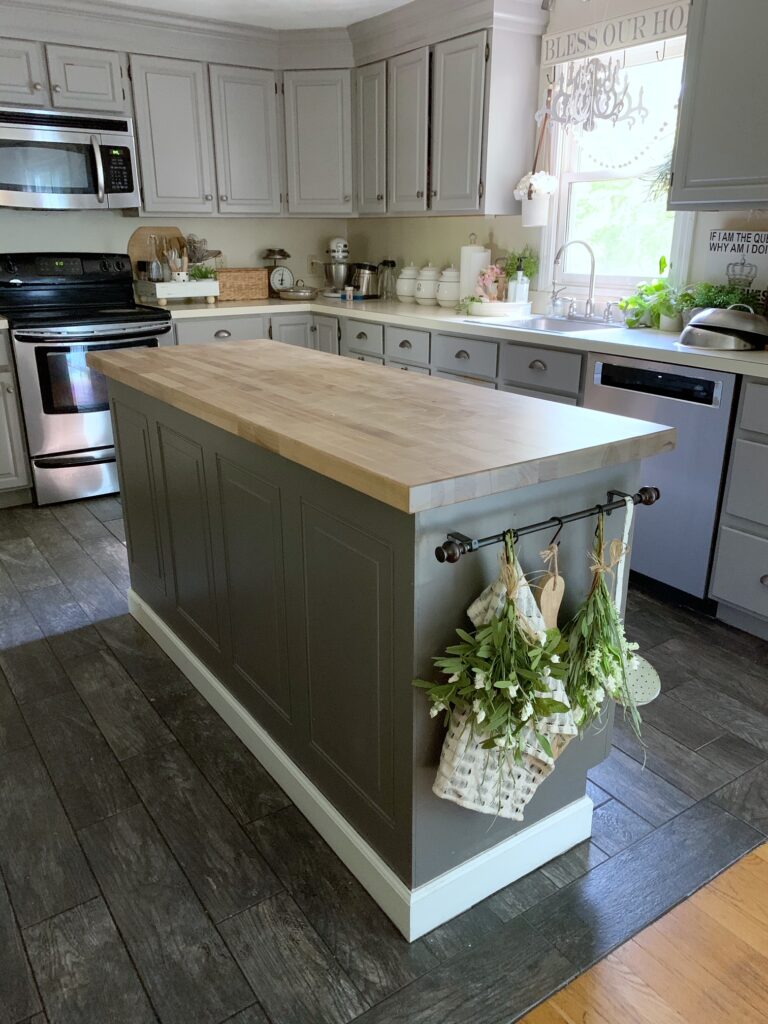
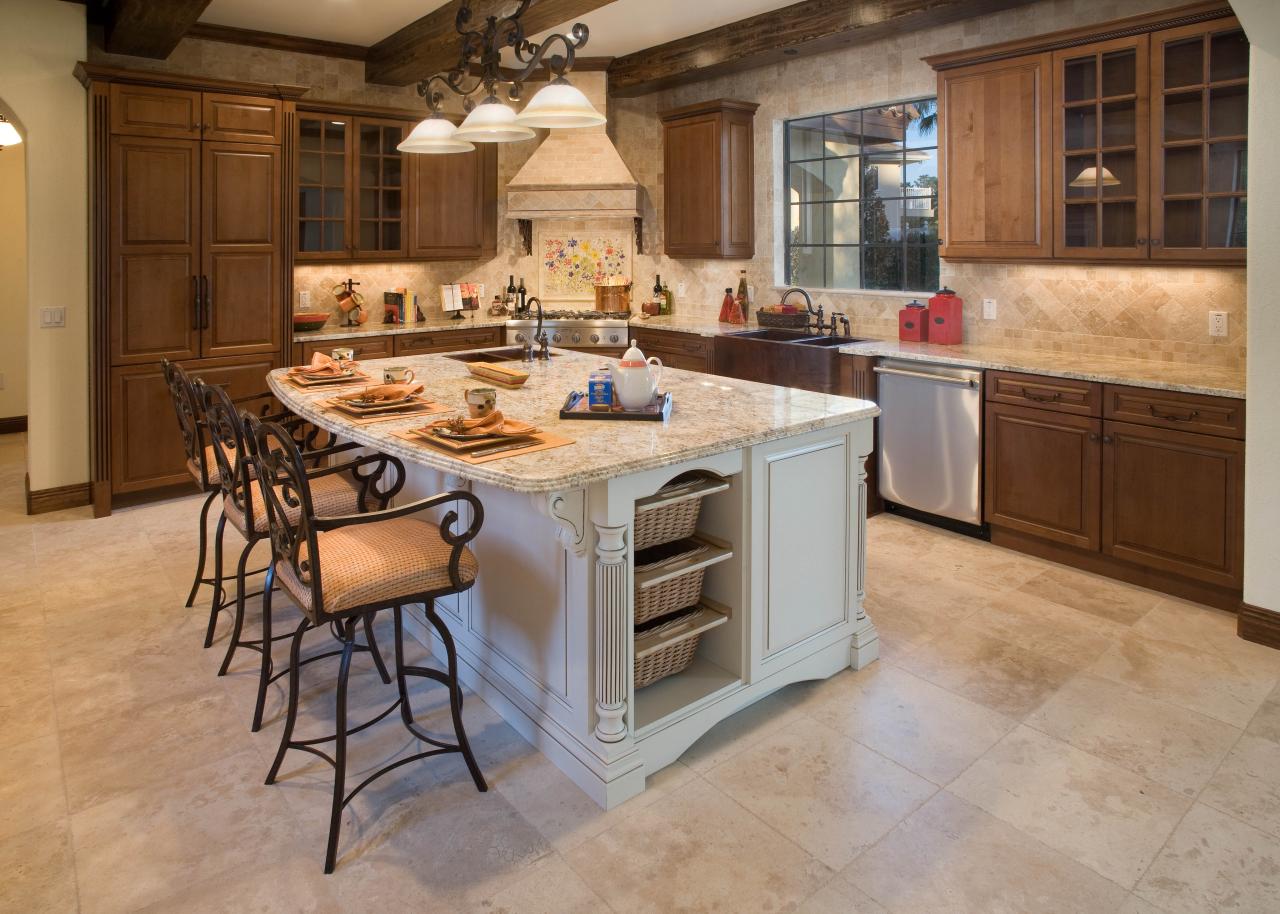
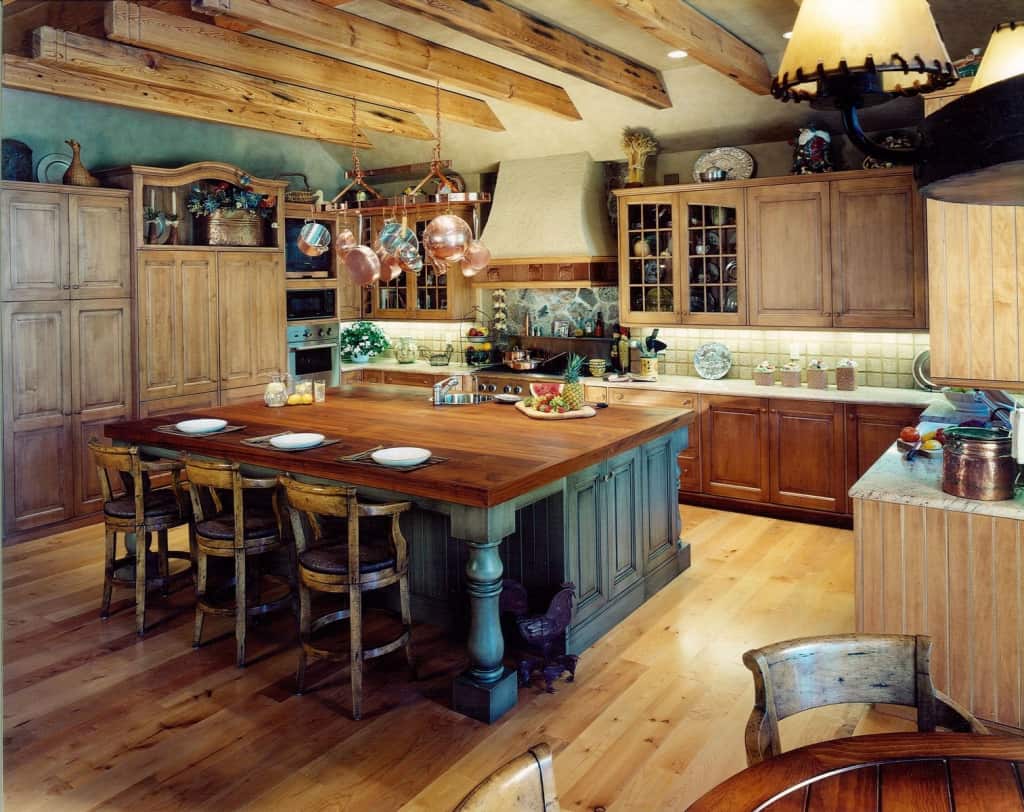
If you're a fan of rustic and farmhouse-style decor, then this kitchen island idea is perfect for you! By using an old table, you can easily create a charming and functional piece for your kitchen. Start by selecting the right table for your project. Keep in mind the size of your kitchen and the functionality you want from your island. A longer table will provide more counter space, while a smaller table may be better for a compact kitchen. Next, prepare your table for its transformation by removing any legs or attachments on the bottom. You can also choose to remove a drawer if your table has one. Now it's time to add some rustic features to your island. You can attach wooden legs to the corners of the table or use repurposed materials, such as old crates or pallets, for a unique touch. For added storage, you can attach shelves or cabinets to the bottom of the table. You can also add hooks or a towel rack to the sides of the table for easy access to utensils or towels. Finally, give your kitchen island a distressed look with some sandpaper and a coat of paint. You can also add a butcher block or wooden countertop to complete the rustic look. A rustic kitchen island made from an old table is not only budget-friendly, but it also adds charm and character to your space. Get creative with your design and make it your own!8. Rustic Kitchen Island Made from an Old Table


8. Rustic Kitchen Island Made from an Old Table


Looking to add some extra counter space and storage to your kitchen without breaking the bank? Look no further than your old table! With just a few simple steps, you can transform your table into a beautiful and functional kitchen island. Not only is this project budget-friendly, but it also gives new life to an old piece of furniture. Start by measuring the width and length of your table to determine the size of your kitchen island. You can choose to keep the table as is or cut off any excess length to fit your desired size. Next, remove the legs and any other attachments on the bottom of the table. If your table has a drawer, you can choose to keep it on or remove it for a more open design. Now it's time to add some new features to your table. You can attach caster wheels to the bottom of the table for easy mobility. Or, for a more permanent fixture, you can attach wooden legs to the corners of the table. For added storage, you can attach shelves or cabinets to the bottom of the table. This is a great option for storing pots, pans, or other kitchen essentials. You can also add hooks or a towel rack to the sides of the table for easy access to utensils or towels. Finally, give your new kitchen island a fresh coat of paint or stain to match your kitchen's aesthetic. You can also add a new countertop made from butcher block, granite, or any other material of your choice.9. Budget-Friendly Kitchen Island DIY with an Old Table


9. Budget-Friendly Kitchen Island DIY with an Old Table


Transform Your Kitchen with an Upcycled Island
Creating a Functional and Stylish Focal Point
 If you're looking to add some character and functionality to your kitchen, consider incorporating an
upcycled kitchen island
. Not only is this a budget-friendly option, but it also allows you to repurpose old items and give them a new life. One creative and practical way to create an
upcycled kitchen island
is by using an old table. This project is perfect for those who are passionate about
house design
and want to add a unique touch to their space.
If you're looking to add some character and functionality to your kitchen, consider incorporating an
upcycled kitchen island
. Not only is this a budget-friendly option, but it also allows you to repurpose old items and give them a new life. One creative and practical way to create an
upcycled kitchen island
is by using an old table. This project is perfect for those who are passionate about
house design
and want to add a unique touch to their space.
Gather Materials and Tools
 Before beginning this project, gather all the necessary materials and tools. You will need a sturdy old table, preferably one with a solid wooden top. Other materials include a saw, wood glue, sandpaper, paint or stain, and hardware for attaching the table legs. You may also want to consider adding additional features such as shelves, drawers, or towel racks to make your island more functional.
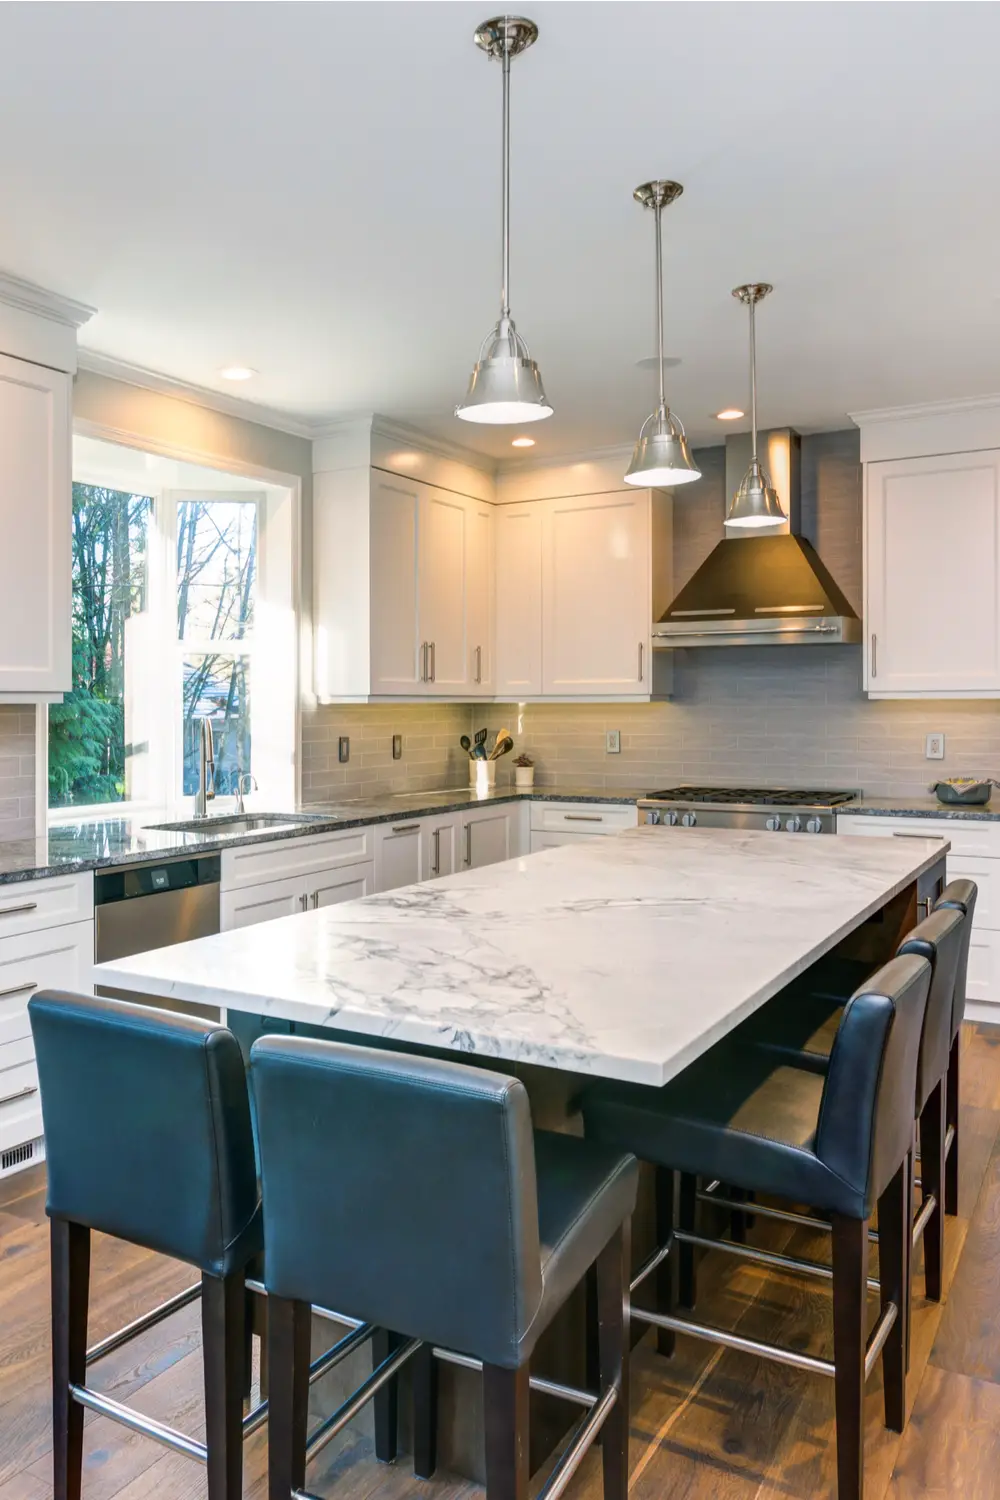
Preparation and Assembly
 Start by removing any existing legs or supports from the table. Next, measure and mark the desired height for your kitchen island, keeping in mind standard counter height is around 36 inches. Using a saw, carefully cut the table legs to the desired length. If your table does not have a solid wooden top, you can use plywood to create one. Attach the legs to the table using wood glue and screws for added stability. Sand down any rough edges and give the table a fresh coat of paint or stain to match your kitchen's aesthetic.
Personalize and Decorate
 One of the best things about creating an
upcycled kitchen island
is the ability to personalize and decorate it to your liking. You can add decorative features such as trim or molding to give it a more polished look. You can also paint the legs or add a unique design to the tabletop. To make your island even more functional, consider adding hooks for hanging utensils or a towel rack for convenience.
One of the best things about creating an
upcycled kitchen island
is the ability to personalize and decorate it to your liking. You can add decorative features such as trim or molding to give it a more polished look. You can also paint the legs or add a unique design to the tabletop. To make your island even more functional, consider adding hooks for hanging utensils or a towel rack for convenience.
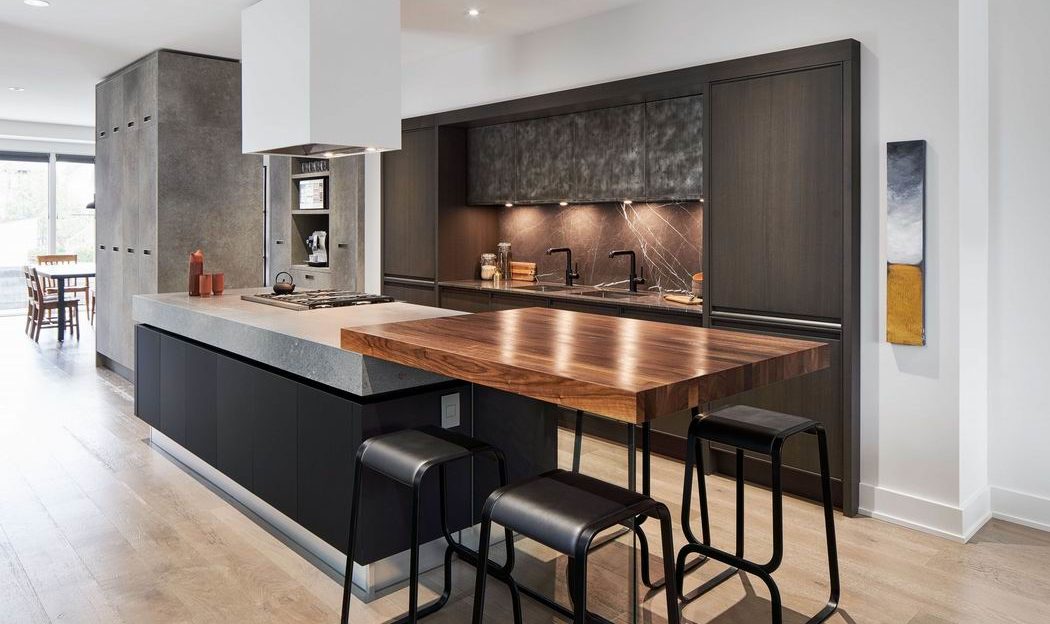
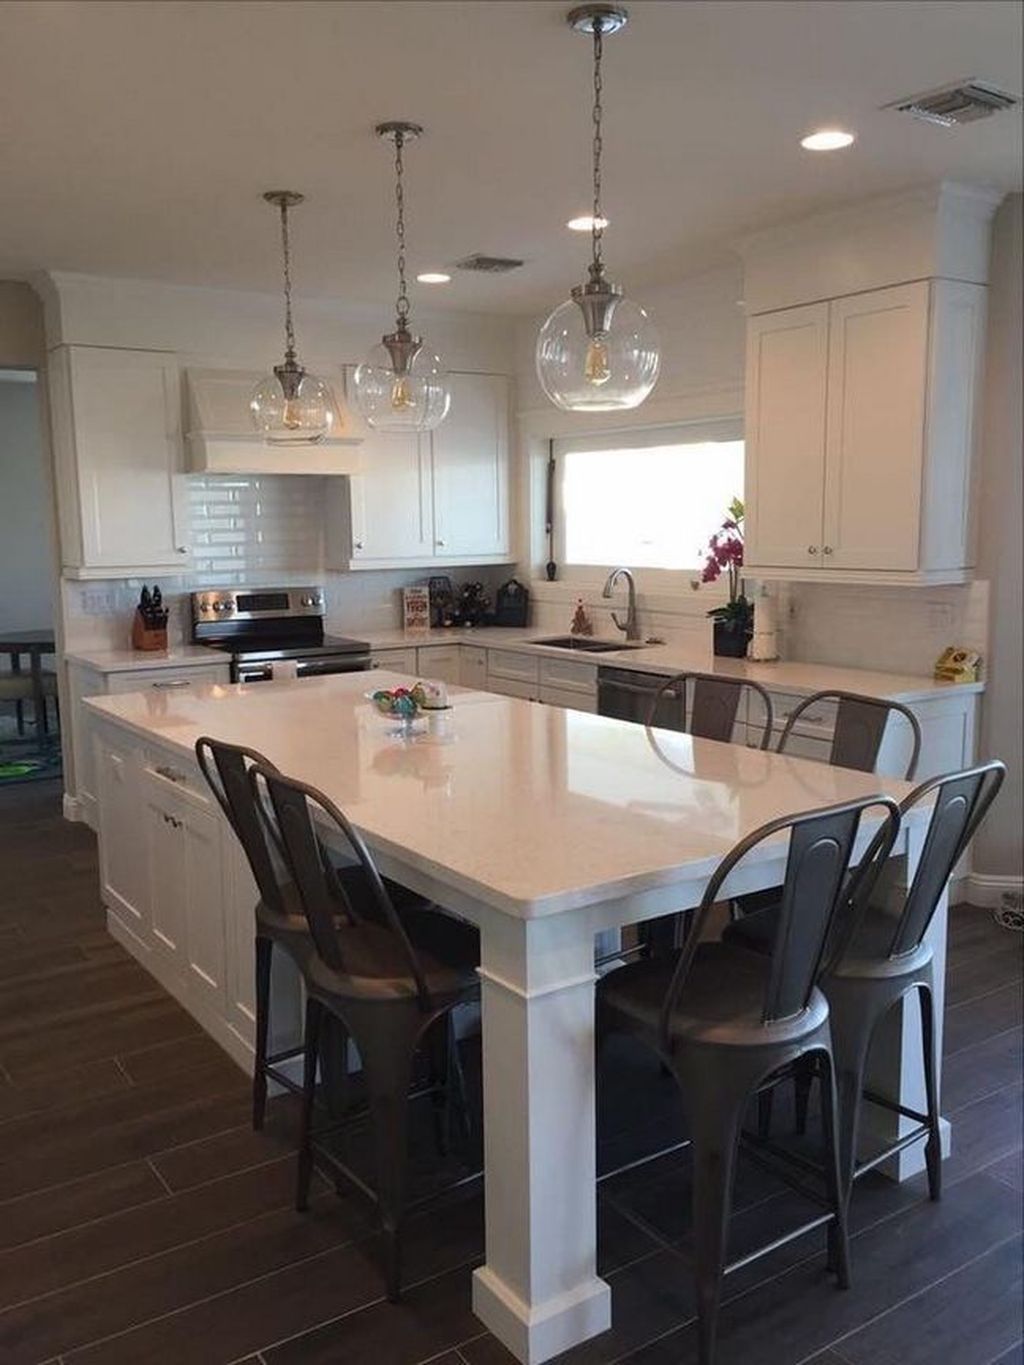
Enjoy Your New Kitchen Island
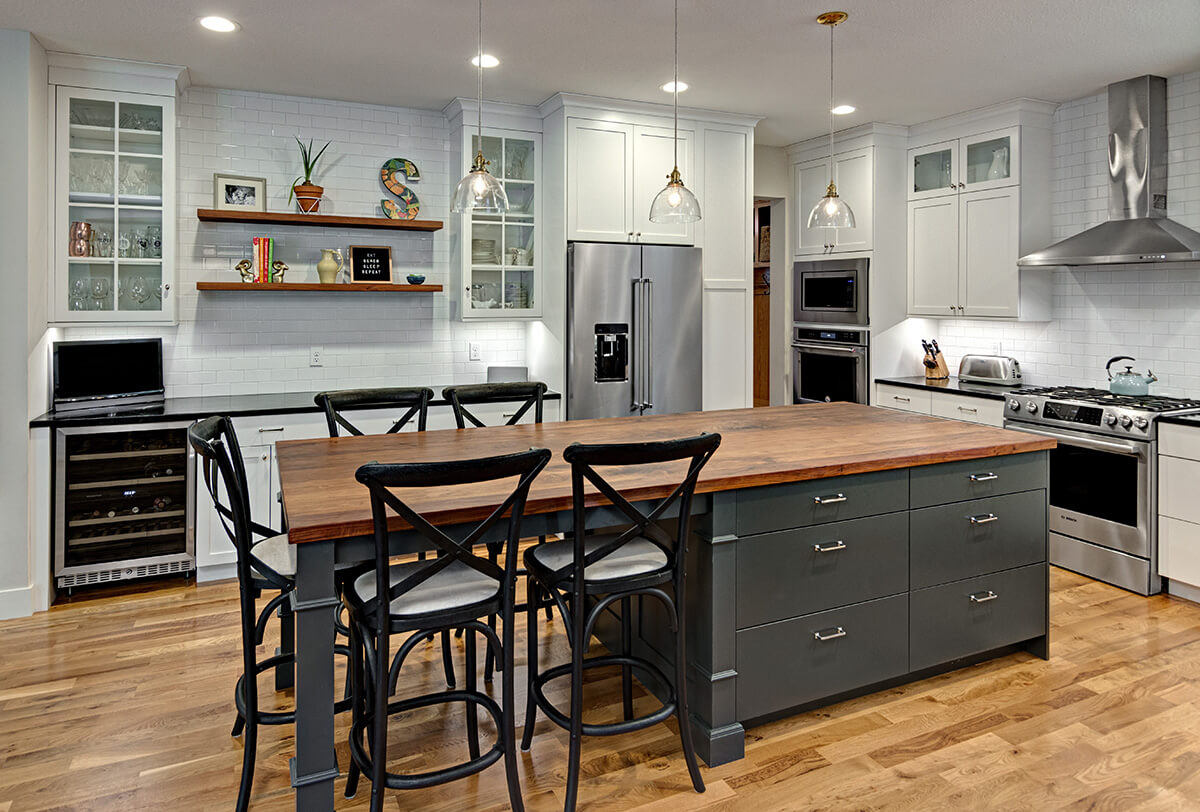
/cdn.vox-cdn.com/uploads/chorus_image/image/65889507/0120_Westerly_Reveal_6C_Kitchen_Alt_Angles_Lights_on_15.14.jpg) Once your
upcycled kitchen island
is complete, it's time to enjoy your new and improved kitchen space. Not only does it add a unique touch to your home, but it also provides additional storage and counter space for cooking and entertaining. So the next time you're considering a kitchen remodel, think outside the box and consider incorporating an
upcycled kitchen island
into your design plans.
Once your
upcycled kitchen island
is complete, it's time to enjoy your new and improved kitchen space. Not only does it add a unique touch to your home, but it also provides additional storage and counter space for cooking and entertaining. So the next time you're considering a kitchen remodel, think outside the box and consider incorporating an
upcycled kitchen island
into your design plans.