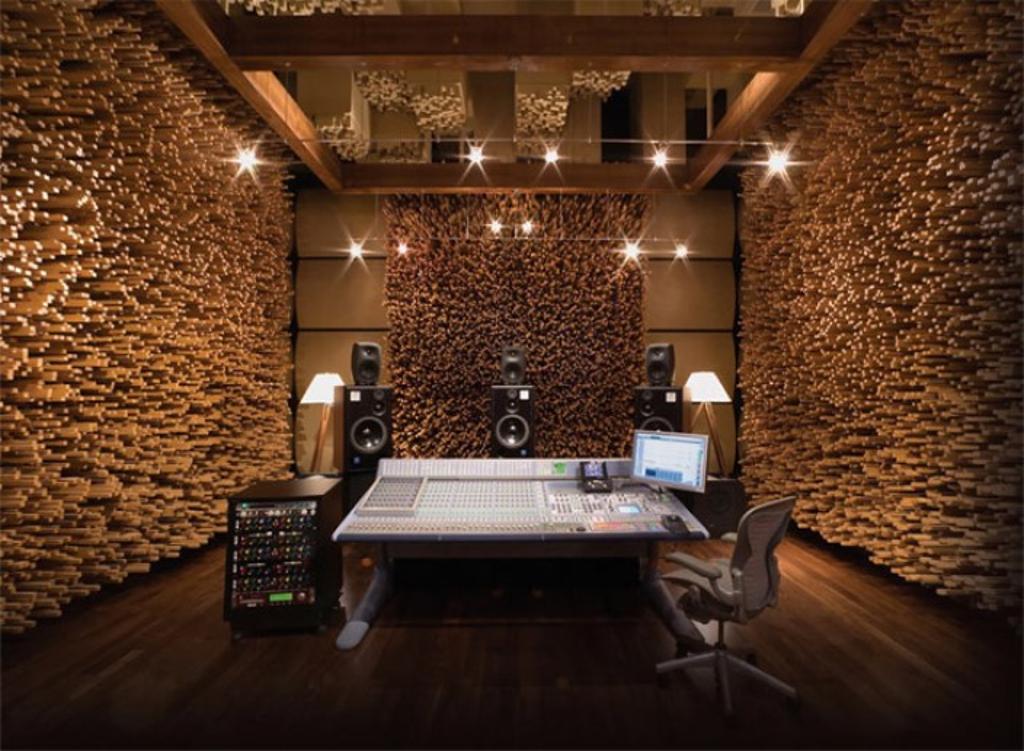
Living Room Voice Over Studio
Are you a voice actor looking to create a professional recording space in the comfort of your own home? Look no further than a living room voice over studio. With the rise of remote work and the increasing demand for voice talent, having a dedicated recording space in your living room is a convenient and cost-effective solution.

Living Room Voice Over Studio


Home Recording Studio
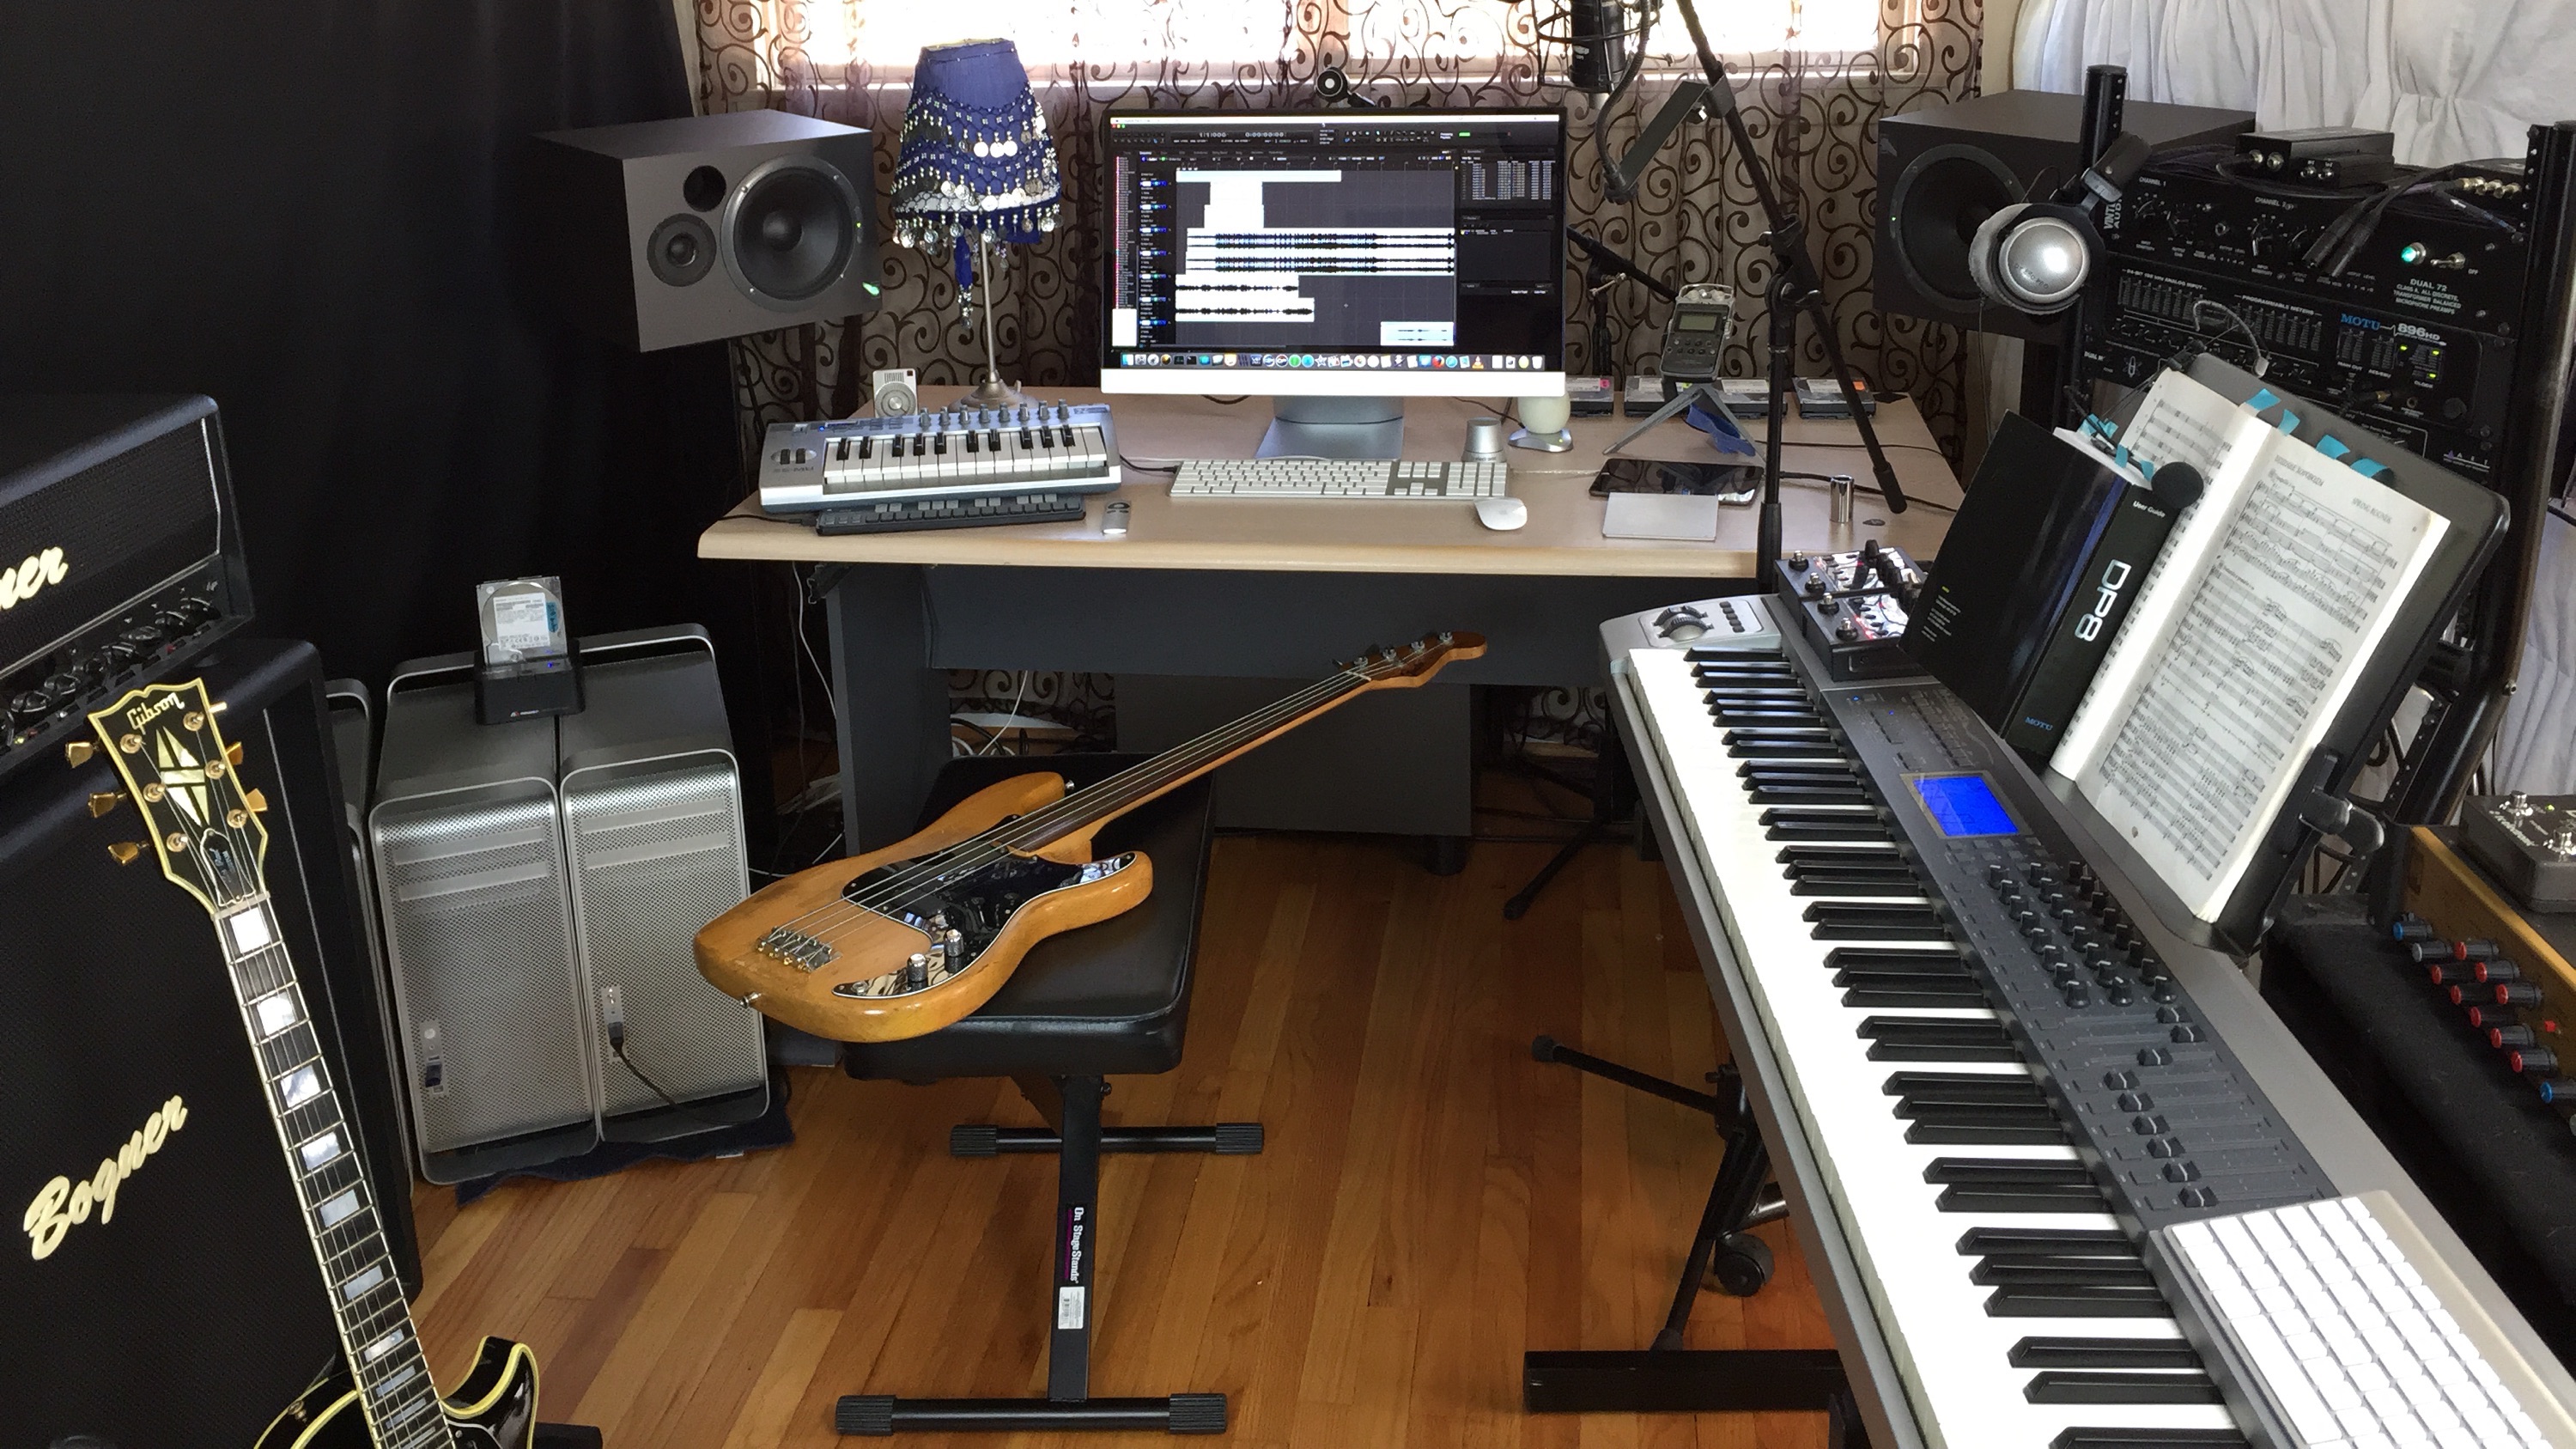
A living room voice over studio is essentially a home recording studio where you can record high-quality voice overs for various projects. It's a versatile and flexible setup that allows you to work from home, saving you time and money from commuting to a traditional recording studio.


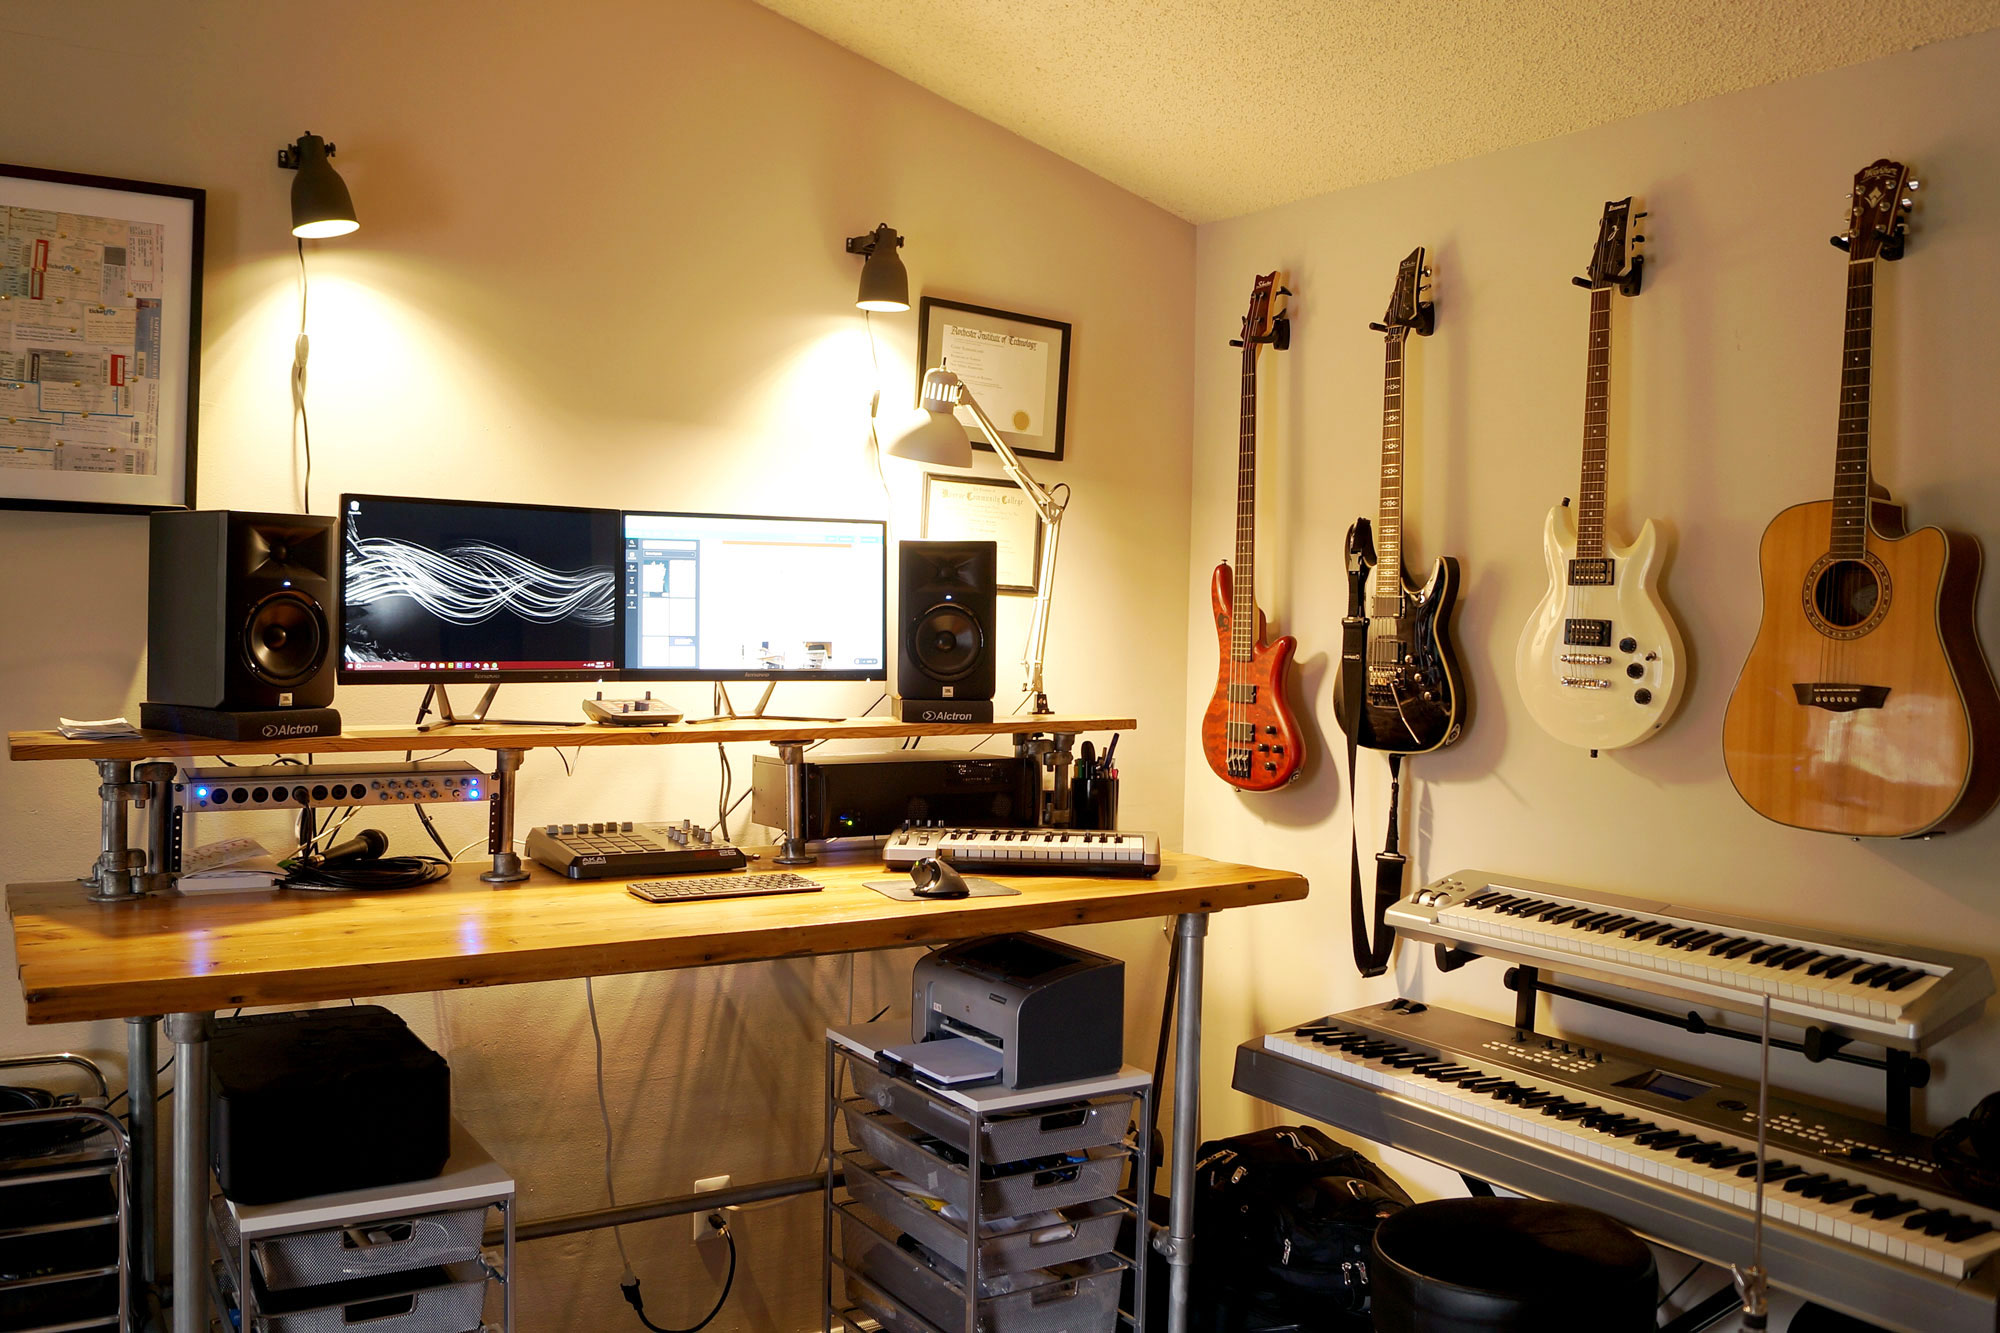
Home Recording Studio


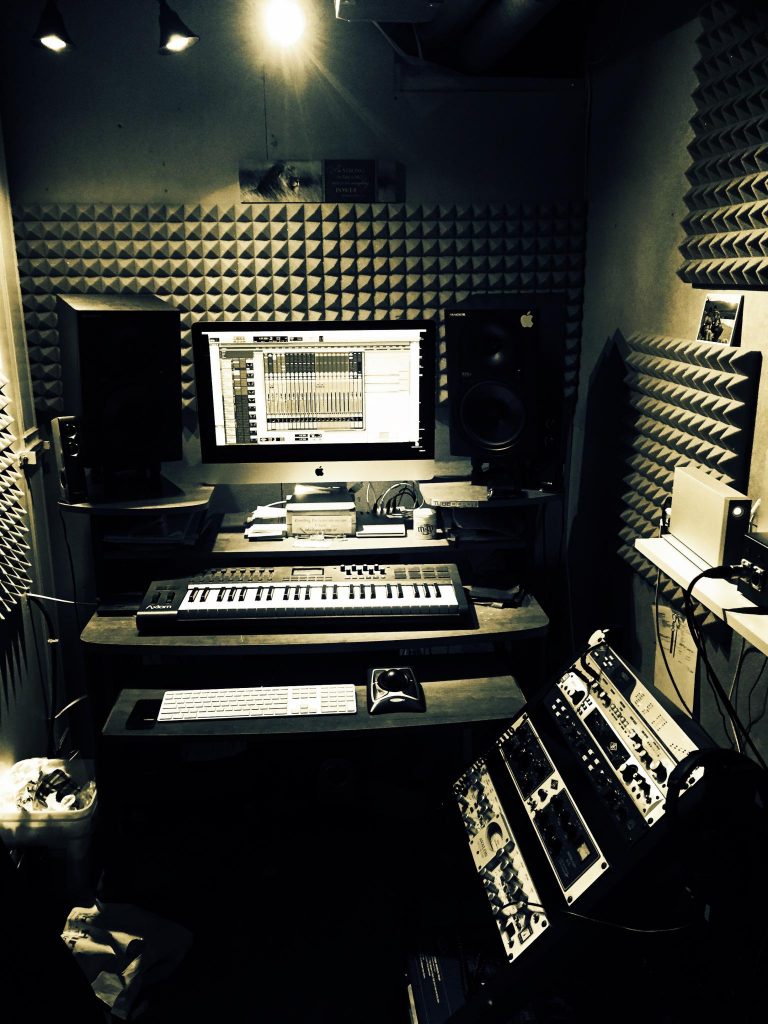
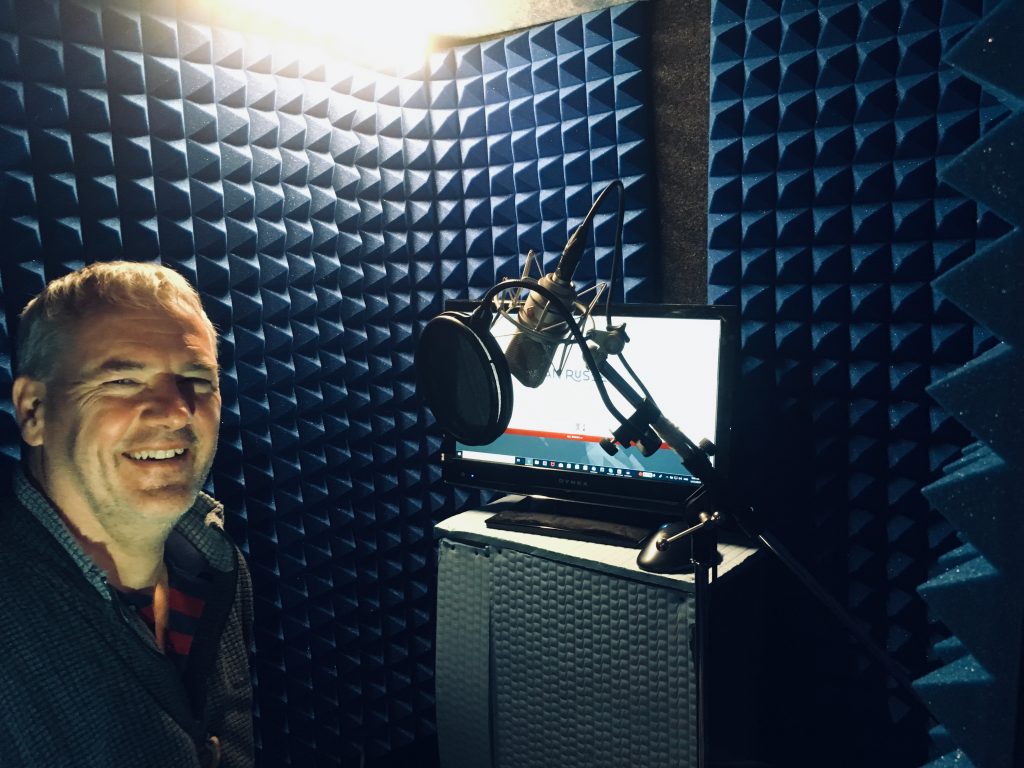
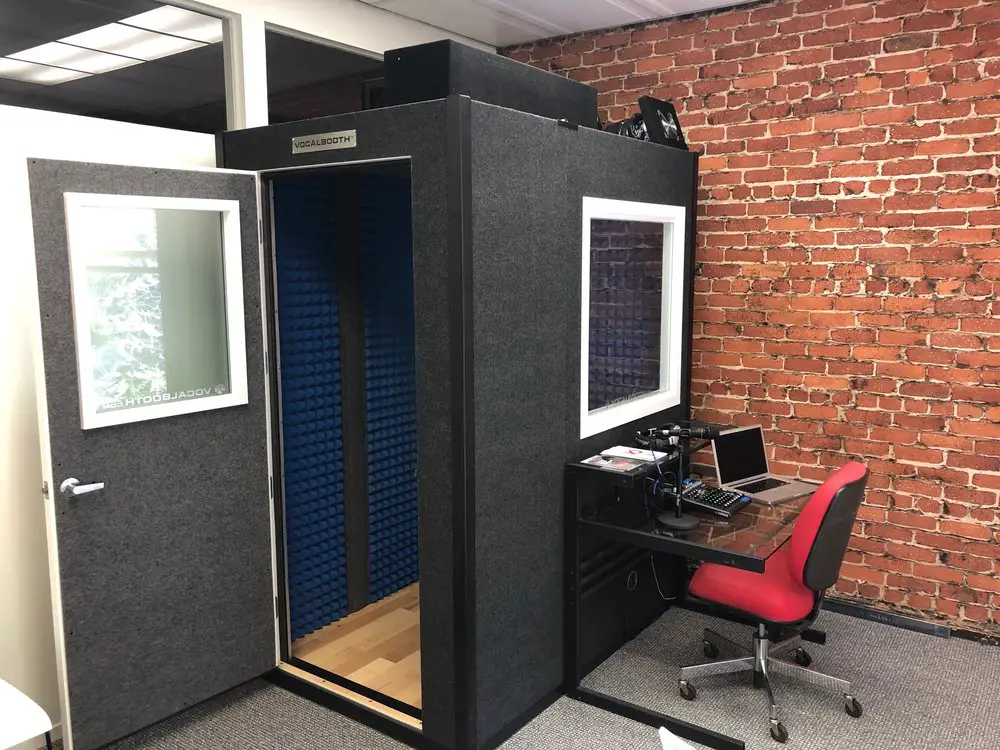
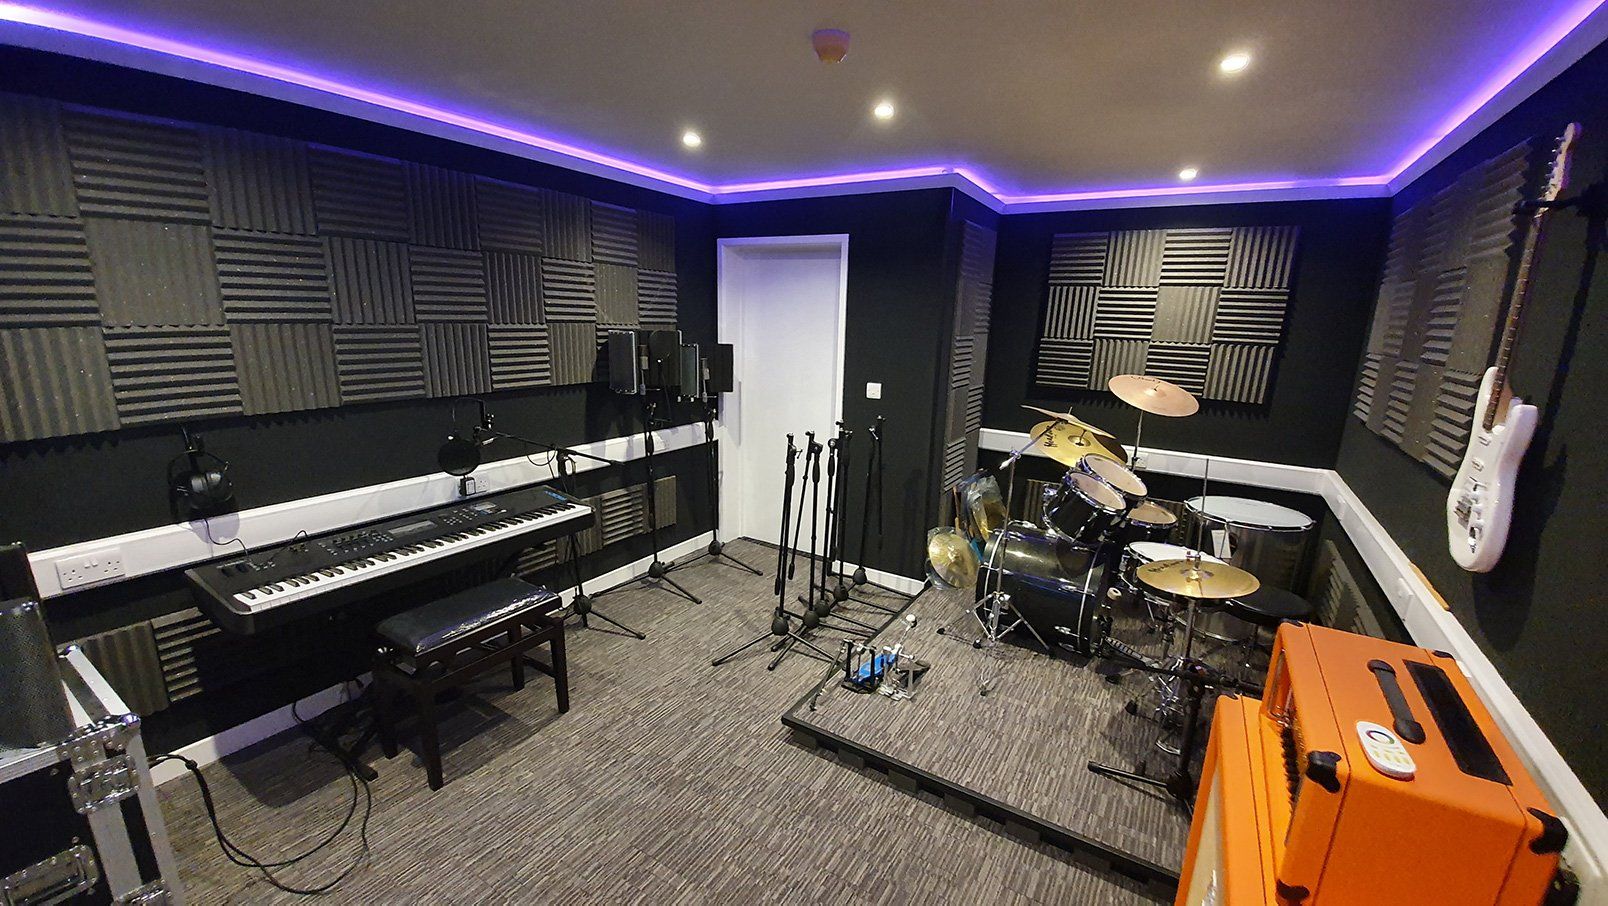
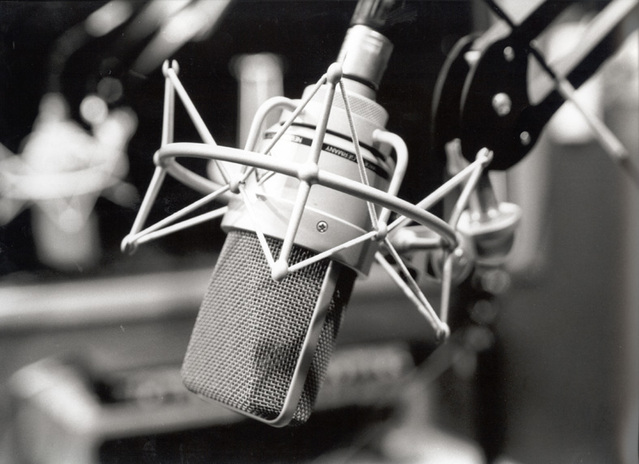
Voice Over Booth
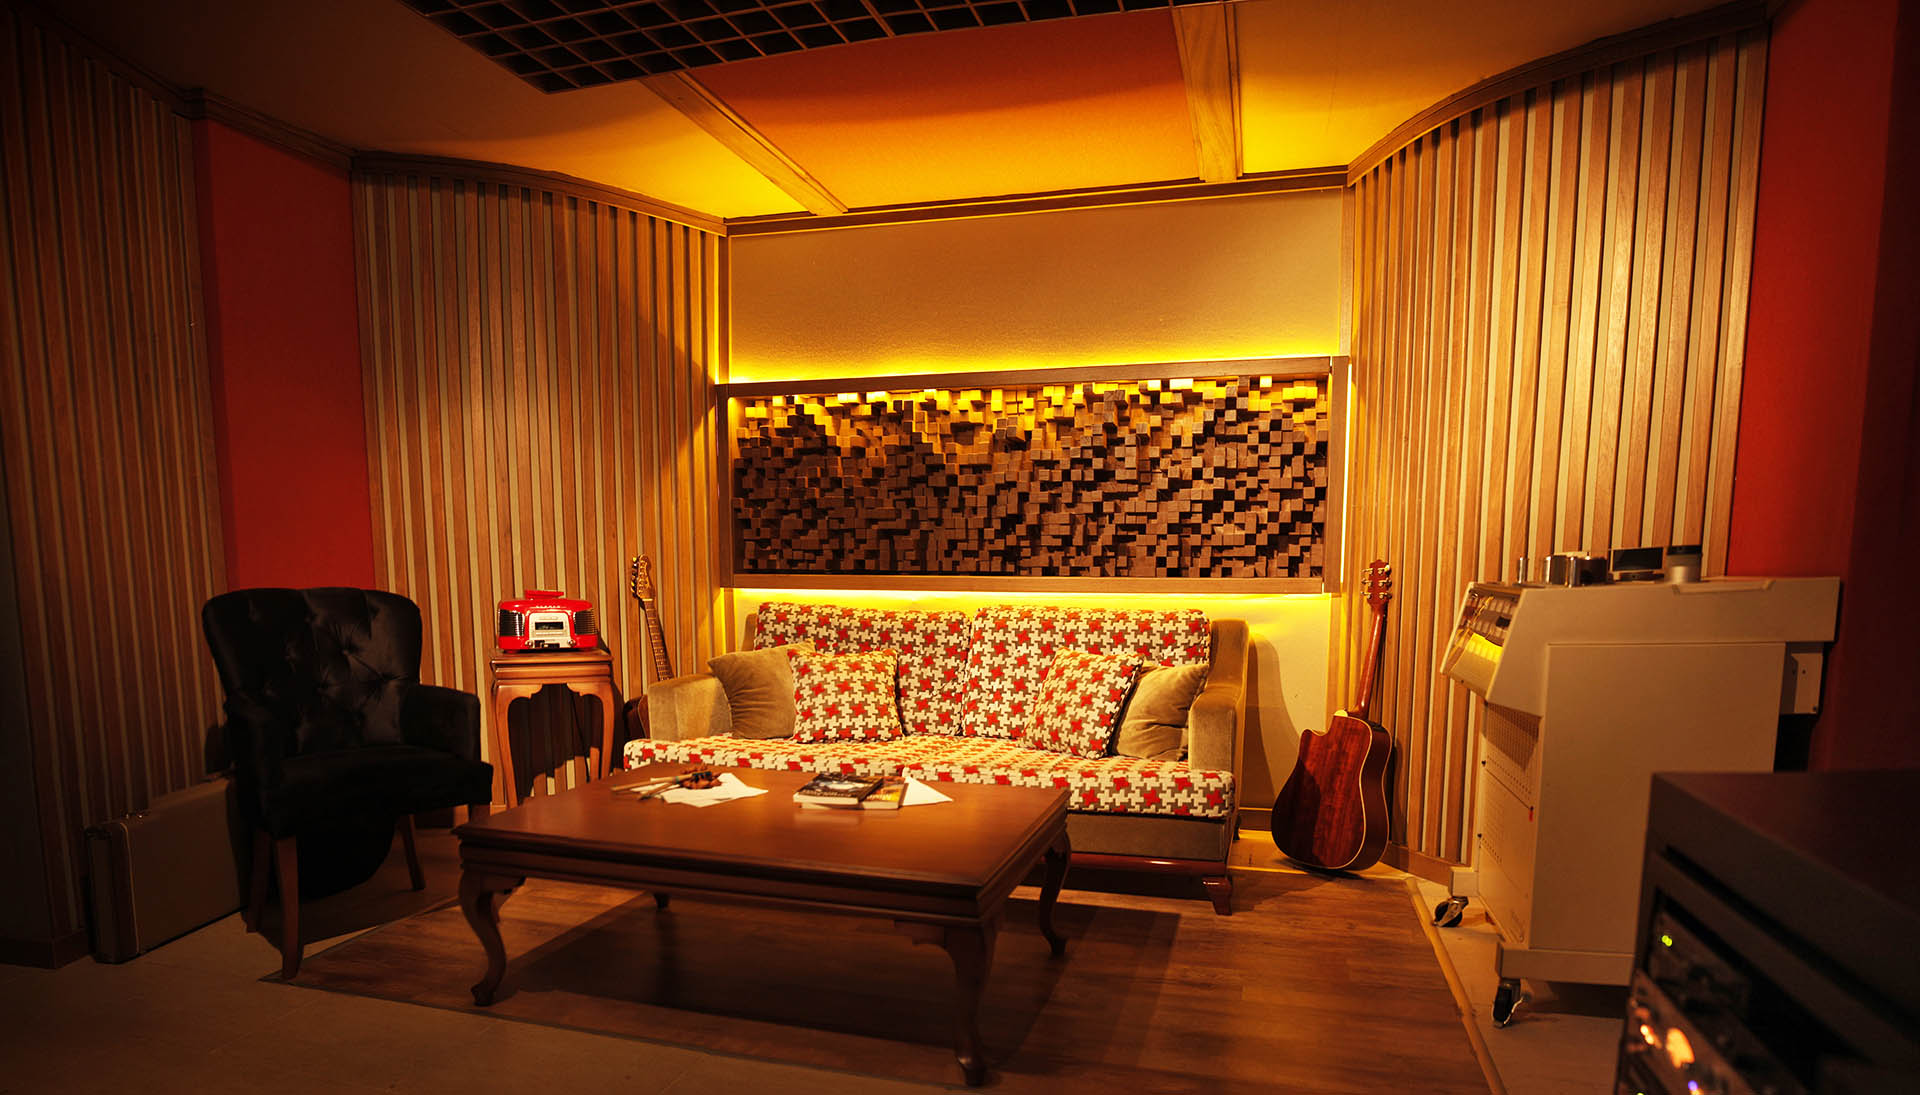
While a professional recording booth is ideal for voice over work, a living room voice over studio can be just as effective with the right equipment and setup. You can create a makeshift booth using furniture, blankets, and sound-absorbing materials to minimize external noise and create a more controlled recording environment.


Voice Over Booth


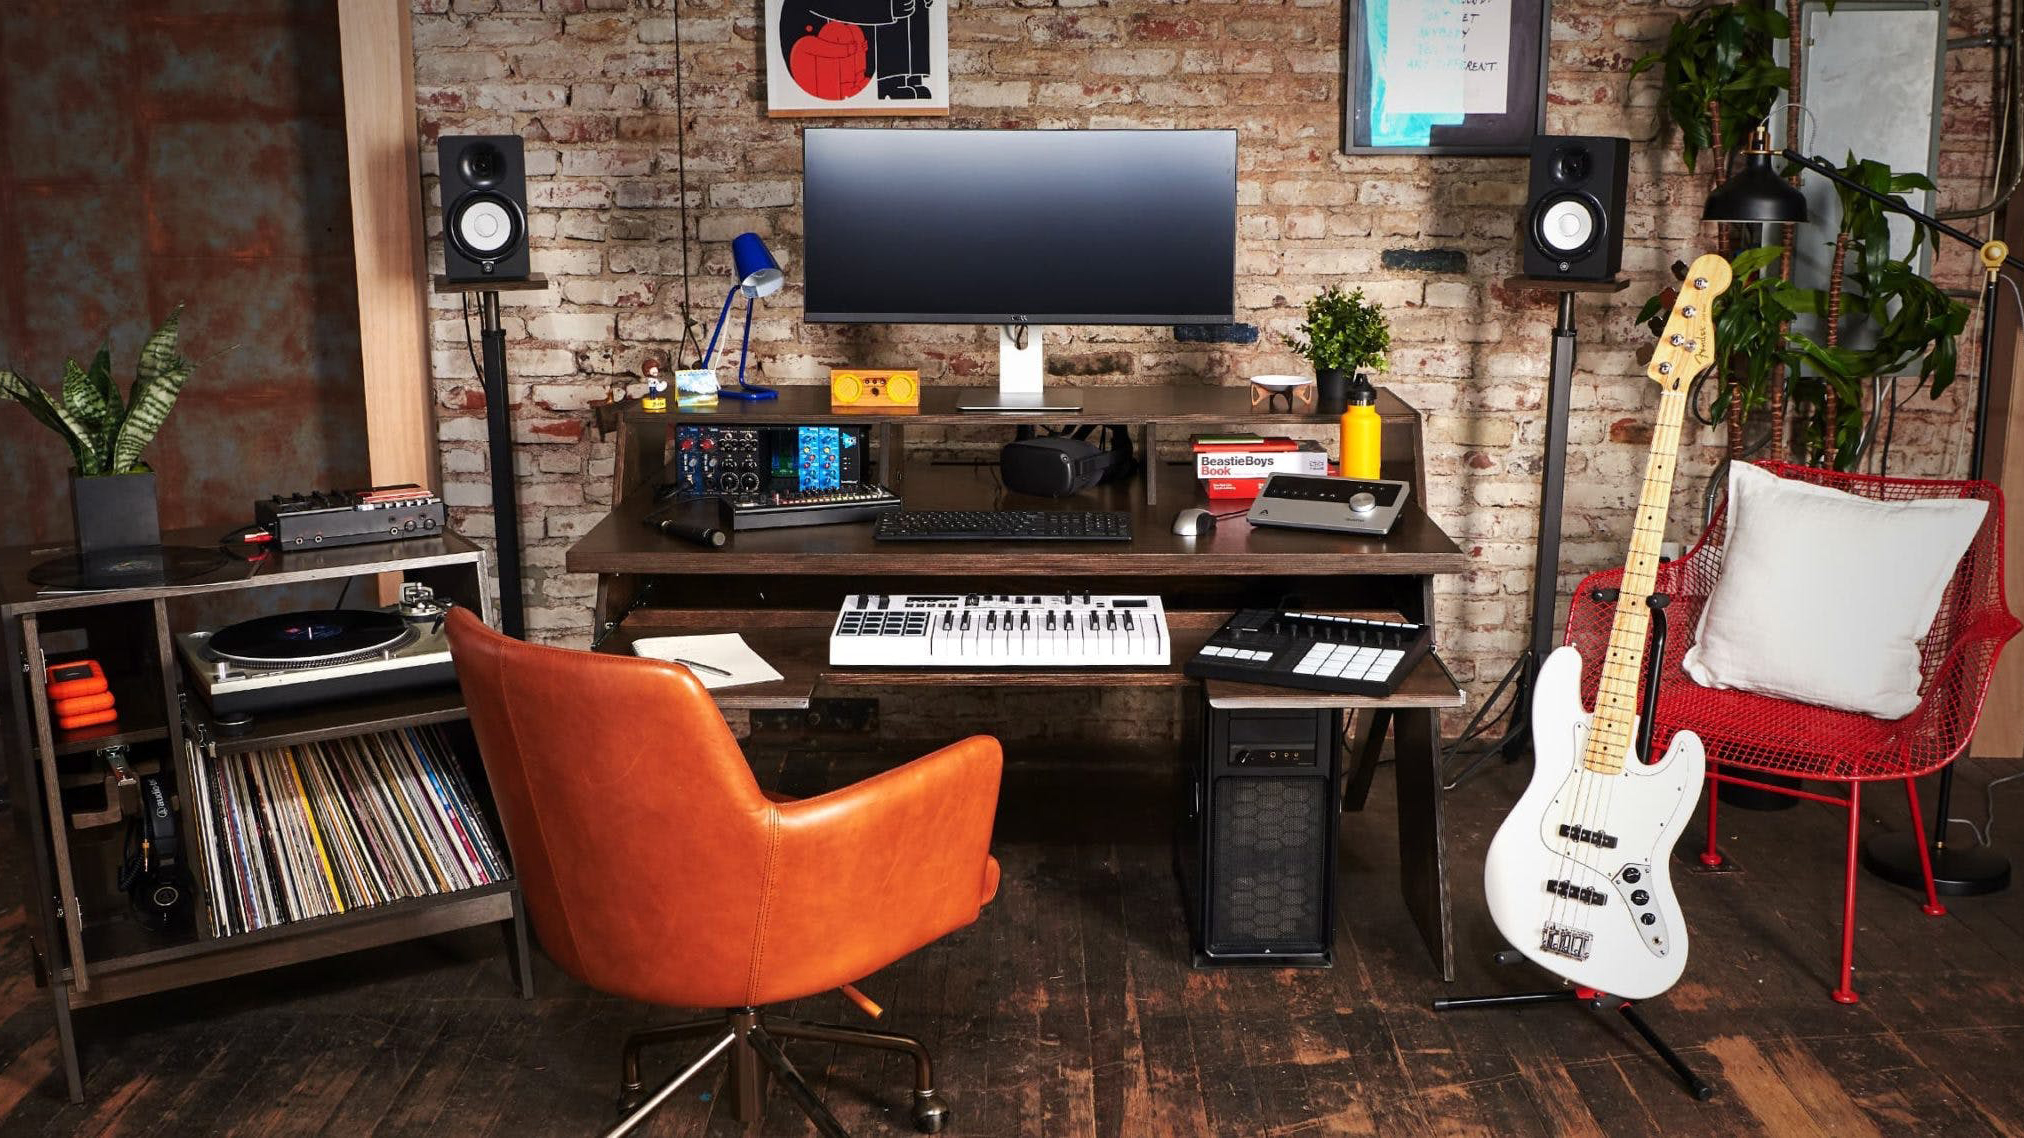
DIY Recording Studio
Setting up a living room voice over studio can be a fun and creative DIY project. You can customize your space to fit your needs and budget, whether it's a simple setup with a microphone and laptop or a more elaborate one with soundproofing and acoustic treatment.

DIY Recording Studio
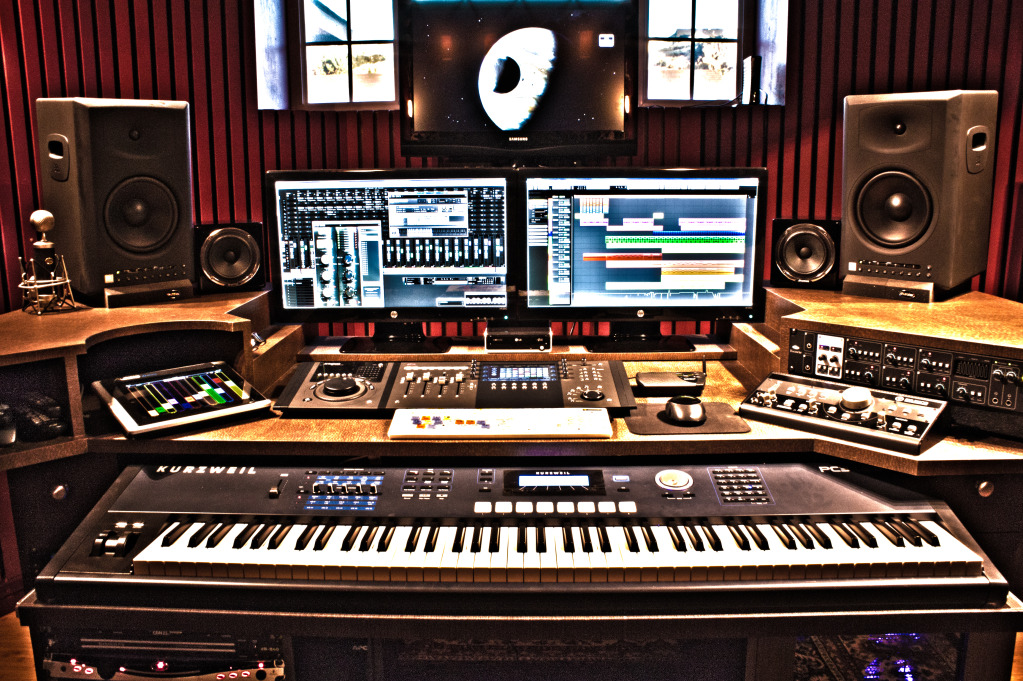


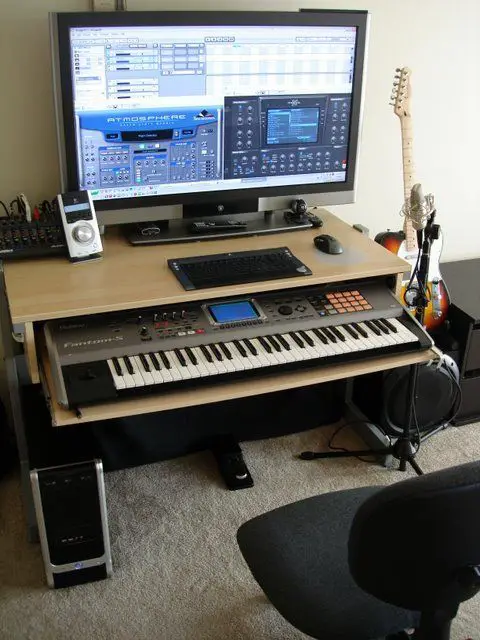
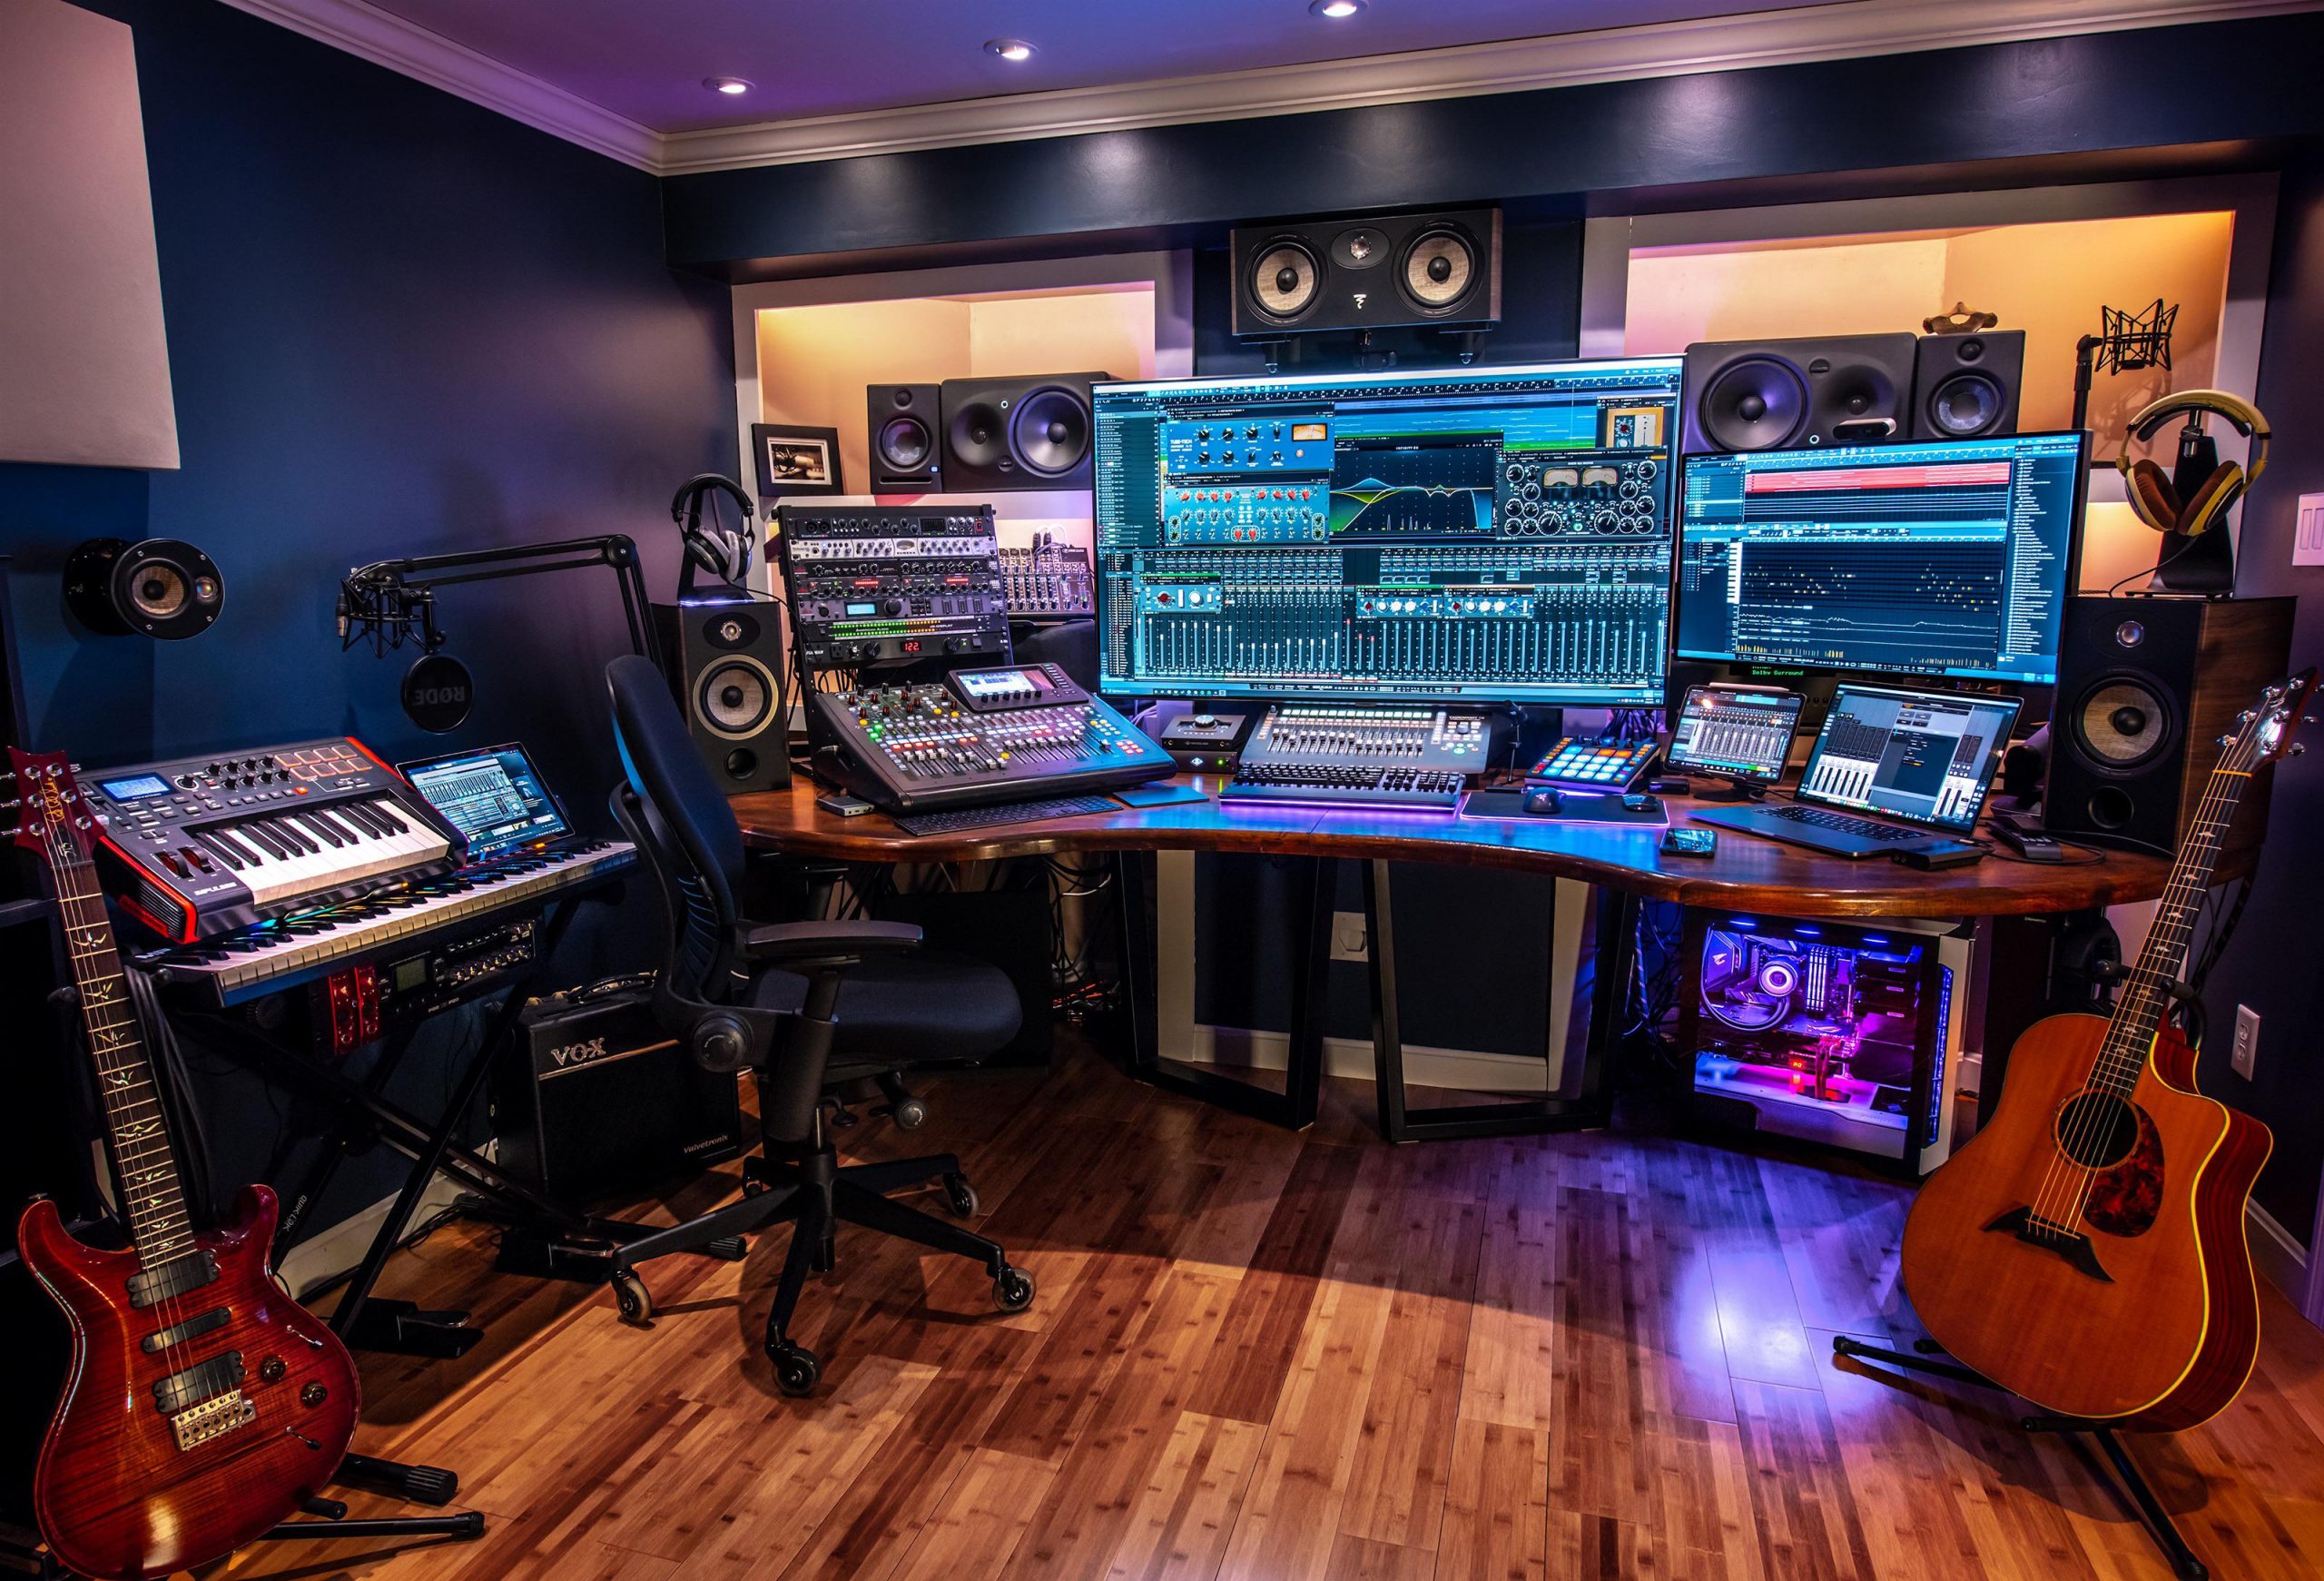
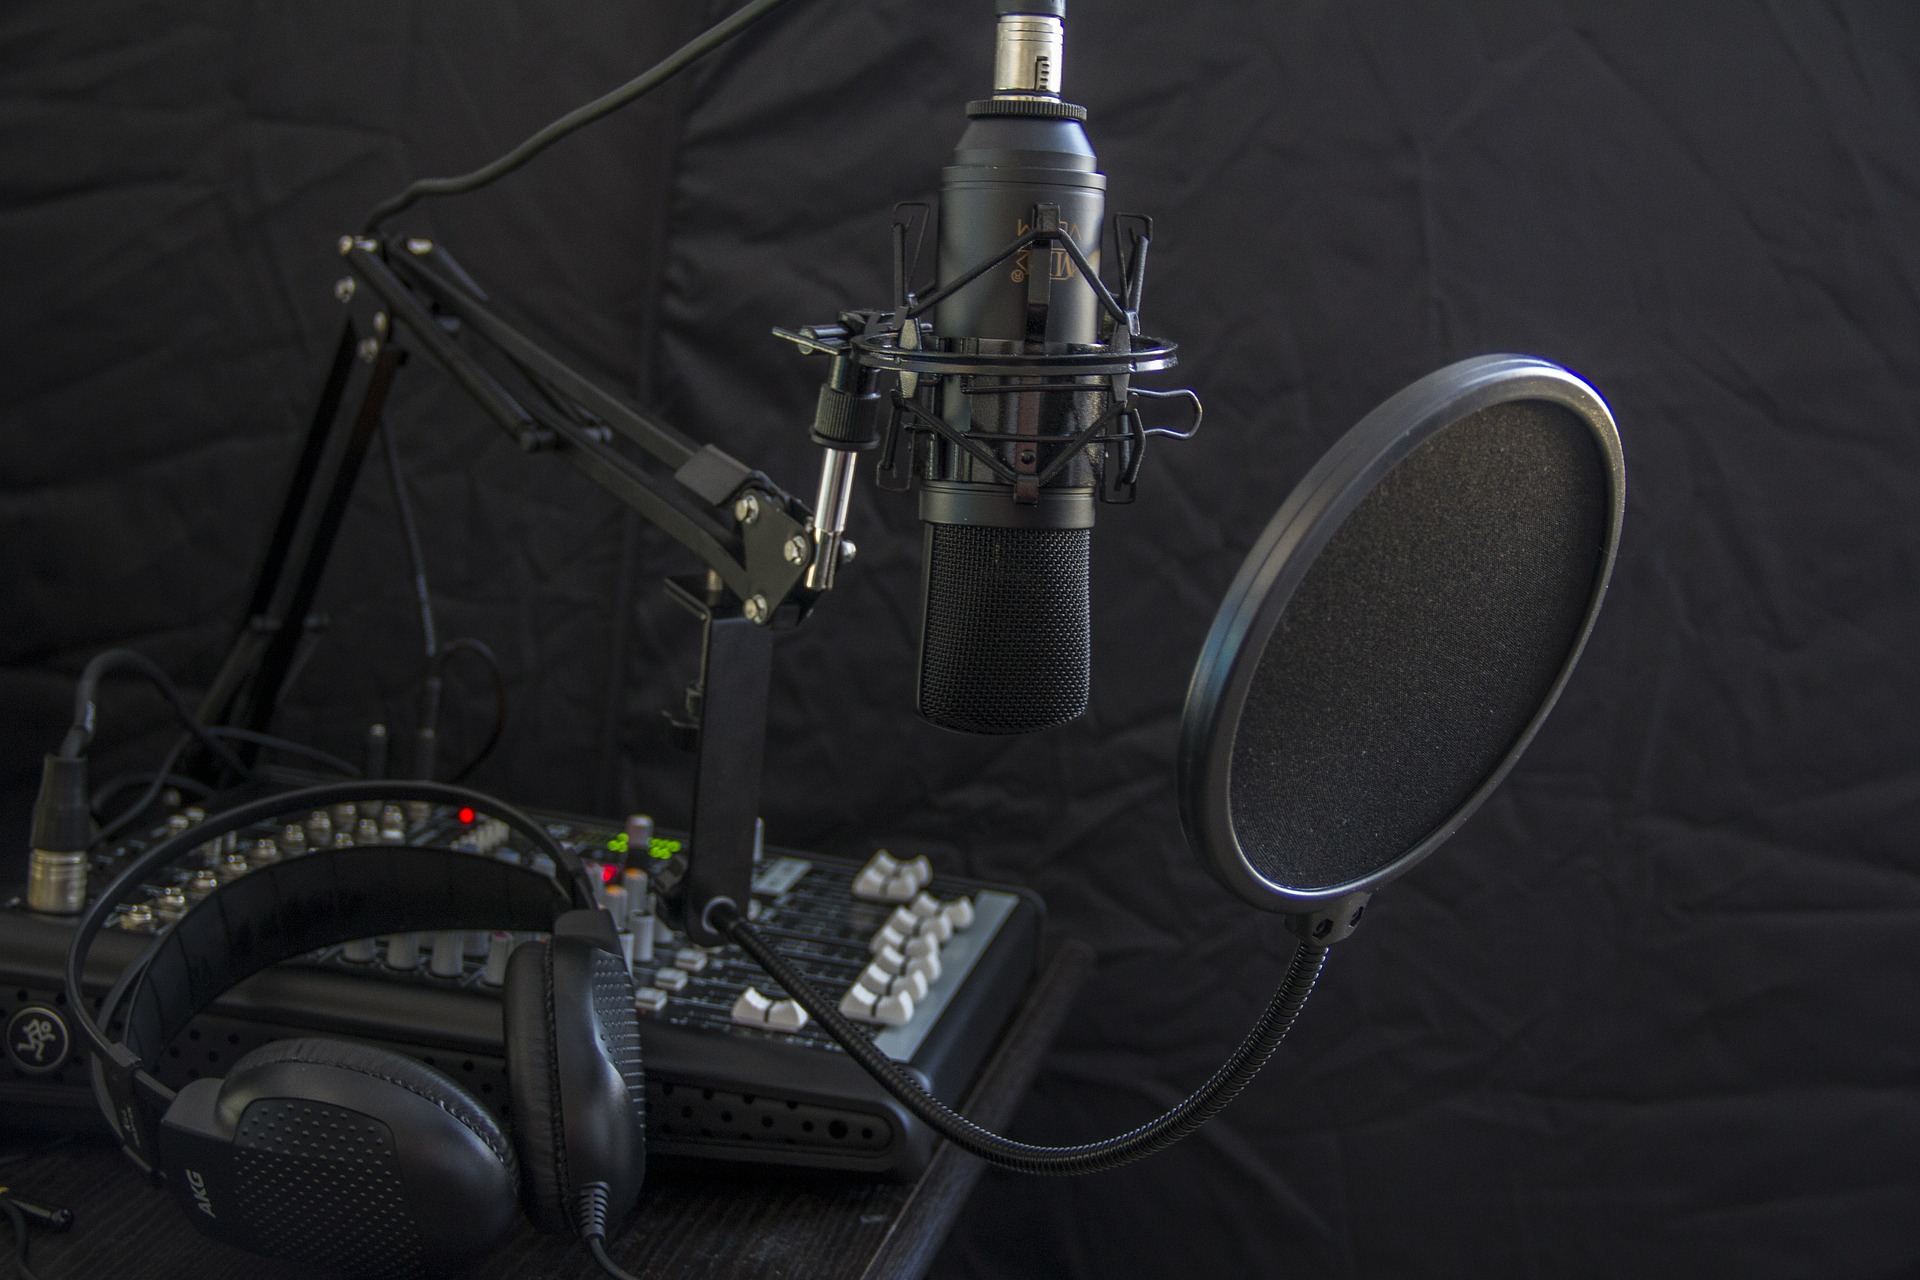
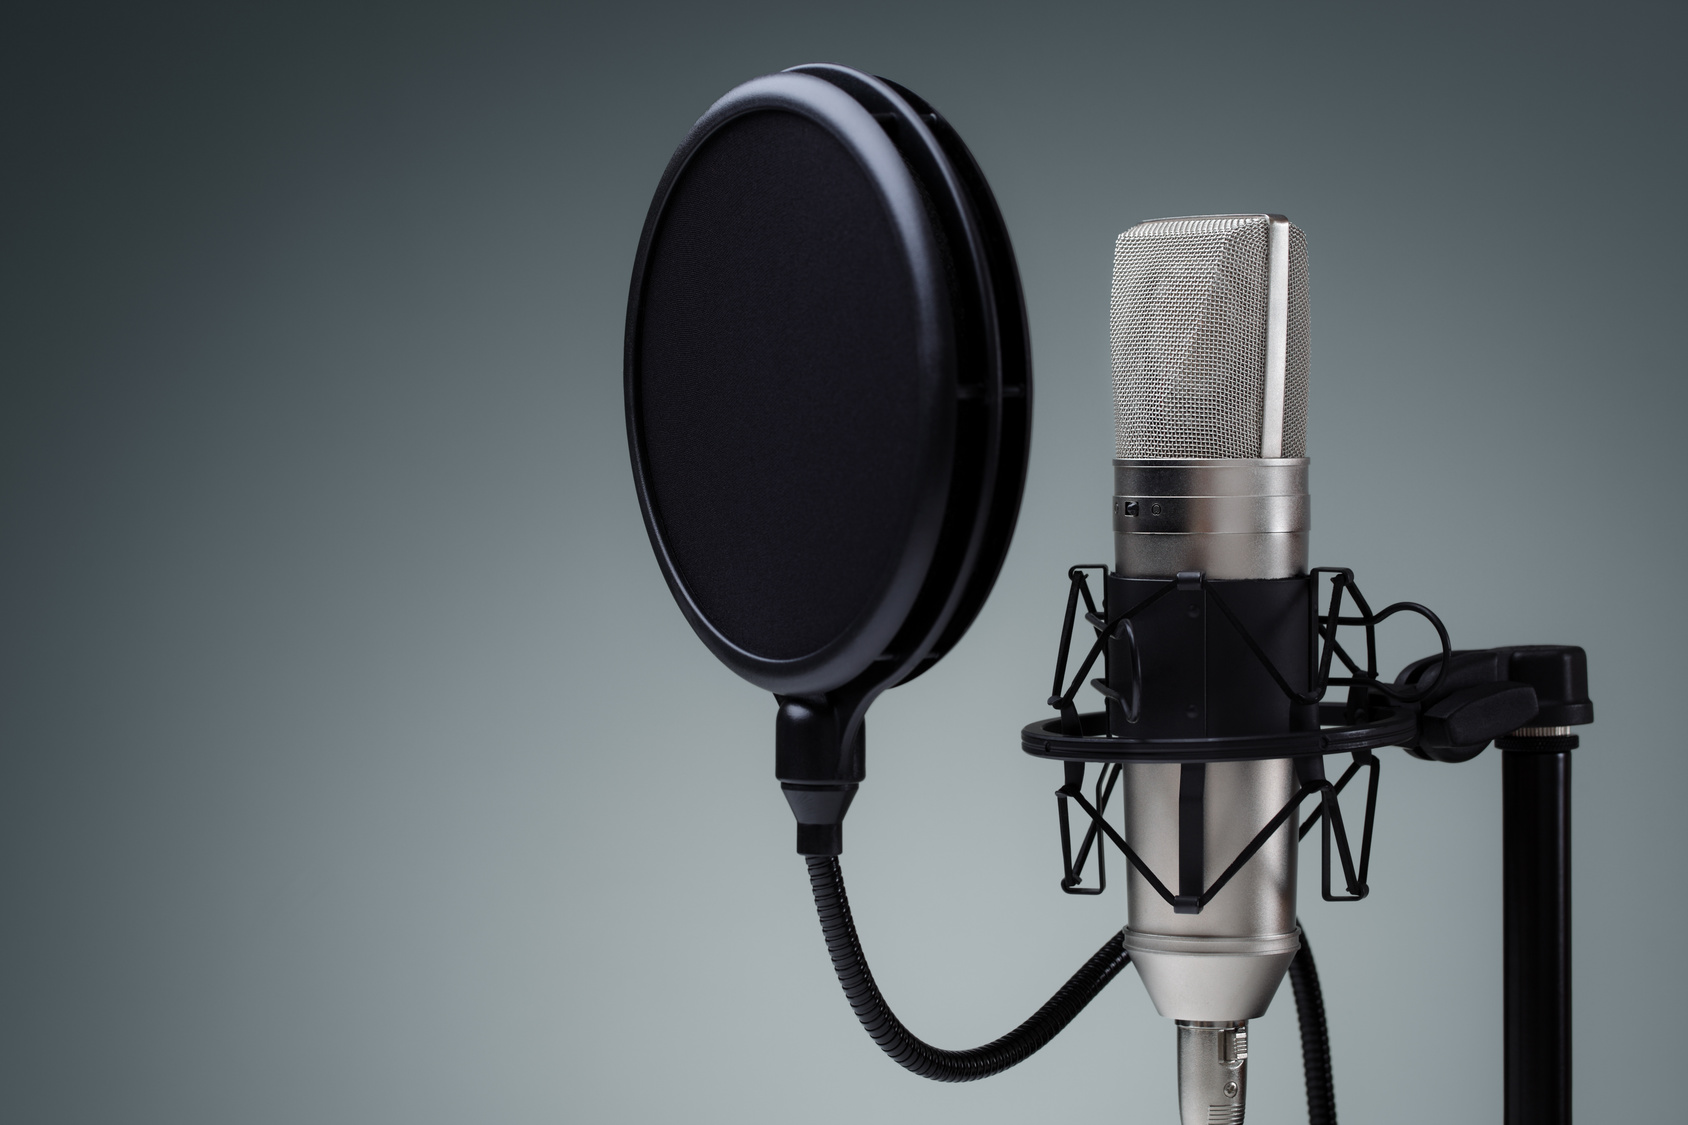
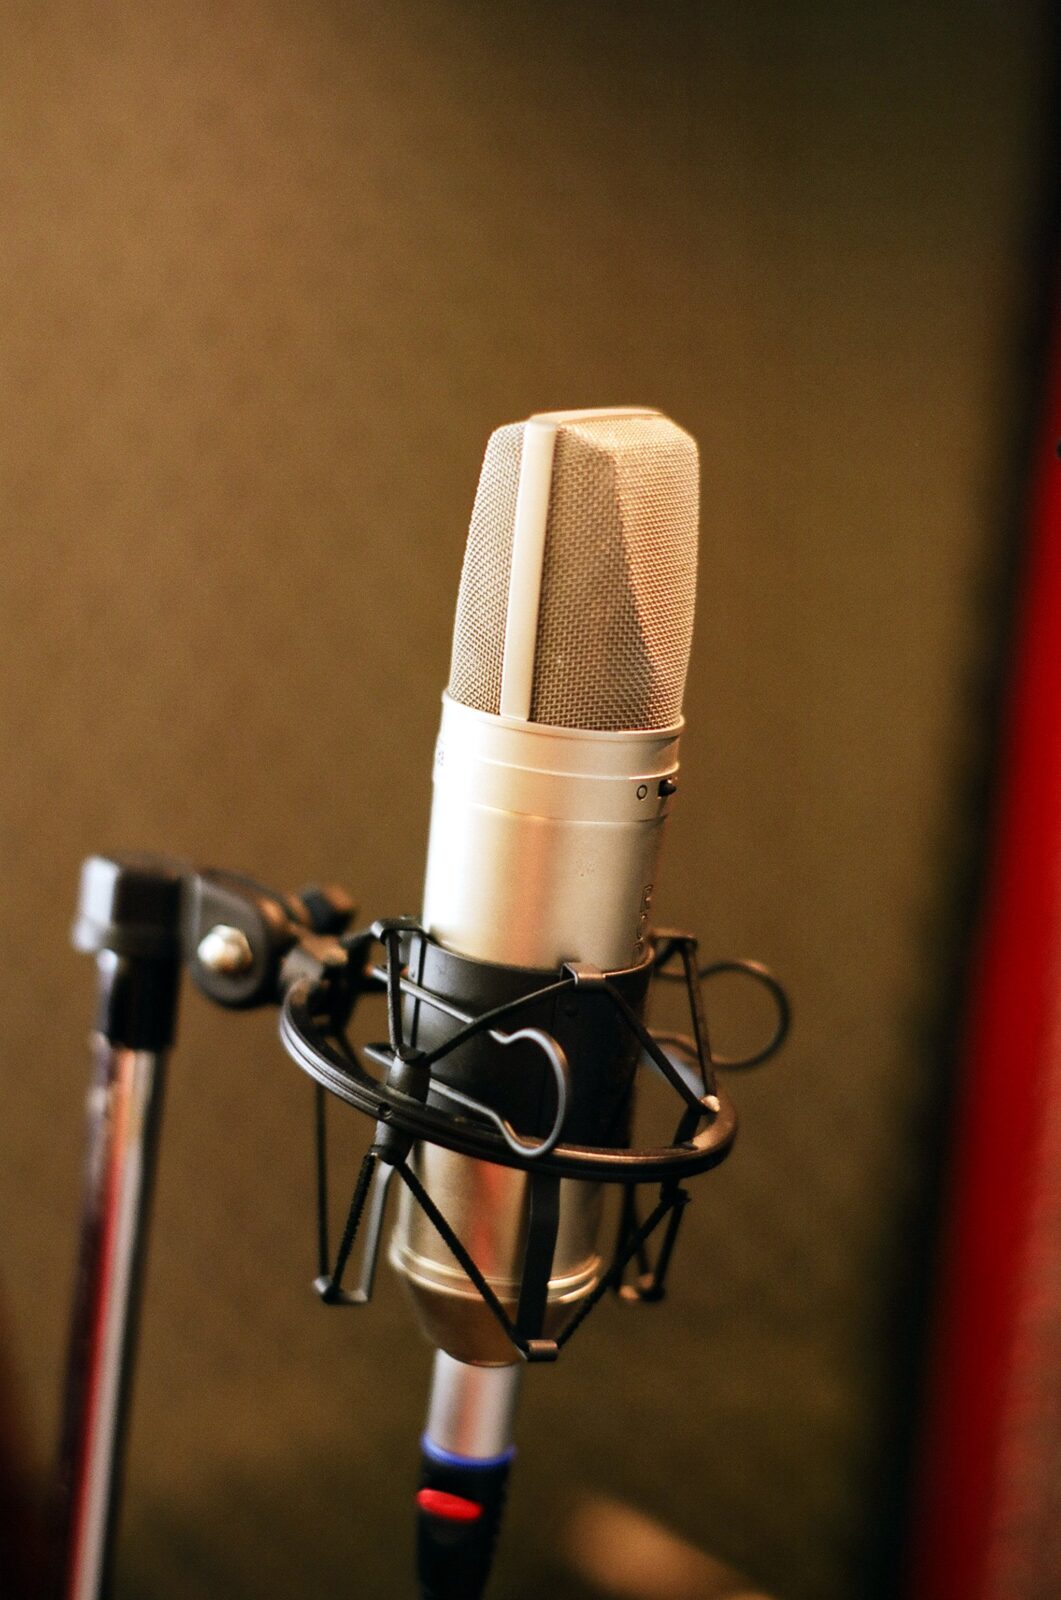
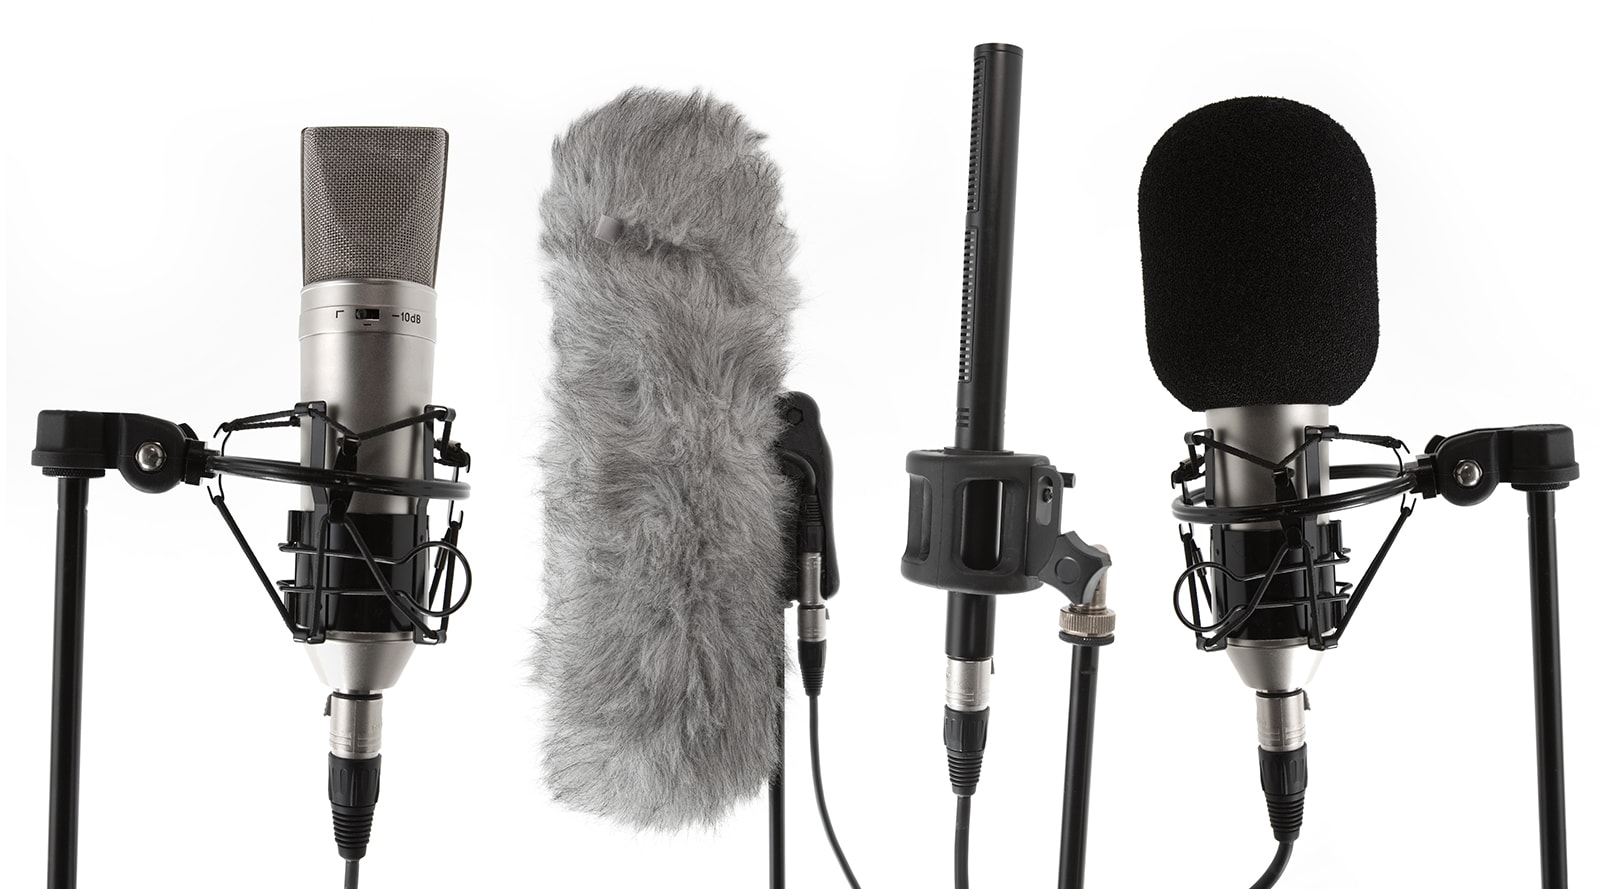
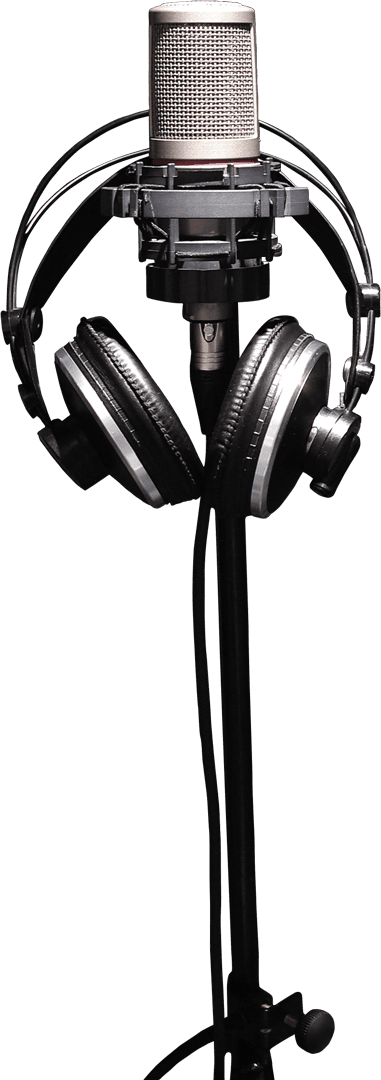
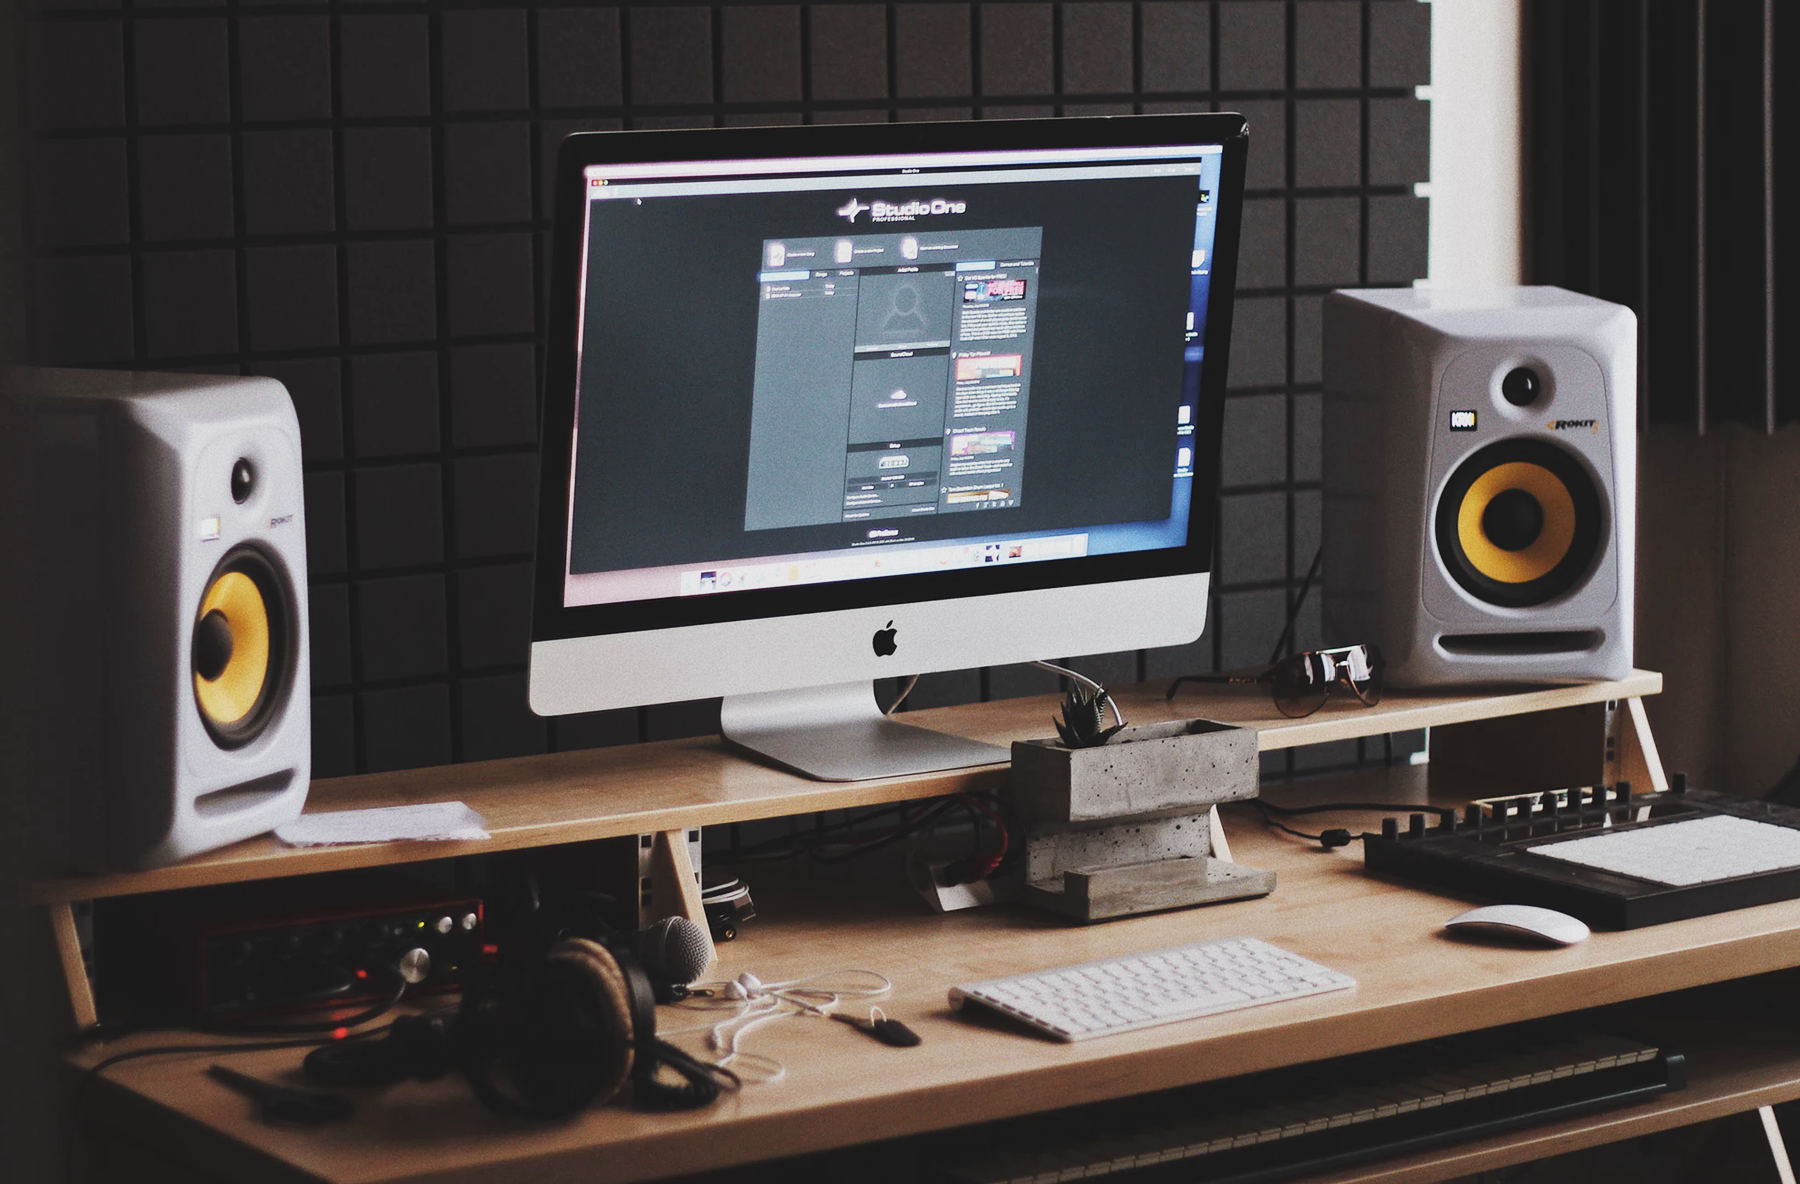
Voice Over Equipment
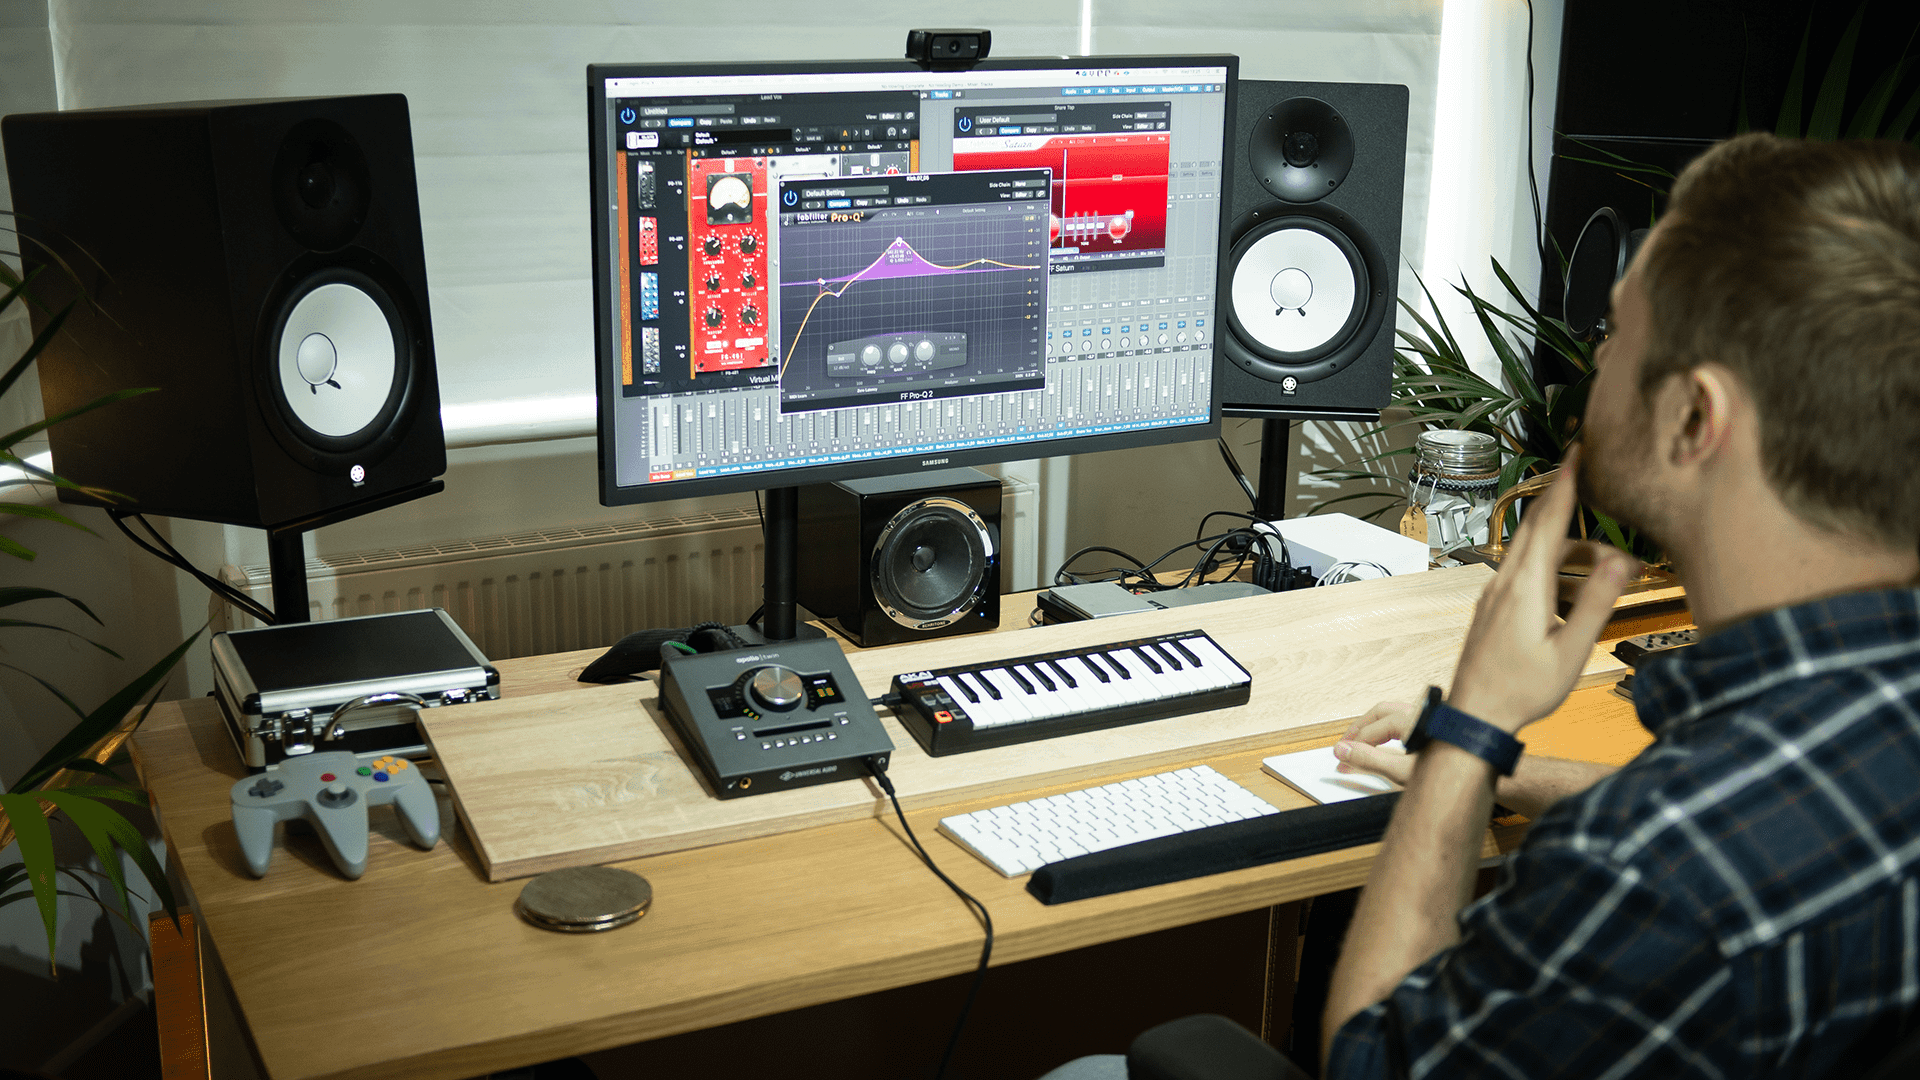
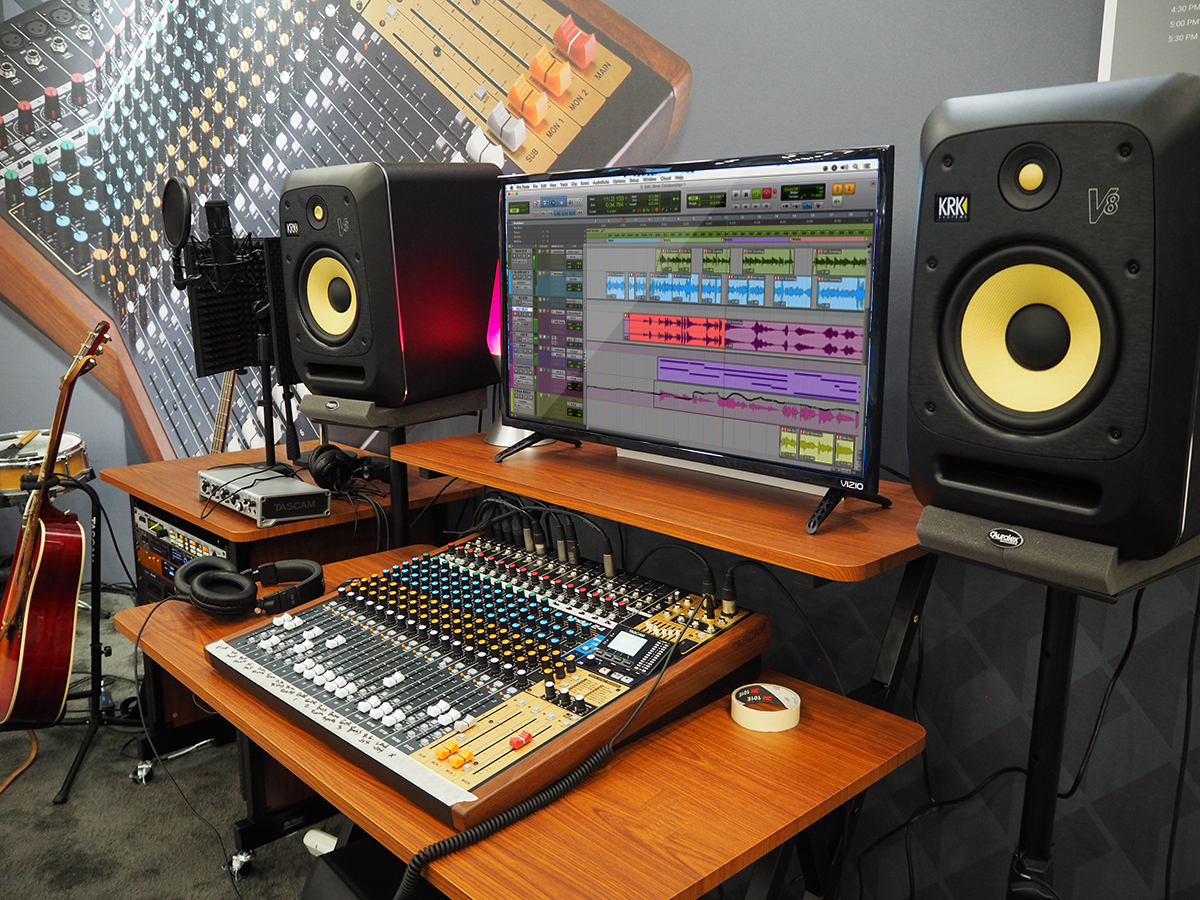
When it comes to voice over equipment, there are a few essential items you'll need for your living room studio. These include a high-quality microphone, a pop filter, a mic stand, headphones, and a computer or laptop with recording software.


Voice Over Equipment


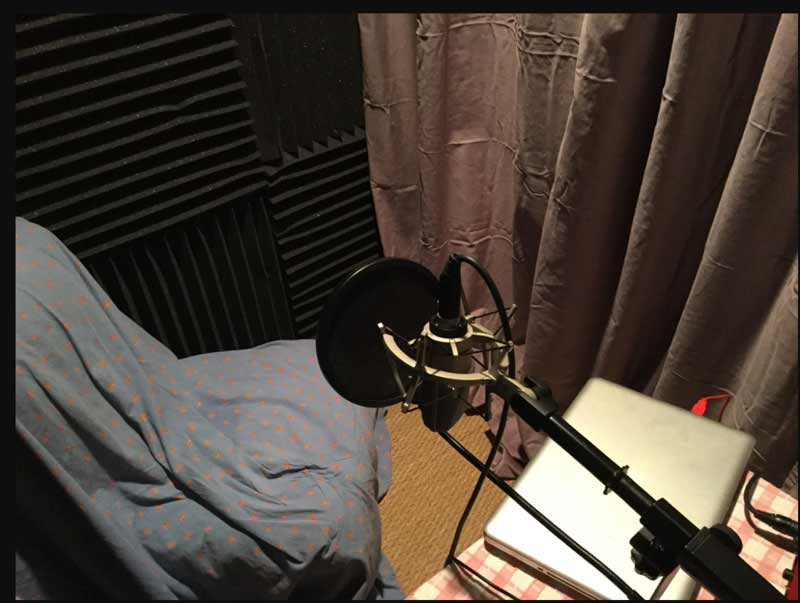
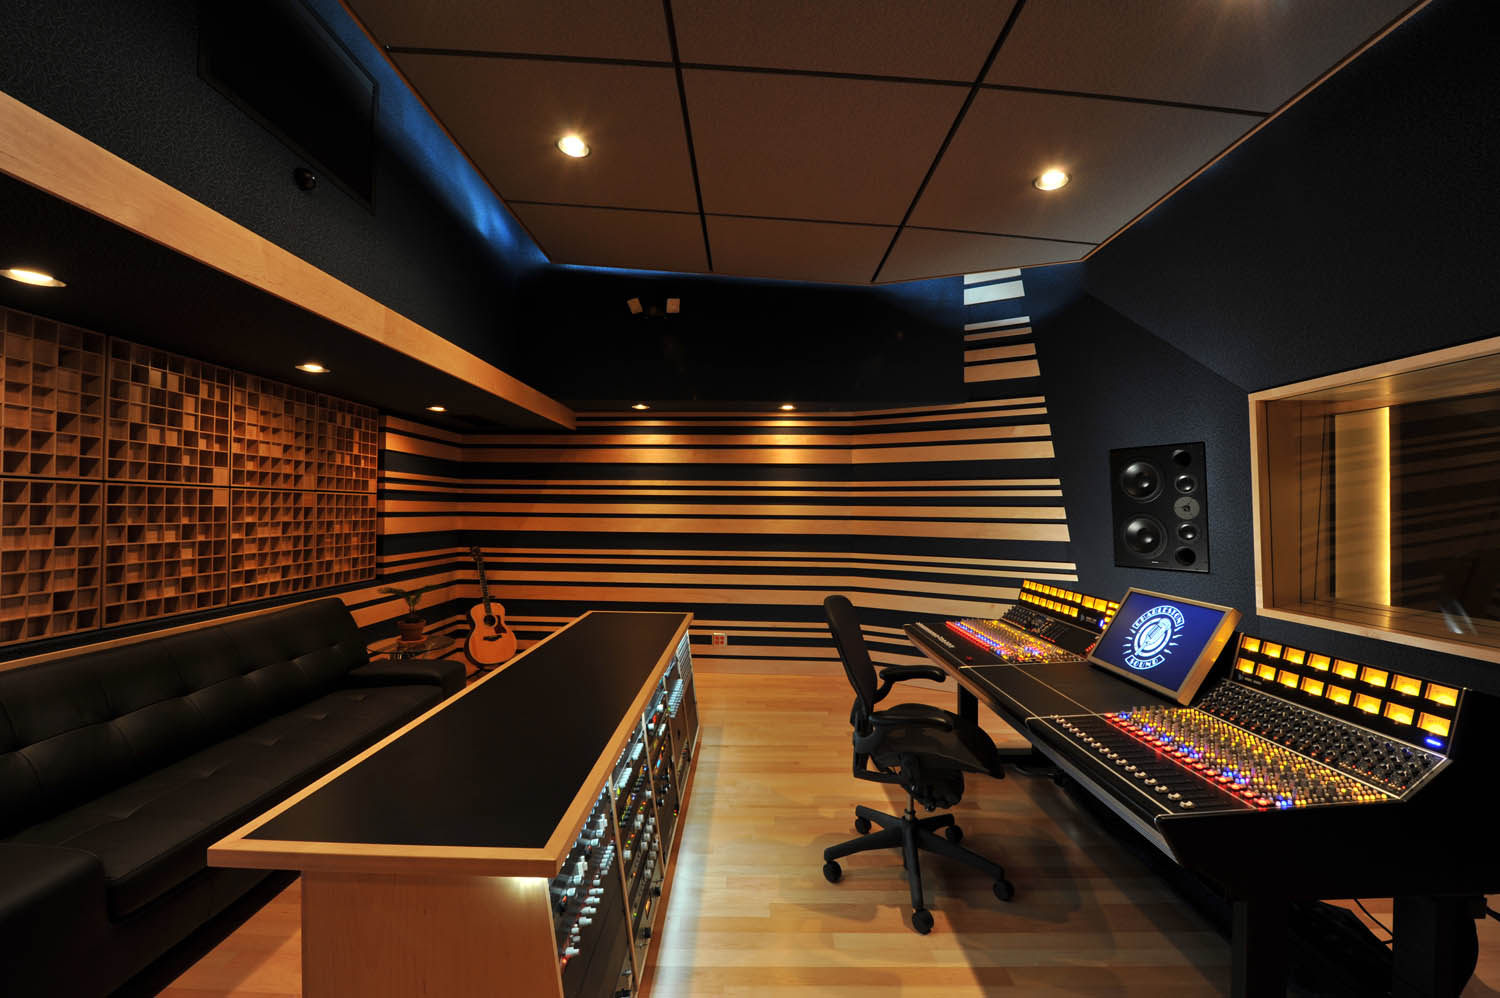
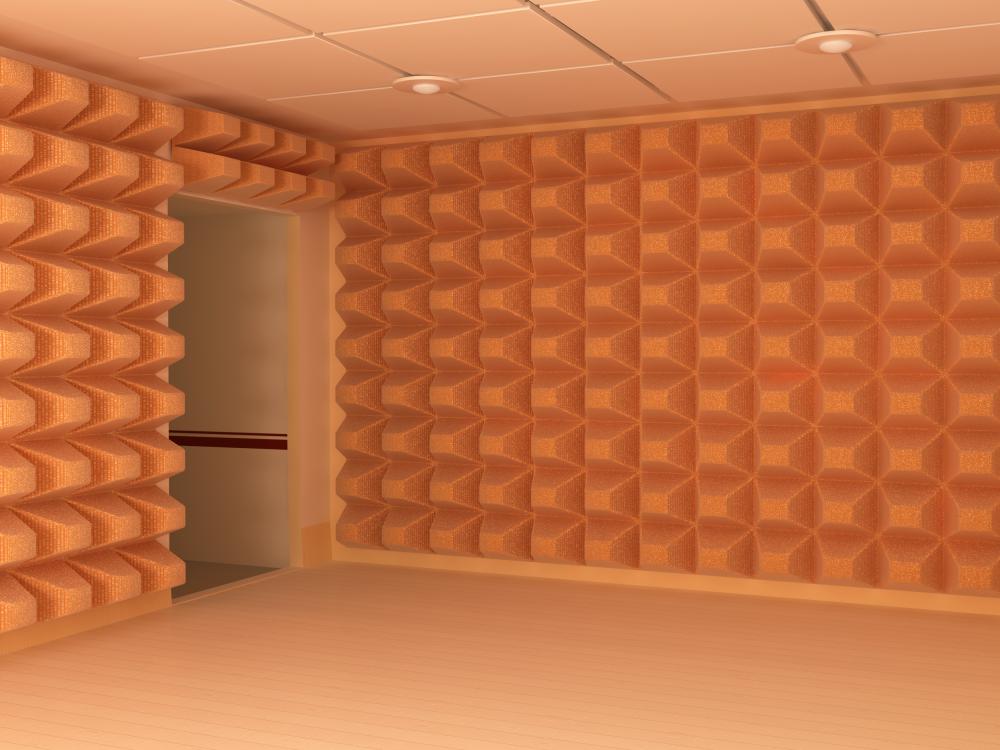
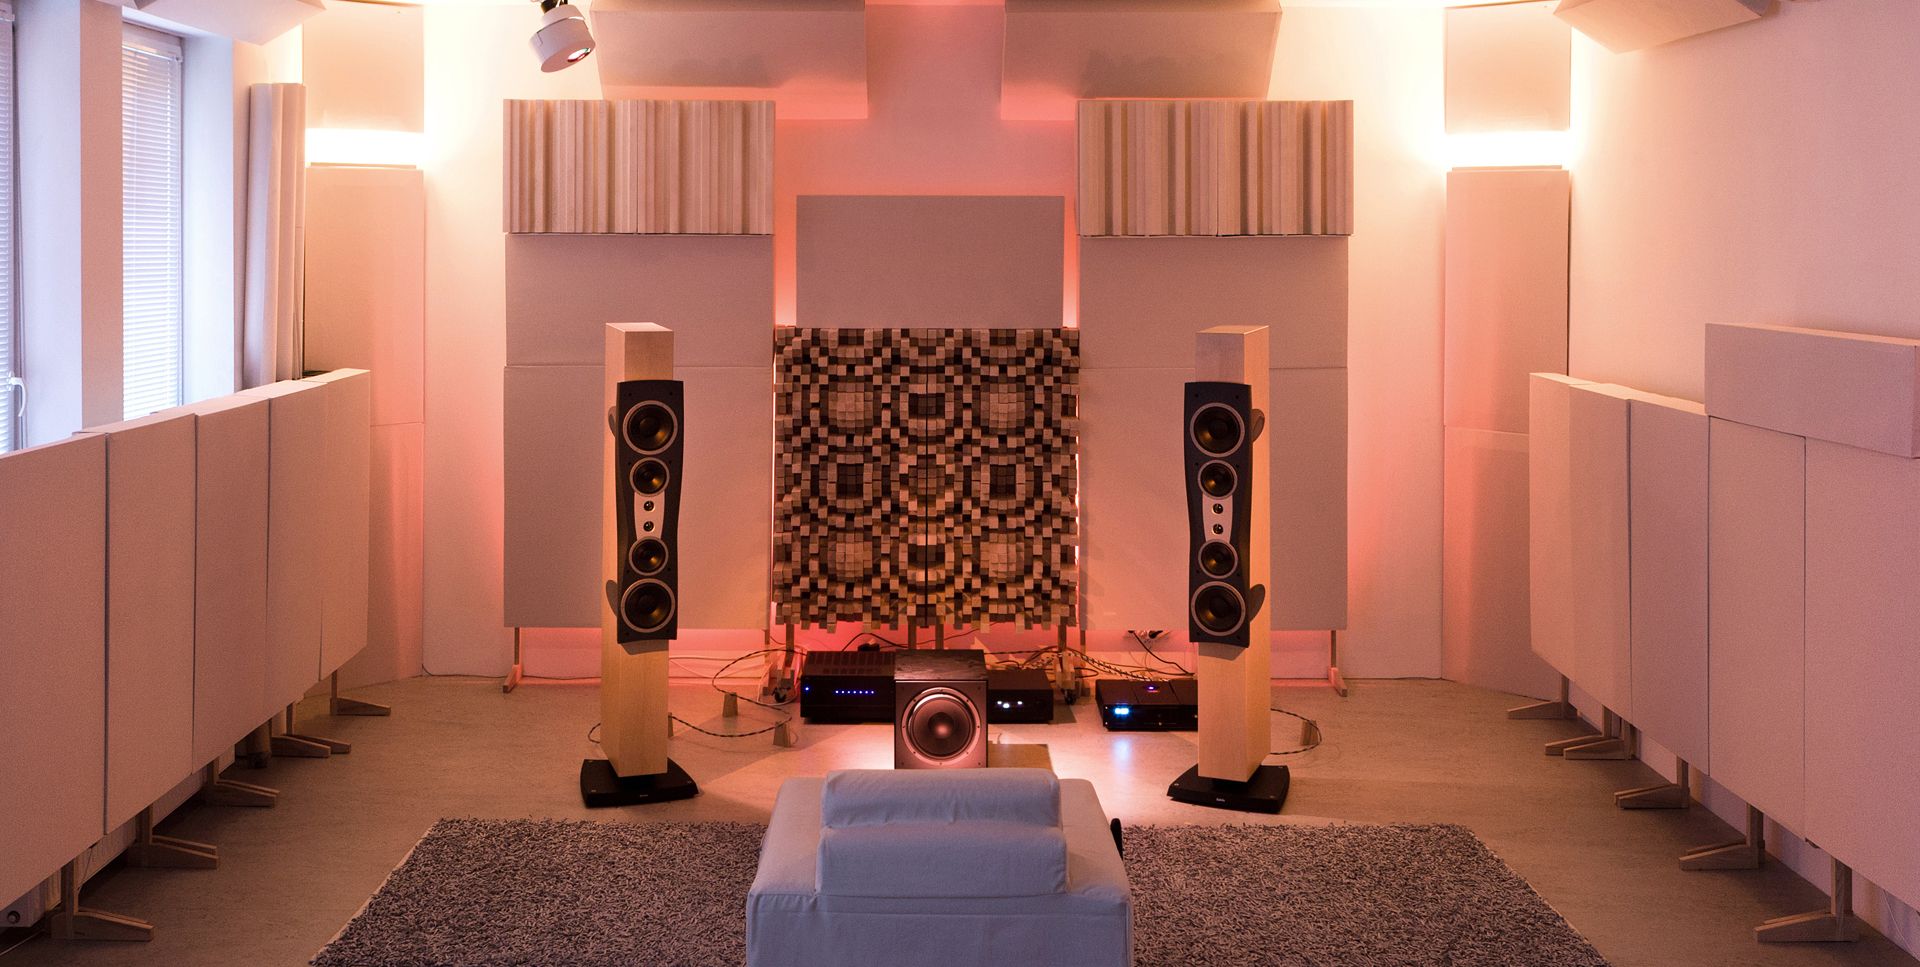
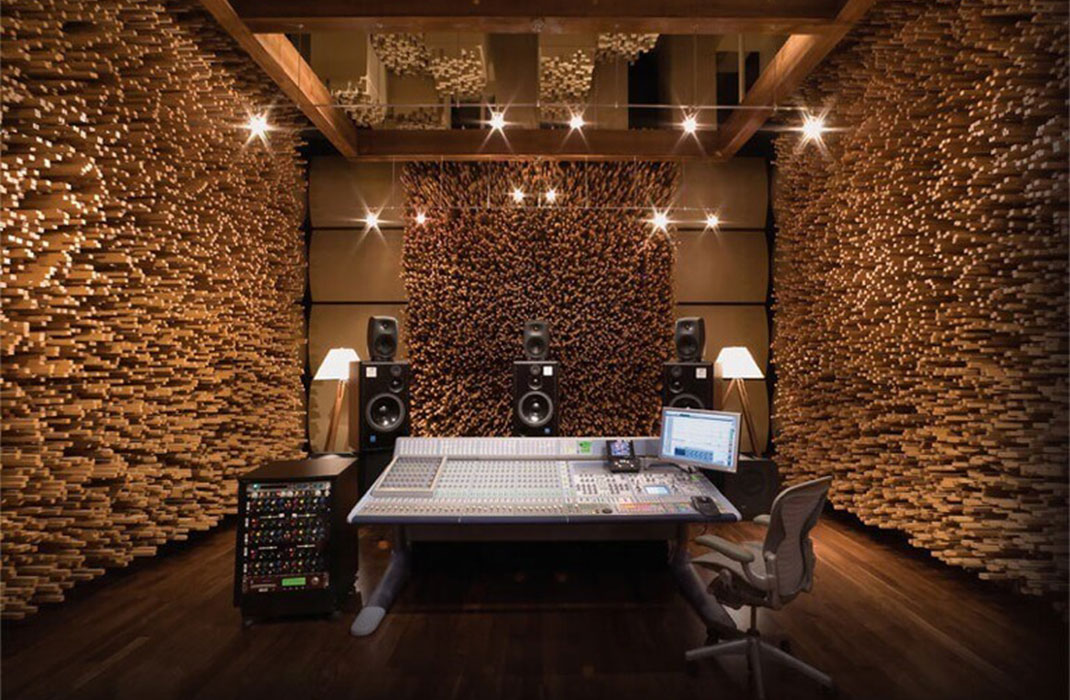
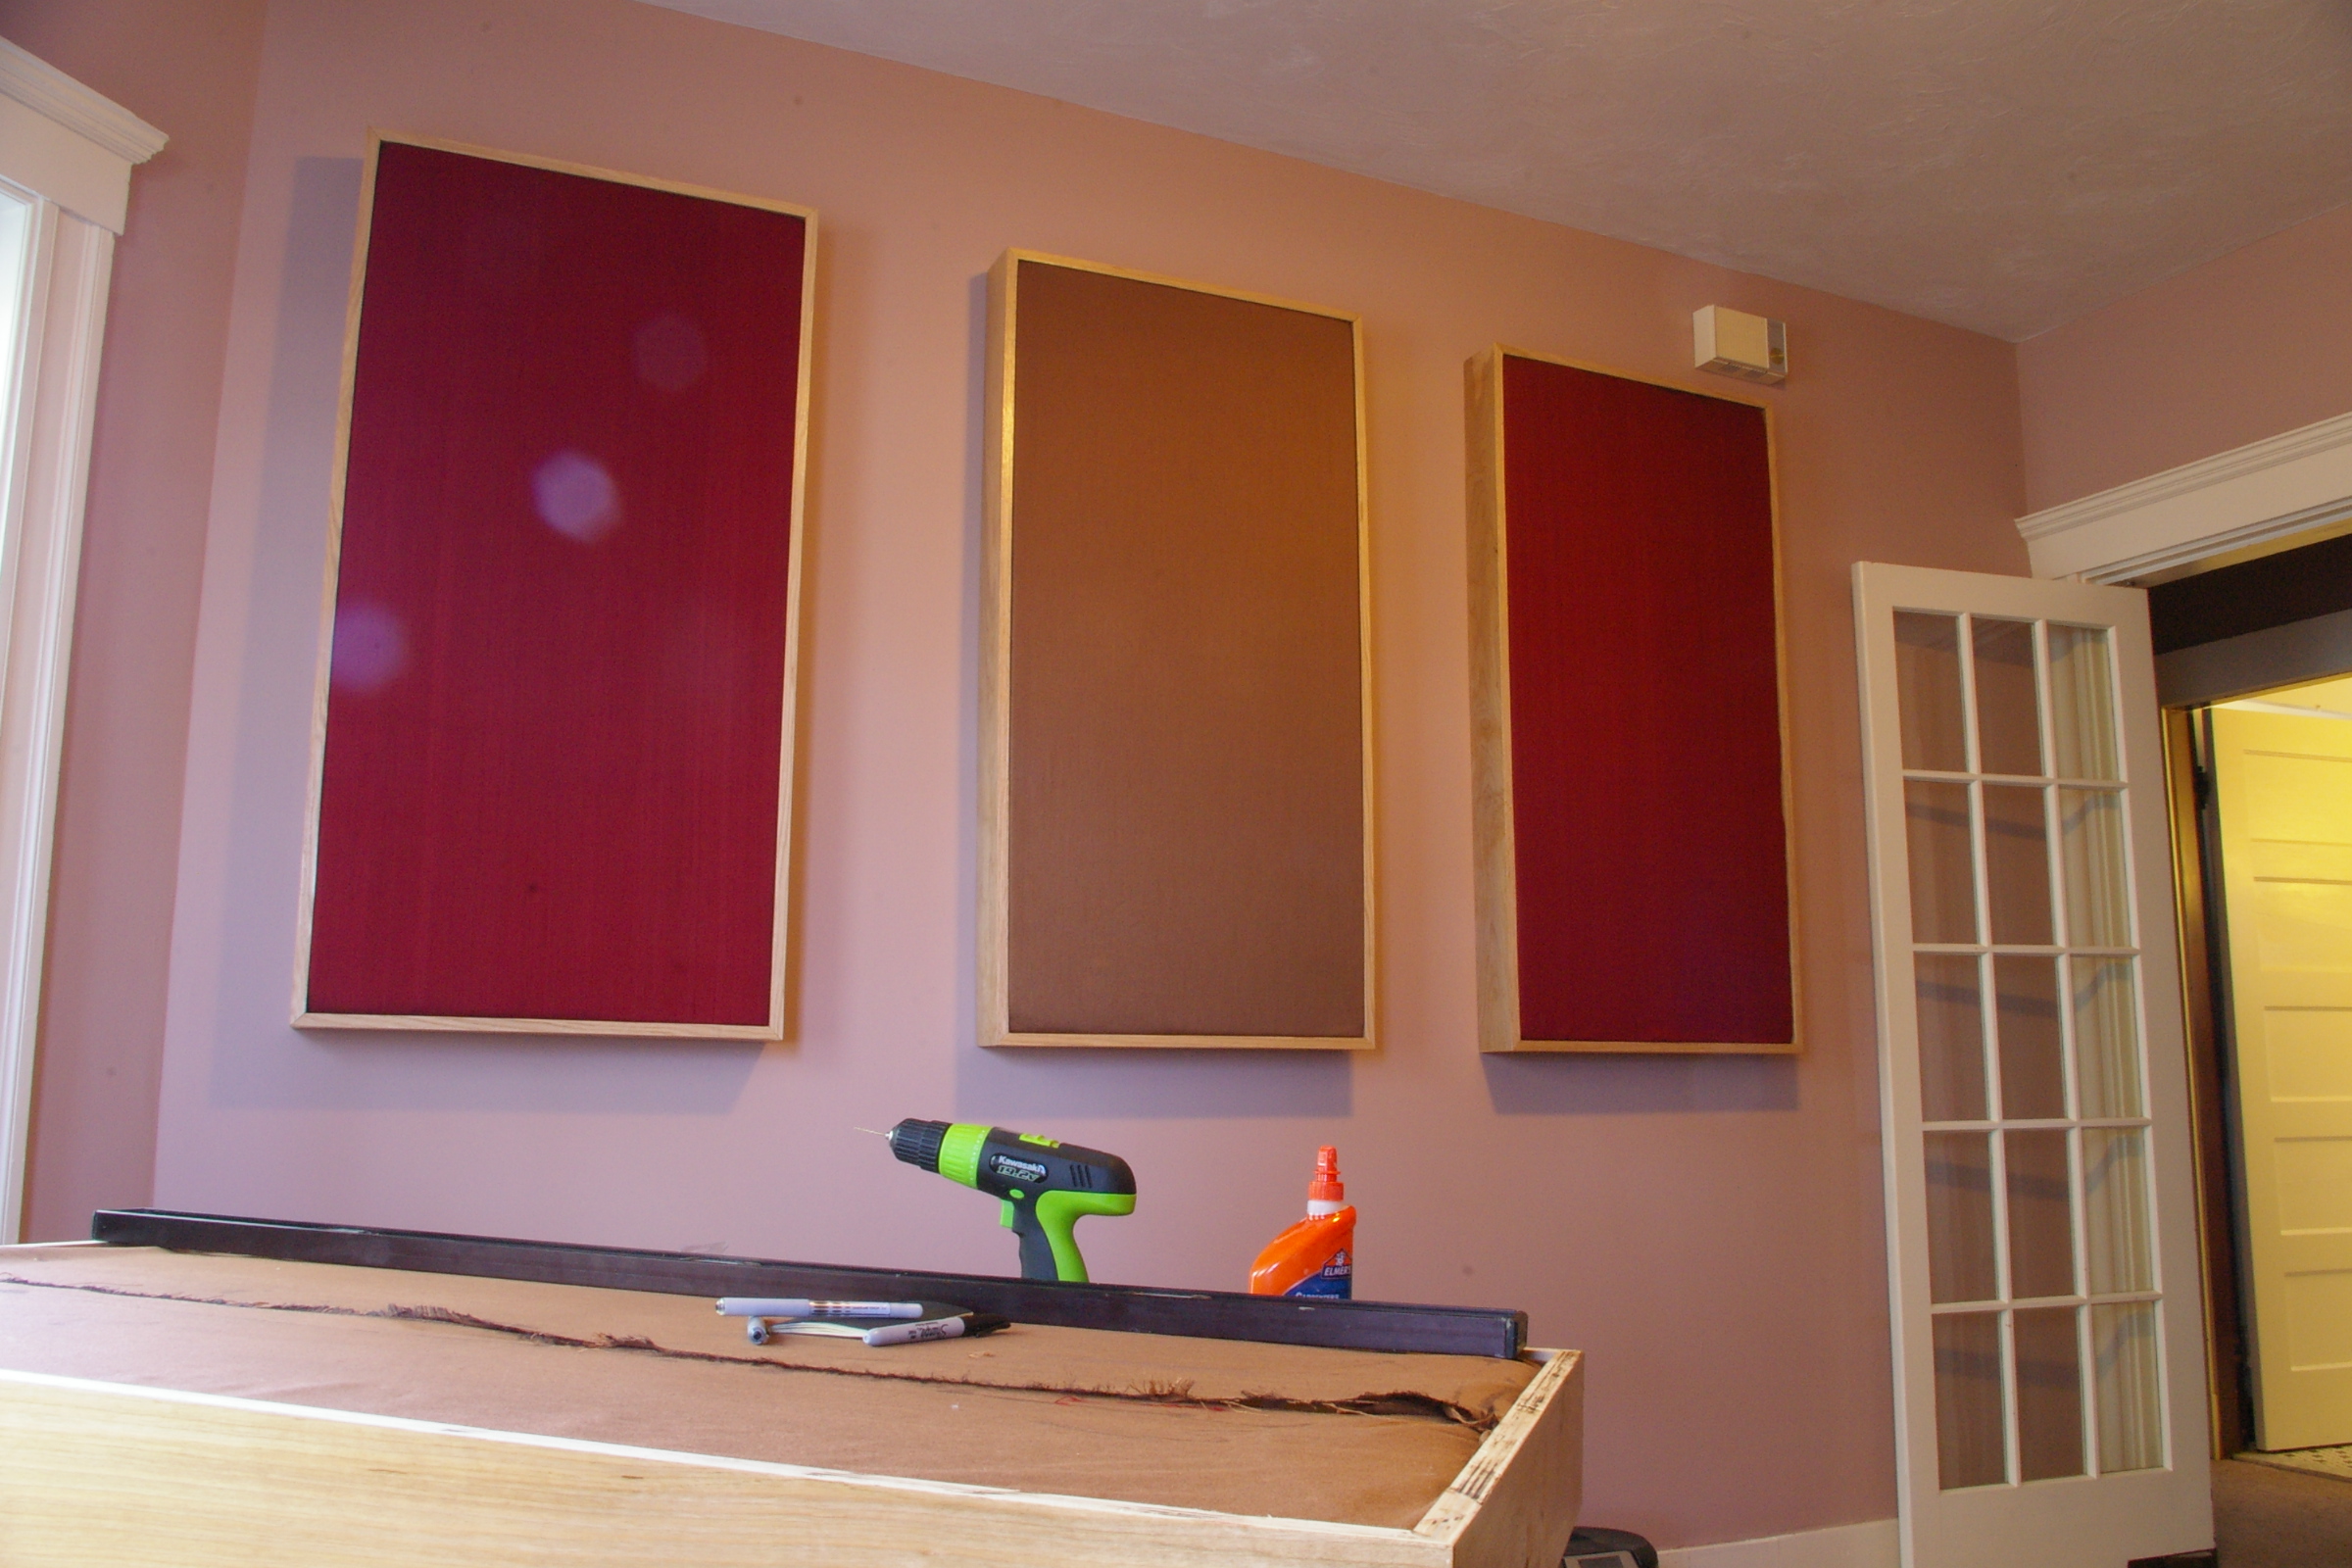
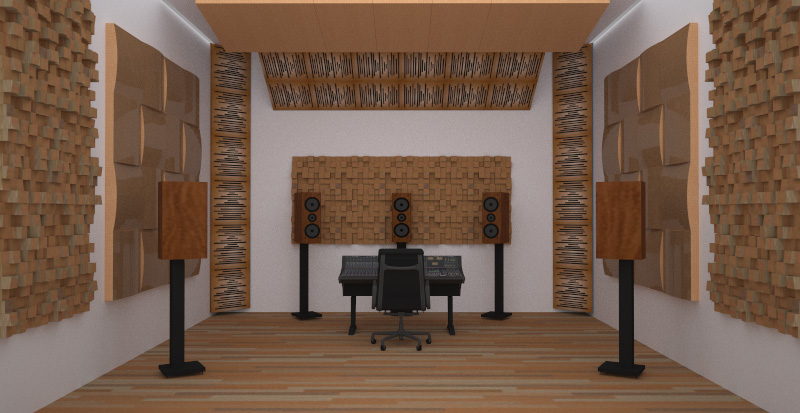
Soundproofing a Room
One of the biggest challenges of recording in a living room is dealing with external noise. To minimize unwanted sounds, you can soundproof your room by adding acoustic panels, carpets, and heavy curtains. This will help create a more controlled and quiet environment for recording.


Soundproofing a Room


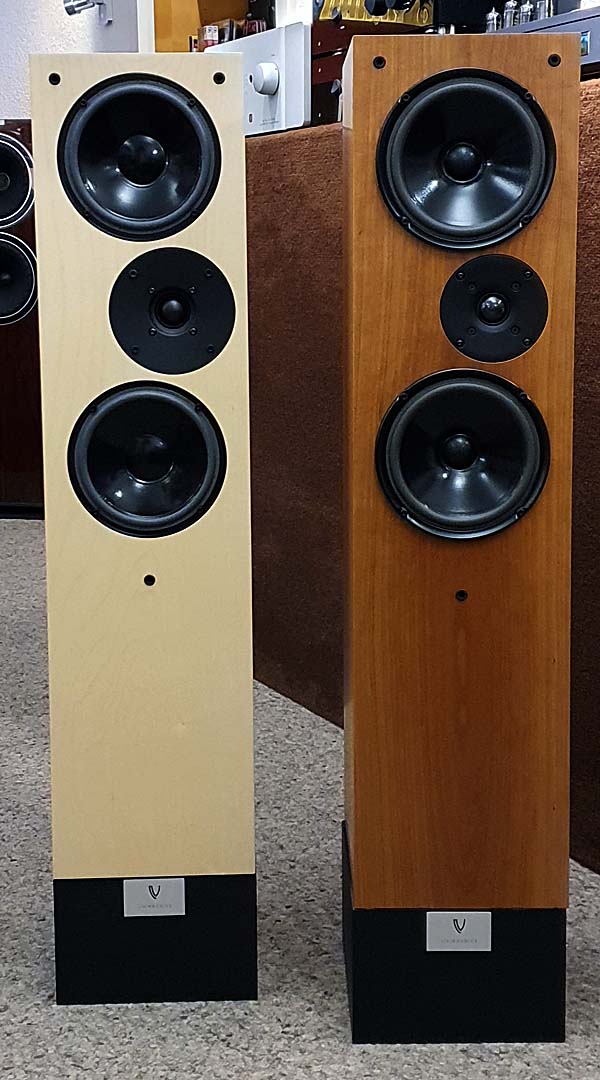
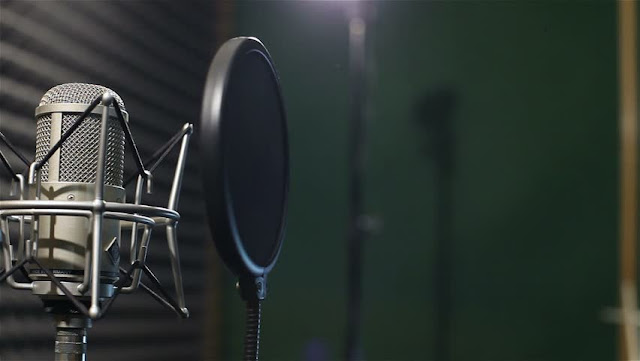
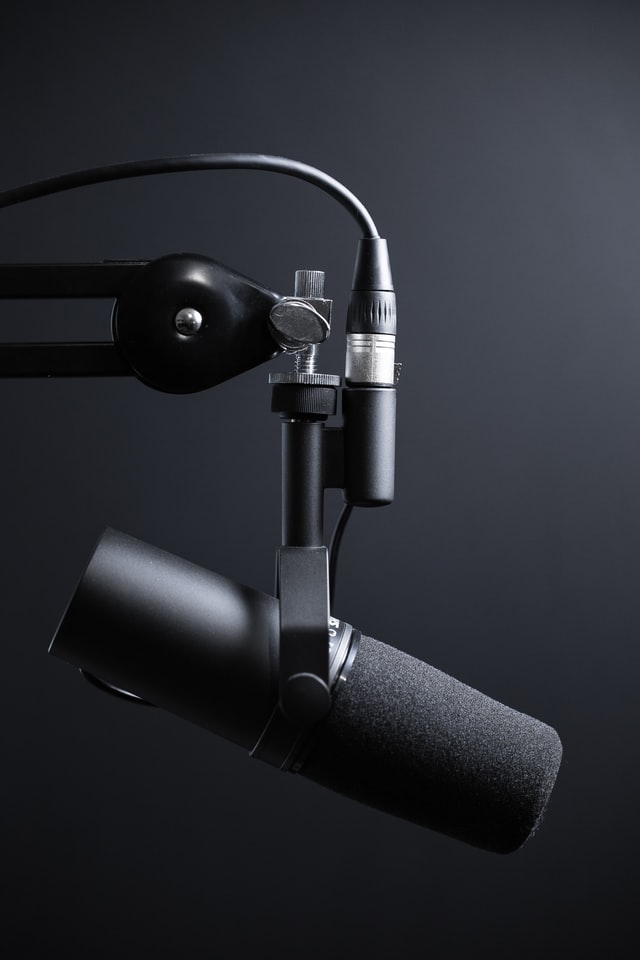
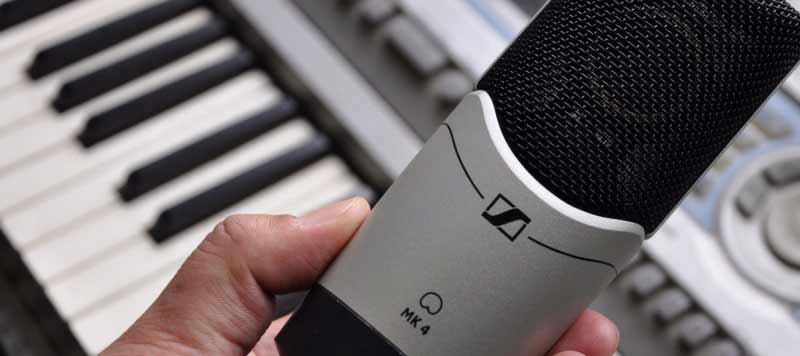
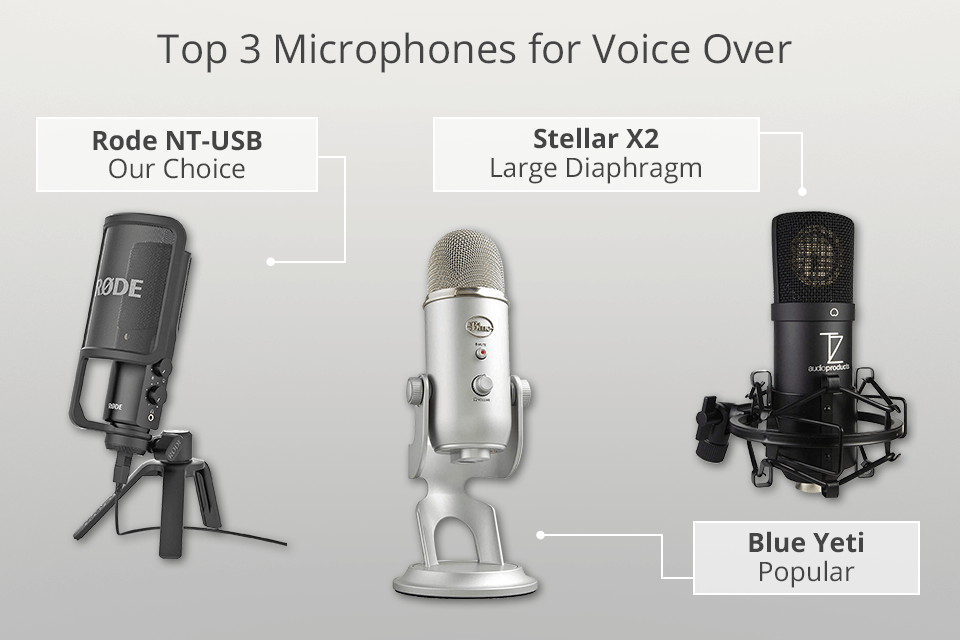
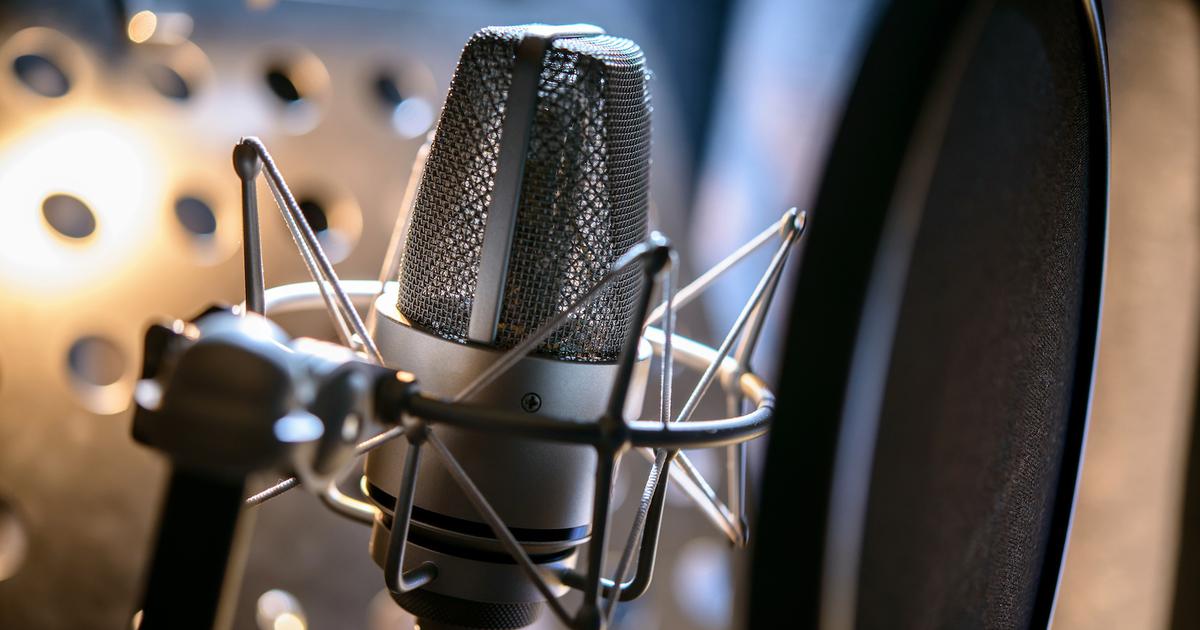
Voice Over Microphone
Investing in a good quality microphone is crucial for producing professional voice overs. While there are many options on the market, some popular choices for voice over work include the Blue Yeti, Audio-Technica AT2020, and Rode NT1-A. Do your research and choose a microphone that best suits your voice and budget.
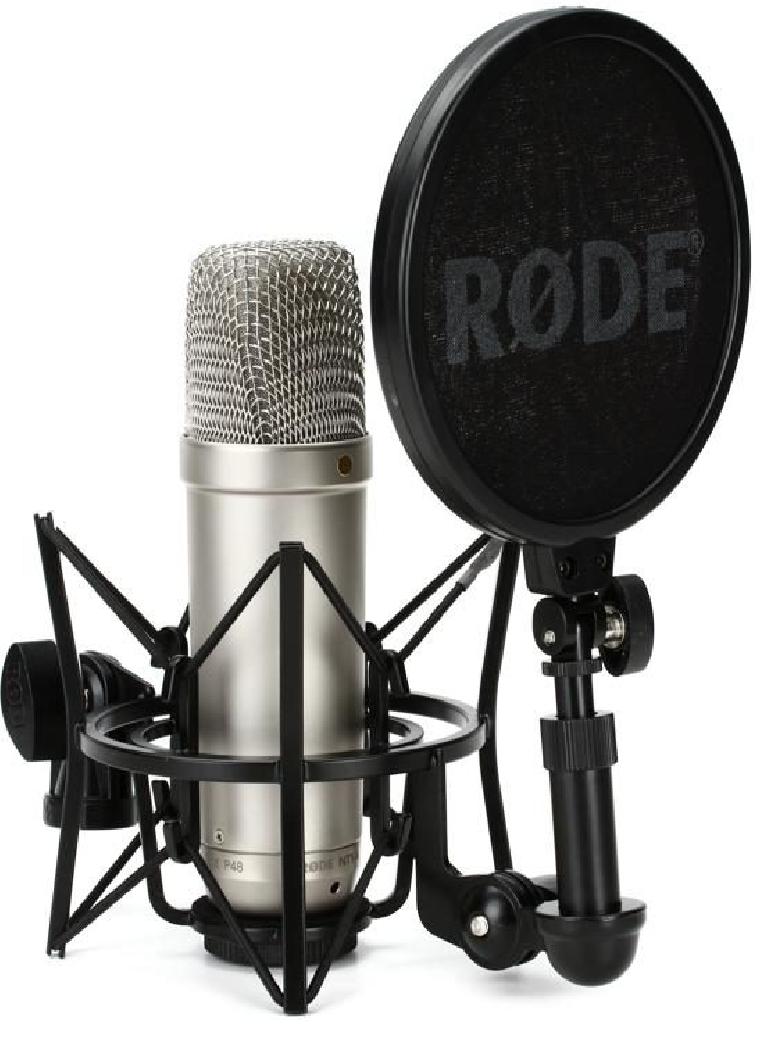
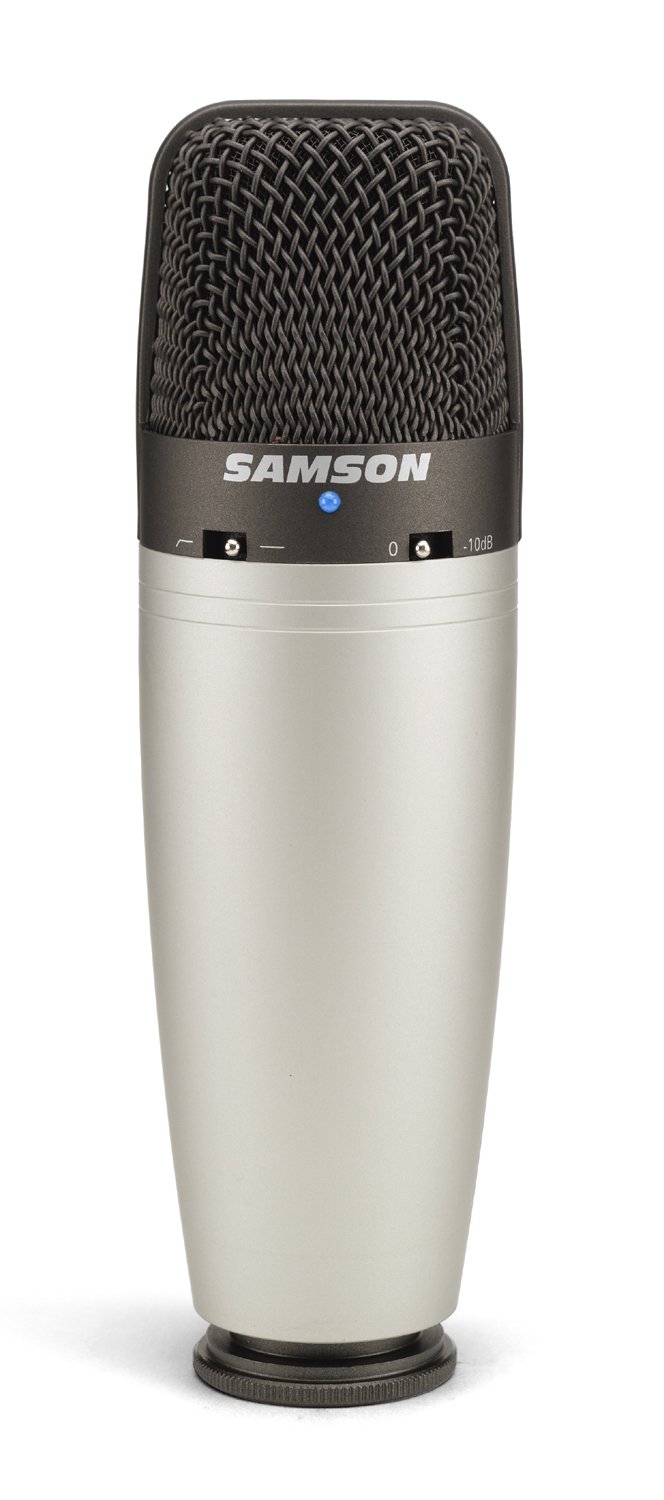
Voice Over Microphone


Acoustic Treatment
In addition to soundproofing, acoustic treatment is also important for improving the sound quality in your living room voice over studio. This includes using sound-absorbing materials such as acoustic foam panels, bass traps, and diffusers to control the sound reflections in the room.


Acoustic Treatment


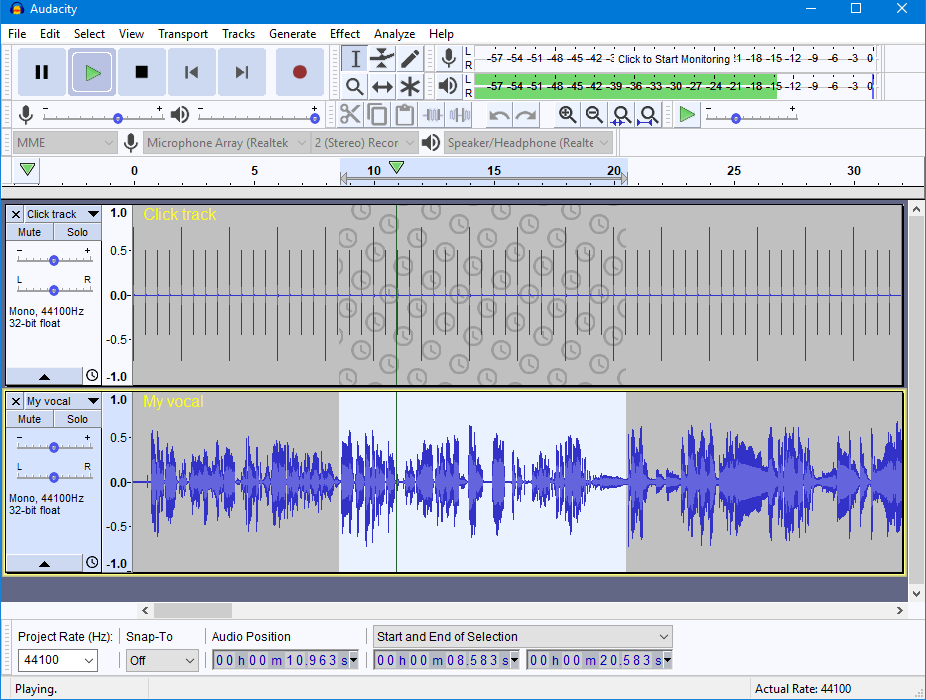
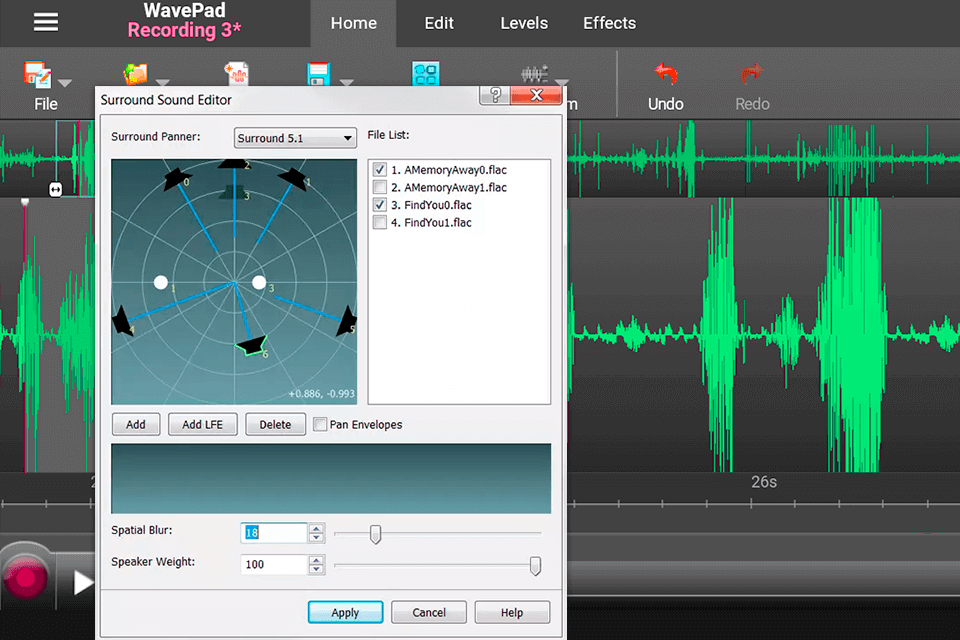
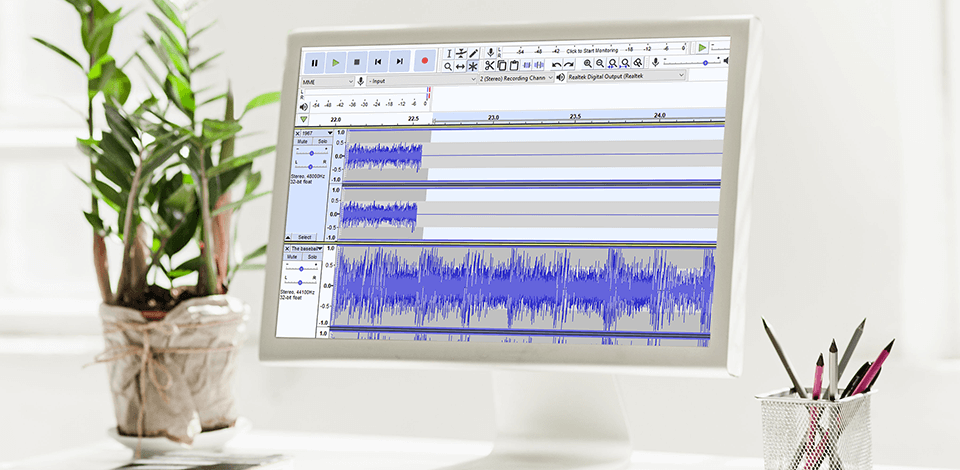
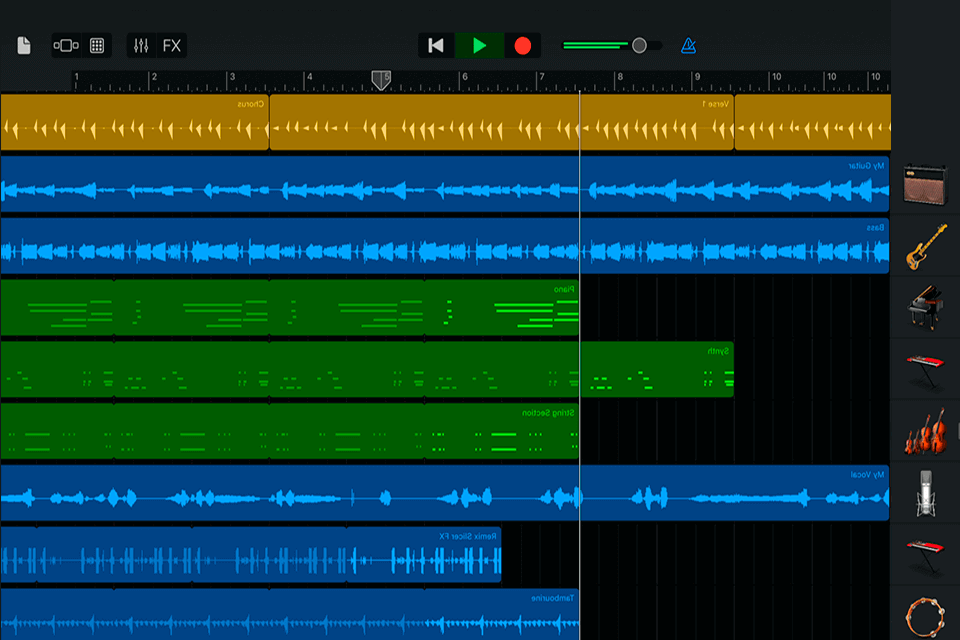
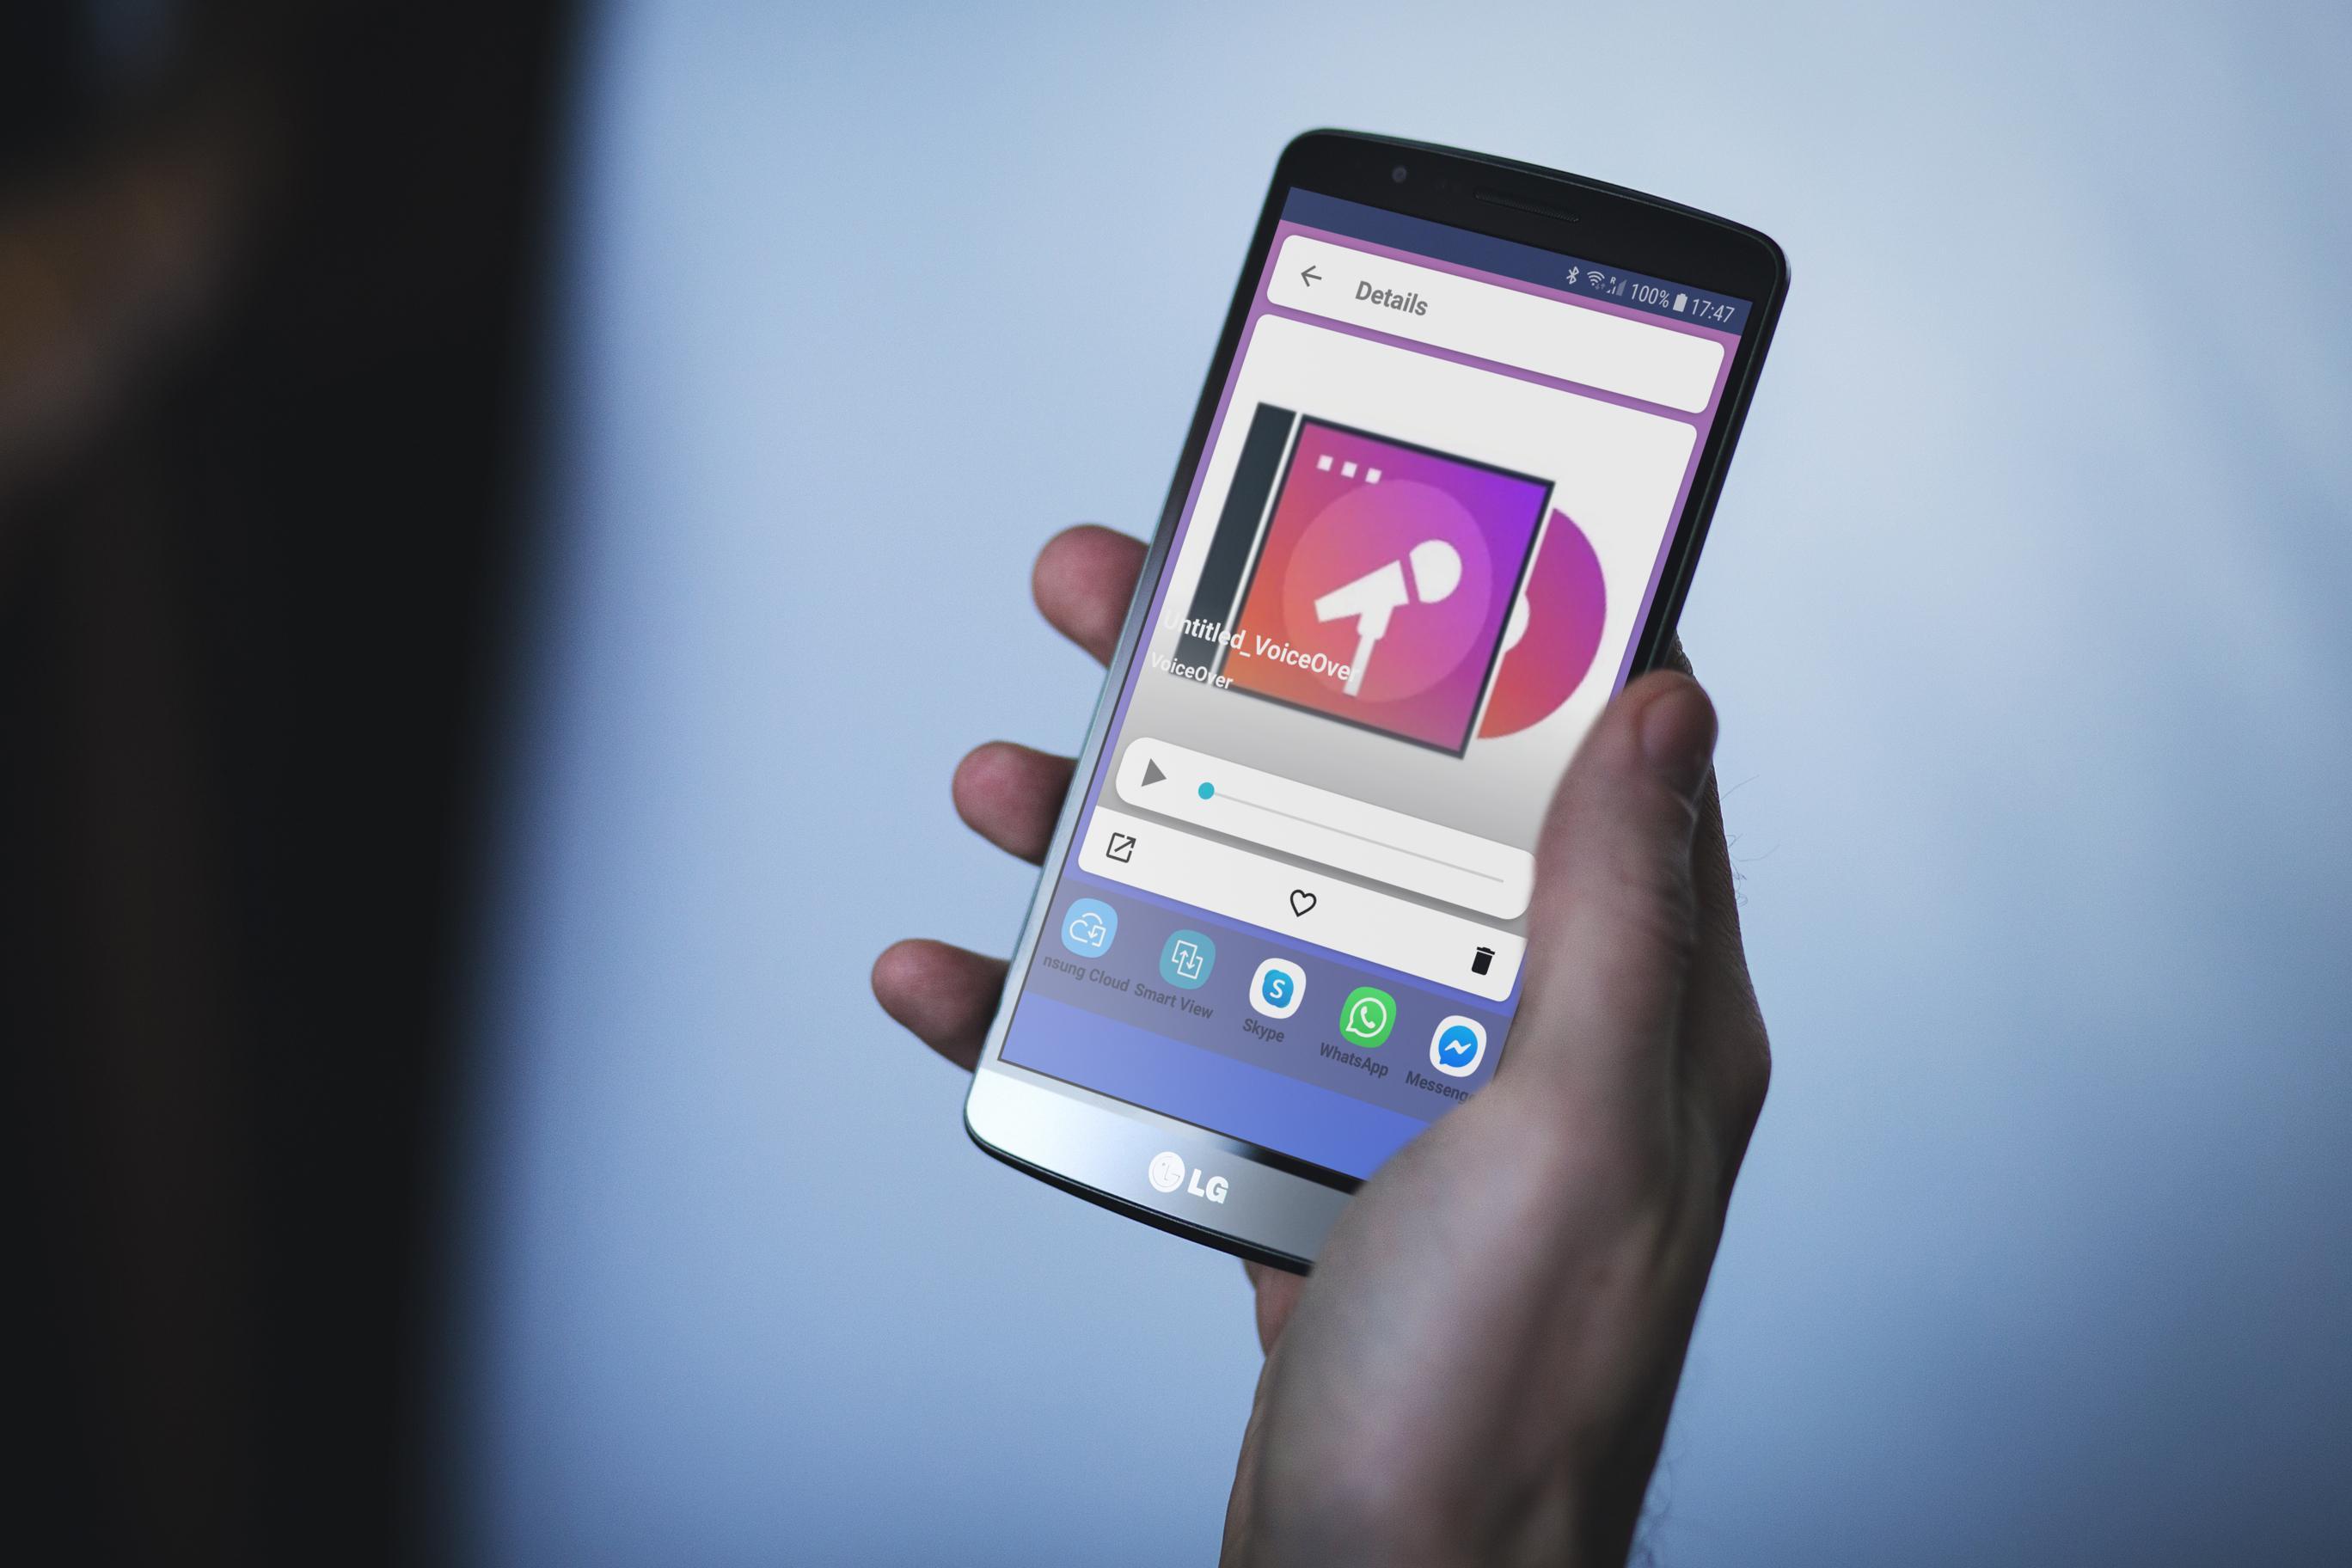
Voice Over Software
Recording and editing software is another essential component of a living room voice over studio. Some popular options include Adobe Audition, Pro Tools, and GarageBand. These programs allow you to record, edit, and mix your voice overs, giving you full control over the final product.
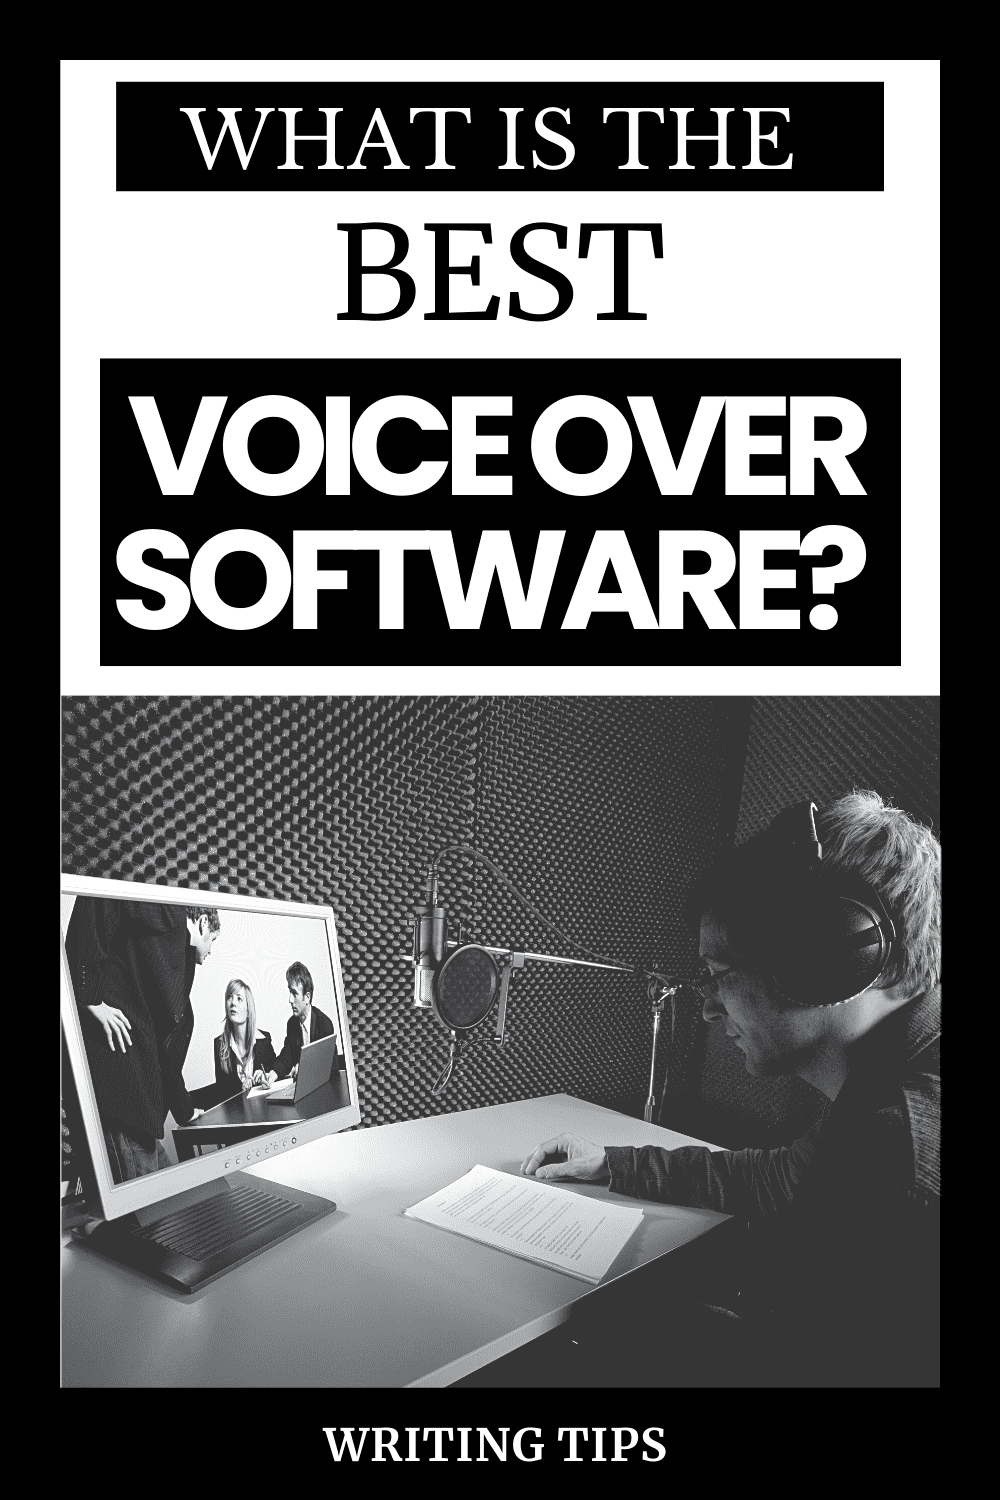

Voice Over Software


Home Studio Setup
Finally, it's important to set up your living room voice over studio in a way that is comfortable and conducive to recording. This may include having a designated seating area for recording, proper lighting, and a clutter-free environment to minimize distractions.
In conclusion, a living room voice over studio is a convenient and cost-effective solution for voice actors looking to record professional voice overs from home. By investing in the right equipment and setting up your space properly, you can create a versatile and efficient home recording studio. So why wait? Get started on your living room voice over studio today and take your voice over career to the next level!


Home Studio Setup


Transform Your Living Room into a Professional Voice-Over Studio
Creating the Perfect Space for High-Quality Recordings
 Are you a voice-over artist looking for a convenient and cost-effective way to record your work? Look no further than your own living room. With the right setup and equipment, you can transform this space into a professional voice-over studio that meets all your recording needs.
Living room voice-over studios
are becoming increasingly popular among voice actors, as they offer a comfortable and familiar environment to work in. Plus, with the rise of remote work, having a home studio allows for more flexibility and convenience in your recording schedule.
Before diving into the setup process, it's important to assess your living room's acoustics. The key to a successful voice-over recording is to minimize unwanted noise and echoes.
Soundproofing
is essential to achieve this. Consider adding sound-absorbing curtains or acoustic panels to the walls and windows.
Furniture and rugs
can also help to absorb sound and reduce echoes.
Next, invest in quality
recording equipment
. This includes a microphone, headphones, and a digital audio workstation (DAW) software. It's crucial to choose equipment that suits your voice and recording style. Research and read reviews to find the best options for your budget and needs.
Once you have your equipment, it's time to set up your
recording space
. Find a spot in your living room that is away from any noise distractions, such as windows, doors, or appliances. Position your microphone in front of a sound-absorbing surface, like a pillow or foam block, to reduce any plosive sounds.
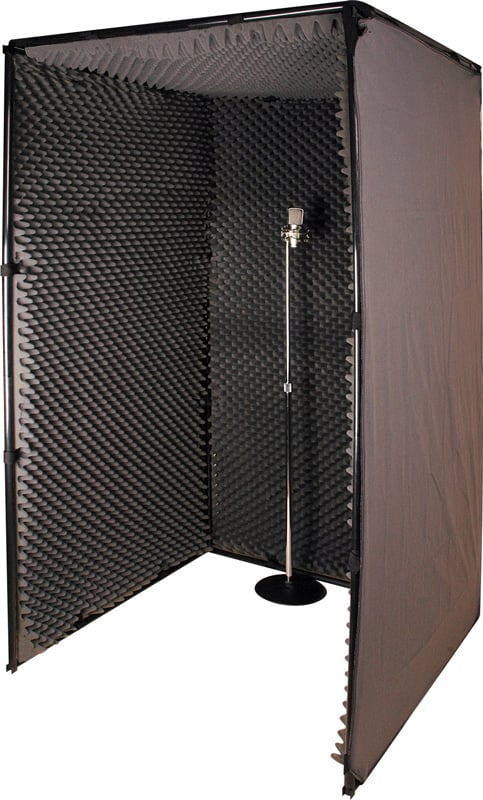
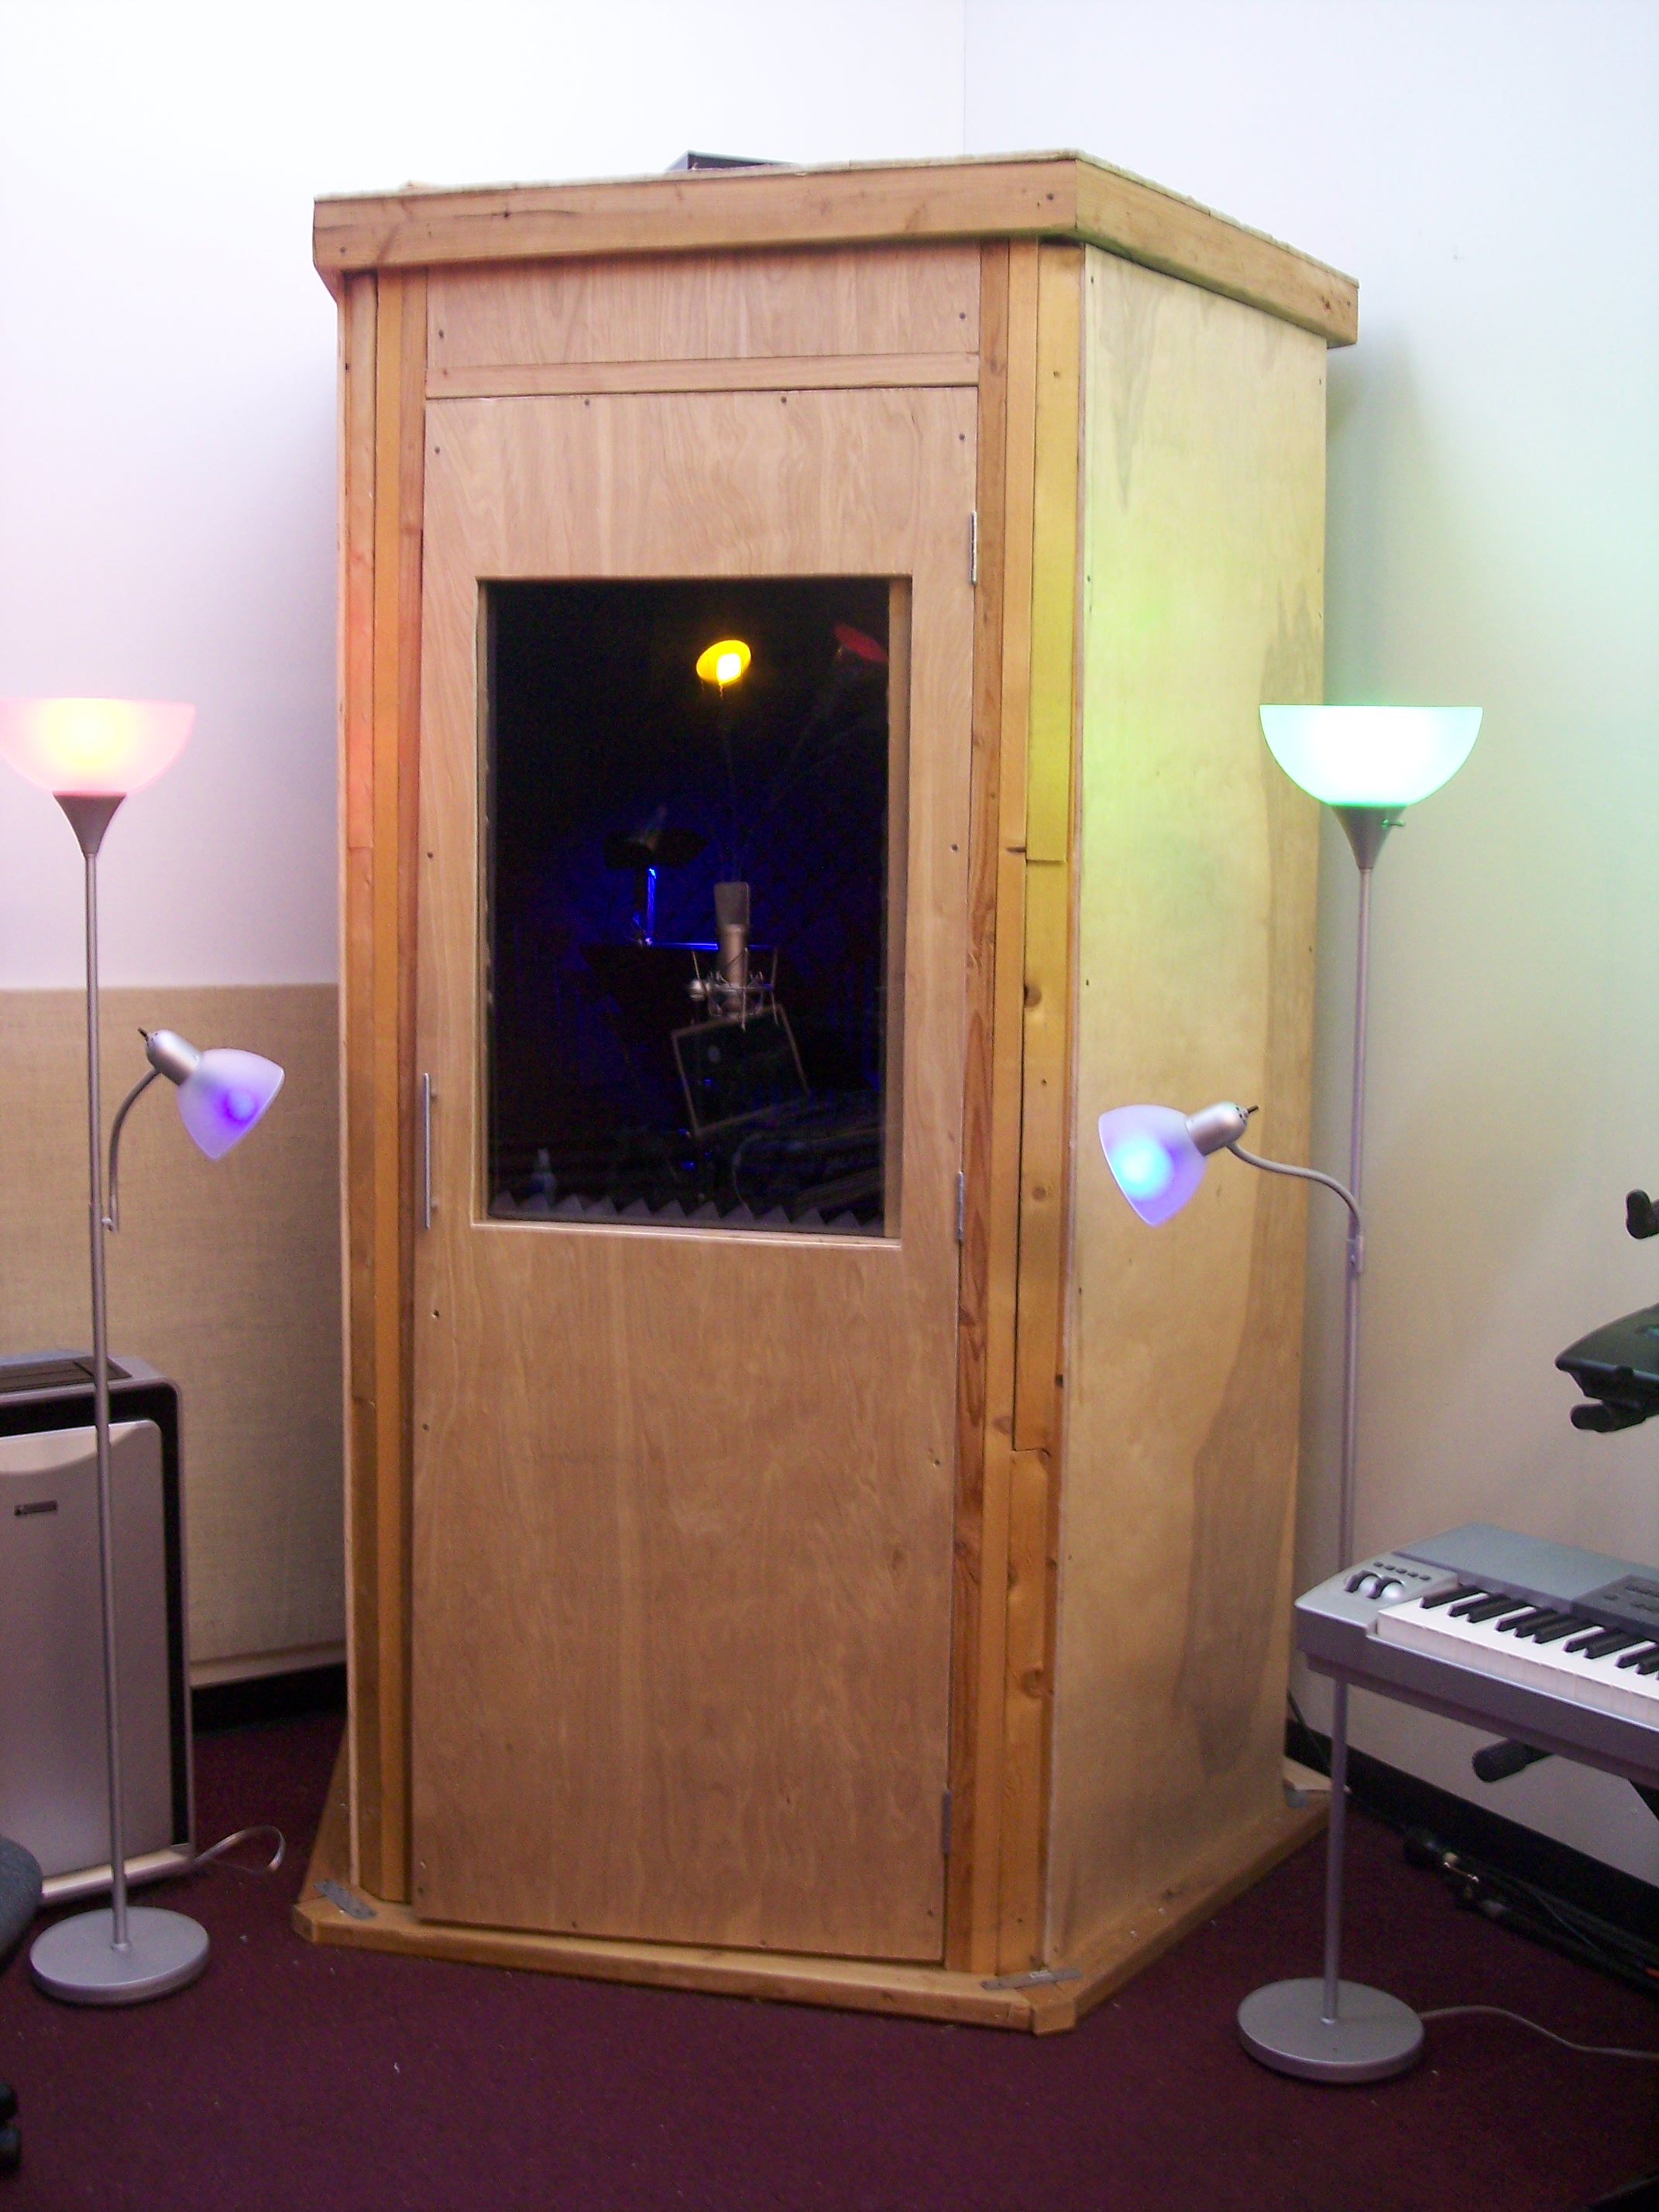
To
optimize your recording quality
, consider investing in a
sound booth
or vocal booth. This can be a small, portable tent-like structure that surrounds your microphone and helps to further reduce external noise and echoes.
Finally,
lighting
is an essential factor in creating a professional-looking recording space. Natural light is ideal, but you can also invest in artificial lighting options to ensure your videos or live streams have a high-quality appearance.
In conclusion, transforming your living room into a professional voice-over studio is a convenient and cost-effective option for voice actors. With the right setup, equipment, and attention to detail, you can create a space that meets all your recording needs and helps you produce high-quality work. So why wait? Start building your very own living room voice-over studio today and take your voice acting career to the next level.
Are you a voice-over artist looking for a convenient and cost-effective way to record your work? Look no further than your own living room. With the right setup and equipment, you can transform this space into a professional voice-over studio that meets all your recording needs.
Living room voice-over studios
are becoming increasingly popular among voice actors, as they offer a comfortable and familiar environment to work in. Plus, with the rise of remote work, having a home studio allows for more flexibility and convenience in your recording schedule.
Before diving into the setup process, it's important to assess your living room's acoustics. The key to a successful voice-over recording is to minimize unwanted noise and echoes.
Soundproofing
is essential to achieve this. Consider adding sound-absorbing curtains or acoustic panels to the walls and windows.
Furniture and rugs
can also help to absorb sound and reduce echoes.
Next, invest in quality
recording equipment
. This includes a microphone, headphones, and a digital audio workstation (DAW) software. It's crucial to choose equipment that suits your voice and recording style. Research and read reviews to find the best options for your budget and needs.
Once you have your equipment, it's time to set up your
recording space
. Find a spot in your living room that is away from any noise distractions, such as windows, doors, or appliances. Position your microphone in front of a sound-absorbing surface, like a pillow or foam block, to reduce any plosive sounds.
To
optimize your recording quality
, consider investing in a
sound booth
or vocal booth. This can be a small, portable tent-like structure that surrounds your microphone and helps to further reduce external noise and echoes.
Finally,
lighting
is an essential factor in creating a professional-looking recording space. Natural light is ideal, but you can also invest in artificial lighting options to ensure your videos or live streams have a high-quality appearance.
In conclusion, transforming your living room into a professional voice-over studio is a convenient and cost-effective option for voice actors. With the right setup, equipment, and attention to detail, you can create a space that meets all your recording needs and helps you produce high-quality work. So why wait? Start building your very own living room voice-over studio today and take your voice acting career to the next level.


