Living Room Baseboards: A Complete Guide
Baseboards may seem like a small detail in a living room, but they can have a big impact on the overall design and aesthetic of the space. These trim pieces not only add a finishing touch to the room, but they also protect walls from scuffs and scratches. In this complete guide, we will cover everything you need to know about living room baseboards, from installation to style choices.
How to Install Baseboards on a Ceiling
While baseboards are typically installed along the bottom of a wall, they can also be used to add visual interest to a ceiling. This is a great option for living rooms with high ceilings, as it can help to bring the room together and make it feel more cohesive. To install baseboards on a ceiling, follow these steps:
Step 1: Measure the length of the ceiling and cut your baseboard to fit.
Step 2: Apply construction adhesive to the back of the baseboard and press it onto the ceiling.
Step 3: Use a nail gun or hammer and finishing nails to secure the baseboard in place.
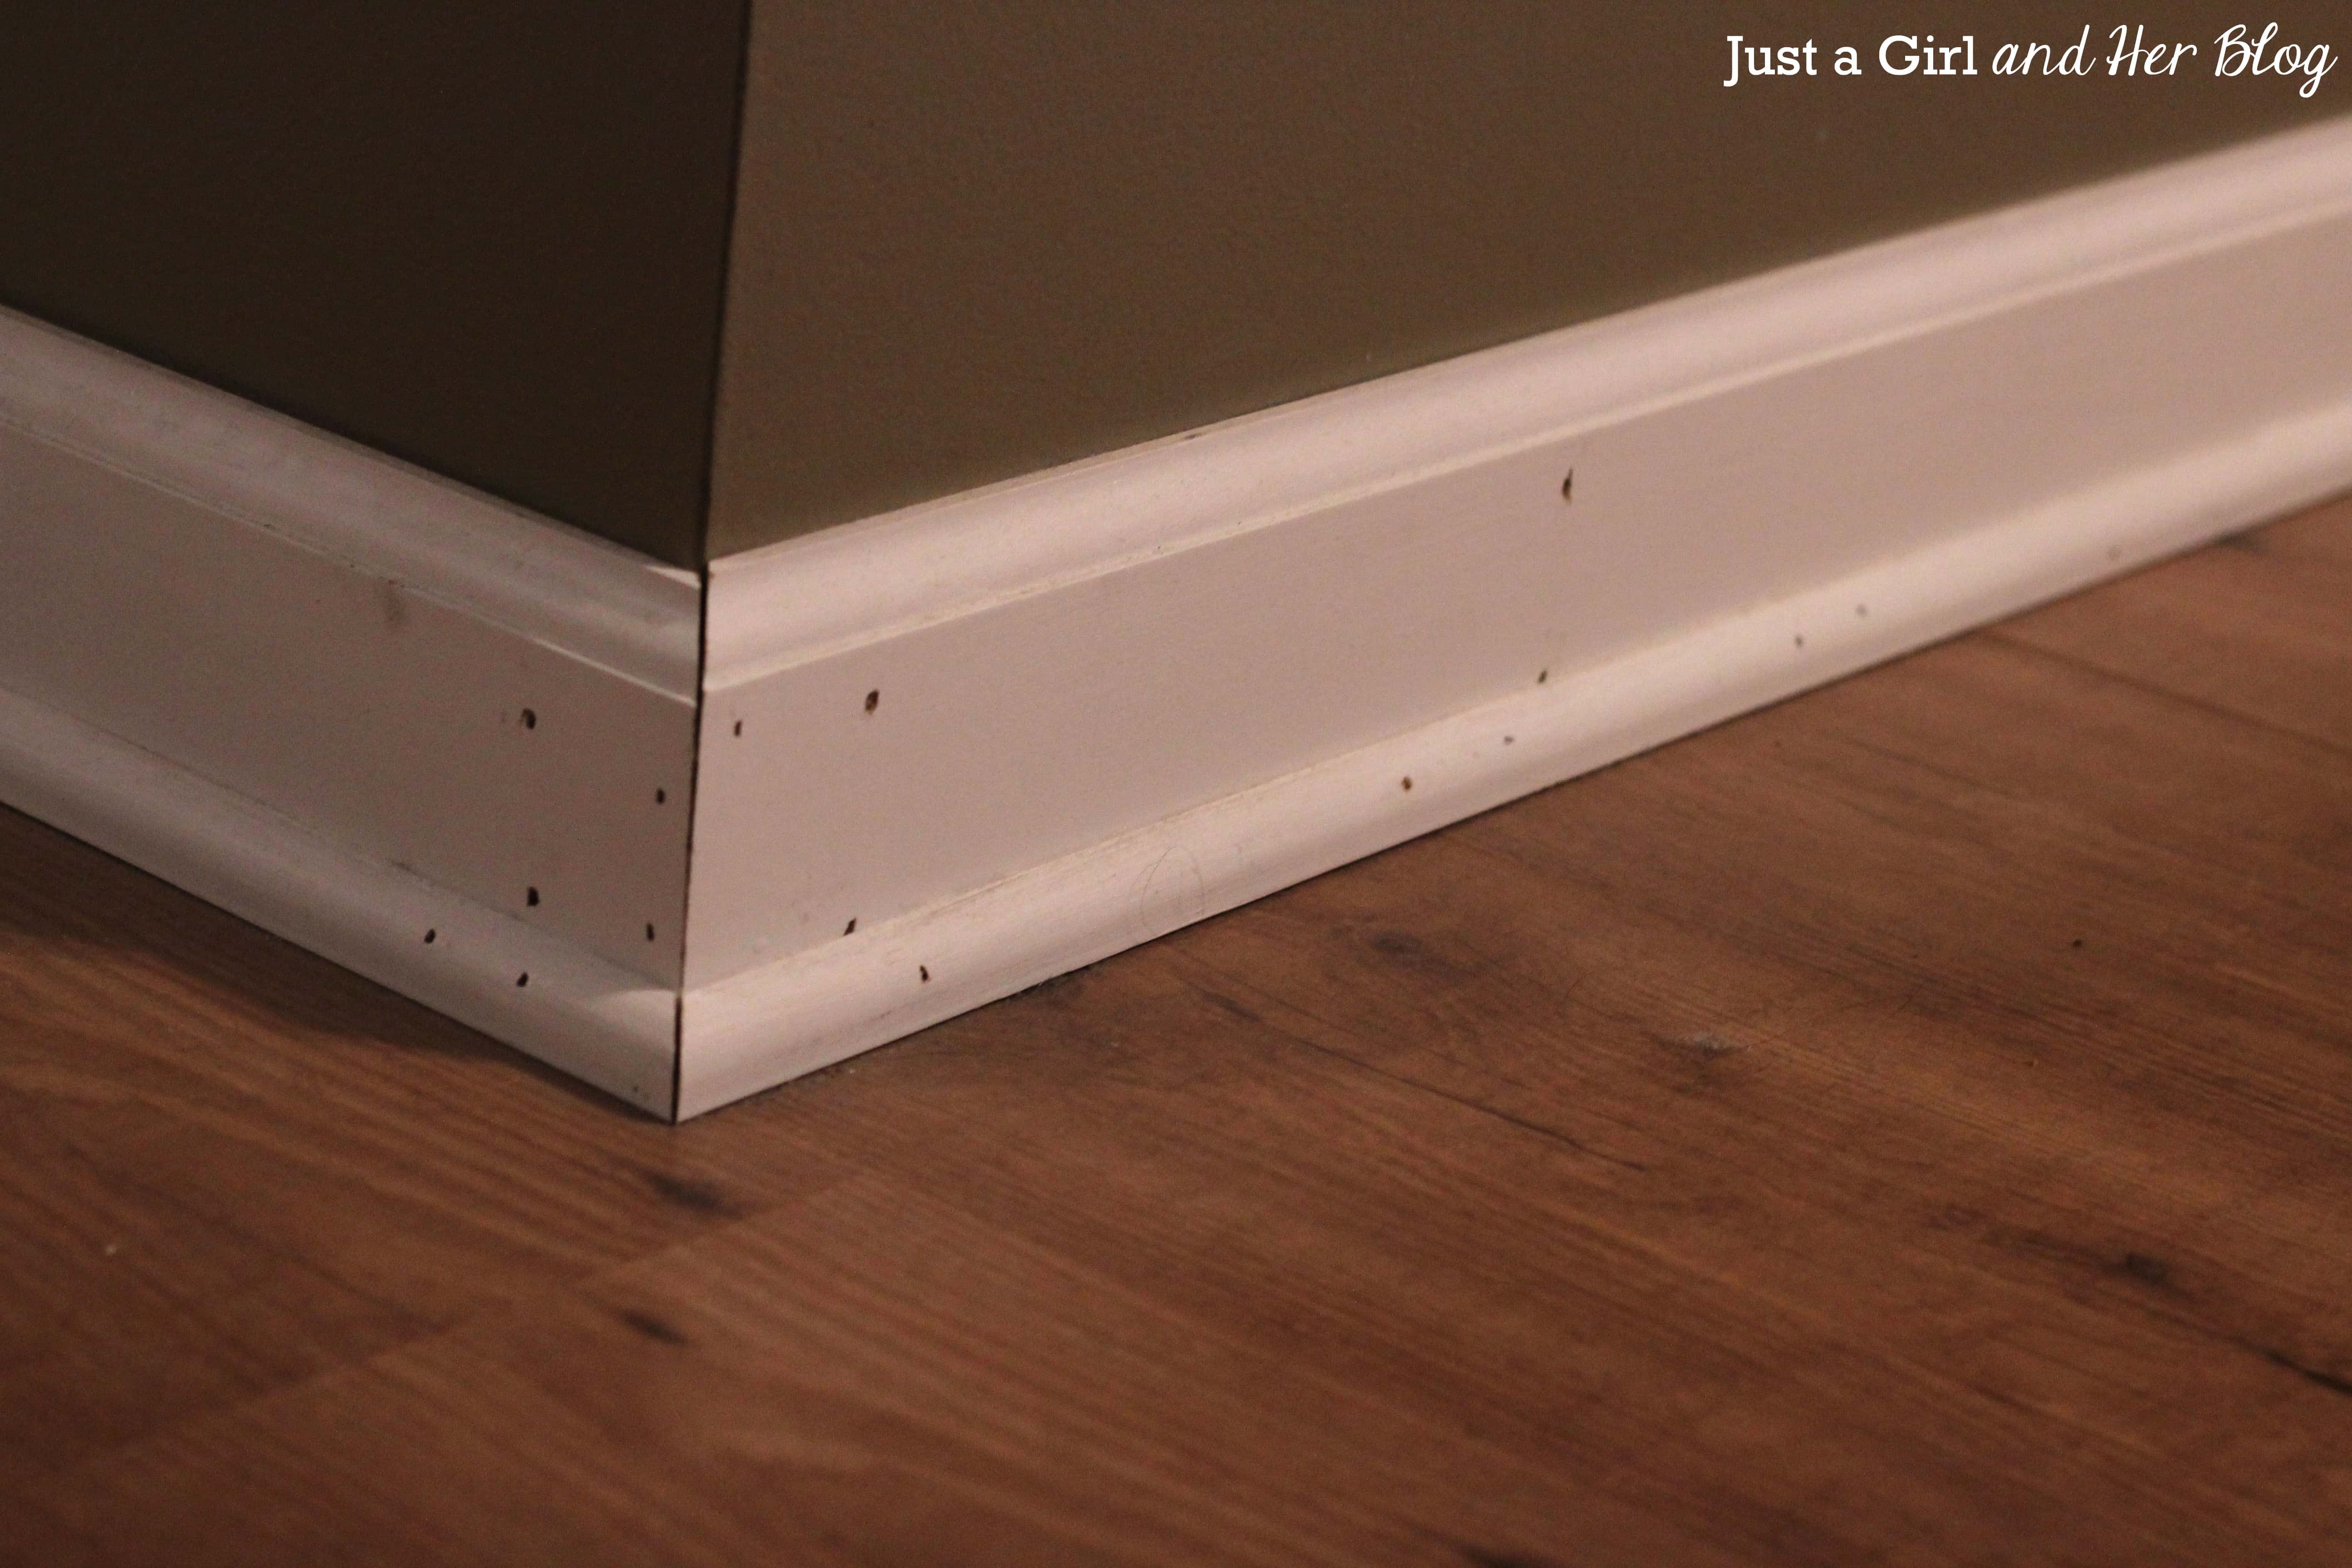
Step 4: Use wood filler to cover any nail holes and sand it down for a smooth finish.
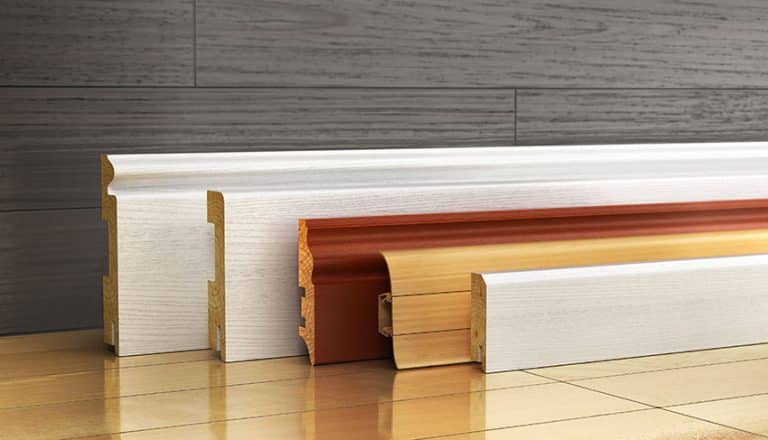
Baseboard Styles for Your Living Room
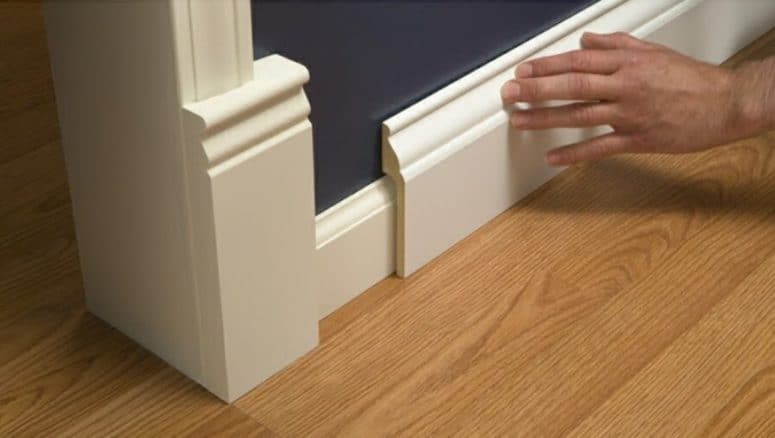
When it comes to baseboard styles, there are endless options to choose from. The style you choose will depend on the overall design and aesthetic of your living room. Here are a few popular options to consider:
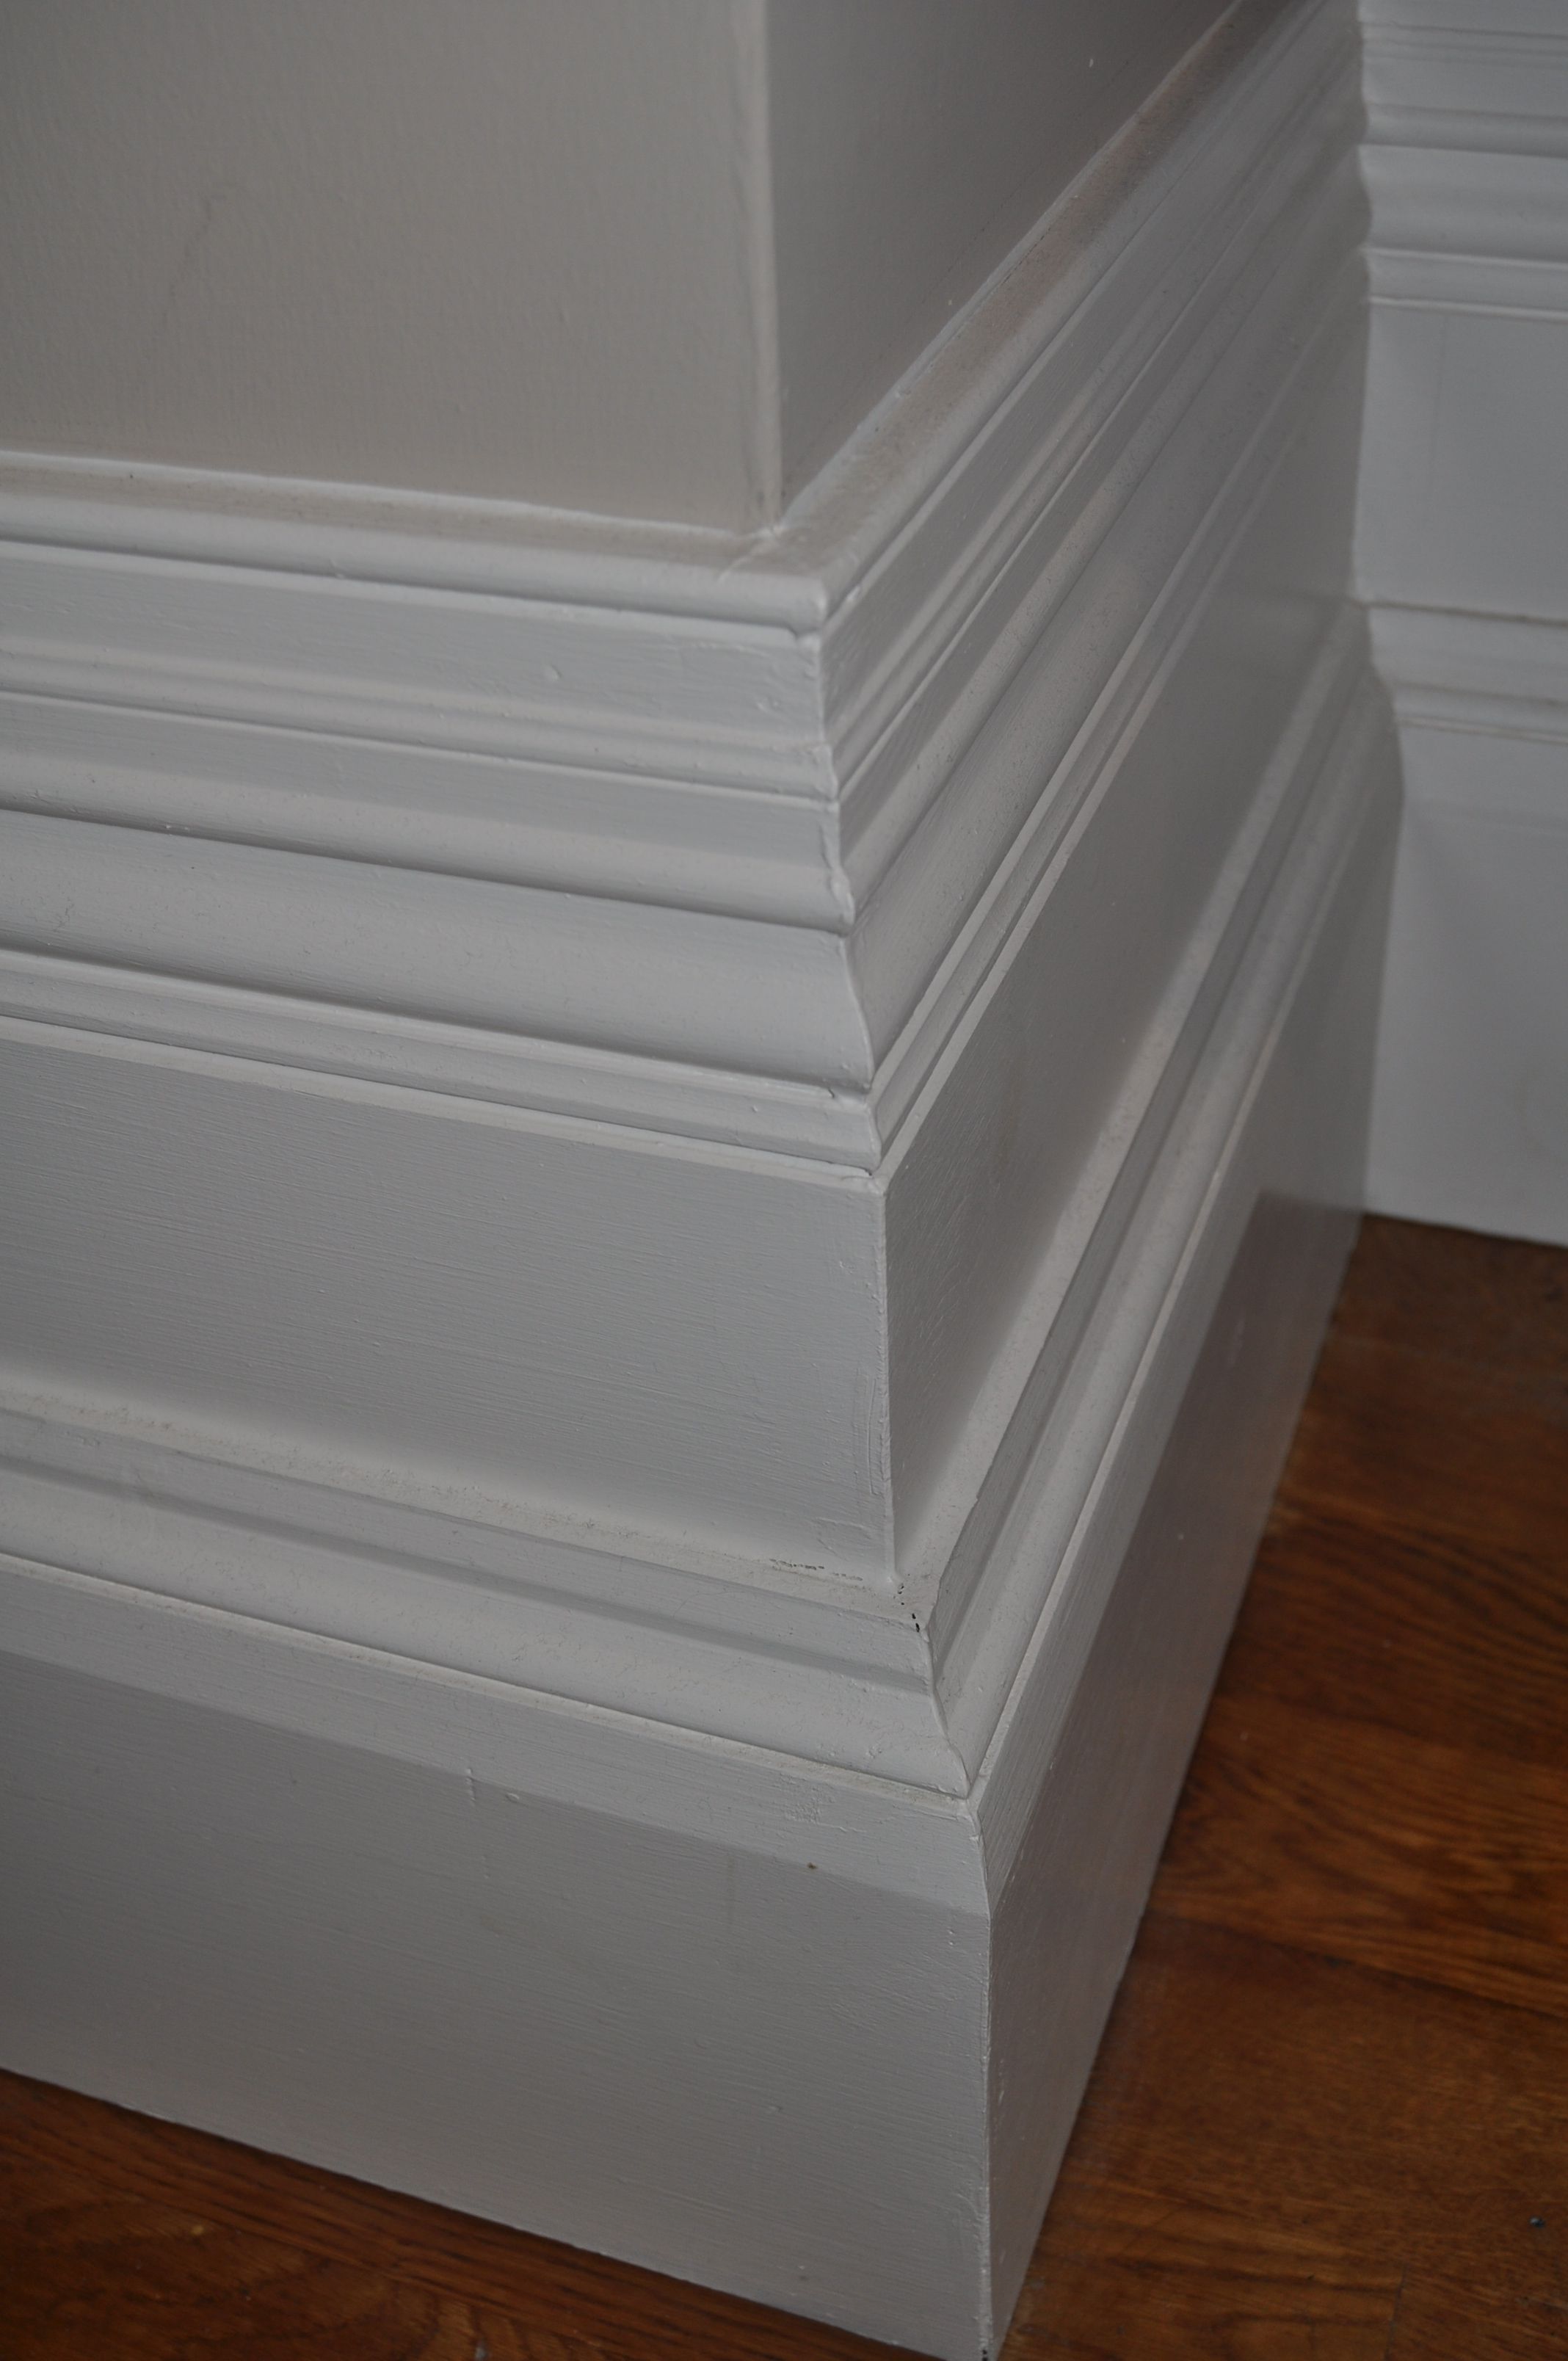
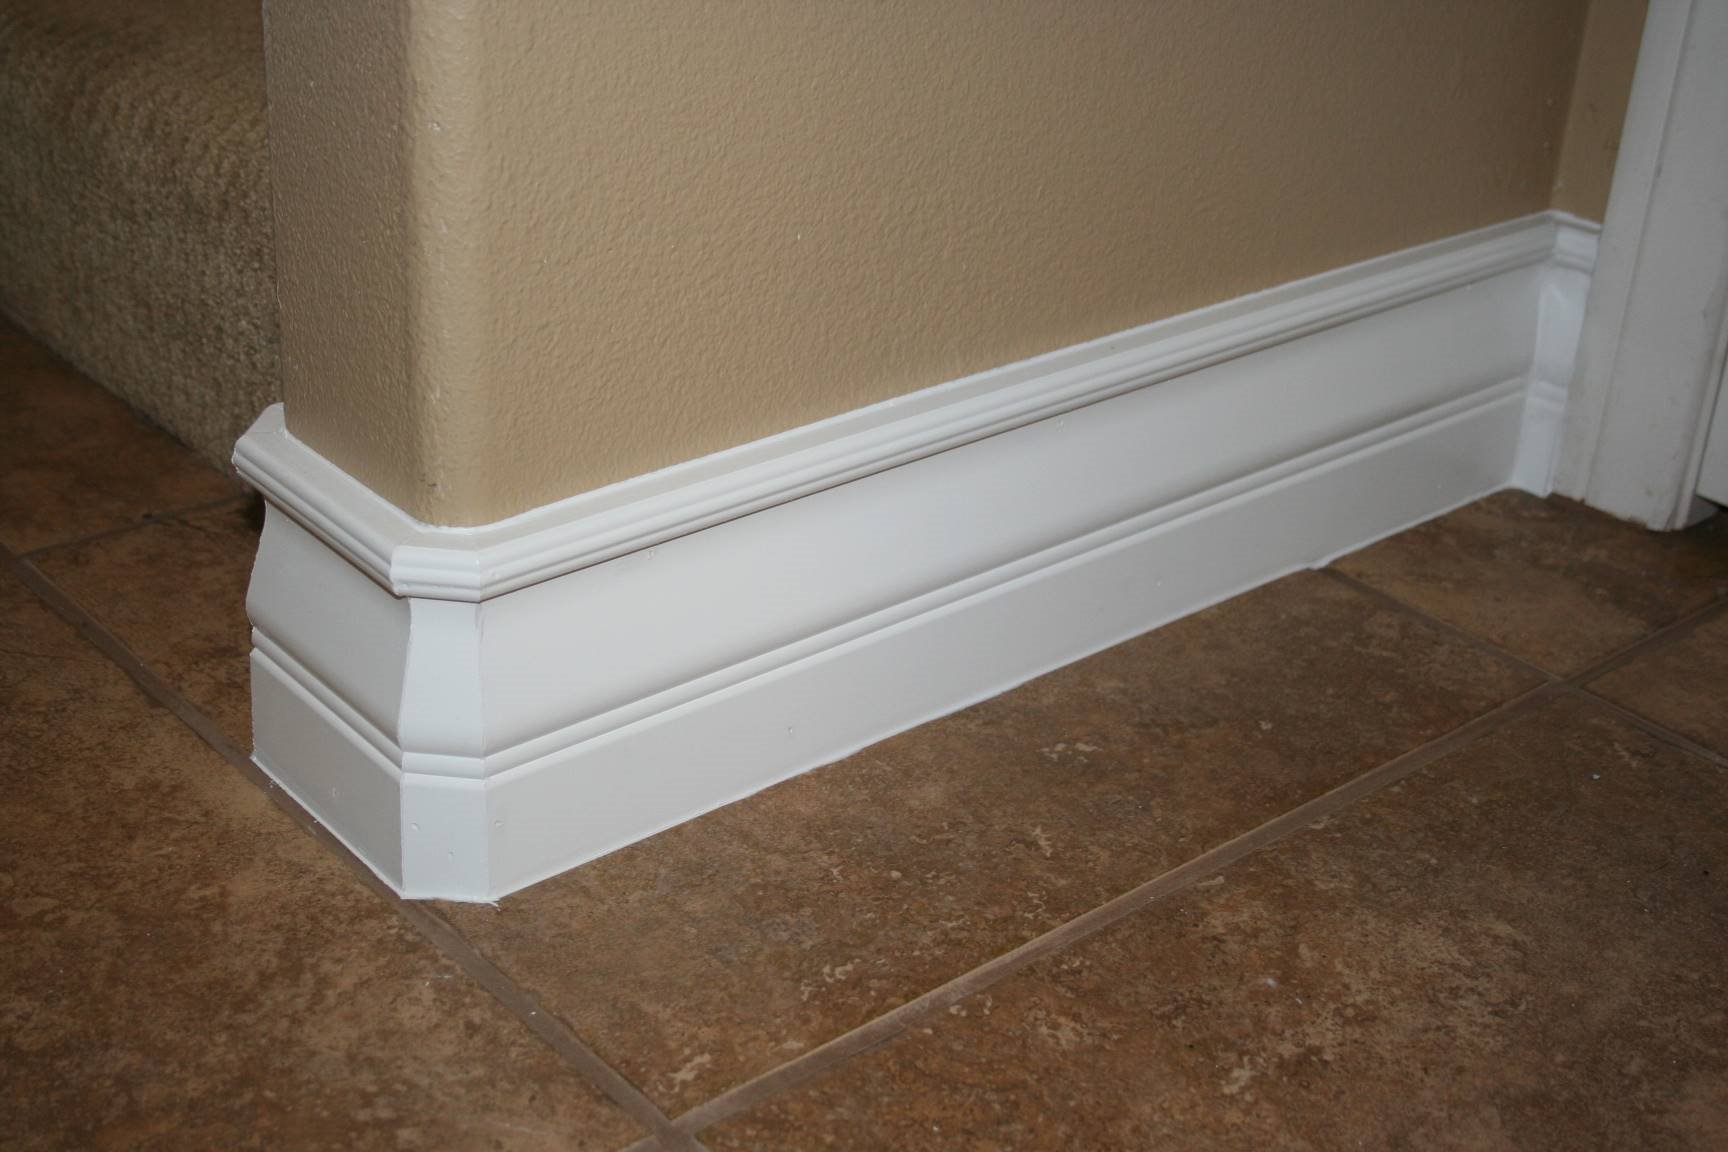
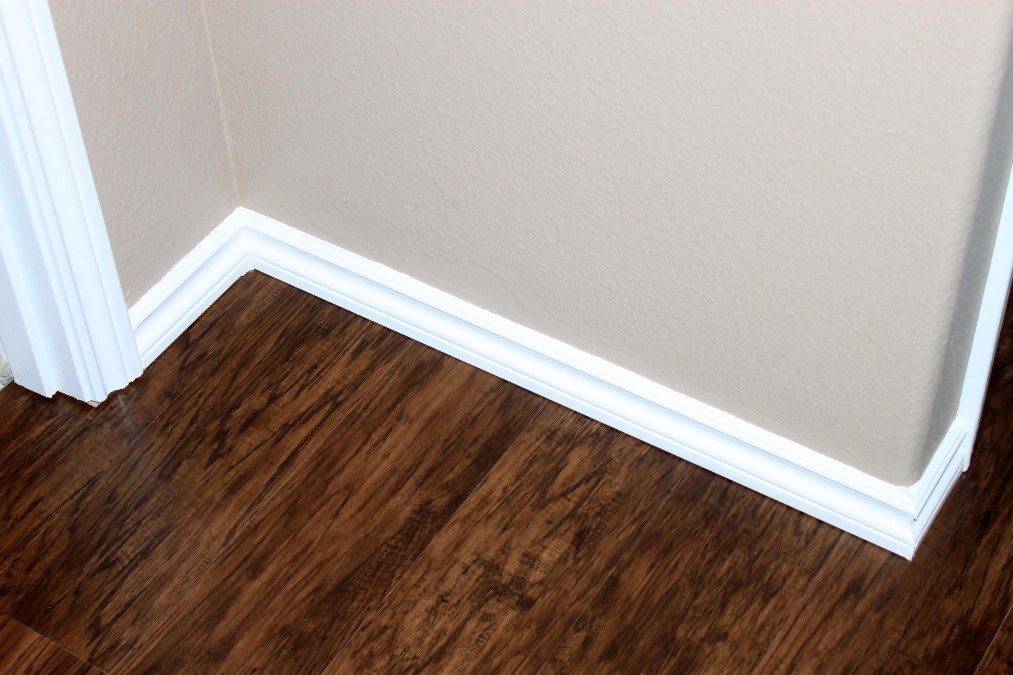
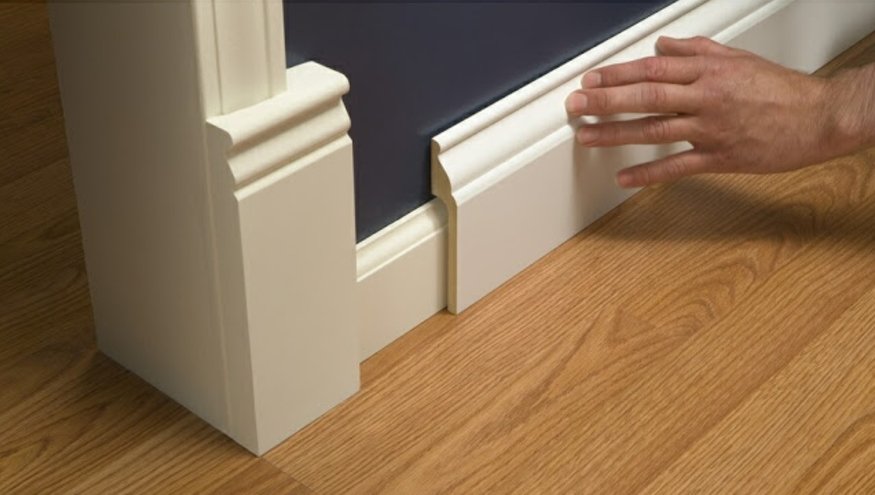
Traditional: Traditional baseboards are simple and clean, with a curved profile and a small decorative edge.
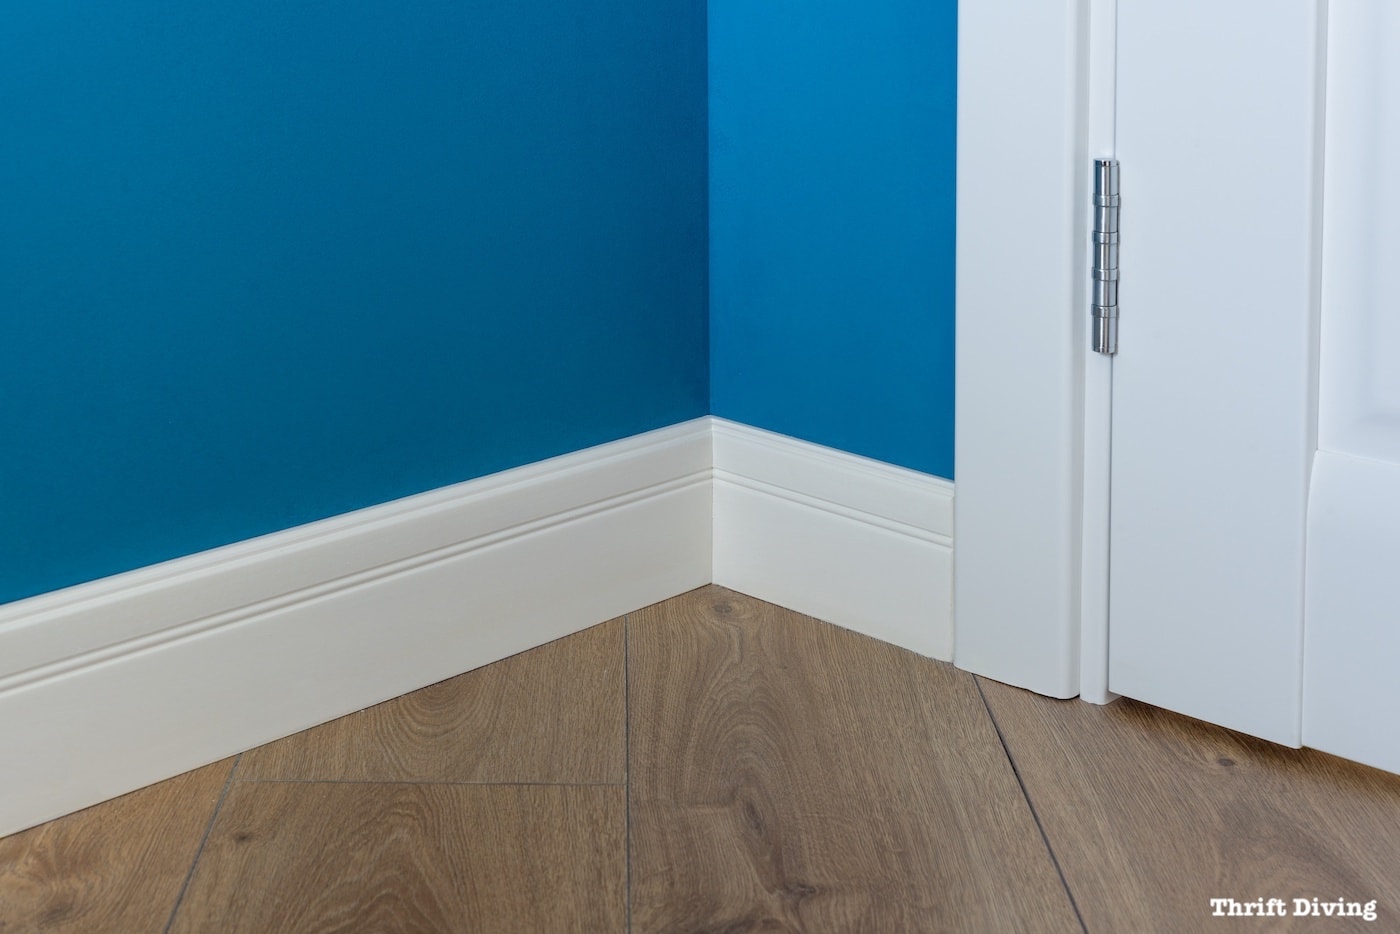
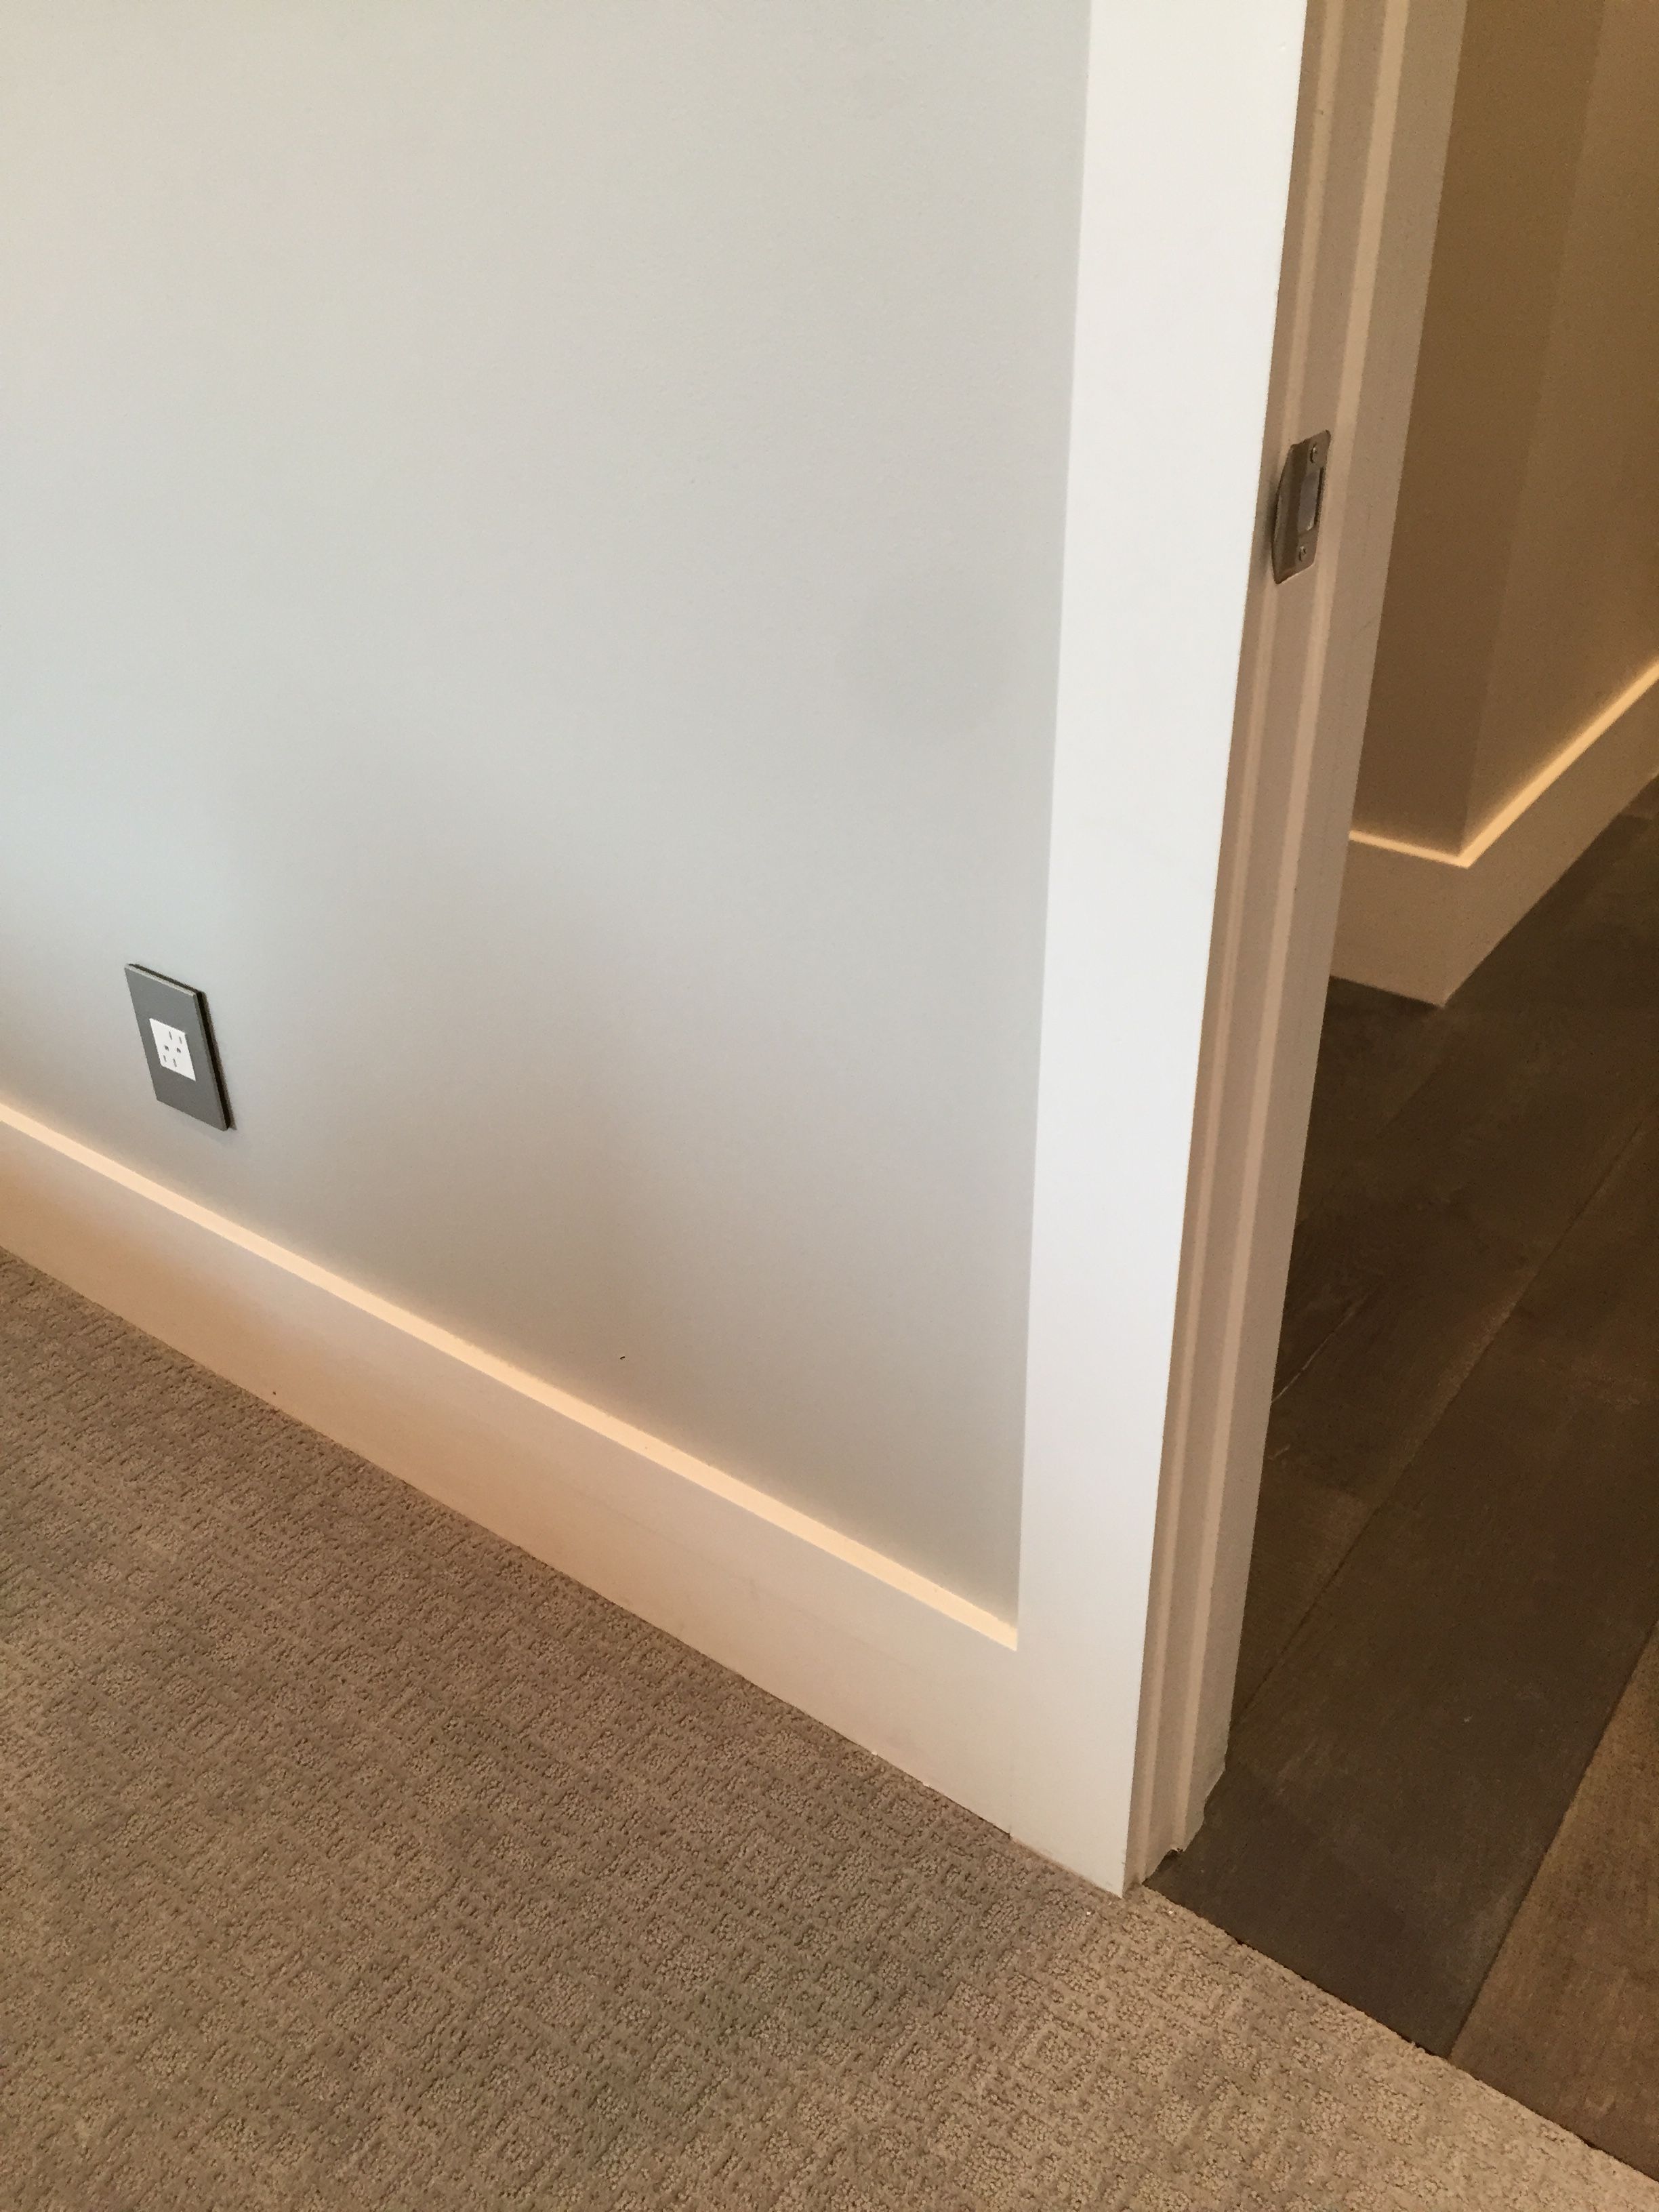
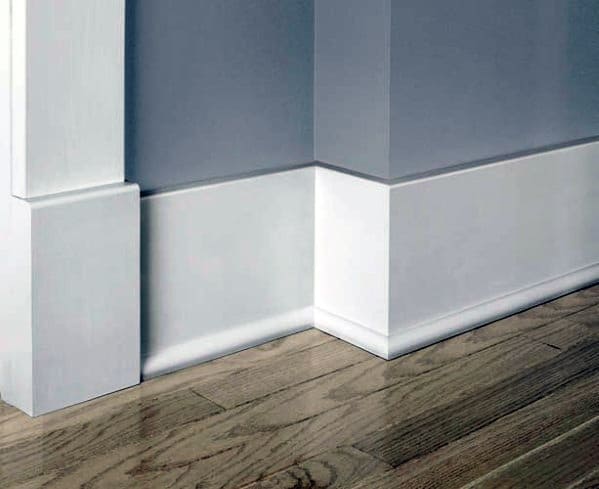
Modern: For a more minimalist look, opt for modern baseboards with a straight profile and no decorative edge.
Craftsman: Craftsman style baseboards feature a thicker profile with a subtle beveled edge.
Farmhouse: With a more rustic charm, farmhouse baseboards have a distressed or rough-hewn finish.
Crown Molding vs. Baseboards: Which is Right for Your Living Room?
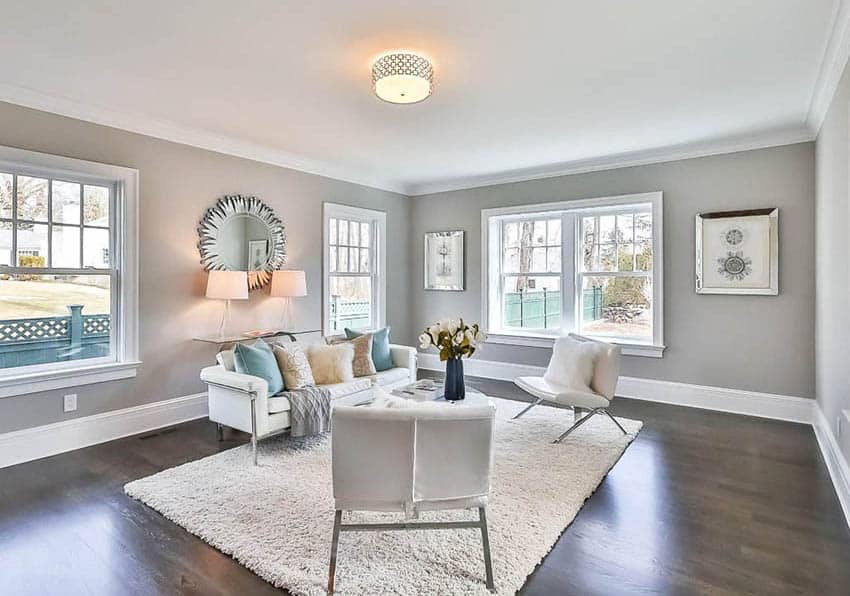
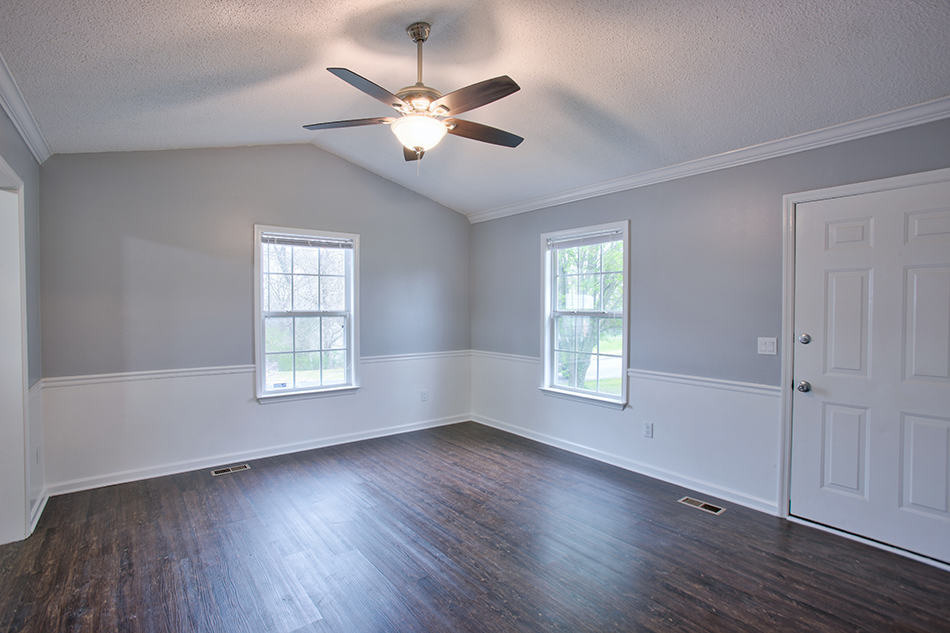
While both crown molding and baseboards add a finishing touch to a room, they serve different purposes. Crown molding is installed at the top of the wall, where it meets the ceiling, and is used to add architectural interest and create a seamless transition between the two surfaces. Baseboards, on the other hand, are installed at the bottom of the wall and are primarily used to protect the wall from damage. When choosing between the two, consider the overall style of your living room and the look you are trying to achieve.
How to Paint Baseboards in Your Living Room
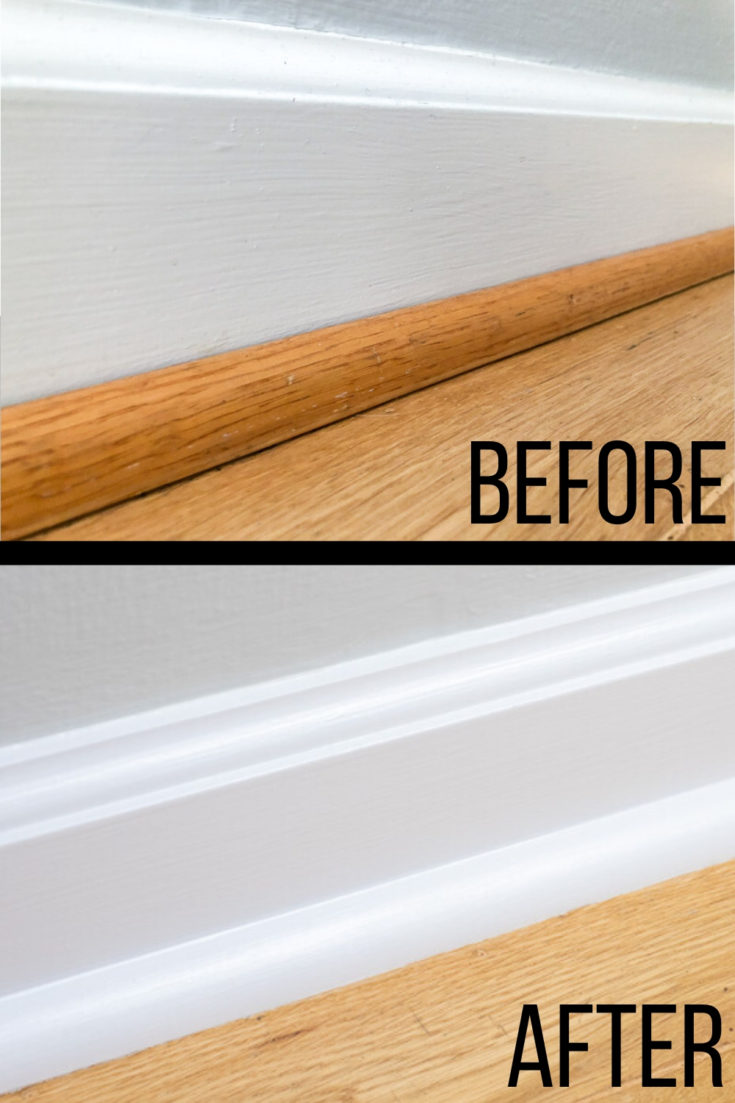
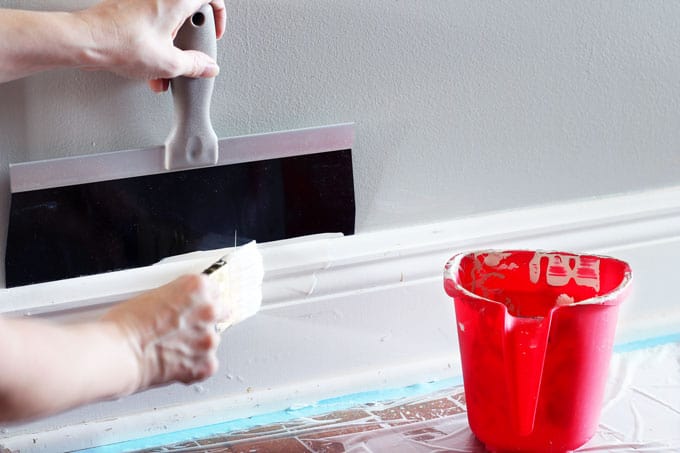
If you're looking to update the look of your living room, painting your baseboards is an inexpensive and easy way to do so. Before you begin, make sure to clean and sand your baseboards to ensure a smooth finish. Then, follow these steps:
Step 1: Use painter's tape to protect the wall and floor from paint.
Step 2: Apply a primer to the baseboards for better adhesion.
Step 3: Once the primer is dry, apply 2-3 coats of paint, letting each coat dry completely before applying the next.
Step 4: Remove the painter's tape and touch up any areas as needed.
Living Room Baseboard Ideas for a Modern Look
If you're looking to give your living room a modern touch, consider these baseboard ideas:
Wide and Flat: Wide, flat baseboards with no decorative edge create a sleek and minimalist look.
Contrasting Color: Instead of painting your baseboards the same color as your walls, try a contrasting color for a bold and modern look.
Metallic: For a touch of glam, consider using metallic baseboards in a gold or silver finish.
How to Choose the Right Baseboard Size for Your Living Room
When it comes to baseboard size, there are a few things to consider. The height and style of your baseboards should complement the overall design of your living room. Here are some general guidelines to follow:
Standard Height: The standard height for baseboards is 3-5 inches, but this can vary depending on the size of your room.
Ceiling Height: For living rooms with high ceilings, taller baseboards can help to visually balance out the space.
Proportion: Consider the size of your walls and furniture when choosing the size of your baseboards. You want them to look proportionate and not overpower the room.
DIY Baseboard Installation for Your Living Room
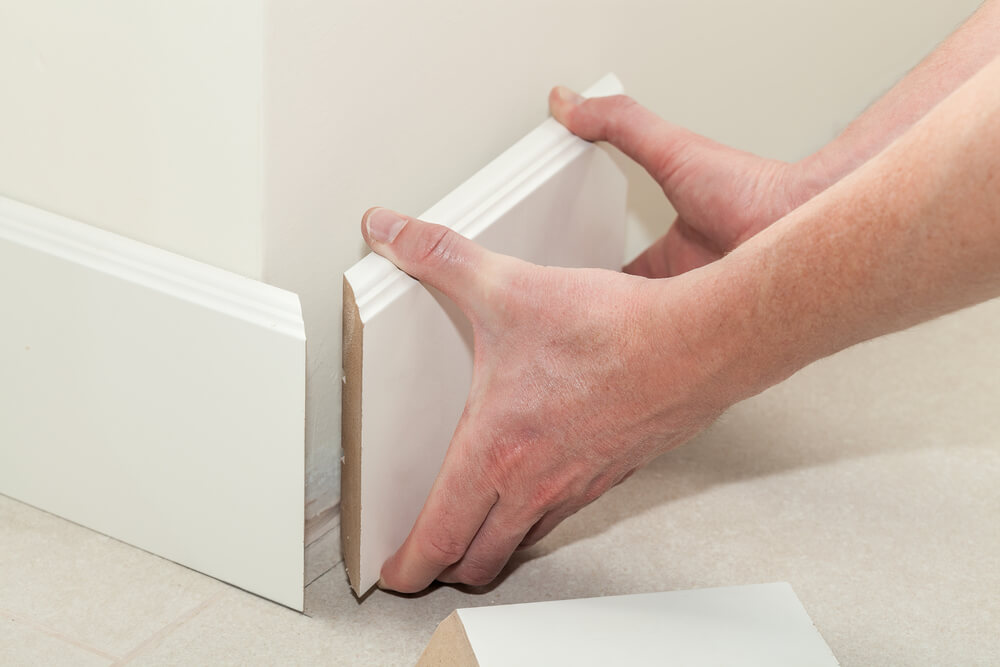
If you're feeling handy, you can save some money by installing your living room baseboards yourself. Here are the basic steps to follow:
Step 1: Measure the length of each wall and purchase enough baseboard trim to cover the entire room.
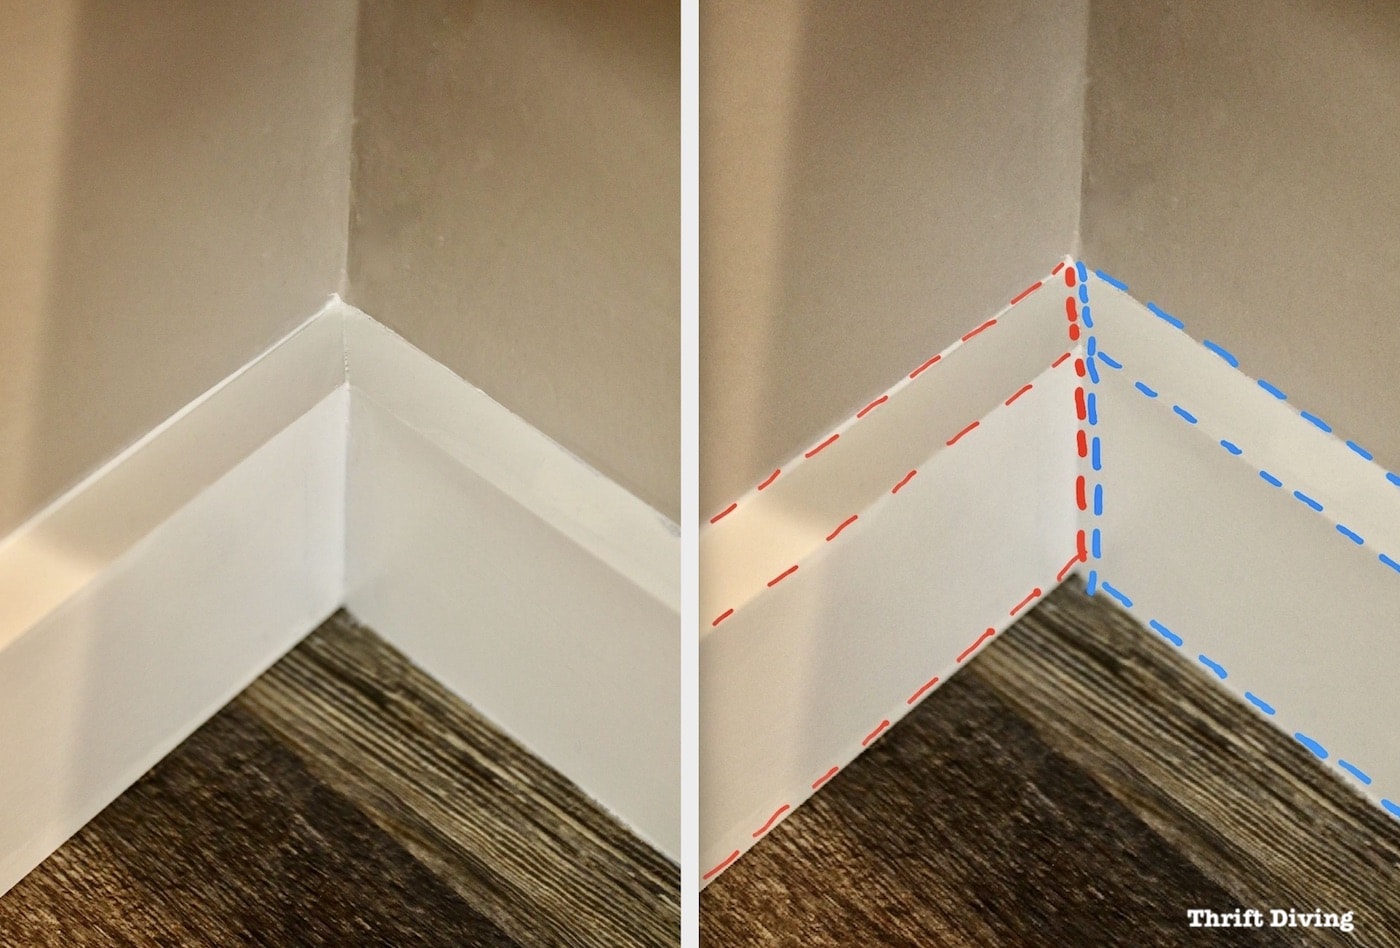
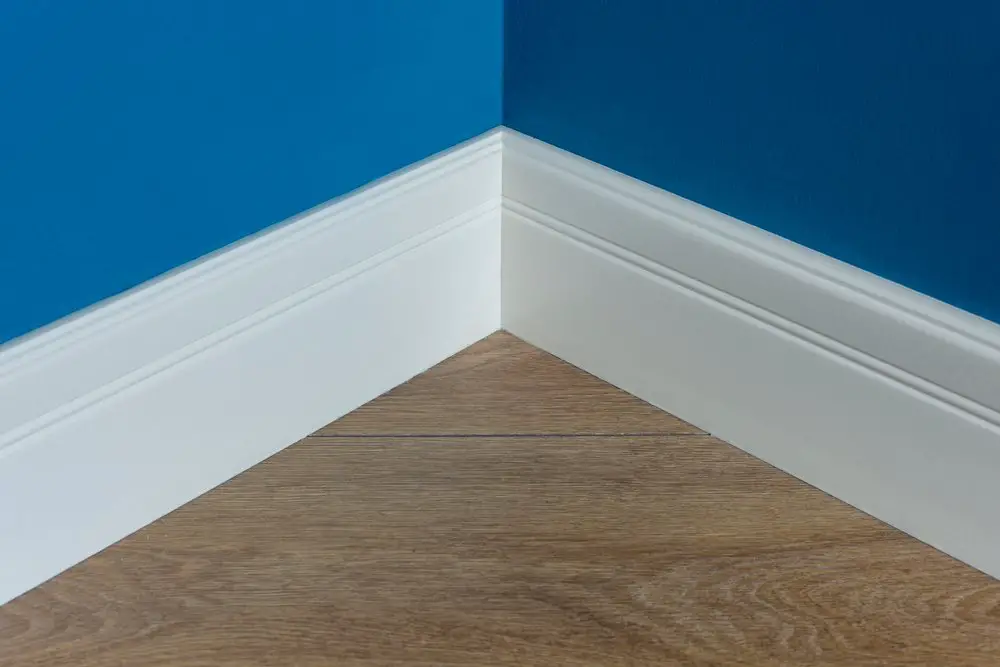
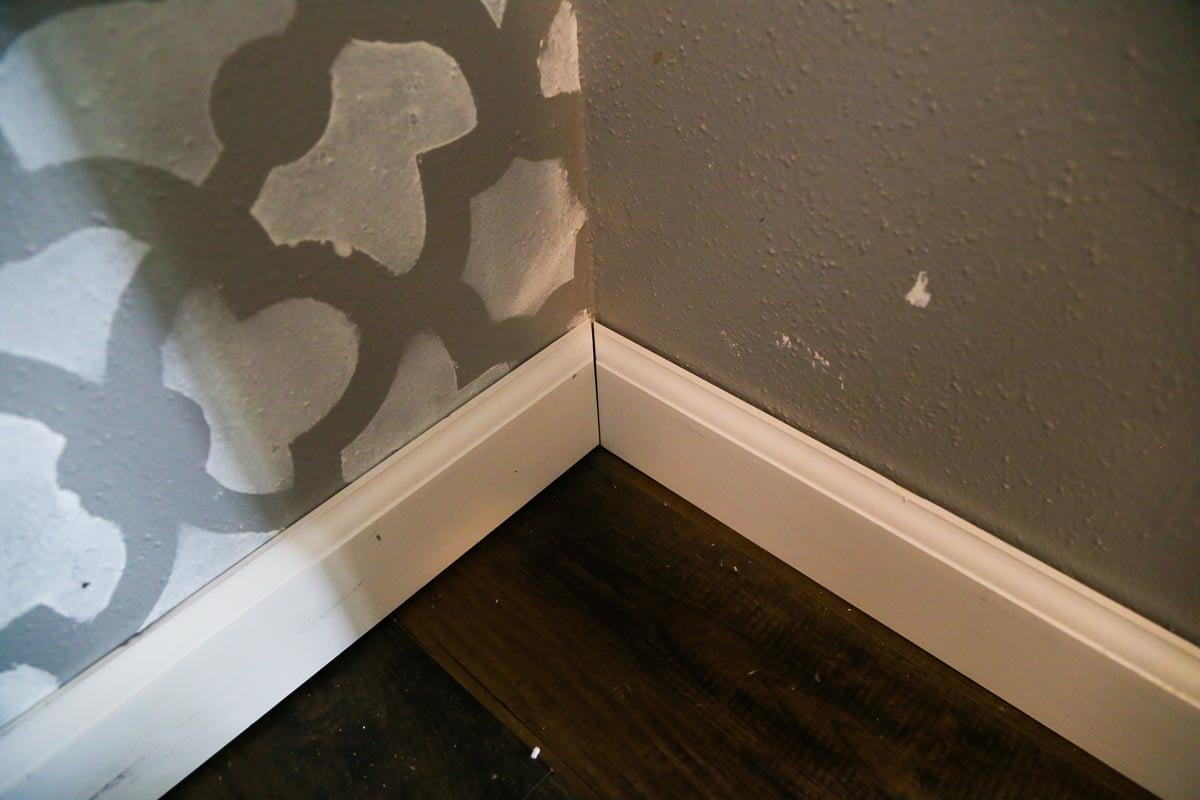
Step 2: Cut the baseboard to fit each wall, making sure to cut at a 45-degree angle for corners.
Step 3: Use a stud finder to locate the studs in the wall and mark them with a pencil.
Step 4: Apply construction adhesive to the back of the baseboard and press it onto the wall, making sure it is flush with the floor.
Step 5: Use a nail gun or hammer and finishing nails to secure the baseboard in place, nailing into the marked studs.
Step 6: Fill in any nail holes with wood filler and sand it down for a smooth finish.
Baseboard Colors to Complement Your Living Room Decor
When choosing a color for your baseboards, consider the overall color scheme of your living room. Here are some ideas:
Match the Walls: For a seamless look, paint your baseboards the same color as your walls.
Contrasting Color: To make your baseboards stand out, paint them a contrasting color to your walls.
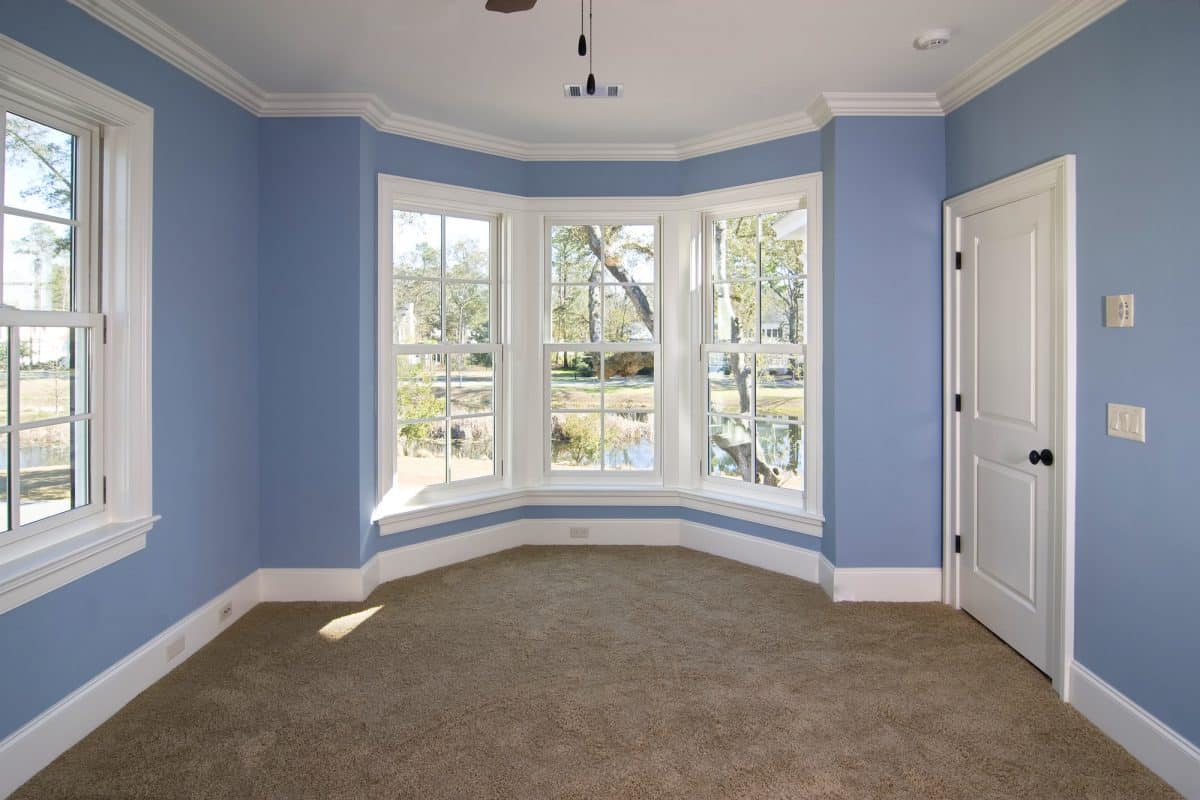
White on White: White baseboards are a classic choice and can work with any color scheme.
Wood Stain: If you have wood floors, consider staining your baseboards to match, creating a cohesive look.
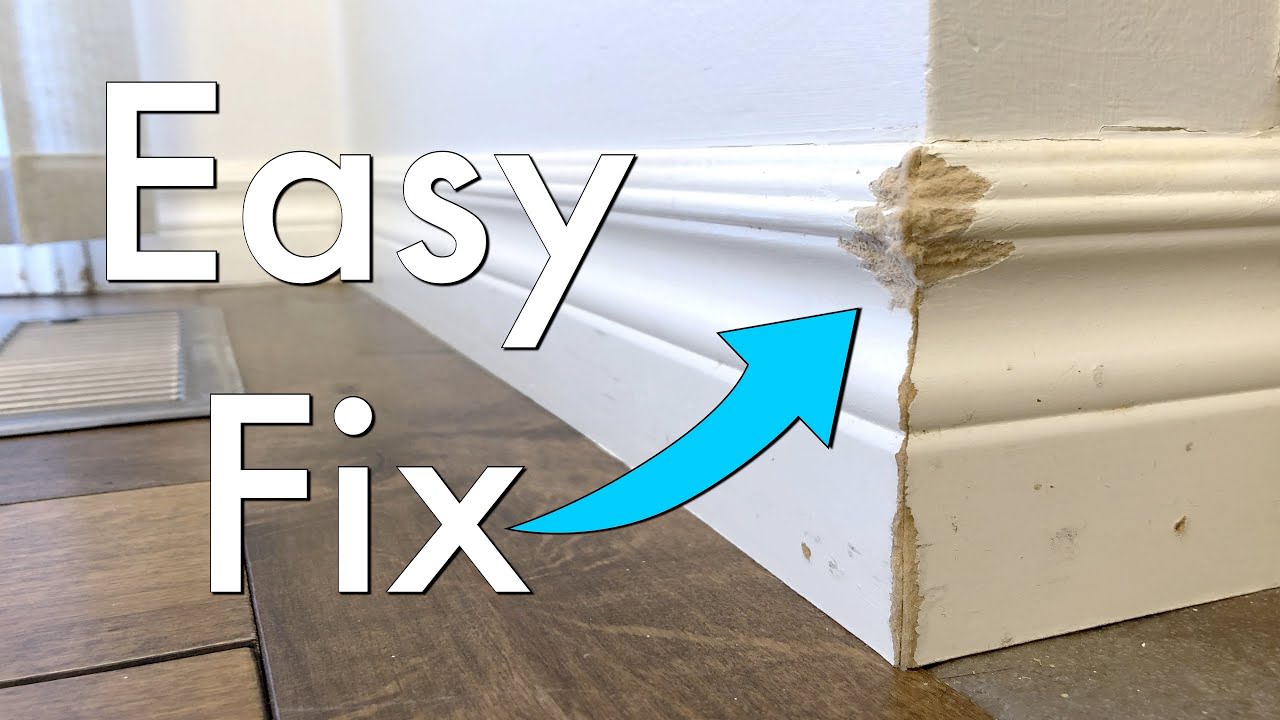
How to Repair Damaged Baseboards in Your Living Room
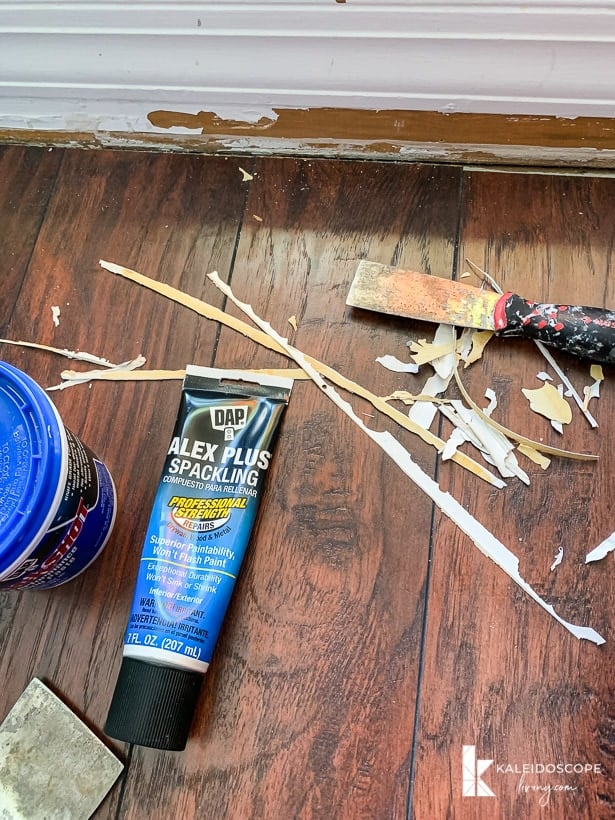
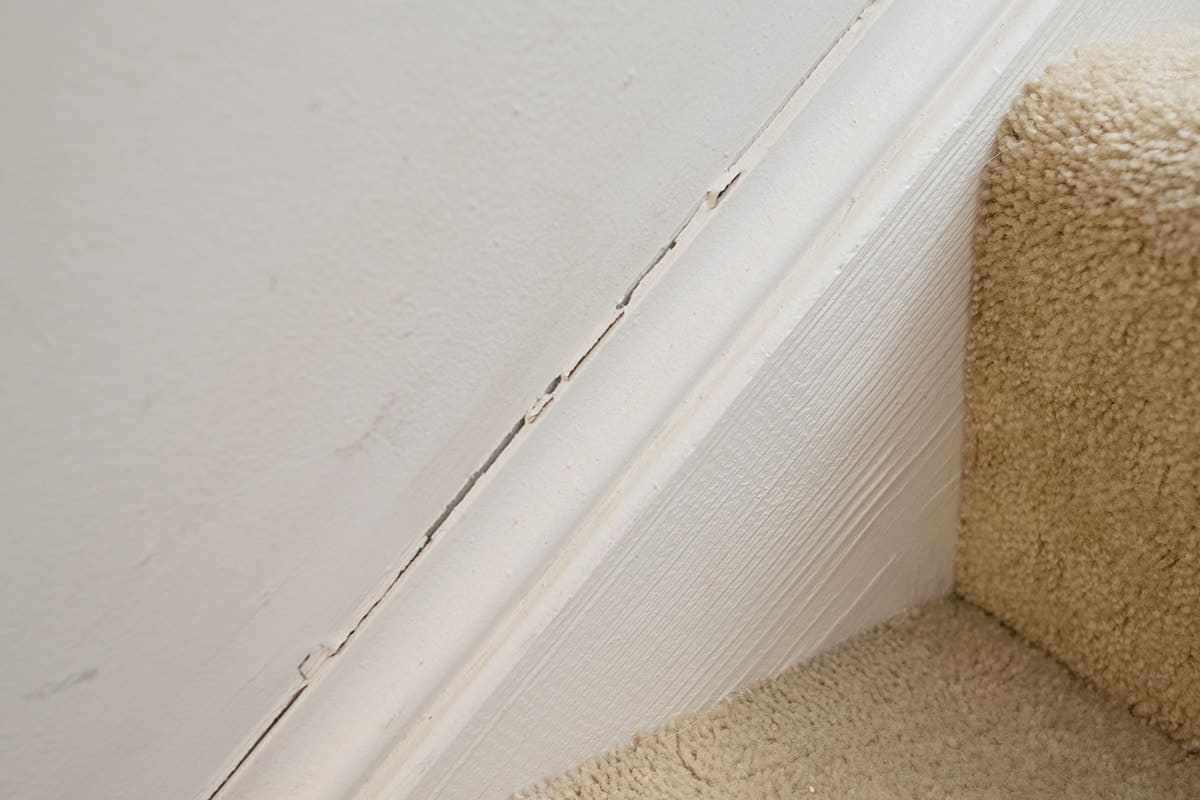
Over time, baseboards can become damaged from everyday wear and tear. If you notice any scratches, dents, or chips in your baseboards, here's how to repair them:
For Scratches: Use a wood filler to fill in the scratch, let it dry, and then sand it down for a smooth finish.
For Dents: Use a damp cloth to soften the wood, then use a heat gun or hairdryer to dry and reshape the wood. Sand any rough edges and touch up with paint.
For Chips: If your baseboard has a chip, fill it in with wood filler and sand it down. Touch up with paint or stain to match the rest of the baseboard.
Why Baseboards and Ceilings Are Essential for a Beautiful Living Room
The Importance of Baseboards
 When it comes to designing your living room, every detail matters. From the furniture to the wall color, each element contributes to the overall aesthetic of the space. One often overlooked aspect of interior design is the baseboards.
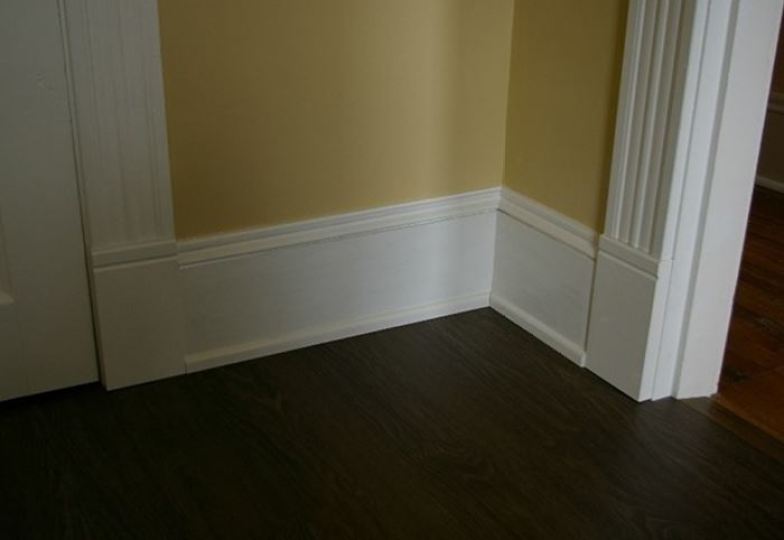
Baseboards are the finishing touch that ties the room together and creates a cohesive look.
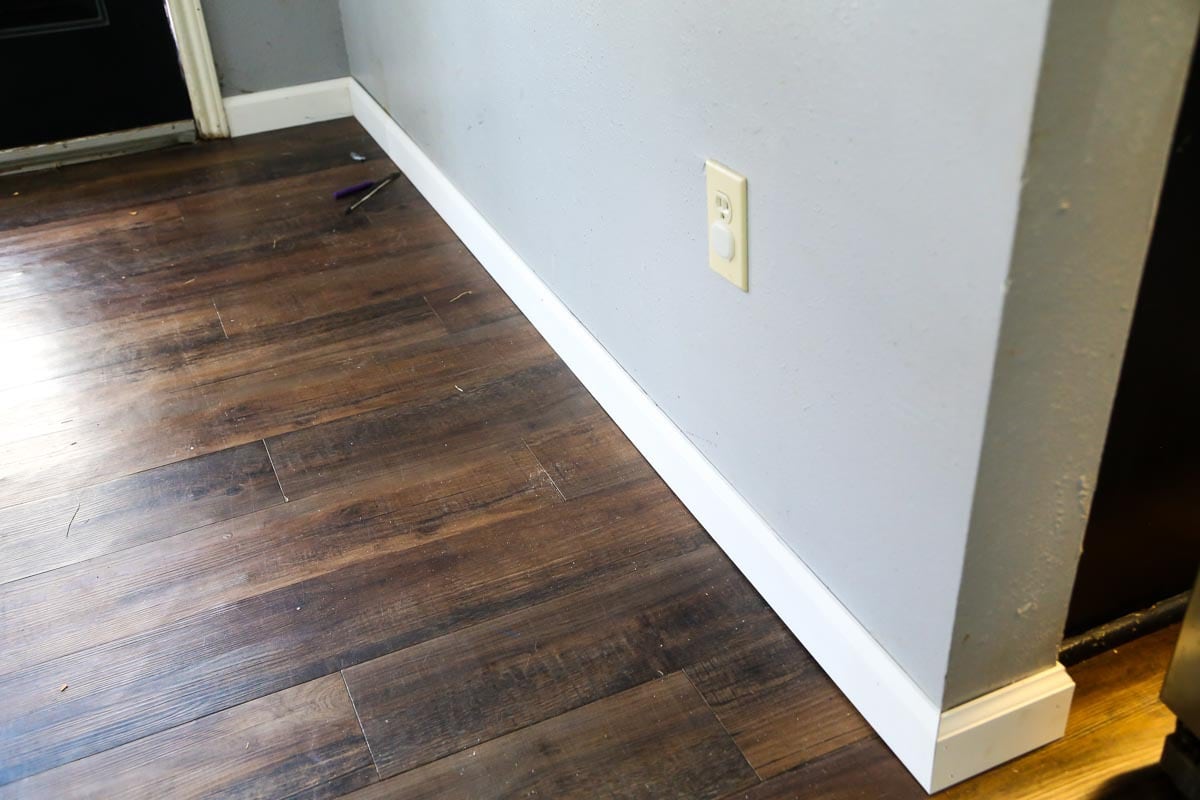
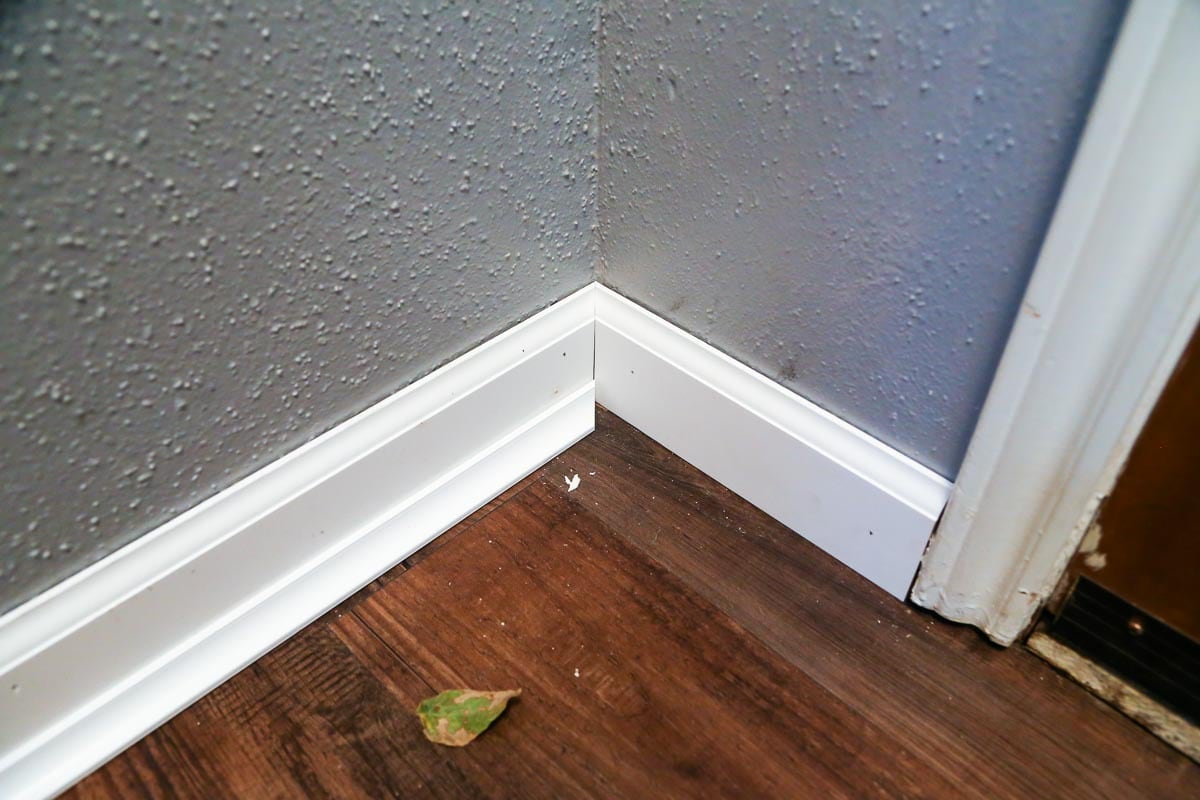
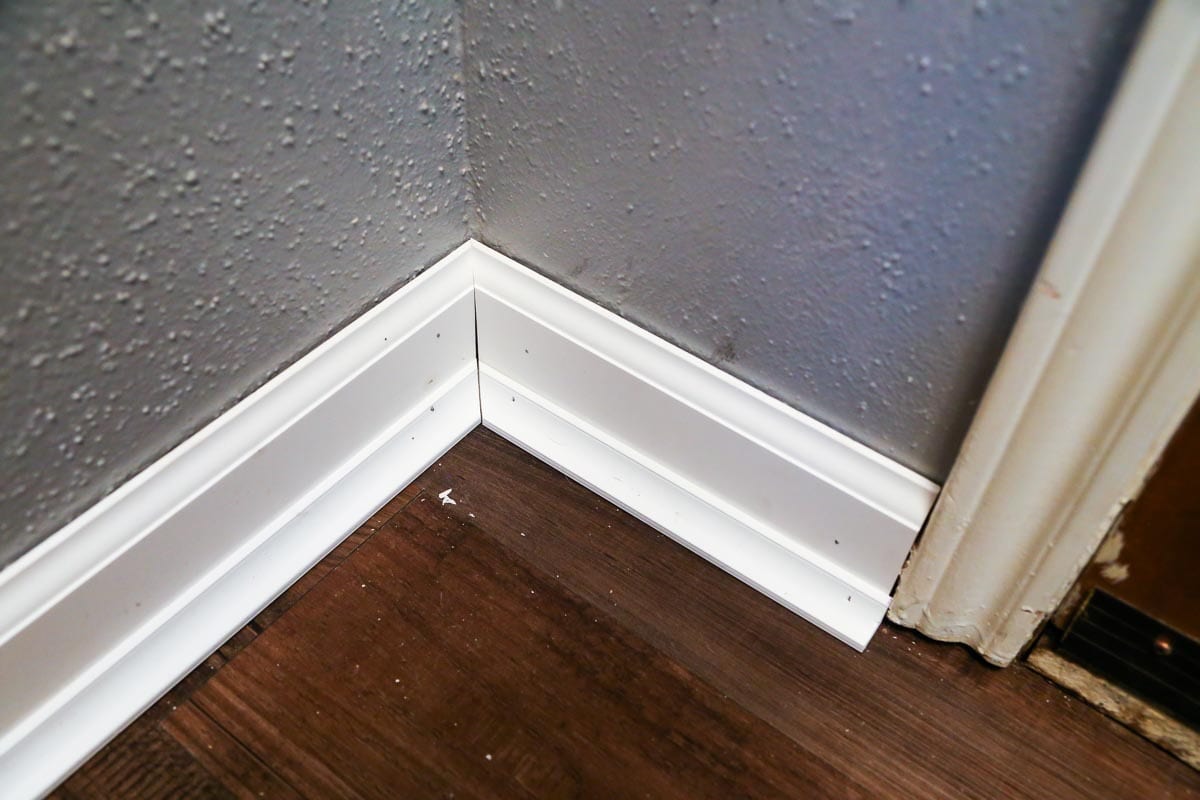
These long, narrow strips of wood or composite material run along the bottom of the walls, covering the seam between the walls and the floor. They not only add a decorative element to the room, but they also serve a functional purpose. Baseboards protect the walls from scuffs and scratches, keeping them looking pristine. They also hide any gaps or imperfections between the wall and the floor.
Choosing the right baseboards can elevate the look of your living room and give it a polished and refined feel.
The Impact of Ceilings
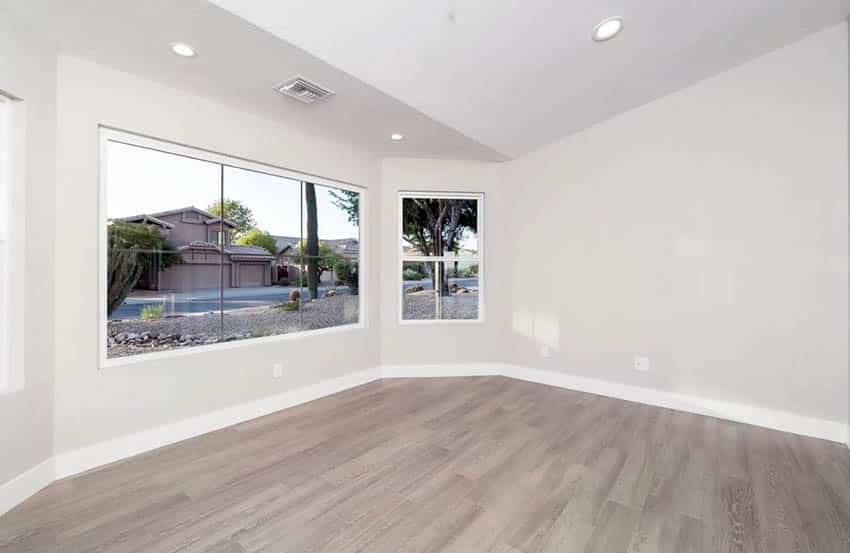
 While baseboards provide a clean and elegant transition between the walls and the floor,
ceilings are often referred to as the fifth wall of a room.
With the right design, they can add depth, character, and visual interest to a space. A flat, white ceiling may seem like the standard, but there are endless possibilities for incorporating design elements into this often overlooked area.
Coffered ceilings, which feature recessed panels, can add a touch of sophistication to a living room. A tray ceiling, with its raised central section, can create a sense of height and drama.
Adding a pop of color or a bold pattern to the ceiling can also make a statement in the room.
When designing your living room, it is important to not neglect the ceiling as it can greatly impact the overall look and feel of the space.
Making the Most of Baseboards and Ceilings
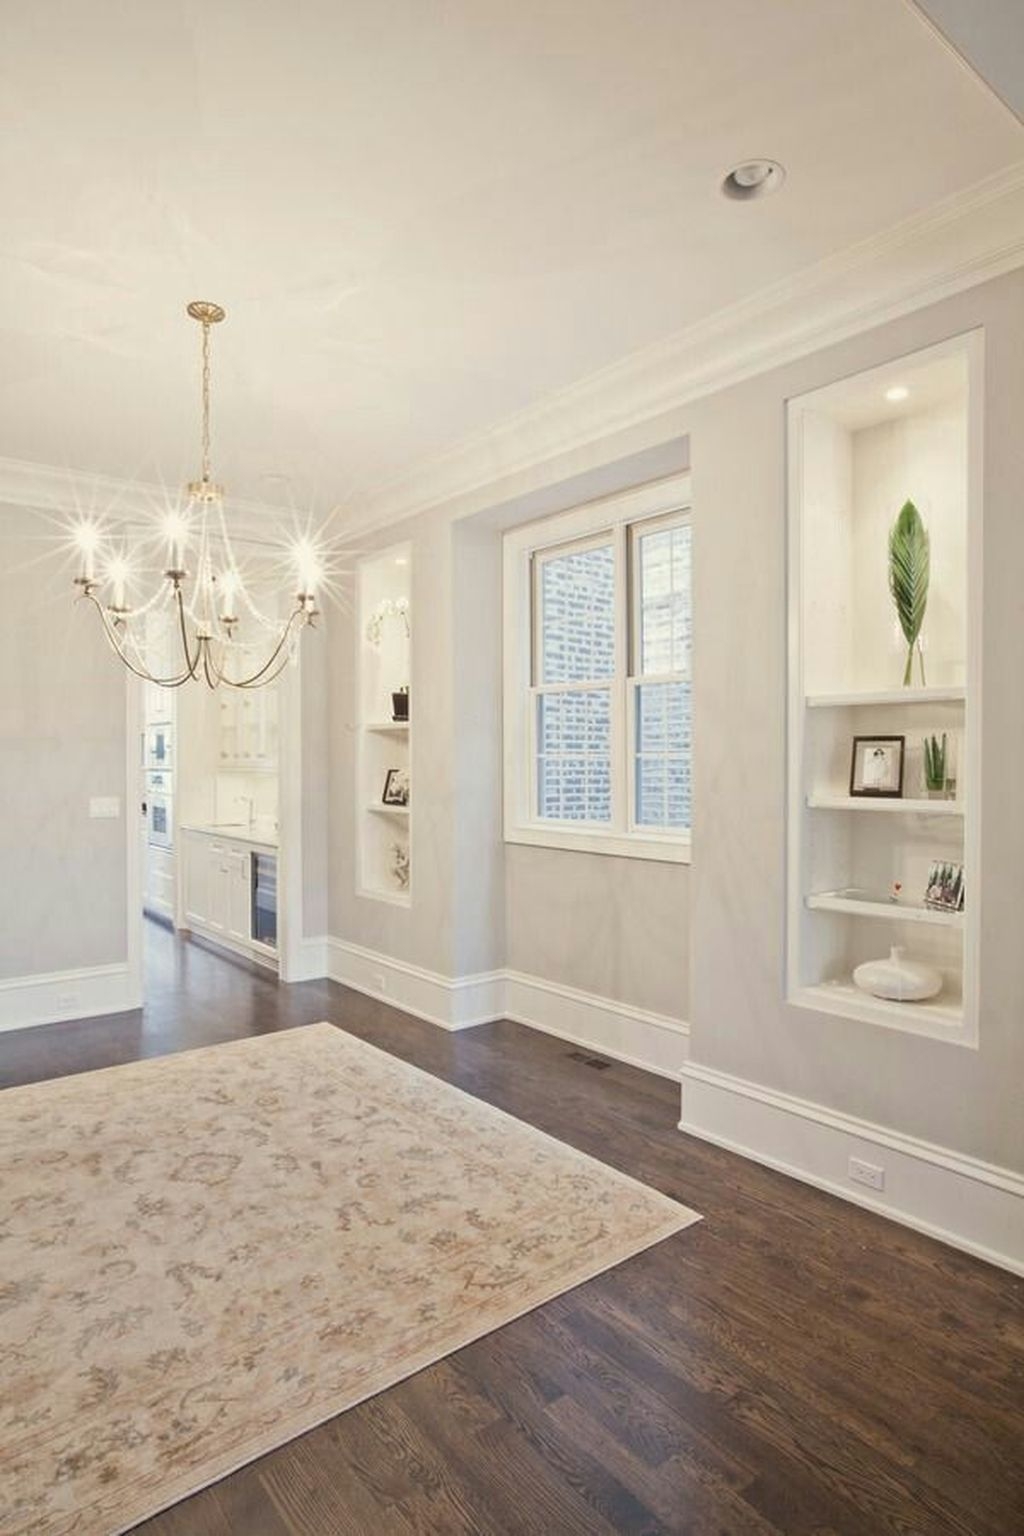
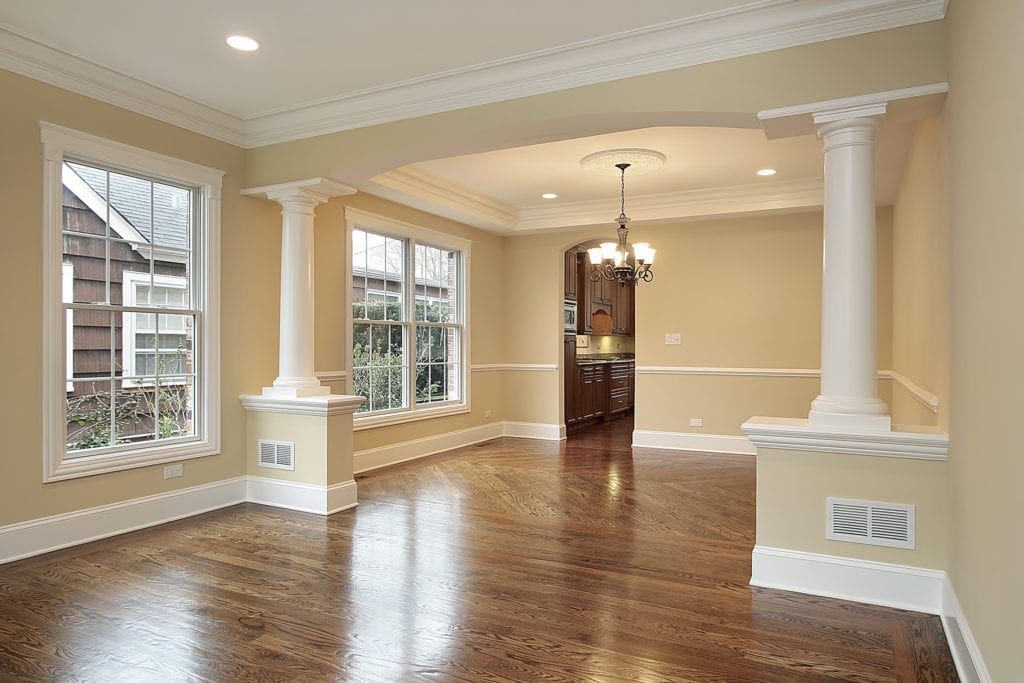 When designing your living room, it is important to consider how the baseboards and ceilings will complement each other.
Choosing matching or coordinating baseboards and crown molding can create a cohesive and harmonious look.
Additionally,
painting both the baseboards and ceiling in the same color can give the illusion of higher ceilings and create a sense of continuity in the room.
Adding decorative trim or molding to the baseboards and ceiling can also add a touch of elegance and elevate the design of the living room.
Furthermore, incorporating lighting fixtures such as recessed lights or chandeliers can highlight both the baseboards and ceilings, adding an extra layer of visual interest to the room.
Don't underestimate the impact that baseboards and ceilings can have on the overall look and feel of your living room. With careful consideration and attention to detail, these often overlooked elements can greatly enhance the design of your space.
In Conclusion
 In conclusion,
baseboards and ceilings are essential components of a beautiful living room.
They provide a finishing touch and add character and depth to a space.
By choosing the right baseboards and incorporating design elements into your ceiling, you can elevate the overall design of your living room and create a space that is both functional and visually appealing.
So don't neglect these often overlooked areas and make the most of them in your living room design.




/arc-anglerfish-arc2-prod-dmn.s3.amazonaws.com/public/ZU4NI2PGBVHCRMRIHIGANXEP4Y.jpg)


