If you notice a foul odor coming from your kitchen sink or water draining slowly, it may be time to replace the kitchen sink trap. This curved pipe, also known as a P-trap, is responsible for trapping debris and preventing sewer gases from entering your home. While it may seem like a daunting task, replacing a kitchen sink trap is a relatively simple DIY project that can save you time and money. Here's a step-by-step guide on how to replace your kitchen sink trap.How to Replace a Kitchen Sink Trap


How to Replace a Kitchen Sink Trap


Before beginning the replacement process, gather all necessary tools and materials. These include a new P-trap, adjustable pliers, a bucket, plumber's tape or putty, and a towel. Main keyword: kitchen sink trap replacement Related keywords: replace kitchen sink trap, DIY kitchen sink trap replacement, kitchen sink trap replacement tutorialReplacing a Kitchen Sink Trap


Replacing a Kitchen Sink Trap


:max_bytes(150000):strip_icc()/replacing-a-sink-p-trap-2718773-hero-f3f65fbc400e41438c4d8280de025fc6.jpg)
/sink-drain-trap-185105402-5797c5f13df78ceb869154b5.jpg)
/how-to-install-a-sink-drain-2718789-hero-b5b99f72b5a24bb2ae8364e60539cece.jpg)
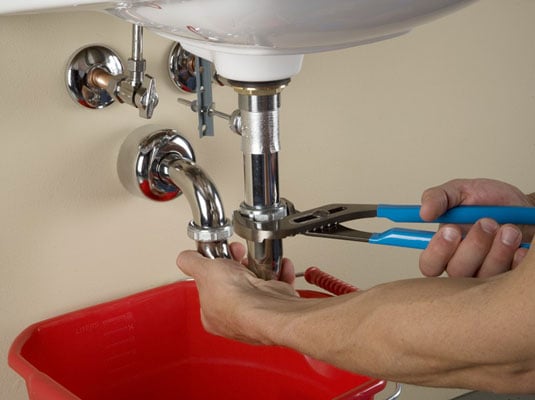
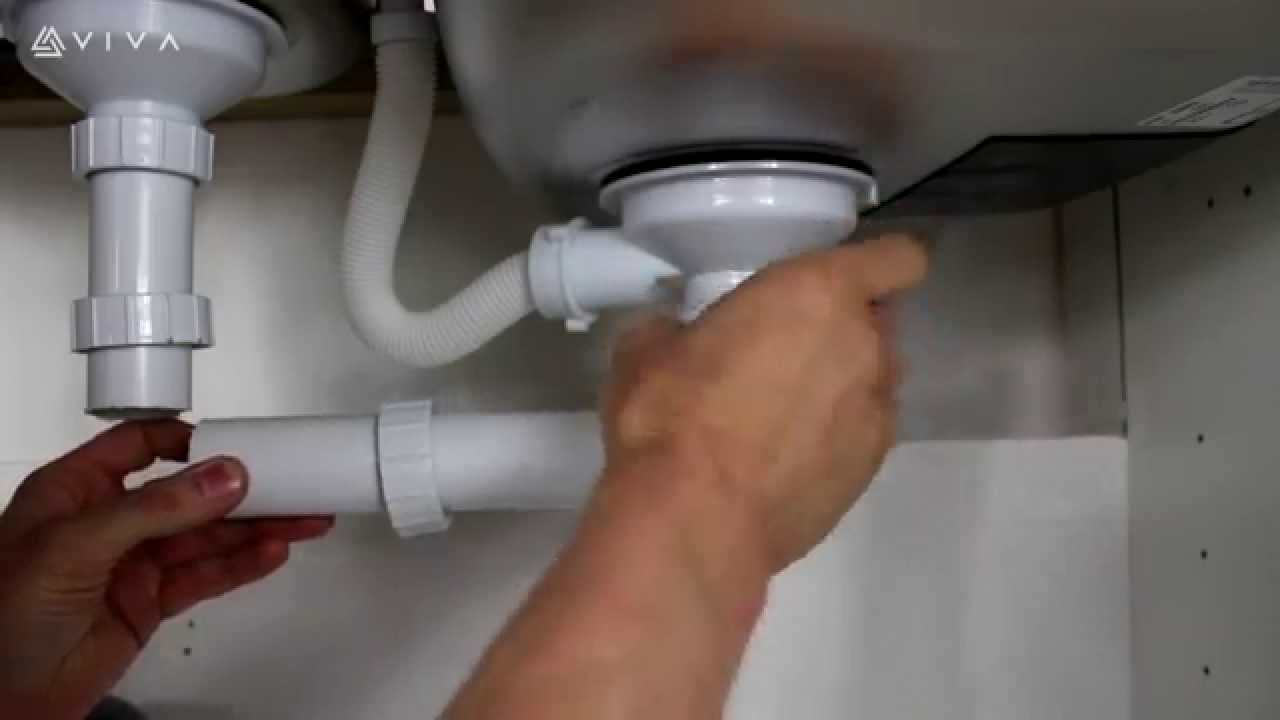
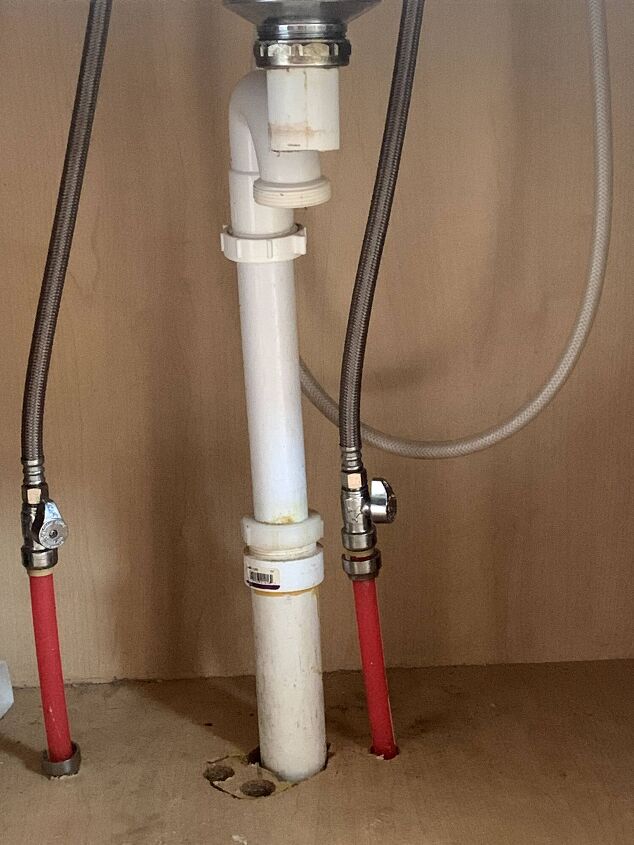
First, turn off the water supply to your sink. Look for the shut-off valve under the sink and turn it clockwise to close it. Next, place a bucket under the sink to catch any water that may spill out during the replacement process. Next, using adjustable pliers, loosen the compression nuts that attach the P-trap to the sink tailpiece and the drainpipe. Once loosened, remove the old P-trap and set it aside. Take the new P-trap and apply plumber's tape or putty to the threads of the compression nuts. This helps create a watertight seal. Then, attach the new P-trap to the sink tailpiece and the drainpipe, making sure the curved portion of the trap is facing downwards. Tighten the compression nuts with adjustable pliers, being careful not to over-tighten. Wipe away any excess putty or tape with a towel.Kitchen Sink Trap Replacement Guide


Kitchen Sink Trap Replacement Guide


Now that the new P-trap is installed, turn the water supply back on and check for any leaks. If you notice any, use the adjustable pliers to tighten the compression nuts until the leaks stop. Once the new P-trap is securely in place and there are no leaks, run water through the sink to ensure proper drainage. If the water flows smoothly, you have successfully replaced your kitchen sink trap. Lastly, clean up any excess water and put away your tools. You can now enjoy a fresh-smelling kitchen sink with proper drainage.DIY Kitchen Sink Trap Replacement


DIY Kitchen Sink Trap Replacement


To recap, here are the steps for replacing a kitchen sink trap: 1. Turn off the water supply to the sink. 2. Place a bucket under the sink to catch any water. 3. Loosen the compression nuts and remove the old P-trap. 4. Apply plumber's tape or putty to the threads of the new P-trap. 5. Attach the new P-trap to the sink tailpiece and the drainpipe. 6. Tighten the compression nuts and wipe away any excess putty or tape. 7. Turn the water supply back on and check for leaks. 8. Run water through the sink to ensure proper drainage. 9. Clean up and put away tools.Step-by-Step Kitchen Sink Trap Replacement

Step-by-Step Kitchen Sink Trap Replacement


Replacing a kitchen sink trap may seem like a daunting task, but with the right tools and materials, it can be done easily and quickly. Remember to turn off the water supply and use plumber's tape or putty for a secure seal. If you're unsure about any step, consult a professional plumber for assistance.Kitchen Sink Trap Replacement Tutorial
Kitchen Sink Trap Replacement Tutorial

Here are some tips and tricks to keep in mind when replacing a kitchen sink trap: - Use adjustable pliers to loosen and tighten compression nuts. - Apply plumber's tape or putty to the threads for a secure seal. - Check for leaks and tighten compression nuts if necessary. - If you're unsure about any step, consult a professional plumber for assistance.Replacing a Kitchen Sink Trap: Tips and Tricks


Replacing a Kitchen Sink Trap: Tips and Tricks
Now that you know how to replace a kitchen sink trap, here are some additional things you should know: - Kitchen sink traps should be replaced every 5-7 years to prevent clogs and odors. - If your sink has a garbage disposal, the P-trap may be located behind it. - Regularly clean and maintain your kitchen sink trap to prevent buildup and clogs.Kitchen Sink Trap Replacement: What You Need to Know
Kitchen Sink Trap Replacement: What You Need to Know


While replacing a kitchen sink trap is a simple DIY project, there are some common mistakes you should avoid: - Forgetting to turn off the water supply before beginning the replacement process. - Over-tightening compression nuts, which can cause leaks. - Not using plumber's tape or putty to create a watertight seal. - Ignoring leaks, which can lead to bigger plumbing issues.Replacing a Kitchen Sink Trap: Common Mistakes to Avoid

Replacing a Kitchen Sink Trap: Common Mistakes to Avoid

Here's a list of tools and materials you'll need for replacing a kitchen sink trap: - New P-trap - Adjustable pliers - Bucket - Plumber's tape or putty - Towel Remember to gather all necessary tools and materials before beginning the replacement process.Kitchen Sink Trap Replacement: Tools and Materials You'll Need

Kitchen Sink Trap Replacement: Tools and Materials You'll Need
The Importance of Replacing Your Kitchen Sink Trap
/sink-drain-trap-185105402-5797c5f13df78ceb869154b5.jpg)
The Role of a Kitchen Sink Trap
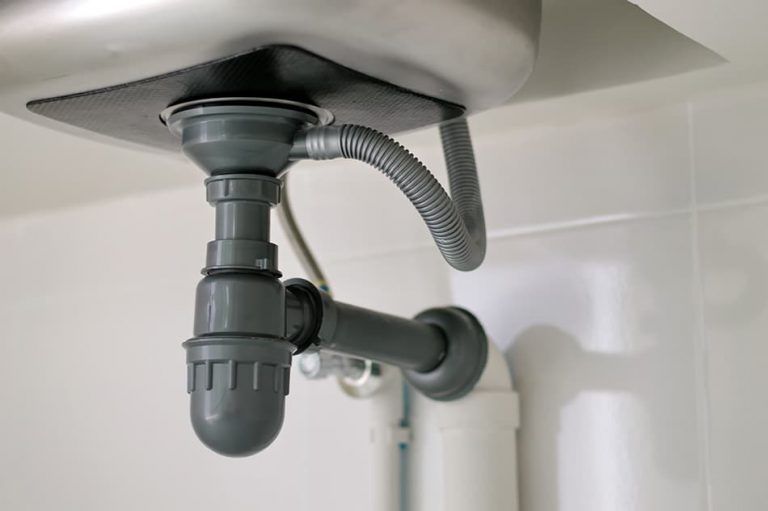
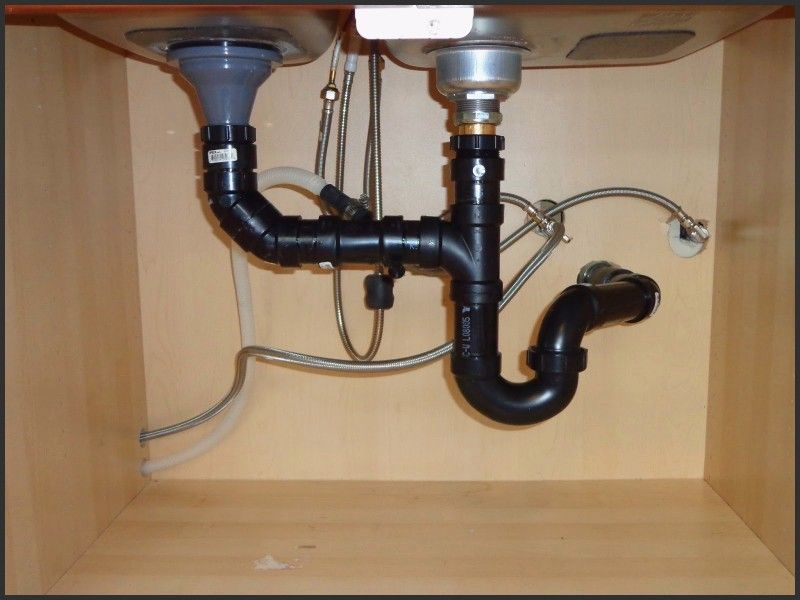
 Before delving into the specifics of replacing your kitchen sink trap, it is important to understand its role in your home's plumbing system. The kitchen sink trap is a curved pipe that is located under your sink, between the drain and the main plumbing line. Its purpose is to prevent foul odors from entering your home and to trap debris and other materials that could potentially clog your drain.
The Signs of a Faulty Kitchen Sink Trap
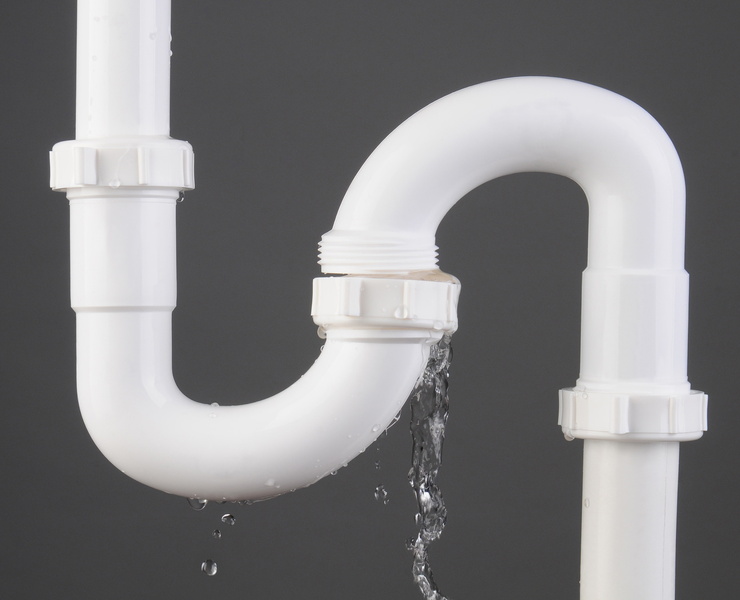
 Over time, the kitchen sink trap can become worn, damaged, or clogged, causing it to not function properly. One of the most common signs of a faulty trap is a foul odor coming from your sink. This indicates that the trap is not effectively blocking the gases from the sewer line. Another sign is slow-draining water, as this could mean that the trap is clogged with debris. If left unaddressed, a faulty kitchen sink trap can lead to more serious plumbing issues, such as leaks or complete blockages.
The Benefits of Replacing Your Kitchen Sink Trap
 Replacing your kitchen sink trap may seem like a daunting and unnecessary task, but it can actually bring several benefits to your home. The most obvious benefit is the elimination of foul odors, making your kitchen a more pleasant and hygienic space. Additionally, a new trap can improve the flow of water, allowing your sink to drain more efficiently. This can also prevent potential clogs and blockages, saving you from costly repairs in the future.
When to Replace Your Kitchen Sink Trap
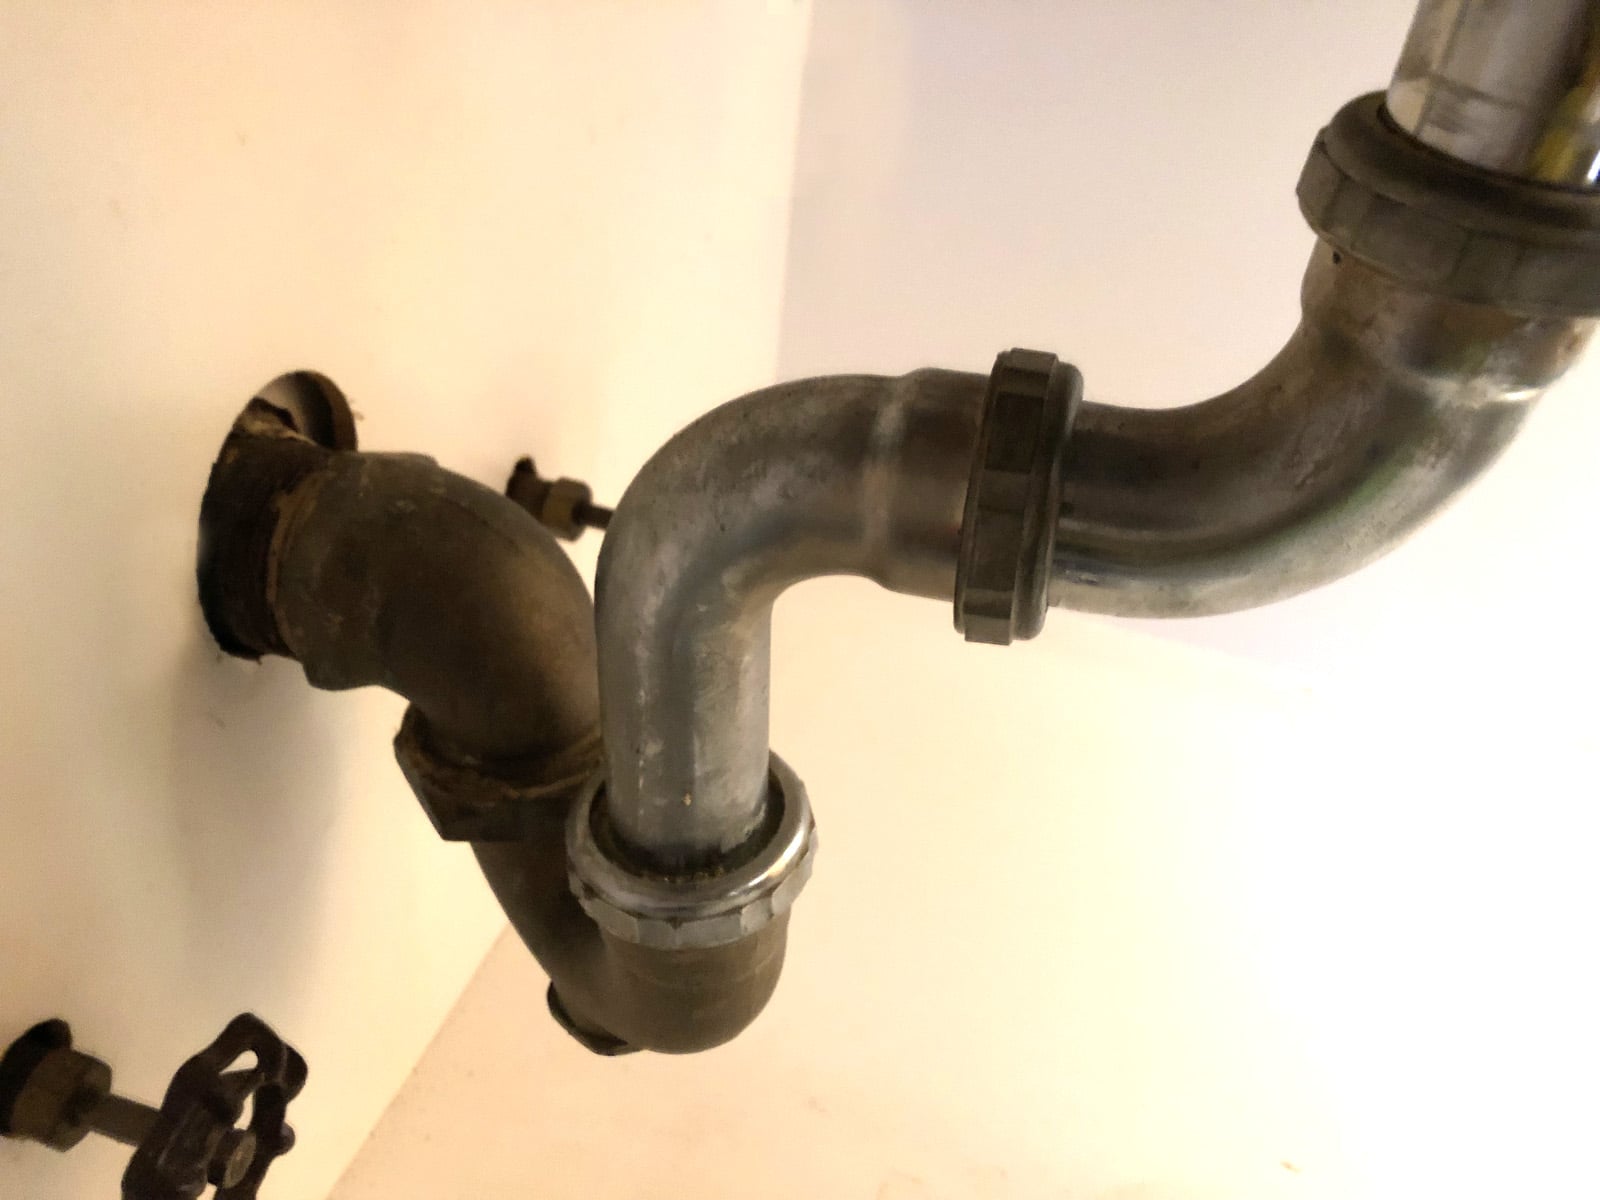
 It is recommended to replace your kitchen sink trap every 5-7 years, depending on usage and the material of the trap. If you notice any of the aforementioned signs or if your trap is made of plastic or PVC, it is best to replace it sooner rather than later. Metal traps can last longer but should still be checked periodically for wear and tear.
The Replacement Process
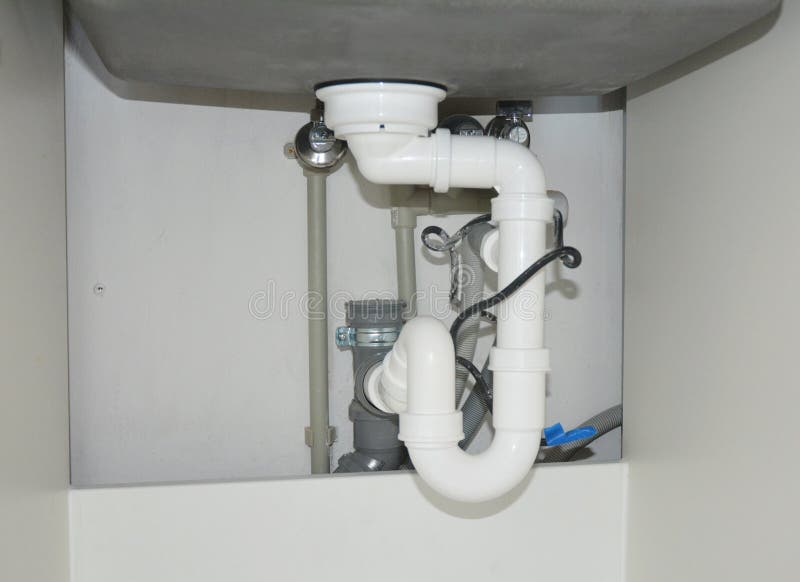
 Replacing your kitchen sink trap may seem like a complicated task, but it can actually be done fairly easily with the right tools and knowledge. First, turn off the water supply to your sink and place a bucket under the trap to catch any remaining water. Then, using a wrench, loosen the connections on either side of the trap and remove it. Install the new trap by connecting it to the drain and the main plumbing line, making sure all connections are tight and secure.
In conclusion, the kitchen sink trap plays a crucial role in maintaining the functionality and hygiene of your home's plumbing system. By understanding its purpose, signs of a faulty trap, and the benefits of replacement, you can ensure that your kitchen sink remains in top working condition. Remember to replace your trap every 5-7 years and if you notice any issues, don't hesitate to take action and replace it sooner. With proper maintenance, your kitchen sink trap will continue to serve its purpose for years to come.
Replacing your kitchen sink trap may seem like a complicated task, but it can actually be done fairly easily with the right tools and knowledge. First, turn off the water supply to your sink and place a bucket under the trap to catch any remaining water. Then, using a wrench, loosen the connections on either side of the trap and remove it. Install the new trap by connecting it to the drain and the main plumbing line, making sure all connections are tight and secure.
In conclusion, the kitchen sink trap plays a crucial role in maintaining the functionality and hygiene of your home's plumbing system. By understanding its purpose, signs of a faulty trap, and the benefits of replacement, you can ensure that your kitchen sink remains in top working condition. Remember to replace your trap every 5-7 years and if you notice any issues, don't hesitate to take action and replace it sooner. With proper maintenance, your kitchen sink trap will continue to serve its purpose for years to come.