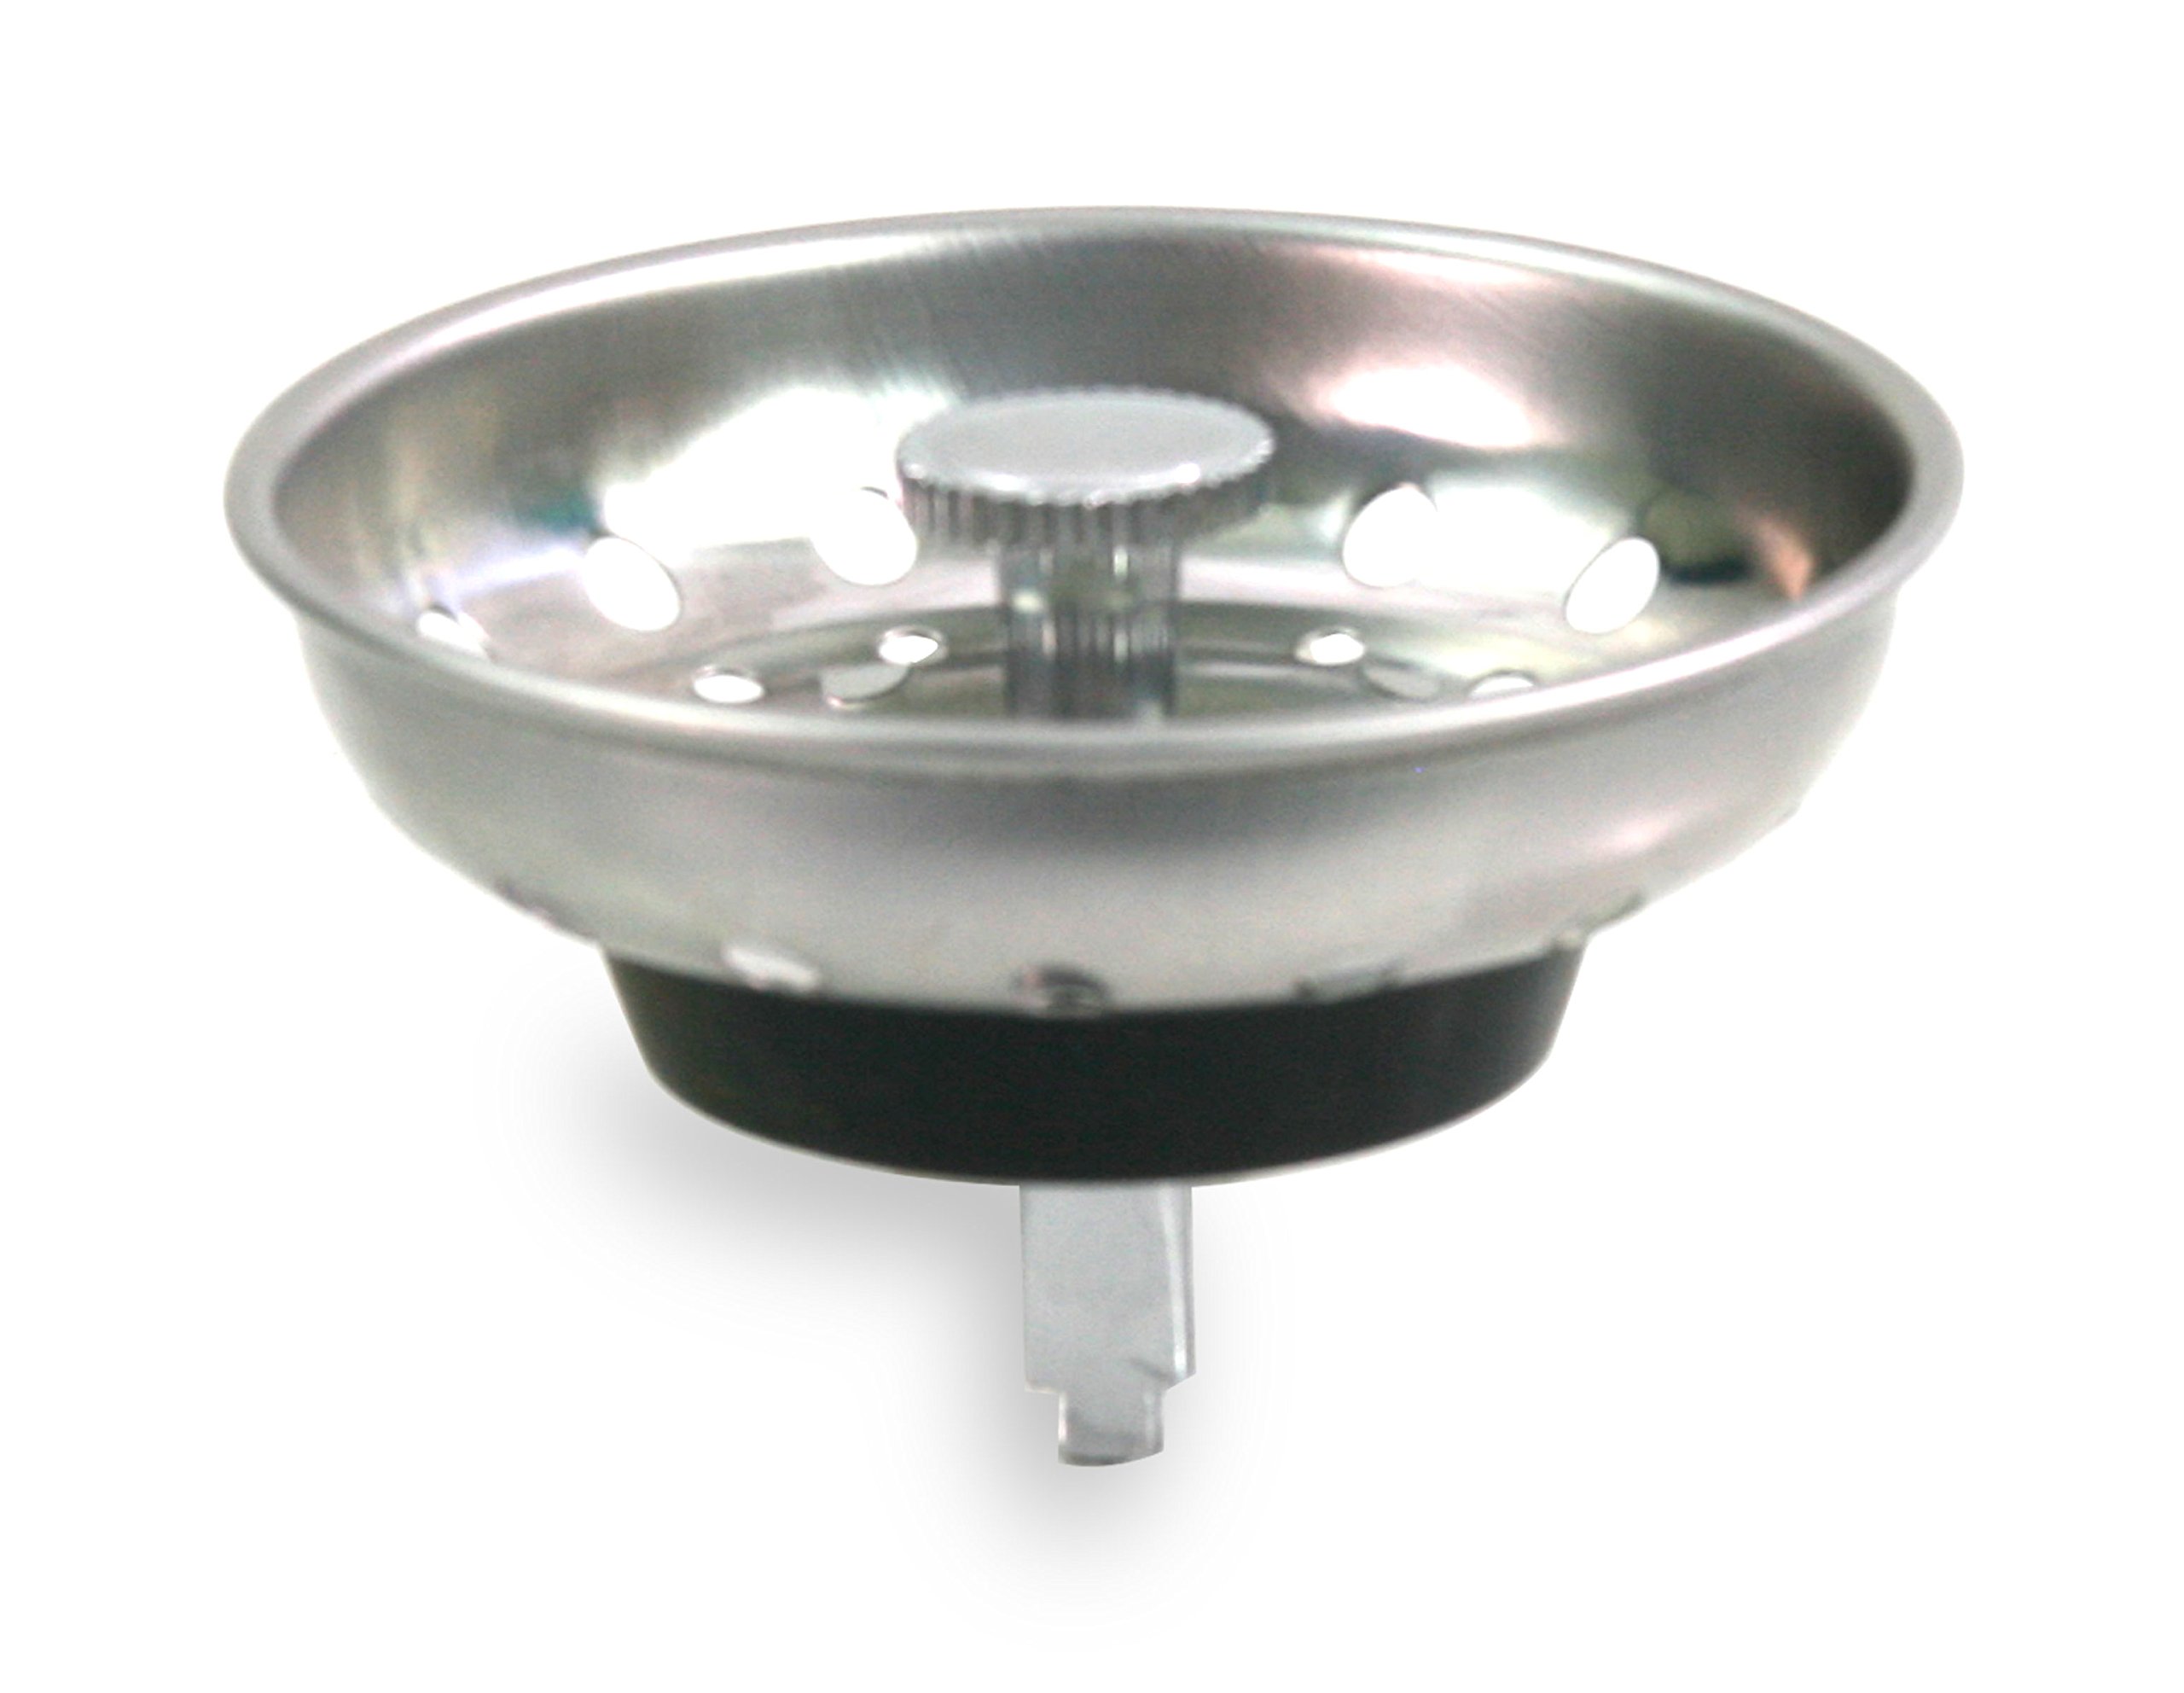
How to Install a Kitchen Sink Strainer
Installing a kitchen sink strainer may seem like a daunting task, but with the right instructions, it can be a simple and quick process. Here are 10 steps to help you install your new kitchen sink strainer with ease.
Step 1: Gather Your Tools
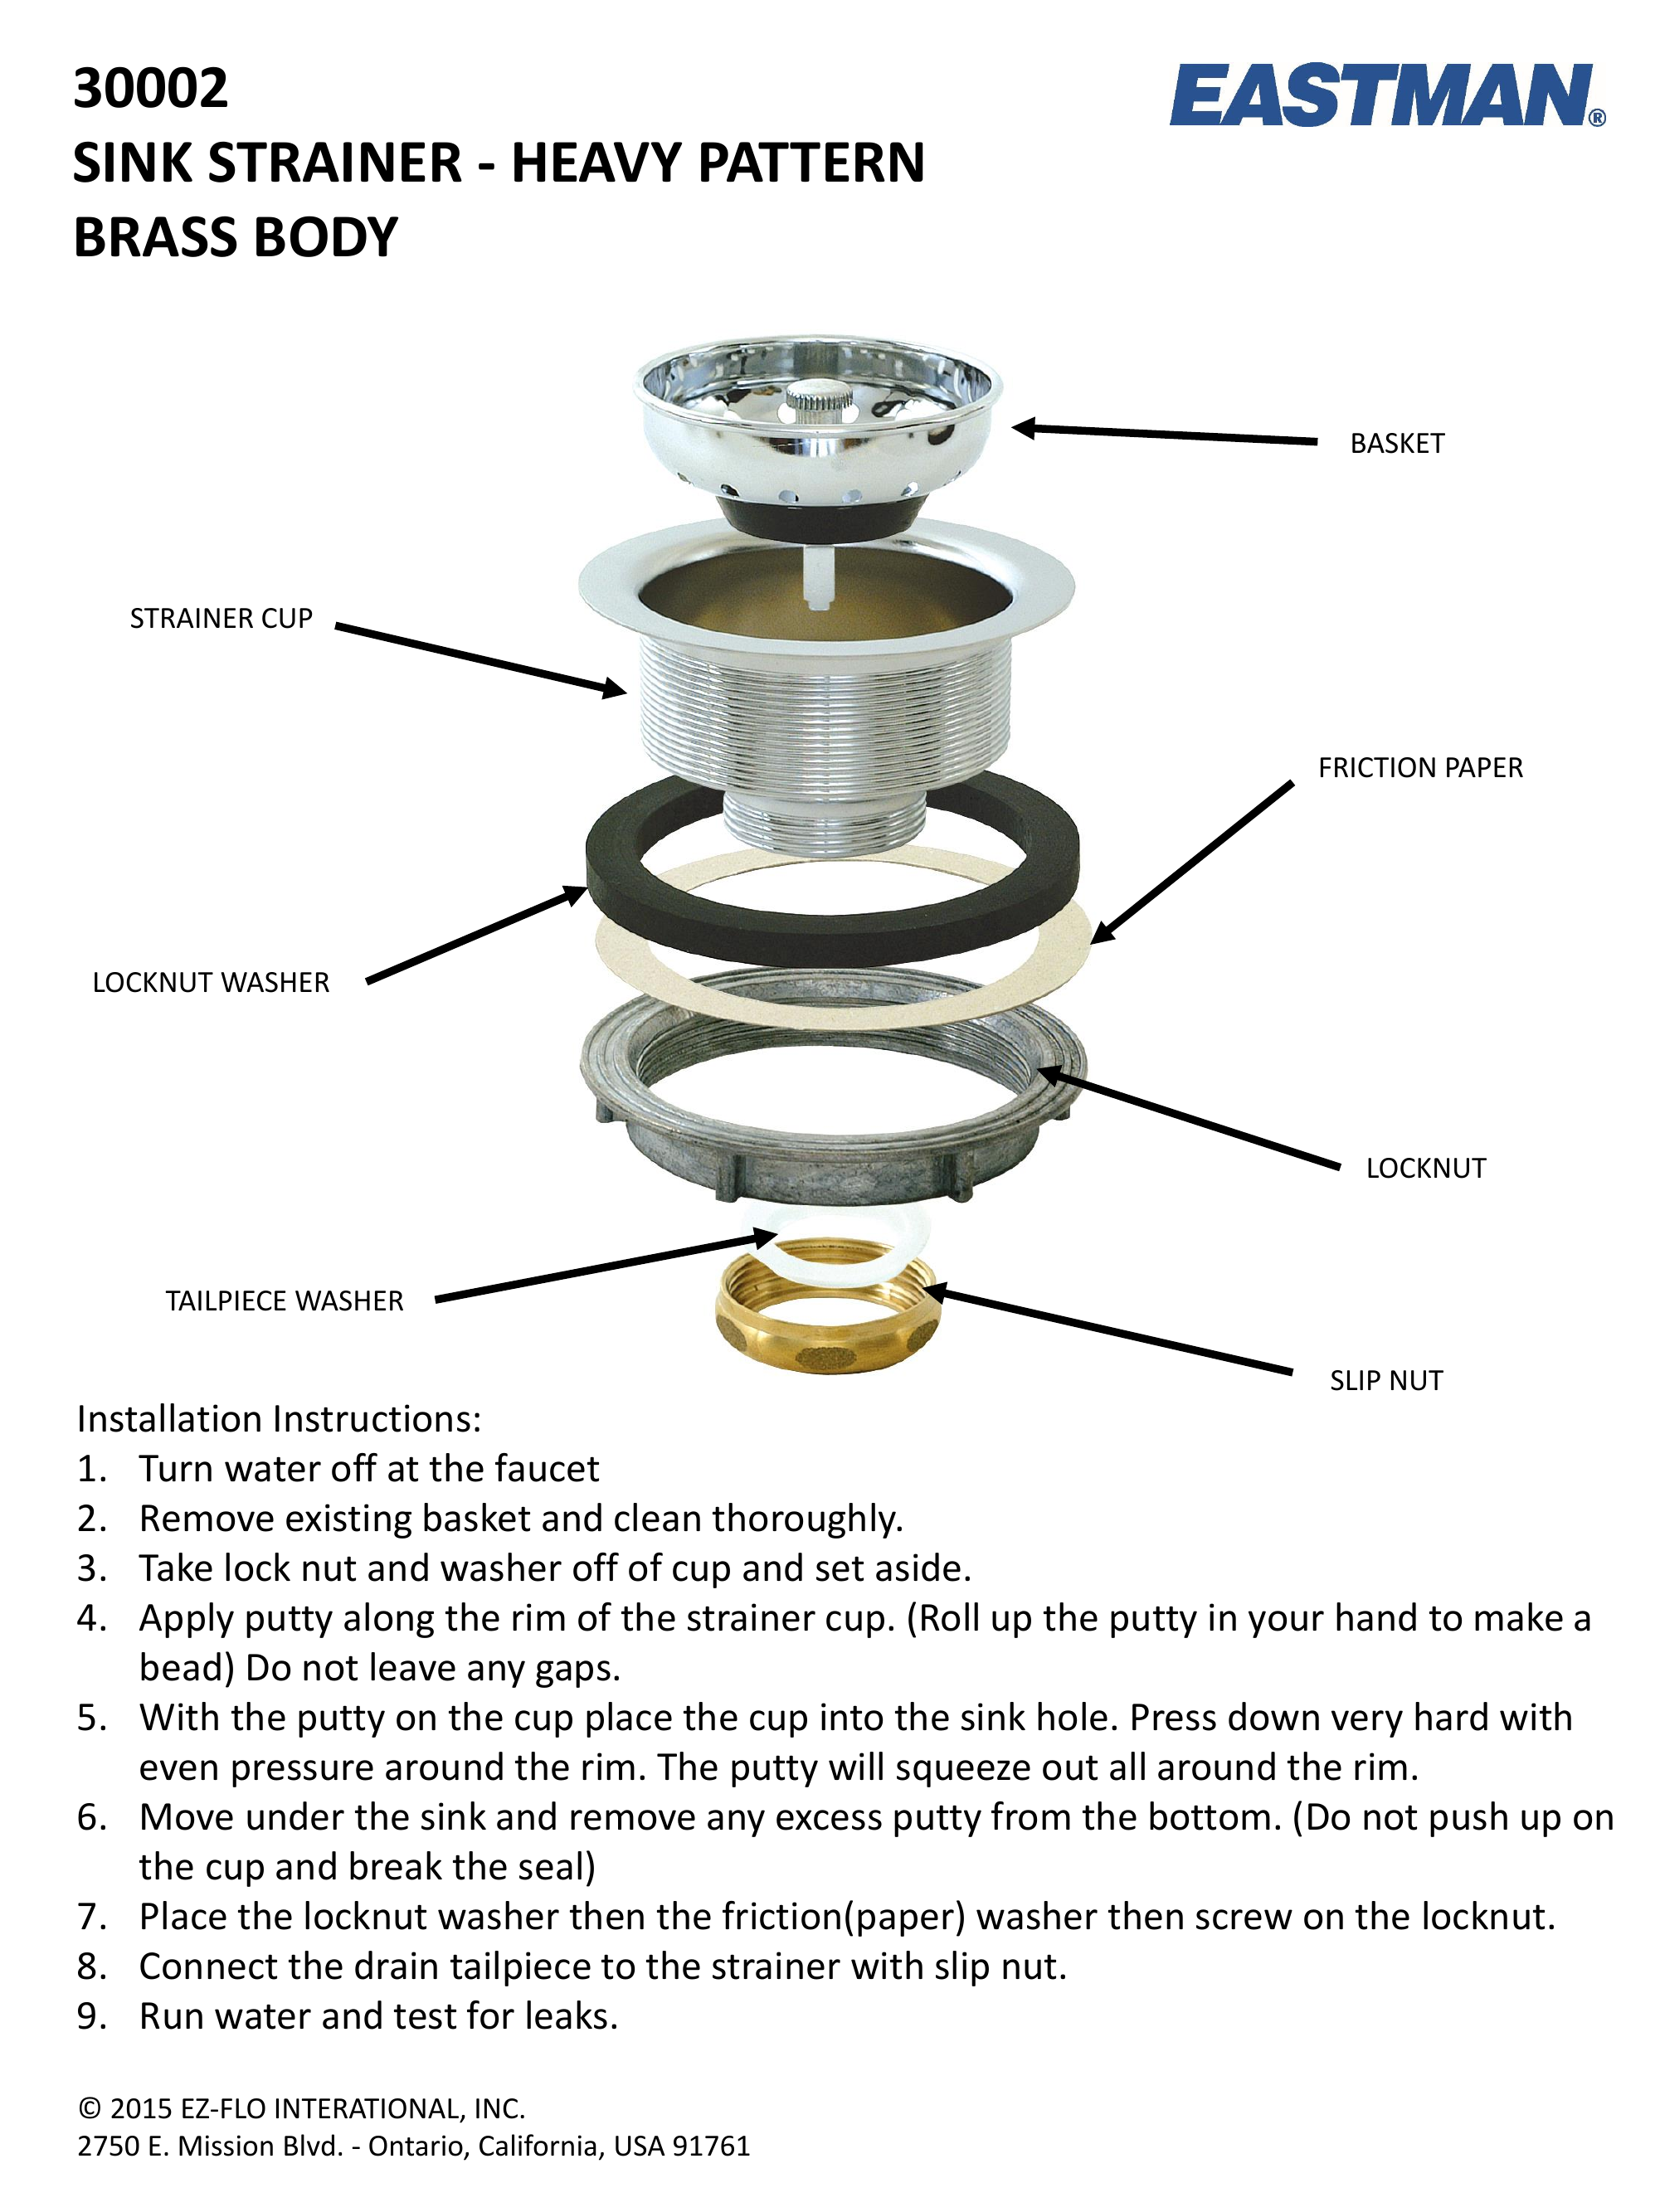
Before you begin, make sure you have all the necessary tools on hand. You will need a screwdriver, pliers, plumber's putty, a wrench, and a rag or towel.
Step 2: Turn Off the Water
Before you start working on your sink, it's important to turn off the water supply. Locate the water valves under your sink and turn them off to prevent any leaks during the installation process.
Step 3: Remove the Old Strainer
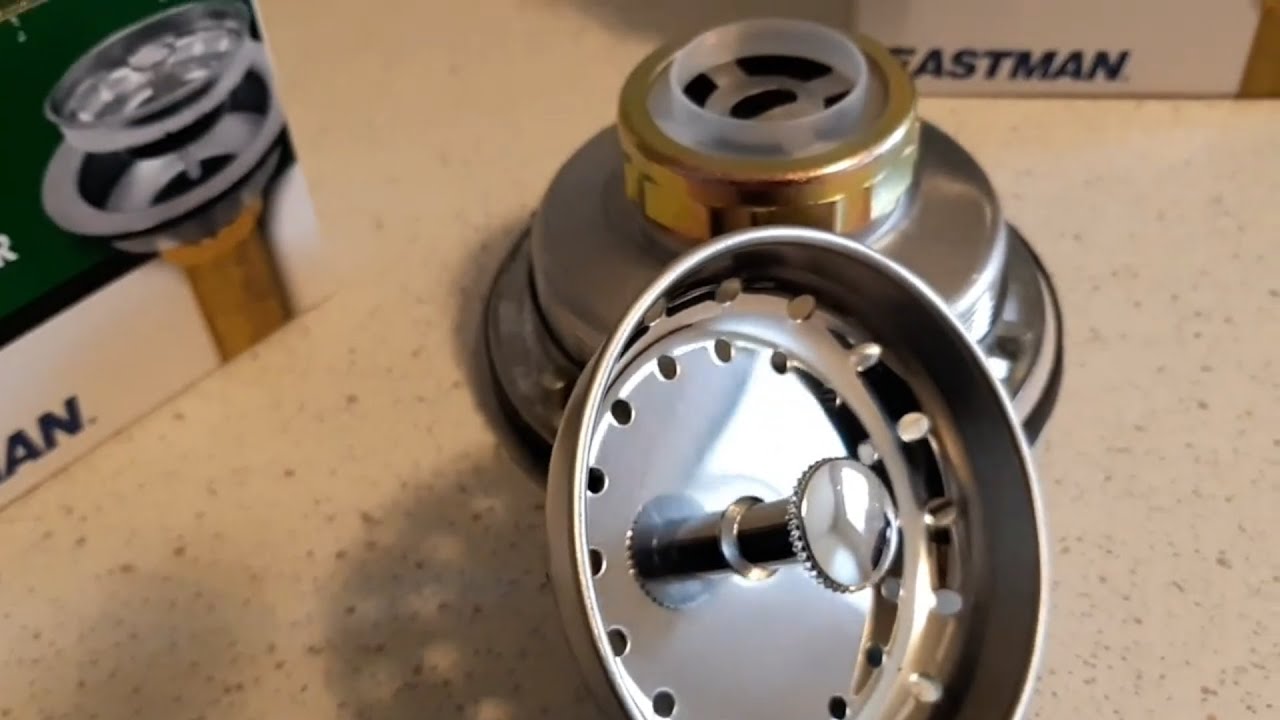
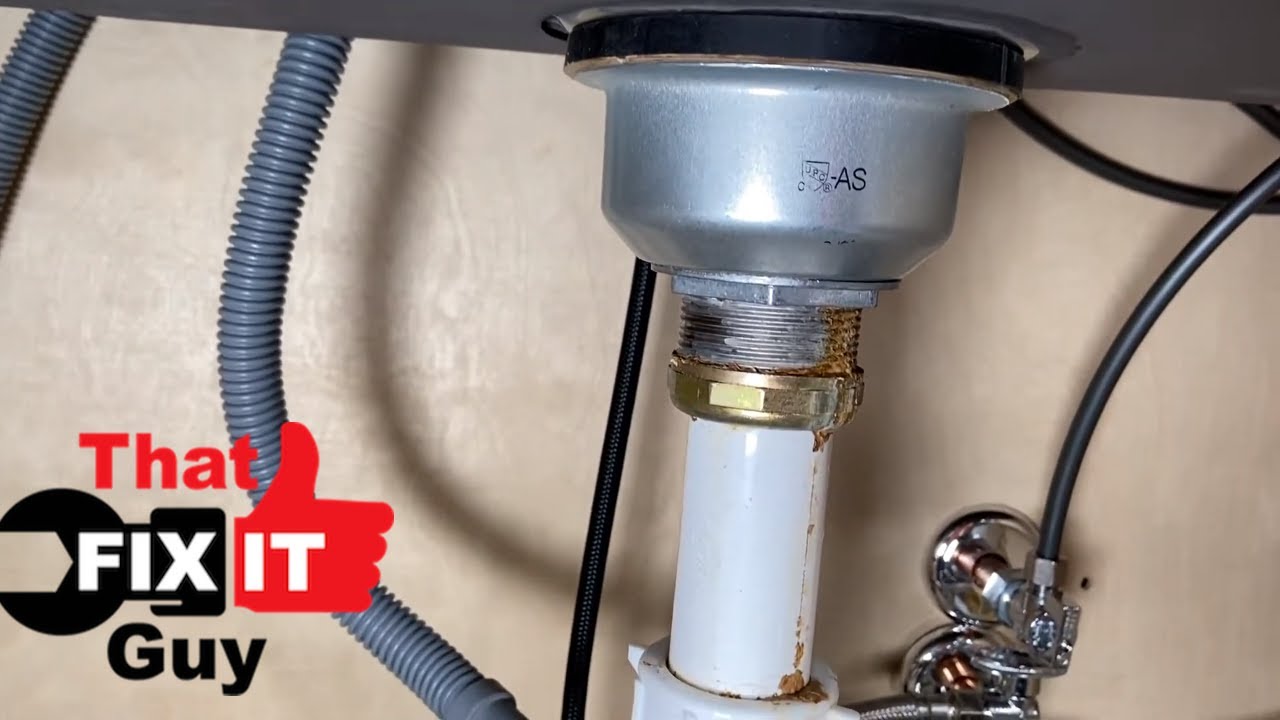
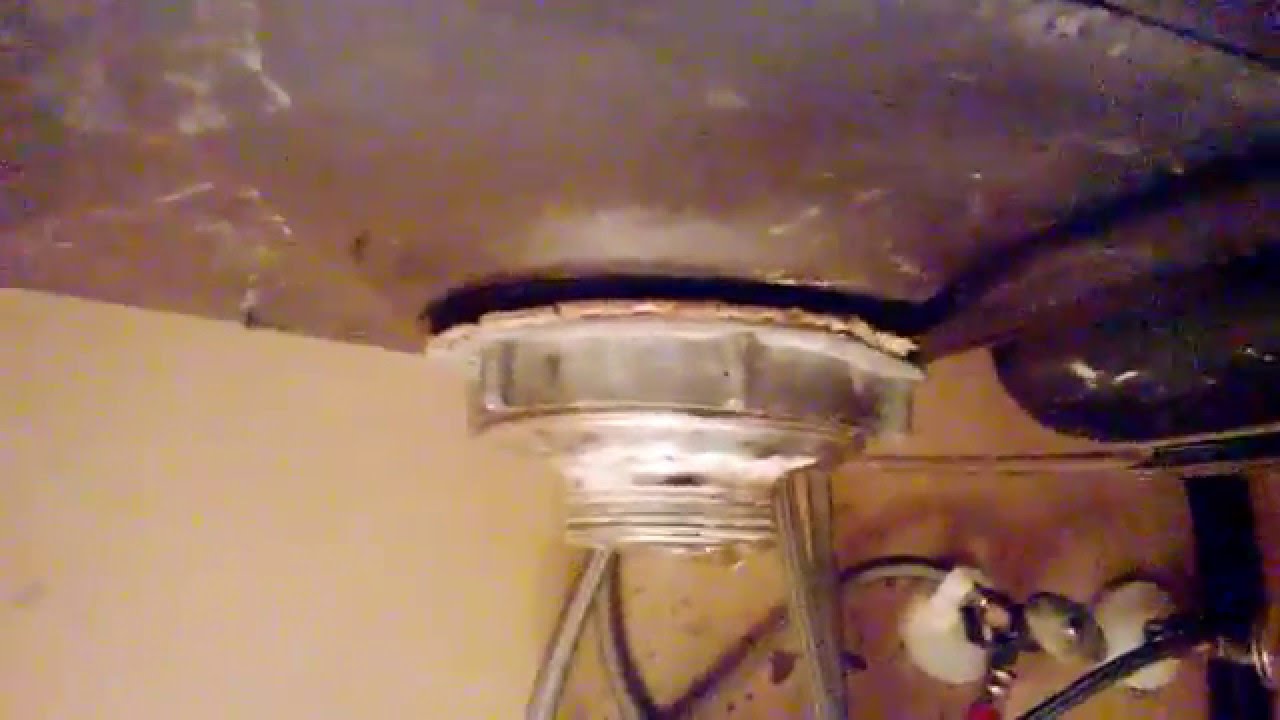
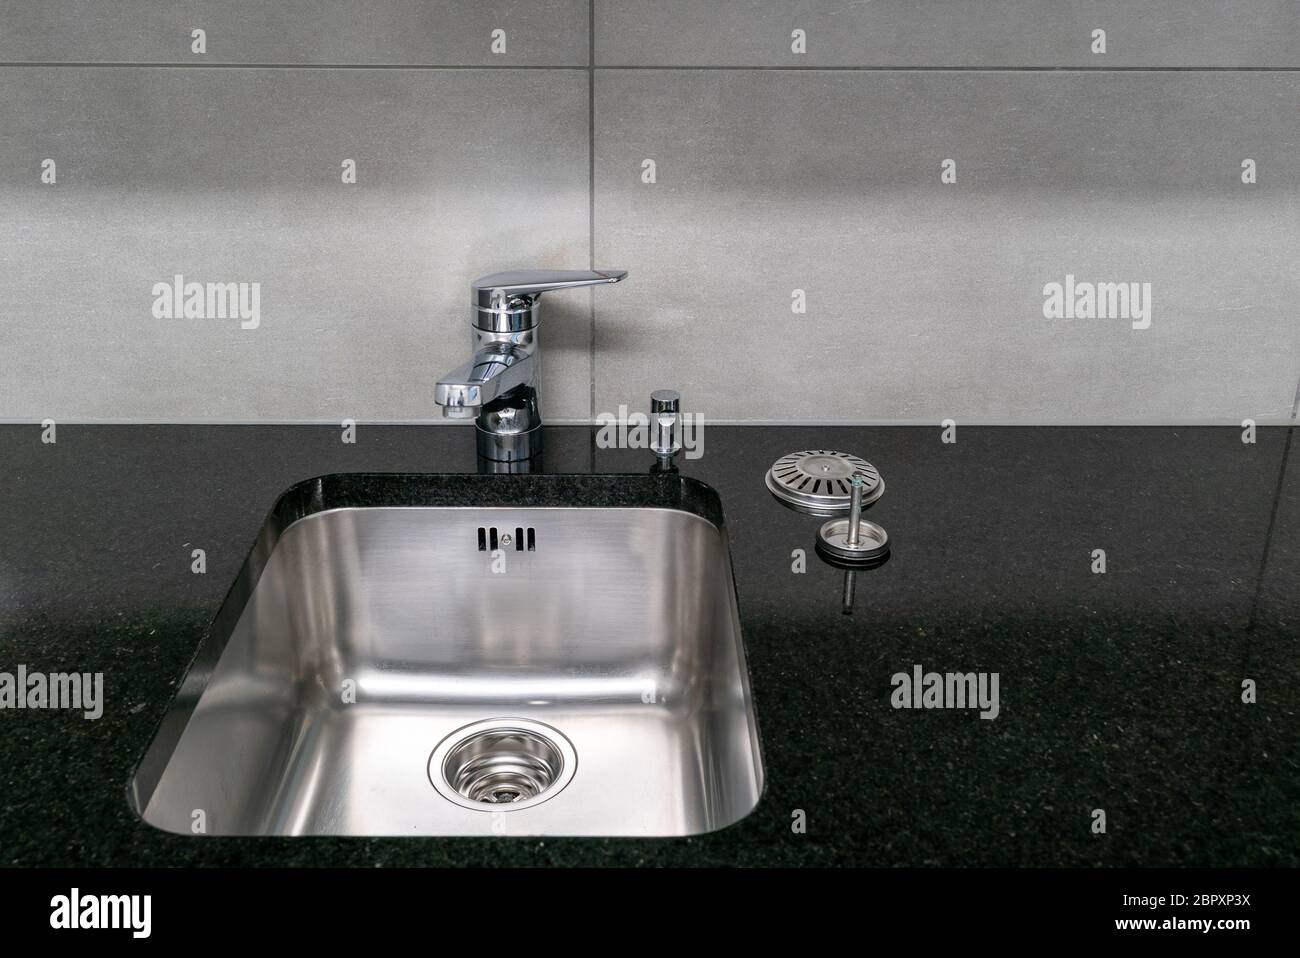
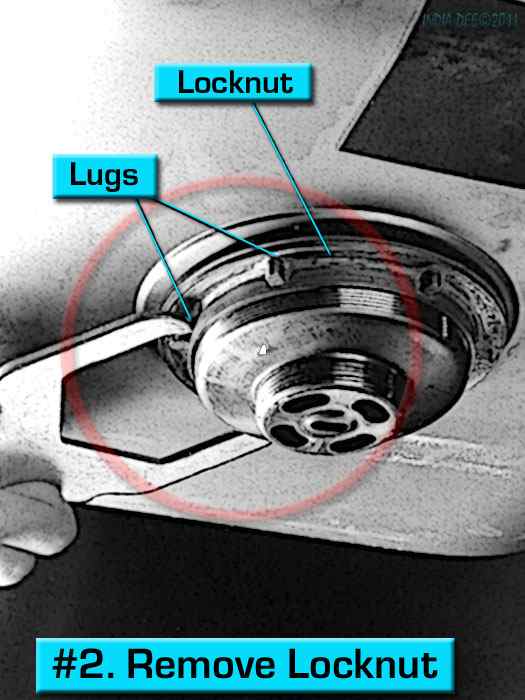
If you are replacing an old kitchen sink strainer, you will first need to remove it. Use a screwdriver to unscrew the lock nut on the bottom of the strainer and then use pliers to loosen and remove the old strainer from the sink.
Step 4: Clean the Sink Opening
Once the old strainer has been removed, use a rag or towel to clean the sink opening and remove any leftover debris or putty.
Step 5: Roll Out the Plumber's Putty
Take a small amount of plumber's putty and roll it into a long rope. This will be used to create a seal between the sink and the new strainer.
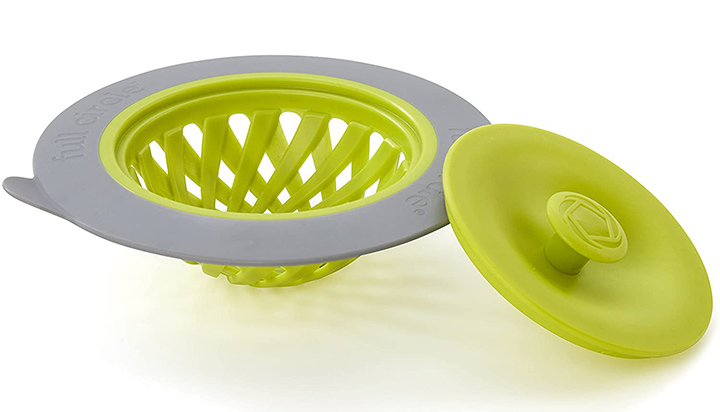
Step 6: Place the Strainer in the Sink
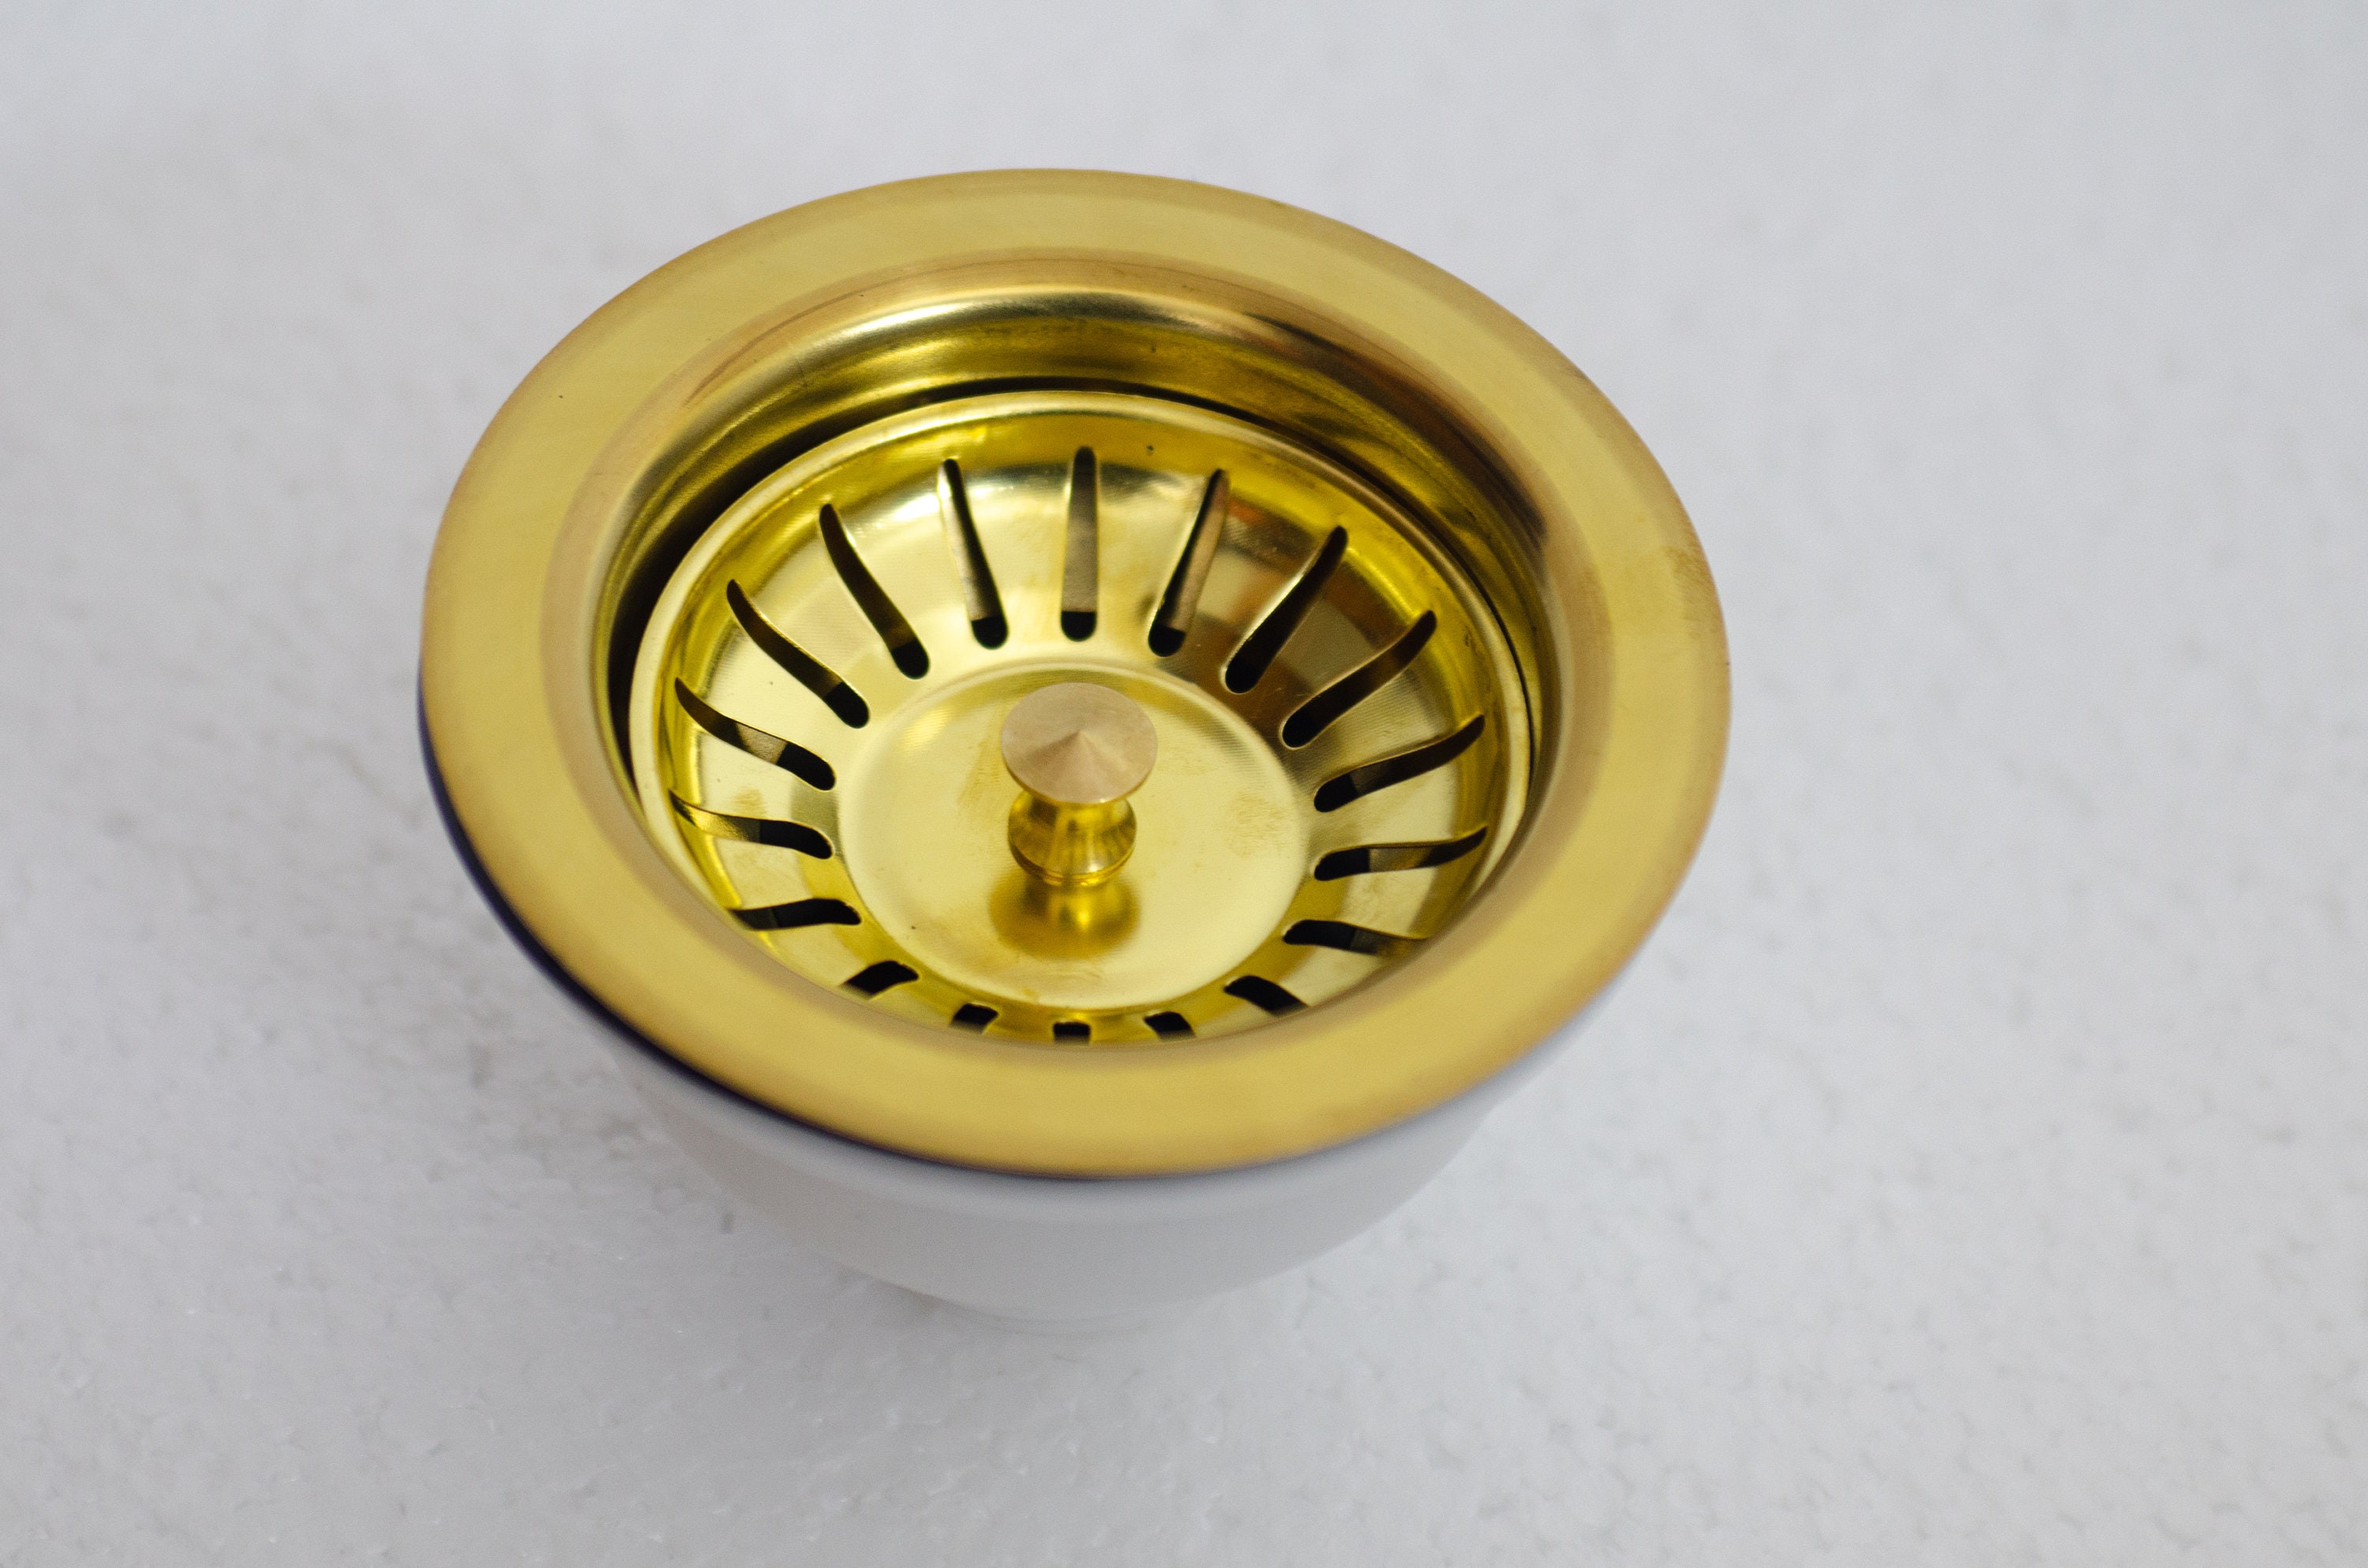
Insert the new strainer into the sink opening and press it down firmly. Make sure it is centered and level before moving on to the next step.
Step 7: Add the Lock Nut
From underneath the sink, place the lock nut onto the strainer and tighten it with your hands. Use a wrench to tighten it even further, making sure the strainer is securely in place.
Step 8: Clean Up Excess Putty
Wipe away any excess plumber's putty from around the strainer with a damp cloth. This will help create a clean and professional-looking finish.
Step 9: Reconnect the Plumbing
Once the strainer is in place, you can reconnect the plumbing under the sink. Use a wrench to tighten any connections as needed.
Step 10: Turn the Water Back On
Finally, turn the water valves back on and check for any leaks. If everything looks good, your new kitchen sink strainer is now installed and ready to use!


How to Install a Kitchen Sink Strainer


How to Replace a Kitchen Sink Strainer
If your kitchen sink strainer is old or damaged, you may need to replace it. Here are 10 steps to help you replace your kitchen sink strainer with ease.
Step 1: Turn Off the Water
Before you start working on your sink, it's important to turn off the water supply. Locate the water valves under your sink and turn them off to prevent any leaks during the replacement process.
Step 2: Remove the Old Strainer
Using a screwdriver and pliers, follow the instructions in the previous section to remove the old kitchen sink strainer.
Step 3: Clean the Sink Opening
Once the old strainer has been removed, use a rag or towel to clean the sink opening and remove any leftover debris or putty.
Step 4: Measure the New Strainer
If you are using a new strainer, make sure it is the correct size for your sink. Measure the diameter of the opening to ensure a proper fit.
Step 5: Roll Out the Plumber's Putty
Take a small amount of plumber's putty and roll it into a long rope. This will be used to create a seal between the sink and the new strainer.
Step 6: Place the Strainer in the Sink
Insert the new strainer into the sink opening and press it down firmly. Make sure it is centered and level before moving on to the next step.
Step 7: Add the Lock Nut
From underneath the sink, place the lock nut onto the strainer and tighten it with your hands. Use a wrench to tighten it even further, making sure the strainer is securely in place.
Step 8: Clean Up Excess Putty
Wipe away any excess plumber's putty from around the strainer with a damp cloth. This will help create a clean and professional-looking finish.
Step 9: Reconnect the Plumbing
Once the strainer is in place, you can reconnect the plumbing under the sink. Use a wrench to tighten any connections as needed.
Step 10: Turn the Water Back On
Finally, turn the water valves back on and check for any leaks. If everything looks good, your new kitchen sink strainer is now installed and ready to use!


How to Replace a Kitchen Sink Strainer


How to Remove a Kitchen Sink Strainer
If you need to remove your kitchen sink strainer for cleaning or maintenance purposes, follow these 10 steps to do so safely and effectively.
Step 1: Turn Off the Water
Before you start working on your sink, it's important to turn off the water supply. Locate the water valves under your sink and turn them off to prevent any leaks during the removal process.
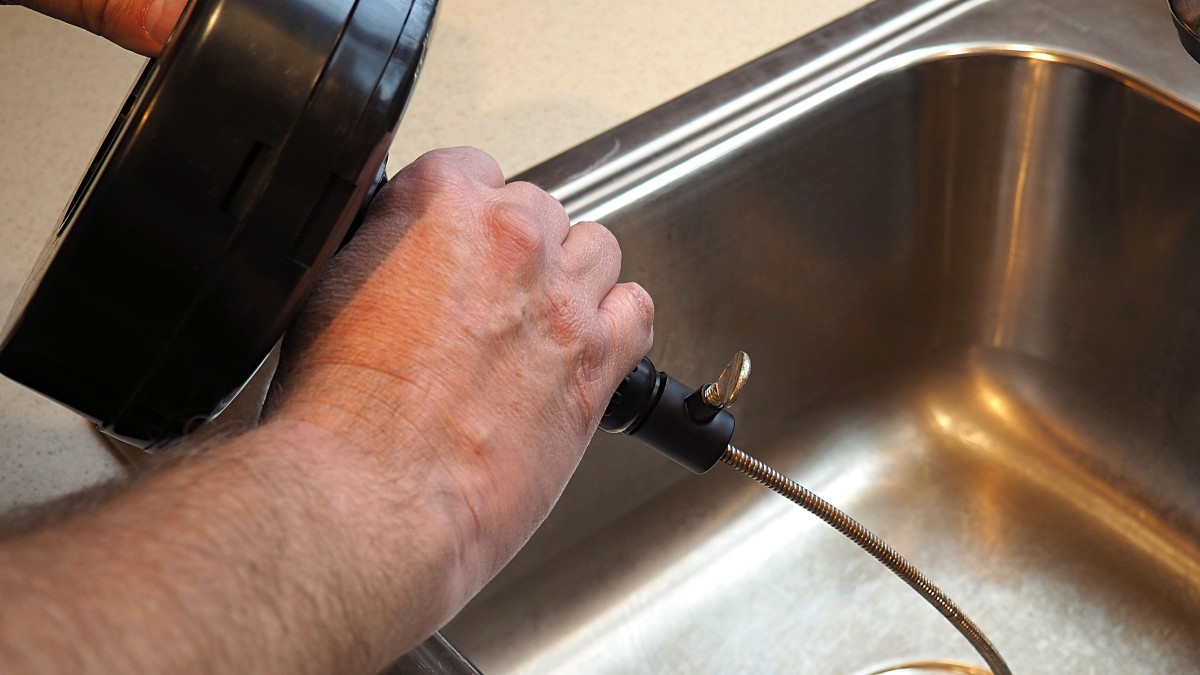
Step 2: Disconnect the Plumbing
Using a wrench, loosen and disconnect the plumbing under the sink to allow for easier access to the strainer.
Step 3: Remove the Lock Nut
From underneath the sink, use a wrench to remove the lock nut that is holding the strainer in place.
Step 4: Loosen the Strainer
With the lock nut removed, use pliers to loosen and remove the kitchen sink strainer from the sink opening.
Step 5: Clean the Sink Opening
Once the strainer has been removed, use a rag or towel to clean the sink opening and remove any leftover debris or putty.
Step 6: Remove Excess Putty
Wipe away any excess plumber's putty from around the sink opening with a damp cloth.
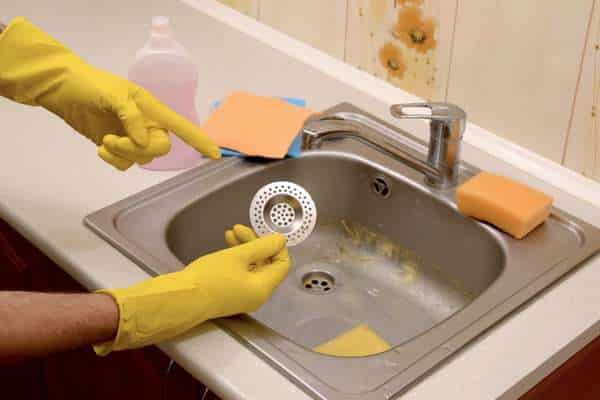
Step 7: Clean the Strainer
Before reinstalling the strainer, take this opportunity to clean it thoroughly with soap and water.
Step 8: Reinstall the Strainer
Follow the steps in the previous sections to reinstall the strainer, using new plumber's putty if necessary.
Step 9: Reconnect the Plumbing
Once the strainer is in place, reconnect the plumbing under the sink using a wrench to tighten any connections as needed.
Step 10: Turn the Water Back On
Finally, turn the water valves back on and check for any leaks. If everything looks good, your kitchen sink strainer has been successfully removed and reinstalled.


How to Remove a Kitchen Sink Strainer


How to Clean a Kitchen Sink Strainer
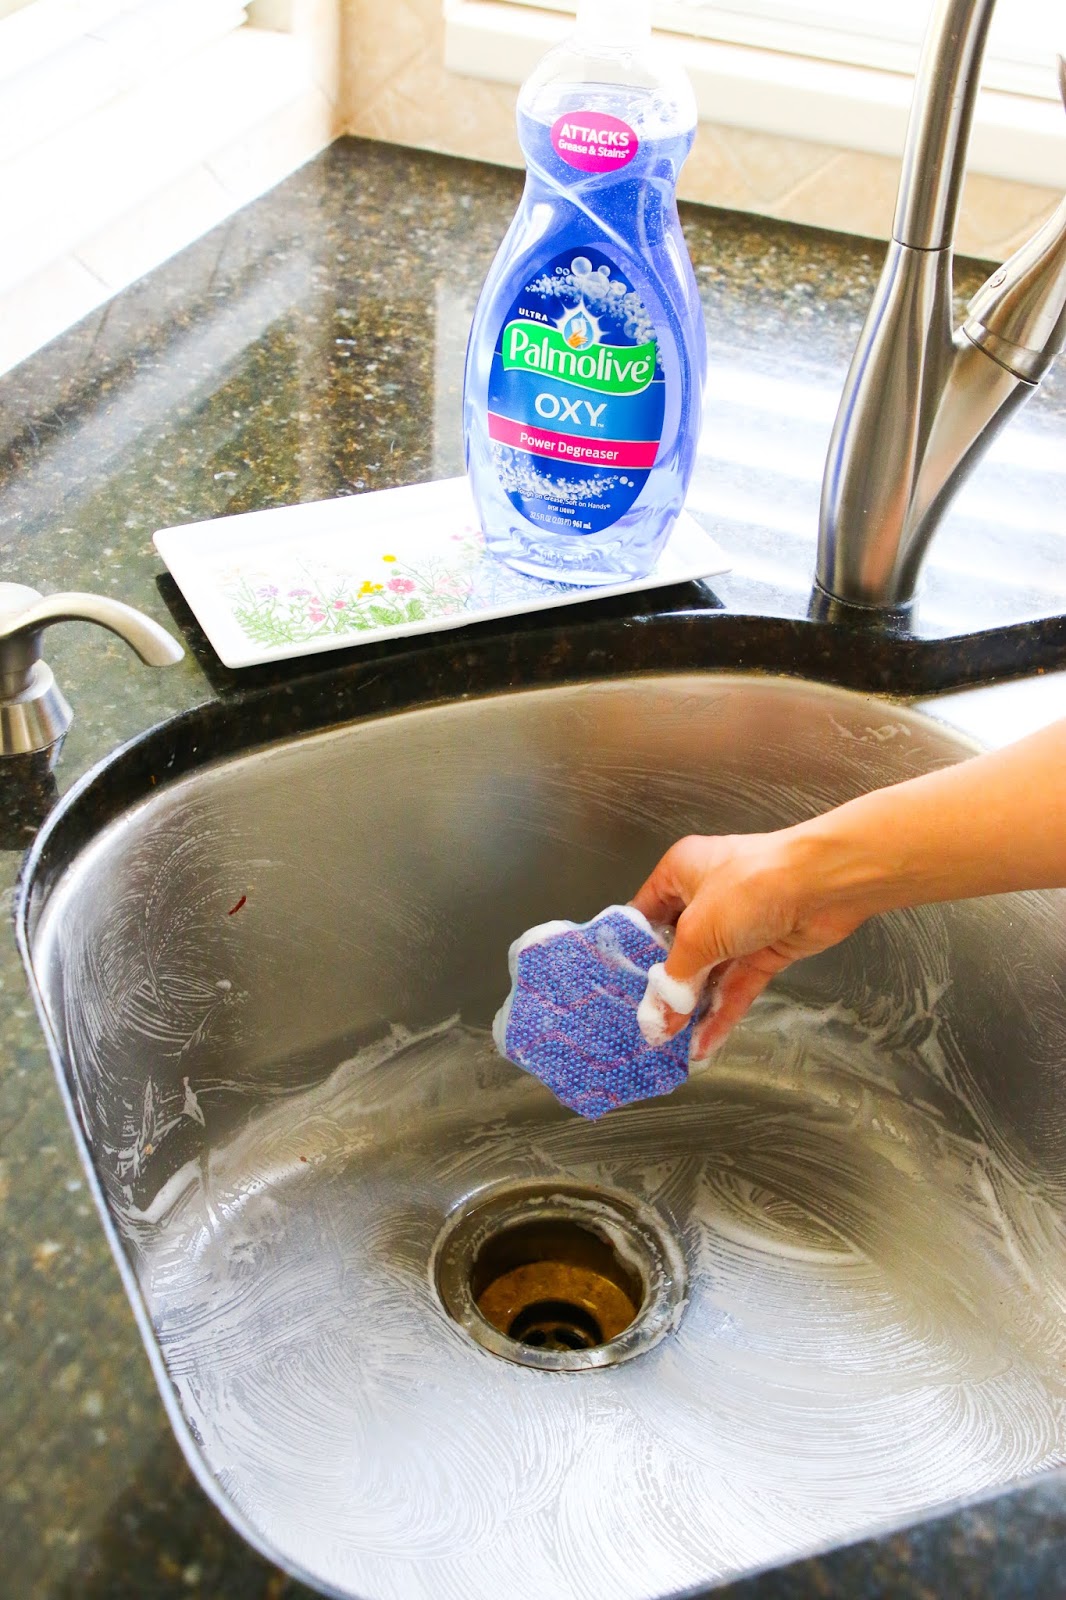
Cleaning your kitchen sink strainer is an important part of maintaining a clean and functional sink. Follow these 10 steps to clean your strainer effectively.
Step 1: Remove the Strainer
Follow the instructions in the previous section to remove the strainer from the sink.
Step 2: Soak in Hot Water
Fill a sink or bucket with hot water and add a few drops of dish soap. Submerge the strainer and let it soak for a few minutes.
Step 3: Scrub with a Brush
Using a small brush, scrub the strainer to remove any buildup or debris. Pay special attention to the mesh openings.
Step 4: Rinse with Hot Water
Rinse the strainer with hot water to remove any soap residue.
Step 5: Use Vinegar for Tough Stains
If your strainer has stubborn stains or buildup, mix equal parts vinegar and water and soak the strainer for a few minutes before scrubbing and rinsing.
Step 6: Dry Thoroughly
After cleaning, make sure to dry the strainer thoroughly before reinstalling it in the sink.
Step 7: Clean the Sink Opening
While the strainer is out, take the opportunity to clean the sink opening as well. Use a cloth and hot water to remove any debris or buildup.
Step 8: Reinstall the Strainer
Follow the steps in the previous sections to reinstall the strainer.
Step 9: Reconnect the Plumbing
Once the strainer is in place, reconnect the plumbing under the sink using a wrench to tighten any connections as needed.
Step 10: Turn the Water Back On
Finally, turn the water valves back on and check for any leaks. Your kitchen sink strainer is now clean and ready to use!

How to Clean a Kitchen Sink Strainer


How to Fix a Kitchen Sink Strainer
If your kitchen sink strainer is not working properly, follow these 10 steps to fix the issue and get your sink back in working order.
Step 1: Identify the Problem
Before attempting to fix the strainer, identify the issue. Is it leaking, clogged, or loose?
Step 2: Turn Off the Water
As always, make sure to turn off the water supply before working on your sink.
Step 3: Disassemble the Strainer
Use a screwdriver and pliers to disassemble the strainer and identify the source of the problem.
Step 4: Tighten Connections
If the strainer is leaking, the most likely cause is loose connections. Use a wrench to tighten any connections that may be causing the leak.
Step 5: Clear Clogs
If the strainer is clogged, use a plunger or drain snake to clear the blockage. You can also try using a mixture of baking soda and vinegar to break up the clog.
Step 6: Replace Damaged Parts
If any parts of the strainer are damaged, such as the gasket or lock nut, replace them with new ones.
Step 7: Clean the Strainer
Take this opportunity to clean the strainer thoroughly before reassembling it.
Step 8: Reassemble the Strainer
Put the strainer back together, making sure all connections are tight and secure.
Step 9: Reinstall the Strainer
Follow the steps in the previous sections to reinstall the strainer in the sink.
Step 10: Turn the Water Back On
Once everything is back in place, turn the water back on and check for any leaks. Your kitchen sink strainer should now be working properly.


How to Fix a Kitchen Sink Strainer


How to Unclog a Kitchen Sink Strainer
If your kitchen sink strainer is clogged, follow these 10 steps to unclog it and get your sink draining properly again.
Step 1: Identify the Problem
Before attempting to unclog the strainer, make sure the issue is with the strainer and not a clogged pipe.
Step 2: Turn Off the Water
As always, make sure to turn off the water supply before working on your sink.
Step 3: Disassemble the Strainer
Use a screwdriver and pliers to disassemble the strainer and identify the source of the clog.
Step 4: Clear the Clog
Use a plunger or drain snake to clear the clog. You can also try a mixture of baking soda and vinegar to break up the clog.
Step 5: Clean the Strainer
Take this opportunity to clean the strainer thoroughly before reassembling it.
Step 6: Reassemble the Strainer


How to Unclog a Kitchen Sink Strainer


The Importance of a Kitchen Sink Strainer Stopper in House Design

Efficient Drainage System
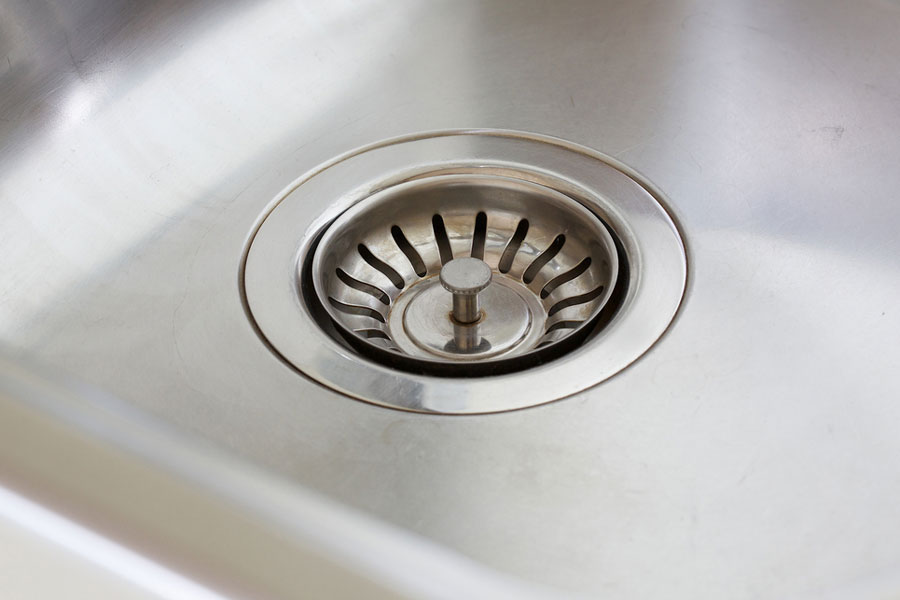
 When designing a house, one of the key factors to consider is the efficiency of its drainage system. This includes not only the main plumbing lines but also the smaller components, such as the kitchen sink strainer stopper. This simple yet essential fixture plays a crucial role in ensuring the smooth flow of water in your kitchen sink.
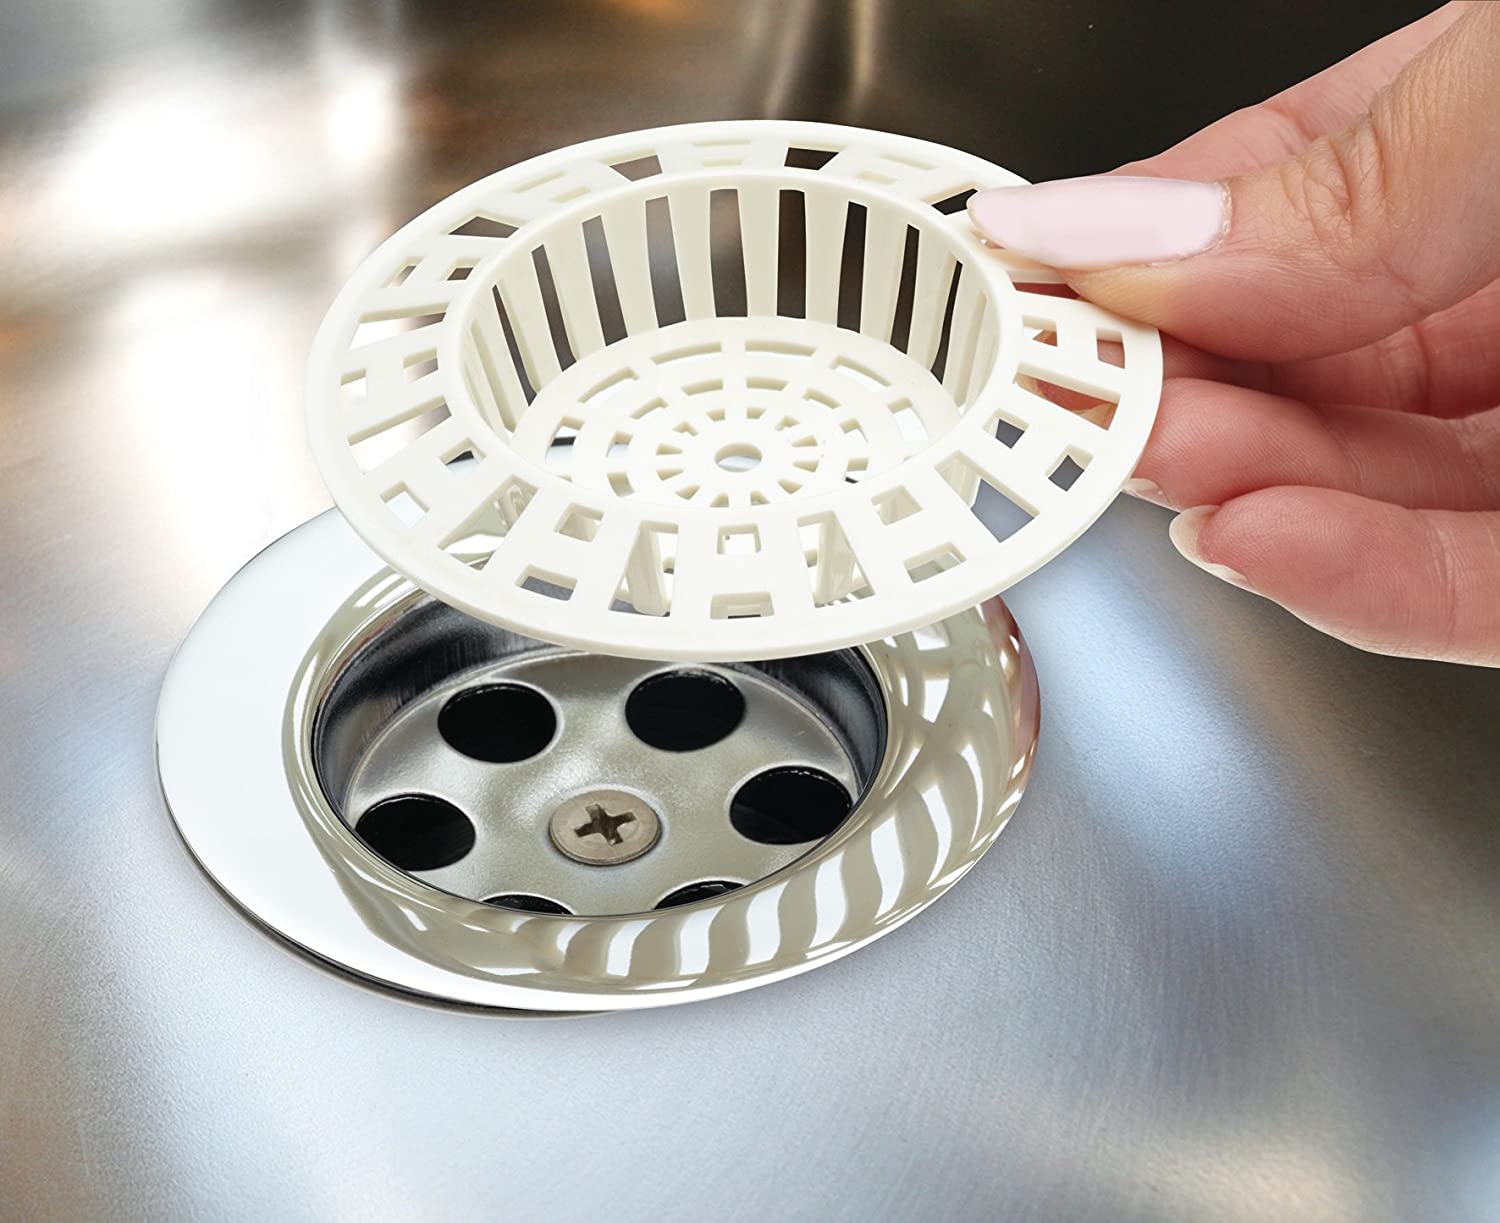
Kitchen sink strainer stoppers
are designed to prevent food scraps, debris, and other solids from clogging your drain pipes. Without a strainer stopper, these particles can easily accumulate in your pipes, causing blockages and even more serious plumbing issues. By using a strainer stopper, you can avoid these problems and maintain a well-functioning drainage system in your house.
When designing a house, one of the key factors to consider is the efficiency of its drainage system. This includes not only the main plumbing lines but also the smaller components, such as the kitchen sink strainer stopper. This simple yet essential fixture plays a crucial role in ensuring the smooth flow of water in your kitchen sink.
Kitchen sink strainer stoppers
are designed to prevent food scraps, debris, and other solids from clogging your drain pipes. Without a strainer stopper, these particles can easily accumulate in your pipes, causing blockages and even more serious plumbing issues. By using a strainer stopper, you can avoid these problems and maintain a well-functioning drainage system in your house.
Hygienic Solution
 Apart from promoting efficient drainage, a kitchen sink strainer stopper also helps maintain a clean and hygienic kitchen. With food scraps and other debris trapped in the strainer, you can easily dispose of them in the trash without having to touch them directly. This reduces the risk of spreading bacteria and germs in your kitchen, making it a more sanitary space for food preparation and cooking.
Moreover, using a strainer stopper can also prevent unpleasant odors from emanating from your kitchen sink. As food particles get trapped in the strainer, they won't have the chance to decompose and produce foul smells. This is especially beneficial for those who have garbage disposals, as it can help reduce the need for constant cleaning and maintenance.
Apart from promoting efficient drainage, a kitchen sink strainer stopper also helps maintain a clean and hygienic kitchen. With food scraps and other debris trapped in the strainer, you can easily dispose of them in the trash without having to touch them directly. This reduces the risk of spreading bacteria and germs in your kitchen, making it a more sanitary space for food preparation and cooking.
Moreover, using a strainer stopper can also prevent unpleasant odors from emanating from your kitchen sink. As food particles get trapped in the strainer, they won't have the chance to decompose and produce foul smells. This is especially beneficial for those who have garbage disposals, as it can help reduce the need for constant cleaning and maintenance.
Customizable Design
 In addition to its practical function, a kitchen sink strainer stopper can also add to the overall design of your house. With a wide variety of
strainer stopper designs
available in the market, you can choose one that best suits your kitchen's aesthetic. From sleek and modern to more traditional and rustic designs, there is a strainer stopper for every style and preference.
Furthermore, some strainer stoppers also come with
additional features
such as built-in soap holders or removable baskets for easier cleaning. These customizable options not only add to the functionality of the strainer stopper but also enhance the overall look of your kitchen sink.
In conclusion, a kitchen sink strainer stopper may seem like a small and insignificant part of house design. However, its importance in promoting efficient drainage, maintaining cleanliness and hygiene, and adding to the overall design of your kitchen cannot be overlooked. So don't forget to include this essential fixture in your house design plans for a well-functioning and aesthetically pleasing kitchen.
In addition to its practical function, a kitchen sink strainer stopper can also add to the overall design of your house. With a wide variety of
strainer stopper designs
available in the market, you can choose one that best suits your kitchen's aesthetic. From sleek and modern to more traditional and rustic designs, there is a strainer stopper for every style and preference.
Furthermore, some strainer stoppers also come with
additional features
such as built-in soap holders or removable baskets for easier cleaning. These customizable options not only add to the functionality of the strainer stopper but also enhance the overall look of your kitchen sink.
In conclusion, a kitchen sink strainer stopper may seem like a small and insignificant part of house design. However, its importance in promoting efficient drainage, maintaining cleanliness and hygiene, and adding to the overall design of your kitchen cannot be overlooked. So don't forget to include this essential fixture in your house design plans for a well-functioning and aesthetically pleasing kitchen.