How to Repair a Kitchen Sink Sprayer
A kitchen sink sprayer is an essential part of any kitchen sink, allowing for easy and efficient cleaning of dishes and other surfaces. However, like any other plumbing fixture, a kitchen sink sprayer can experience problems over time. From leaks to clogs, a malfunctioning kitchen sink sprayer can be a major inconvenience. But before you call a plumber or rush to buy a new sprayer, there are steps you can take to repair the issue yourself. In this article, we will go over the top 10 ways to repair a kitchen sink sprayer and get it working like new again.


How to Repair a Kitchen Sink Sprayer


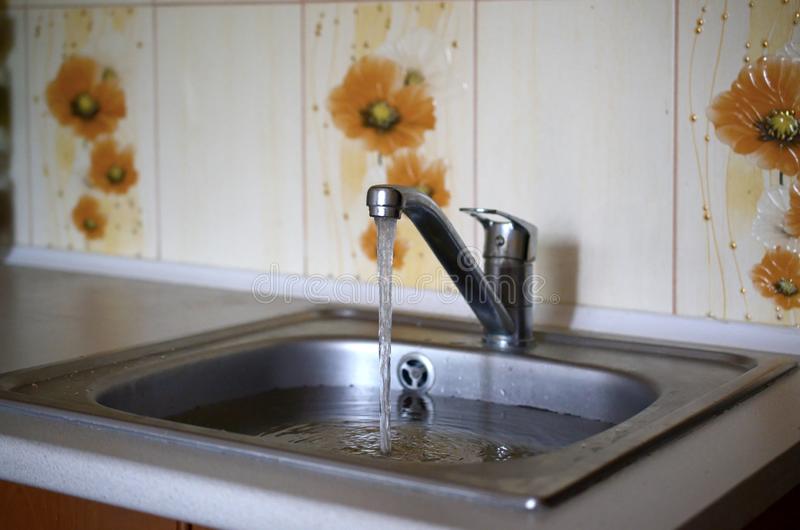
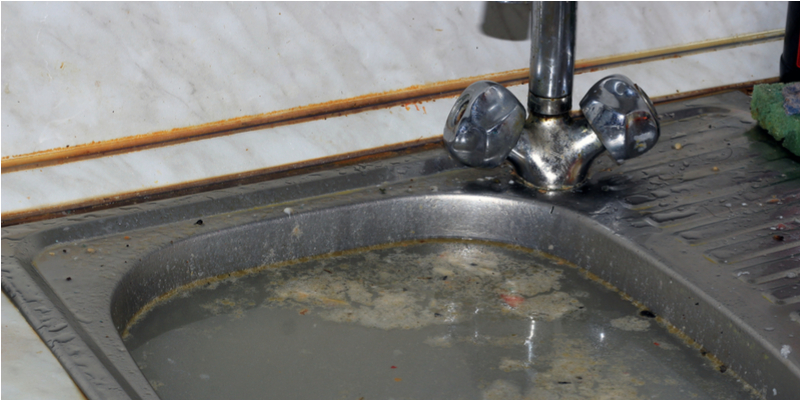
How to Fix a Leaky Kitchen Sink Sprayer
One of the most common problems with a kitchen sink sprayer is a leak. This not only wastes water but can also cause damage to your sink and surrounding areas. The first step in fixing a leaky kitchen sink sprayer is to determine where the leak is coming from. It could be from the sprayer head, the hose, or the connection between the hose and the sprayer. Once you have identified the source of the leak, you can take the appropriate steps to fix it. This may involve tightening the connections, replacing a worn-out O-ring, or replacing the entire sprayer head.


How to Fix a Leaky Kitchen Sink Sprayer


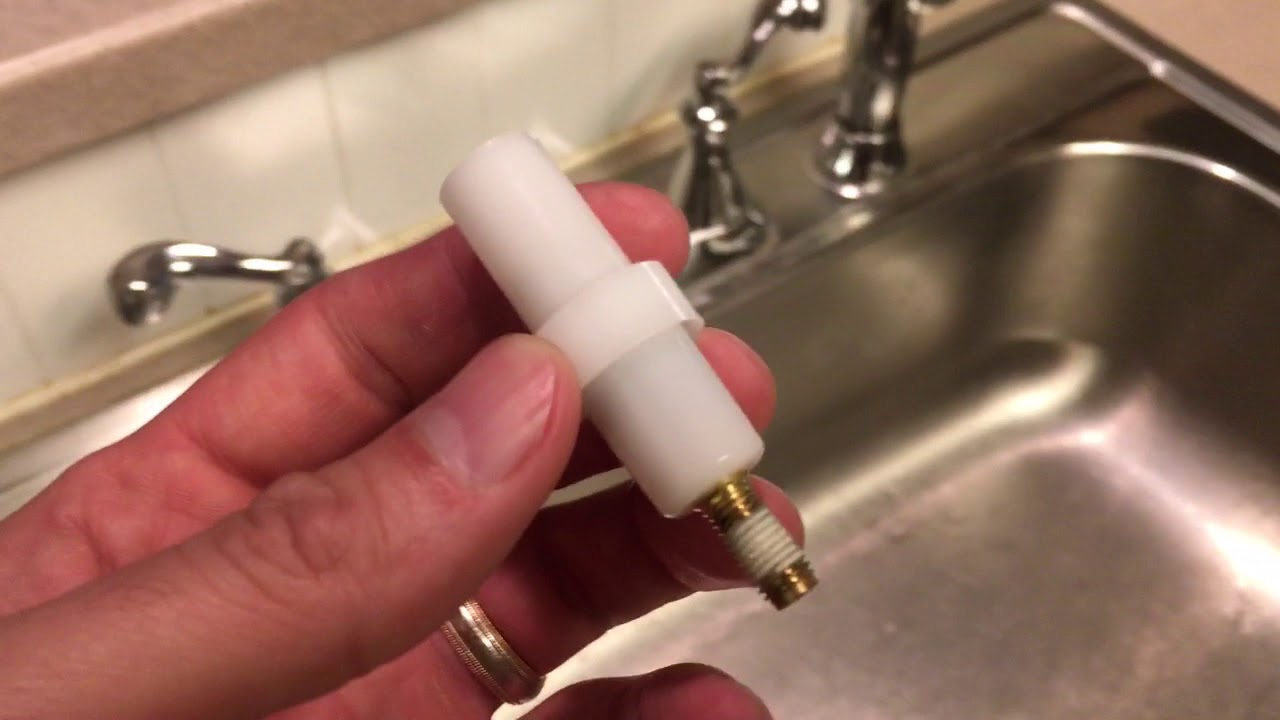
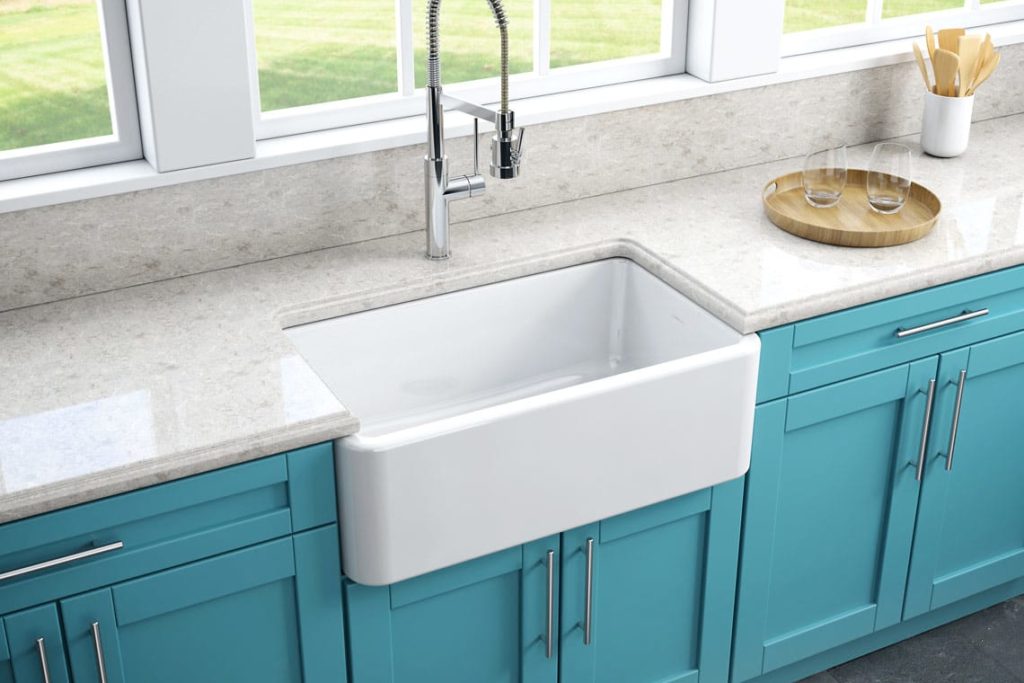
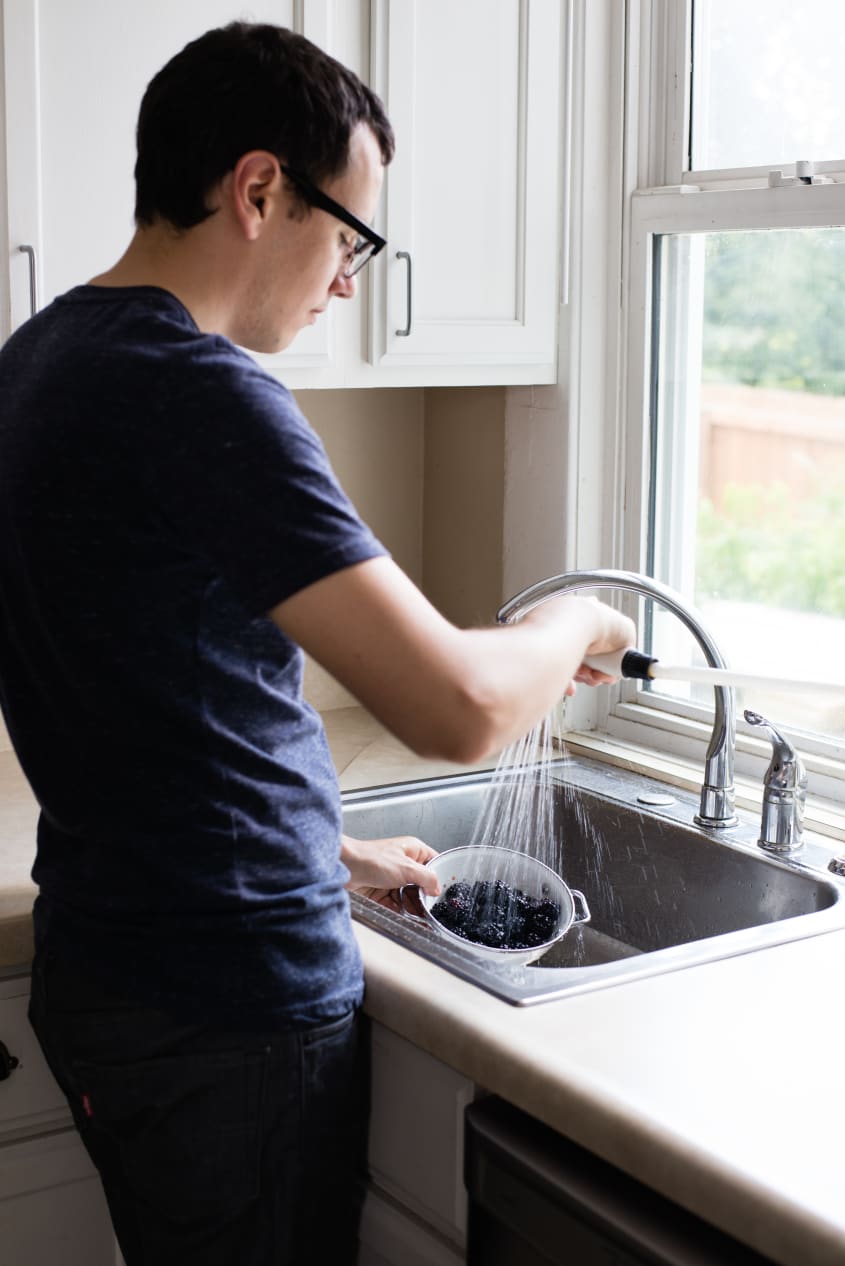
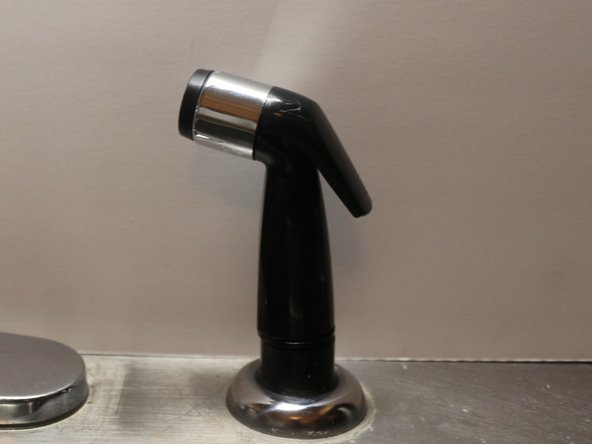
Replacing a Kitchen Sink Sprayer
If your kitchen sink sprayer is beyond repair, you may need to replace it altogether. This may seem like a daunting task, but it is actually a fairly simple process. First, make sure to turn off the water supply to your sink. Then, unscrew the sprayer head and disconnect the hose from the sprayer and water supply. Next, install the new sprayer by connecting the hose to the water supply and screwing on the new sprayer head. Finally, turn the water supply back on and test the new sprayer to ensure it is working properly.


Replacing a Kitchen Sink Sprayer


/25089301983_c5145fe85d_o-58418ef15f9b5851e5f392b5.jpg)


Common Kitchen Sink Sprayer Problems and Solutions
Aside from leaks, there are several other common problems that can occur with a kitchen sink sprayer. These include low water pressure, a clogged sprayer, and a loose hose. To fix low water pressure, check for any obstructions in the sprayer head and clean them out. For a clogged sprayer, use a toothbrush or small wire brush to remove any buildup from the aerator. If your hose is loose, use pliers to tighten the connections and secure it in place.

Common Kitchen Sink Sprayer Problems and Solutions

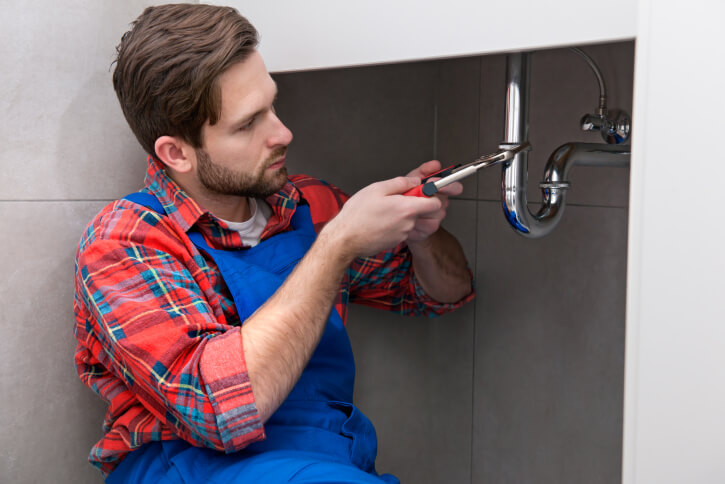


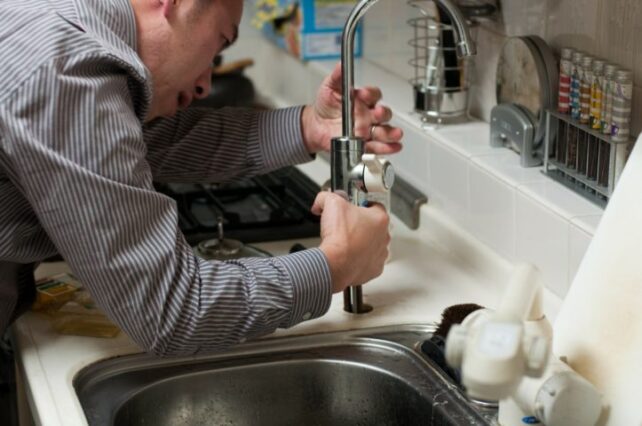
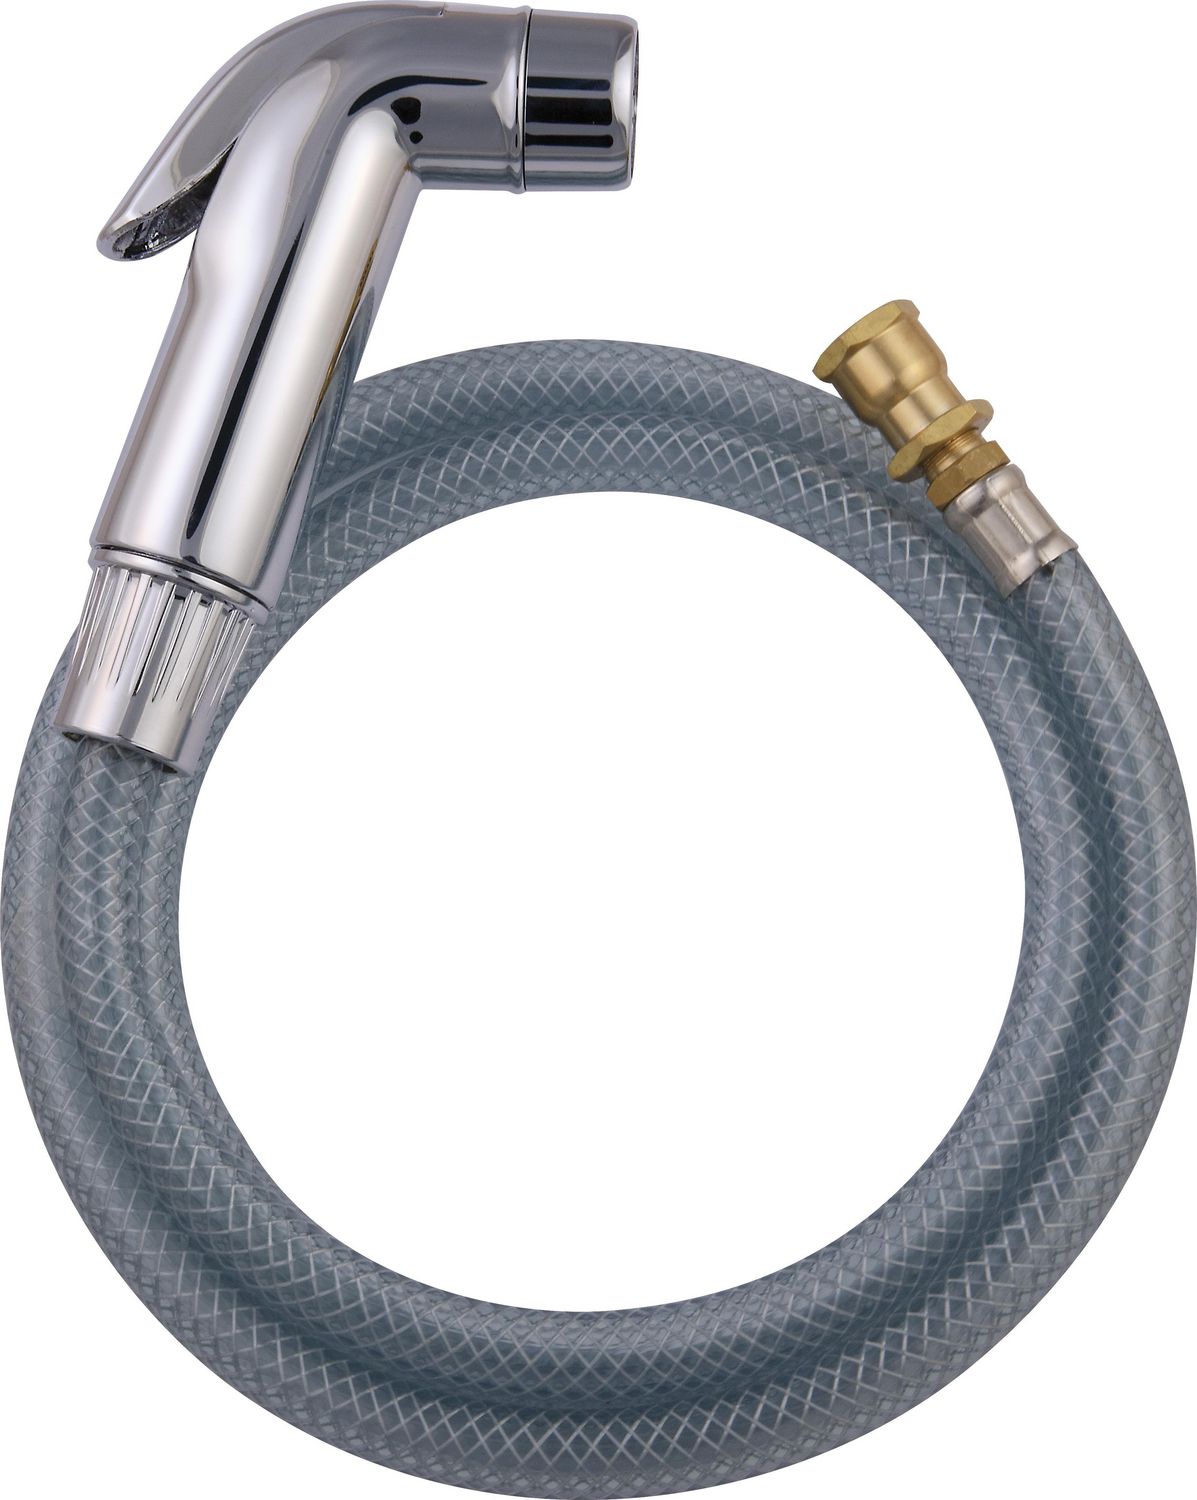
DIY Kitchen Sink Sprayer Repair
While it may be tempting to call a professional for any plumbing issues, you can save time and money by attempting to repair your kitchen sink sprayer yourself. With the right tools and knowledge, many issues can be fixed without the need for a plumber. Plus, it can be a satisfying feeling to successfully fix a problem on your own. Just make sure to research and follow proper safety precautions before attempting any DIY repairs.


DIY Kitchen Sink Sprayer Repair


:max_bytes(150000):strip_icc()/installing-a-kitchen-sink-sprayer-2718817-03-514088ddb922466eb3d4cd73f3aa85f4.jpg)


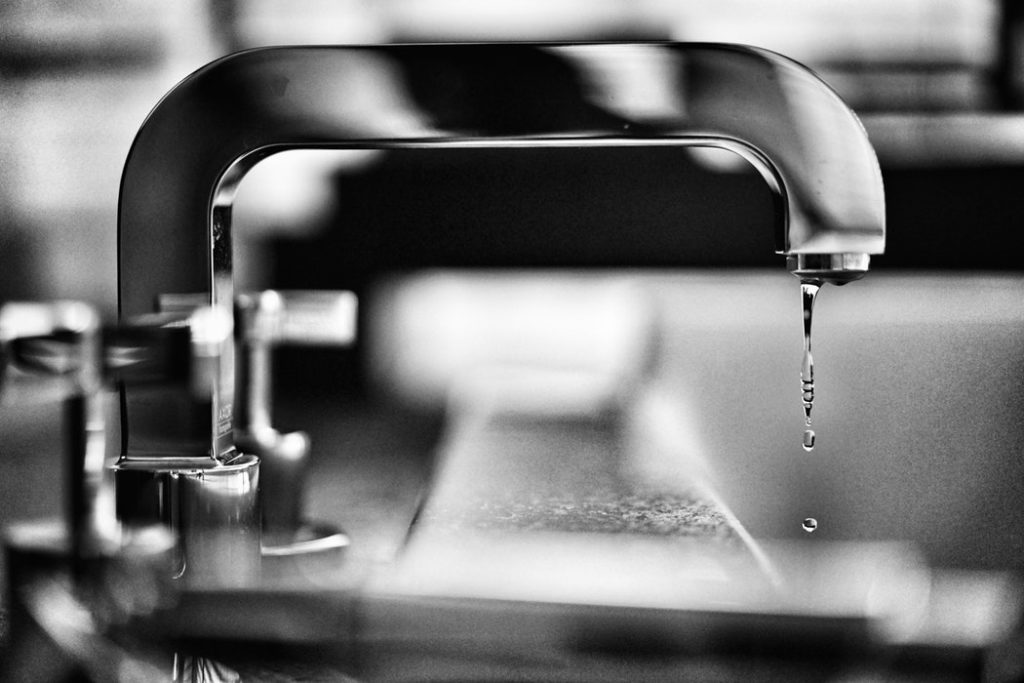
Troubleshooting Kitchen Sink Sprayer Issues
If your kitchen sink sprayer is not functioning properly, it can be helpful to go through a troubleshooting process to identify the issue. This can involve checking for leaks, cleaning the sprayer head, and making sure the hose is properly connected. It may also be helpful to refer to the manufacturer's instructions for your specific sprayer model. By going through a step-by-step troubleshooting process, you can pinpoint the problem and take the necessary steps to fix it.


Troubleshooting Kitchen Sink Sprayer Issues


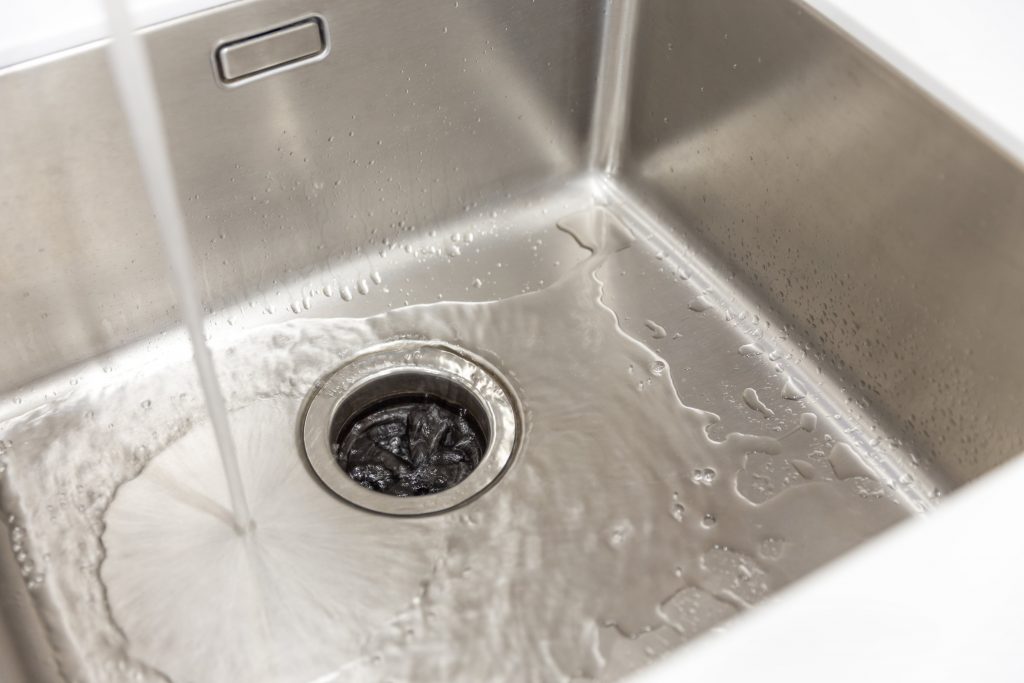

Fixing a Clogged Kitchen Sink Sprayer
A clogged kitchen sink sprayer can be a frustrating issue, as it can significantly reduce the water flow and effectiveness of the sprayer. To fix a clogged sprayer, first remove the sprayer head and clean it thoroughly. If the clog is in the hose, you can use a plumbing snake or pressure to remove the blockage. Regularly cleaning your sprayer head and checking for any clogs can help prevent this issue from occurring in the future.


Fixing a Clogged Kitchen Sink Sprayer


Replacing a Broken Kitchen Sink Sprayer Head
If your kitchen sink sprayer head is broken or damaged beyond repair, you will need to replace it. This can be done by following similar steps as replacing the entire sprayer. However, make sure to purchase a sprayer head that is compatible with your existing hose and water supply to ensure a proper fit. You can also choose to upgrade to a more durable and efficient sprayer head for better performance and longevity.


Replacing a Broken Kitchen Sink Sprayer Head


How to Install a New Kitchen Sink Sprayer
If you are installing a new kitchen sink sprayer, there are a few steps you need to follow for a successful installation. First, make sure to turn off the water supply to your sink. Then, connect the hose to the water supply and the sprayer head. Finally, turn the water supply back on and test the sprayer to ensure it is working properly. It is important to follow the manufacturer's instructions for your specific sprayer model to ensure a proper installation.


How to Install a New Kitchen Sink Sprayer


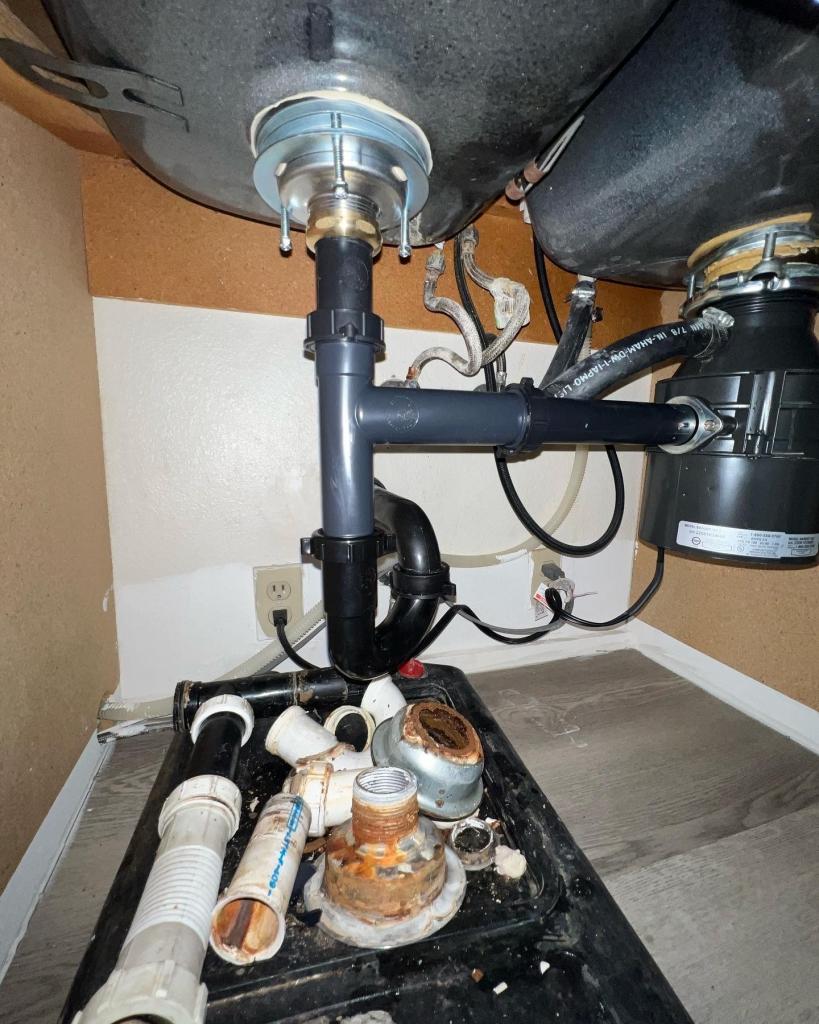
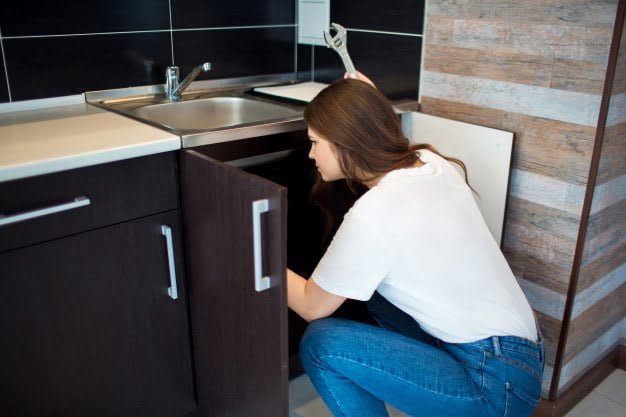
Repairing a Loose Kitchen Sink Sprayer Hose
A common issue with kitchen sink sprayers is a loose hose, which can cause the sprayer to not function properly. To fix a loose hose, simply tighten the connections with pliers. If the hose is damaged or worn out, you may need to replace it. Make sure to purchase a hose that is compatible with your existing sprayer and water supply for a proper fit.
In conclusion, a kitchen sink sprayer is an essential part of any kitchen and can experience various problems over time. However, with the right knowledge and tools, you can easily repair many of these issues yourself. Regular maintenance and troubleshooting can also help prevent these problems from occurring. By following the top 10 ways to repair a kitchen sink sprayer, you can keep your sprayer functioning efficiently and save yourself time and money in the long run.

Repairing a Loose Kitchen Sink Sprayer Hose


Kitchen Sink Sprayers Repair: A Must-Know for Every Homeowner

The Importance of Maintaining Kitchen Sink Sprayers
 When it comes to house design, the kitchen is often considered the heart of the home. It is where meals are prepared and memories are made. However, with frequent use, various kitchen fixtures and appliances may start to malfunction. One of the most common issues that homeowners face is a malfunctioning kitchen sink sprayer. Not only can this be frustrating, but it can also affect the overall functionality and aesthetics of your kitchen. That's why knowing how to repair a kitchen sink sprayer is essential for every homeowner.
Kitchen sink sprayers
play a crucial role in every kitchen. They provide an efficient way to clean dishes, rinse fruits and vegetables, and fill pots with water. With regular use, wear and tear are inevitable, and components such as the spray head, hose, and diverter valve may need to be replaced or repaired. Neglecting these issues can lead to further damage and expensive repairs in the future. That's why it's essential to address any kitchen sink sprayer problems as soon as possible.
When it comes to house design, the kitchen is often considered the heart of the home. It is where meals are prepared and memories are made. However, with frequent use, various kitchen fixtures and appliances may start to malfunction. One of the most common issues that homeowners face is a malfunctioning kitchen sink sprayer. Not only can this be frustrating, but it can also affect the overall functionality and aesthetics of your kitchen. That's why knowing how to repair a kitchen sink sprayer is essential for every homeowner.
Kitchen sink sprayers
play a crucial role in every kitchen. They provide an efficient way to clean dishes, rinse fruits and vegetables, and fill pots with water. With regular use, wear and tear are inevitable, and components such as the spray head, hose, and diverter valve may need to be replaced or repaired. Neglecting these issues can lead to further damage and expensive repairs in the future. That's why it's essential to address any kitchen sink sprayer problems as soon as possible.
Common Problems and Solutions
 One of the most common problems with kitchen sink sprayers is a weak or inconsistent spray. This can be caused by a clogged spray head or a malfunctioning diverter valve. To unclog the spray head, you can use a toothpick or a small brush to remove any debris. If the issue persists, you may need to replace the spray head. On the other hand, a malfunctioning diverter valve can be replaced with a
new one
to restore the proper water flow.
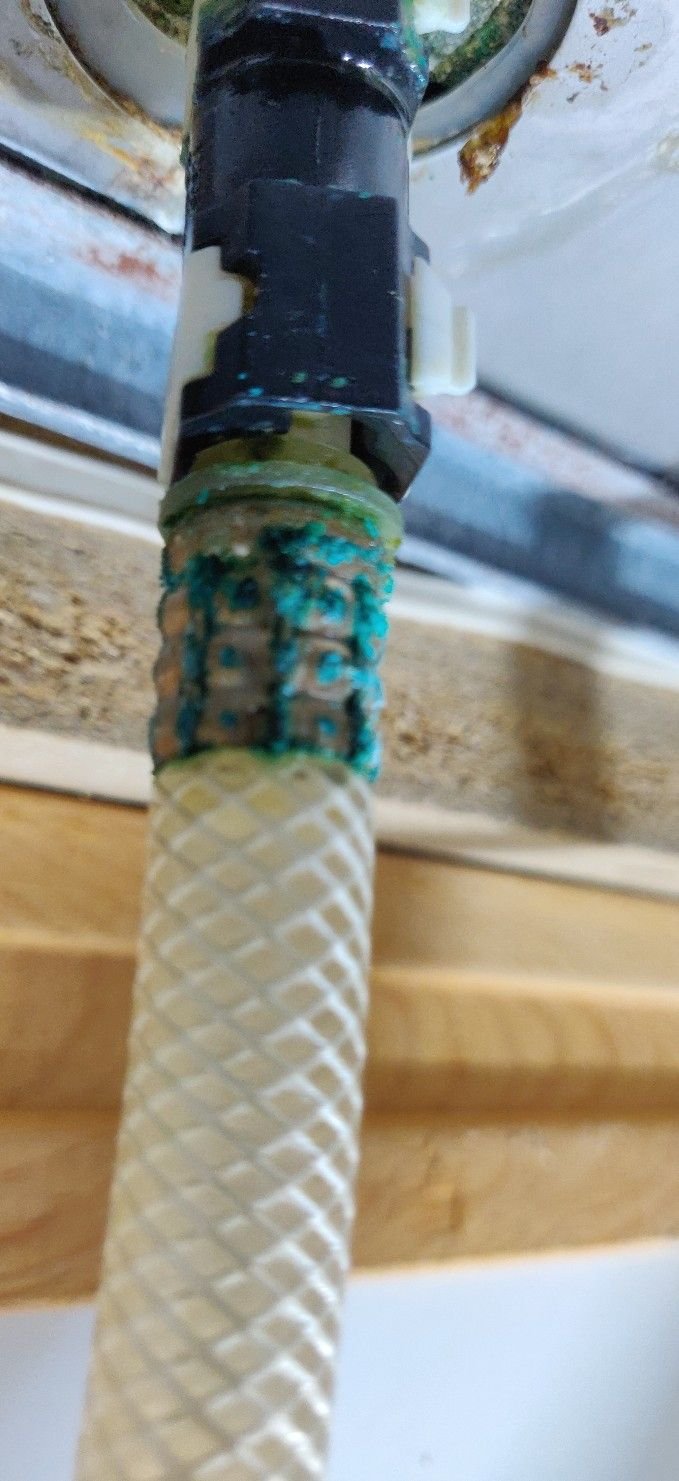
Another issue that may arise is a leaky kitchen sink sprayer. This can be caused by a loose connection or a damaged hose. To fix a loose connection, simply tighten the nut with an adjustable wrench. If the hose is damaged, it will need to be replaced. Be sure to turn off the water supply before attempting any repairs.
One of the most common problems with kitchen sink sprayers is a weak or inconsistent spray. This can be caused by a clogged spray head or a malfunctioning diverter valve. To unclog the spray head, you can use a toothpick or a small brush to remove any debris. If the issue persists, you may need to replace the spray head. On the other hand, a malfunctioning diverter valve can be replaced with a
new one
to restore the proper water flow.
Another issue that may arise is a leaky kitchen sink sprayer. This can be caused by a loose connection or a damaged hose. To fix a loose connection, simply tighten the nut with an adjustable wrench. If the hose is damaged, it will need to be replaced. Be sure to turn off the water supply before attempting any repairs.
Prevention is Key
 While knowing how to repair a kitchen sink sprayer is essential,
prevention
is always better than cure. Regular maintenance and cleaning can help prevent issues from occurring in the first place. This includes regularly checking for leaks and cleaning the spray head and hose to remove any buildup. Additionally, avoid using harsh chemicals or abrasive materials on your kitchen sink sprayer, as these can cause damage.
In conclusion, a well-functioning kitchen sink sprayer is crucial for a functional and beautiful kitchen. By understanding common problems and solutions and implementing regular maintenance, you can ensure that your kitchen sink sprayer stays in top condition. If you encounter any issues that you are unable to fix yourself, don't hesitate to seek professional help. A properly working kitchen sink sprayer will not only make your kitchen tasks easier but also enhance the overall look and feel of your kitchen.
While knowing how to repair a kitchen sink sprayer is essential,
prevention
is always better than cure. Regular maintenance and cleaning can help prevent issues from occurring in the first place. This includes regularly checking for leaks and cleaning the spray head and hose to remove any buildup. Additionally, avoid using harsh chemicals or abrasive materials on your kitchen sink sprayer, as these can cause damage.
In conclusion, a well-functioning kitchen sink sprayer is crucial for a functional and beautiful kitchen. By understanding common problems and solutions and implementing regular maintenance, you can ensure that your kitchen sink sprayer stays in top condition. If you encounter any issues that you are unable to fix yourself, don't hesitate to seek professional help. A properly working kitchen sink sprayer will not only make your kitchen tasks easier but also enhance the overall look and feel of your kitchen.