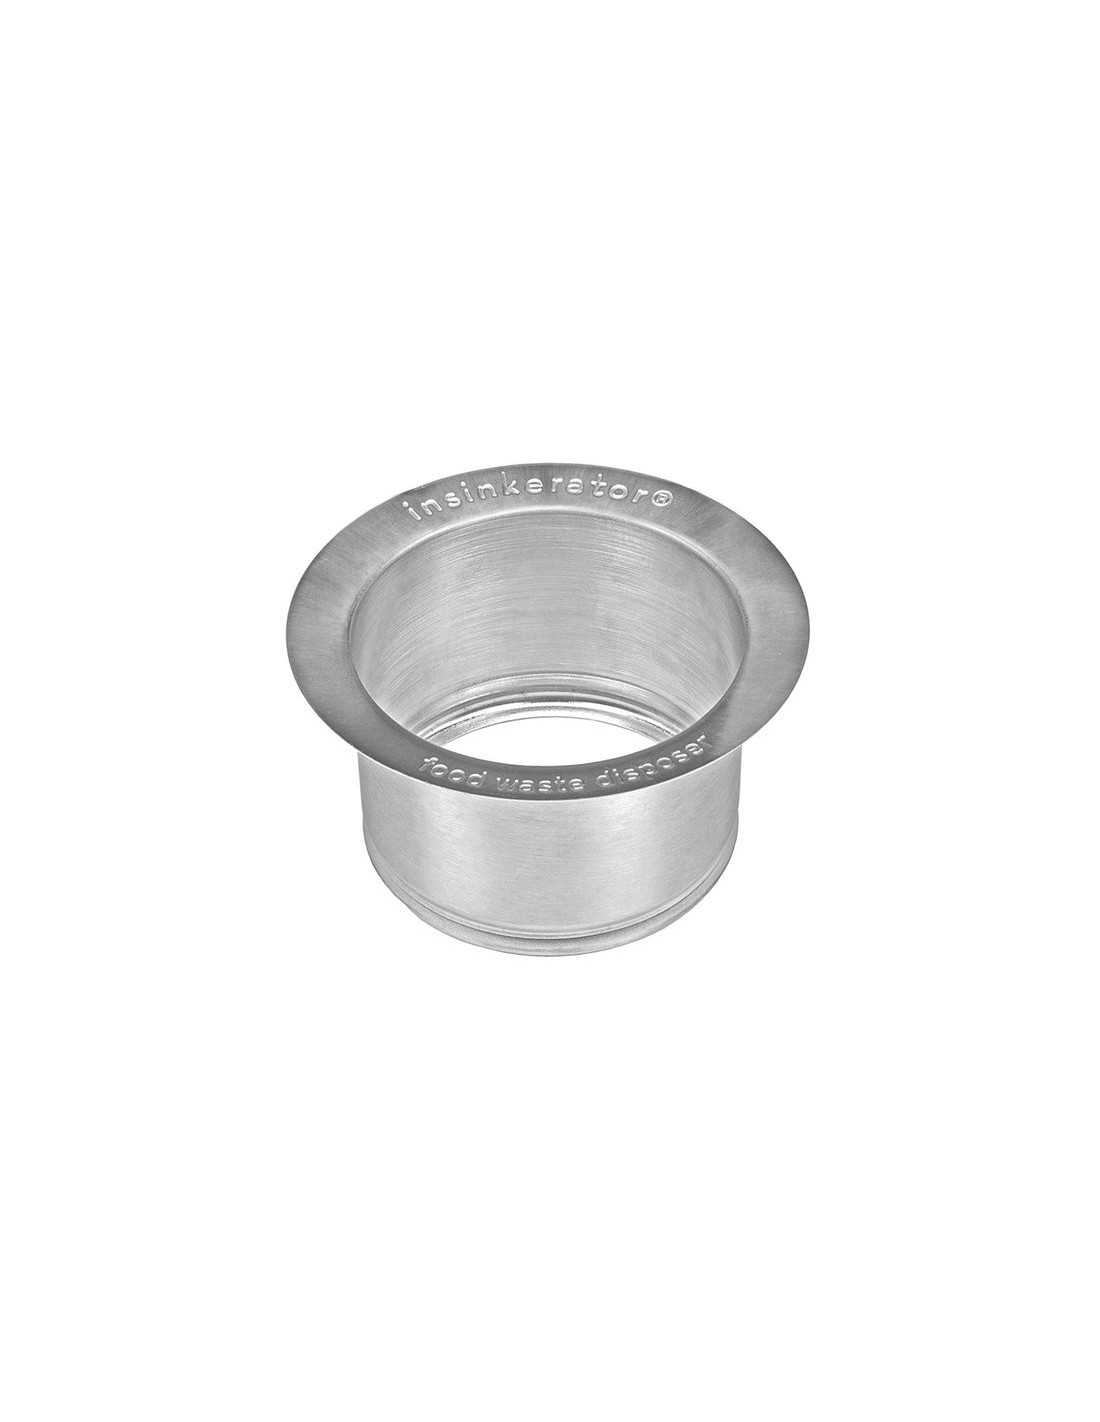
If you're experiencing leaks or unpleasant odors coming from your kitchen sink, it may be time to replace the flange. The flange is the component that connects your sink to the drain pipe and helps keep everything in place. Over time, the flange can become damaged or corroded, causing problems with your sink's functionality. In this guide, we'll walk you through the process of replacing a kitchen sink flange in 5 easy steps.How to Replace a Kitchen Sink Flange
Before you begin, gather all the necessary tools and materials for the job. This includes a replacement flange, plumber's putty, a wrench, and a screwdriver. Once you have everything you need, follow these 5 steps to replace your kitchen sink flange: Step 1: Prepare the Area Step 2: Remove the Old Flange Step 3: Apply Plumber's Putty Step 4: Install the New Flange Step 5: Reconnect the Drain PipeHow to Replace a Kitchen Sink Flange in 5 Easy Steps
Start by turning off the water supply to your sink. Then, place a bucket or towel underneath the sink to catch any water that may spill out during the process. You may also want to remove any items from the cabinet underneath the sink to give yourself more room to work.
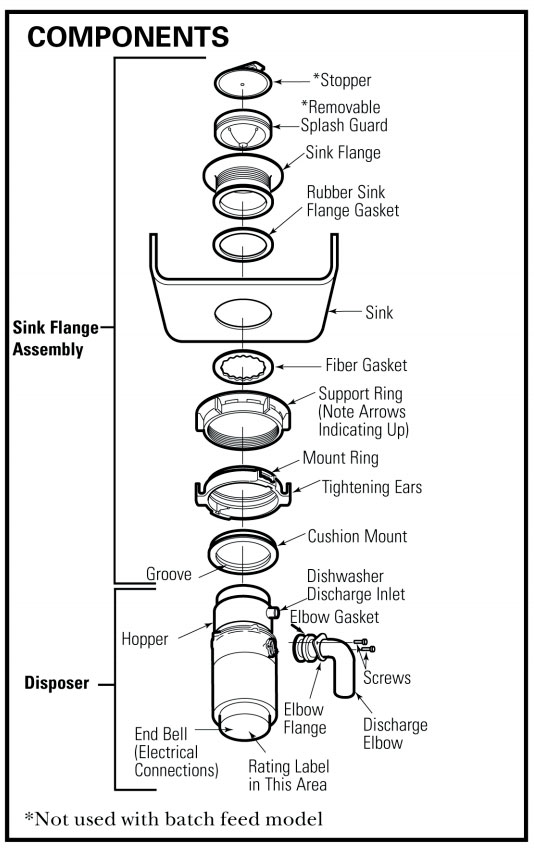
Using a wrench, loosen the bolts that hold the old flange in place. Once they are loose, you should be able to easily remove the old flange and any remaining putty or debris. Clean off the area around the drain pipe to ensure a clean surface for the new flange.
Take a small amount of plumber's putty and roll it into a thin rope. Place the putty around the edge of the drain opening, making sure it is evenly distributed. This will help create a watertight seal between the flange and the sink.
Carefully place the new flange onto the sink, making sure it lines up with the drain pipe. Use the bolts to secure it in place, tightening them with a wrench. Wipe away any excess putty that may have squeezed out from under the flange.
Once the flange is securely in place, reconnect the drain pipe and tighten any connections that may have loosened during the process. Turn the water supply back on and test your sink to make sure there are no leaks. If everything looks good, you're all set!
Replacing a kitchen sink flange may seem like a daunting task, but it is actually a fairly simple DIY project. By following these steps, you can save yourself the time and money of hiring a professional plumber. Just remember to take your time, and if you run into any issues, don't be afraid to ask for help.DIY Kitchen Sink Flange Replacement Guide
If you're more of a visual learner, there are plenty of step-by-step tutorials and videos available online to guide you through the process of replacing a kitchen sink flange. These resources can be especially helpful if you encounter any unexpected difficulties along the way.Step-by-Step Guide for Replacing a Kitchen Sink Flange
As with any home improvement project, it's important to understand the necessary steps and precautions before diving in. By knowing what to expect and having the right tools and materials on hand, you can ensure a successful kitchen sink flange replacement.Replacing a Kitchen Sink Flange: What You Need to Know
To make the process even smoother, here are our top 10 tips for replacing a kitchen sink flange: - Take your time and be patientTop 10 Tips for Replacing a Kitchen Sink Flange
- Use the right tools for the job
- Follow safety precautions
- Have a helper if possible
- Check for any additional repairs that may be needed
- Double check all connections and seals
- Use high-quality materials
- Don't be afraid to ask for advice or assistance
- Test for leaks before finishing the job
- Properly dispose of old materials
Taking the time to properly replace a kitchen sink flange can save you from future headaches and costly repairs. A secure and properly sealed flange will help prevent leaks and keep your sink functioning smoothly for years to come.The Importance of Properly Replacing a Kitchen Sink Flange
While replacing a kitchen sink flange may seem like a simple task, there are a few common mistakes that can lead to bigger problems down the road. Avoid these mistakes by following the steps carefully and checking for any issues before finishing the job.Common Mistakes to Avoid When Replacing a Kitchen Sink Flange
If you're unsure about tackling this project on your own, it's always best to seek advice from a professional. They can offer guidance and even assist you with the replacement to ensure it is done correctly.Expert Advice on Replacing a Kitchen Sink Flange
To ensure a successful kitchen sink flange replacement, it's important to have the right tools and materials on hand. This includes a high-quality replacement flange, plumber's putty, a wrench, and a screwdriver. Investing in good materials will save you from future repairs and replacements. Replacing a kitchen sink flange may seem like a daunting task, but with the right tools and knowledge, it can be a simple DIY project. Follow these tips and steps for a successful replacement and enjoy a fully functional and leak-free sink once again.Best Tools and Materials for Replacing a Kitchen Sink Flange
Why is it Important to Replace Your Kitchen Sink Flange?

Protect Your Home from Water Damage
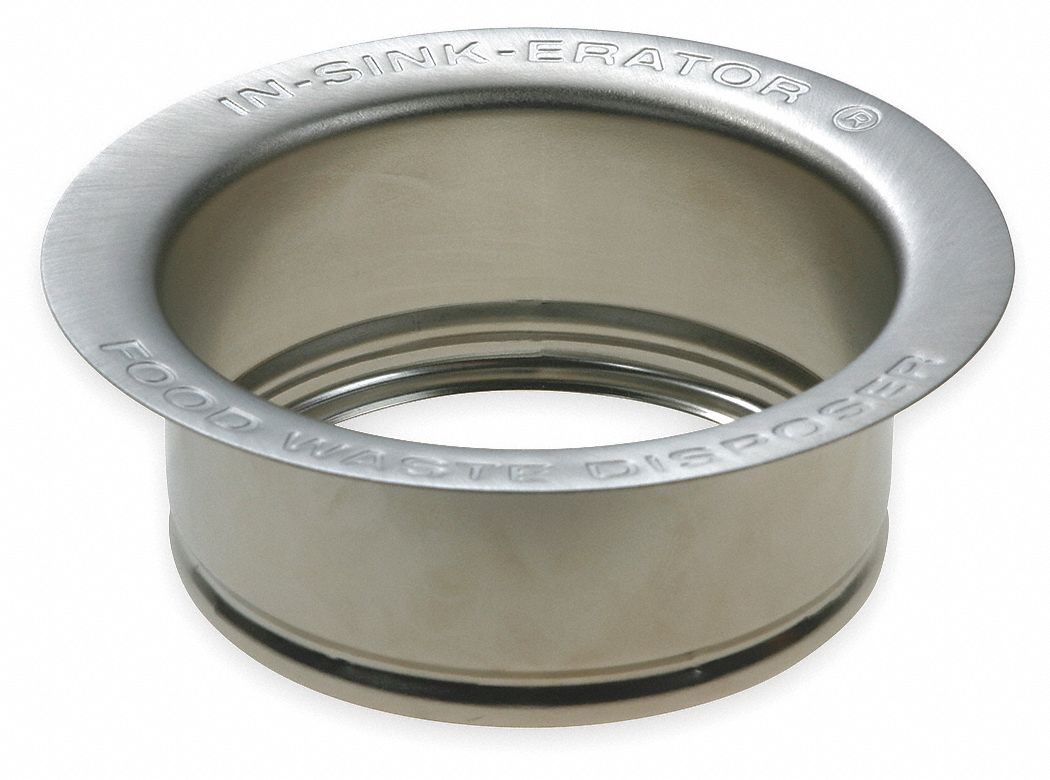 One of the main reasons to replace your kitchen sink flange is to protect your home from potential water damage. The flange, also known as the sink strainer, is responsible for keeping water from leaking out of the sink and into your cabinets or floors. Over time, the seal on the flange can wear down, leading to leaks and potential water damage. By replacing the flange, you can ensure that your sink is properly sealed and prevent any costly water damage repairs in the future.
Improve the Aesthetic of Your Kitchen
 Another reason to consider replacing your kitchen sink flange is to improve the overall aesthetic of your kitchen. Over time, the flange can become discolored, rusty, or damaged, which can negatively impact the appearance of your sink. By replacing the flange, you can give your sink a fresh and updated look. This is especially important if you are planning on selling your house, as a well-maintained and visually appealing kitchen can significantly increase the value of your home.
Ensure Proper Functionality of Your Sink
 A faulty flange can also affect the functionality of your sink. If the seal is worn down, it can lead to leaks and clogs, making it difficult to use your sink properly. This can be frustrating and inconvenient, especially when you are trying to prepare meals or wash dishes. By replacing the flange, you can ensure that your sink is functioning properly and make your daily tasks in the kitchen much easier.
Prevent Foul Odors
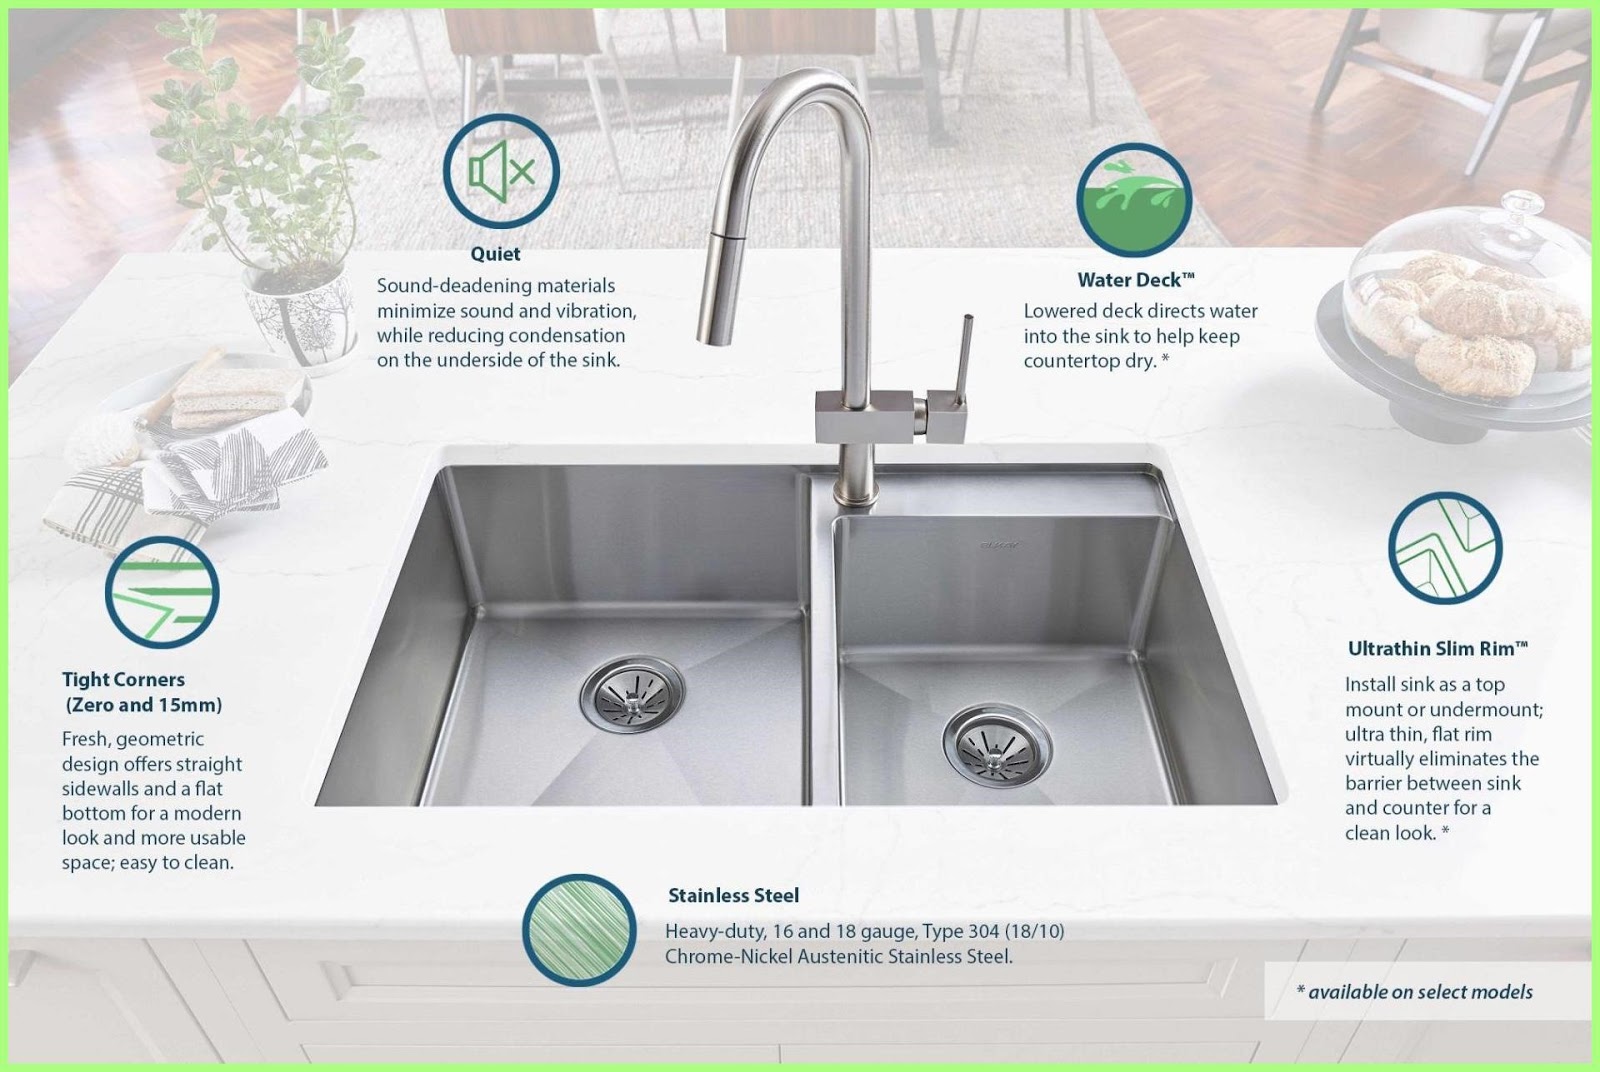 A damaged or worn flange can also lead to foul odors in your kitchen. When water and food particles get trapped in the sink due to a faulty flange, it can create a breeding ground for bacteria and mold, resulting in unpleasant smells. By replacing the flange and keeping your sink properly sealed, you can prevent these odors from developing and keep your kitchen smelling fresh and clean.
Conclusion
 In conclusion, replacing your kitchen sink flange is an important maintenance task that should not be overlooked. By doing so, you can protect your home from water damage, improve the appearance of your kitchen, ensure the proper functionality of your sink, and prevent unpleasant odors. If you notice any signs of wear or damage on your flange, it is best to address it as soon as possible to avoid any potential issues. With a new and properly functioning flange, you can have peace of mind and a beautiful and functional kitchen.


