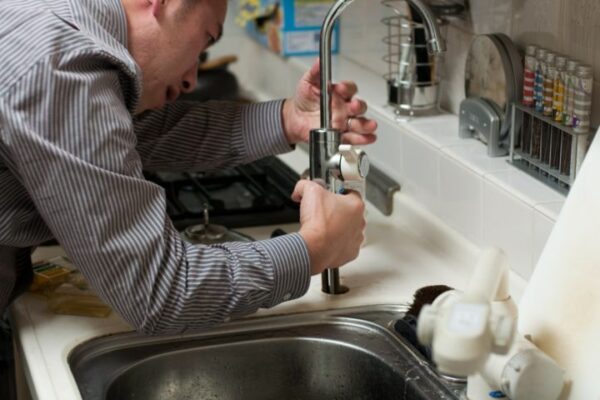
How to Fix a Leaky Kitchen Sink Sprayer
If you notice your kitchen sink sprayer leaking, it can be a frustrating problem to deal with. Not only does it waste water and increase your utility bill, but it can also cause damage to your sink and surrounding areas. Fortunately, fixing a leaky kitchen sink sprayer is a fairly simple process that you can do yourself. Follow these steps to get your sprayer working like new again.
How to Repair a Leaking Kitchen Sink Sprayer
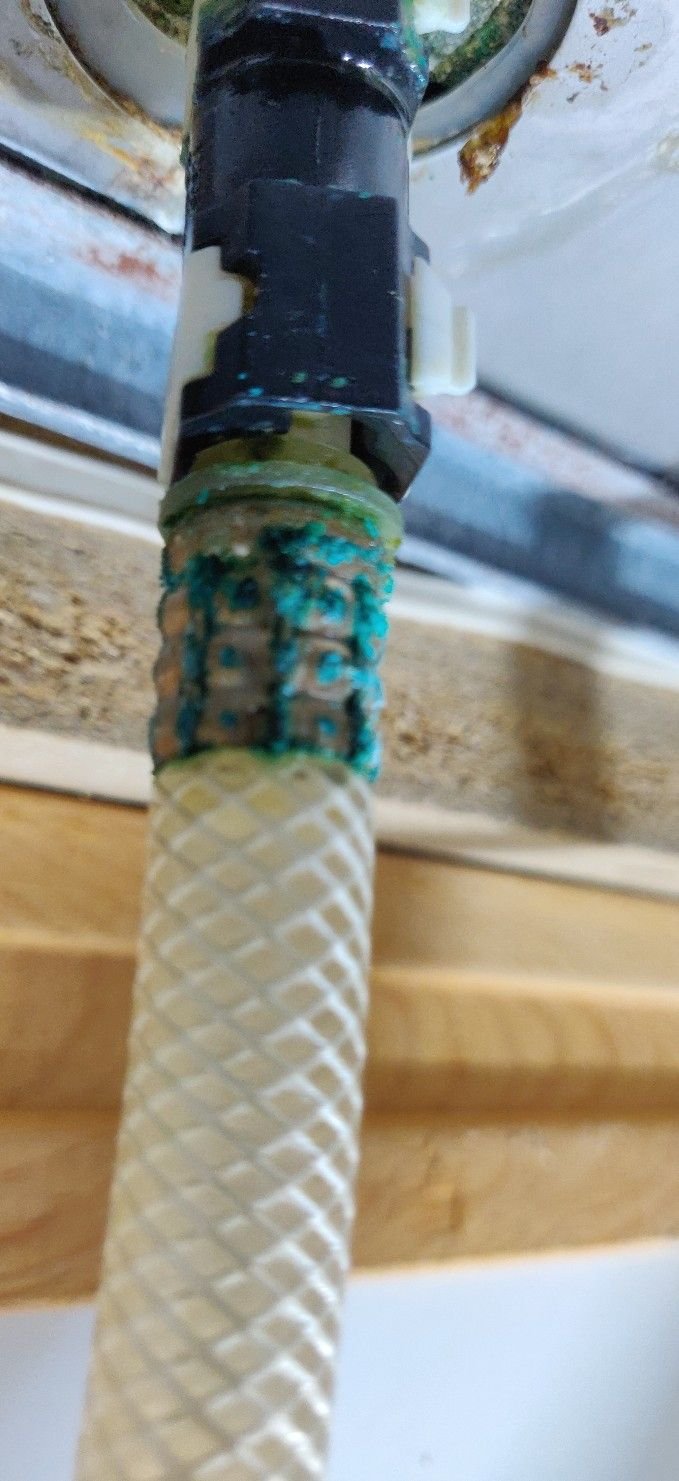
The first step to repairing a leaking kitchen sink sprayer is to identify the source of the leak. In most cases, the problem is caused by a worn or damaged sprayer hose or diverter valve. Begin by inspecting the hose for any cracks or holes. If you find any, you will need to replace the hose. If the hose is in good condition, the issue may be with the diverter valve, which controls the flow of water to the sprayer. You can try cleaning the valve with a vinegar solution, but if that doesn't work, it will need to be replaced.
DIY Kitchen Sink Sprayer Leak Repair
If you're feeling handy, you can attempt to fix the leaky kitchen sink sprayer yourself. Start by turning off the water supply to the sink. Then, remove the sprayer head and hose from the diverter valve. You can use a pair of pliers to loosen any tight connections. Next, inspect the hose for any cracks or damage. If you find any, replace the hose with a new one. If the hose is in good condition, try cleaning the diverter valve with a vinegar solution. If that doesn't work, you may need to replace the valve with a new one.
Common Causes of Kitchen Sink Sprayer Leaks
There are a few common causes of kitchen sink sprayer leaks that you should be aware of. The most common is a worn or damaged sprayer hose, which can be caused by wear and tear or improper use. Another common cause is a faulty diverter valve, which can become clogged or worn over time. Lastly, the issue could be with the sprayer head itself, which may have a crack or damaged seal. Identifying the cause of the leak is important in determining the best course of action for repair.
Quick and Easy Fix for a Leaking Kitchen Sink Sprayer
If you're short on time or just looking for a quick fix, there is an easy solution for a leaking kitchen sink sprayer. First, turn off the water supply to the sink. Then, remove the sprayer head from the hose and clean it thoroughly with a vinegar solution. Next, use a wrench to tighten any loose connections on the hose. Finally, reattach the sprayer head and turn the water supply back on. This simple fix may be all you need to stop your kitchen sink sprayer from leaking.
Step-by-Step Guide to Fixing a Leaky Kitchen Sink Sprayer
If you're a visual learner and prefer step-by-step instructions, here is a guide to fixing a leaky kitchen sink sprayer:
Step 1: Turn off the water supply to the sink.
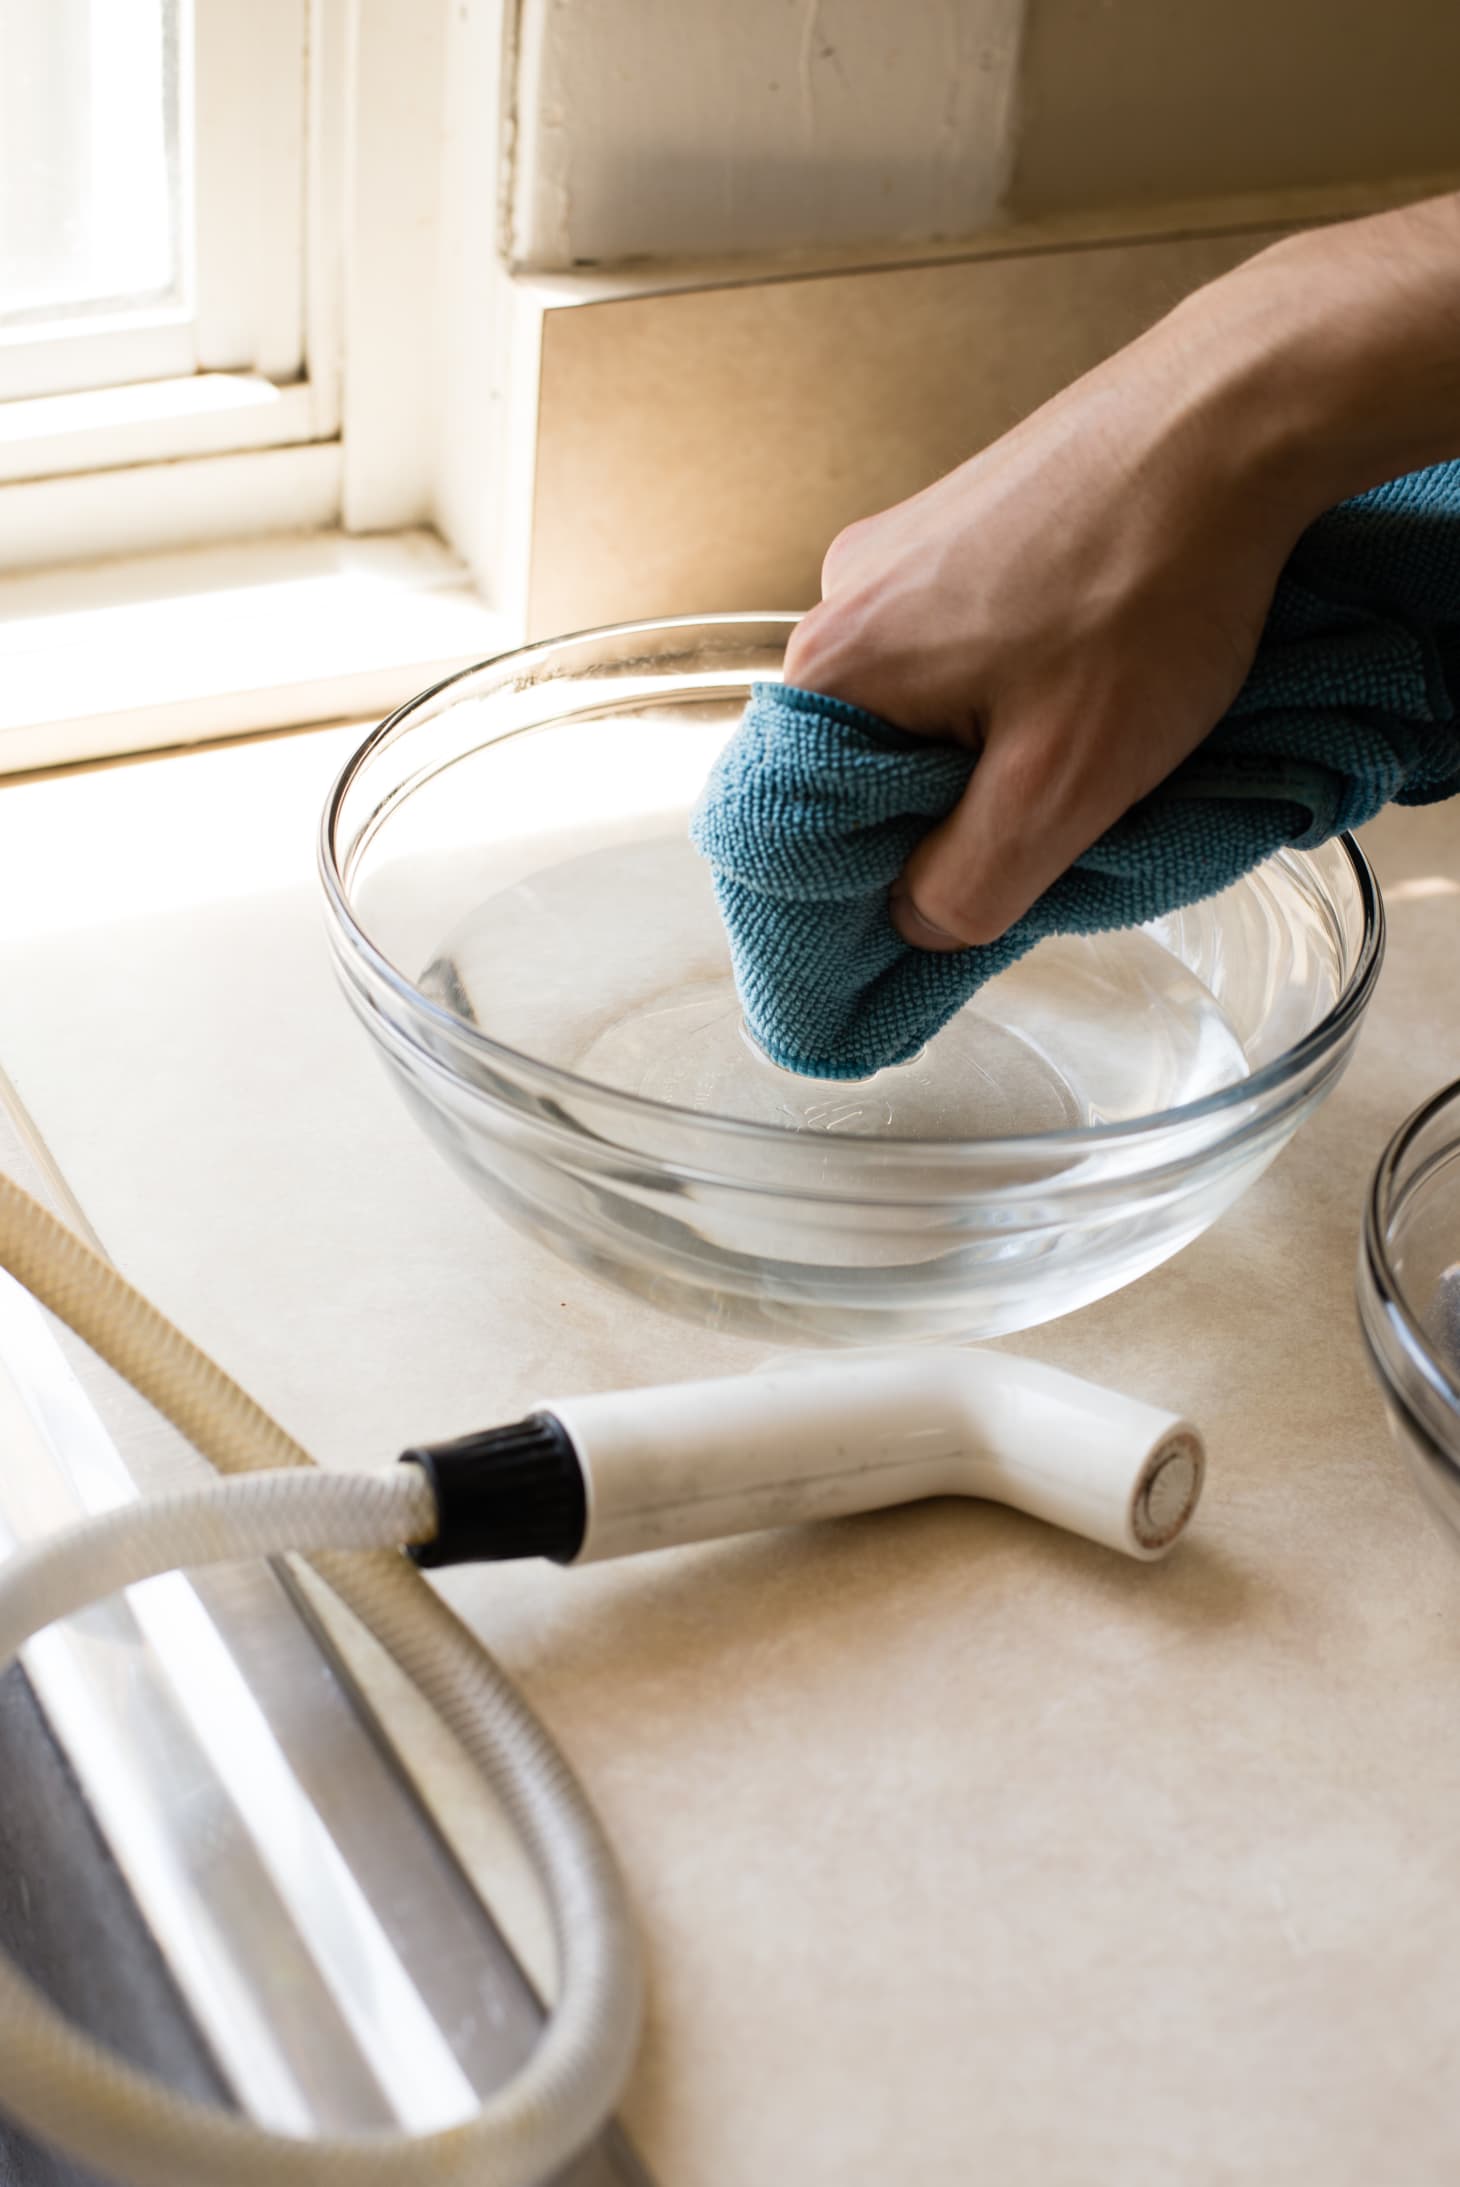
Step 2: Remove the sprayer head from the hose and clean it with a vinegar solution.
Step 3: Inspect the hose for any cracks or damage. If found, replace the hose.
Step 4: If the hose is in good condition, clean the diverter valve with a vinegar solution.
Step 5: If cleaning the valve doesn't work, replace it with a new one.
Step 6: Reattach the sprayer head and turn the water supply back on.
Step 7: Test the sprayer to ensure the leak has been fixed.
Troubleshooting a Leaking Kitchen Sink Sprayer
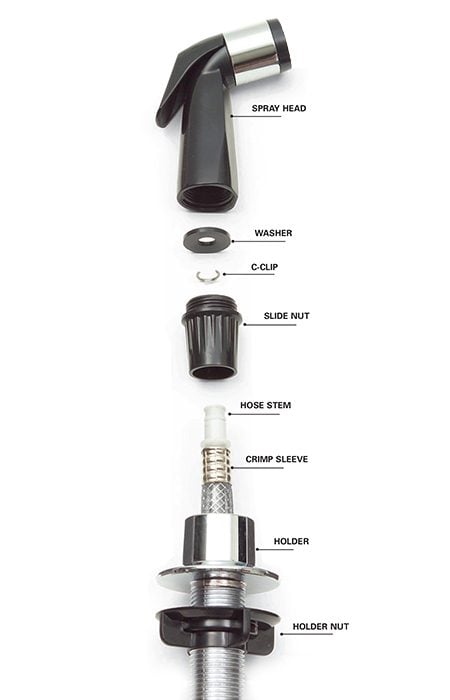
If you've tried all of the above methods and your kitchen sink sprayer is still leaking, it may be time to troubleshoot the issue. Start by checking the connections on the hose and making sure they are secure. Next, check the washer inside the sprayer head and make sure it is intact. If neither of these solutions work, it may be time to replace the entire sprayer unit.
Preventing Kitchen Sink Sprayer Leaks
Prevention is always the best course of action when it comes to household issues. To prevent kitchen sink sprayer leaks, make sure to use the sprayer properly and avoid using excessive force when pulling the hose. Regularly inspect the hose for any signs of wear and tear, and promptly replace it if needed. Also, be sure to clean the sprayer head and valve regularly to prevent buildup and clogs.
Replacing a Faulty Kitchen Sink Sprayer
If all else fails, you may need to replace your kitchen sink sprayer. This is a simple task that can be done in just a few minutes. Start by turning off the water supply to the sink. Then, unscrew the sprayer head and remove the hose from the diverter valve. Next, attach the new sprayer head to the hose and screw it back into place. Finally, reattach the hose to the diverter valve and turn the water supply back on. Your new kitchen sink sprayer should now be leak-free.
Professional Kitchen Sink Sprayer Leak Repair Services
If you're not comfortable fixing a leaky kitchen sink sprayer yourself, or if the problem persists after attempting DIY solutions, it may be time to call in the professionals. A licensed plumber can quickly and efficiently identify and fix the source of the leak, saving you time and hassle. They can also provide recommendations for preventing future leaks and extend the life of your kitchen sink sprayer.
In conclusion, a leaky kitchen sink sprayer is a common household issue that can be easily fixed with the right knowledge and tools. By following these steps and tips, you can quickly get your sprayer working like new again and prevent future leaks. Remember, if all else fails, it's always best to consult a professional for a lasting solution.
How to Fix a Leaking Kitchen Sink Sprayer

Introduction
 A leaking kitchen sink sprayer can be a frustrating and inconvenient issue to deal with. Not only does it waste water, but it can also cause damage to your kitchen sink and surrounding areas. Fortunately, fixing a leaking kitchen sink sprayer is a relatively simple task that can be done without the help of a professional plumber. In this article, we will discuss the main causes of a leaking kitchen sink sprayer and provide step-by-step instructions on how to fix it.
Main Causes of a Leaking Kitchen Sink Sprayer
 There are a few common reasons why your kitchen sink sprayer may be leaking. The most common cause is a worn-out or damaged sprayer head. Over time, the rubber seals and gaskets in the sprayer head can wear out, causing water to leak. Another possible cause is a loose connection between the sprayer and the hose. This can be easily fixed by tightening the connection. Lastly, a clogged sprayer head or hose can also lead to a leak. This can happen if debris or mineral buildup accumulates in the sprayer head or hose.
Step-by-Step Guide to Fixing a Leaking Kitchen Sink Sprayer
 1. Start by turning off the water supply to your sink. This can usually be done by turning off the shut-off valves located under the sink.
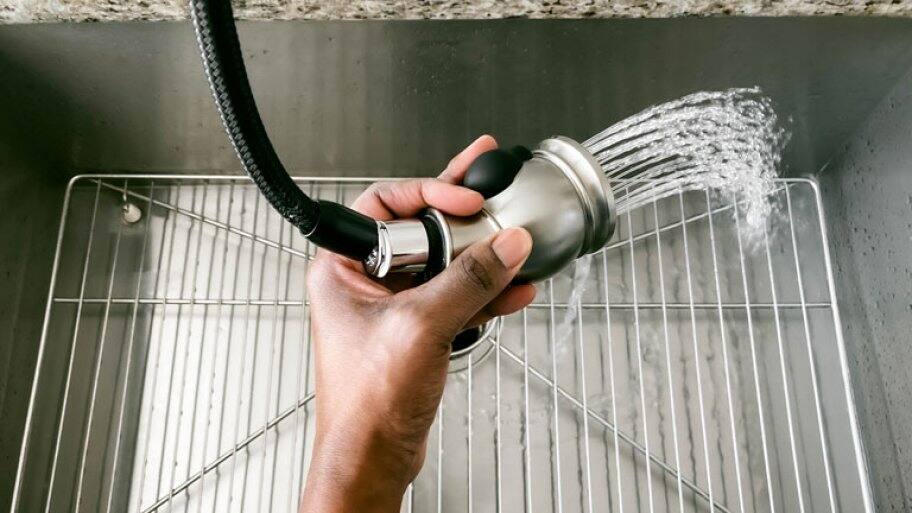
2. Next, unscrew the sprayer head from the hose. This can usually be done by twisting the sprayer head counterclockwise.
3. Check the rubber seals and gaskets in the sprayer head for any signs of wear or damage. If they are worn out, replace them with new ones.
4. If the connection between the sprayer and the hose is loose, tighten it with a wrench.
5. If the sprayer head or hose is clogged, use a small brush or toothpick to remove any debris or mineral buildup.
6. Once everything is clean and in good condition, reattach the sprayer head to the hose and turn on the water supply.
7. Test the sprayer to make sure there are no more leaks. If there are still leaks, you may need to replace the entire sprayer head.
In Conclusion
 A leaking kitchen sink sprayer may seem like a minor issue, but it can lead to bigger problems if not addressed promptly. By following these simple steps, you can easily fix a leaking kitchen sink sprayer and save yourself the hassle and expense of calling a professional plumber. Remember to regularly check and maintain your kitchen sink sprayer to prevent any future leaks.


