How to Connect a Kitchen Sink Spray Hose
Connecting a kitchen sink spray hose is a simple and straightforward task that can be done in a matter of minutes. Whether you are installing a new kitchen sink spray hose or replacing an old one, this guide will provide you with the necessary steps to get the job done.
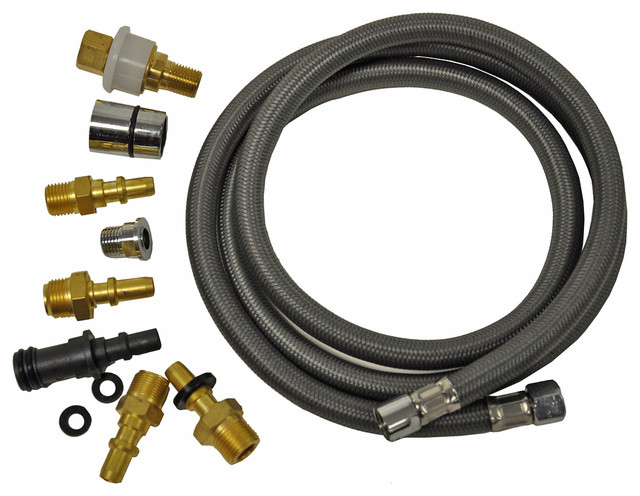
Before we dive into the process, it is important to note that there are different types of kitchen sink spray hoses, and the installation process may vary slightly depending on the type you have. However, the basic steps remain the same.
Step 1: Gather Your Tools
The first step is to gather all the necessary tools and materials. You will need an adjustable wrench, a pair of pliers, Teflon tape, and the new kitchen sink spray hose and head. Make sure to turn off the water supply to your kitchen sink before you begin.
Step 2: Remove the Old Spray Hose
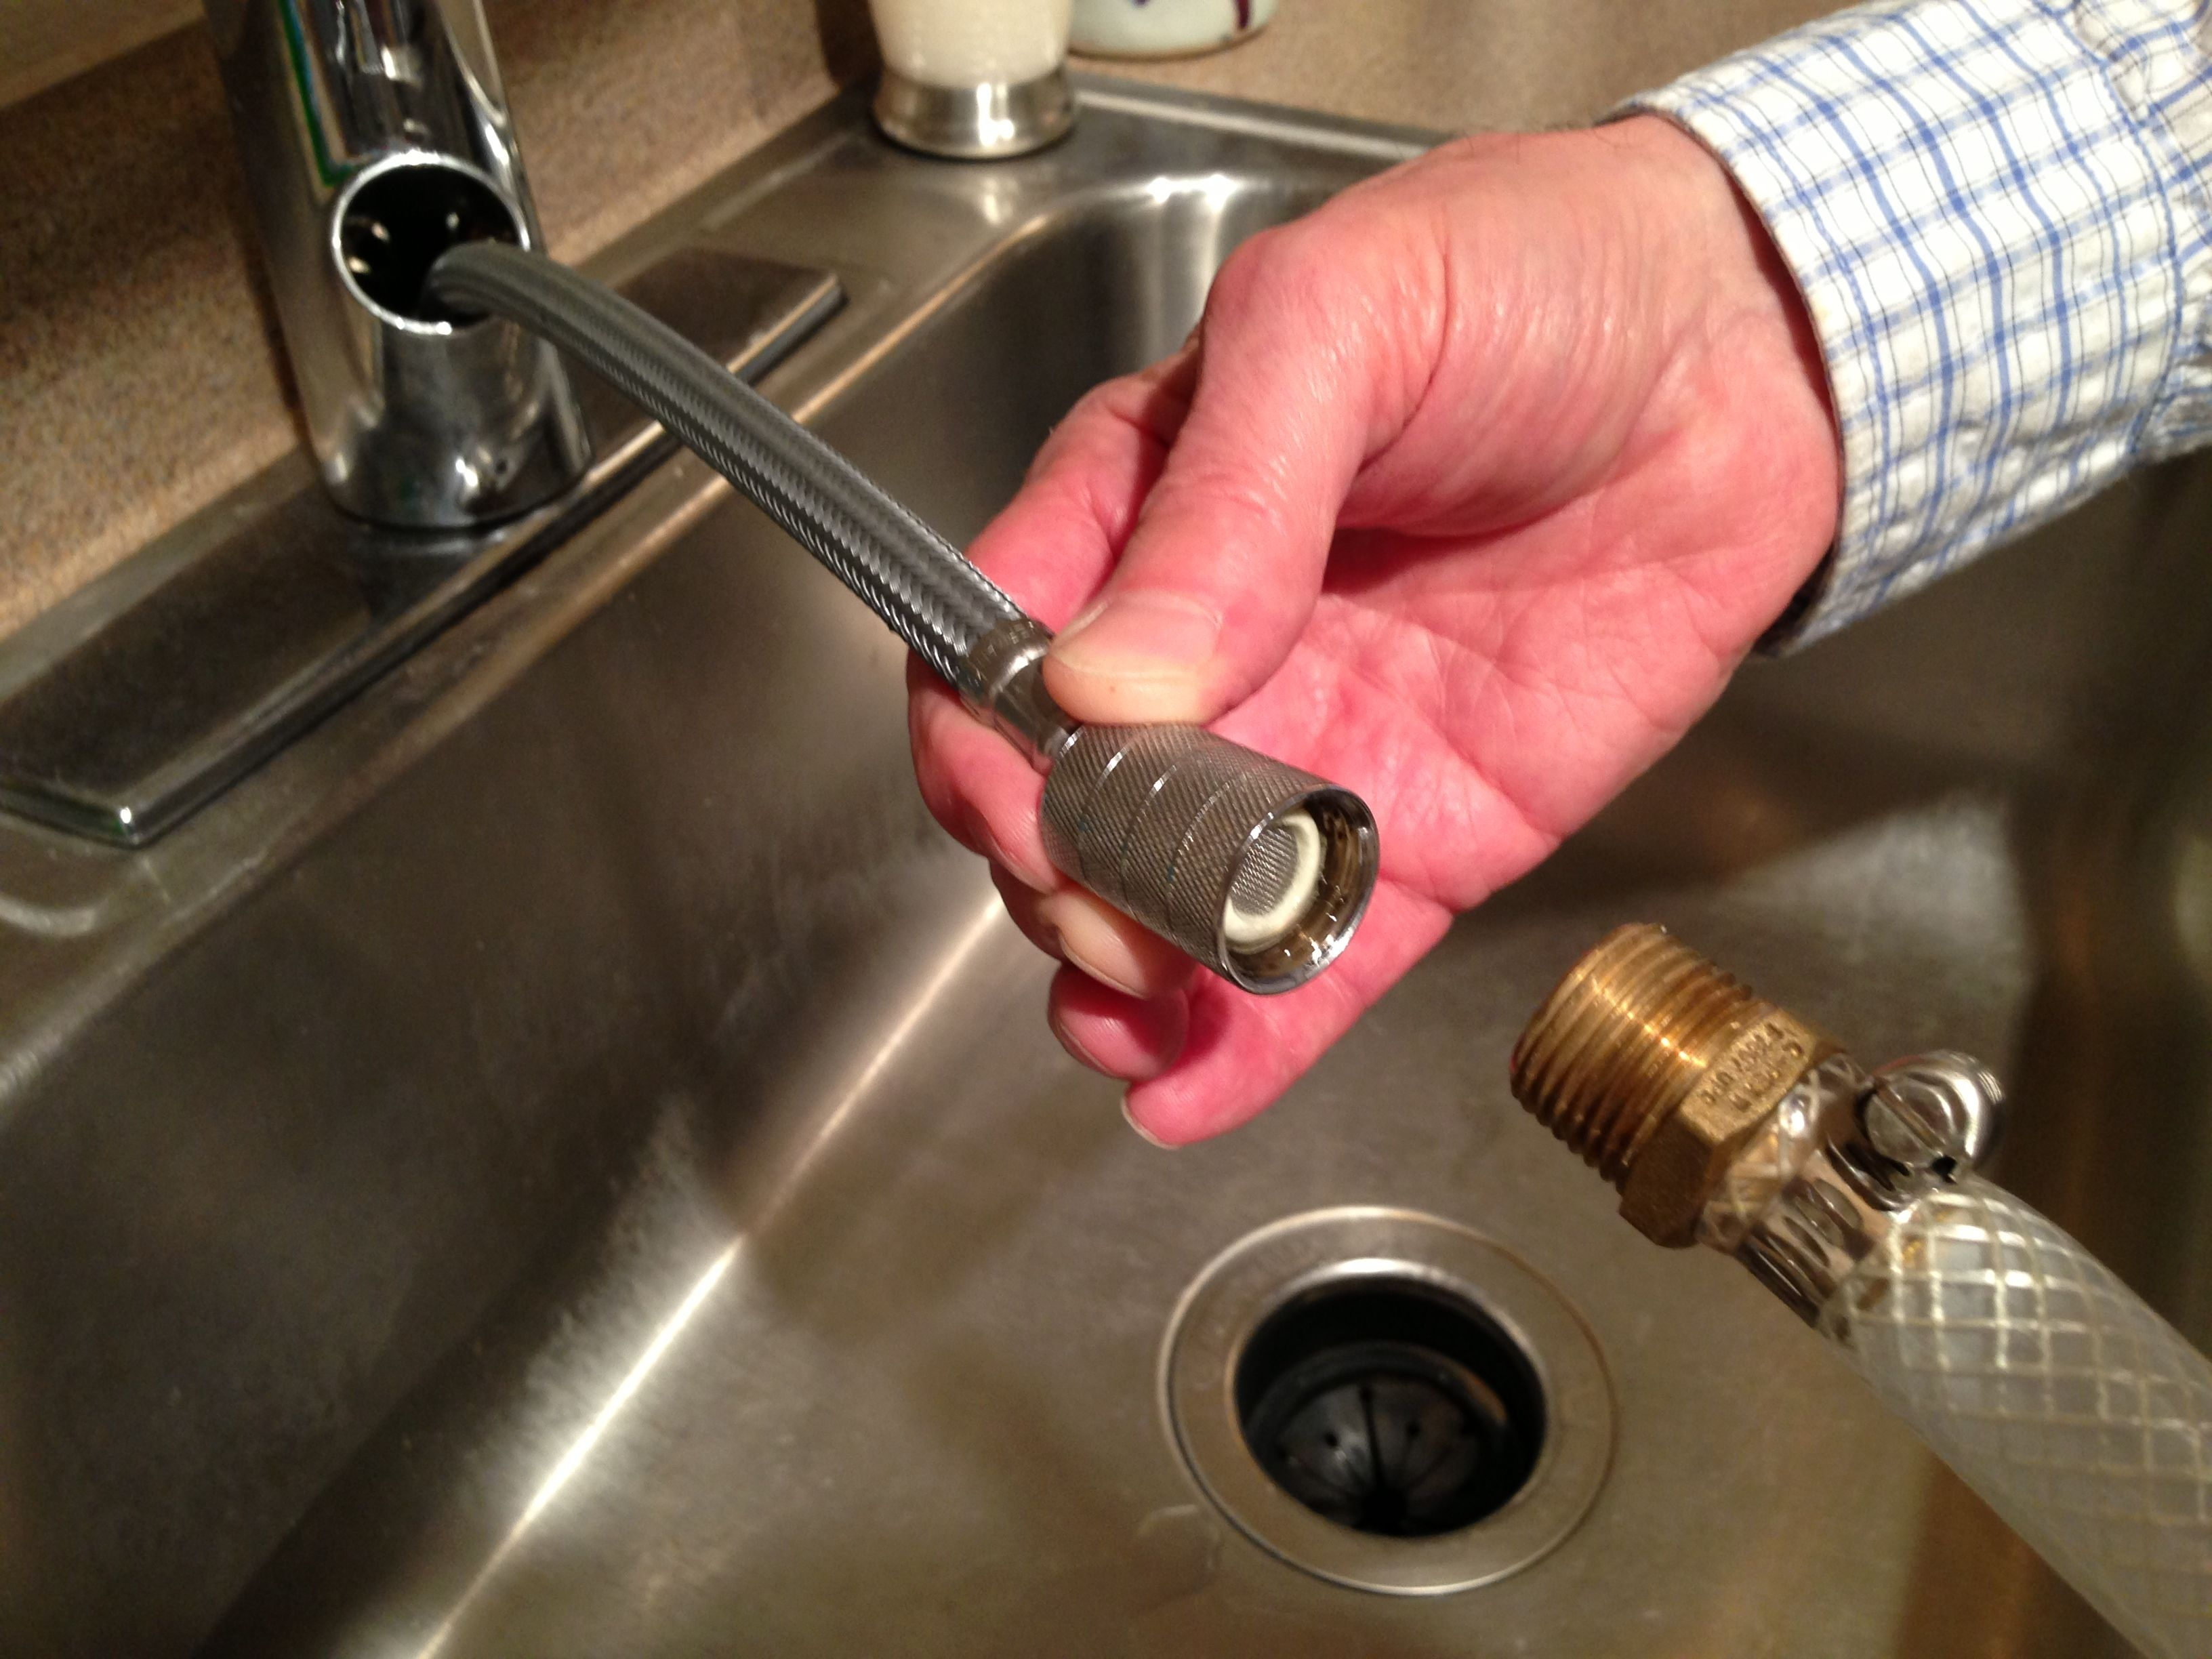
If you are replacing an old kitchen sink spray hose, start by disconnecting it from the faucet. Use a pair of pliers to loosen the nut that connects the hose to the faucet. Once the nut is loose, you can remove the hose from the faucet. Next, unscrew the hose from the spray head and remove it.
Step 3: Install the New Spray Hose
Take your new spray hose and attach it to the spray head. Make sure to screw it on tightly to prevent any leaks. Next, attach the other end of the hose to the faucet and tighten the nut with an adjustable wrench.
Step 4: Apply Teflon Tape
To ensure a tight seal and prevent any leaks, wrap Teflon tape around the threads of the hose before attaching it to the faucet. This will create a watertight seal and prevent any leaks from occurring.
Step 5: Test the Connections
Once you have completed the installation, turn on the water supply to your kitchen sink and test the connections for any leaks. If you notice any leaks, tighten the connections further until the leaks stop.


How to Connect a Kitchen Sink Spray Hose


How to Install a Kitchen Sink Spray Hose
If you are installing a new kitchen sink spray hose, the steps are similar to replacing an old one. However, there are a few additional steps you need to take.
Step 1: Prepare the Mounting Hole
If your kitchen sink does not already have a mounting hole for the spray hose, you will need to create one. Use a drill to create a hole in the desired location, and then use a file to smooth out any rough edges.
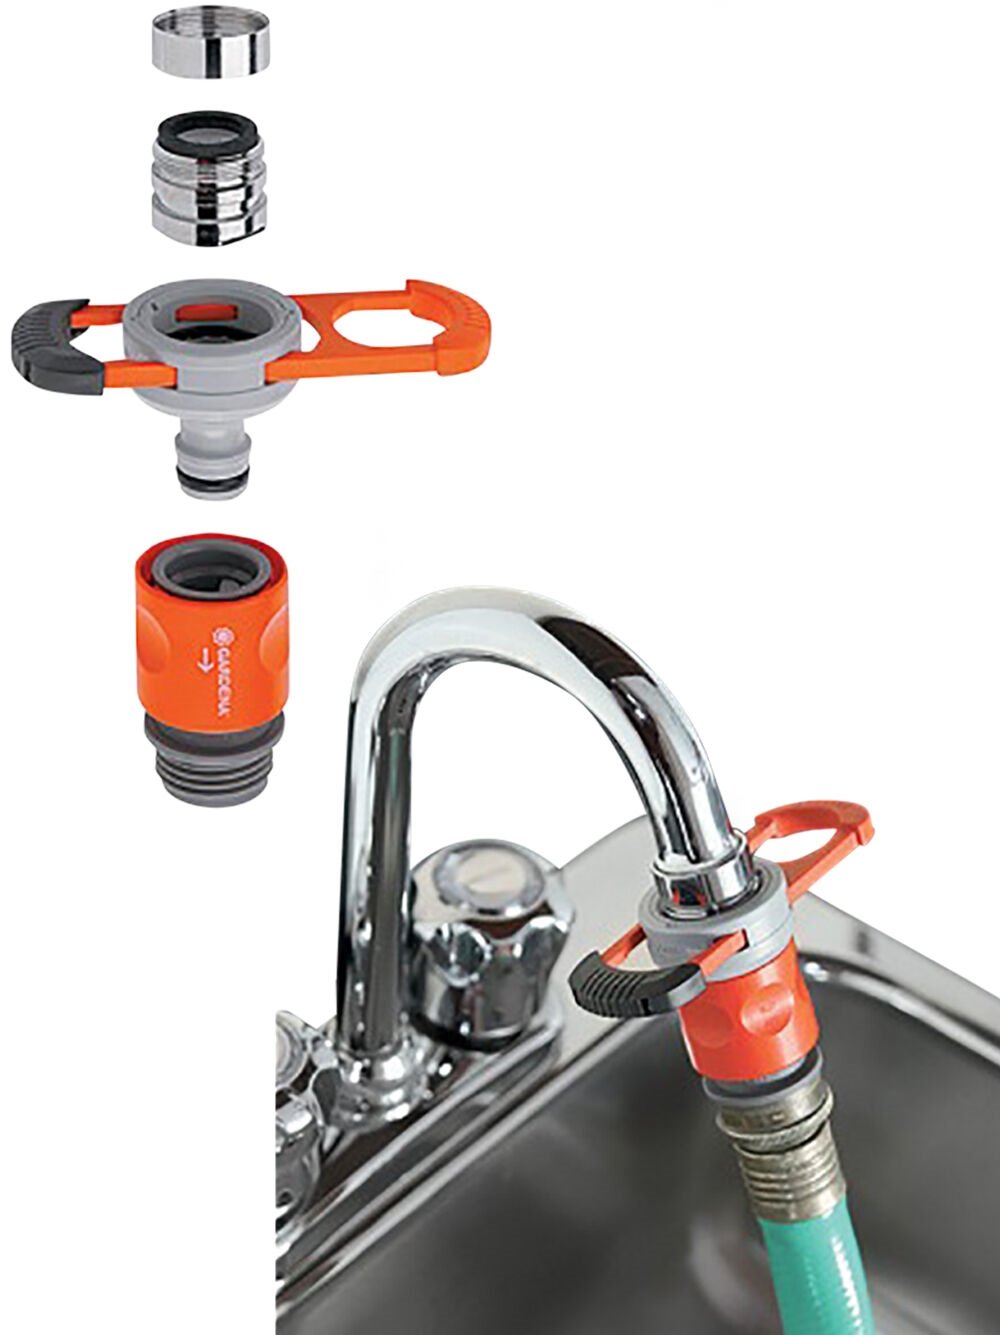
Step 2: Install the Hose Guide
The hose guide helps to keep the spray hose in place and prevents it from getting tangled or kinked. Install the hose guide onto the mounting hole by following the manufacturer's instructions.
Step 3: Install the Spray Head and Hose
Attach the spray head to the end of the hose and secure it tightly. Next, insert the hose through the hose guide and feed it through the mounting hole until the spray head is in place.
Step 4: Connect the Hose to the Faucet
Using an adjustable wrench, tighten the nut on the end of the hose to the faucet. Make sure it is securely in place to prevent any leaks.


How to Install a Kitchen Sink Spray Hose


Replacing a Kitchen Sink Spray Hose
If you are experiencing issues with your kitchen sink spray hose, such as leaks or a malfunctioning spray head, it may be time to replace it. Here are the steps to follow for replacing a kitchen sink spray hose.
Step 1: Turn Off the Water Supply
Before you begin the replacement process, make sure to turn off the water supply to your kitchen sink. This will prevent any water from spilling out when you remove the hose.
Step 2: Remove the Old Hose
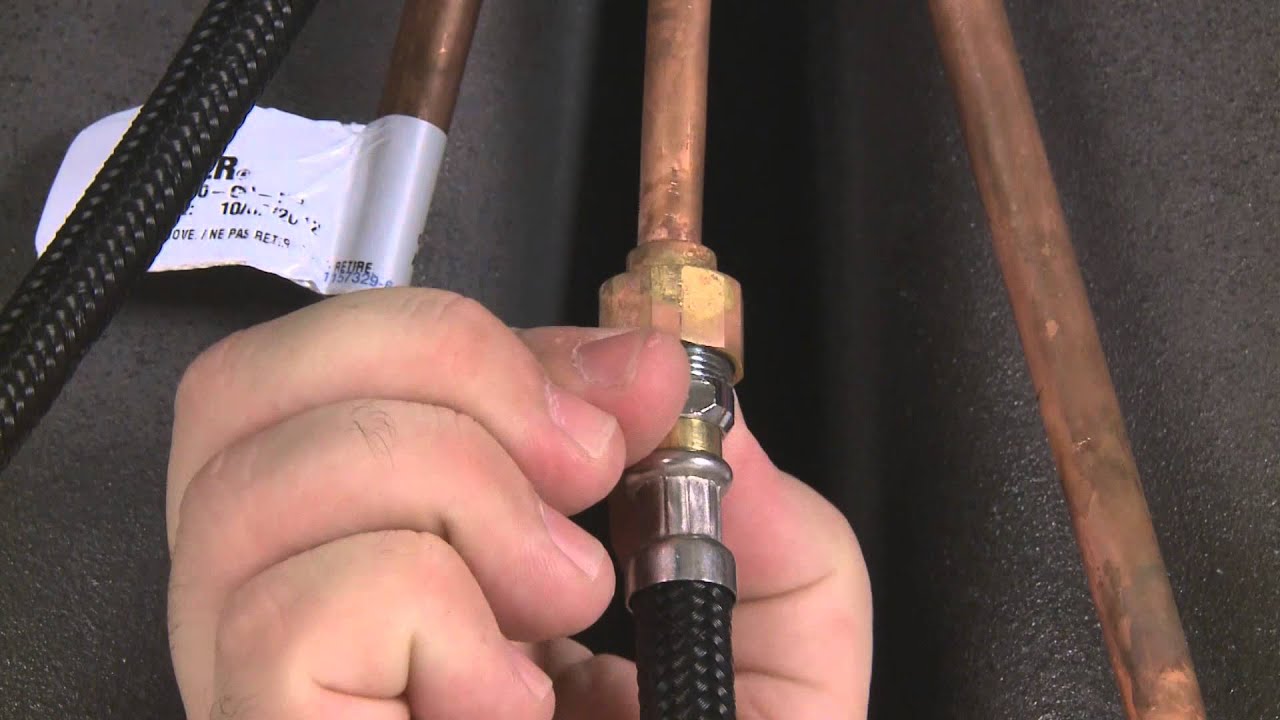
Follow the same steps as mentioned earlier for removing an old kitchen sink spray hose. Use pliers to loosen the nut connecting the hose to the faucet and then unscrew the hose from the spray head.
Step 3: Install the New Hose
Attach the new hose to the spray head and the faucet, making sure to tighten the connections securely. Then, turn on the water supply and test for any leaks.

Replacing a Kitchen Sink Spray Hose


Kitchen Sink Spray Hose Replacement
If your kitchen sink spray hose is beyond repair, you may need to replace it entirely. Here's how to do it.
Step 1: Remove the Old Hose
Follow the same steps as mentioned earlier for removing an old kitchen sink spray hose.
Step 2: Purchase a Replacement Hose
Head to your local hardware store or shop online to purchase a replacement kitchen sink spray hose. Make sure to get the right size and type for your specific kitchen sink.
Step 3: Install the New Hose
Follow the same steps as mentioned earlier for installing a new kitchen sink spray hose. Make sure to tighten all connections and test for any leaks.


Kitchen Sink Spray Hose Replacement

Attaching a Kitchen Sink Spray Hose
If you have just purchased a new kitchen sink spray hose and need to attach it to your existing faucet, here's what you need to do.
Step 1: Turn Off the Water Supply
Make sure to turn off the water supply to your kitchen sink before you begin attaching the new spray hose.
Step 2: Attach the Hose to the Faucet
Using an adjustable wrench, tighten the nut connecting the hose to the faucet. Make sure it is securely in place to prevent any leaks.
Step 3: Test for Leaks
Once you have completed the installation, turn on the water supply and test for any leaks. If there are no leaks, you have successfully attached your new kitchen sink spray hose.


Attaching a Kitchen Sink Spray Hose

:max_bytes(150000):strip_icc()/installing-a-kitchen-sink-sprayer-2718817-03-514088ddb922466eb3d4cd73f3aa85f4.jpg)


Connecting a Kitchen Sink Spray Hose to Faucet
If you have purchased a new kitchen sink spray hose and need to connect it to your faucet, here's what you need to do.
Step 1: Turn Off the Water Supply
Make sure to turn off the water supply to your kitchen sink before you begin connecting the new spray hose.
Step 2: Prepare the Connections
Before attaching the hose to the faucet, make sure the connections are clean and free of any debris. This will ensure a tight seal and prevent any leaks.
Step 3: Attach the Hose to the Faucet
Using an adjustable wrench, tighten the nut connecting the hose to the faucet. Make sure it is securely in place to prevent any leaks.
Step 4: Test for Leaks
Turn on the water supply and test for any leaks. If there are no leaks, you have successfully connected your new kitchen sink spray hose to the faucet.


Connecting a Kitchen Sink Spray Hose to Faucet
Installing a Kitchen Sink Spray Hose and Head
If you are installing a new kitchen sink spray hose and head, here are the steps to follow.
Step 1: Prepare the Mounting Hole
If your kitchen sink does not already have a mounting hole for the spray hose, you will need to create one. Use a drill to create a hole in the desired location, and then use a file to smooth out any rough edges.
Step 2: Install the Hose Guide
The hose guide helps to keep the spray hose in place and prevents it from getting tangled or kinked. Install the hose guide onto the mounting hole by following the manufacturer's instructions.
Step 3: Install the Spray Head and Hose
Attach the spray head to the end of the hose and secure it tightly. Next, insert the hose through the hose guide and feed it through the mounting hole until the spray head is in place.
Step 4: Connect the Hose to the Faucet
Using an adjustable wrench, tighten the nut on the end of the hose to the faucet. Make sure it is securely in place to prevent any leaks.
Step 5: Test for Leaks
Turn on the water supply and test for any leaks. If there are no leaks, you have successfully installed your new kitchen sink spray hose and head.


Installing a Kitchen Sink Spray Hose and Head


Replacing a Kitchen Sink Spray Hose and Head
If your kitchen sink spray hose and head are worn out and need to be replaced, follow these steps.
Step 1: Turn Off the Water Supply
Before you begin the replacement process, make sure to turn off the water supply to your kitchen sink. This will prevent any water from spilling out when you remove the hose.
Step 2: Remove the Old Hose and Head
Follow the same steps as mentioned earlier for removing an old kitchen sink spray hose. Once the hose is removed, unscrew the spray head from the hose.
Step 3: Install the New Hose and Head
Attach the new hose to the spray head and the faucet, making sure to tighten the connections securely. Then, turn on the water supply and test for any leaks.
Step 4: Test the Spray Function
Once the new hose and head are installed, turn on the water supply and test the spray function to make sure it is working properly.


Replacing a Kitchen Sink Spray Hose and Head


How to Connect a Kitchen Sink Spray Hose to a Diverter
If you have a kitchen sink with a separate sprayer and want to connect a new spray hose to a diverter, here's what you need to do.
Step 1: Turn Off the Water Supply
Make sure to turn off the water supply to your kitchen sink before you begin connecting the new spray hose.
Step 2: Prepare the Connections
Before attaching the hose to the diverter, make sure the connections are clean and free of any debris. This will ensure a tight seal and prevent any leaks.
Step 3: Attach the Hose to the Diverter
Using an adjustable wrench, tighten the nut connecting the hose to the diverter. Make sure it is securely in place to prevent any leaks.
Step 4: Test for Leaks
Turn on the water supply and test for any leaks. If there are no leaks, you have successfully connected your new kitchen sink spray hose to the diverter.

How to Connect a Kitchen Sink Spray Hose to a Diverter


Replacing a Kitchen Sink Spray Hose and Diverter
If your kitchen sink spray hose and diverter are both worn out and need to be replaced, follow these steps.
Step 1: Turn Off the Water Supply
Before you begin the replacement process, make sure to turn off the water supply to your kitchen sink. This will prevent any water from spilling out when you remove the hose and diverter.
Step 2: Remove the Old Hose and Diverter
Follow the same steps as mentioned earlier for removing an old kitchen sink spray hose. Once the hose is removed, unscrew the diverter from the sink.
Step 3: Install the New Hose and Diverter
Attach the new hose to the diverter and the faucet, making sure to tighten the connections securely. Then, turn on the water supply and test for any leaks.
Step 4: Test the Spray Function
Once the new hose and diverter are installed, turn on the water supply and test the spray function to make sure it is working properly.

Replacing a Kitchen Sink Spray Hose and Diverter
The Benefits of Installing a Kitchen Sink Spray Hose Connector
Modern and Convenient Kitchen Design
 One of the most essential elements in any kitchen design is the
kitchen sink
. It is where we wash our dishes, fruits and vegetables, and even our hands. However, a traditional kitchen sink with a fixed faucet may not always be the most convenient option. This is where a
kitchen sink spray hose connector
comes in. This innovative addition to your kitchen sink can enhance the overall functionality and style of your kitchen. With a simple pull and release mechanism, you can easily switch between a steady stream of water and a powerful spray, making cleaning and rinsing tasks a breeze.
One of the most essential elements in any kitchen design is the
kitchen sink
. It is where we wash our dishes, fruits and vegetables, and even our hands. However, a traditional kitchen sink with a fixed faucet may not always be the most convenient option. This is where a
kitchen sink spray hose connector
comes in. This innovative addition to your kitchen sink can enhance the overall functionality and style of your kitchen. With a simple pull and release mechanism, you can easily switch between a steady stream of water and a powerful spray, making cleaning and rinsing tasks a breeze.
Efficient Cleaning and Rinsing
 The
kitchen sink spray hose connector
offers a more efficient way of cleaning and rinsing compared to a traditional faucet. The powerful spray can help remove stubborn food residue on dishes and pans, making them easier to clean. It can also reach into tight corners and crevices, ensuring that all areas are thoroughly cleaned. Furthermore, the flexibility of the hose allows you to easily rinse off soap residue from dishes, fruits, and vegetables, making them cleaner and safer to consume.
The
kitchen sink spray hose connector
offers a more efficient way of cleaning and rinsing compared to a traditional faucet. The powerful spray can help remove stubborn food residue on dishes and pans, making them easier to clean. It can also reach into tight corners and crevices, ensuring that all areas are thoroughly cleaned. Furthermore, the flexibility of the hose allows you to easily rinse off soap residue from dishes, fruits, and vegetables, making them cleaner and safer to consume.
Save Water and Energy
 Apart from its convenience and efficiency, a
kitchen sink spray hose connector
can also help you save on water and energy costs. The powerful spray uses less water compared to a traditional faucet, reducing your overall water consumption. It also helps conserve energy by reducing the time and effort needed to clean dishes and other kitchen items. With a
kitchen sink spray hose connector
, you can have a more environmentally-friendly kitchen without compromising on functionality and style.
Apart from its convenience and efficiency, a
kitchen sink spray hose connector
can also help you save on water and energy costs. The powerful spray uses less water compared to a traditional faucet, reducing your overall water consumption. It also helps conserve energy by reducing the time and effort needed to clean dishes and other kitchen items. With a
kitchen sink spray hose connector
, you can have a more environmentally-friendly kitchen without compromising on functionality and style.
Versatility and Adaptability
 Another great benefit of a
kitchen sink spray hose connector
is its versatility and adaptability. It can easily be installed in most kitchen sinks, making it a great addition to any household. It also comes in a variety of styles and finishes, allowing you to choose one that complements your kitchen design and decor. Moreover, the hose can be easily detached and moved around, making it useful for other tasks such as watering plants or filling up large pots.
In conclusion, a
kitchen sink spray hose connector
is a practical and stylish addition to any modern kitchen. It offers numerous benefits such as convenience, efficiency, water and energy savings, and versatility. With its easy installation and adaptability, it is a must-have for any household looking to upgrade their kitchen design. Consider investing in a
kitchen sink spray hose connector
today and experience the difference it can make in your kitchen.
Another great benefit of a
kitchen sink spray hose connector
is its versatility and adaptability. It can easily be installed in most kitchen sinks, making it a great addition to any household. It also comes in a variety of styles and finishes, allowing you to choose one that complements your kitchen design and decor. Moreover, the hose can be easily detached and moved around, making it useful for other tasks such as watering plants or filling up large pots.
In conclusion, a
kitchen sink spray hose connector
is a practical and stylish addition to any modern kitchen. It offers numerous benefits such as convenience, efficiency, water and energy savings, and versatility. With its easy installation and adaptability, it is a must-have for any household looking to upgrade their kitchen design. Consider investing in a
kitchen sink spray hose connector
today and experience the difference it can make in your kitchen.