1. How to Unclog a Kitchen Sink: 5 Easy Tips
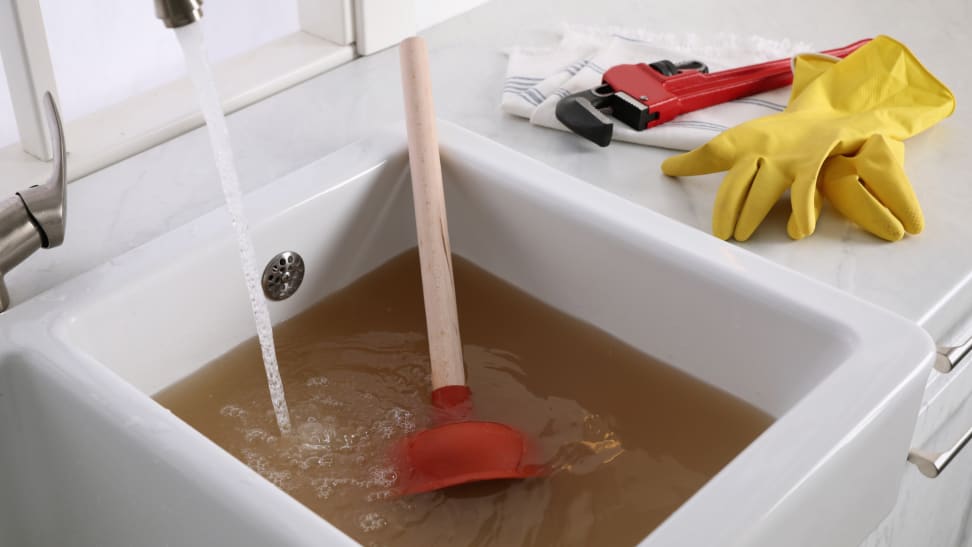
Dealing with a clogged kitchen sink is a common household problem that can be frustrating to deal with. However, with the right tools and techniques, you can easily unclog your sink and get the water flowing freely again. Here are five easy tips to help you unclog your kitchen sink.
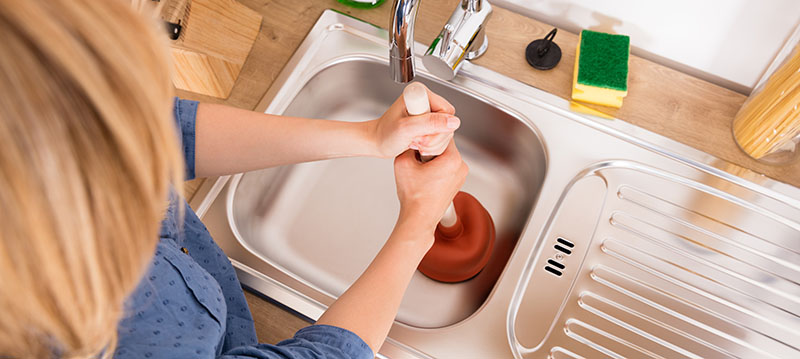
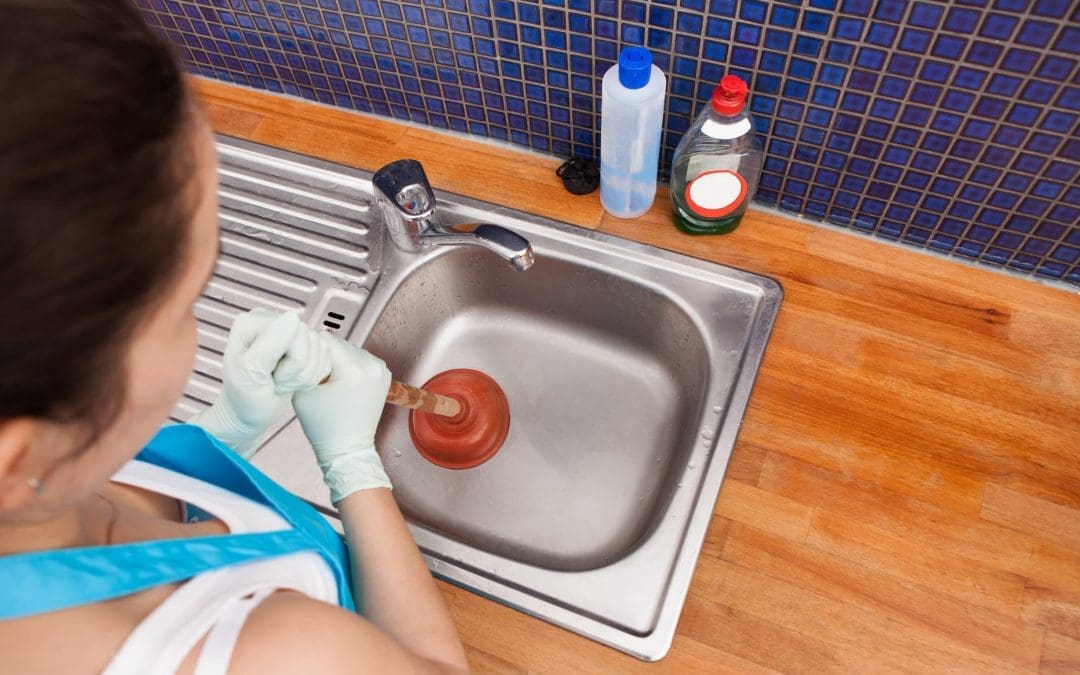
Tip #1: Use a Plunger
A plunger is a simple yet effective tool for clearing clogs in your kitchen sink. Make sure to use a plunger with a flat bottom, as it will create a better seal over the drain. Place the plunger over the drain and push down firmly, then pull up quickly. Repeat this motion several times until the clog is dislodged.
Tip #2: Try a Baking Soda and Vinegar Mixture
For a natural and environmentally friendly solution, you can try using a mixture of baking soda and vinegar to unclog your kitchen sink. Start by pouring half a cup of baking soda down the drain, followed by half a cup of vinegar. Let the mixture sit for 15 minutes, then pour hot water down the drain to flush out the clog.
Tip #3: Use a Plumbing Snake
A plumbing snake, also known as a drain auger, is a long, flexible tool used for removing clogs from drains. Insert the snake into the drain and turn the handle clockwise to extend it further into the pipe. Once you feel resistance, twist and push the snake to break up the clog. Then, pull out the snake and run hot water down the drain to clear out any remaining debris.
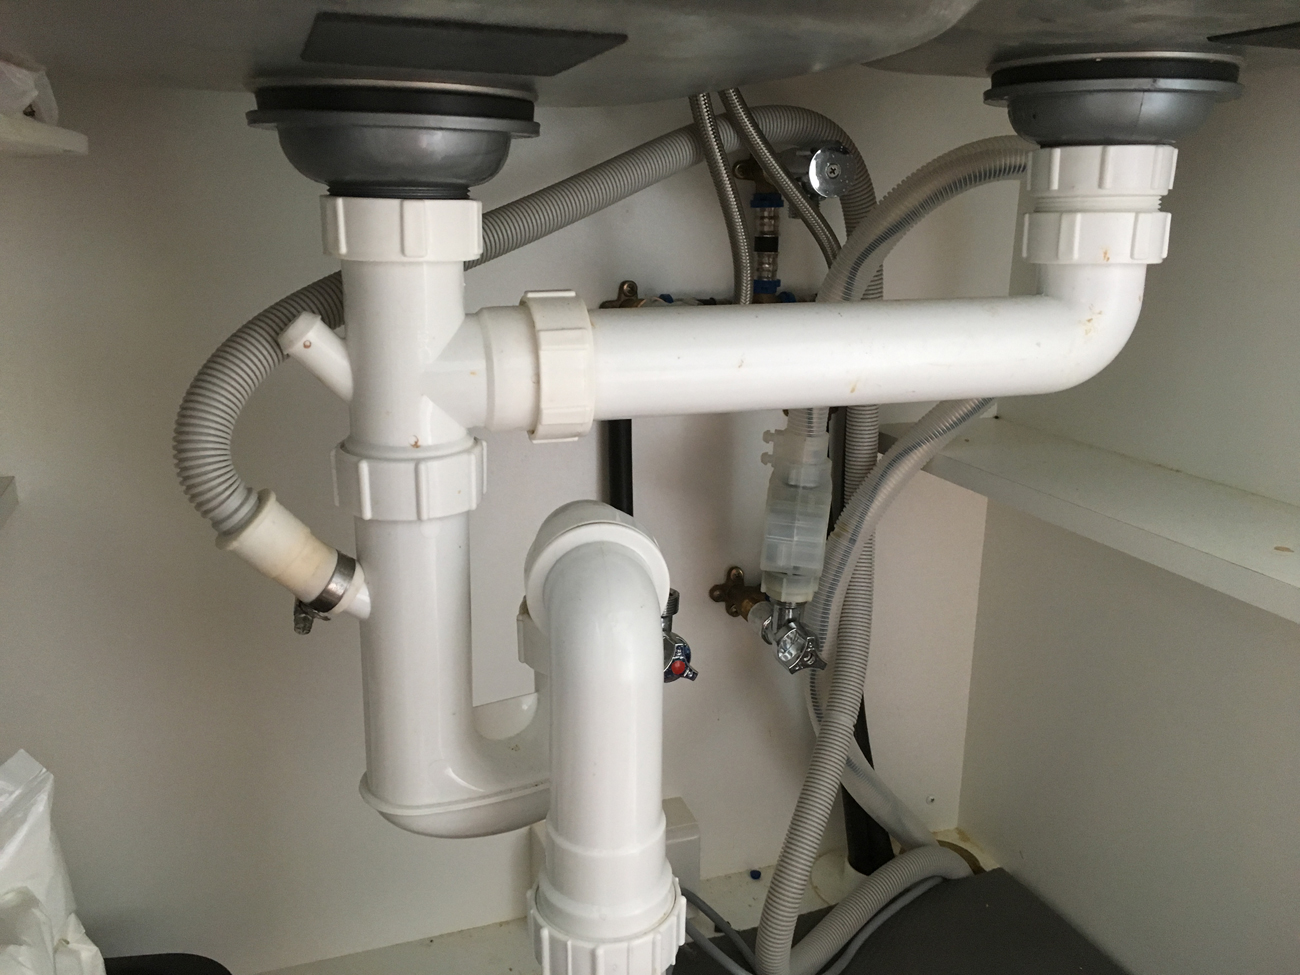
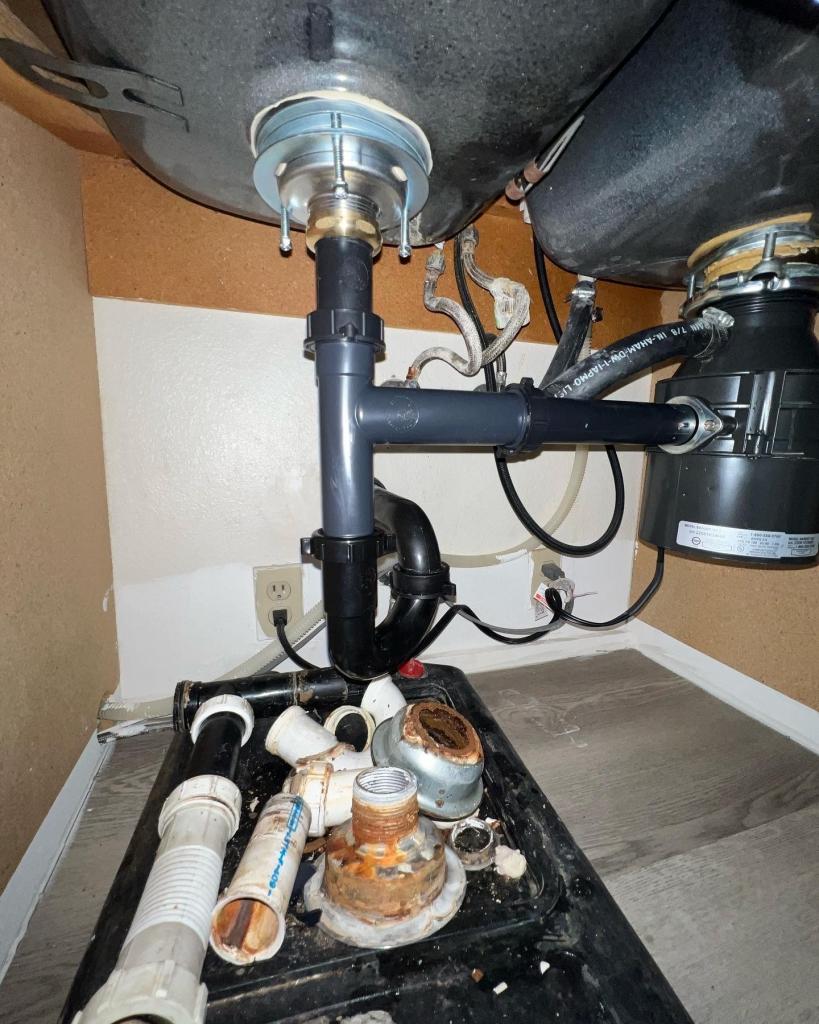
Tip #4: Remove and Clean the P-Trap
The P-trap, also known as the U-bend, is a curved pipe located under your sink that traps debris and prevents it from entering the main sewer line. If your clog is located in the P-trap, you can remove it and clean it out to clear the blockage. Place a bucket under the trap to catch any water and debris, then unscrew the slip nuts holding the trap in place. Clean out any debris and reattach the trap.
Tip #5: Use a Commercial Drain Cleaner
If all else fails, you can try using a commercial drain cleaner to dissolve the clog. These products contain chemicals that break down the clog and allow it to be flushed out with hot water. However, be cautious when using these products as they can be harmful to your skin and can damage your pipes if used incorrectly.


1. How to Unclog a Kitchen Sink: 5 Easy Tips

:max_bytes(150000):strip_icc()/how-to-unclog-a-kitchen-sink-2718799_sketch_FINAL-8c5caa805a69493ab22dfb537c72a1b7.png)

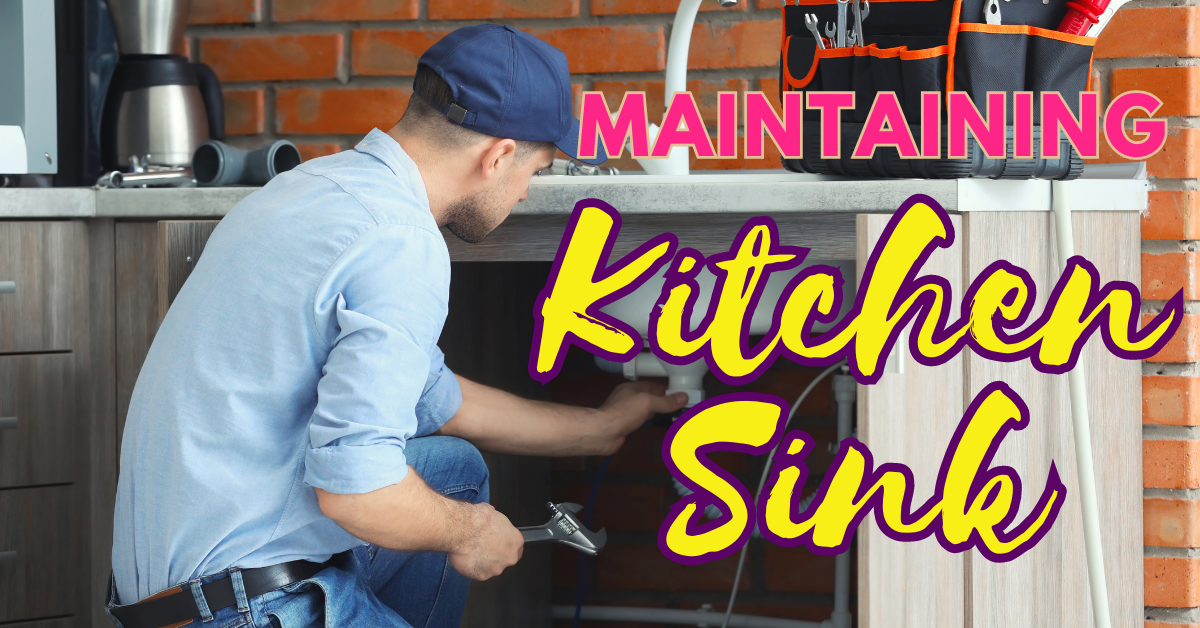
2. Kitchen Sink Plumbing Tips and Tricks
Proper maintenance and care for your kitchen sink's plumbing can prevent common problems and save you from expensive repairs. Here are some tips and tricks to help you keep your kitchen sink plumbing in top shape.
Tip #1: Avoid Pouring Grease Down the Drain
Grease and oil may seem harmless when poured down the drain, but they can quickly solidify and cause clogs in your pipes. Instead, pour grease into a can or container and dispose of it in the trash.
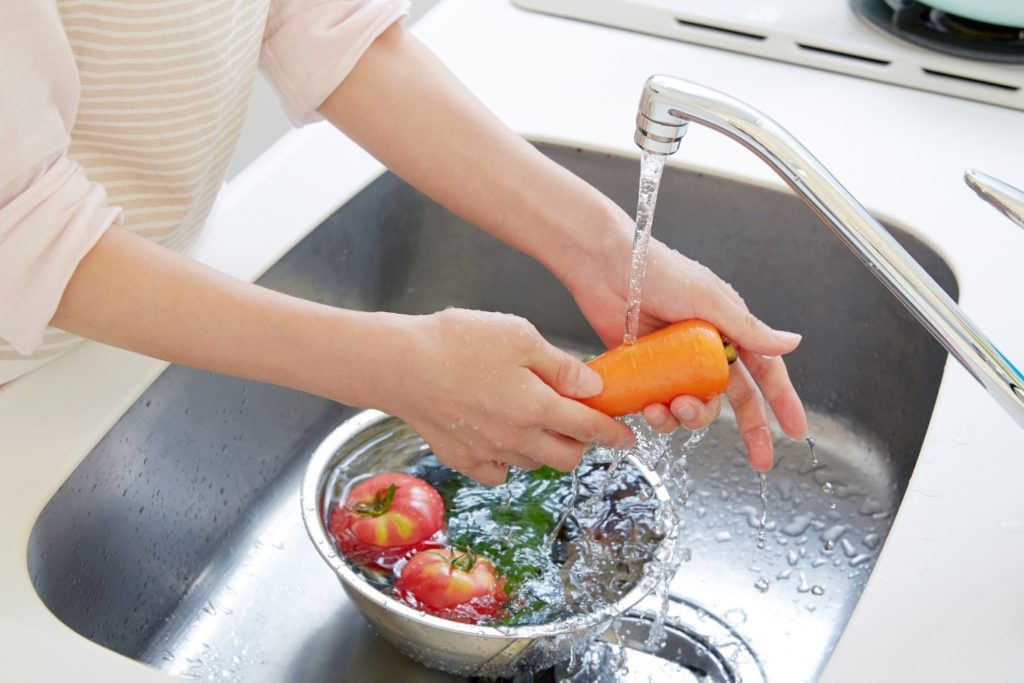
Tip #2: Use a Drain Strainer
A drain strainer is a simple and inexpensive tool that can prevent food scraps and debris from entering your drain and causing clogs. Make sure to regularly clean out the strainer to prevent buildup and maintain proper drainage.
Tip #3: Run Hot Water After Each Use
After using your sink, run hot water down the drain for a few seconds to help break down any leftover debris and prevent it from building up in your pipes.
Tip #4: Schedule Regular Maintenance
To avoid major plumbing issues, it's important to schedule regular maintenance for your kitchen sink. A professional plumber can inspect your pipes, clean them out, and identify any potential problems before they become costly repairs.
Tip #5: Don't Ignore Leaks
A small leak in your kitchen sink may not seem like a big deal, but it can lead to water damage and mold growth if left untreated. As soon as you notice a leak, call a plumber to fix it and prevent further damage.


2. Kitchen Sink Plumbing Tips and Tricks


3. Common Kitchen Sink Plumbing Problems and Solutions
Despite our best efforts, kitchen sink plumbing problems can still occur. Here are some common issues and their solutions.
Problem #1: Slow Draining Sink
If your sink is draining slowly, it could be due to a clog in the P-trap or further down in the pipes. Try using a plunger or a plumbing snake to remove the clog, or call a professional plumber for assistance.
Problem #2: Leaky Faucet
A leaky faucet is not only annoying, but it can also waste a significant amount of water. Most often, a leaky faucet is caused by a worn-out washer or O-ring, which can easily be replaced. If the problem persists, there may be a bigger issue with your faucet that requires professional help.
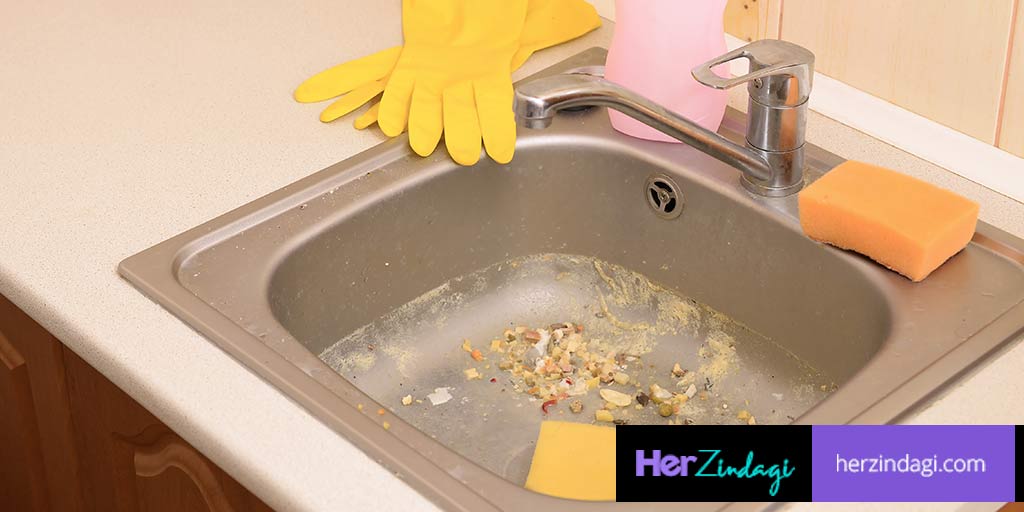
Problem #3: Foul Odors
If you notice a foul odor coming from your kitchen sink, it could be due to a buildup of food particles or debris in your pipes. Try using a mixture of baking soda and vinegar to eliminate the odor, and make sure to regularly clean your sink and drain strainer.
Problem #4: Low Water Pressure
If the water pressure in your kitchen sink is low, it could be due to a clogged aerator. Remove the aerator and clean it out, or replace it if it's damaged. If this doesn't solve the problem, there may be a bigger issue with your pipes that requires professional attention.
Problem #5: No Hot Water
If you're not getting any hot water from your kitchen sink, it could be due to a malfunctioning water heater or a leak in the hot water line. Check your water heater to ensure it's functioning properly, and if the problem persists, call a professional plumber.


3. Common Kitchen Sink Plumbing Problems and Solutions


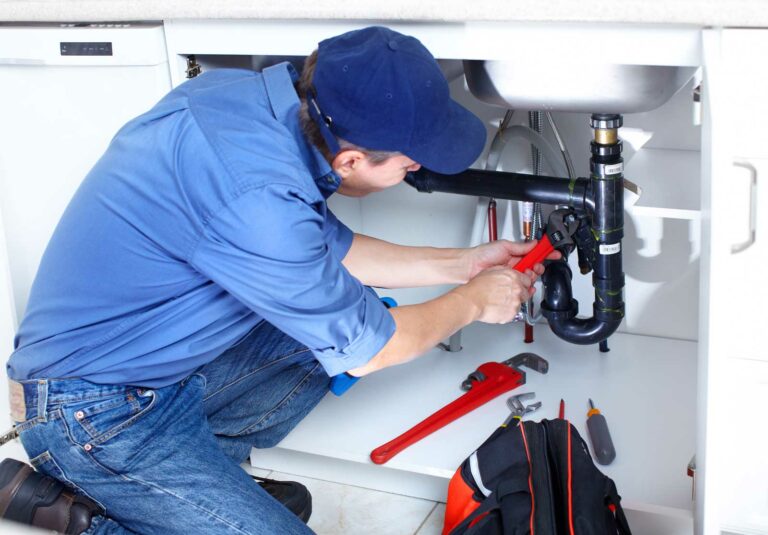
4. DIY Kitchen Sink Plumbing Repair: Step-by-Step Guide
While some plumbing issues require professional help, there are some minor repairs that you can do yourself with the right tools and knowledge. Here is a step-by-step guide to help you with DIY kitchen sink plumbing repairs.
Step 1: Gather Your Tools
Before starting any plumbing repair, make sure you have all the necessary tools. These may include a plunger, plumbing snake, adjustable wrench, and bucket to catch water and debris.
Step 2: Turn Off the Water
Before attempting any repairs, always turn off the water supply to your kitchen sink. This can usually be done by turning the valves under the sink clockwise.
Step 3: Identify the Problem
Identify the issue with your kitchen sink plumbing and determine the best course of action. Refer to the previous sections for common problems and their solutions.
Step 4: Use the Appropriate Tools
Depending on the problem, use the appropriate tools to fix it. For example, use a plunger for clogs, a plumbing snake for deeper clogs, and an adjustable wrench to tighten or loosen fittings.
Step 5: Test the Repair
Once you've completed the repair, turn the water supply back on and test to see if the problem has been resolved. If not, you may need to try a different solution or call a professional plumber.


4. DIY Kitchen Sink Plumbing Repair: Step-by-Step Guide


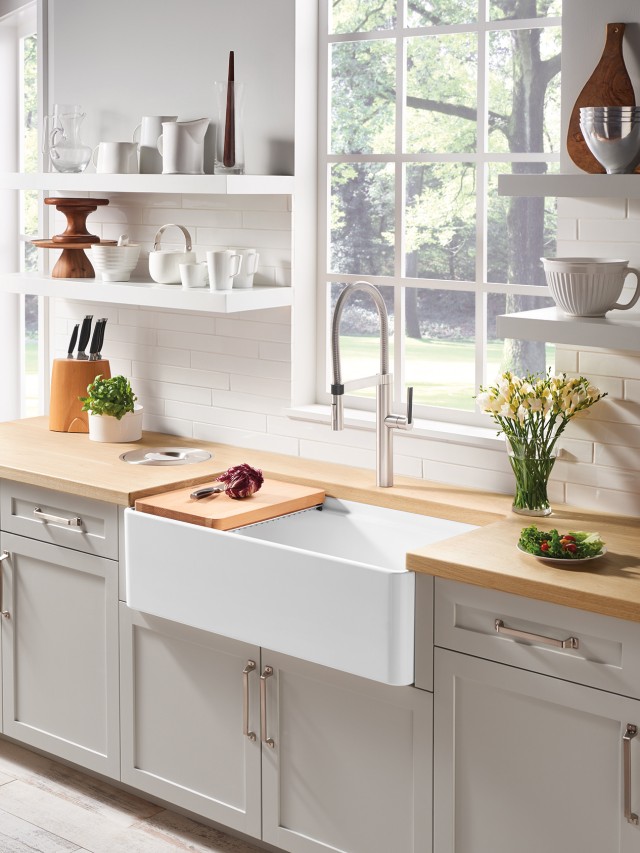
5. How to Install a Kitchen Sink: A Beginner's Guide
Installing a new kitchen sink may seem like a daunting task, but with the right tools and instructions, it can be a simple DIY project. Here is a beginner's guide to help you install a kitchen sink.
Step 1: Gather Your Tools
Make sure you have all the necessary tools for the job, including a new sink, sink clips, plumber's putty, a wrench, and a screwdriver.
Step 2: Remove the Old Sink
Start by turning off the water supply and disconnecting the plumbing connections under the sink. Then, use a utility knife to cut through any caulk holding the sink in place. With the help of a friend, carefully lift the sink out of the countertop.
Step 3: Prep the New Sink
If your new sink doesn't come with a template, use the old sink as a guide to mark the cutout on the countertop. Then, use a jigsaw to cut out the hole for the new sink.
Step 4: Install the New Sink
Apply a thin layer of plumber's putty around the edge of the sink and carefully lower it into the cutout. Secure the sink in place using sink clips and make sure it is level.
Step 5: Reconnect the Plumbing
Reconnect the plumbing connections, making sure to tighten them securely. Turn the water supply back on and check for any leaks.


5. How to Install a Kitchen Sink: A Beginner's Guide


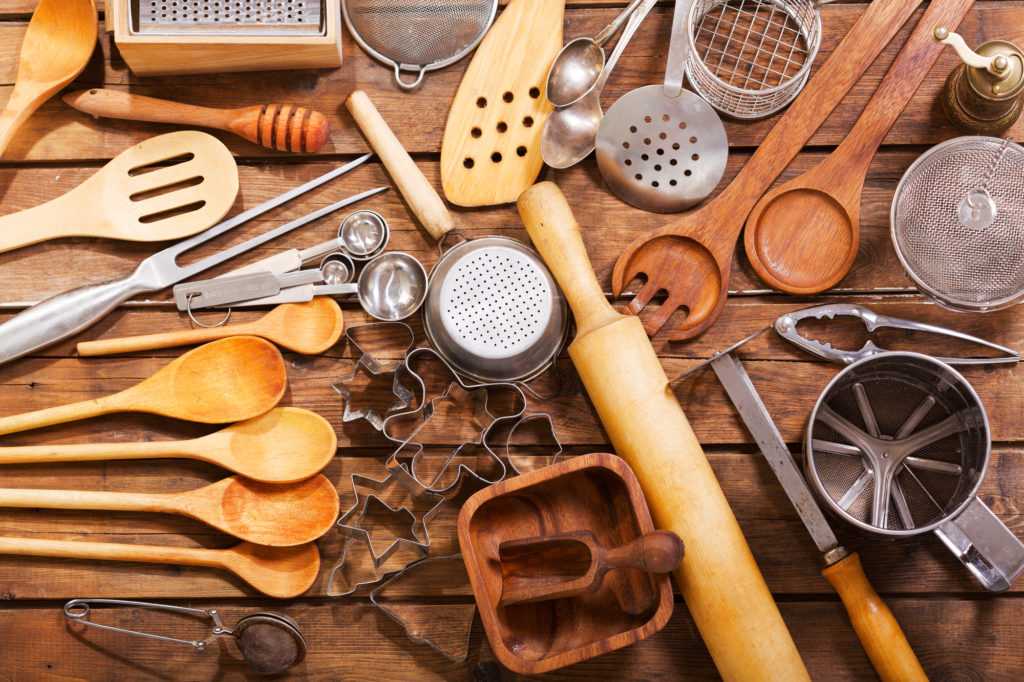
6. 10 Essential Tools for Kitchen Sink Plumbing
Having the right tools for the job can make all the difference when it comes to kitchen sink plumbing. Here are 10 essential tools that every homeowner should have on hand.
1. Plunger
A plunger is a must-have for any household, as it can quickly and easily clear clogs in your kitchen sink.
2. Plumbing Snake
A plumbing snake is a long, flexible tool that can reach deep into your pipes to break up and remove clogs.
3. Adjustable Wrench
An adjustable wrench is useful for tightening or loosening fittings and connections under your sink.
4. Pipe Wrench
A pipe wrench is a larger version of an adjustable wrench and is used for tightening or loosening larger pipes and fittings.
5. Bucket
Having a bucket on hand is essential for catching water and debris when working on your kitchen sink plumbing.
6. Pliers
Pliers can be useful for gripping and turning pipes or fittings that are difficult to reach with an adjustable wrench.
7. Caulk Gun
A caulk gun is used to apply caulk around the edges of your sink to create a watertight seal.
8. Putty Knife
A putty knife is handy for scraping away old caulk or putty when replacing a sink or fixing a leak.
9. Hacksaw
A hacksaw can be useful for cutting through pipes or fittings when making repairs or installing a new sink.
10. Safety Gloves
When working with harsh chemicals or sharp tools, it's important to protect your hands with a pair of safety gloves.


6. 10 Essential Tools for Kitchen Sink Plumbing


7. How to Fix a Leaky Kitchen Sink: Troubleshooting Tips
A leaky kitchen sink can be a nuisance and can also lead to costly water damage if left untreated. Here are some troubleshooting tips to help you fix a leaky kitchen sink.
Tip #1: Tighten Connections
If the leak is coming from a pipe or fitting under your sink, try tightening the connection with an adjustable wrench or pliers. Be careful not to overtighten, as this can cause damage.
Tip #2: Replace Washers
If the leak is coming from a faucet, it may be due to a worn-out washer. Replace the washer with a new one to create a better seal and stop the leak.
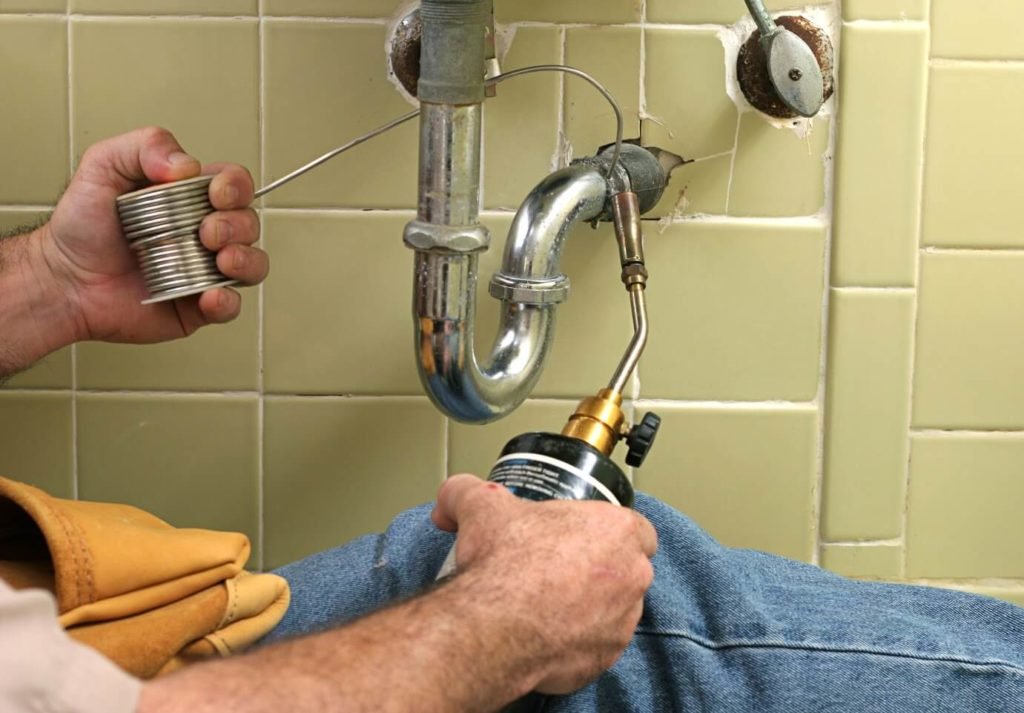
Tip #3: Fix a Cracked Pipe
If a pipe is cracked or damaged, it will need to be replaced. Cut out the damaged section of the pipe and replace it with a new piece using pipe fittings and PVC glue.
Tip #4: Repair the Sink's Caulk
If the leak is coming from the edge of the sink, it may be due to old or damaged caulk. Use a putty knife to remove the old caulk, then apply a fresh layer to create a watertight seal.


7. How to Fix a Leaky Kitchen Sink: Troubleshooting Tips


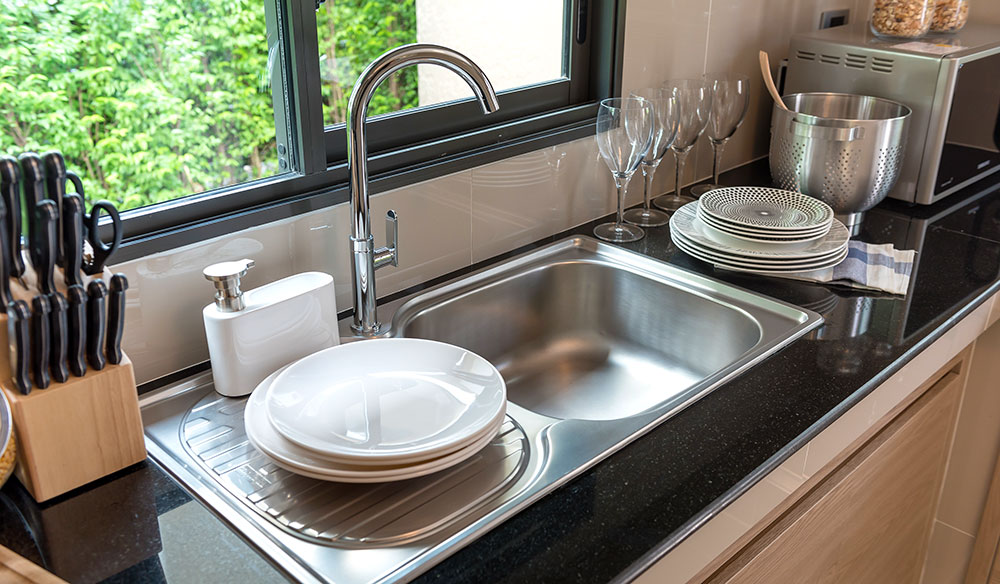
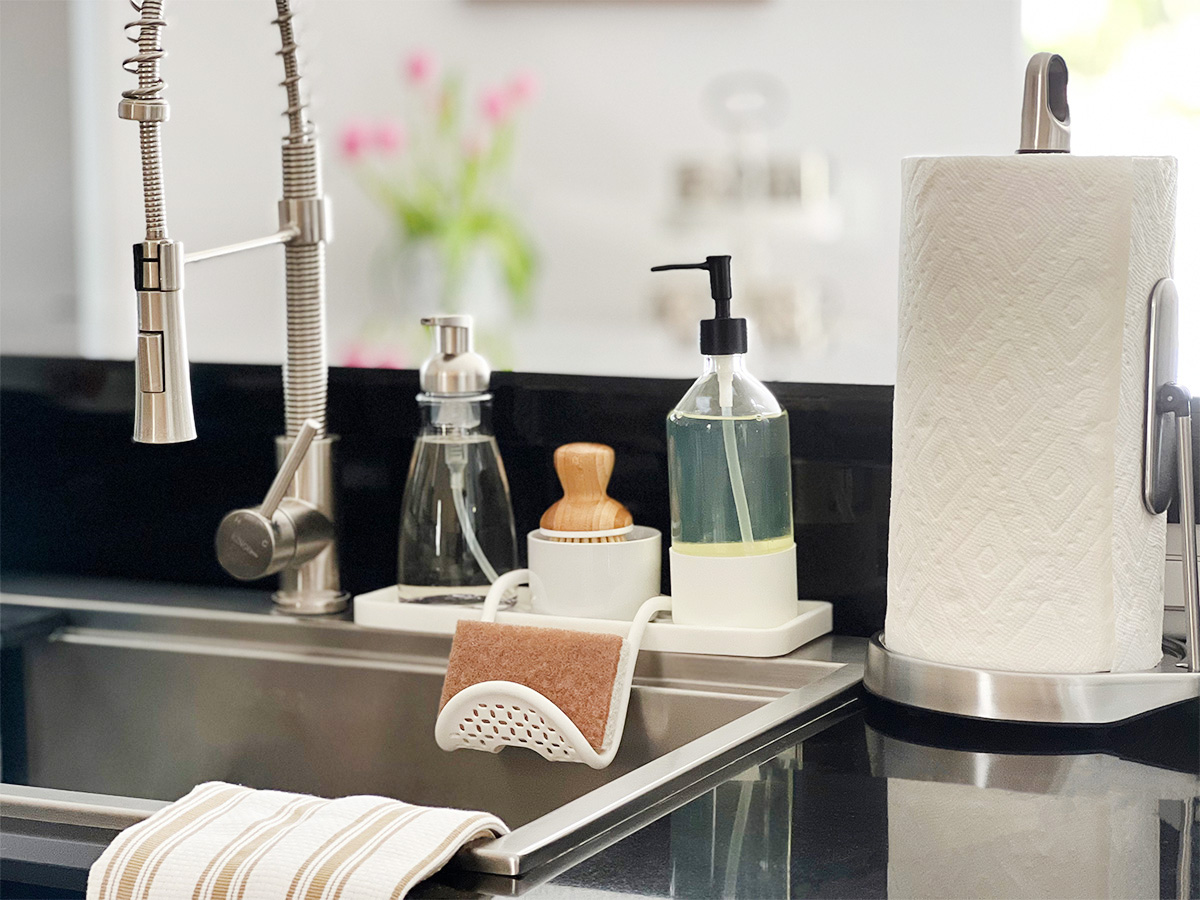
8. Kitchen Sink Maintenance: Tips for Keeping Your Sink in Top Shape
Maintaining your kitchen sink properly can prevent common plumbing problems and extend its lifespan. Here are some tips to help you keep your sink in top shape.
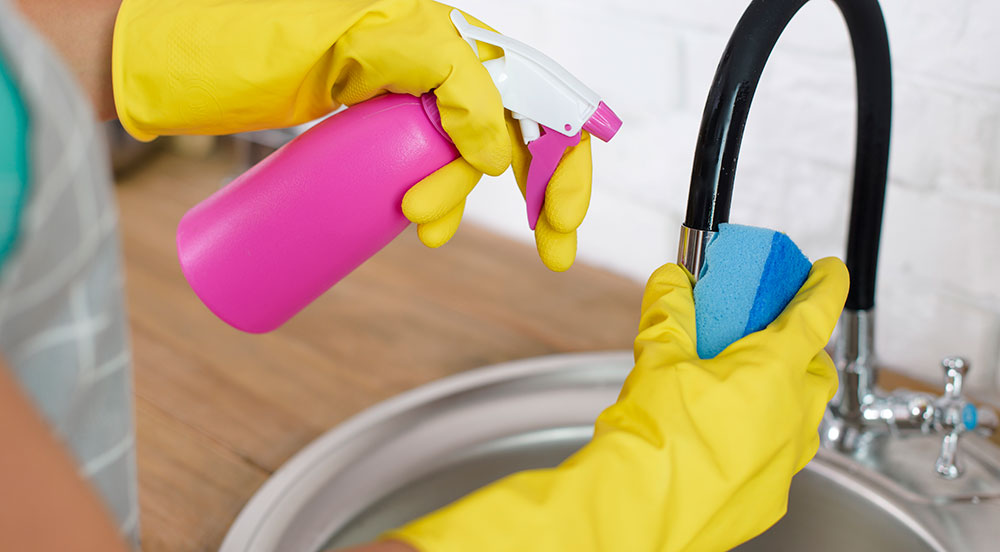
Tip #1: Clean Regularly
Make sure to regularly clean your sink to prevent buildup of food scraps and debris that can cause clogs. Use a mixture of baking soda and vinegar or a commercial cleaner for the best results.
Tip #2: Avoid Harsh Chemicals
Avoid using harsh chemicals like bleach or drain cleaners in your sink, as they can damage your pipes and harm the environment.


8. Kitchen Sink Maintenance: Tips for Keeping Your Sink in Top Shape


Troubleshooting Common Kitchen Sink Plumbing Problems

Leaky Faucets
 One of the most common plumbing issues in the kitchen sink is a leaky faucet. Not only is the constant dripping annoying, but it can also lead to a significant increase in your water bill. To fix this issue, first, turn off the water supply to your sink. Then,
replace the rubber gasket or O-ring inside the faucet handle
. If that doesn't solve the problem, you may need to
replace the entire faucet
. It's always a good idea to have a professional plumber handle this task to ensure proper installation and prevent further damage.
One of the most common plumbing issues in the kitchen sink is a leaky faucet. Not only is the constant dripping annoying, but it can also lead to a significant increase in your water bill. To fix this issue, first, turn off the water supply to your sink. Then,
replace the rubber gasket or O-ring inside the faucet handle
. If that doesn't solve the problem, you may need to
replace the entire faucet
. It's always a good idea to have a professional plumber handle this task to ensure proper installation and prevent further damage.
Clogged Drains
 Another frequent problem in kitchen sink plumbing is clogged drains. This can be caused by a buildup of grease, food particles, or other debris. To prevent clogs,
avoid pouring oil or grease down the drain
and use a drain screen to catch any food scraps. If your drain is already clogged, try using a plunger or a drain snake to clear the blockage. For more stubborn clogs, you may need to
use a chemical drain cleaner or call a plumber for professional help
.
Another frequent problem in kitchen sink plumbing is clogged drains. This can be caused by a buildup of grease, food particles, or other debris. To prevent clogs,
avoid pouring oil or grease down the drain
and use a drain screen to catch any food scraps. If your drain is already clogged, try using a plunger or a drain snake to clear the blockage. For more stubborn clogs, you may need to
use a chemical drain cleaner or call a plumber for professional help
.
Low Water Pressure
 If you notice a decrease in water pressure when using your kitchen sink, there may be an issue with the aerator. The aerator is the small screen attached to the end of the faucet that helps control the flow of water. Sometimes,
mineral deposits can build up and clog the aerator
, causing low water pressure. To fix this,
unscrew the aerator and clean it with a mixture of water and vinegar
. If the problem persists, you may need to
replace the aerator altogether
.
If you notice a decrease in water pressure when using your kitchen sink, there may be an issue with the aerator. The aerator is the small screen attached to the end of the faucet that helps control the flow of water. Sometimes,
mineral deposits can build up and clog the aerator
, causing low water pressure. To fix this,
unscrew the aerator and clean it with a mixture of water and vinegar
. If the problem persists, you may need to
replace the aerator altogether
.
Strange Noises
/how-to-install-a-sink-drain-2718789-hero-24e898006ed94c9593a2a268b57989a3.jpg) If you hear unusual noises coming from your kitchen sink, such as gurgling or rattling, it could be a sign of a larger plumbing issue. This could be caused by a
loose pipe, a clogged drain, or a malfunctioning garbage disposal
. First, check to make sure all pipes are securely attached and tighten any loose connections. If that doesn't solve the problem, try running hot water down the drain to clear any clogs. If the noise continues,
contact a professional plumber to inspect and repair the issue
.
Taking care of your kitchen sink plumbing can help prevent costly repairs and ensure the smooth functioning of your kitchen. Regularly checking for and addressing these common issues can save you time, money, and headaches in the long run. If you encounter any major plumbing problems, don't hesitate to call a professional for assistance.
If you hear unusual noises coming from your kitchen sink, such as gurgling or rattling, it could be a sign of a larger plumbing issue. This could be caused by a
loose pipe, a clogged drain, or a malfunctioning garbage disposal
. First, check to make sure all pipes are securely attached and tighten any loose connections. If that doesn't solve the problem, try running hot water down the drain to clear any clogs. If the noise continues,
contact a professional plumber to inspect and repair the issue
.
Taking care of your kitchen sink plumbing can help prevent costly repairs and ensure the smooth functioning of your kitchen. Regularly checking for and addressing these common issues can save you time, money, and headaches in the long run. If you encounter any major plumbing problems, don't hesitate to call a professional for assistance.