Installing a kitchen sink mixing valve with 2 handles can seem like a daunting task, but with the right tools and knowledge, it can be done easily and efficiently. Here is a step-by-step guide on how to properly install a 2-handle kitchen sink mixing valve to ensure a functional and leak-free result.How to Install a Kitchen Sink Mixing Valve with 2 Handles


How to Install a Kitchen Sink Mixing Valve with 2 Handles


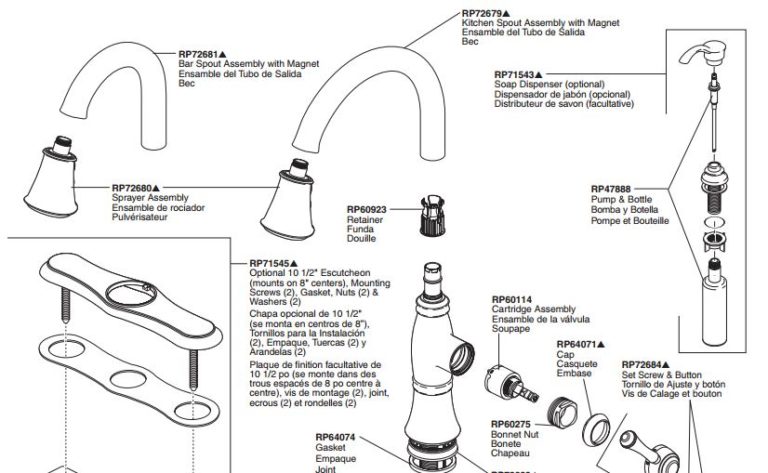
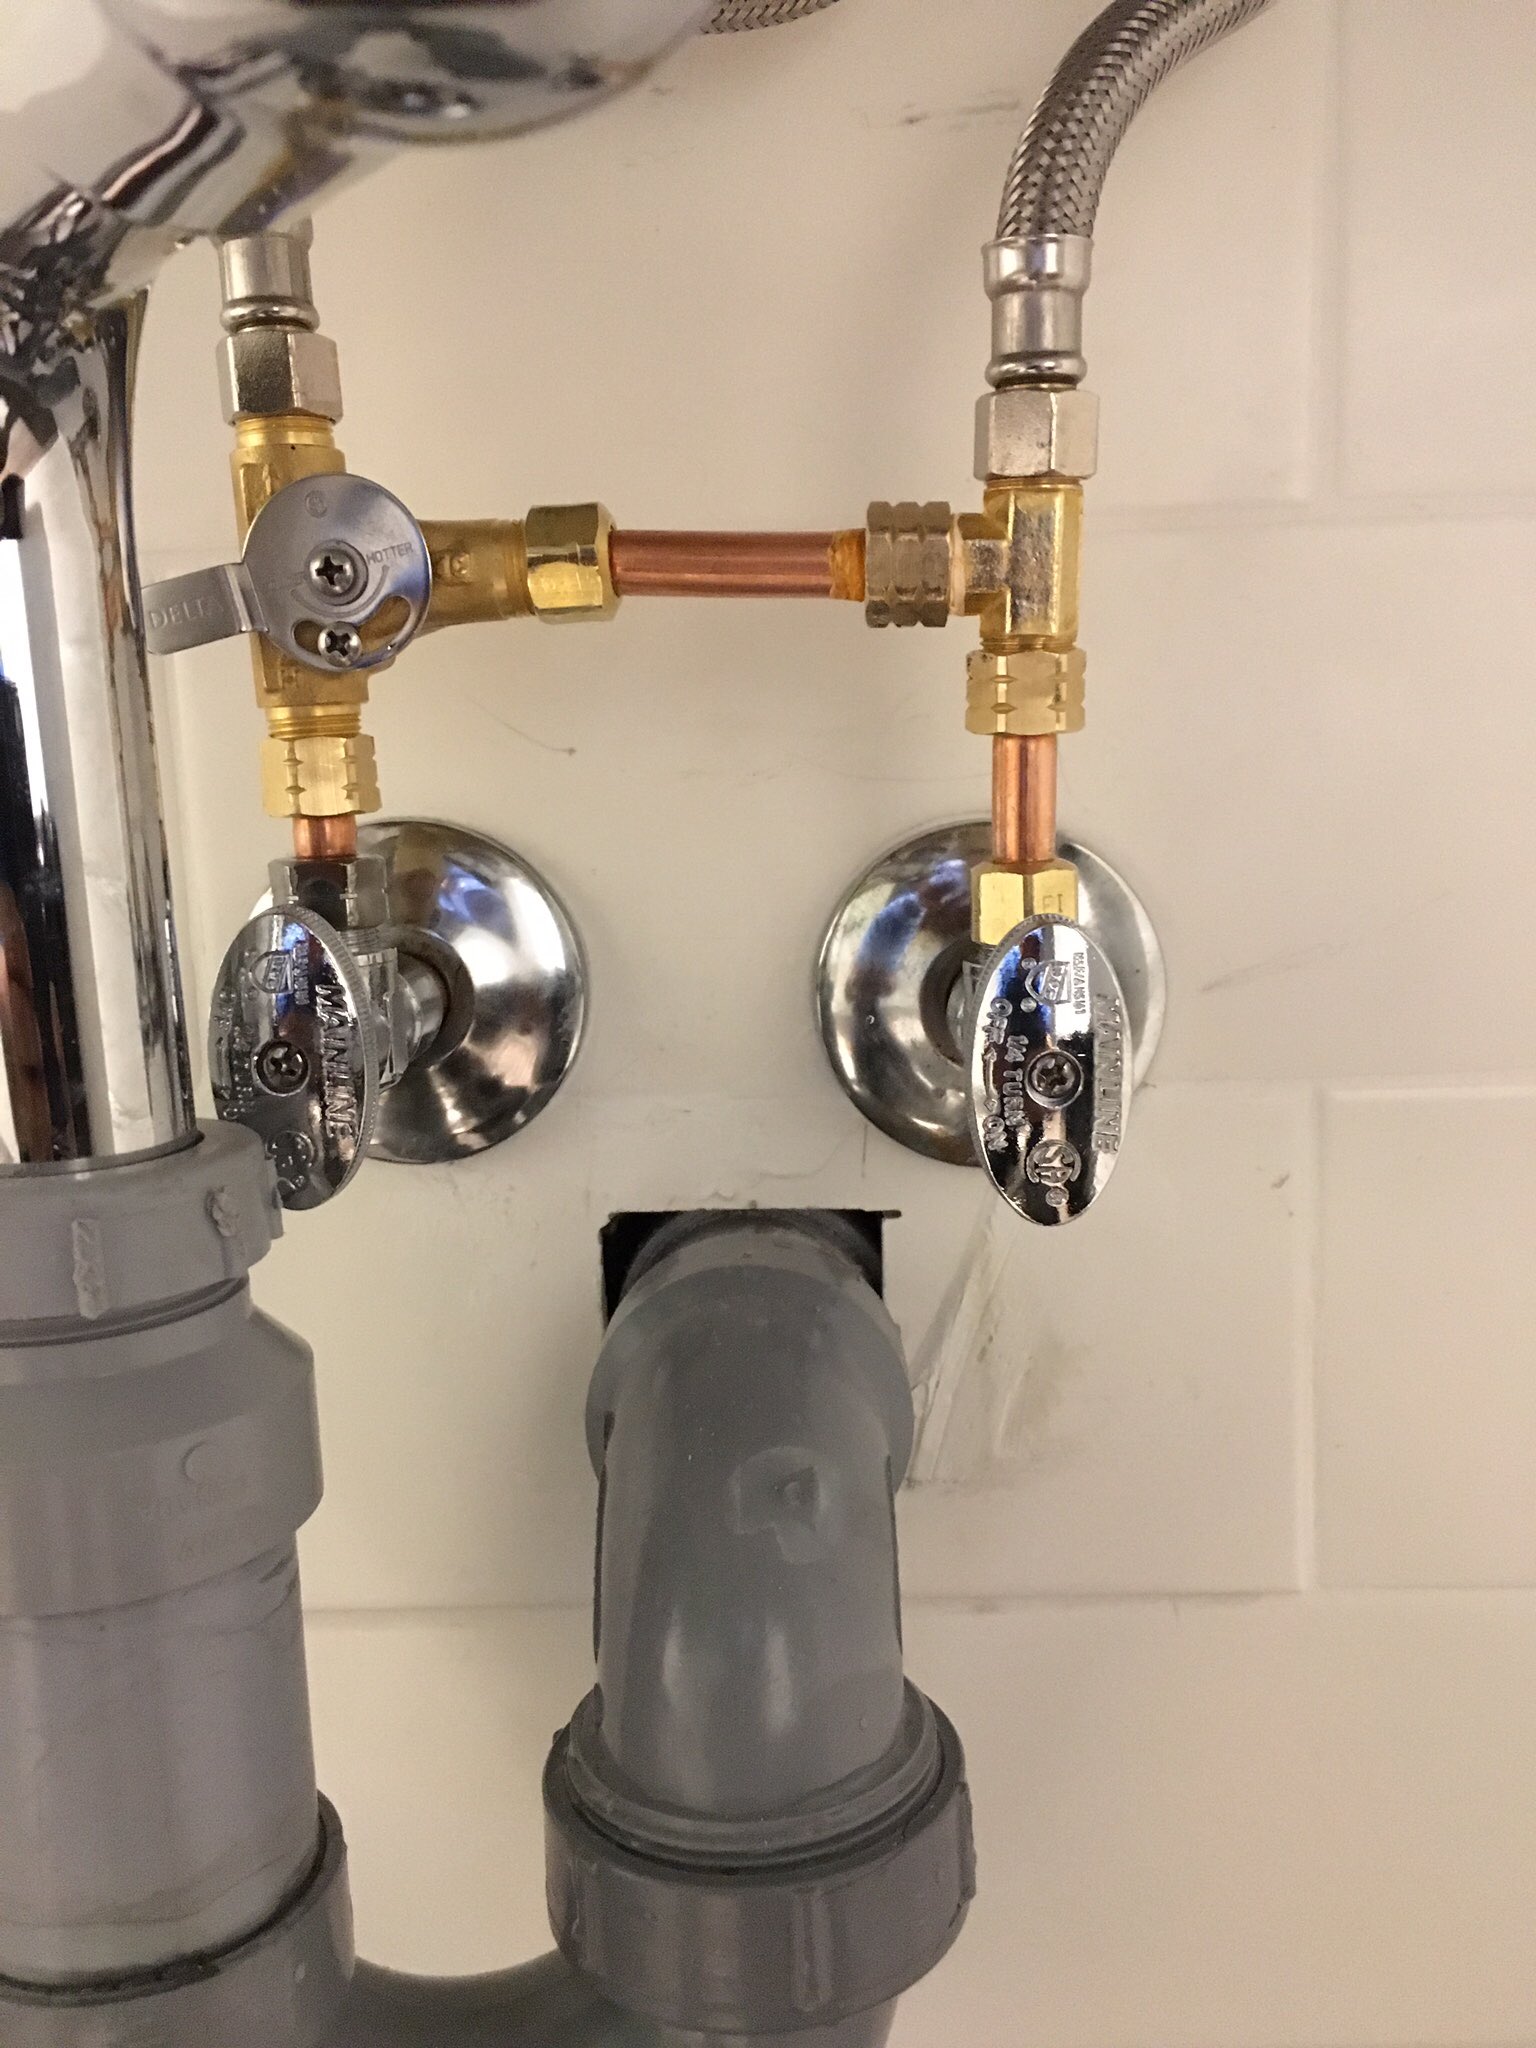
Step 1: Gather the tools and materials needed for the installation. Before starting the installation process, make sure you have all the necessary tools and materials. These may include a wrench, pliers, Teflon tape, a screwdriver, and the new 2-handle kitchen sink mixing valve. Step 2: Turn off the water supply. Before beginning any work, it is important to turn off the water supply to your sink. This can usually be done by turning off the main water valve in your house. Step 3: Remove the old mixing valve. Using a wrench or pliers, carefully remove the old mixing valve from the pipes under your sink. Make sure to drain any remaining water from the pipes before proceeding. Step 4: Prepare the new mixing valve for installation. Wrap Teflon tape around the threads of the new mixing valve to create a tight seal and prevent leaks. Step 5: Install the new mixing valve. Place the new mixing valve onto the pipes and use a wrench or pliers to tighten it securely in place. Make sure it is aligned correctly and facing the right direction. Step 6: Connect the water supply lines. Using a wrench or pliers, connect the water supply lines to the new mixing valve. Make sure they are tightly secured to prevent any leaks. Step 7: Turn on the water supply and test the valve. Once everything is connected, turn on the water supply and test the valve by turning on the hot and cold water separately. Check for any leaks and make any necessary adjustments.Step-by-Step Guide for Installing a 2-Handle Kitchen Sink Mixing Valve


Step-by-Step Guide for Installing a 2-Handle Kitchen Sink Mixing Valve


If you are a handy DIY enthusiast, installing a 2-handle kitchen sink mixing valve can be a fun and satisfying project. However, it is important to follow the proper steps to ensure a successful and functional result. Follow the steps outlined above to properly install the mixing valve. Additionally, make sure to read the manufacturer's instructions that come with the valve to ensure proper installation. Here are a few tips and tricks to keep in mind while installing a 2-handle kitchen sink mixing valve:DIY Kitchen Sink Mixing Valve Installation with 2 Handles


DIY Kitchen Sink Mixing Valve Installation with 2 Handles


Here is a list of the tools and materials you will need for a successful installation:Tools and Materials Needed for Installing a Kitchen Sink Mixing Valve with 2 Handles


2-Handle Kitchen Sink Mixing Valve Installation: Tips and Tricks

Installing a 2-handle kitchen sink mixing valve may seem like a simple task, but there are a few common mistakes that can lead to leaks and other issues. Here are some things to avoid during the installation process:Common Mistakes to Avoid When Installing a 2-Handle Kitchen Sink Mixing Valve

The Importance of Properly Installing a 2-Handle Kitchen Sink Mixing Valve
If you encounter any issues during or after the installation process, here are some steps you can take to troubleshoot and solve the problem:How to Troubleshoot Issues with a 2-Handle Kitchen Sink Mixing Valve Installation


Tools and Materials Needed for Installing a Kitchen Sink Mixing Valve with 2 Handles


Deciding whether to hire a professional or attempt a DIY installation can be a tough decision. Here are some factors to consider:Professional vs. DIY: Which is the Best Option for Installing a 2-Handle Kitchen Sink Mixing Valve?


Common Mistakes to Avoid When Installing a 2-Handle Kitchen Sink Mixing Valve


The cost of hiring a professional to install a 2-handle kitchen sink mixing valve can vary depending on your location and the complexity of the job. On average, it can cost between $150-$300 for labor. If you choose to DIY, the cost will primarily be for the new mixing valve and any necessary tools or materials. This can range from $20-$50, making it a more budget-friendly option. Ultimately, the decision between hiring a professional and DIY will depend on your budget, level of experience, and personal preference. In conclusion, installing a kitchen sink mixing valve with 2 handles may seem like a daunting task, but with the right tools and knowledge, it can be done easily and efficiently. By following the steps outlined above and avoiding common mistakes, you can ensure a properly functioning and leak-free result. Whether you choose to hire a professional or DIY, make sure to properly maintain and regularly check your mixing valve to prevent any future issues.Cost Comparison: Hiring a Professional vs. DIY Kitchen Sink Mixing Valve Installation with 2 Handles

How to Troubleshoot Issues with a 2-Handle Kitchen Sink Mixing Valve Installation


Kitchen Sink Mixing Valve Installation: A Crucial Step for a Functional and Stylish Kitchen
/how-to-install-a-sink-drain-2718789-hero-24e898006ed94c9593a2a268b57989a3.jpg)
Why You Need a Kitchen Sink Mixing Valve
 When it comes to designing a kitchen, functionality and style go hand in hand. One essential element that often gets overlooked is the kitchen sink mixing valve. This small yet crucial component plays a significant role in the overall functionality of your kitchen.
The kitchen sink mixing valve is responsible for controlling the flow of hot and cold water to your sink. It allows you to adjust the temperature of the water according to your needs, making it an essential tool for everyday tasks such as washing dishes, cooking, and cleaning. Without a properly installed mixing valve, your kitchen sink will be limited in its capabilities and may even become a source of frustration.
When it comes to designing a kitchen, functionality and style go hand in hand. One essential element that often gets overlooked is the kitchen sink mixing valve. This small yet crucial component plays a significant role in the overall functionality of your kitchen.
The kitchen sink mixing valve is responsible for controlling the flow of hot and cold water to your sink. It allows you to adjust the temperature of the water according to your needs, making it an essential tool for everyday tasks such as washing dishes, cooking, and cleaning. Without a properly installed mixing valve, your kitchen sink will be limited in its capabilities and may even become a source of frustration.
The Benefits of Installing a 2-Handle Kitchen Sink Mixing Valve
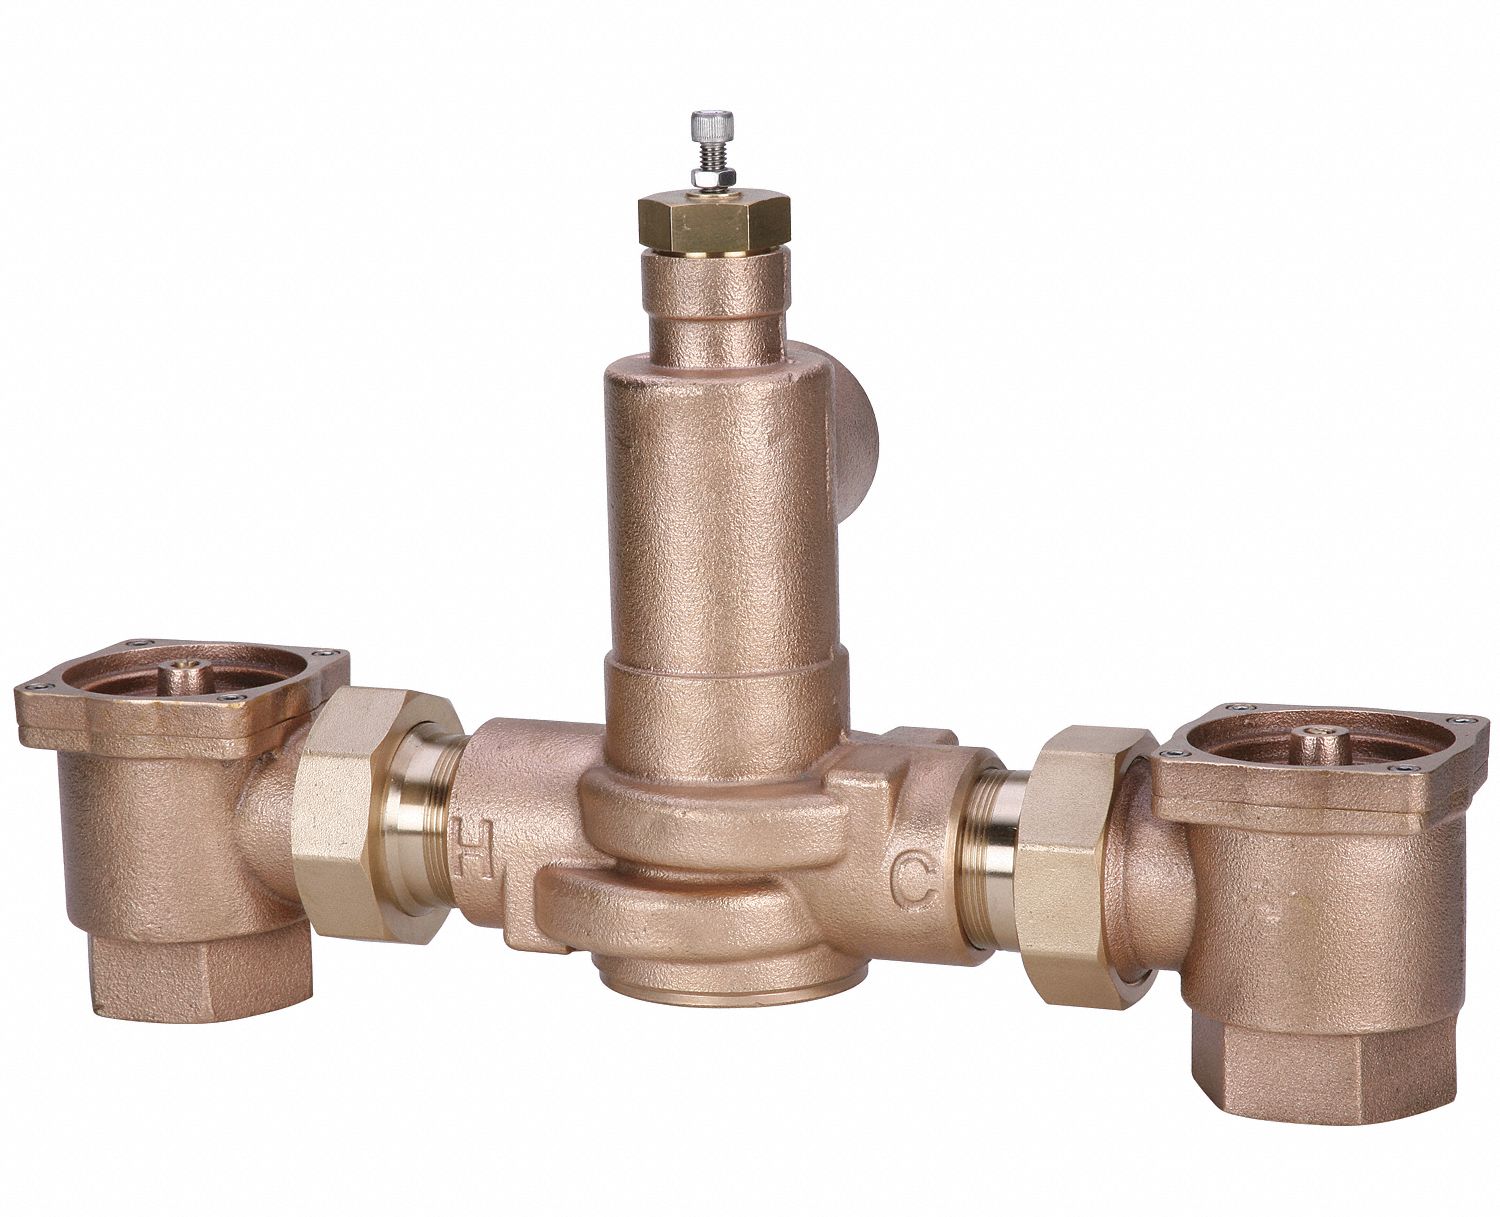
 There are various types of mixing valves available, but a 2-handle valve is a popular choice for many reasons. One of the main benefits of a 2-handle mixing valve is its precise temperature control. With two separate handles for hot and cold water, you can easily adjust the temperature to your liking, ensuring a comfortable and safe experience.
Moreover, a 2-handle mixing valve offers better water pressure regulation. This is especially important if you live in an area with fluctuating water pressure. With two separate handles, you can adjust the water flow to your desired level, preventing any sudden bursts of water that could potentially damage your sink or dishes.
There are various types of mixing valves available, but a 2-handle valve is a popular choice for many reasons. One of the main benefits of a 2-handle mixing valve is its precise temperature control. With two separate handles for hot and cold water, you can easily adjust the temperature to your liking, ensuring a comfortable and safe experience.
Moreover, a 2-handle mixing valve offers better water pressure regulation. This is especially important if you live in an area with fluctuating water pressure. With two separate handles, you can adjust the water flow to your desired level, preventing any sudden bursts of water that could potentially damage your sink or dishes.
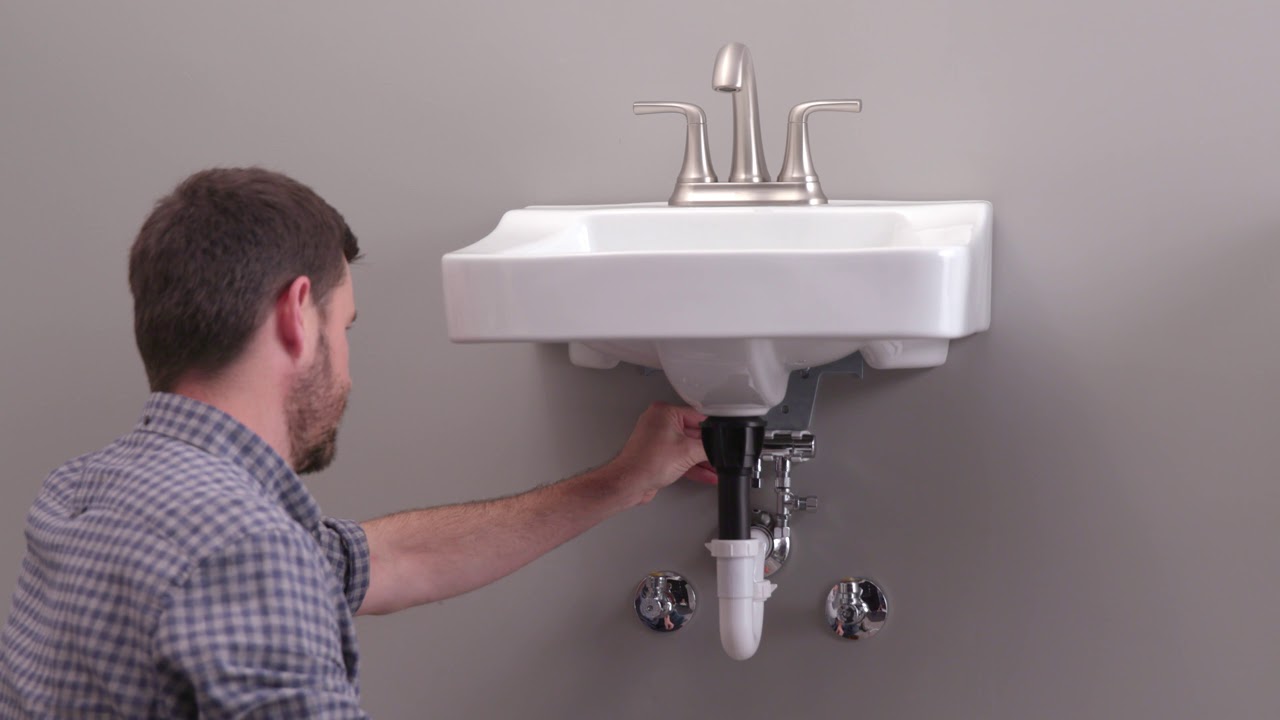
The Installation Process
 Installing a kitchen sink mixing valve is not a complicated process, but it does require some basic plumbing knowledge and tools. It is always recommended to hire a professional plumber for the job to ensure proper installation and avoid any potential leaks or malfunctions.
The first step is to turn off the water supply to your kitchen sink. Next, remove the old faucet and any remaining debris or residue. Then, follow the manufacturer's instructions to install the new 2-handle mixing valve. Finally, turn the water supply back on and test the valve to make sure it is working correctly.
Installing a kitchen sink mixing valve is not a complicated process, but it does require some basic plumbing knowledge and tools. It is always recommended to hire a professional plumber for the job to ensure proper installation and avoid any potential leaks or malfunctions.
The first step is to turn off the water supply to your kitchen sink. Next, remove the old faucet and any remaining debris or residue. Then, follow the manufacturer's instructions to install the new 2-handle mixing valve. Finally, turn the water supply back on and test the valve to make sure it is working correctly.
A Final Touch of Style
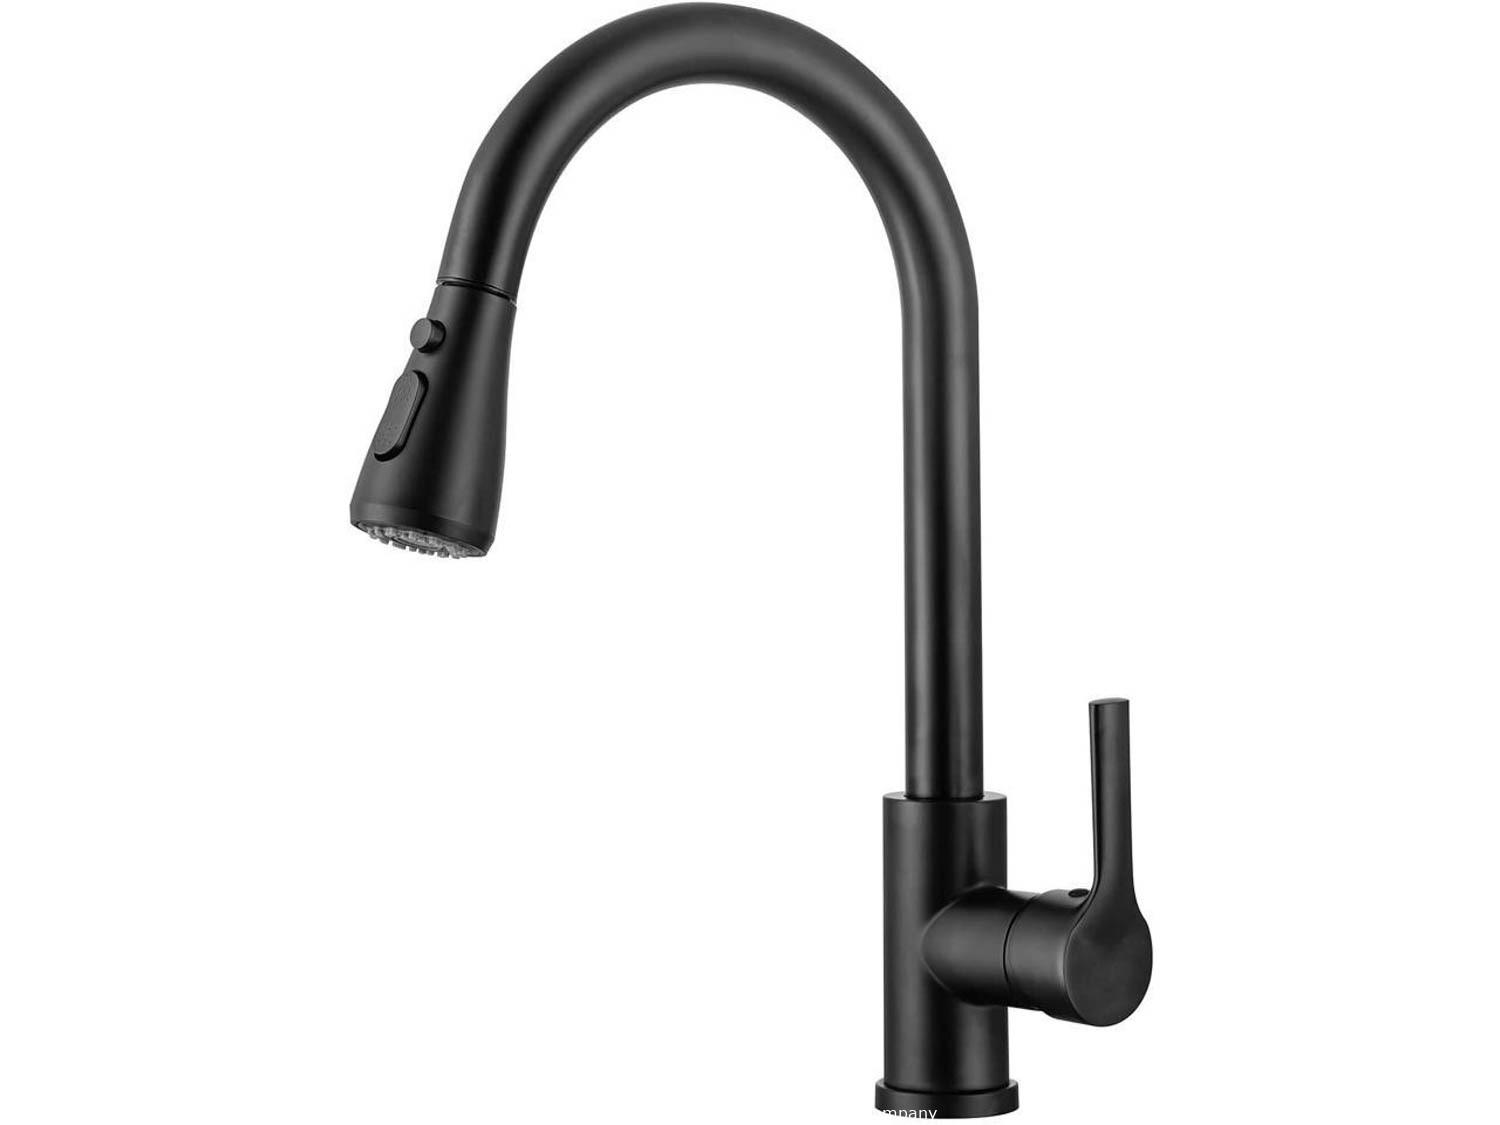
:no_upscale()/cdn.vox-cdn.com/uploads/chorus_asset/file/19495086/drain_0.jpg) Aside from its functionality, a 2-handle kitchen sink mixing valve can also add a touch of style to your kitchen. With various finishes and designs available, you can choose a mixing valve that complements your kitchen's overall aesthetic. From classic chrome to modern brushed nickel, there is an option for every style preference.
In conclusion, the installation of a 2-handle kitchen sink mixing valve is a crucial step in creating a functional and stylish kitchen. It offers precise temperature control, better water pressure regulation, and adds a touch of style to your sink area. Make sure to hire a professional for installation, and enjoy the convenience and comfort of a properly functioning mixing valve in your kitchen.
Aside from its functionality, a 2-handle kitchen sink mixing valve can also add a touch of style to your kitchen. With various finishes and designs available, you can choose a mixing valve that complements your kitchen's overall aesthetic. From classic chrome to modern brushed nickel, there is an option for every style preference.
In conclusion, the installation of a 2-handle kitchen sink mixing valve is a crucial step in creating a functional and stylish kitchen. It offers precise temperature control, better water pressure regulation, and adds a touch of style to your sink area. Make sure to hire a professional for installation, and enjoy the convenience and comfort of a properly functioning mixing valve in your kitchen.