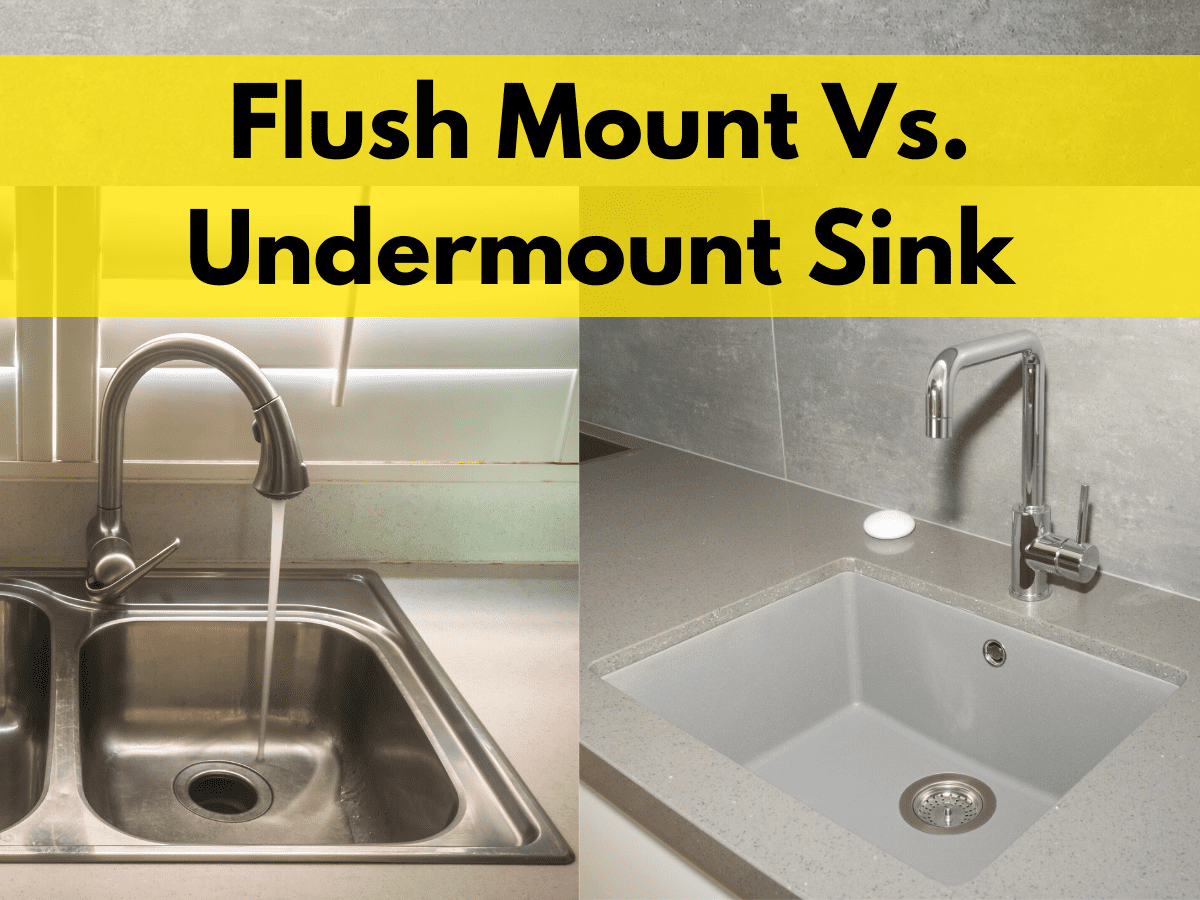
Are you tired of looking at a bulky and outdated kitchen sink? A flush mount installation is a perfect solution to give your kitchen a sleek and modern look. Not only does it improve the aesthetics, but it also allows for easier cleaning and maintenance. In this article, we will guide you on how to install a kitchen sink flush with the counter, step by step.How to Install a Kitchen Sink Flush with the Counter
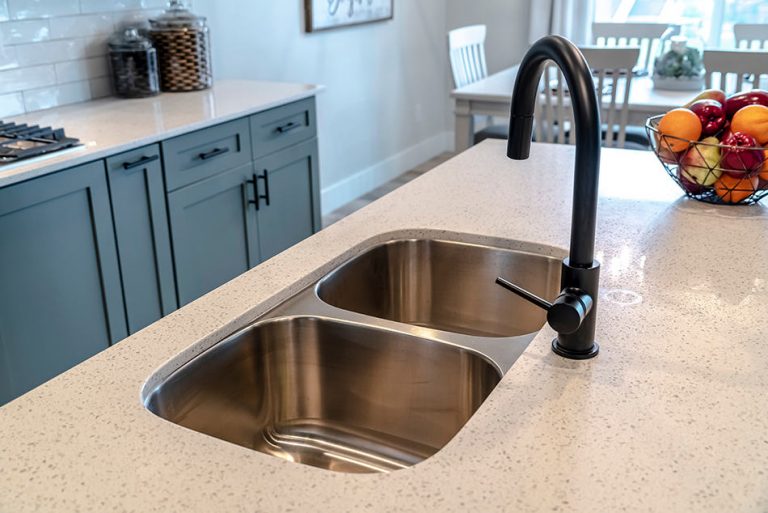
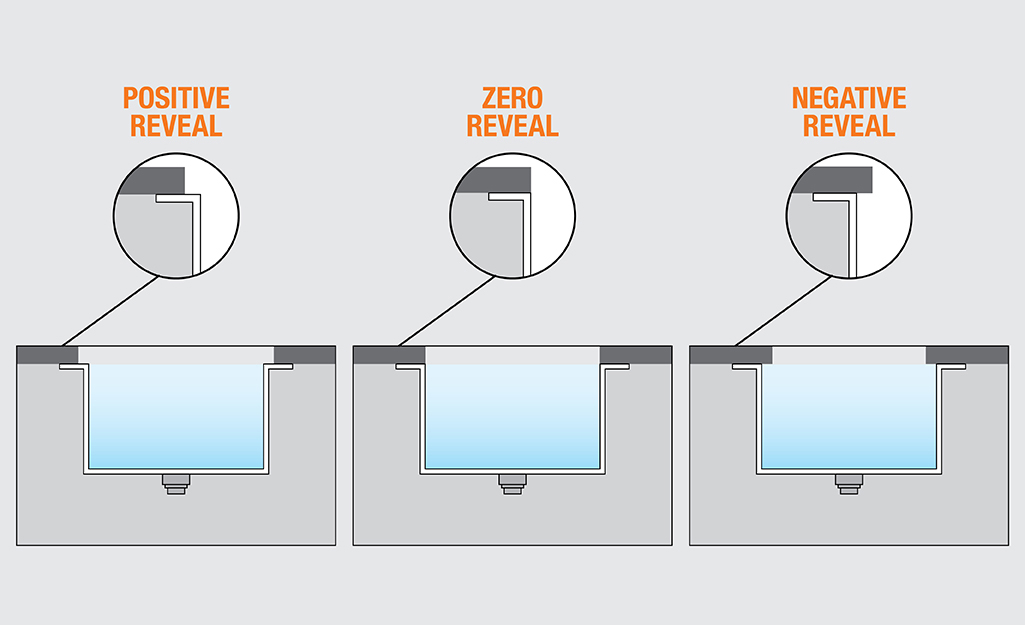
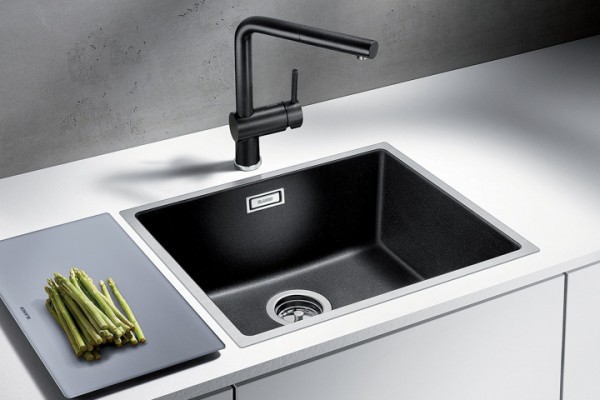
A flush mount kitchen sink is when the sink is installed in a way that the edges sit flush with the countertop. This creates a seamless and smooth surface, without any visible edges or gaps. To achieve this, you will need to have a solid surface countertop, such as granite, marble, or quartz, that can be custom cut to fit the sink perfectly.How to Achieve a Flush Mount Kitchen Sink
Before diving into the installation process, it's important to consider the pros and cons of a flush mount kitchen sink. One of the main advantages is the aesthetic appeal, as mentioned before. It also provides a more hygienic surface, as there are no gaps for food, dirt, or bacteria to get trapped in. However, the installation process can be more complex and expensive compared to a drop-in sink, and it may not be possible to switch back to a drop-in sink once the countertop has been cut.Flush Mount Kitchen Sink: Pros and Cons
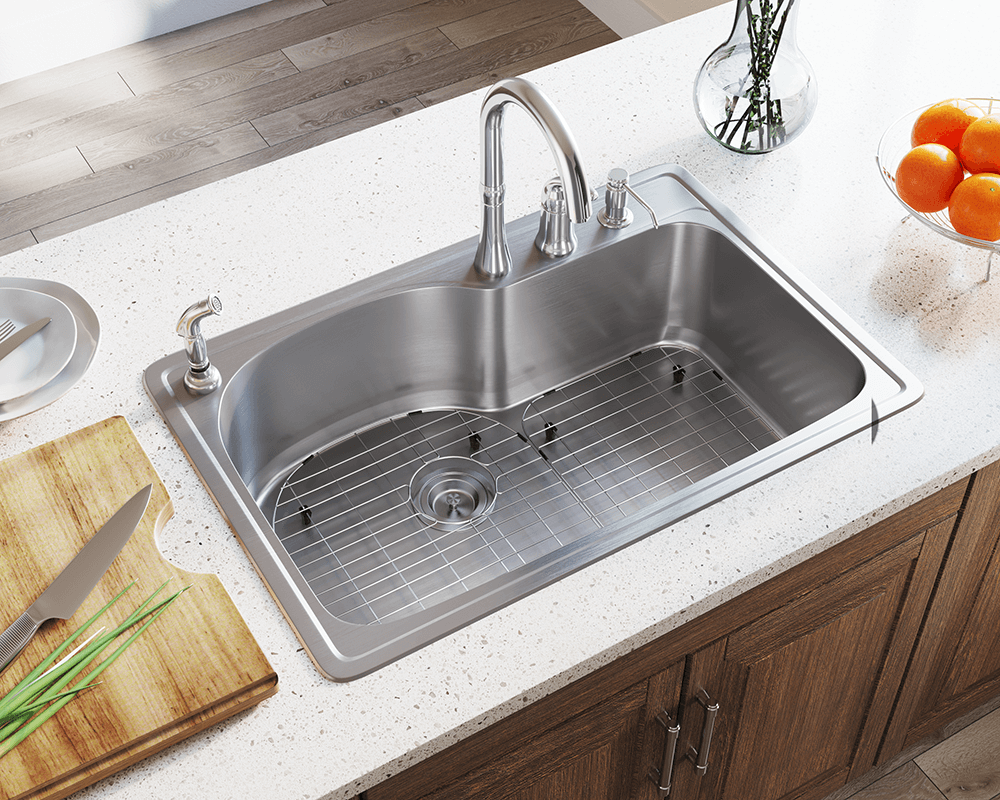
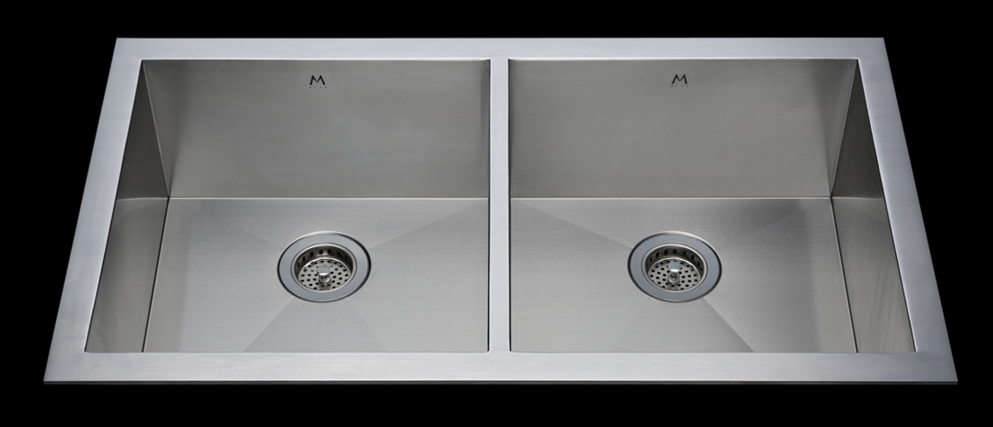
Not all kitchen sinks are suitable for a flush mount installation. You will need to look for a sink that has a flat rim or flange, rather than a curved one. This will ensure a tight fit with the countertop. It's also important to measure the sink and the countertop accurately before purchasing to ensure a perfect fit.Choosing the Right Kitchen Sink for a Flush Mount Installation
Now, let's get into the installation process! Here is a step-by-step guide to help you achieve a flush mount kitchen sink: Step 1: Prepare the countertop If you're installing a new countertop, make sure it is cut to the correct dimensions and the edges are smooth. If you're working with an existing countertop, you will need to cut the hole for the sink using a jigsaw or a router. Make sure to follow the manufacturer's instructions for the correct measurements. Step 2: Install the sink Place the sink upside down on the countertop and carefully trace the outline of the sink onto the countertop. This will serve as a guide for where to apply the adhesive. Apply a bead of silicone adhesive around the edge of the sink, following the traced line. Step 3: Attach the sink clips Using the clips provided with the sink, attach them to the underside of the sink. These will help secure the sink to the countertop. Make sure the clips are evenly spaced around the sink. Step 4: Flip the sink over Carefully flip the sink over and place it into the hole on the countertop. Press down firmly to ensure a tight seal between the sink and the adhesive. Step 5: Secure the sink Using a screwdriver, tighten the sink clips to secure the sink to the countertop. Wipe away any excess adhesive that may have squeezed out from underneath the sink. Step 6: Connect the plumbing Now that the sink is securely in place, you can connect the plumbing. Follow the manufacturer's instructions for connecting the drain and any other fixtures.Step-by-Step Guide to Flush Mounting a Kitchen Sink
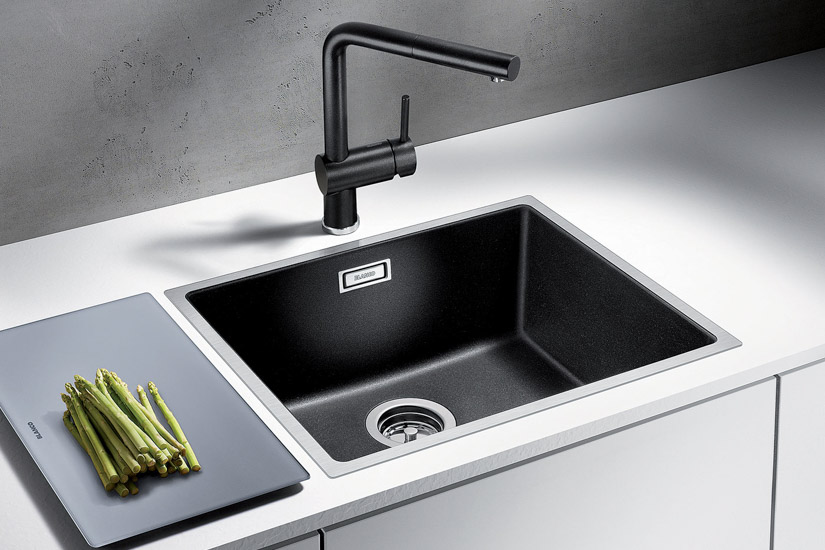
Looking for the perfect sink for your flush mount installation? Here are our top picks: 1. Kraus Quarza Kitchen Sink This granite composite sink is not only durable and scratch-resistant, but it also has a flat rim for easy flush mount installation. 2. Blanco Precis Silgranit Kitchen Sink This sink is made of durable and easy-to-clean Silgranit material and has a flat rim for a seamless installation. 3. Elkay Quartz Kitchen Sink This sink is made of high-quality quartz and has a flat rim for easy installation. It also comes in a variety of colors to match any kitchen design. 4. Kohler Vault Kitchen Sink This stainless steel sink has a flat rim and a low-profile design, making it a great option for a flush mount installation. 5. Ruvati Undermount Kitchen Sink This sink is made of high-quality stainless steel and has a flat rim for easy installation. It also comes with a bottom rinse grid and a basket strainer for added convenience.Top 5 Kitchen Sinks for a Flush Mount Installation
Now that your sink is installed, let's look at the benefits of having a flush mount kitchen sink: - Aesthetic appeal: A flush mount sink creates a clean and modern look in your kitchen. - Easier cleaning: With no edges or gaps, cleaning your sink becomes a breeze. - Hygienic surface: The lack of gaps also makes for a more hygienic surface, as there are no places for dirt and bacteria to hide.Benefits of a Kitchen Sink Flush with the Counter
To keep your flush mount kitchen sink looking its best, here are a few maintenance tips: - Clean regularly: Wipe down the sink after each use to prevent build-up of dirt and grime. - Avoid abrasive cleaners: Stick to mild cleaners to avoid scratching the surface of the sink. - Use a cutting board: To prevent scratches, always use a cutting board when preparing food.How to Maintain a Flush Mount Kitchen Sink
If you are handy and have experience with home improvement projects, you may be able to install a flush mount kitchen sink yourself. However, if you are unsure or do not have the necessary tools and expertise, it's best to hire a professional to ensure a proper and secure installation.DIY vs Professional Installation for a Flush Mount Kitchen Sink
To avoid any mishaps during the installation process, here are some common mistakes to avoid: - Incorrect measurements: Make sure to measure accurately to ensure a perfect fit. - Not using enough adhesive: The sink needs to be securely attached to the countertop to prevent leaks. - Not properly cleaning the surface: Make sure to thoroughly clean the sink and countertop before applying adhesive to ensure a strong bond. We hope this guide has been helpful in achieving a beautiful and functional kitchen with a flush mount sink. Remember to always follow the manufacturer's instructions and take your time to ensure a successful installation. Enjoy your new and improved kitchen!Common Mistakes to Avoid When Installing a Kitchen Sink Flush with the Counter
The Perfect Blend of Functionality and Aesthetics: A Kitchen Sink Flush with Counter

Revolutionizing Kitchen Design
 The kitchen is the heart of the home, and its design plays a crucial role in the overall functionality and aesthetic appeal of a house. Over the years, kitchen design has evolved, and one of the recent trends that have taken the world by storm is the kitchen sink flush with counter. This innovative design not only adds a sleek and modern touch to the kitchen but also offers numerous practical benefits. Let's take a closer look at why a kitchen sink flush with counter is a must-have for your dream kitchen.
Sleek and Streamlined Look
 Gone are the days when bulky and protruding kitchen sinks were the norm. With the kitchen sink flush with counter, you can achieve a clean and seamless look in your kitchen. The sink is integrated into the countertop, creating a smooth and uninterrupted surface. This design also eliminates any sharp corners or edges, making it easier to clean and maintain.
Maximizing Space and Functionality
 In modern-day living, space is a luxury, and every inch counts. With a kitchen sink flush with counter, you can make the most of your kitchen space. The integrated design not only saves counter space but also creates a larger sink area. This makes it easier to wash larger dishes and cookware, making your kitchen more functional and efficient.
Unbeatable Cleanliness and Hygiene
 The seamless design of a kitchen sink flush with counter eliminates the gap between the sink and countertop, which is a common breeding ground for bacteria and germs. With no gaps or edges, it becomes easier to clean and maintain a hygienic kitchen. This is especially beneficial for households with young children, as it reduces the risk of accidents and promotes a healthier living environment.
Endless Design Possibilities
 A kitchen sink flush with counter offers endless design possibilities, making it suitable for any kitchen style or theme. Whether you prefer a modern and minimalist look or a more traditional and cozy feel, this design can seamlessly blend in and elevate the overall look of your kitchen. You can choose from a variety of materials, colors, and finishes to create a personalized and unique kitchen design.
In Conclusion
 A kitchen sink flush with counter is more than just a design trend; it is a practical and functional addition to any kitchen. It offers a sleek and streamlined look, maximizes space and functionality, promotes cleanliness and hygiene, and allows for endless design possibilities. So, if you're looking to upgrade your kitchen, consider incorporating this modern and innovative design for a truly stunning and efficient space.



















:no_upscale()/cdn.vox-cdn.com/uploads/chorus_asset/file/19495086/drain_0.jpg)


