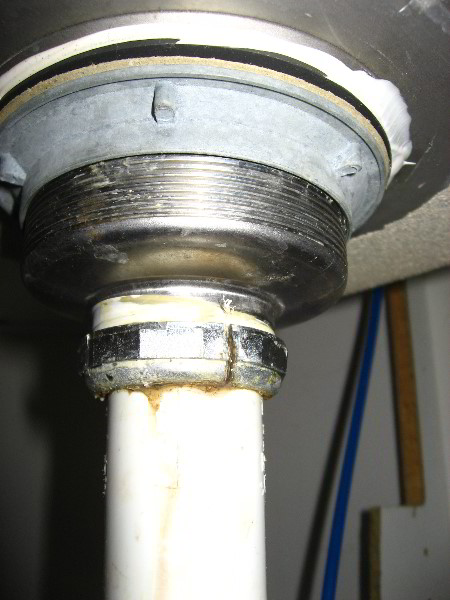
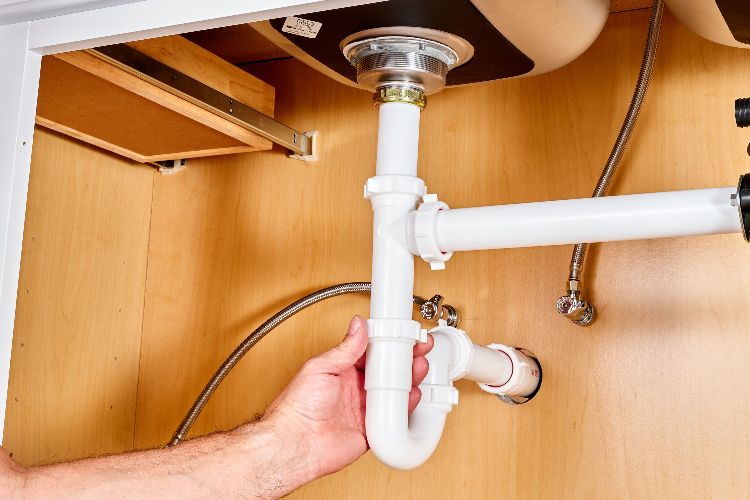
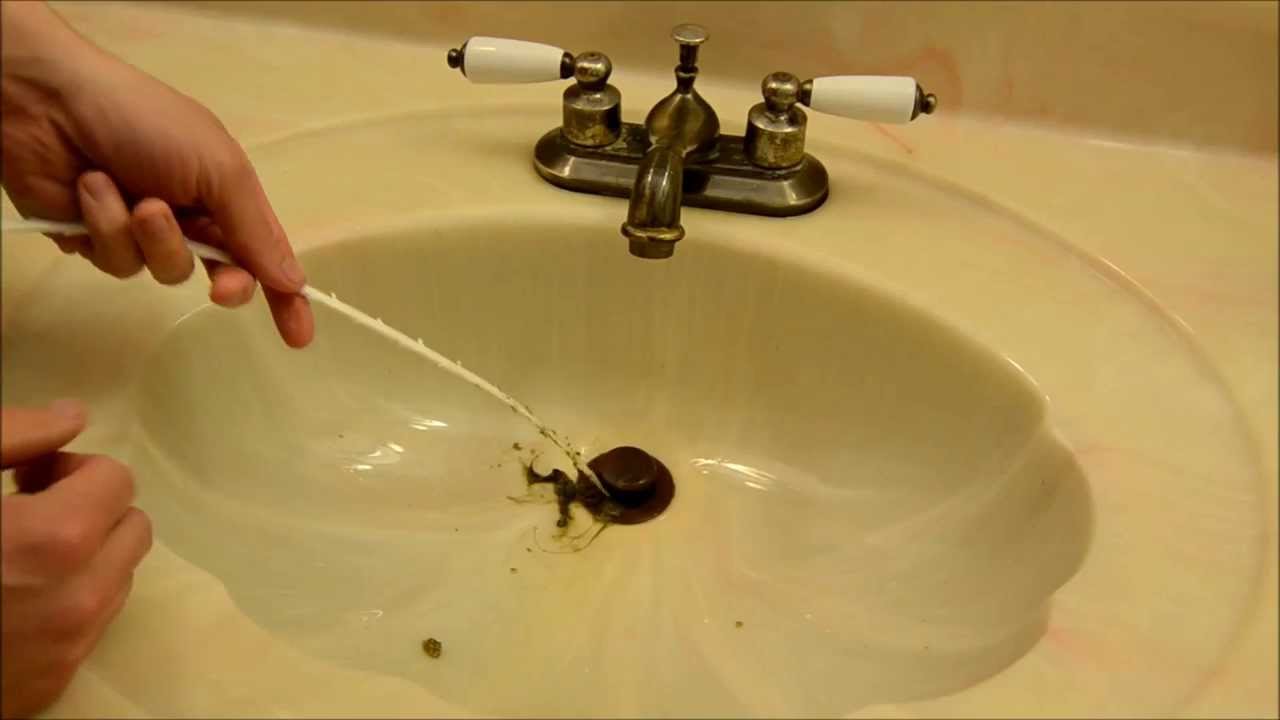
Installing a kitchen sink drain may seem like a daunting task, but with the right tools and a little bit of know-how, it can be done easily and efficiently. Here is a step-by-step guide on how to install a kitchen sink drain. Step 1: Prepare the Area Before you begin, make sure you have all the necessary tools and materials. Clear out the area under the sink and lay down a drop cloth to catch any spills or debris. Turn off the water supply and disconnect any pipes or garbage disposal that may be attached to the old drain. Step 2: Remove the Old Drain Using a pipe wrench, unscrew the old drain from the bottom of the sink. If it is stuck, you may need to use a hacksaw to cut it off. Once the old drain is removed, clean the area thoroughly to remove any old putty or residue. Step 3: Assemble the New Drain Start by applying plumber’s putty to the underside of the new drain flange. Place the flange into the sink hole and press down firmly. Next, insert the rubber gasket and the cardboard friction ring onto the bottom of the drain. Secure it with the locknut and tighten with a wrench. Step 4: Connect the Drain Pipe Attach the tailpiece to the bottom of the drain and connect it to the P-trap. Use a slip nut and washer to secure the connection and tighten with a wrench. Make sure there are no leaks by running water through the drain and checking for any signs of water escaping. Step 5: Reconnect the Garbage Disposal If you have a garbage disposal, now is the time to reconnect it. Follow the manufacturer’s instructions and use a screwdriver to secure the disposal to the drain. Make sure it is properly aligned and tightly connected.How to Install a Kitchen Sink Drain


How to Install a Kitchen Sink Drain

/how-to-install-a-sink-drain-2718789-hero-b5b99f72b5a24bb2ae8364e60539cece.jpg)


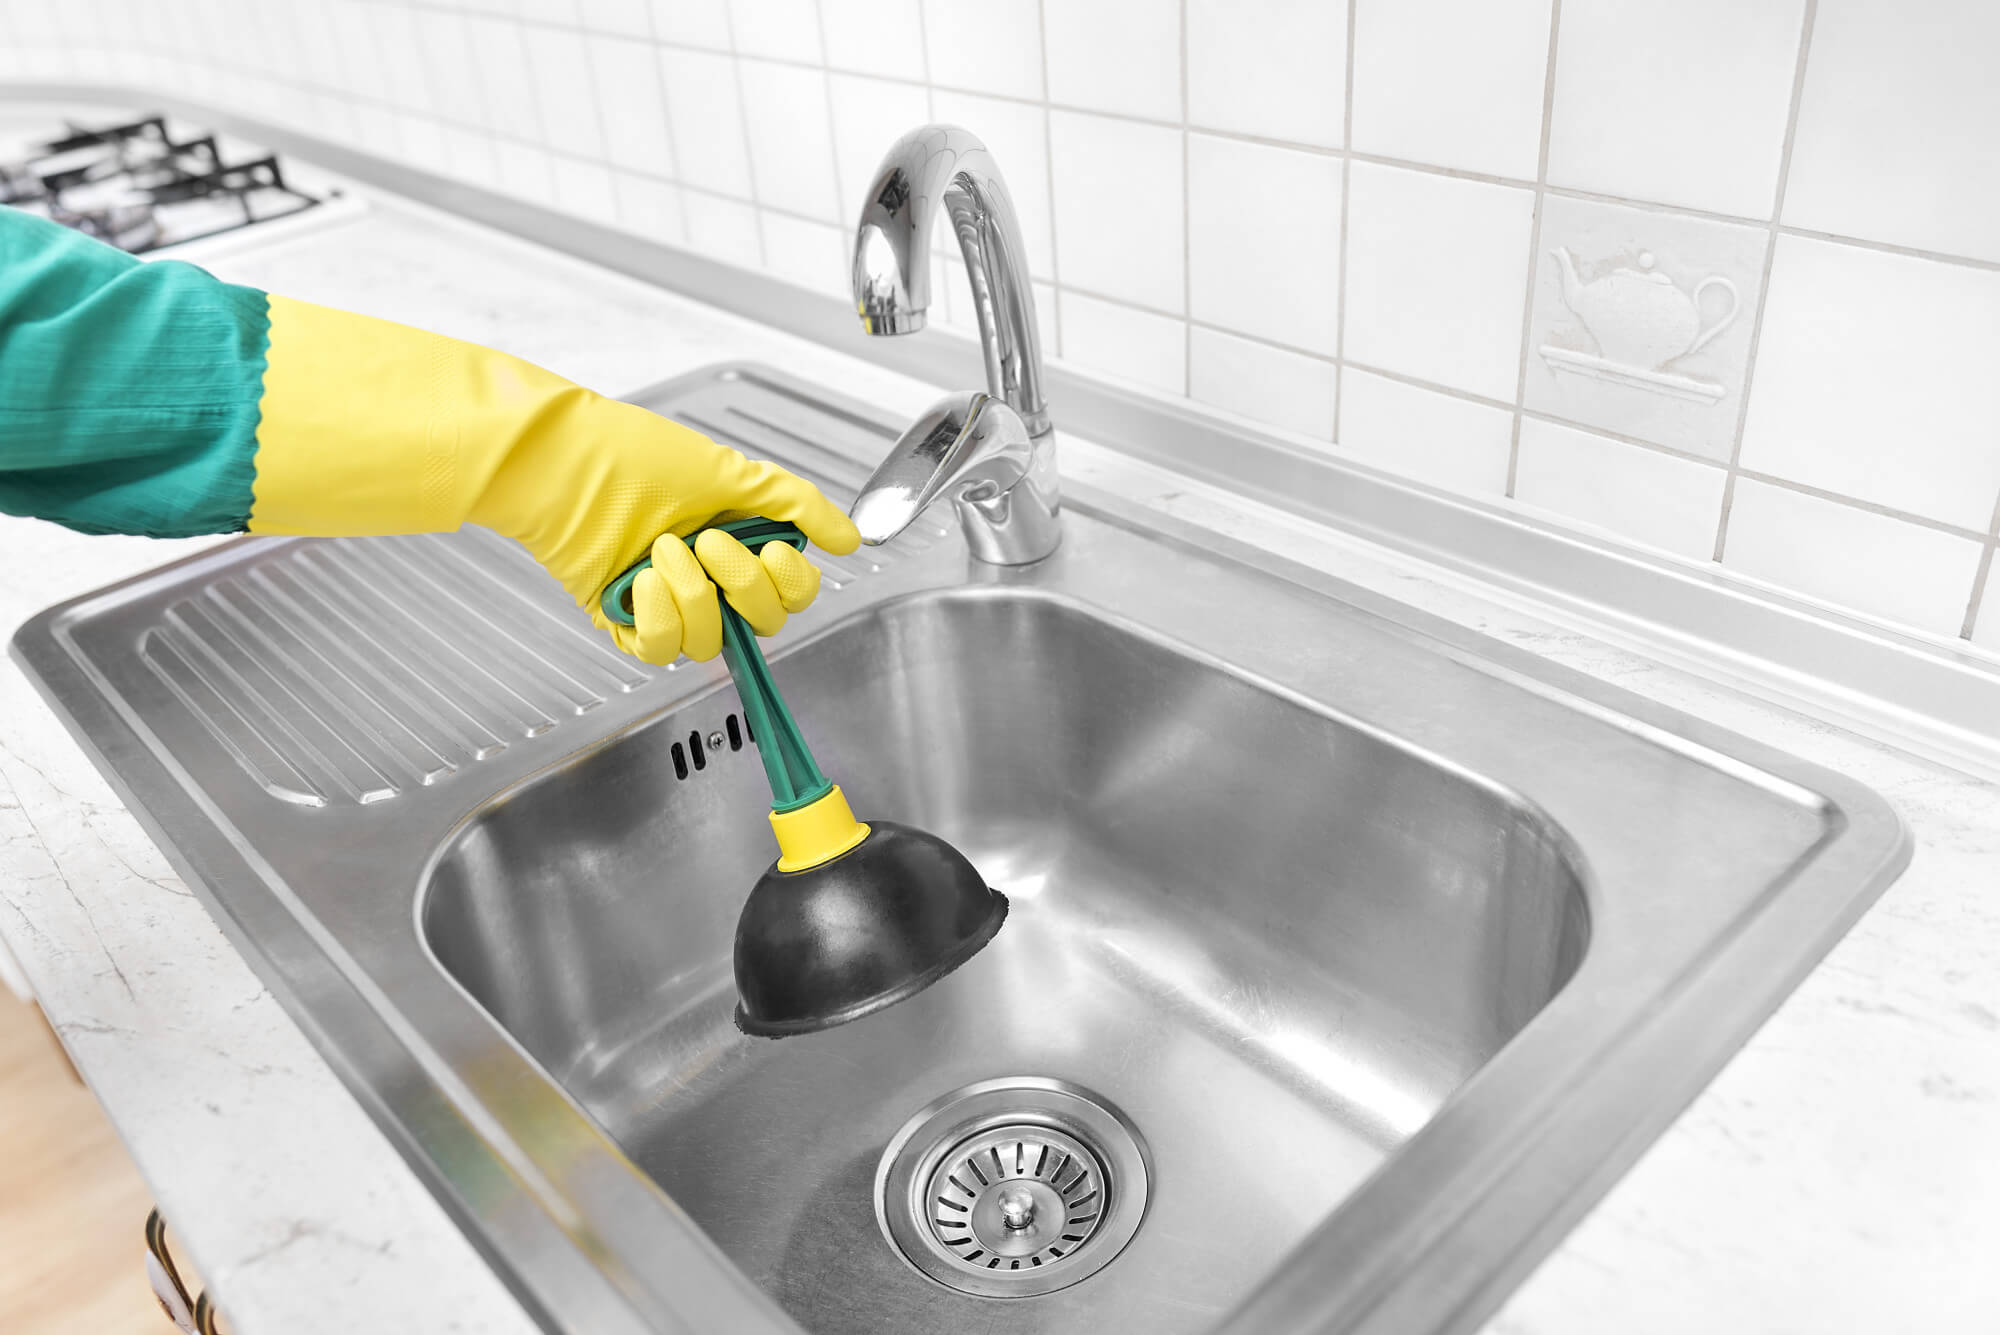
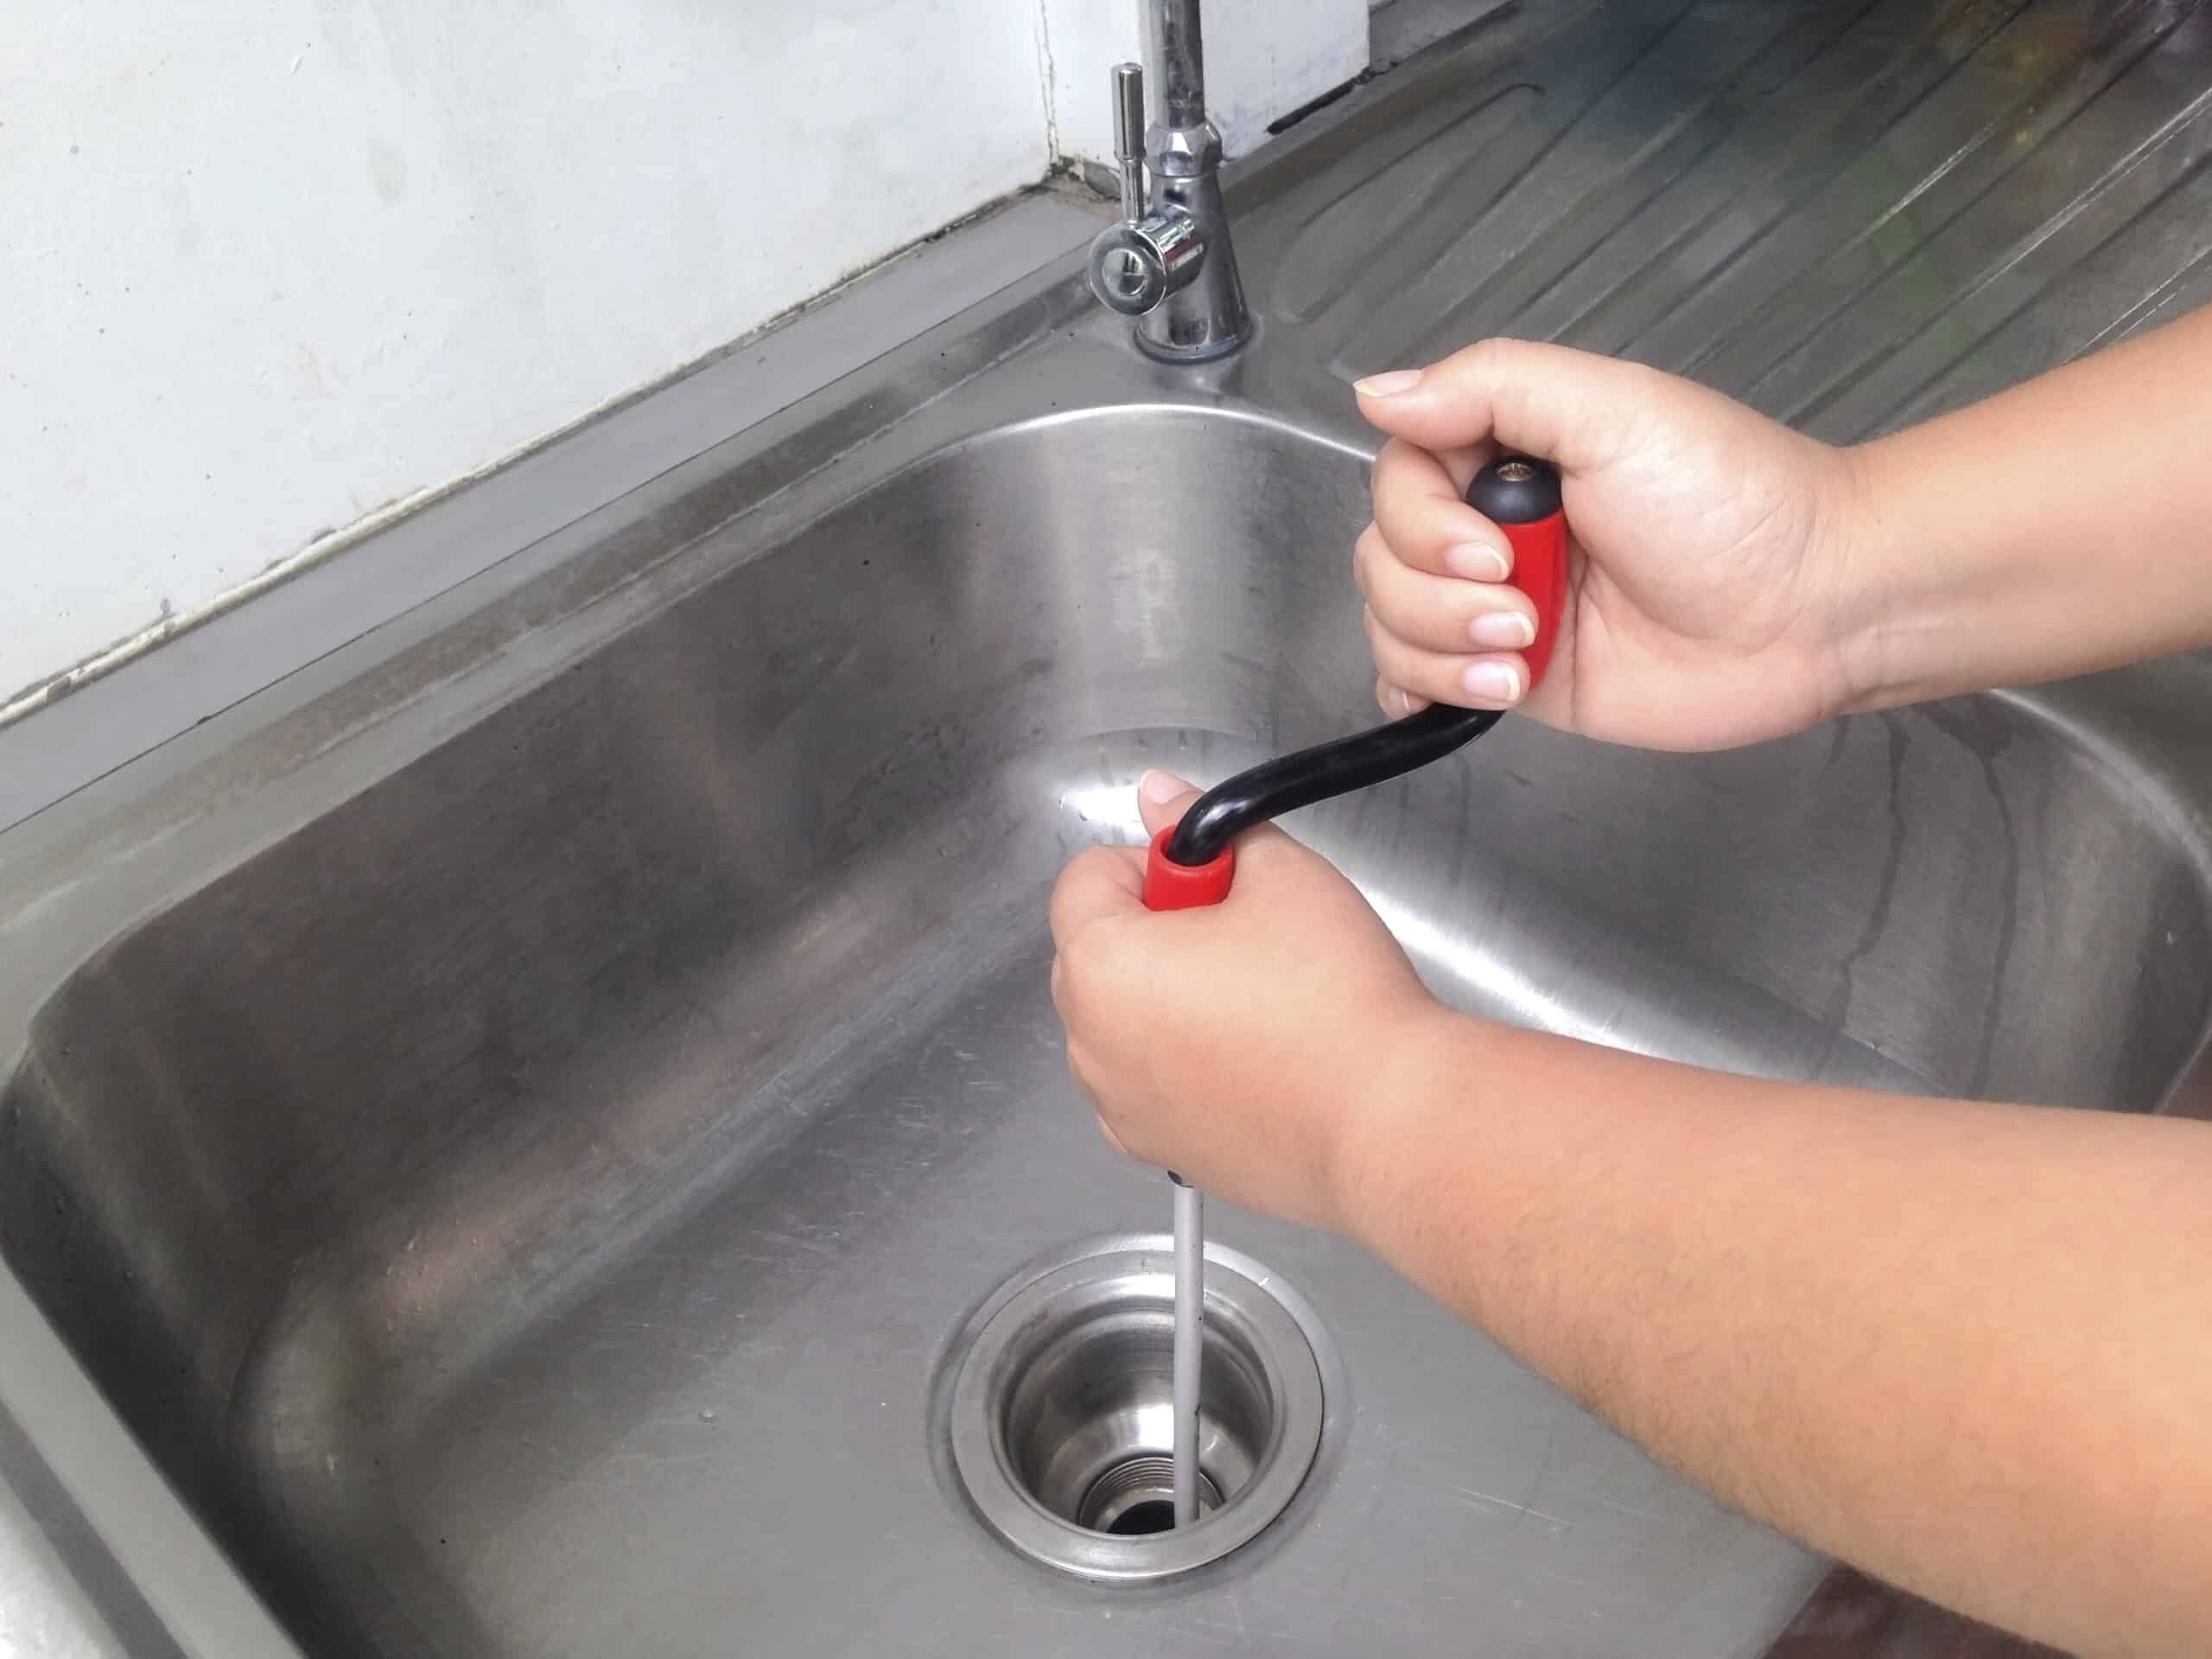
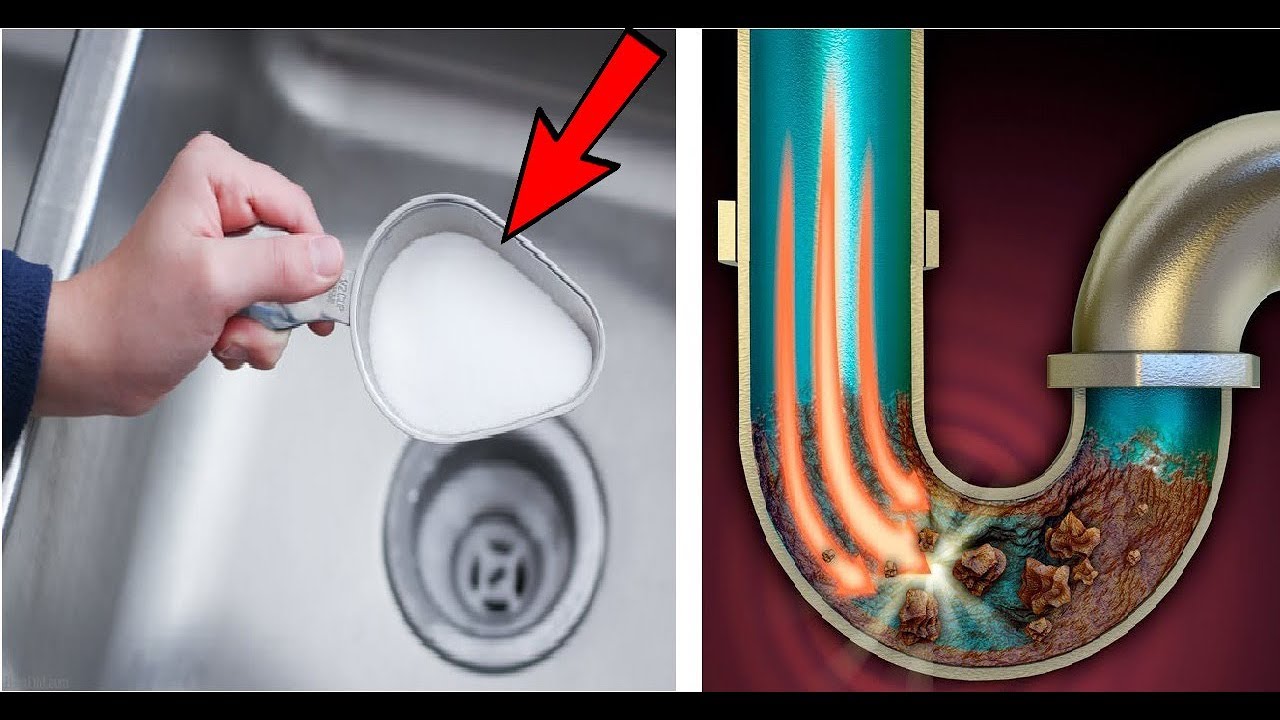
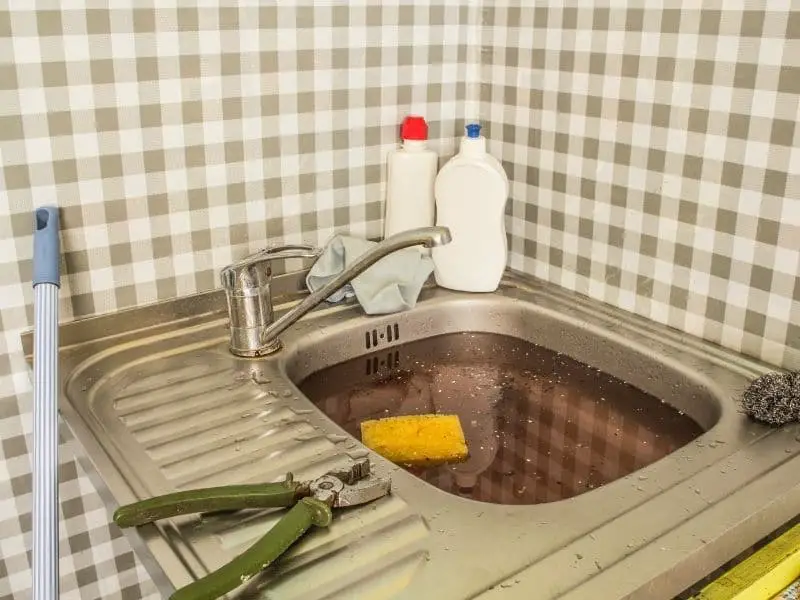
Clogged kitchen sink drains are a common household problem. However, with the right tools and techniques, you can easily unclog a kitchen sink drain without having to call a plumber. Here’s how. Step 1: Plunge It The first thing you can try is using a plunger. Make sure there is enough water in the sink to cover the cup of the plunger. Place the plunger over the drain and push down firmly, then pull up quickly. Repeat this motion several times until the clog is dislodged. Step 2: Use a Drain Snake If the plunger doesn’t work, you can try using a drain snake. Insert the snake into the drain and turn the handle clockwise to push it deeper into the pipe. Once you feel resistance, turn the snake in a clockwise and counterclockwise motion to break up the clog. Then, slowly pull the snake out of the drain to remove the debris. Step 3: Try a Homemade Solution If you prefer a more natural solution, you can try pouring a mixture of hot water, vinegar, and baking soda down the drain. Let it sit for a few minutes, then follow with hot water to flush out the clog. This method is also effective for preventing future clogs.How to Unclog a Kitchen Sink Drain


How to Unclog a Kitchen Sink Drain

:max_bytes(150000):strip_icc()/freshen-and-unclog-drain-with-baking-soda-1900466-22-bbf940b70afa4d5abef0c54da23b1d3f.jpg)


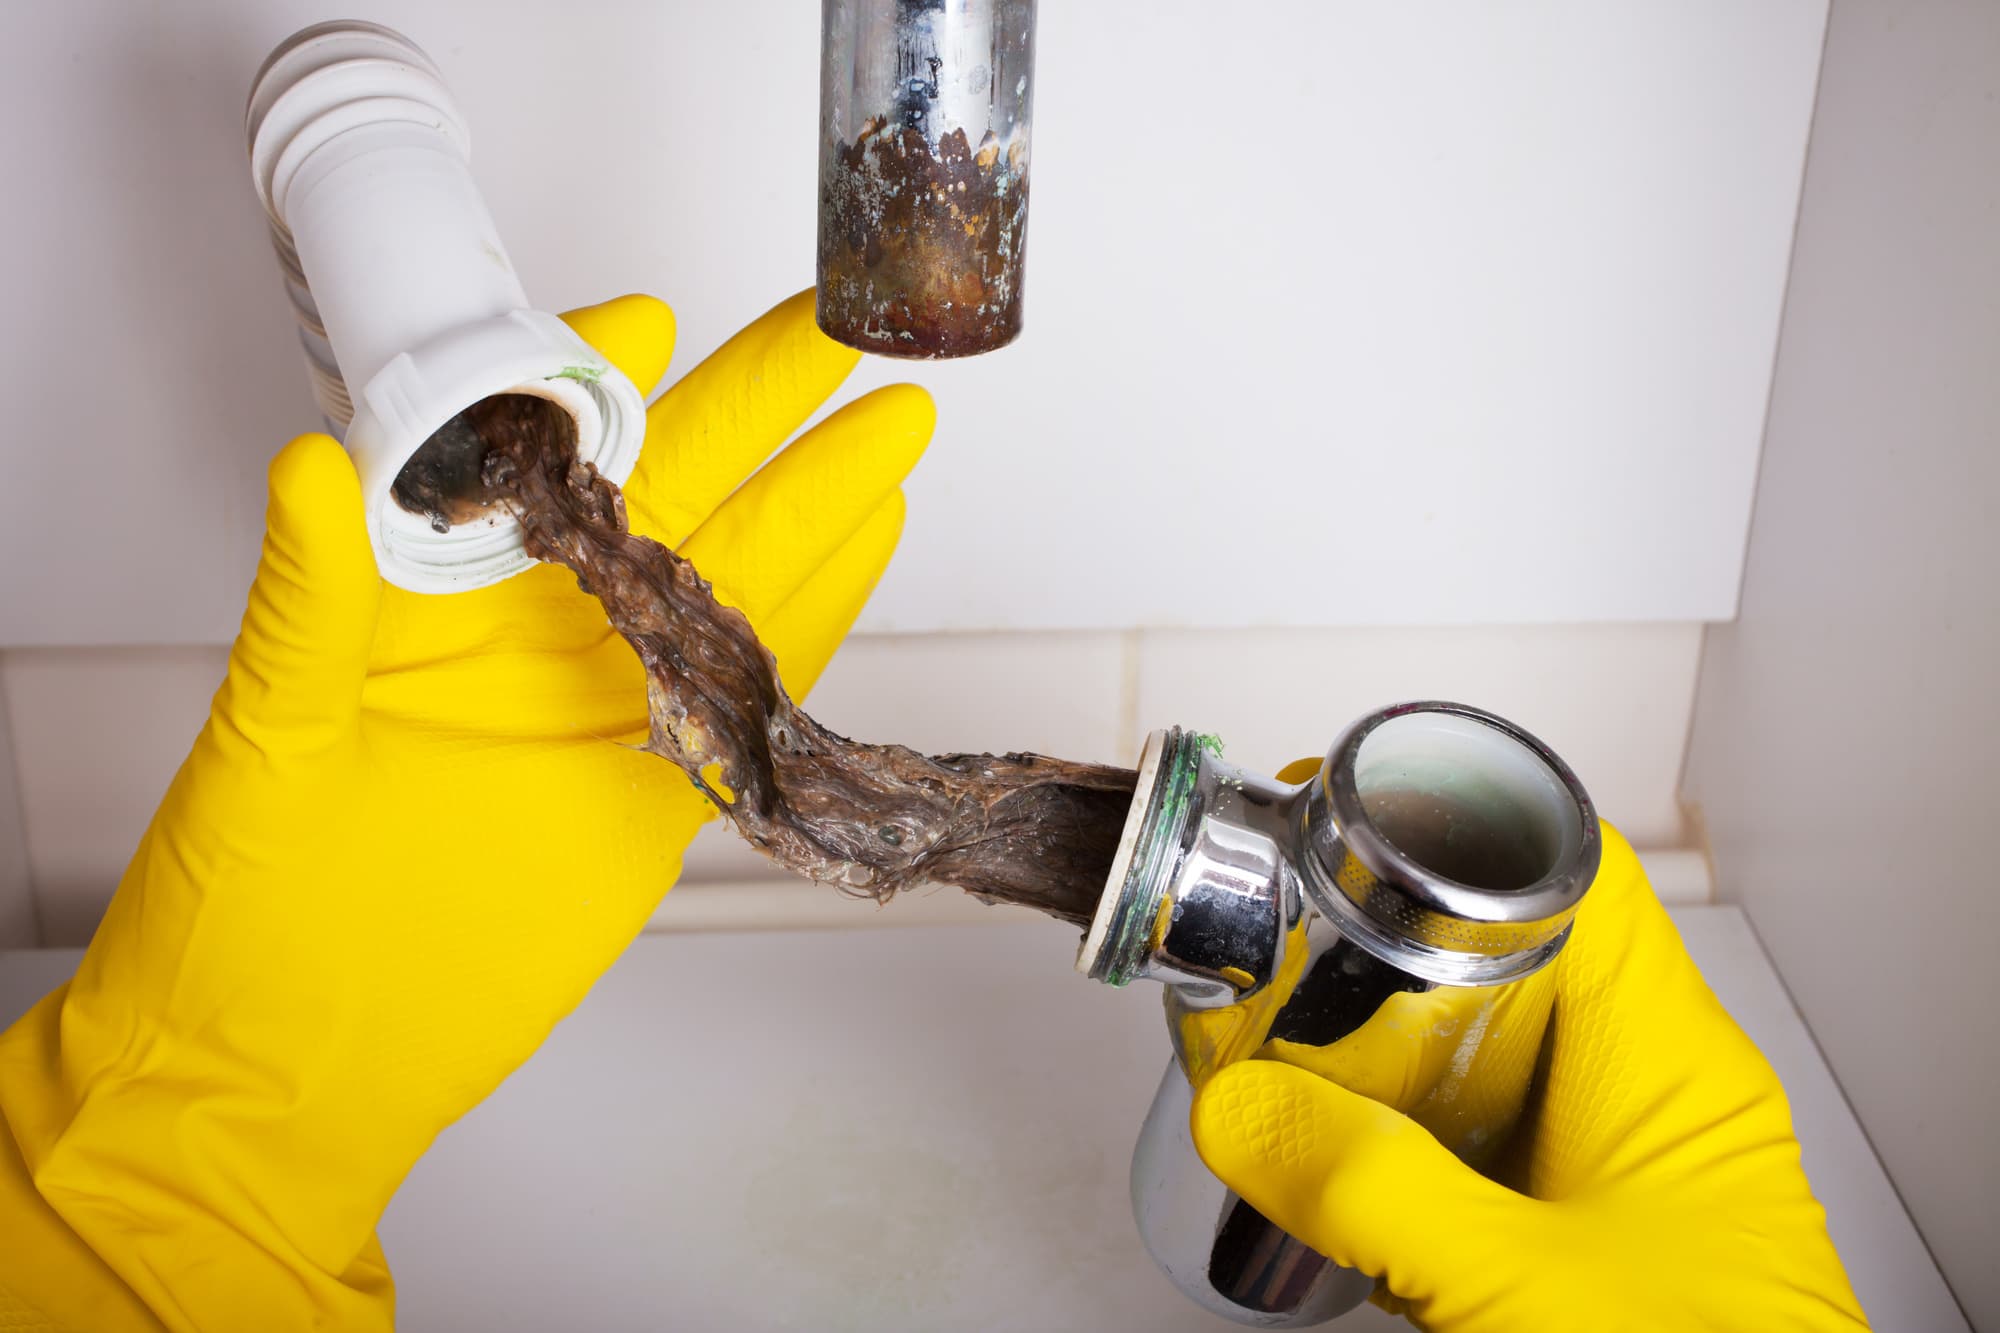
A leaky kitchen sink drain not only causes a mess, but it can also lead to water damage and mold growth. Here’s how you can fix a leaky kitchen sink drain. Step 1: Identify the Source of the Leak The first step is to determine where the leak is coming from. Check the drain flange, the tailpiece, and the P-trap for any cracks or loose connections. Once you have identified the source of the leak, you can move on to fixing it. Step 2: Tighten Connections If the leak is coming from a loose connection, use a wrench to tighten it. Make sure not to over-tighten as this can cause damage. If the leak persists, you may need to replace the connection with a new one. Step 3: Replace the Drain Flange If the leak is coming from the drain flange, you will need to replace it. Follow the steps outlined in the previous section on how to install a kitchen sink drain. Make sure to use plumber’s putty to create a tight seal around the flange.How to Fix a Leaky Kitchen Sink Drain

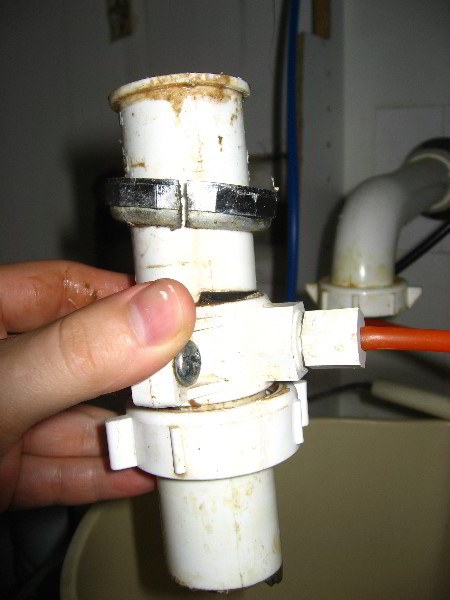
How to Fix a Leaky Kitchen Sink Drain


If your kitchen sink drain is beyond repair, you may need to replace it. Here’s how. Step 1: Remove the Old Drain Follow the steps outlined in the first section on how to install a kitchen sink drain to remove the old drain from the sink. Make sure to thoroughly clean the area and remove any old putty or residue. Step 2: Assemble the New Drain Follow the steps outlined in the third section on how to install a kitchen sink drain to assemble the new drain. Make sure to use plumber’s putty to create a tight seal around the flange. Step 3: Connect the Drain Pipe Follow the steps outlined in the fourth section on how to install a kitchen sink drain to connect the drain pipe to the new drain. Test for any leaks and make sure everything is tightly secured.How to Replace a Kitchen Sink Drain


How to Replace a Kitchen Sink Drain


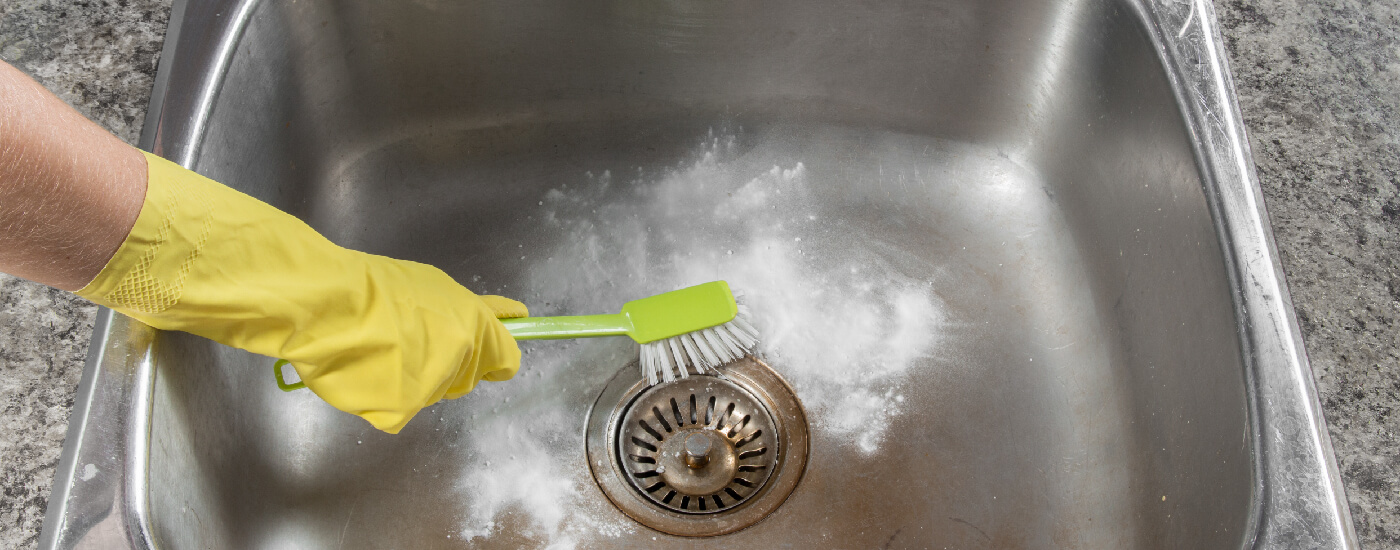
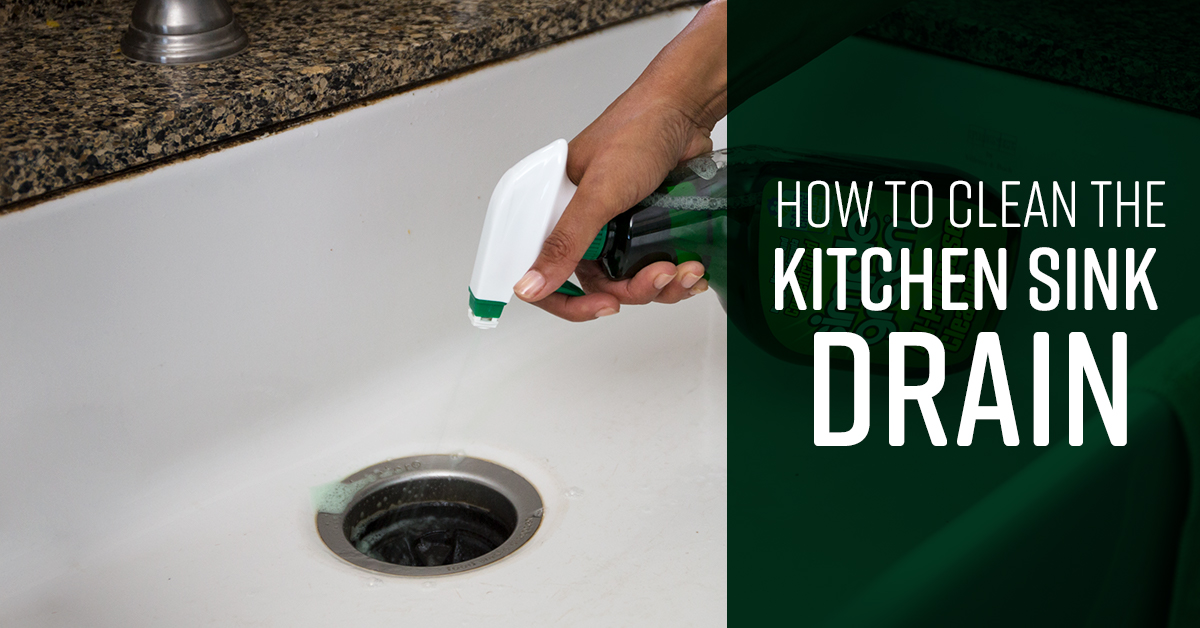
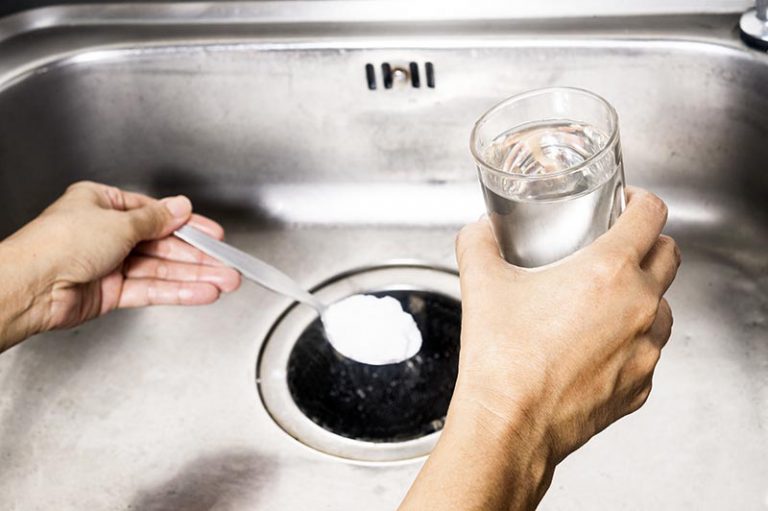
Regularly cleaning your kitchen sink drains is important for maintaining a healthy and functional plumbing system. Here’s how you can clean your kitchen sink drains. Step 1: Remove Debris Start by removing any visible debris from the surface of the drain. You can use a small brush or your hands to clear away any food scraps, hair, or other debris that may have accumulated. Step 2: Use a Natural Cleaner To clean the inside of the drain, you can use a natural cleaner made from equal parts hot water and vinegar. Pour the mixture down the drain and let it sit for a few minutes. Then, rinse with hot water to flush away any remaining residue. Step 3: Prevent Future Clogs To prevent future clogs, you can use a drain cover to catch any debris that may go down the drain. You can also regularly pour hot water and vinegar down the drain to keep it clean and clear.How to Clean Kitchen Sink Drains


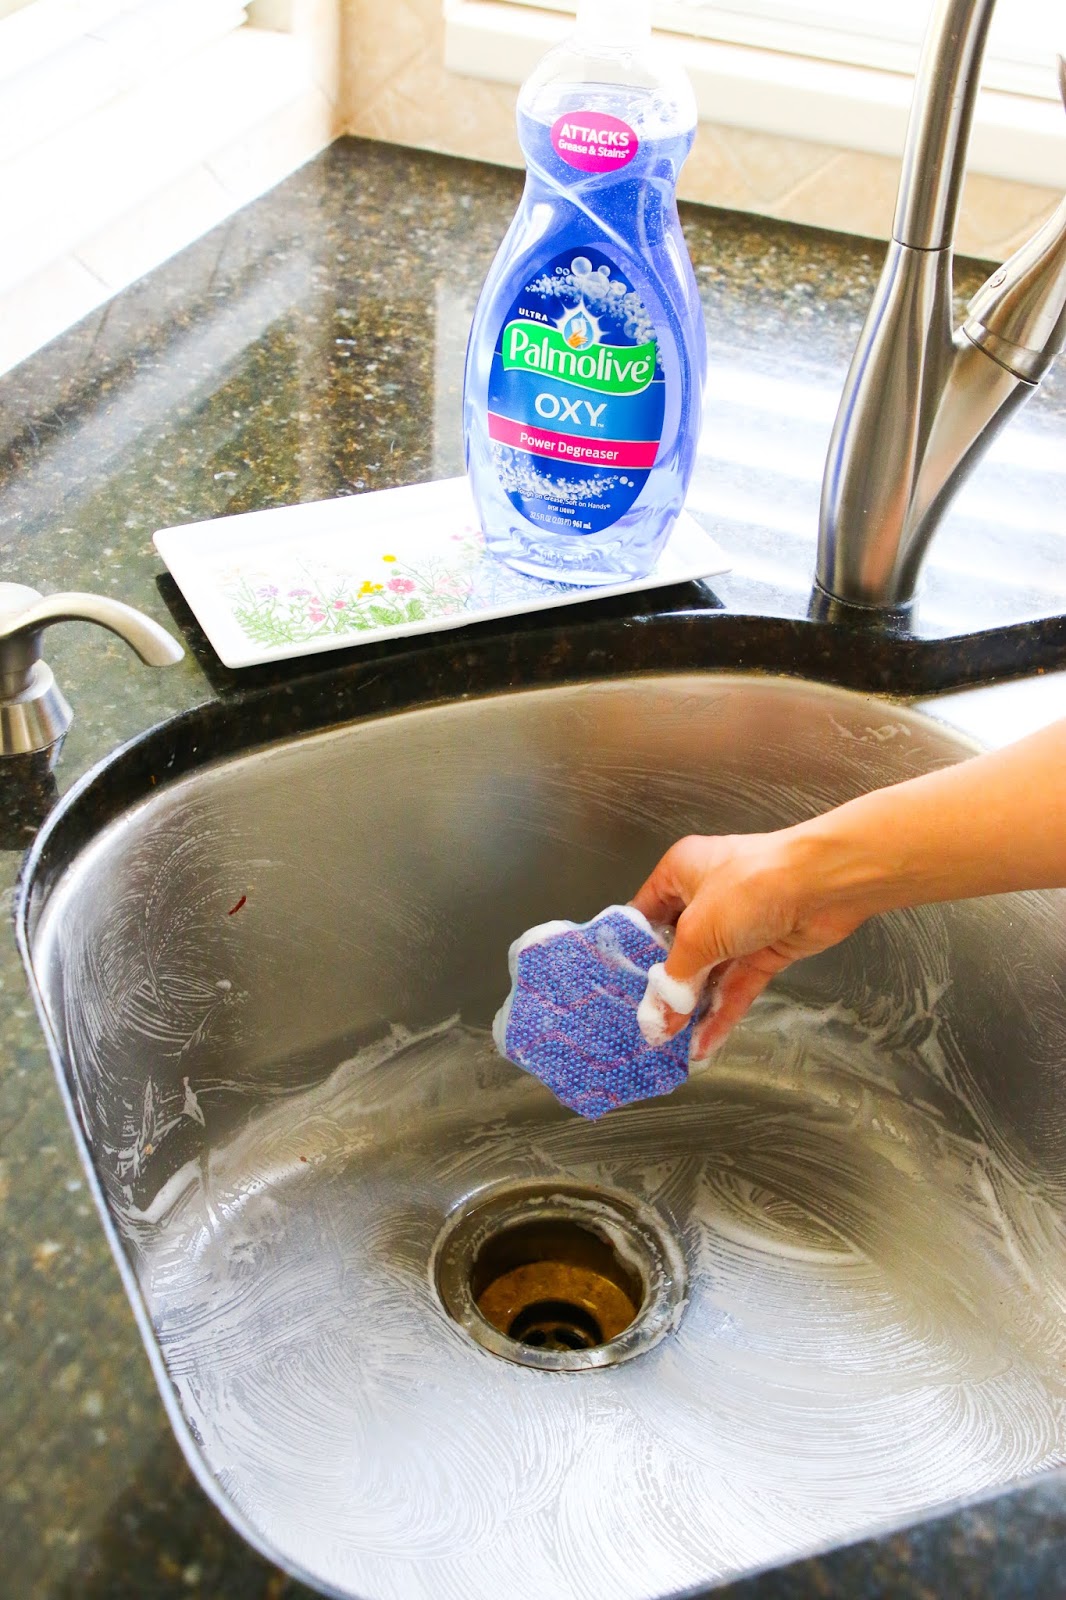
How to Clean Kitchen Sink Drains
:max_bytes(150000):strip_icc()/how-to-clean-a-kitchen-sink-and-drain-01-5660035-a1d8afe3894346f9a579e66c55e64b7d.jpg)


:max_bytes(150000):strip_icc()/how-to-clean-a-kitchen-sink-and-drain-02-5660035-7a630bc36f2c401bbe412bbe85937ff3.jpg)
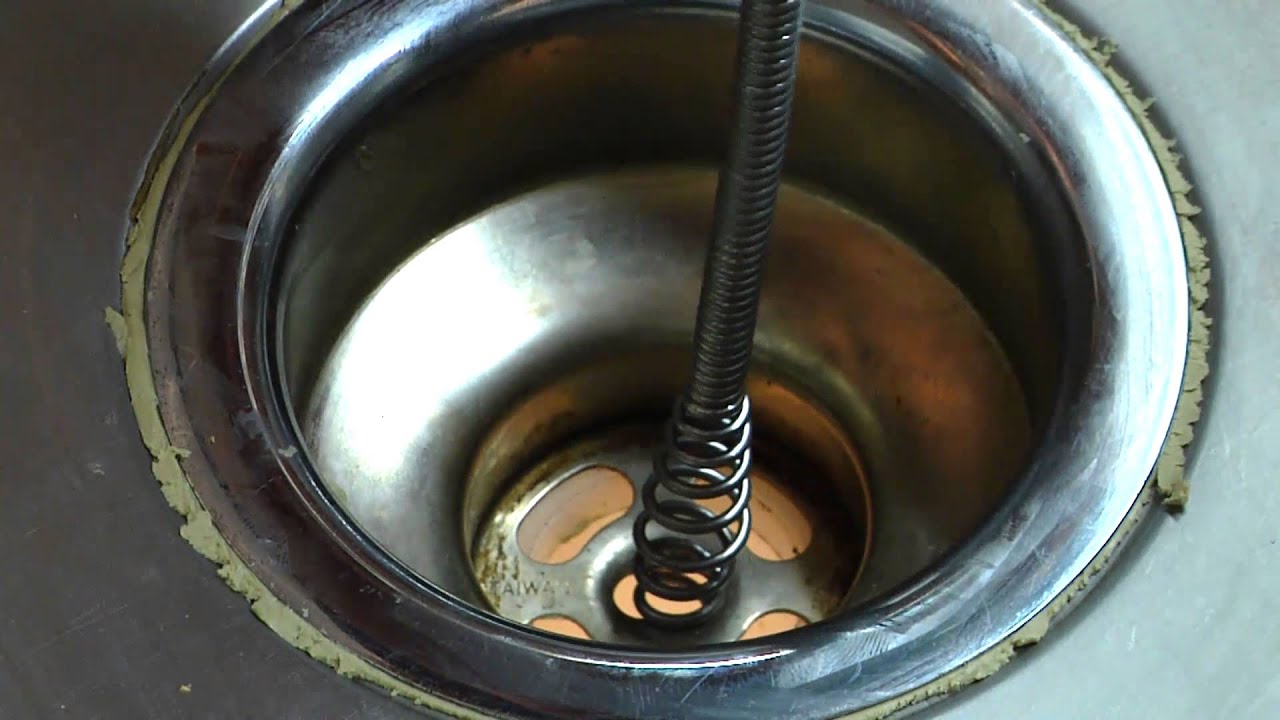
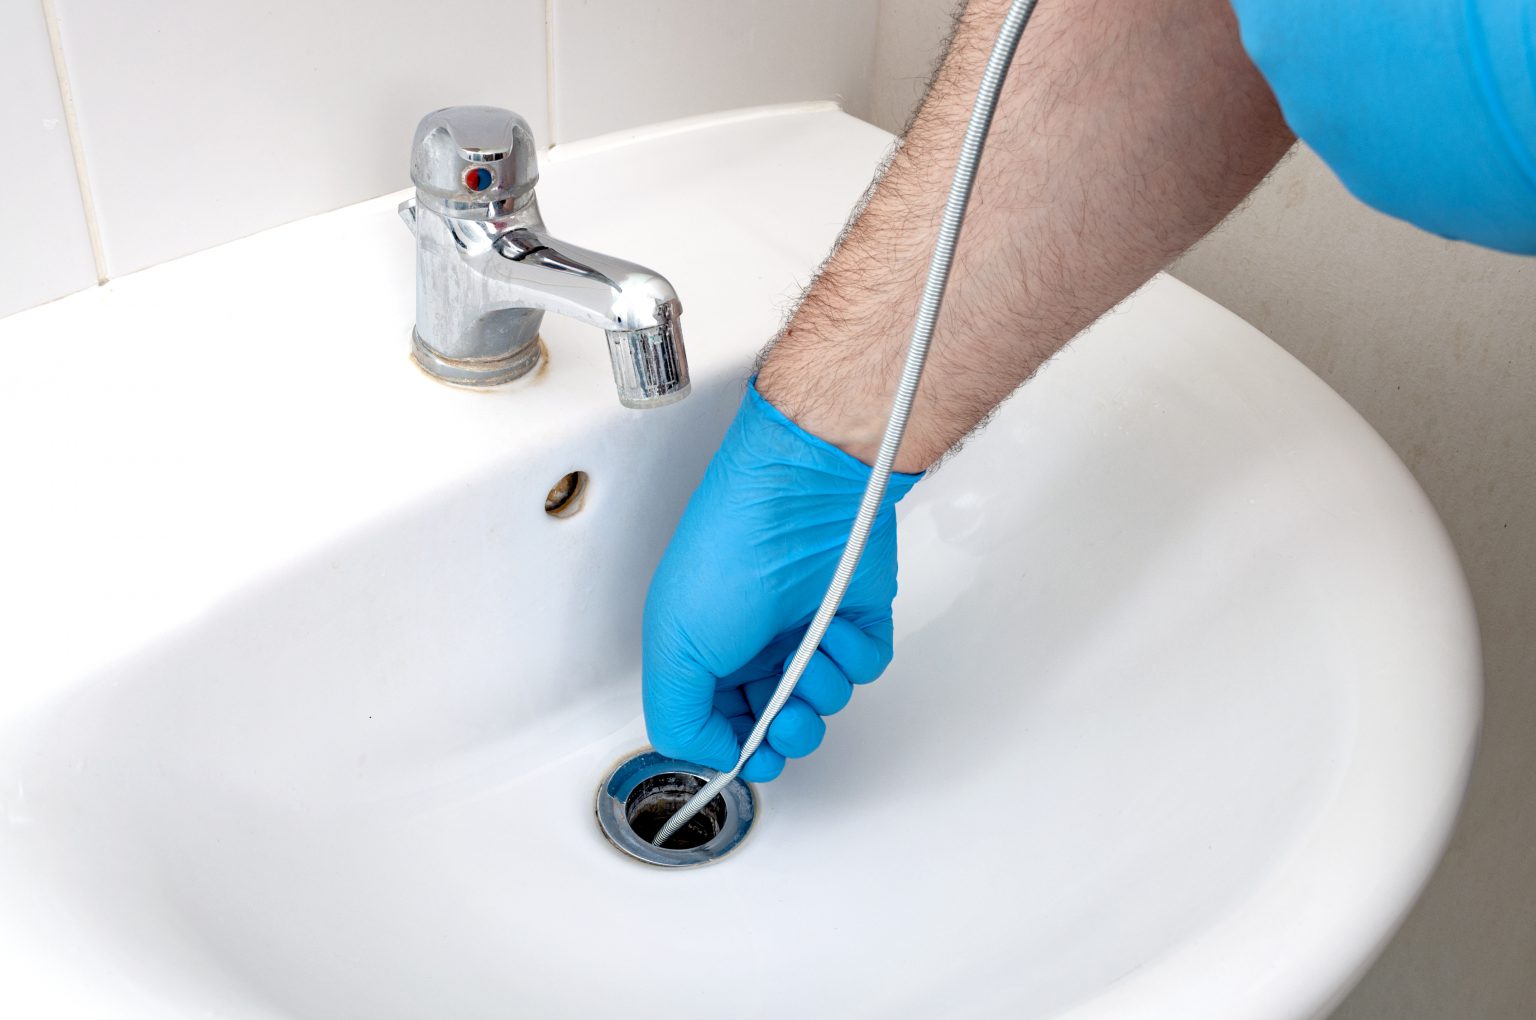
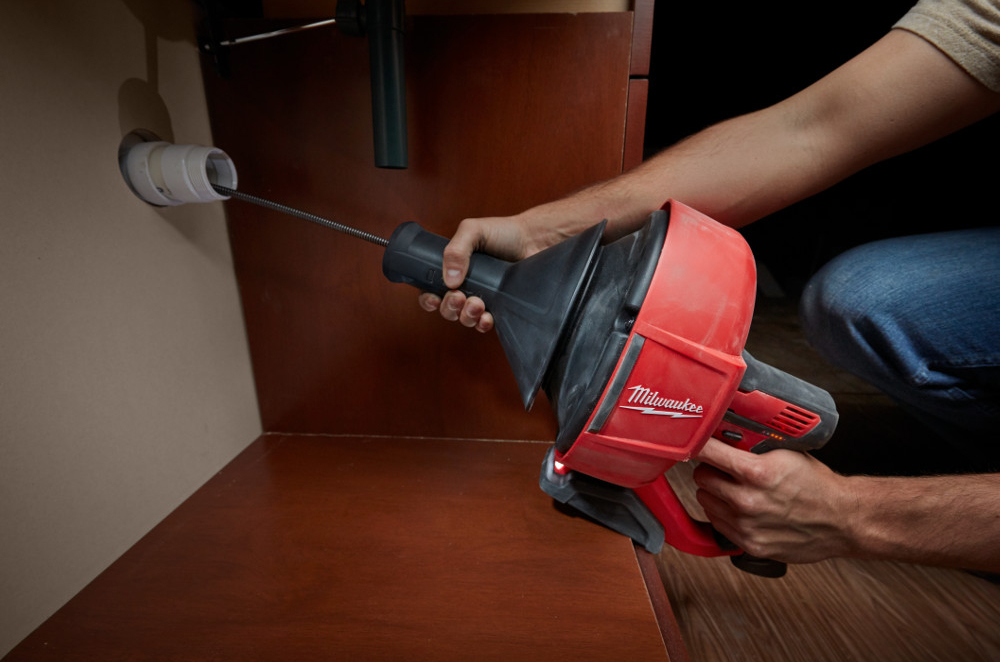
If you have a stubborn clog that cannot be removed with a plunger or natural cleaner, you may need to use a plumbing snake. Here’s how to snake a kitchen sink drain. Step 1: Insert the Snake Insert the snake into the drain and turn the handle clockwise to push it deeper into the pipe. Once you feel resistance, turn the snake in a clockwise and counterclockwise motion to break up the clog. Step 2: Pull Out the Snake Slowly pull the snake out of the drain to remove the debris. If the clog is particularly stubborn, you may need to repeat this process a few times until the drain is completely clear.How to Snake a Kitchen Sink Drain


How to Snake a Kitchen Sink Drain


If your kitchen sink drain is completely clogged and water is not draining at all, you will need to take more drastic measures to clear the clog. Here’s what you can do. Step 1: Remove Standing Water Use a cup or bucket to remove any standing water from the sink. This will make it easier to access the drain and remove the clog. Step 2: Use a Plunger As mentioned earlier, a plunger can be an effective tool for clearing clogs. Make sure there is enough water in the sink to cover the cup of the plunger, then plunge vigorously until the clog is dislodged. Step 3: Try a Drain Snake If the plunger doesn’t work, you can try using a drain snake to remove the clog. Follow the steps outlined in the previous section on how to snake a kitchen sink drain.How to Clear a Clogged Kitchen Sink Drain


How to Clear a Clogged Kitchen Sink Drain


If your kitchen sink drain pipe is damaged or leaking, it will need to be repaired or replaced. Here’s how you can repair a kitchen sink drain pipe. Step 1: Identify the Problem The first step is to determine where the problem is. If the pipe is cracked or damaged, you will need to replace it. If it is just a loose connection, you can simply tighten it. Step 2: Replace the Pipe If the pipe needs to be replaced, you will need to cut out the damaged section and replace it with a new one. Use a hacksaw to cut the pipe, then use a coupling to connect the new section of pipe to the existing one. Step 3: Test for Leaks Once the new pipe is connected, turn on the water and check for any leaks. If there are no leaks, you have successfully repaired the drain pipe.How to Repair a Kitchen Sink Drain Pipe

How to Repair a Kitchen Sink Drain Pipe


A kitchen sink drain basket is a useful addition to your sink as it helps to catch debris and prevent clogs. Here’s how you can install a kitchen sink drain basket. Step 1: Prepare the Sink Remove the old drain basket from the sink if there is one. Clean the area thoroughly and remove any old putty or residue. Step 2: Apply Plumber’s Putty Apply a layer of plumber’s putty to the underside of the new drain basket. Make sure it is evenly distributed and covers the entire surface of the basket. Step 3: Install the Basket Place the drain basket into the sink hole and press down firmly. Make sure it is properly aligned and level with the sink surface. Step 4: Secure with a Locknut On the underside of the sink, place the rubber gasket, cardboard friction ring, and locknut onto the drain basket. Use a wrench to tighten the locknut and secure the basket in place.How to Install a Kitchen Sink Drain Basket


How to Install a Kitchen Sink Drain Basket


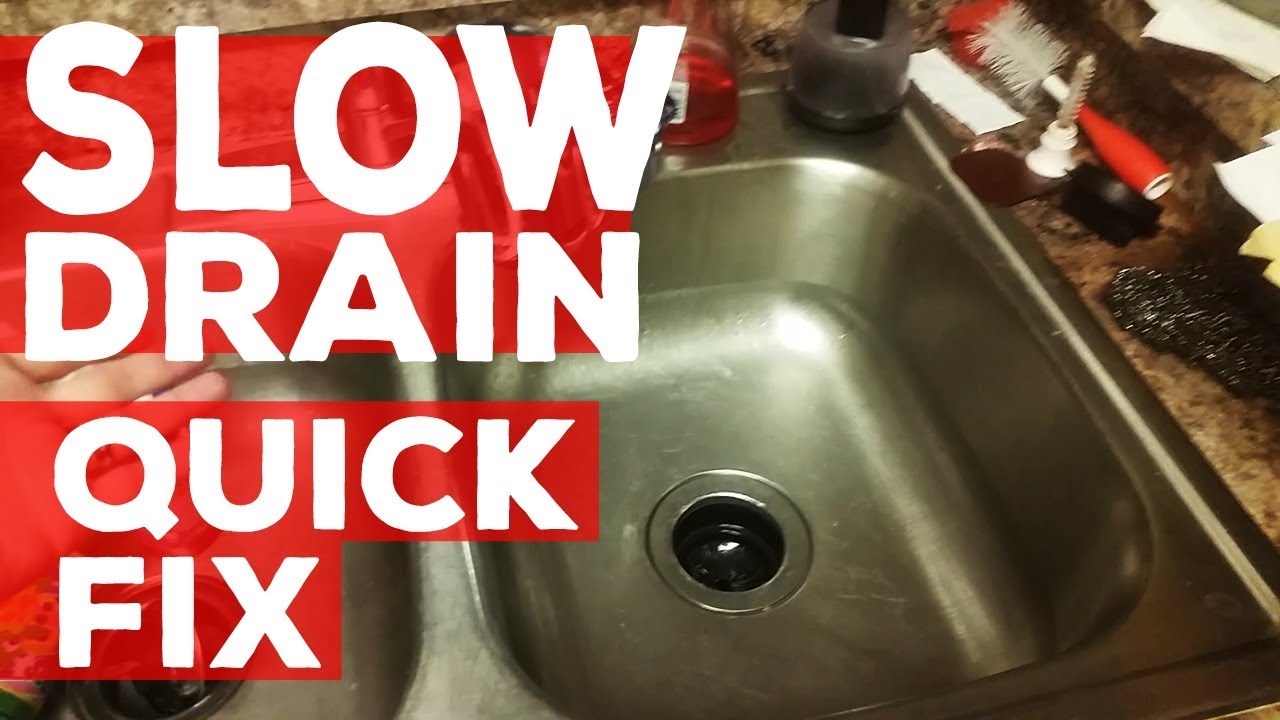
A slow draining kitchen sink can be frustrating, but fortunately, there are a few simple solutions you can try. Step 1: Clean the Drain Start by removing any debris from the surface of the drain. Then, use a natural cleaner to flush out any buildup or grime that may be causing the slow drainage. Step 2: Use a Plunger If the clog is further down the drain, you can try using a plunger to dislodge it. Make sure there is enough water in the sink to cover the cup of the plunger and plunge vigorously. Step 3: Try a Drain Snake If the plunger doesn’t work, you can use a drain snake to remove the clog. Follow the steps outlined in the previous sections on how to snake a kitchen sink drain. With these 10 methods, you can easily handle any issues that may arise with your kitchen sink drain. Remember to regularly clean and maintain your drain to prevent future clogs and ensure a healthy plumbing system. If you encounter a more serious problem, don’t hesitate to call a professional plumber for assistance.How to Fix a Slow Draining Kitchen Sink


How to Fix a Slow Draining Kitchen Sink


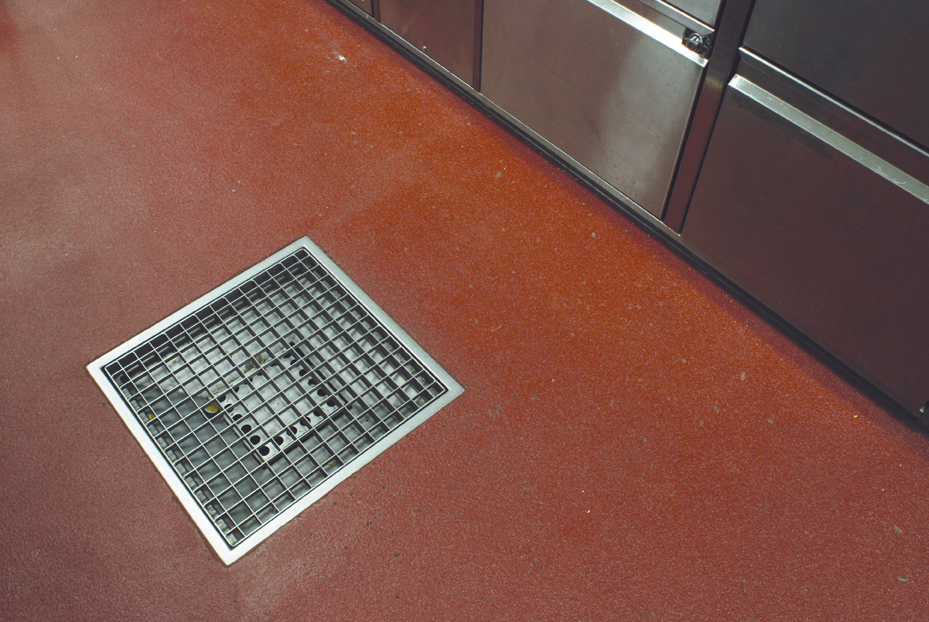
Kitchen Sink Drains on Floor: A Modern and Functional Design Trend
The Evolution of Kitchen Sink Designs
 The kitchen sink has come a long way from its humble beginnings as a basic wash basin. With the evolution of modern technology and design, kitchen sinks have become more than just a functional fixture in a home. They have transformed into a statement piece that can enhance the overall aesthetics and functionality of a kitchen. One of the latest trends in kitchen sink design is the placement of drains on the floor.
Kitchen sink drains on floor
may seem like an unconventional idea, but it offers numerous benefits that make it a popular choice among homeowners and designers alike. Let's take a closer look at why this trend is gaining traction in the world of kitchen design.
The kitchen sink has come a long way from its humble beginnings as a basic wash basin. With the evolution of modern technology and design, kitchen sinks have become more than just a functional fixture in a home. They have transformed into a statement piece that can enhance the overall aesthetics and functionality of a kitchen. One of the latest trends in kitchen sink design is the placement of drains on the floor.
Kitchen sink drains on floor
may seem like an unconventional idea, but it offers numerous benefits that make it a popular choice among homeowners and designers alike. Let's take a closer look at why this trend is gaining traction in the world of kitchen design.
Maximizing Space and Efficiency
 One of the main advantages of having a kitchen sink with floor drains is the space-saving aspect. Traditional sinks with drains located at the back or center can take up valuable counter space, making it difficult to work around the sink area. With floor drains, the sink can be placed closer to the edge of the counter, freeing up more room for food preparation and other kitchen tasks.
Moreover, having the drain on the floor also eliminates the need for a bulky drain pipe running through the cabinet, which can take up even more space. This creates a cleaner and more organized look in the kitchen, making it easier to maintain and keep clutter-free.
One of the main advantages of having a kitchen sink with floor drains is the space-saving aspect. Traditional sinks with drains located at the back or center can take up valuable counter space, making it difficult to work around the sink area. With floor drains, the sink can be placed closer to the edge of the counter, freeing up more room for food preparation and other kitchen tasks.
Moreover, having the drain on the floor also eliminates the need for a bulky drain pipe running through the cabinet, which can take up even more space. This creates a cleaner and more organized look in the kitchen, making it easier to maintain and keep clutter-free.
Improved Functionality and Versatility
 Another benefit of having floor drains in the kitchen sink is the improved functionality and versatility it offers. With traditional sinks, large items such as pots and pans can be difficult to clean due to the limited space and the position of the drain. This is not an issue with floor drains, as there is no obstruction at the bottom of the sink. This allows for easier cleaning of larger items, making kitchen chores less of a hassle.
In addition, having the drain on the floor also opens up more possibilities for sink accessories such as cutting boards and colanders. These can be placed directly over the drain, eliminating the need for a separate strainer or colander. This not only saves space but also makes the sink area more functional and efficient.
Another benefit of having floor drains in the kitchen sink is the improved functionality and versatility it offers. With traditional sinks, large items such as pots and pans can be difficult to clean due to the limited space and the position of the drain. This is not an issue with floor drains, as there is no obstruction at the bottom of the sink. This allows for easier cleaning of larger items, making kitchen chores less of a hassle.
In addition, having the drain on the floor also opens up more possibilities for sink accessories such as cutting boards and colanders. These can be placed directly over the drain, eliminating the need for a separate strainer or colander. This not only saves space but also makes the sink area more functional and efficient.
Aesthetics and Modern Design
:max_bytes(150000):strip_icc()/how-to-install-a-sink-drain-2718789-hero-24e898006ed94c9593a2a268b57989a3.jpg) Last but not least, kitchen sinks with floor drains are a modern and stylish addition to any kitchen. They provide a sleek and seamless look, especially when paired with minimalist or contemporary kitchen designs. The absence of a visible drain also adds to the clean and streamlined appearance of the sink, making it a focal point in the kitchen.
In conclusion,
kitchen sink drains on floor
are more than just a trend, they are a functional and modern design choice that offers numerous benefits. From saving space and improving functionality to adding a touch of style to the kitchen, this design trend is here to stay. So why not consider incorporating it into your kitchen design for a more efficient and aesthetically pleasing space?
Last but not least, kitchen sinks with floor drains are a modern and stylish addition to any kitchen. They provide a sleek and seamless look, especially when paired with minimalist or contemporary kitchen designs. The absence of a visible drain also adds to the clean and streamlined appearance of the sink, making it a focal point in the kitchen.
In conclusion,
kitchen sink drains on floor
are more than just a trend, they are a functional and modern design choice that offers numerous benefits. From saving space and improving functionality to adding a touch of style to the kitchen, this design trend is here to stay. So why not consider incorporating it into your kitchen design for a more efficient and aesthetically pleasing space?