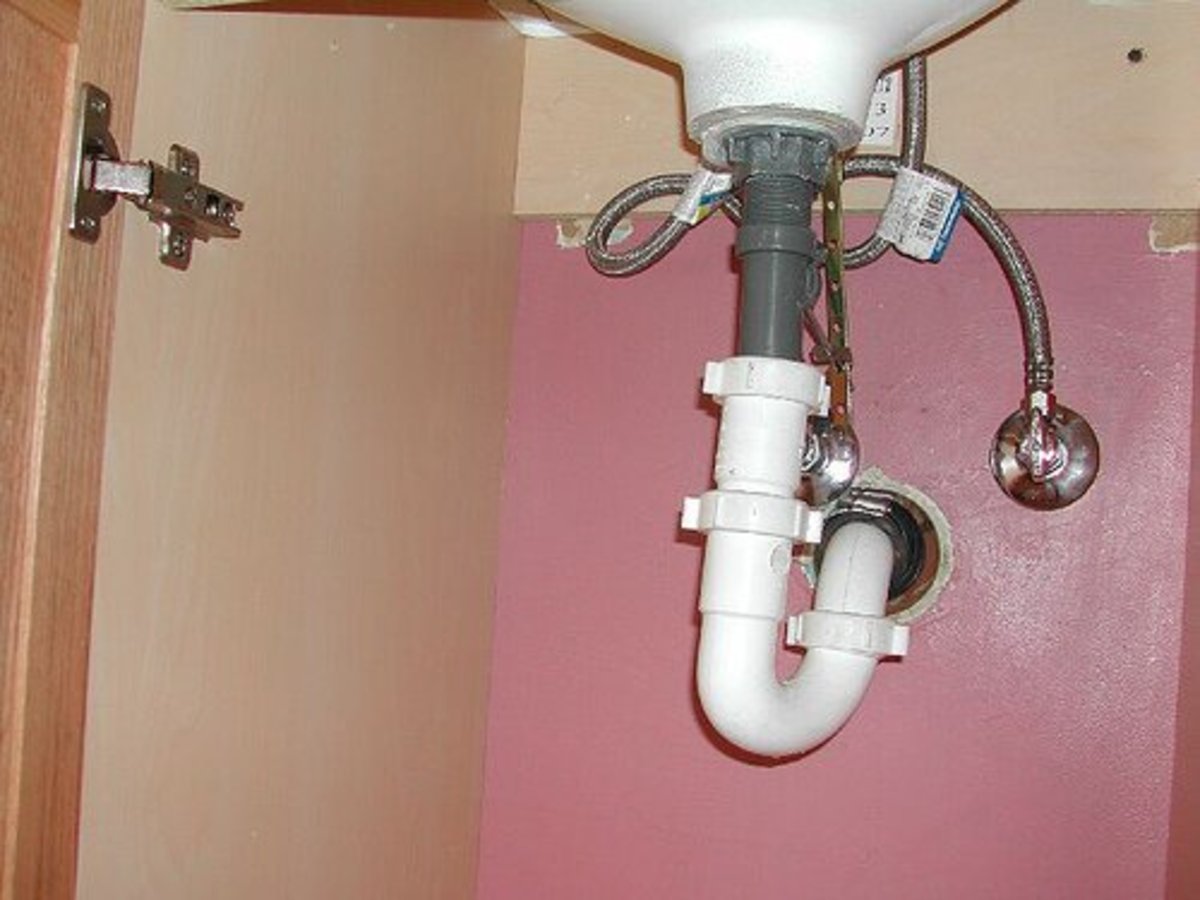
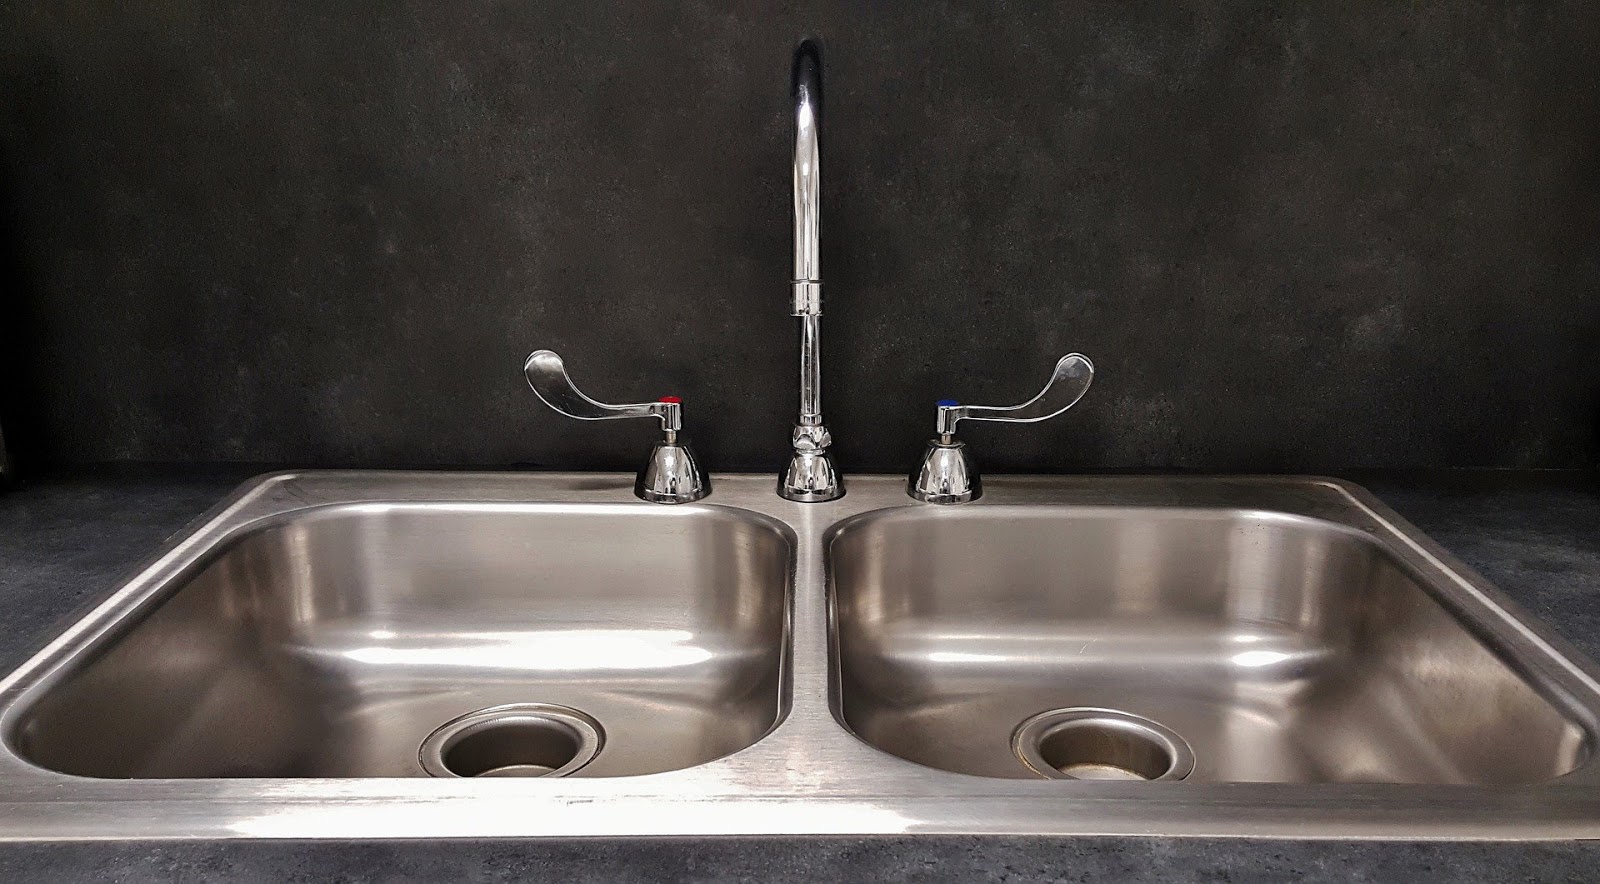
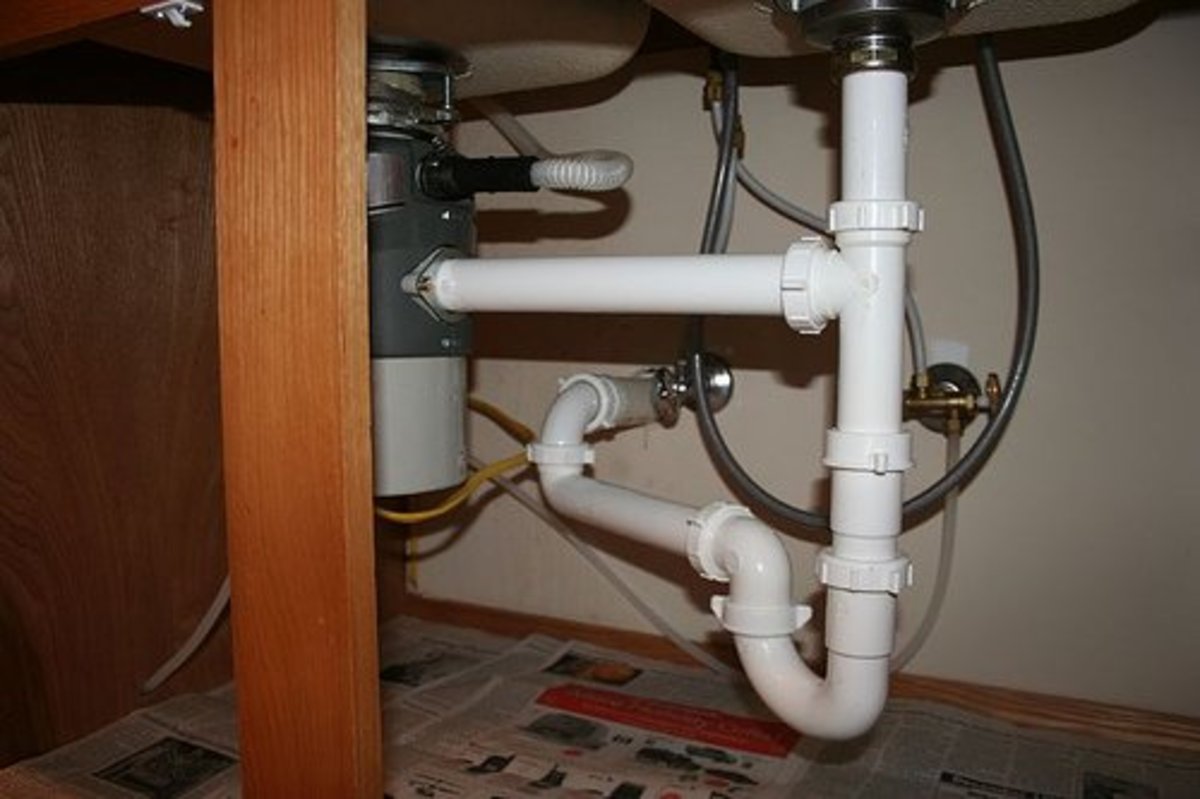
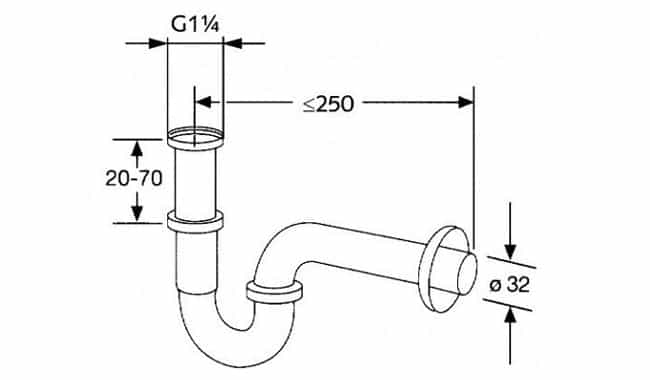
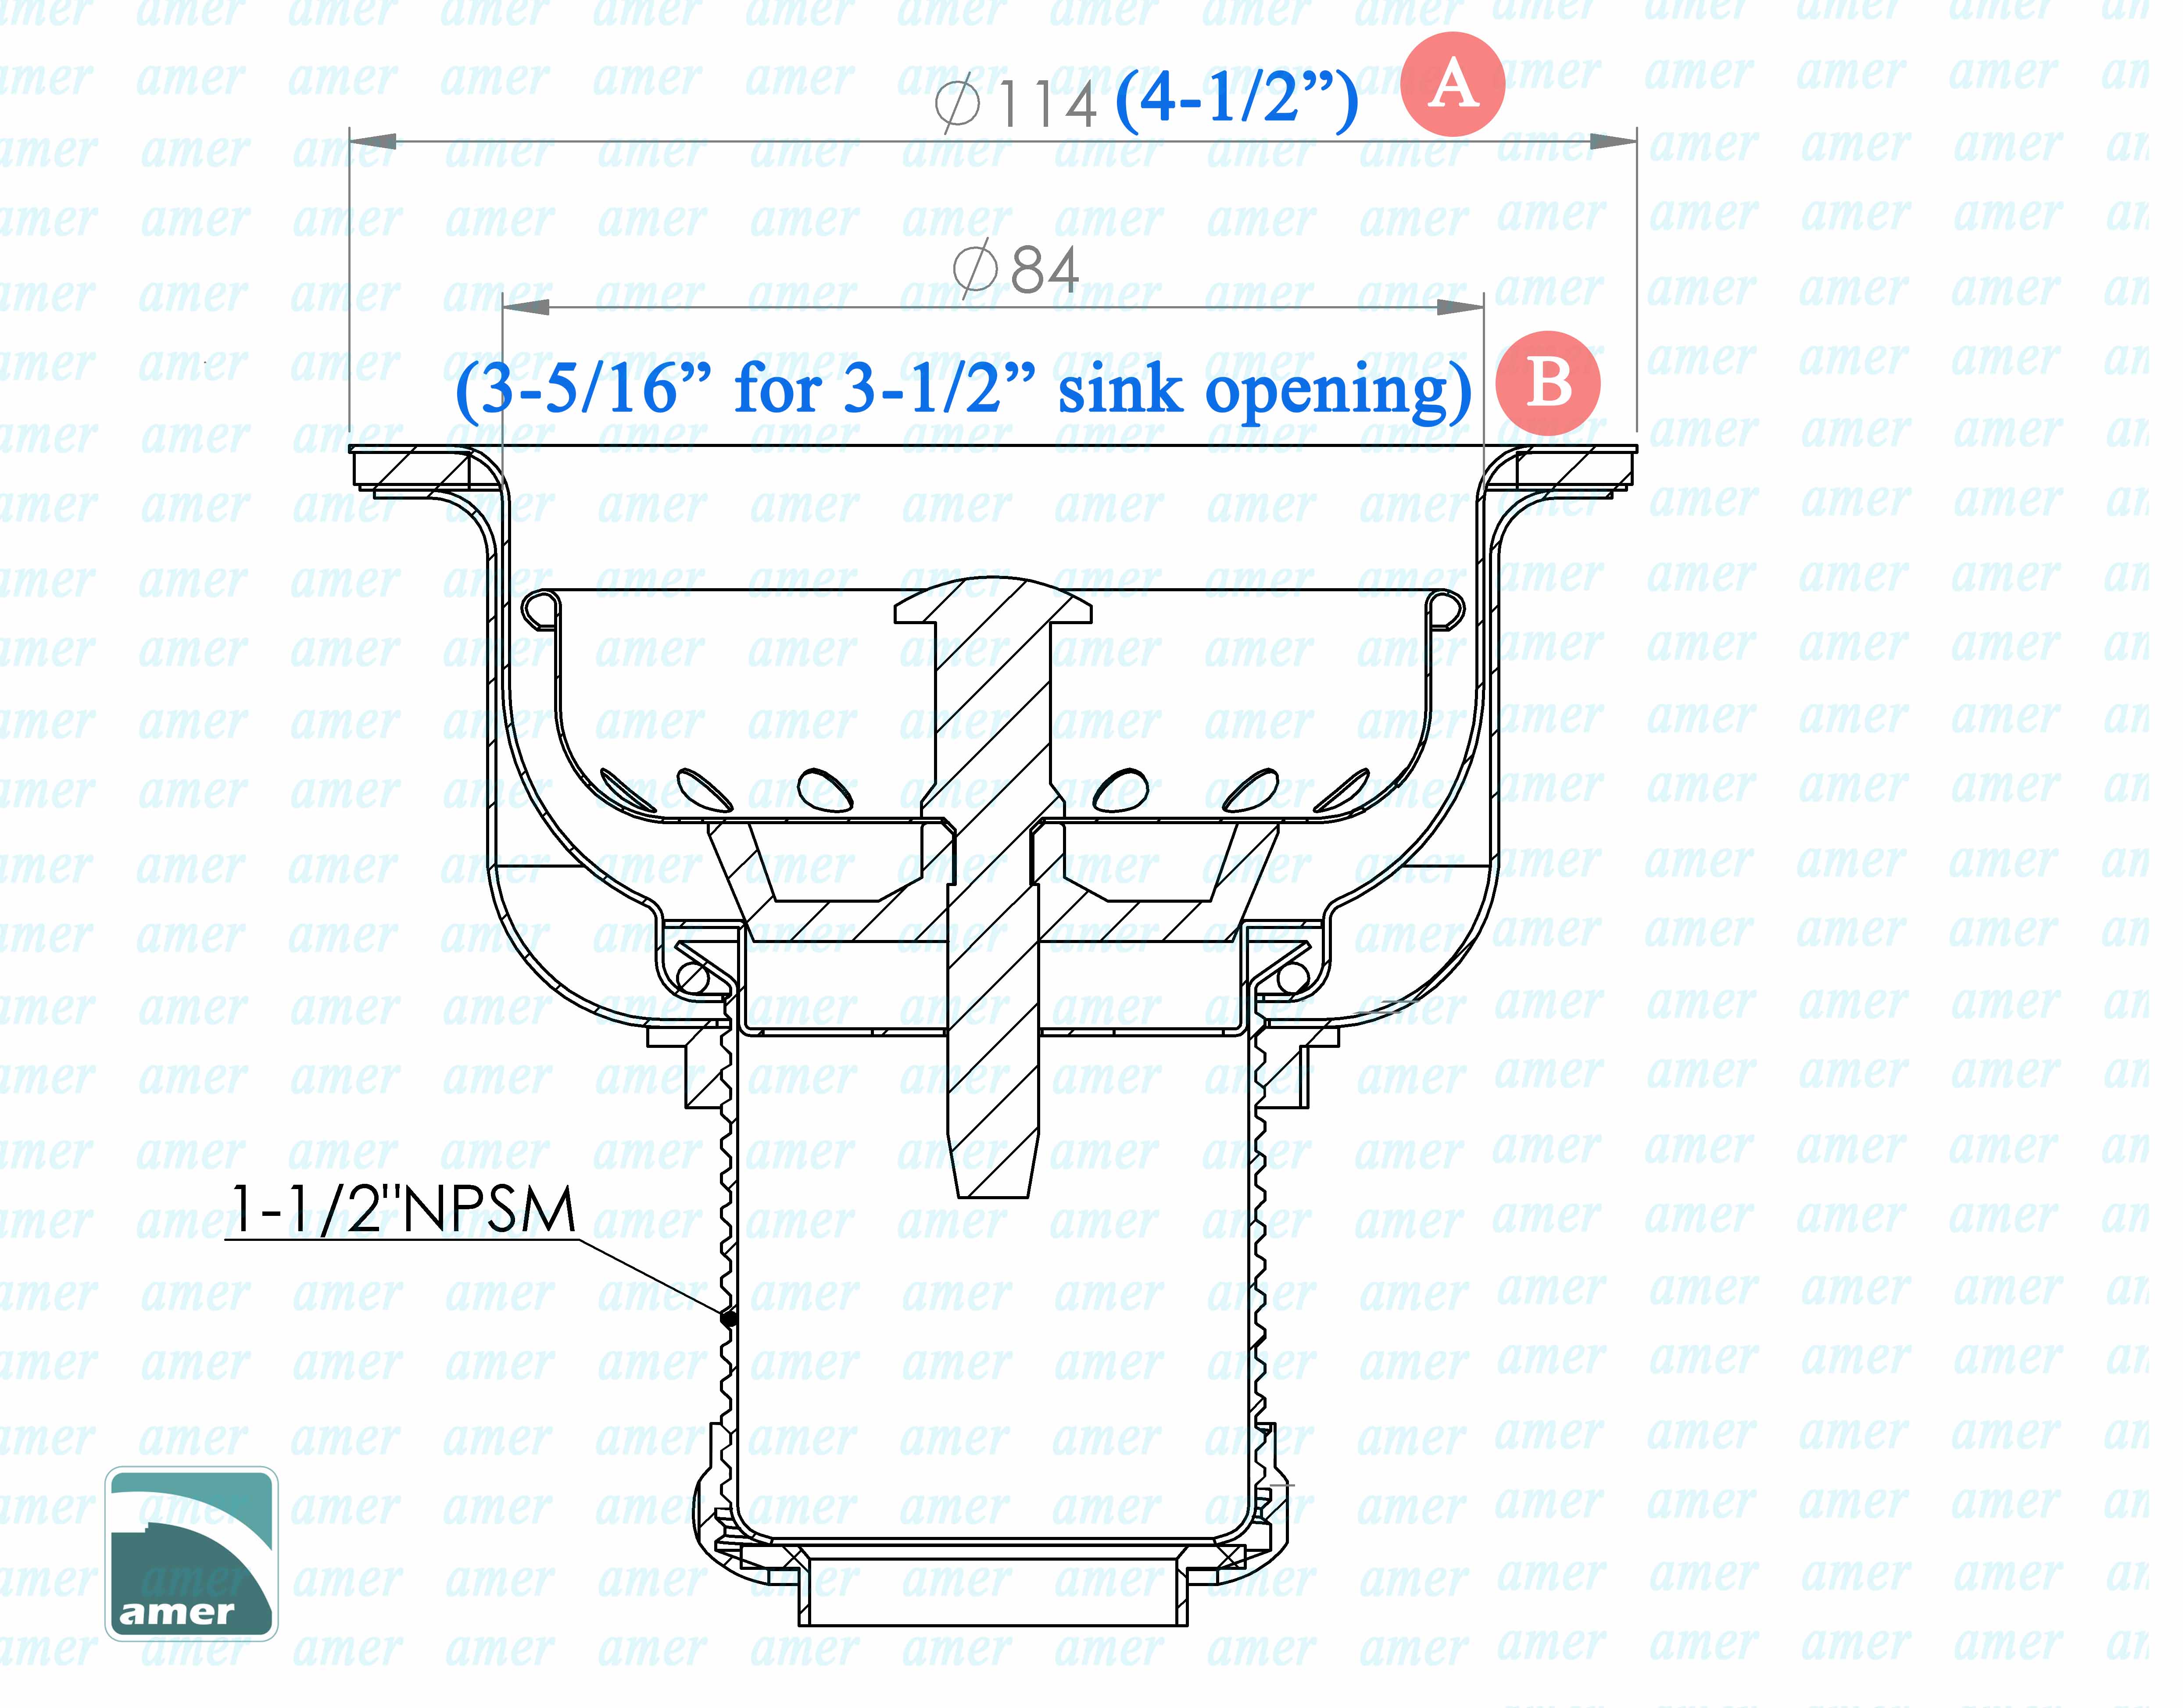
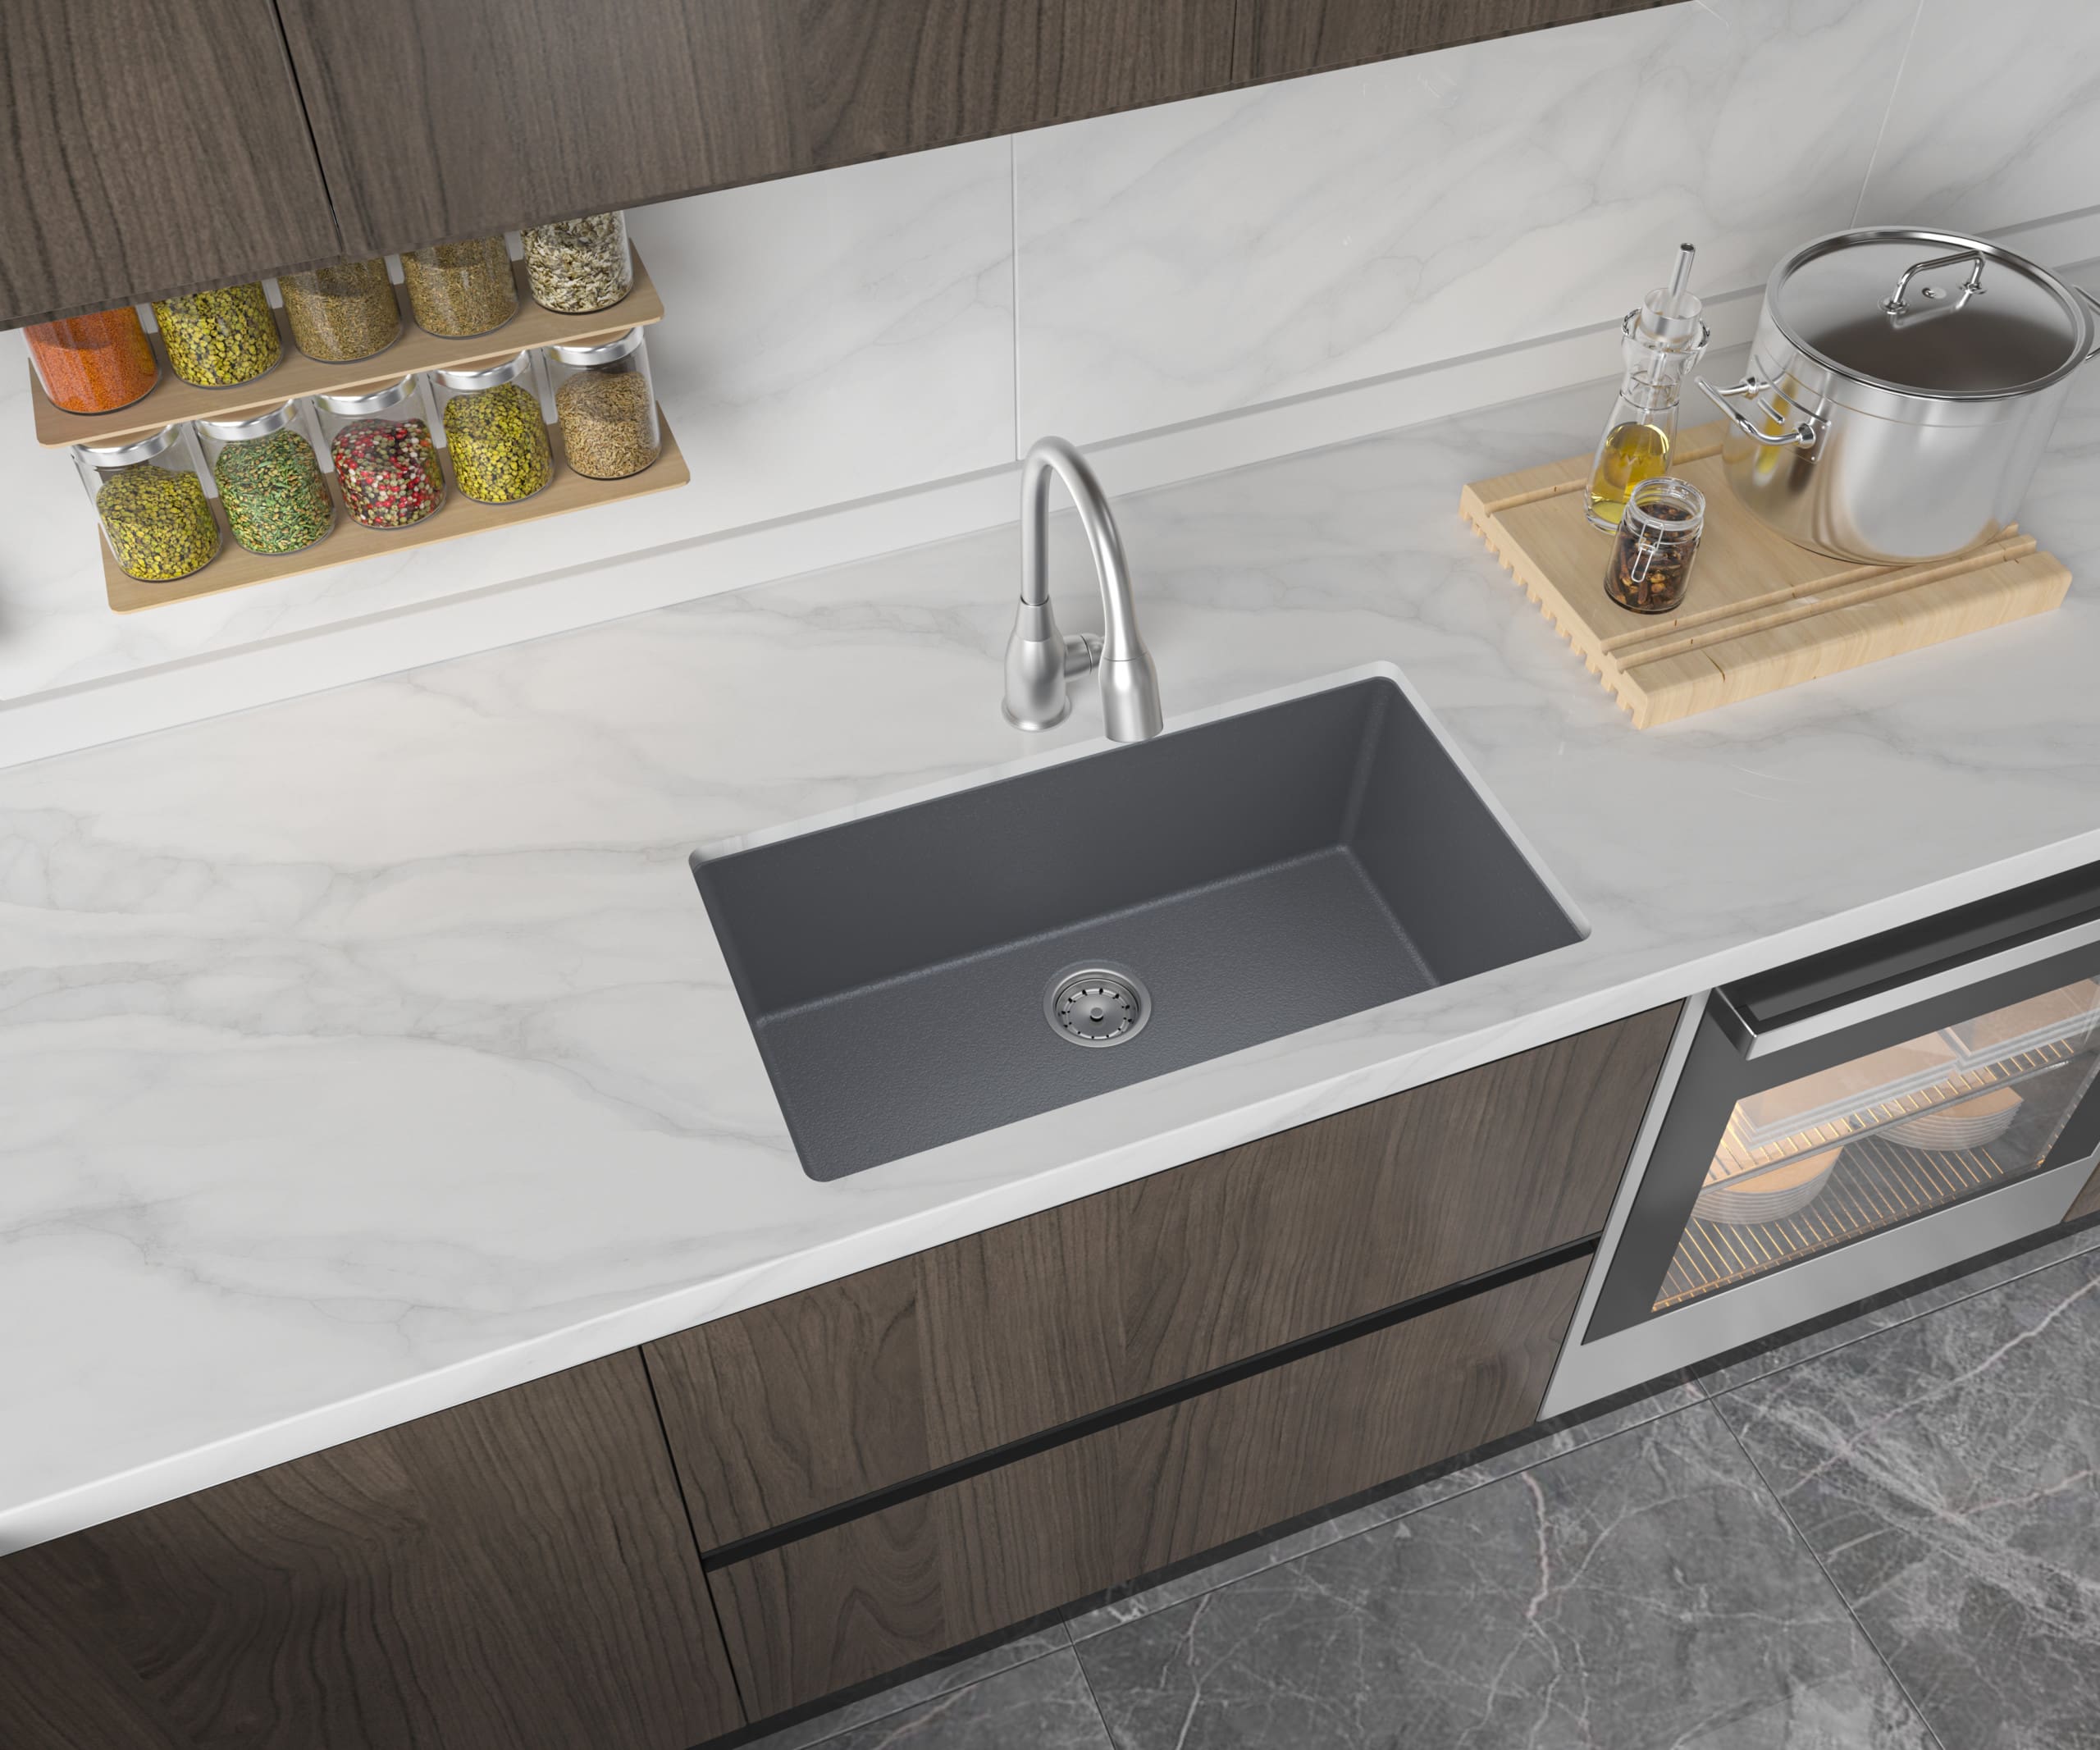
Installing a kitchen sink drain pipe may seem like a daunting task, but with the right tools and knowledge, you can easily do it yourself. Follow these steps to learn how to install a kitchen sink drain pipe: Step 1: Gather the Necessary Materials Before you begin, make sure you have all the necessary materials on hand. This includes a sink drain kit, plumber’s putty, a pipe wrench, Teflon tape, and a hacksaw. Step 2: Prep the Area Start by clearing out the area under the sink and placing a bucket or towel underneath the drain to catch any water that may spill out during the process. Step 3: Assemble the Drain Pipe Begin by assembling the drain pipe according to the instructions provided with the sink drain kit. This typically involves attaching the tailpiece to the bottom of the sink, connecting the drain trap, and attaching the drain pipe to the wall or floor. Step 4: Apply Plumber’s Putty Using your hands, roll a small amount of plumber’s putty into a long, thin rope. Wrap the putty around the bottom of the sink drain and press it into place. Step 5: Attach the Drain Strainer Place the drain strainer on top of the plumber’s putty and secure it in place with the nut provided in the sink drain kit. Use a pipe wrench to tighten the nut and ensure a secure fit. Step 6: Connect the Drain Pipe to the Sink Next, connect the drain pipe to the bottom of the sink. This may require cutting the drain pipe to the proper length using a hacksaw. Use Teflon tape to ensure a tight seal at the connection. Step 7: Test for Leaks Once all the connections are made, turn on the water and check for any leaks. If you notice any, tighten the connections as needed. Remember to follow the manufacturer’s instructions for your specific sink drain kit, as the process may vary slightly.How to Install a Kitchen Sink Drain Pipe
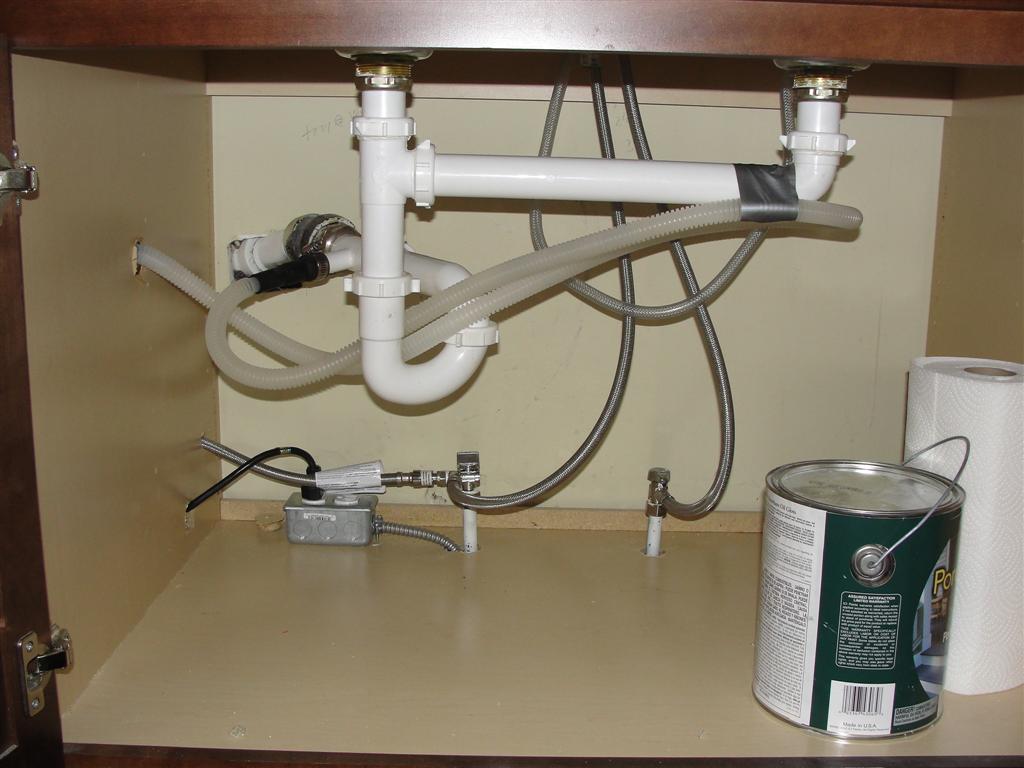
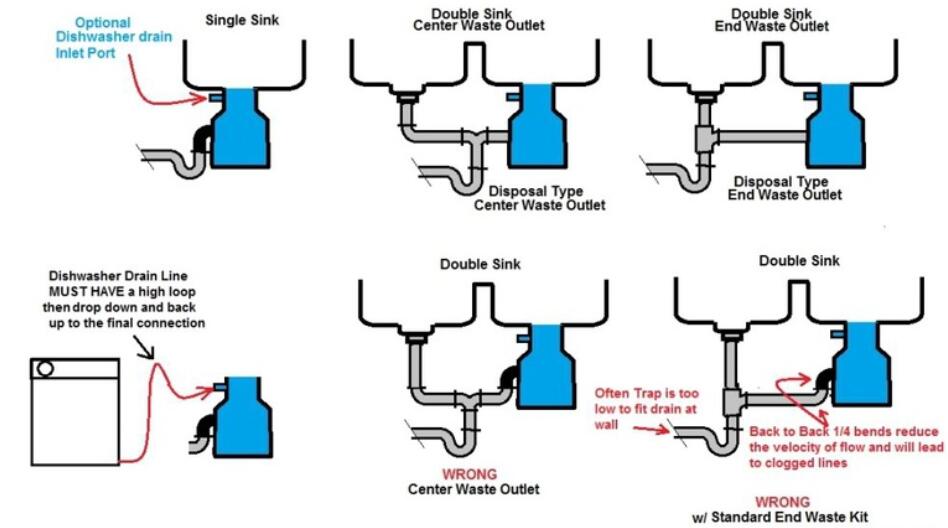
If you have a dishwasher in your kitchen, your sink drain pipe installation process may be slightly different. Here’s how to install a kitchen sink drain pipe with a dishwasher: Step 1: Gather the Necessary Materials In addition to the materials listed above, you will also need a dishwasher tailpiece and a dishwasher drain hose. Step 2: Prep the Area As with the previous installation method, start by clearing out the area under the sink and placing a bucket or towel underneath the drain. Step 3: Install the Dishwasher Tailpiece Attach the dishwasher tailpiece to the top of the drain trap, using Teflon tape to secure the connection. Step 4: Connect the Dishwasher Drain Hose Attach one end of the dishwasher drain hose to the dishwasher tailpiece and the other end to the dishwasher drain pump. Use hose clamps to secure the connections. Step 5: Finish the Installation Follow the remaining steps from the previous installation method to complete the installation of the sink drain pipe. Again, be sure to refer to the manufacturer’s instructions for your specific sink drain kit and dishwasher for any variations in the process.How to Install a Kitchen Sink Drain Pipe with a Dishwasher
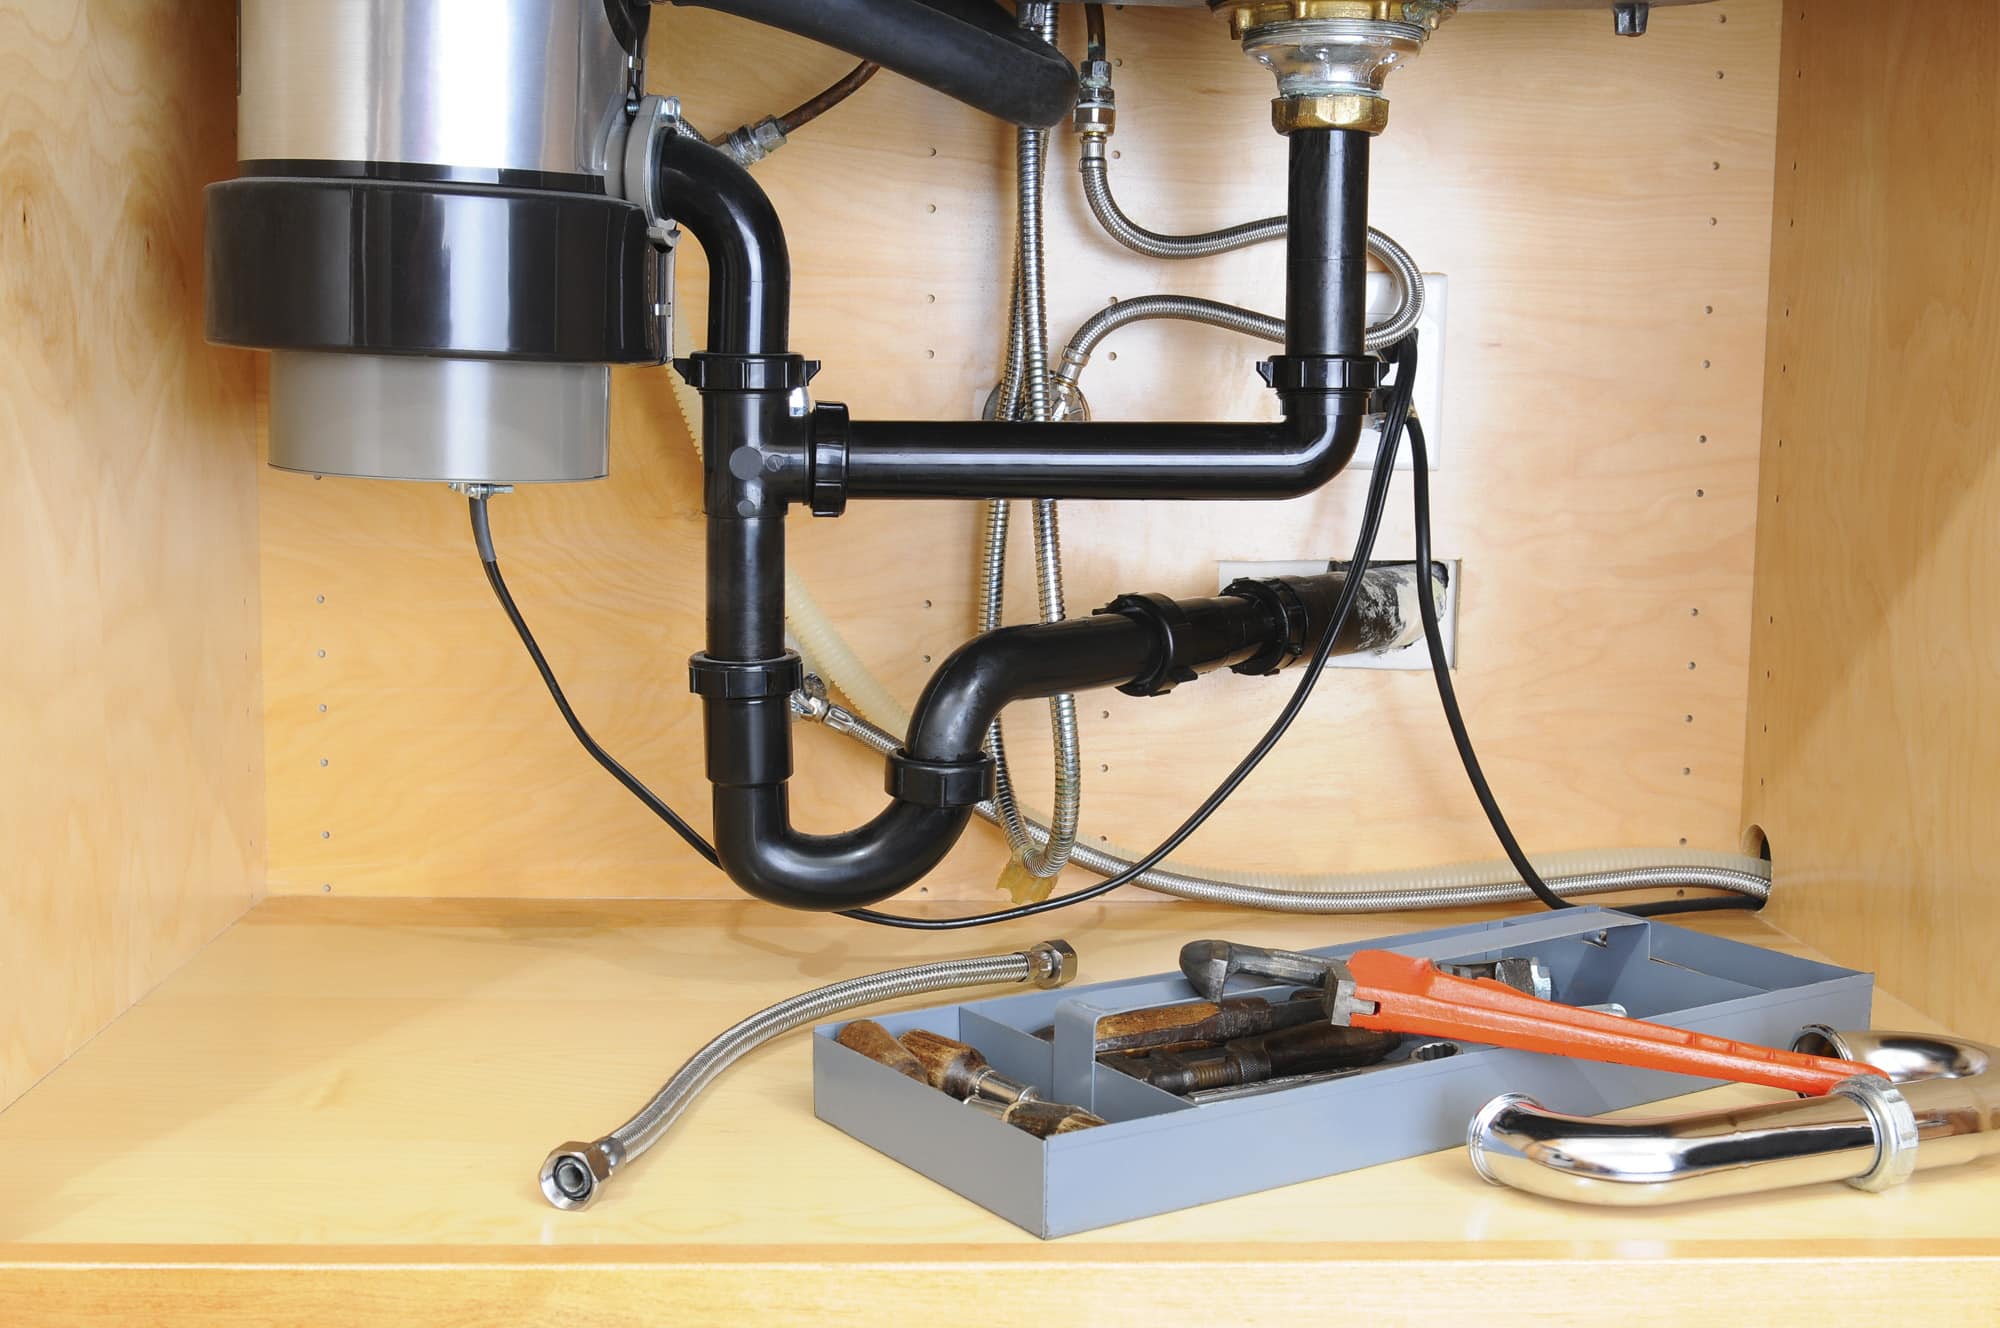
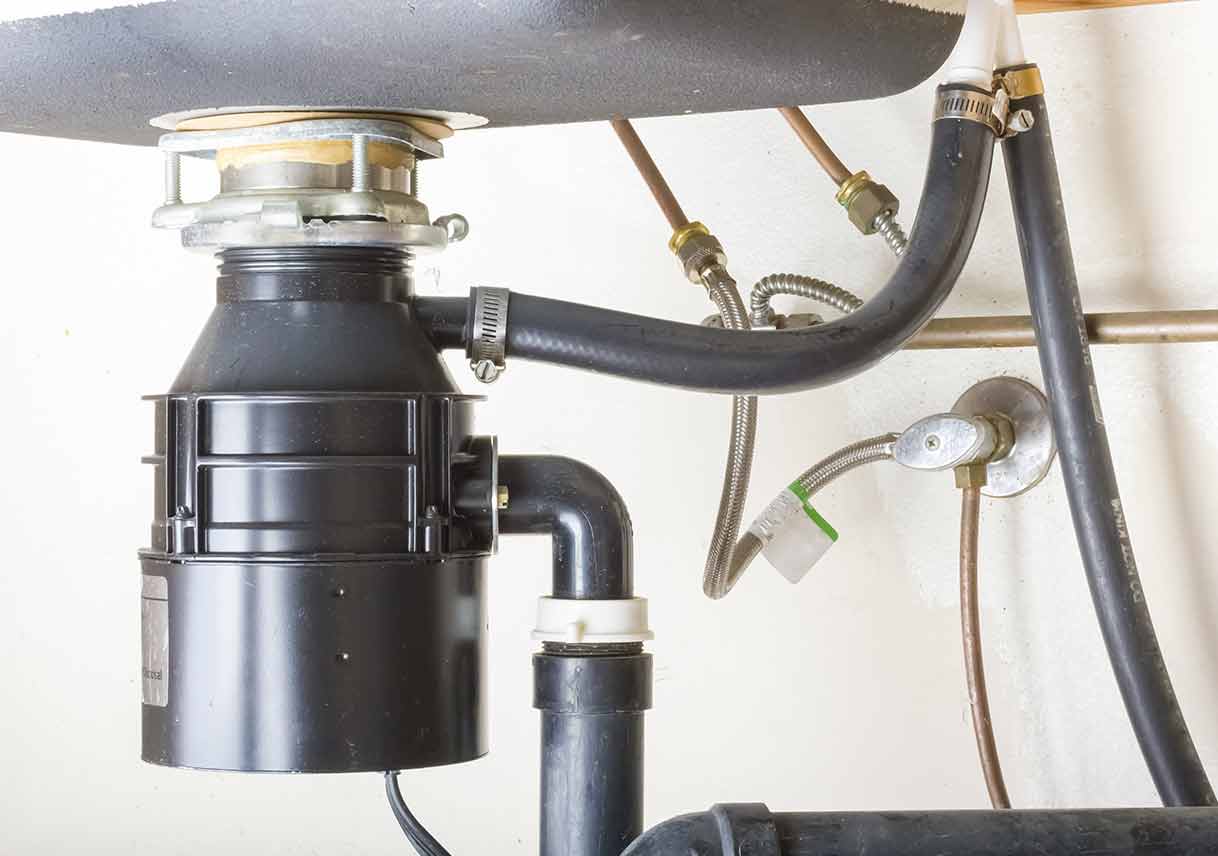
Installing a kitchen sink drain pipe with a garbage disposal is similar to the previous method, but there are a few additional steps. Here’s how to do it: Step 1: Gather the Necessary Materials In addition to the materials listed in the first method, you will also need a garbage disposal, a dishwasher drain hose, and a hammer. Step 2: Prep the Area As before, clear out the area under the sink and place a bucket or towel underneath the drain. Step 3: Install the Garbage Disposal Attach the garbage disposal to the mounting bracket provided, using a hammer to secure the disposal in place. Step 4: Connect the Drain Pipe Follow the same steps as the previous method to connect the drain pipe to the sink, but also attach the other end to the garbage disposal. Step 5: Connect the Dishwasher Drain Hose Use a hose clamp to connect the dishwasher drain hose to the dishwasher tailpiece and the garbage disposal. Step 6: Finish the Installation Complete the installation by following the remaining steps from the first method. Again, be sure to refer to the manufacturer’s instructions for your specific sink drain kit and garbage disposal for any variations in the process.How to Install a Kitchen Sink Drain Pipe with a Garbage Disposal
If your kitchen sink drain pipe is damaged or leaking, you may need to replace it. Here’s how: Step 1: Gather the Necessary Materials You will need a new sink drain kit, plumber’s putty, a pipe wrench, Teflon tape, and a hacksaw. Step 2: Prep the Area Clear out the area under the sink and place a bucket or towel underneath the drain. Step 3: Remove the Old Drain Pipe Using a pipe wrench, loosen and remove the connections between the drain pipe and the sink, wall, and/or floor. Use a hacksaw to cut the drain pipe if necessary. Step 4: Clean the Area Remove any remaining putty or debris from the area where the old drain pipe was attached. Step 5: Apply Plumber’s Putty Roll a small amount of plumber’s putty into a long, thin rope and wrap it around the bottom of the new sink drain. Press it into place. Step 6: Install the New Drain Pipe Follow the steps from the first installation method to connect the new drain pipe to the sink, wall, and/or floor. Step 7: Test for Leaks Turn on the water and check for any leaks. Tighten connections as needed. Remember to follow the manufacturer’s instructions for your specific sink drain kit.How to Replace a Kitchen Sink Drain Pipe
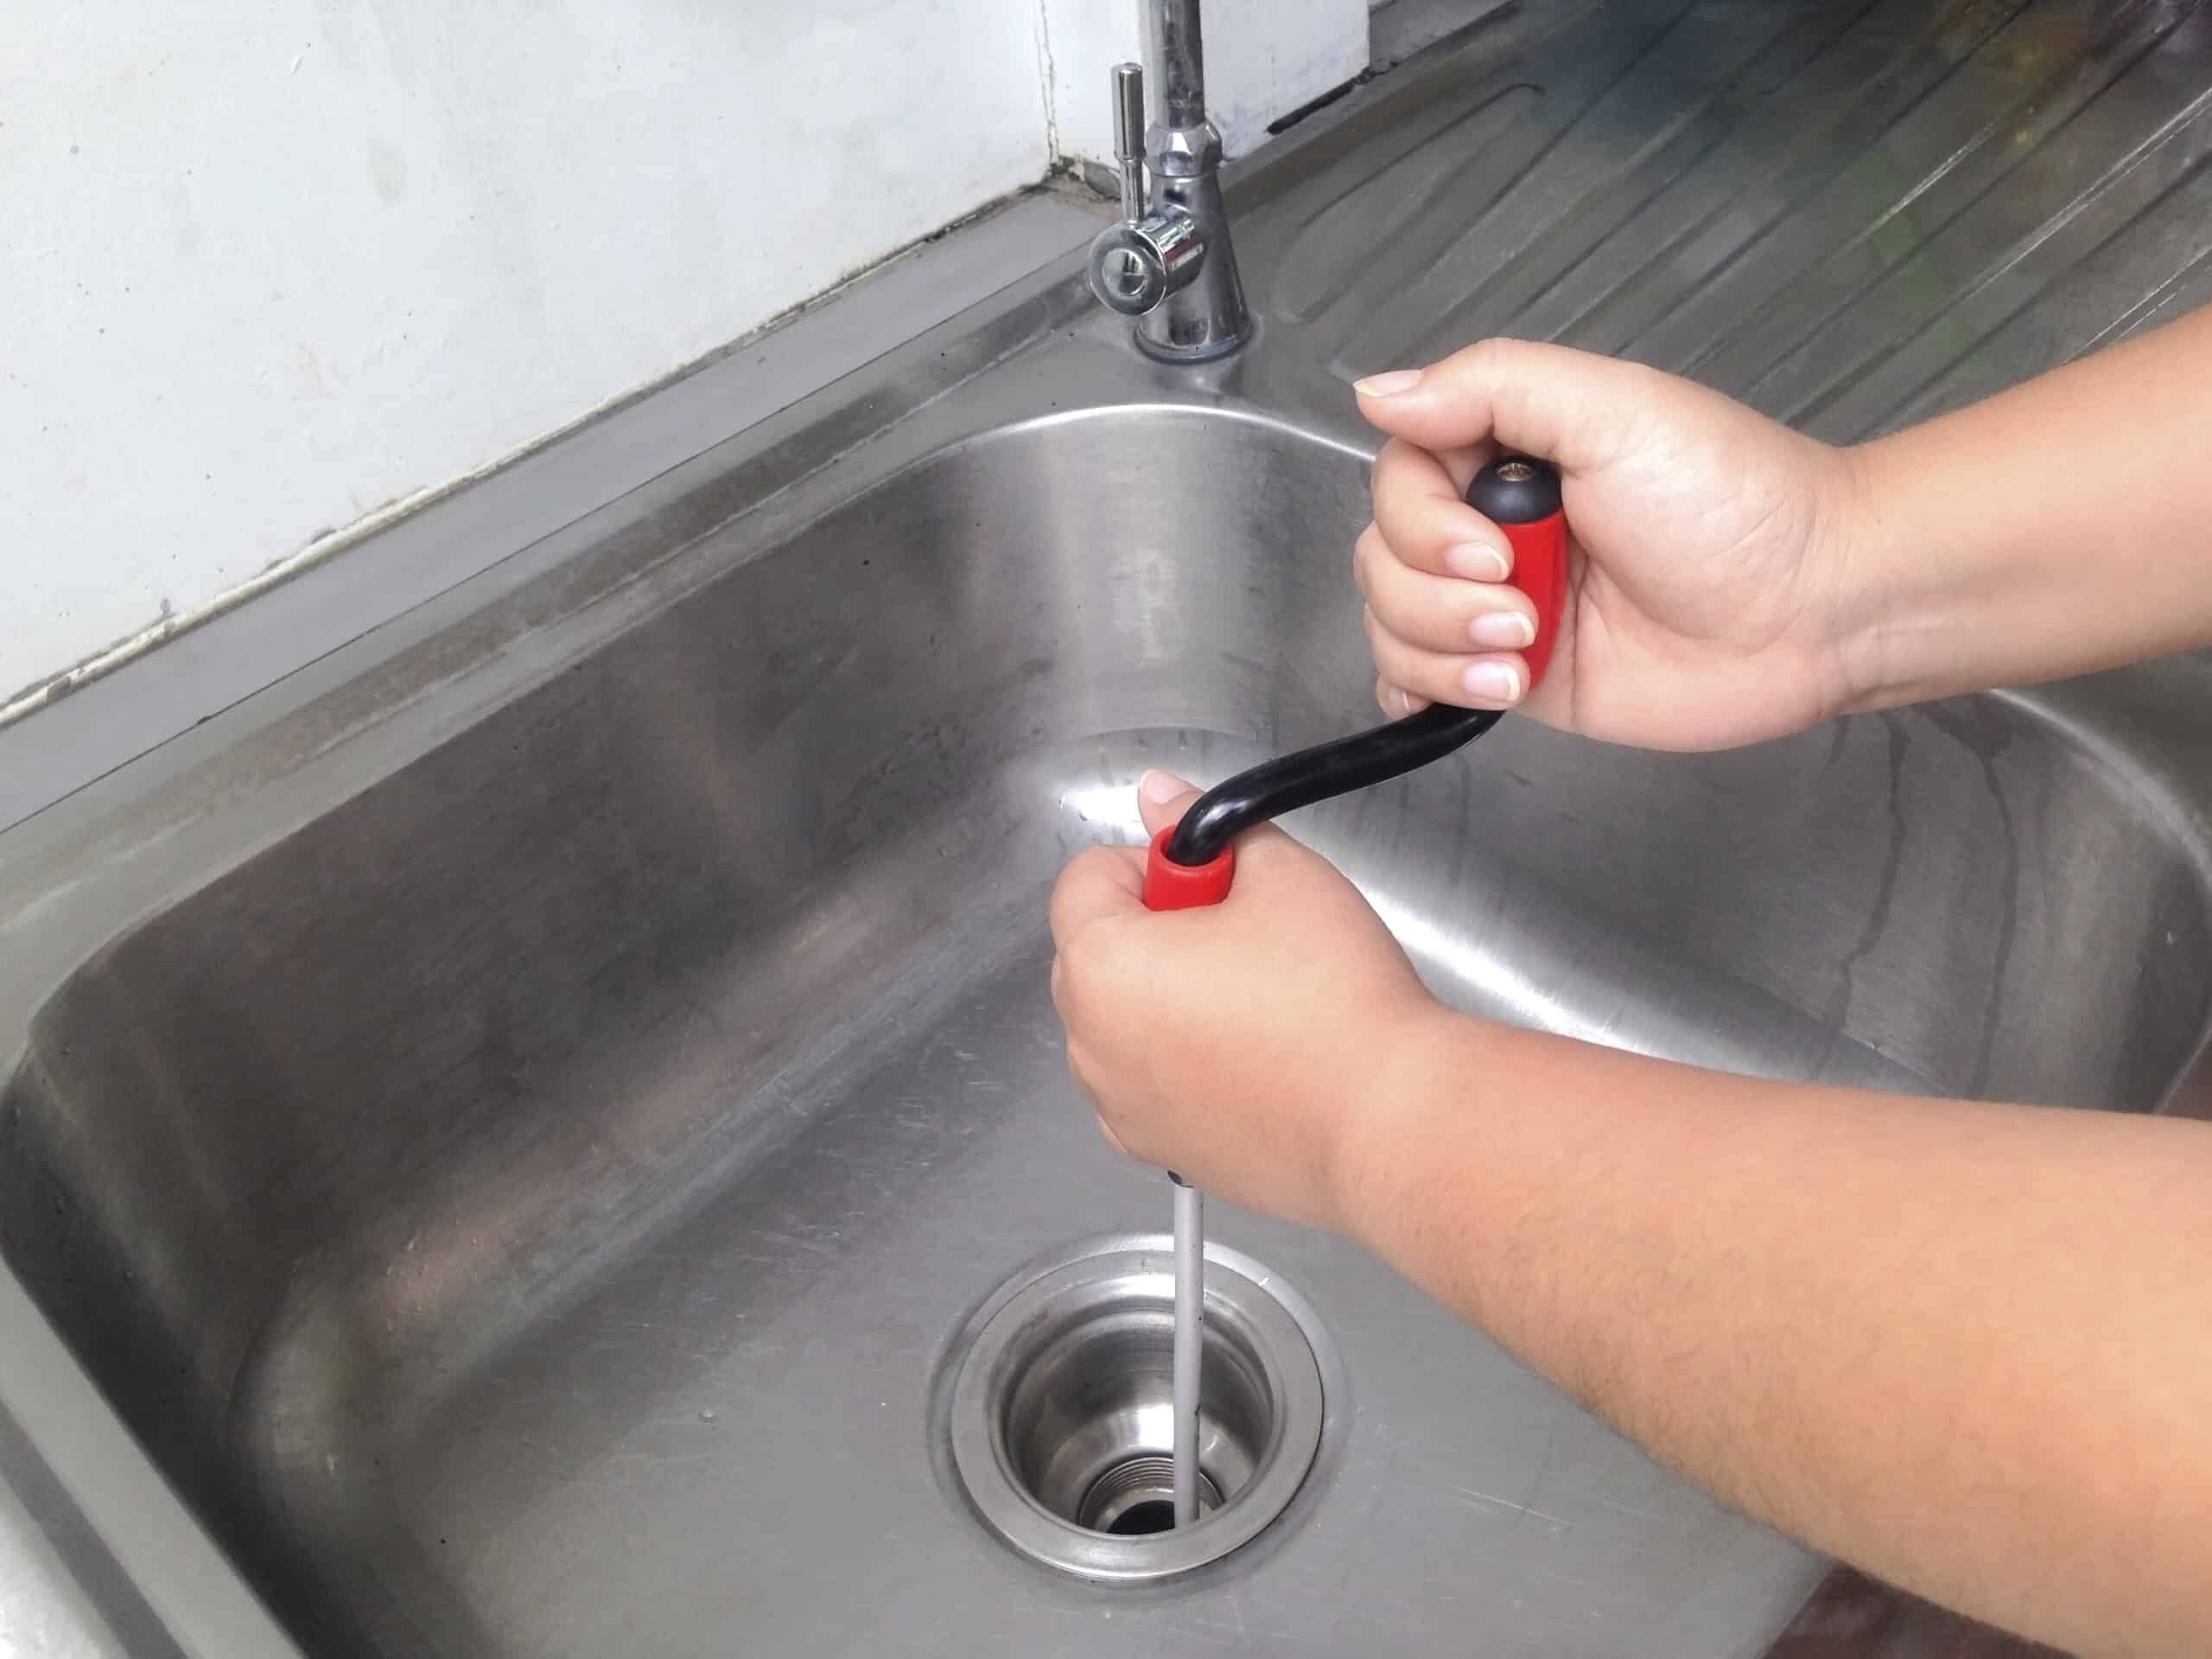
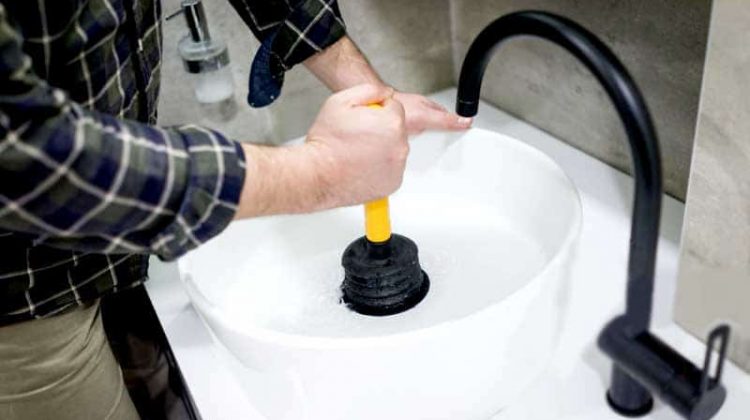
A clogged kitchen sink drain pipe can be a frustrating problem, but it can be easily fixed with a few simple steps: Step 1: Gather the Necessary Materials You will need a plunger, a plumber’s snake, and a bucket or towel. Step 2: Prep the Area Place a bucket or towel underneath the drain to catch any water that may spill out during the unclogging process. Step 3: Use a Plunger Place the plunger over the drain and use a pumping motion to create suction and dislodge the clog. Repeat as needed. Step 4: Try a Plumber’s Snake If the plunger doesn’t work, you can use a plumber’s snake to manually remove the clog. Insert the snake into the drain and turn it clockwise to break up the clog. Step 5: Test the Drain Run water in the sink to see if the clog has been cleared. If not, repeat the steps or call a professional plumber for assistance.How to Unclog a Kitchen Sink Drain Pipe
If you notice a leak in your kitchen sink drain pipe, it’s important to fix it as soon as possible to avoid further damage. Follow these steps to fix a leaky kitchen sink drain pipe: Step 1: Gather the Necessary Materials You will need a pipe wrench, plumber’s putty, Teflon tape, and a new drain pipe. Step 2: Prep the Area Clear out the area under the sink and place a bucket or towel underneath the leak. Step 3: Tighten Connections Using a pipe wrench, tighten any loose connections between the drain pipe and the sink, wall, and/or floor. Step 4: Apply Plumber’s Putty Roll a small amount of plumber’s putty into a long, thin rope and wrap it around the leaky area of the drain pipe. This will help to create a seal and prevent further leaking. Step 5: Wrap with Teflon Tape Wrap Teflon tape around the plumber’s putty to further secure the leaky area. Step 6: Replace the Drain Pipe If the leak persists, you may need to replace the drain pipe. Follow the steps from the previous section on how to replace a kitchen sink drain pipe.How to Fix a Leaky Kitchen Sink Drain Pipe
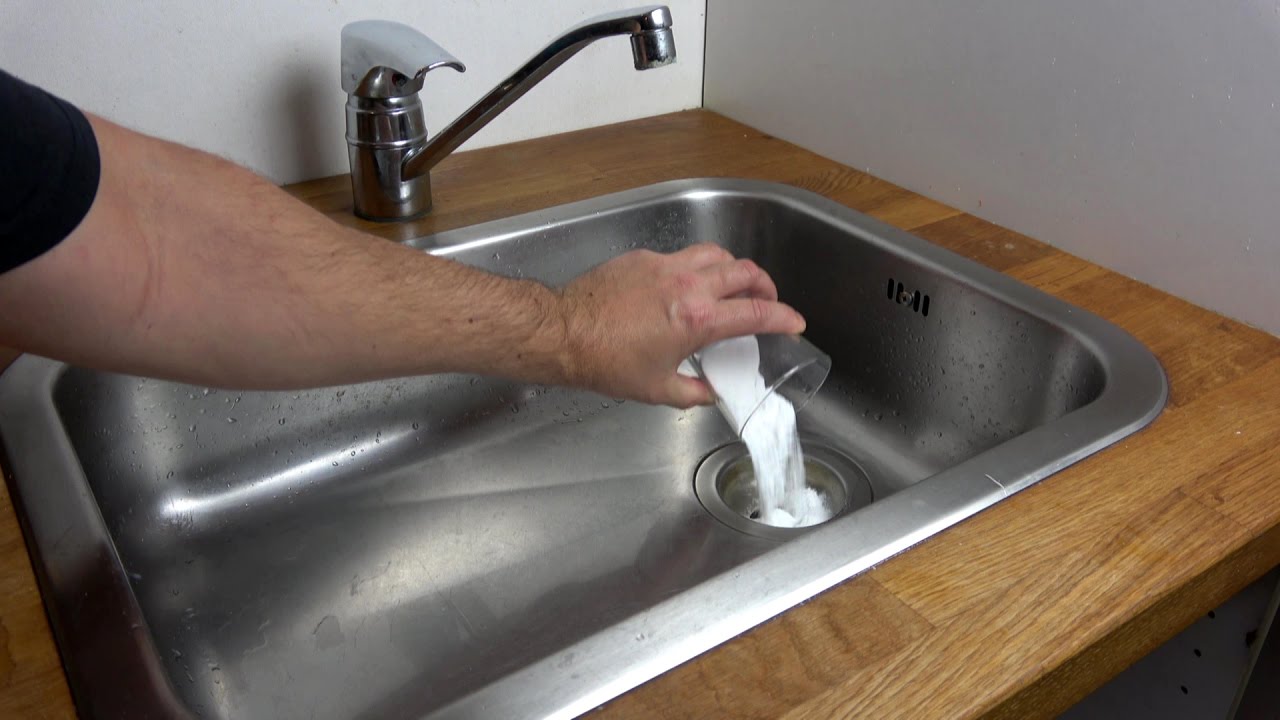
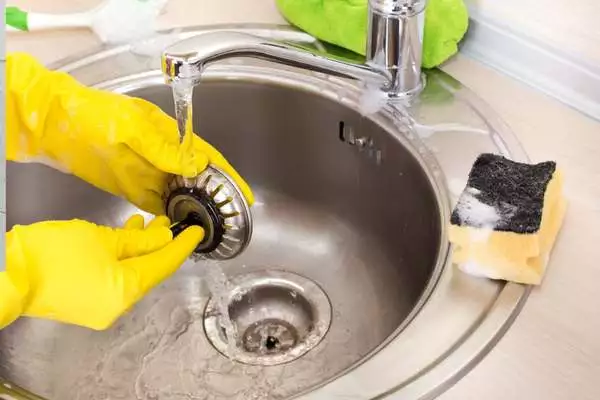
Regularly cleaning your kitchen sink drain pipe can help prevent clogs and keep your sink functioning properly. Here’s how to clean a kitchen sink drain pipe: Step 1: Gather the Necessary Materials You will need a drain brush, vinegar, baking soda, and hot water. Step 2: Remove any Debris Using a drain brush, remove any visible debris from the drain pipe. Step 3: Pour in Vinegar and Baking Soda Pour 1 cup of baking soda and 1 cup of vinegar down the drain. Let it sit for 10-15 minutes. Step 4: Flush with Hot Water After 10-15 minutes, flush the drain with hot water to help break up any remaining debris. Step 5: Repeat as Needed If the drain is still clogged, you may need to repeat the process or use a plunger or plumber’s snake to remove the clog.How to Clean a Kitchen Sink Drain Pipe
Venting a kitchen sink drain pipe is important to prevent air pressure from building up and causing clogs or slow draining. Follow these steps to learn how to vent a kitchen sink drain pipe: Step 1: Gather the Necessary Materials You will need a drill, a jigsaw, a vent pipe, and a vent cap. Step 2: Determine the Proper Location for the Vent Using a drill and jigsaw, create a hole in the wall or floor where the vent pipe will be installed. The vent pipe should be placed at least 6 inches above the drain trap. Step 3: Install the Vent Pipe Insert the vent pipe into the hole and secure it in place using screws or brackets. Step 4: Attach the Vent Cap Attach the vent cap to the top of the vent pipe to prevent debris from entering. Step 5: Test the Drain Run water in the sink to make sure the vent is properly installed and the drain is functioning correctly.How to Vent a Kitchen Sink Drain Pipe
Before beginning any kitchen sink drain pipe installation or replacement, it’s important to measure the area to ensure a proper fit. Here’s how to measure for a kitchen sink drain pipe: Step 1: Measure the Sink Opening Using a tape measure, measure the diameter of the opening where the drain will be attached to the sink. Step 2: Measure the Height of the Drain Opening Measure the distance from the bottom of the sink to the top of the drain opening. Step 3: Measure the Distance to the Wall Measure the distance from the center of the drain opening to the wall or floor where the drain pipe will be attached. Step 4: Measure the Distance to the Dishwasher If installing a dishwasher, measure the distance from the center of the drain opening to the dishwasher tailpiece. Step 5: Use the Measurements to Choose the Right Drain Pipe Use the measurements to choose the appropriate size and type of drain pipe for your specific sink and installation needs.How to Measure for a Kitchen Sink Drain Pipe
The Importance of Proper Kitchen Sink Drain Pipe Layout in House Design
:max_bytes(150000):strip_icc()/how-to-install-a-sink-drain-2718789-hero-24e898006ed94c9593a2a268b57989a3.jpg)
Efficient Water Flow
 When designing a kitchen, one of the most important aspects to consider is the
drainage system
. This includes the layout of the kitchen sink drain pipes. A well-designed layout can ensure
efficient water flow
and prevent clogs and blockages. This is crucial in maintaining the functionality and cleanliness of your kitchen.
Preventing Odors and Bacteria Growth
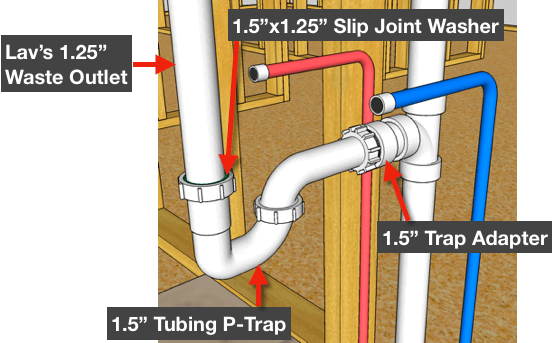 Another reason why a proper kitchen sink drain pipe layout is essential is to prevent
odors
and
bacteria growth
. When pipes are not properly laid out, water can stagnate and become a breeding ground for bacteria. This can lead to foul smells in your kitchen and even pose health hazards for you and your family. A well-designed layout ensures that water flows freely, preventing any build-up of bacteria.
Maximizing Space
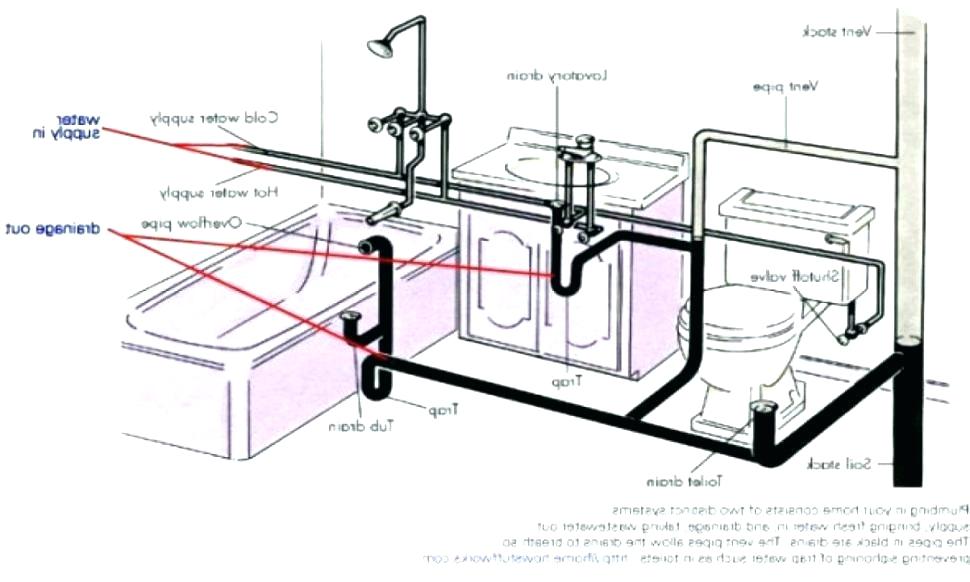 In house design,
space optimization
is crucial, especially in smaller kitchens. A well-planned kitchen sink drain pipe layout can help you maximize the available space. By strategically placing the pipes, you can free up space under the sink for storage or other kitchen appliances. This not only makes your kitchen more functional but also adds to its aesthetic appeal.
Preventing Water Damage
 Poorly designed kitchen sink drain pipes can also lead to
water damage
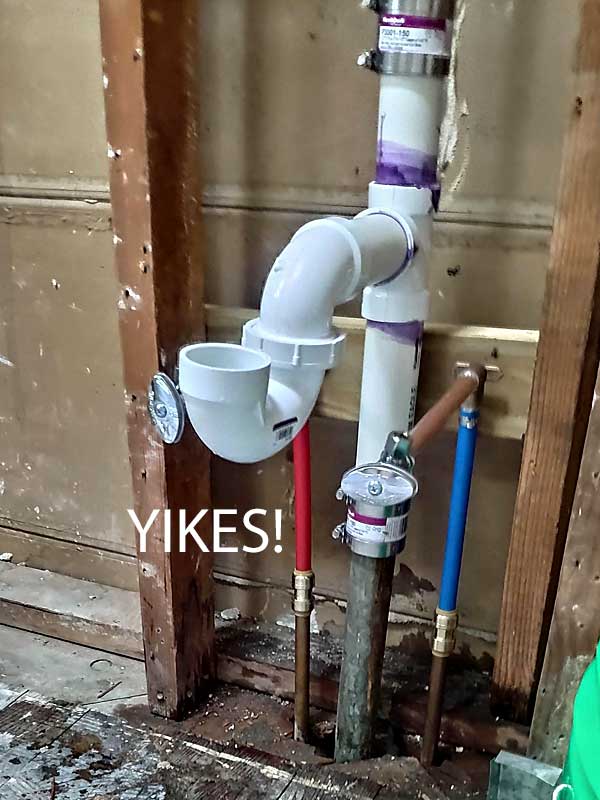
in your home. If pipes are not correctly laid out, water can leak and cause damage to your kitchen cabinets, walls, and floors. This can be a costly and time-consuming issue to fix. By ensuring a proper layout, you can prevent any potential water damage and save yourself from future headaches.
Final Thoughts
 In conclusion, the layout of your kitchen sink drain pipes is a crucial aspect of house design. It not only affects the functionality and cleanliness of your kitchen but also plays a significant role in preventing potential issues such as clogs, odors, bacteria growth, and water damage. By prioritizing a well-designed layout, you can create a functional and efficient kitchen that meets all your needs.


/how-to-install-a-sink-drain-2718789-hero-b5b99f72b5a24bb2ae8364e60539cece.jpg)







:max_bytes(150000):strip_icc()/freshen-and-unclog-drain-with-baking-soda-1900466-22-bbf940b70afa4d5abef0c54da23b1d3f.jpg)
:max_bytes(150000):strip_icc()/how-to-unclog-a-kitchen-sink-2718799_sketch_FINAL-8c5caa805a69493ab22dfb537c72a1b7.png)


:max_bytes(150000):strip_icc()/freshen-and-unclog-drain-with-baking-soda-1900466-18-1a5b5da01939471ca8f8823865bd1ce8.jpg)




:max_bytes(150000):strip_icc()/how-to-clean-a-kitchen-sink-and-drain-01-5660035-a1d8afe3894346f9a579e66c55e64b7d.jpg)
