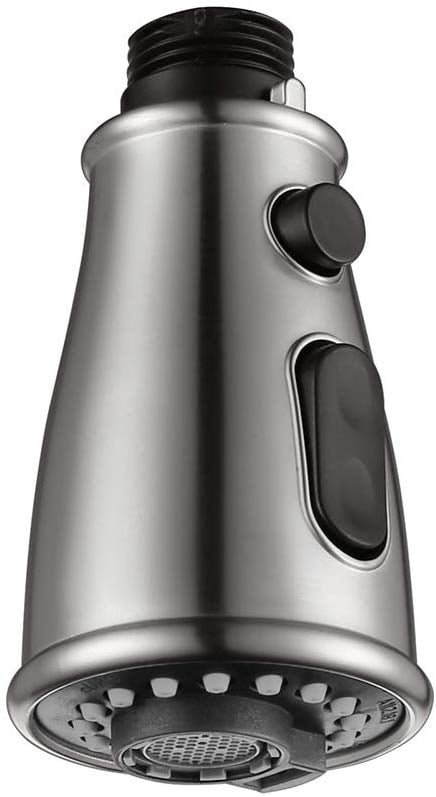
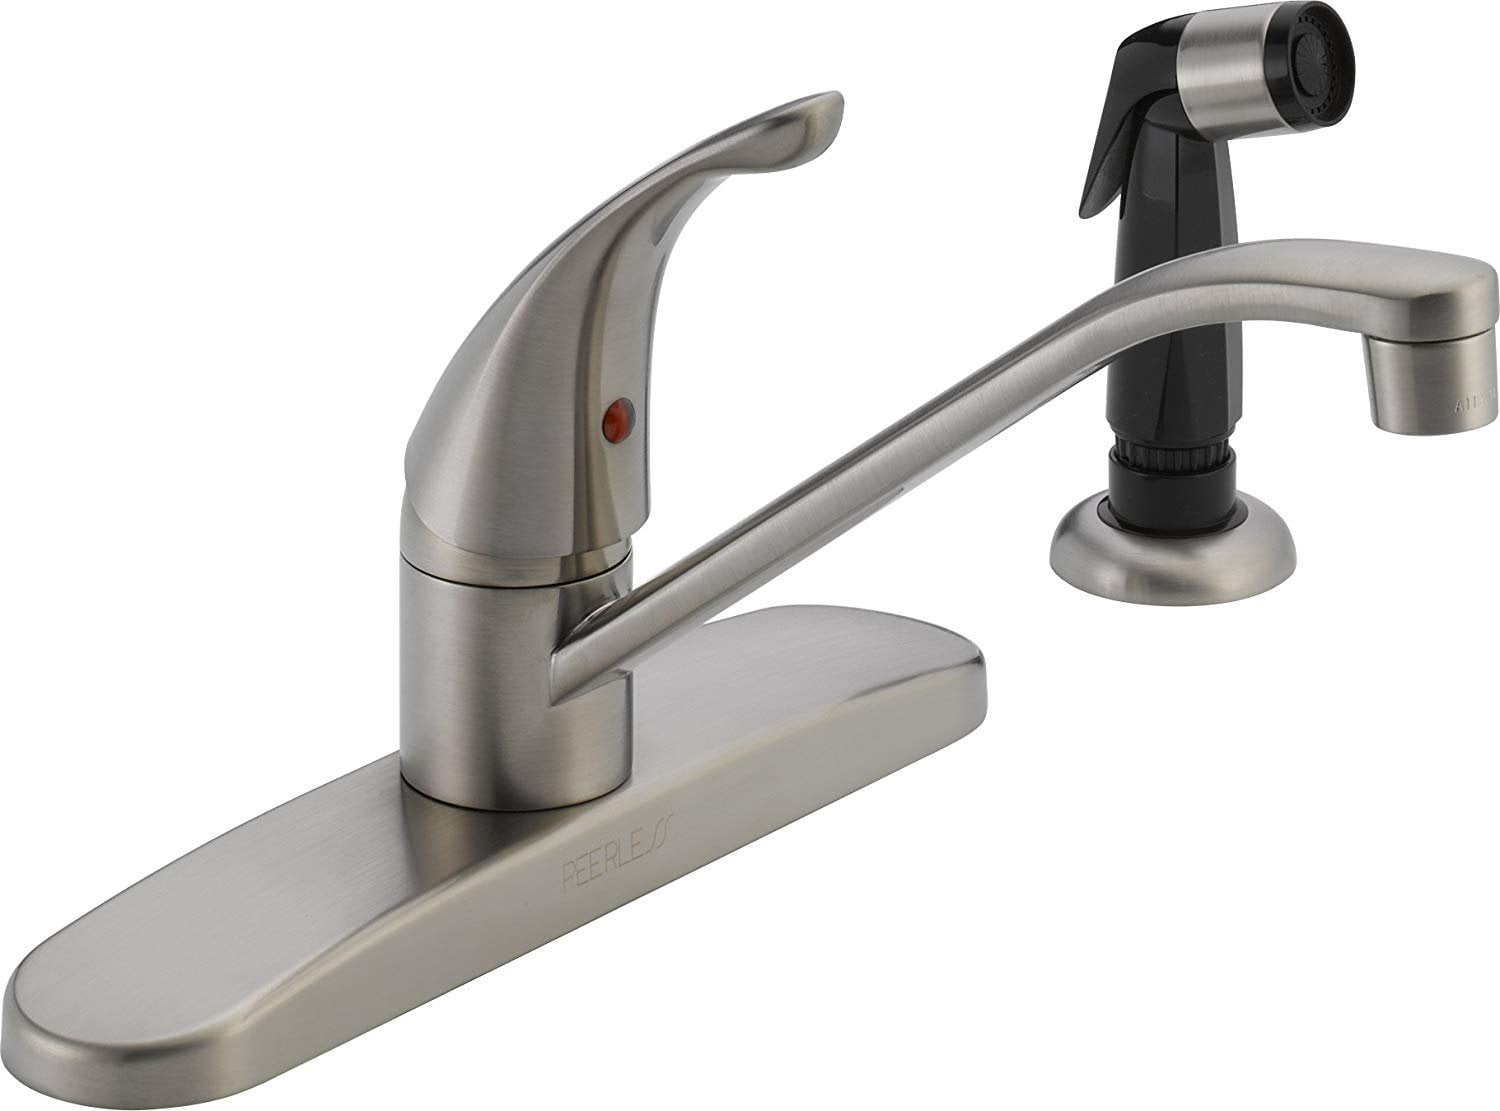
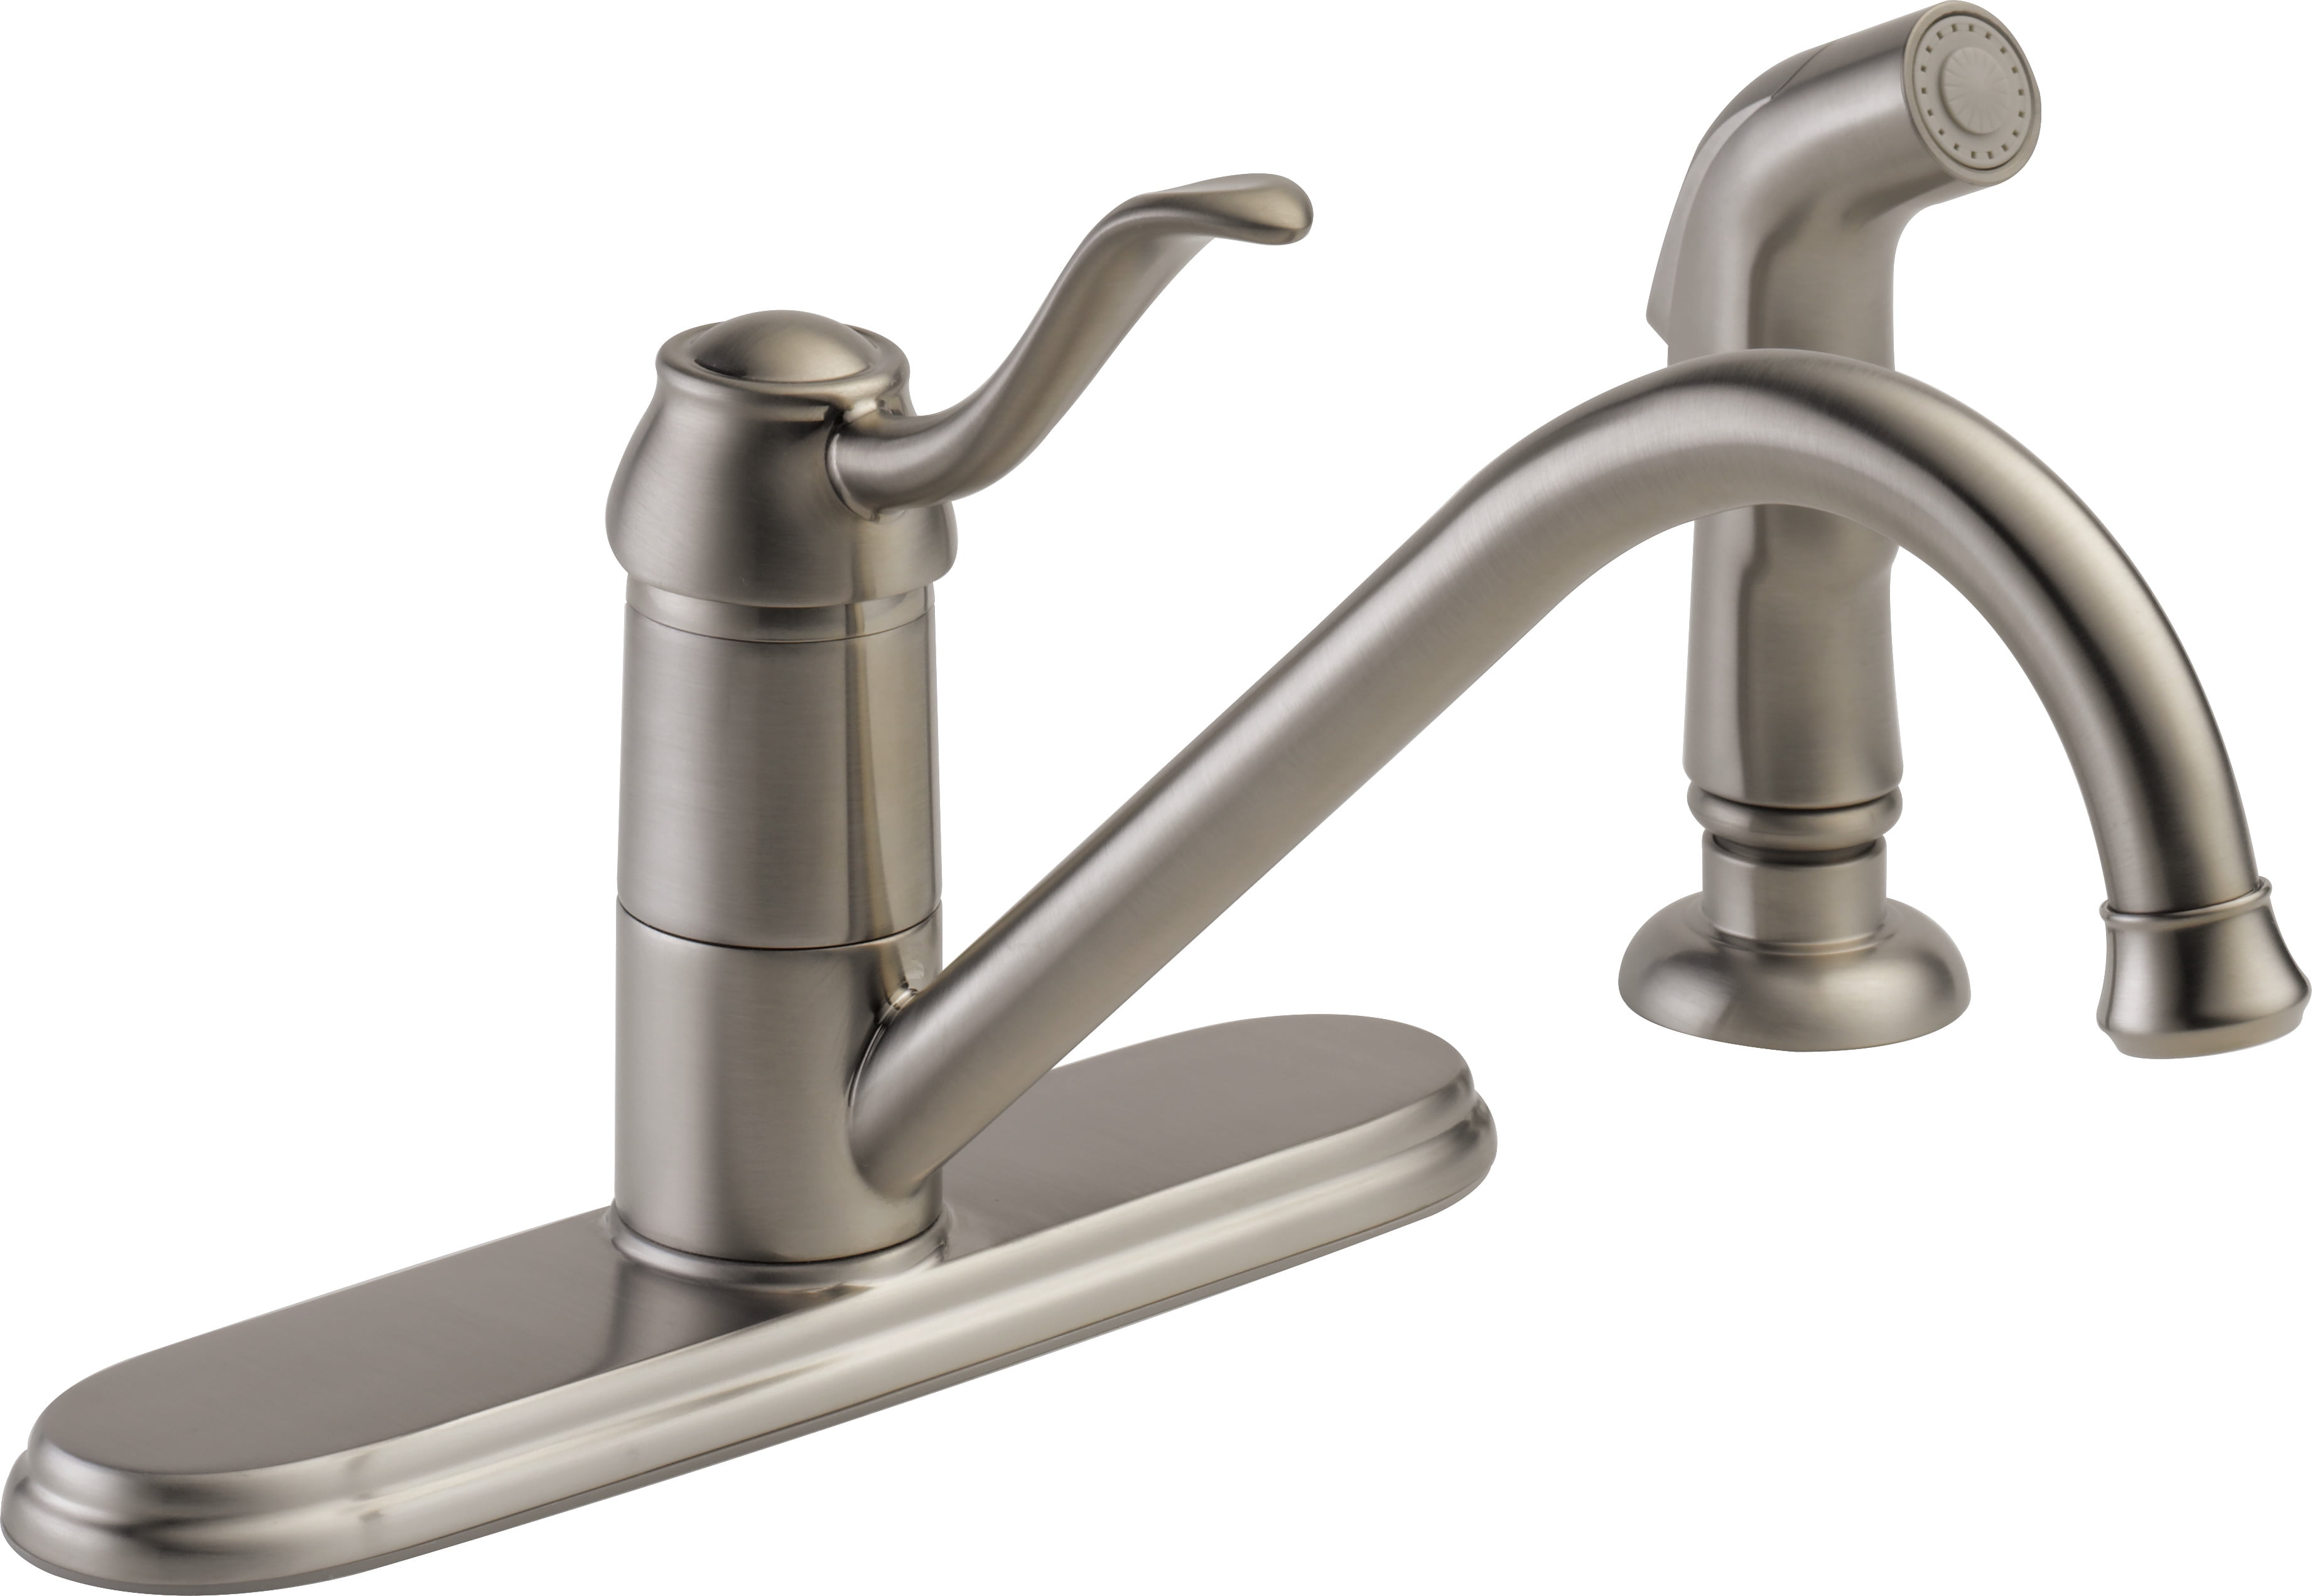
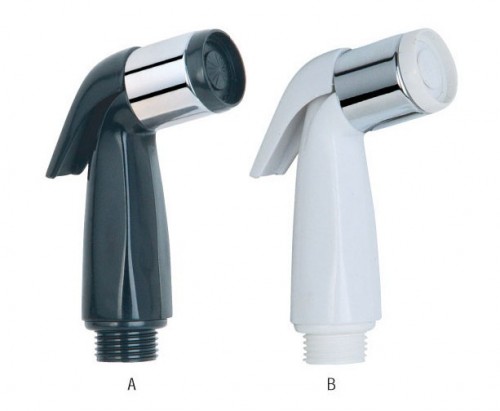
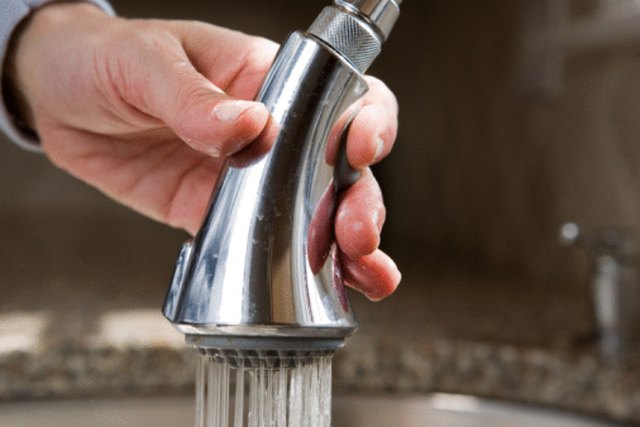
Is your kitchen sink faucet head looking worn out or not functioning properly? Don't worry, replacing it is easier than you think. In this guide, we'll walk you through the process of replacing your kitchen sink faucet head and provide some tips to help you choose the perfect replacement. Kitchen Sink Faucet Head Replacement: A Step-by-Step Guide
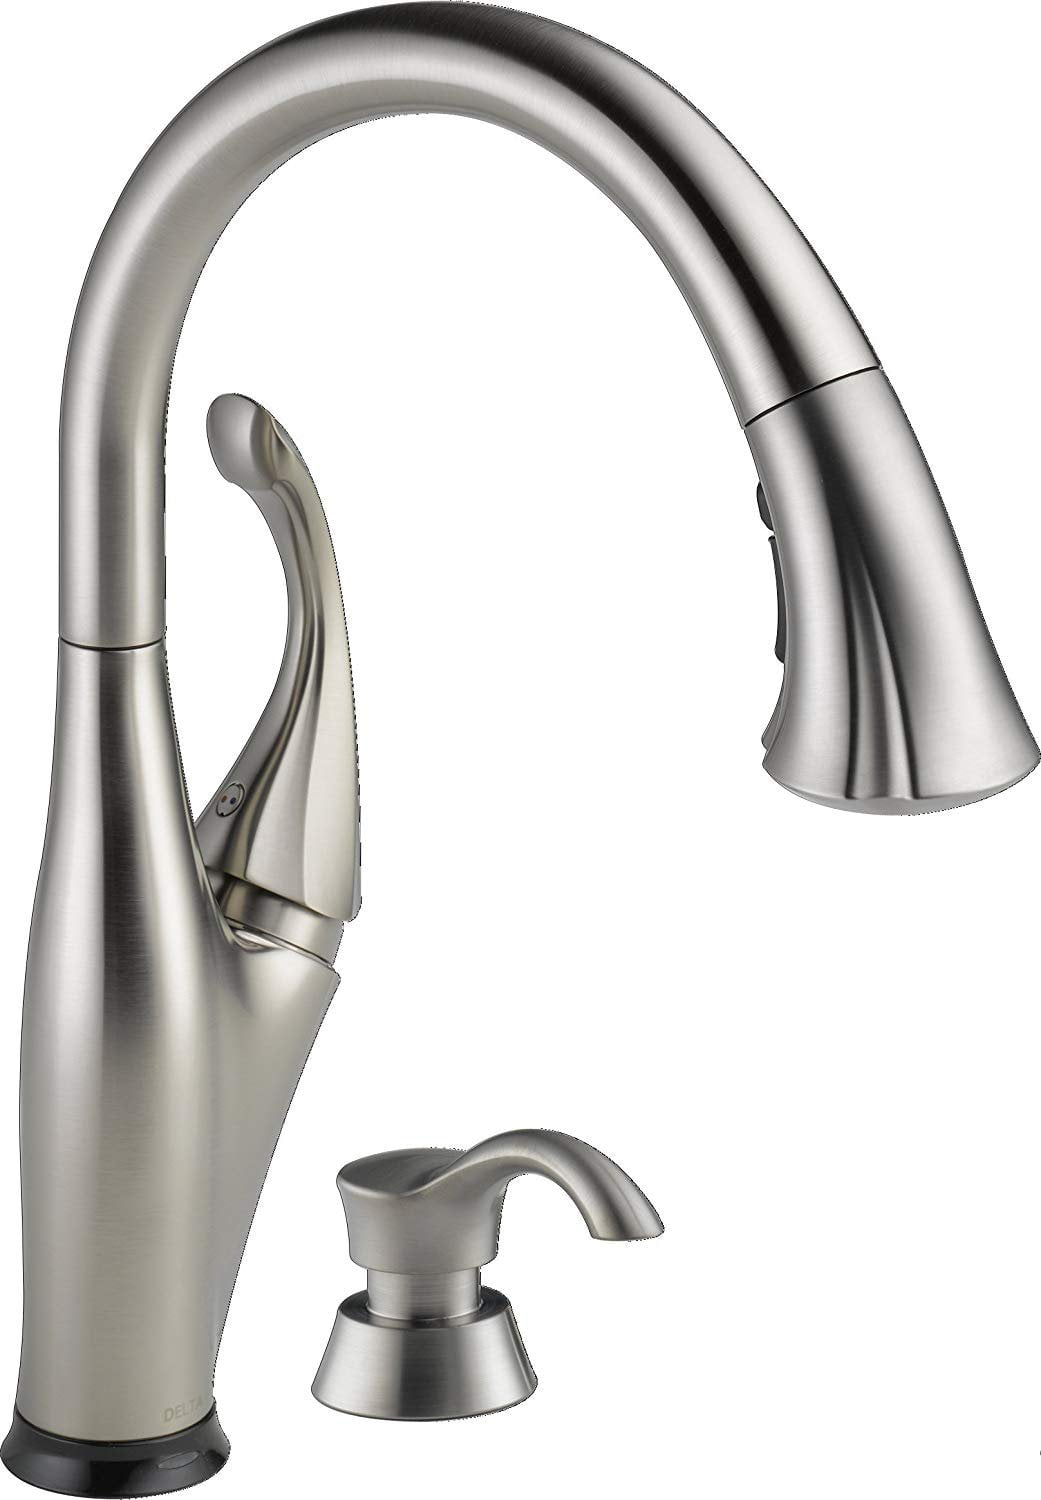
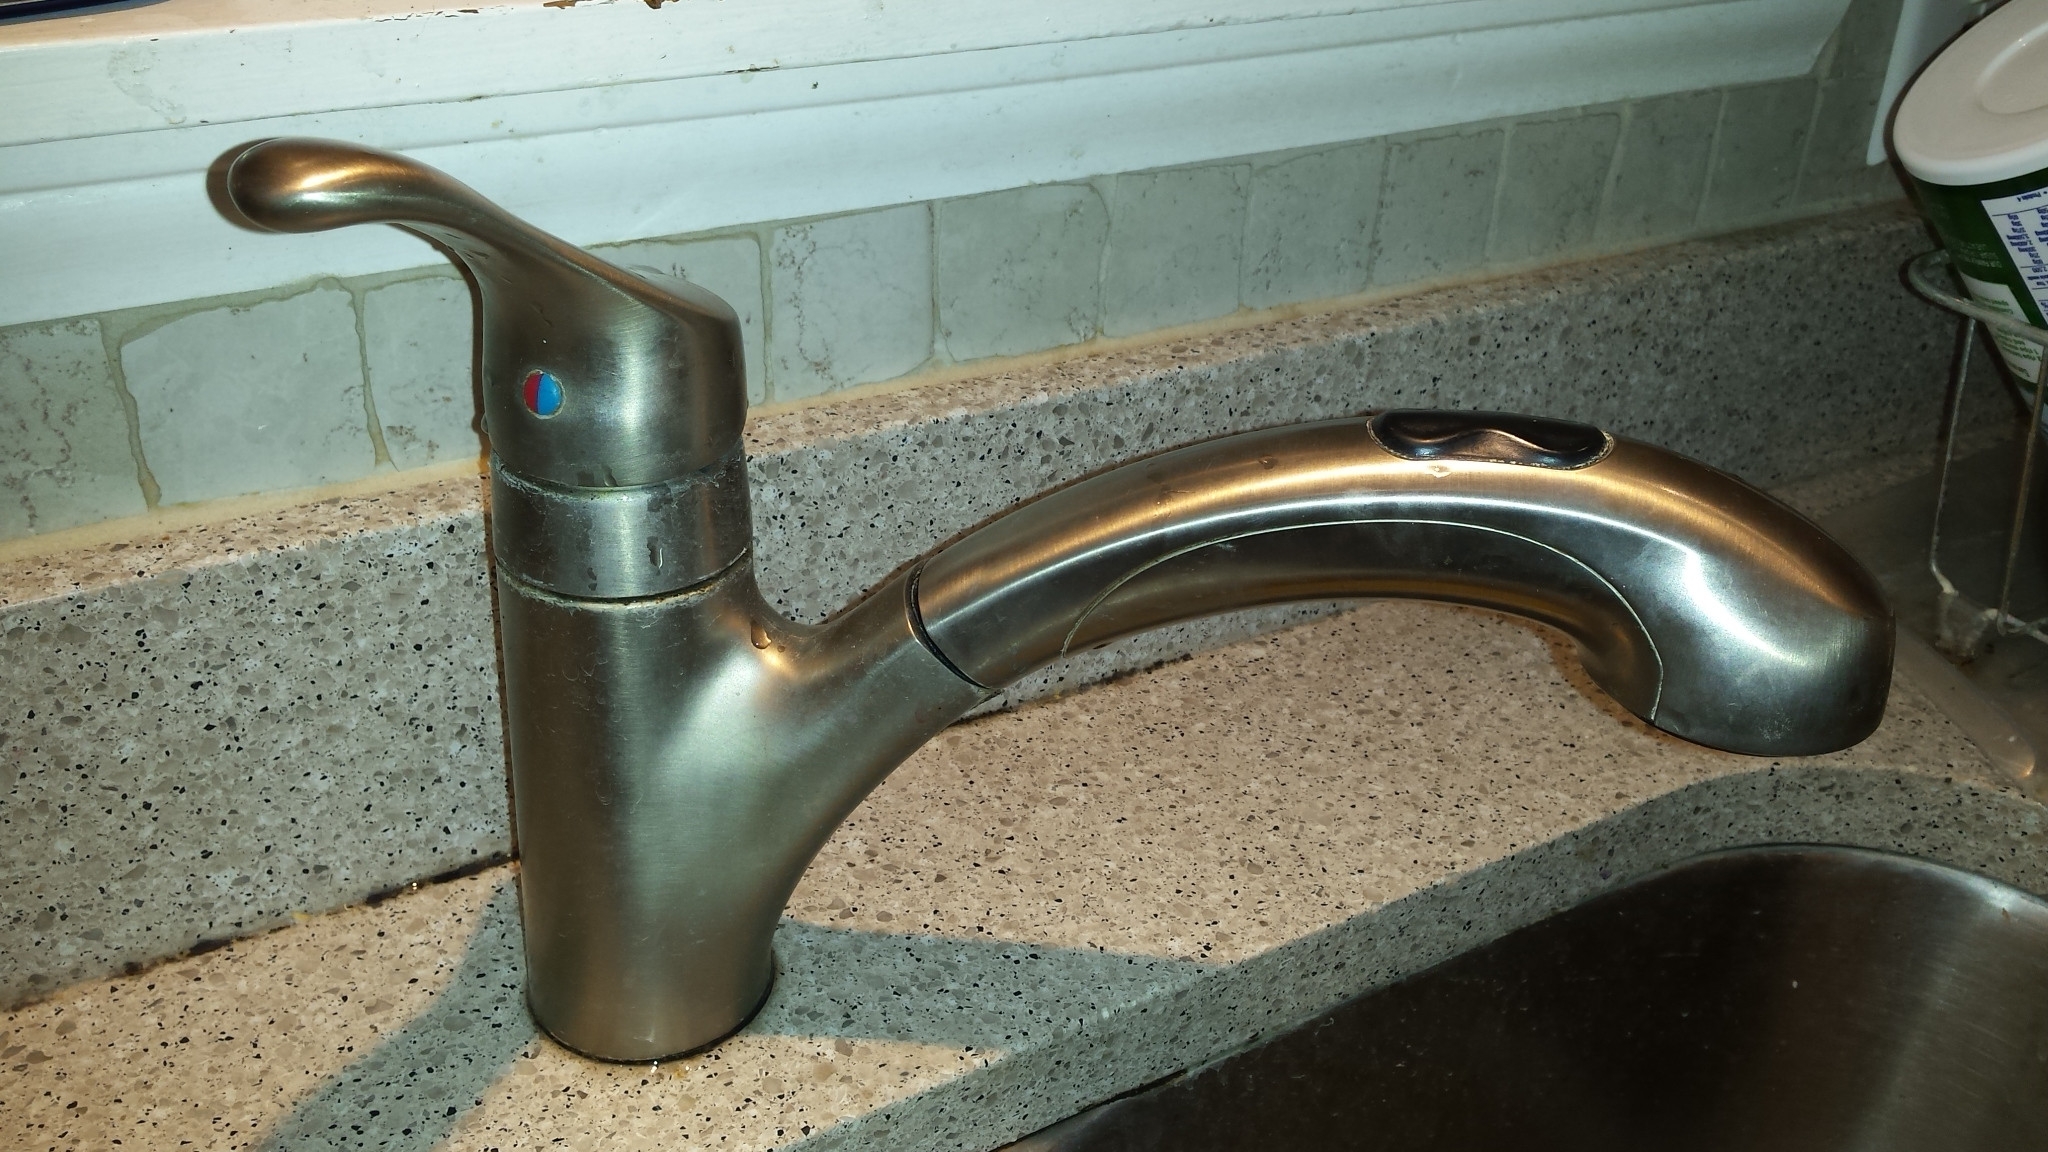
Before you start shopping for a new kitchen sink faucet head, it's important to understand what features to look for. The first thing to consider is the type of sprayer head you need. There are two main types: pull-down and pull-out. Pull-down heads have a higher arc and are better for larger pots and pans, while pull-out heads have a lower profile and are more suitable for smaller sinks. Next, consider the spray options. Most kitchen sink faucet heads offer a standard stream and spray function, but some also have a pause feature, which can be useful for filling pots or preventing splashing. Also, check the flow rate of the faucet head. A lower flow rate can save water and reduce your utility bill. What to Look for in a Kitchen Sink Faucet Head
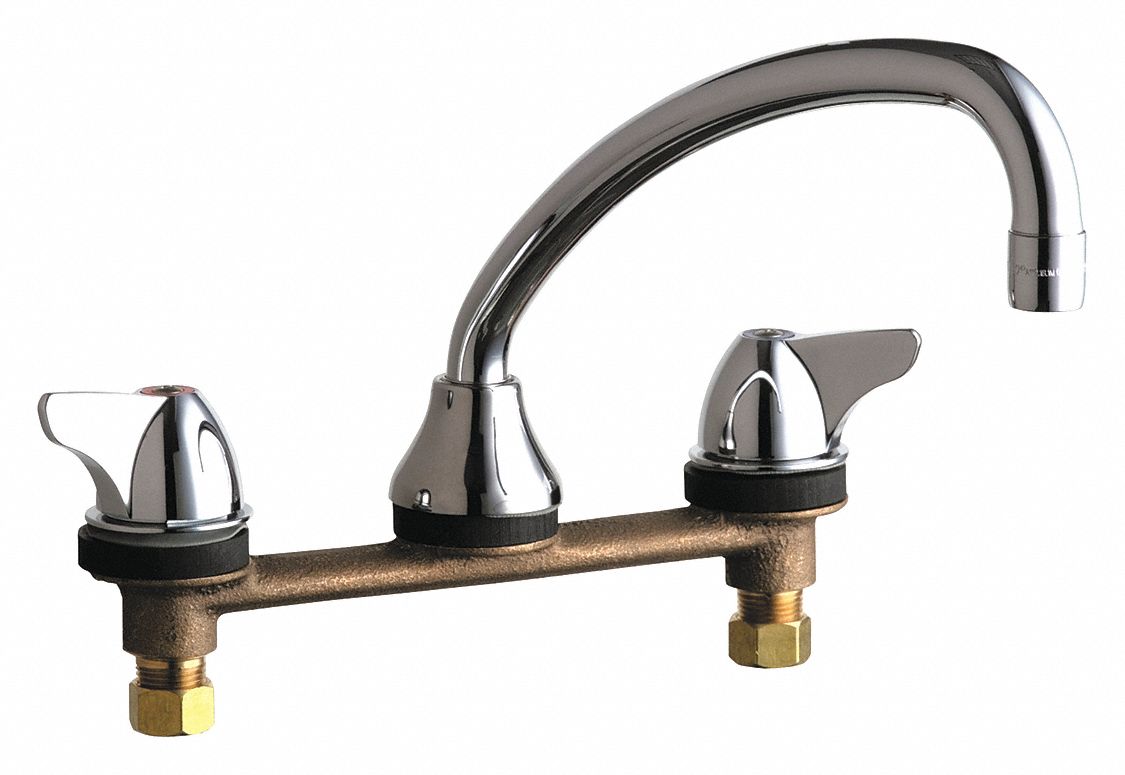
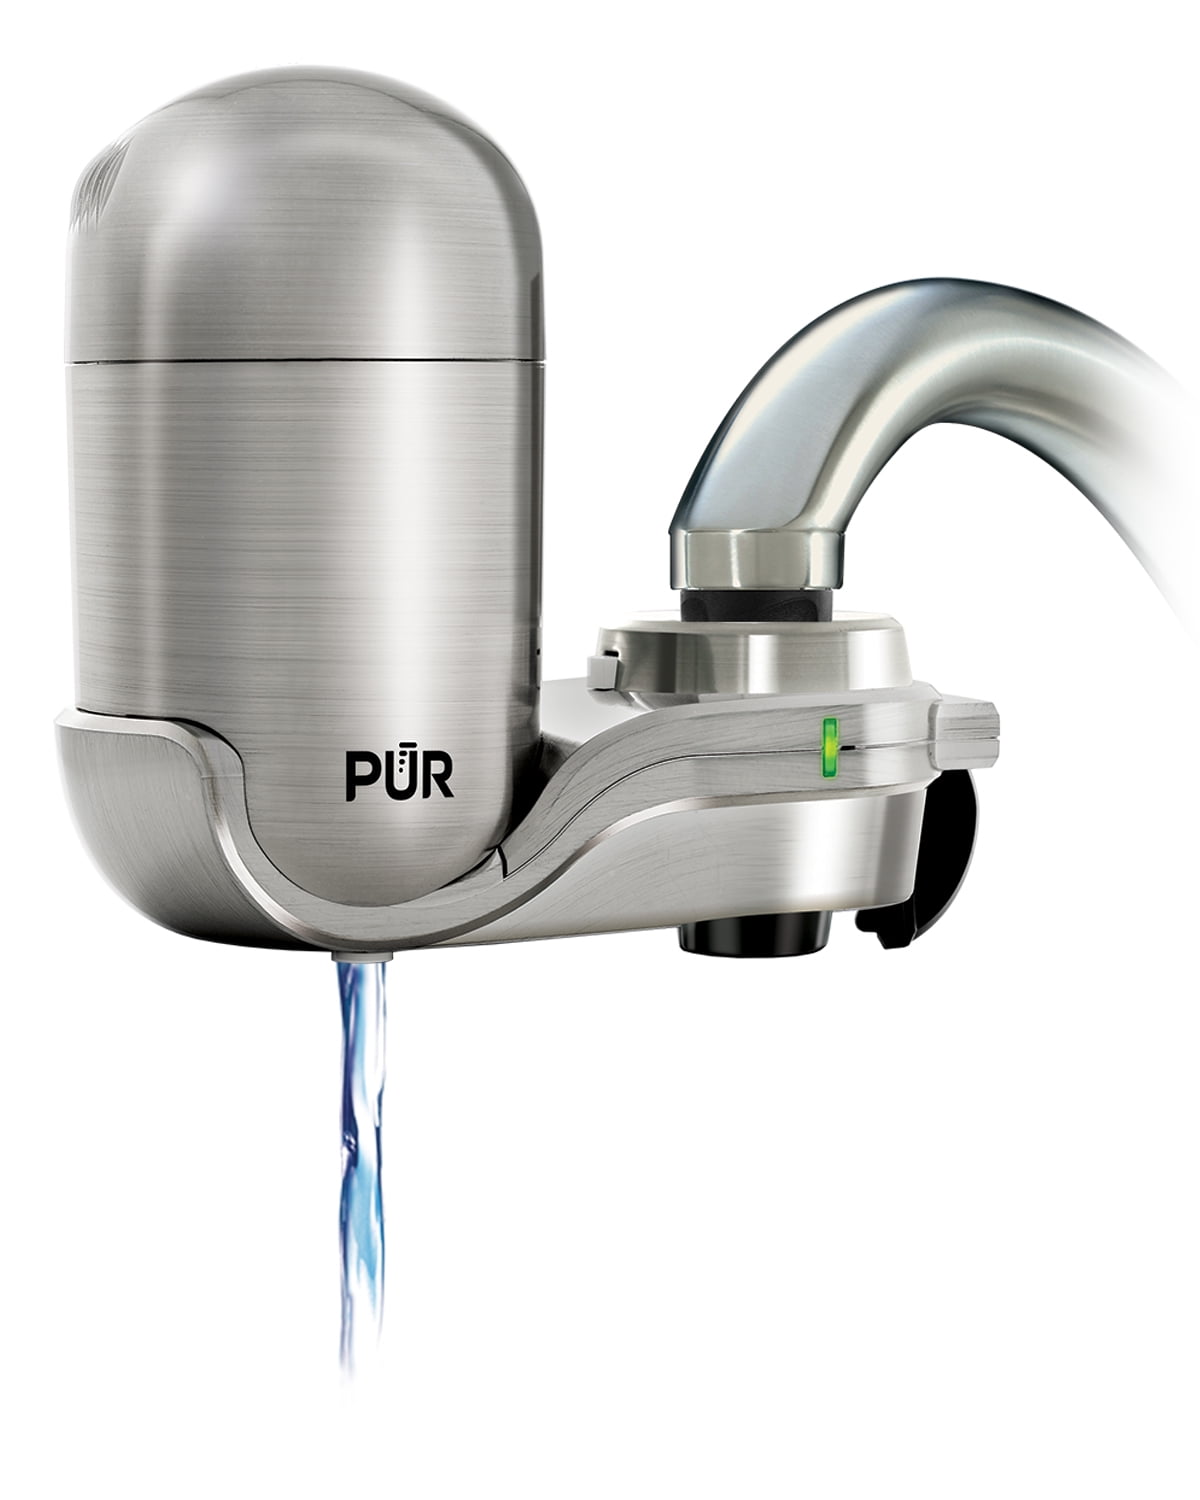
When it comes to choosing a replacement kitchen sink faucet head, there are a few things to keep in mind. First, make sure the replacement is compatible with your current faucet model. You can usually find this information in the product description or by contacting the manufacturer. Additionally, consider the style and finish of the faucet head. You want to make sure it matches the rest of your kitchen decor. Some popular finishes include chrome, stainless steel, and bronze. Choosing the Right Replacement
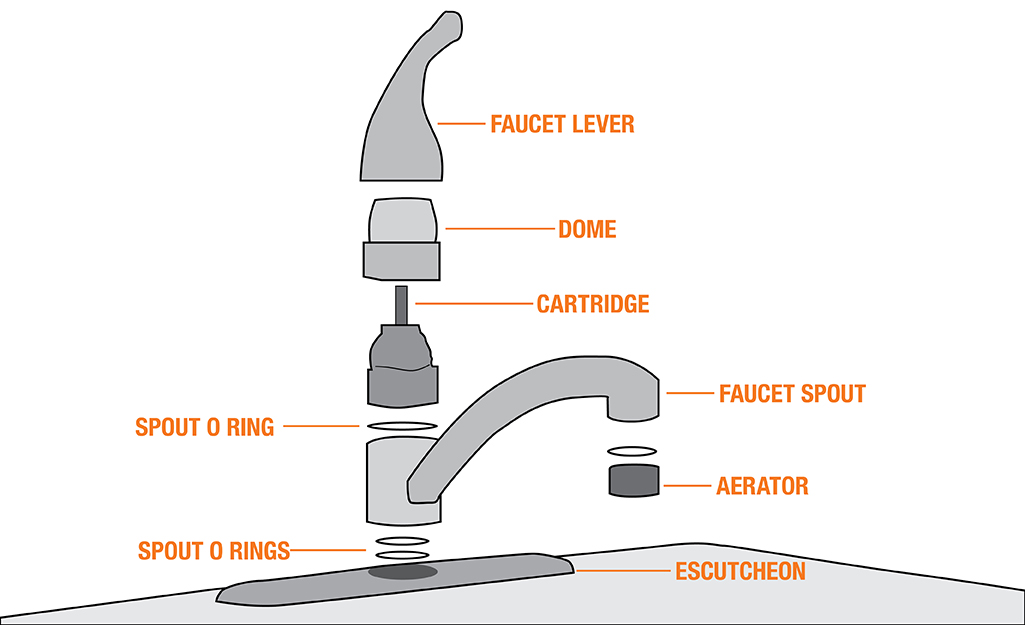
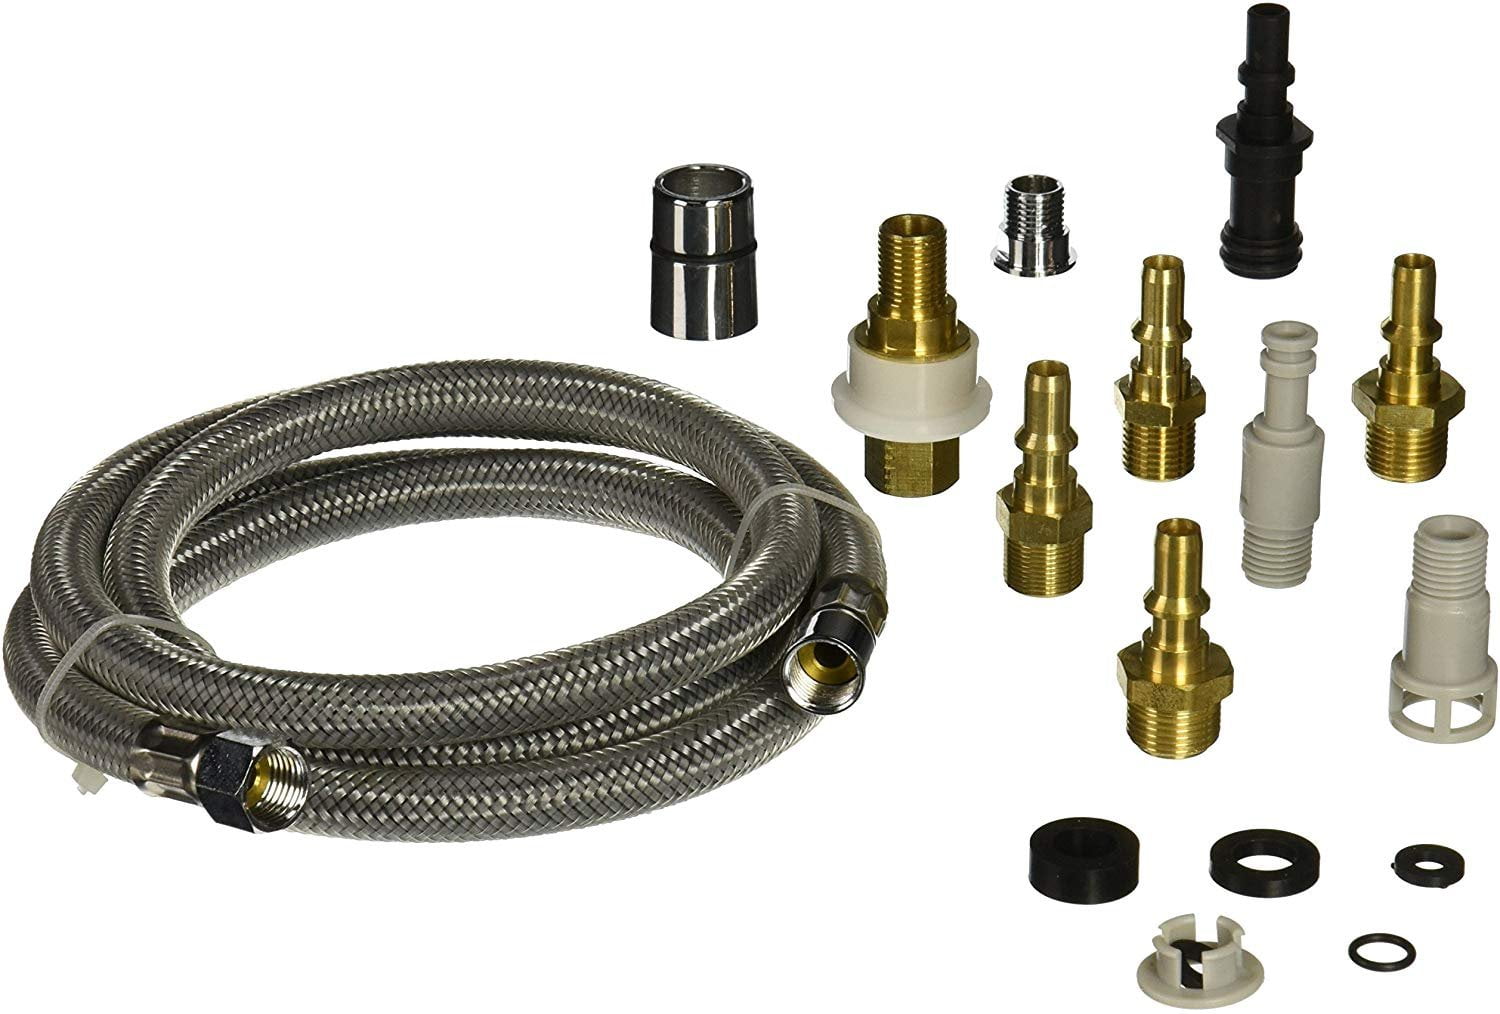
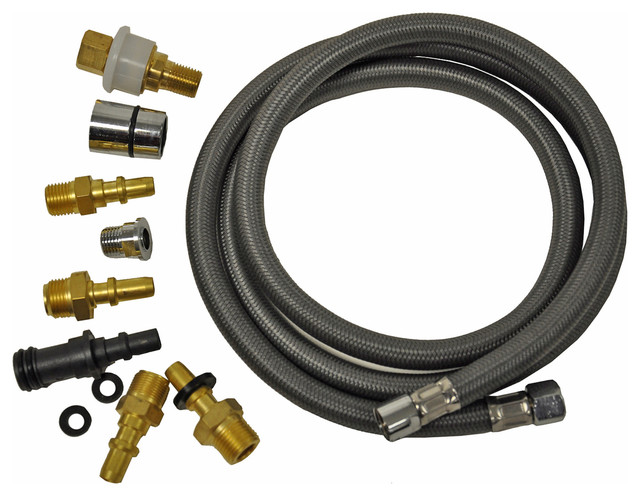
Before you can install the new faucet head, you'll need to remove the old one. Start by turning off the water supply to your kitchen sink. Then, use pliers or a wrench to loosen the nut that connects the faucet head to the hose. Once the nut is loose, you should be able to twist and pull off the old head. If the old head is stuck, you may need to use a lubricant or apply some force to remove it. Just be careful not to damage any surrounding fixtures or pipes. Removing the Old Faucet Head
Once the old head is removed, it's time to install the new one. Start by attaching the new head to the hose. Make sure the connection is tight to prevent any leaks. Then, turn the water supply back on and test the new head. If everything looks good, secure the nut with pliers or a wrench. Installing the New Faucet Head
When shopping for a replacement kitchen sink faucet head, it's always a good idea to read customer reviews and check the warranty. You want to make sure you're getting a quality product that will last. It's also important to regularly clean and maintain your faucet head to ensure it continues to function properly. Use a mixture of vinegar and water to remove any mineral buildup, and check for any loose connections or cracks. Additional Tips and Considerations
Your kitchen sink faucet head may seem like a small detail, but it plays a big role in your daily routine. By following these steps and considering your options carefully, you can easily replace your old faucet head with a new one that meets your needs and adds a touch of style to your kitchen. Happy shopping! In Conclusion
The Importance of Having a Kitchen Plus Sink Head in Your Home Design

Efficiency and Functionality
 When designing a house, one of the most important considerations is the kitchen. This is where families gather to cook, eat, and bond over food. With the addition of a kitchen plus sink head, the functionality of this space is greatly enhanced. The kitchen plus sink head combines the traditional sink with a smaller second sink, making it easier for multiple people to work in the kitchen at the same time. This not only saves time and effort, but also promotes efficiency in meal preparation.
Maximizing Space
 In today's modern homes, space is a valuable commodity. With the addition of a kitchen plus sink head, homeowners can maximize the limited space they have in their kitchen. The second sink allows for a more compact and streamlined design, freeing up counter space for other kitchen tasks. This is especially useful for smaller kitchens where every inch of space counts.
Convenience and Flexibility
 Having a kitchen plus sink head also adds convenience and flexibility to your daily routine. The second sink can be used for a variety of purposes such as washing fruits and vegetables, preparing drinks, or even as a designated hand-washing station. This eliminates the need to constantly switch between tasks in the main sink, allowing for a smoother and more efficient workflow in the kitchen.
Enhanced Aesthetics
 Apart from its practical uses, a kitchen plus sink head also adds to the overall aesthetic of your home. With its sleek and modern design, it can instantly elevate the look of your kitchen and make it more visually appealing. It also adds a touch of luxury and sophistication, making it a desirable feature for potential buyers in the future.
In conclusion, a kitchen plus sink head is not just a simple addition to your house design. It offers a multitude of benefits such as efficiency, space maximization, convenience, and enhanced aesthetics. With its numerous advantages, it is definitely a worthwhile investment for any homeowner looking to create a functional and stylish kitchen in their home. So why settle for a traditional sink when you can have a kitchen plus sink head?
