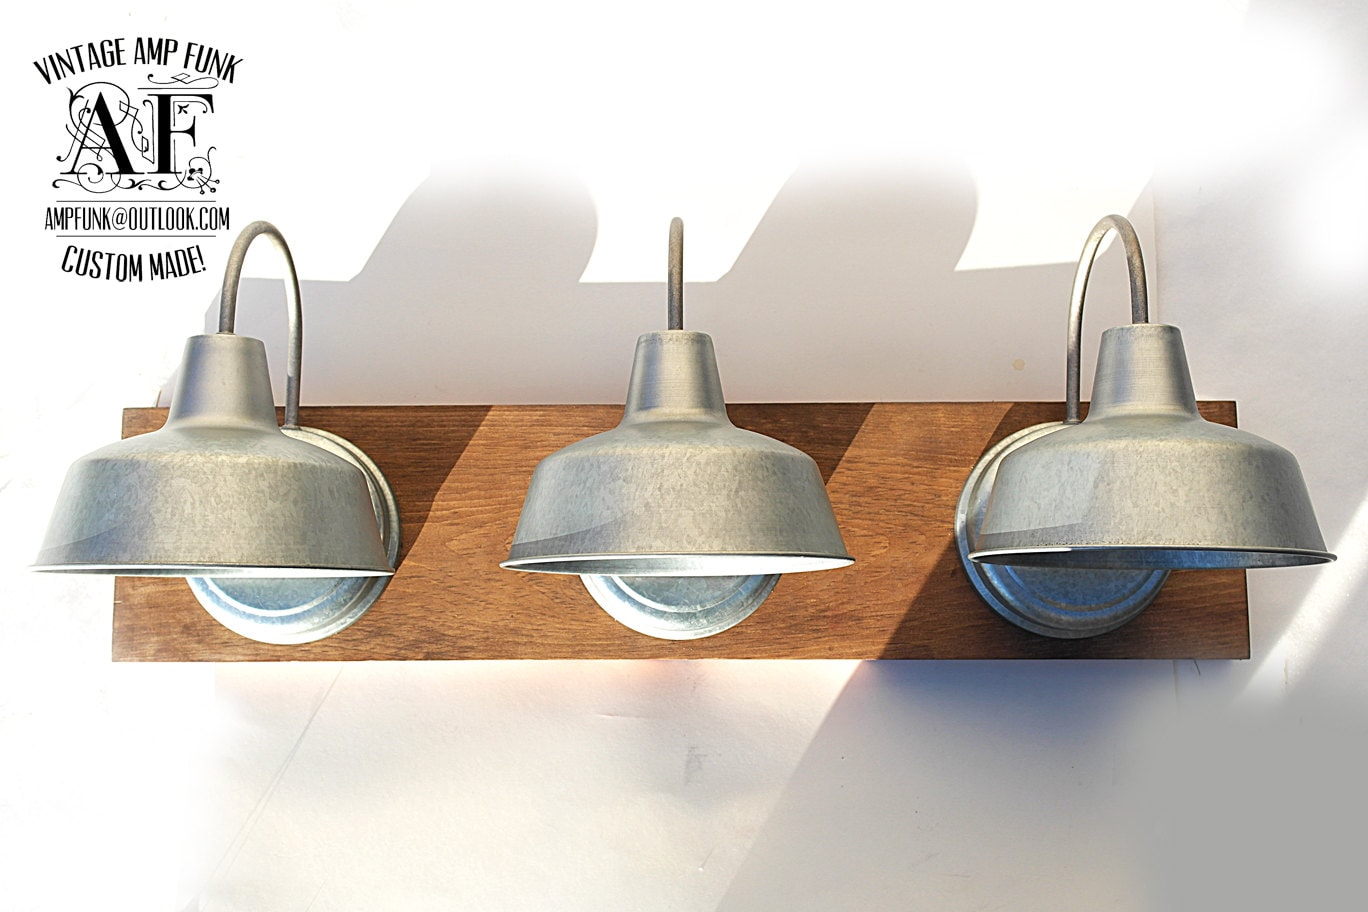
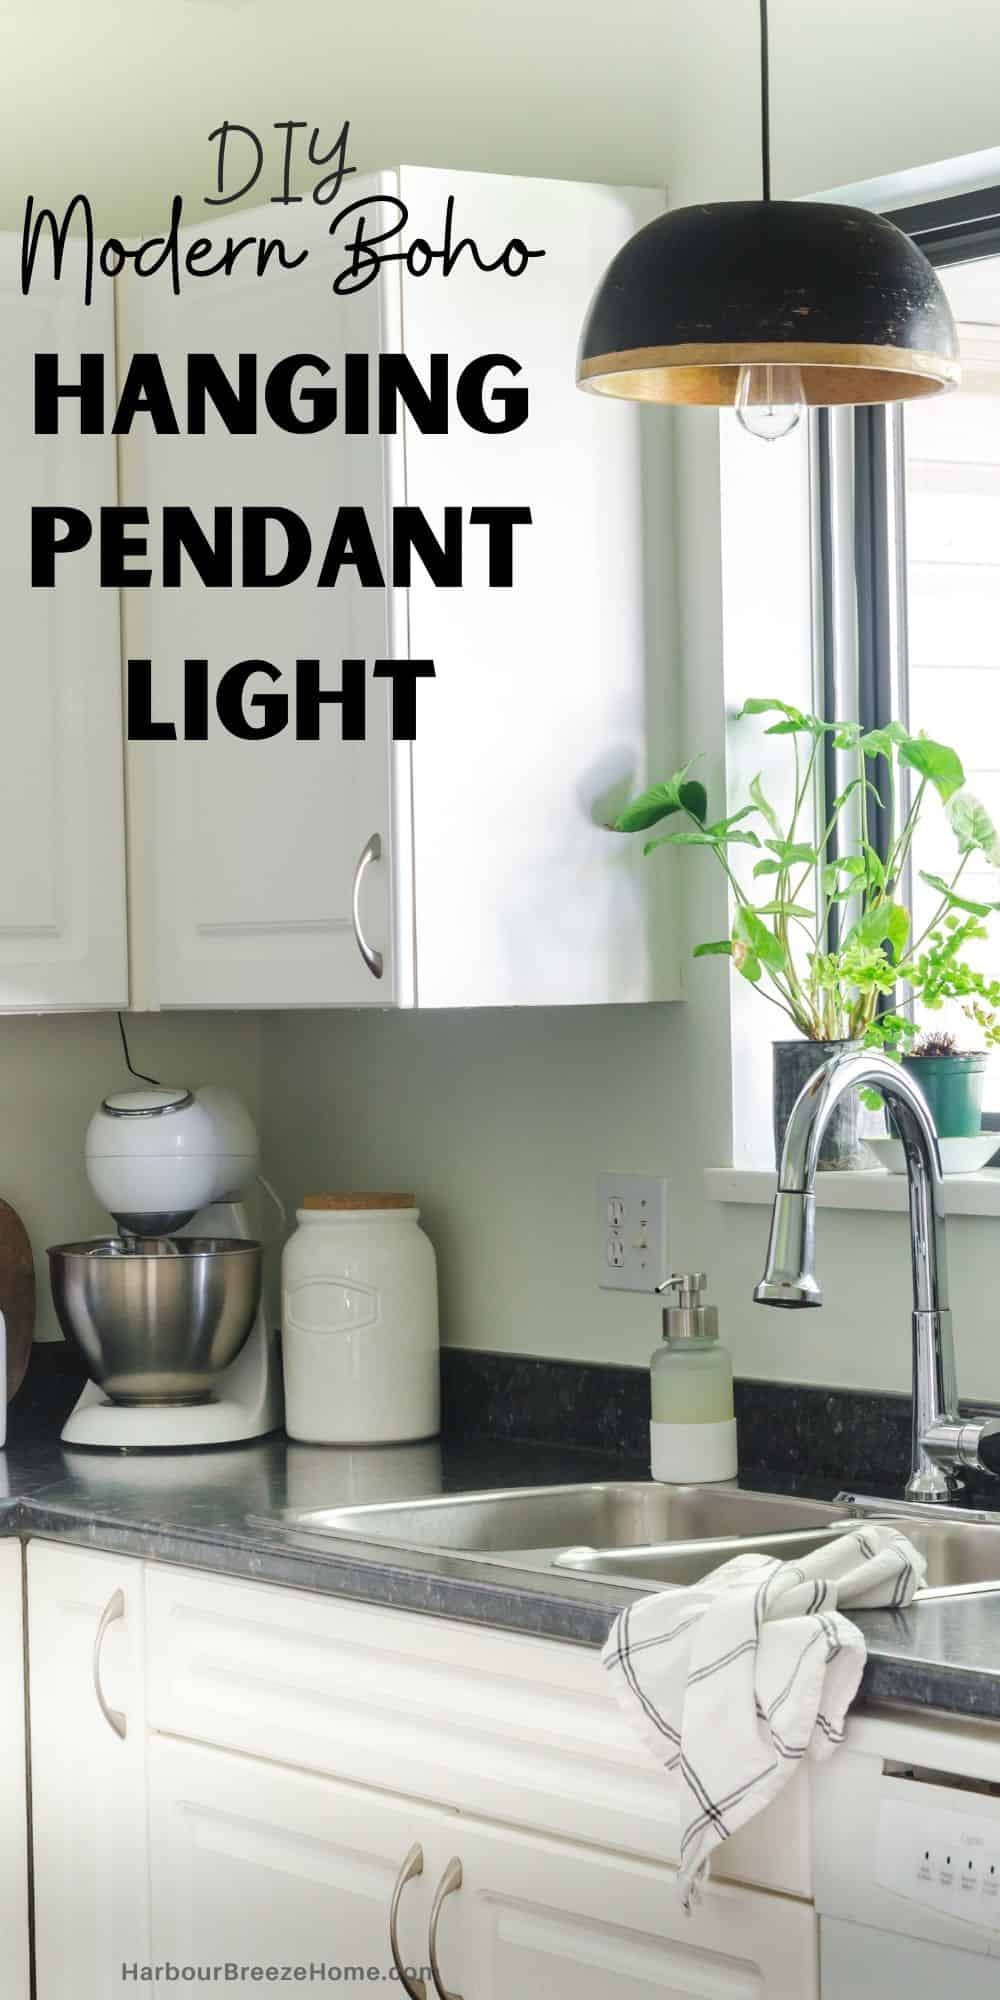
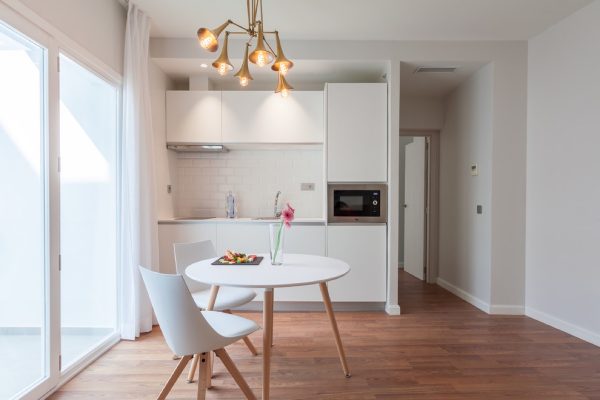
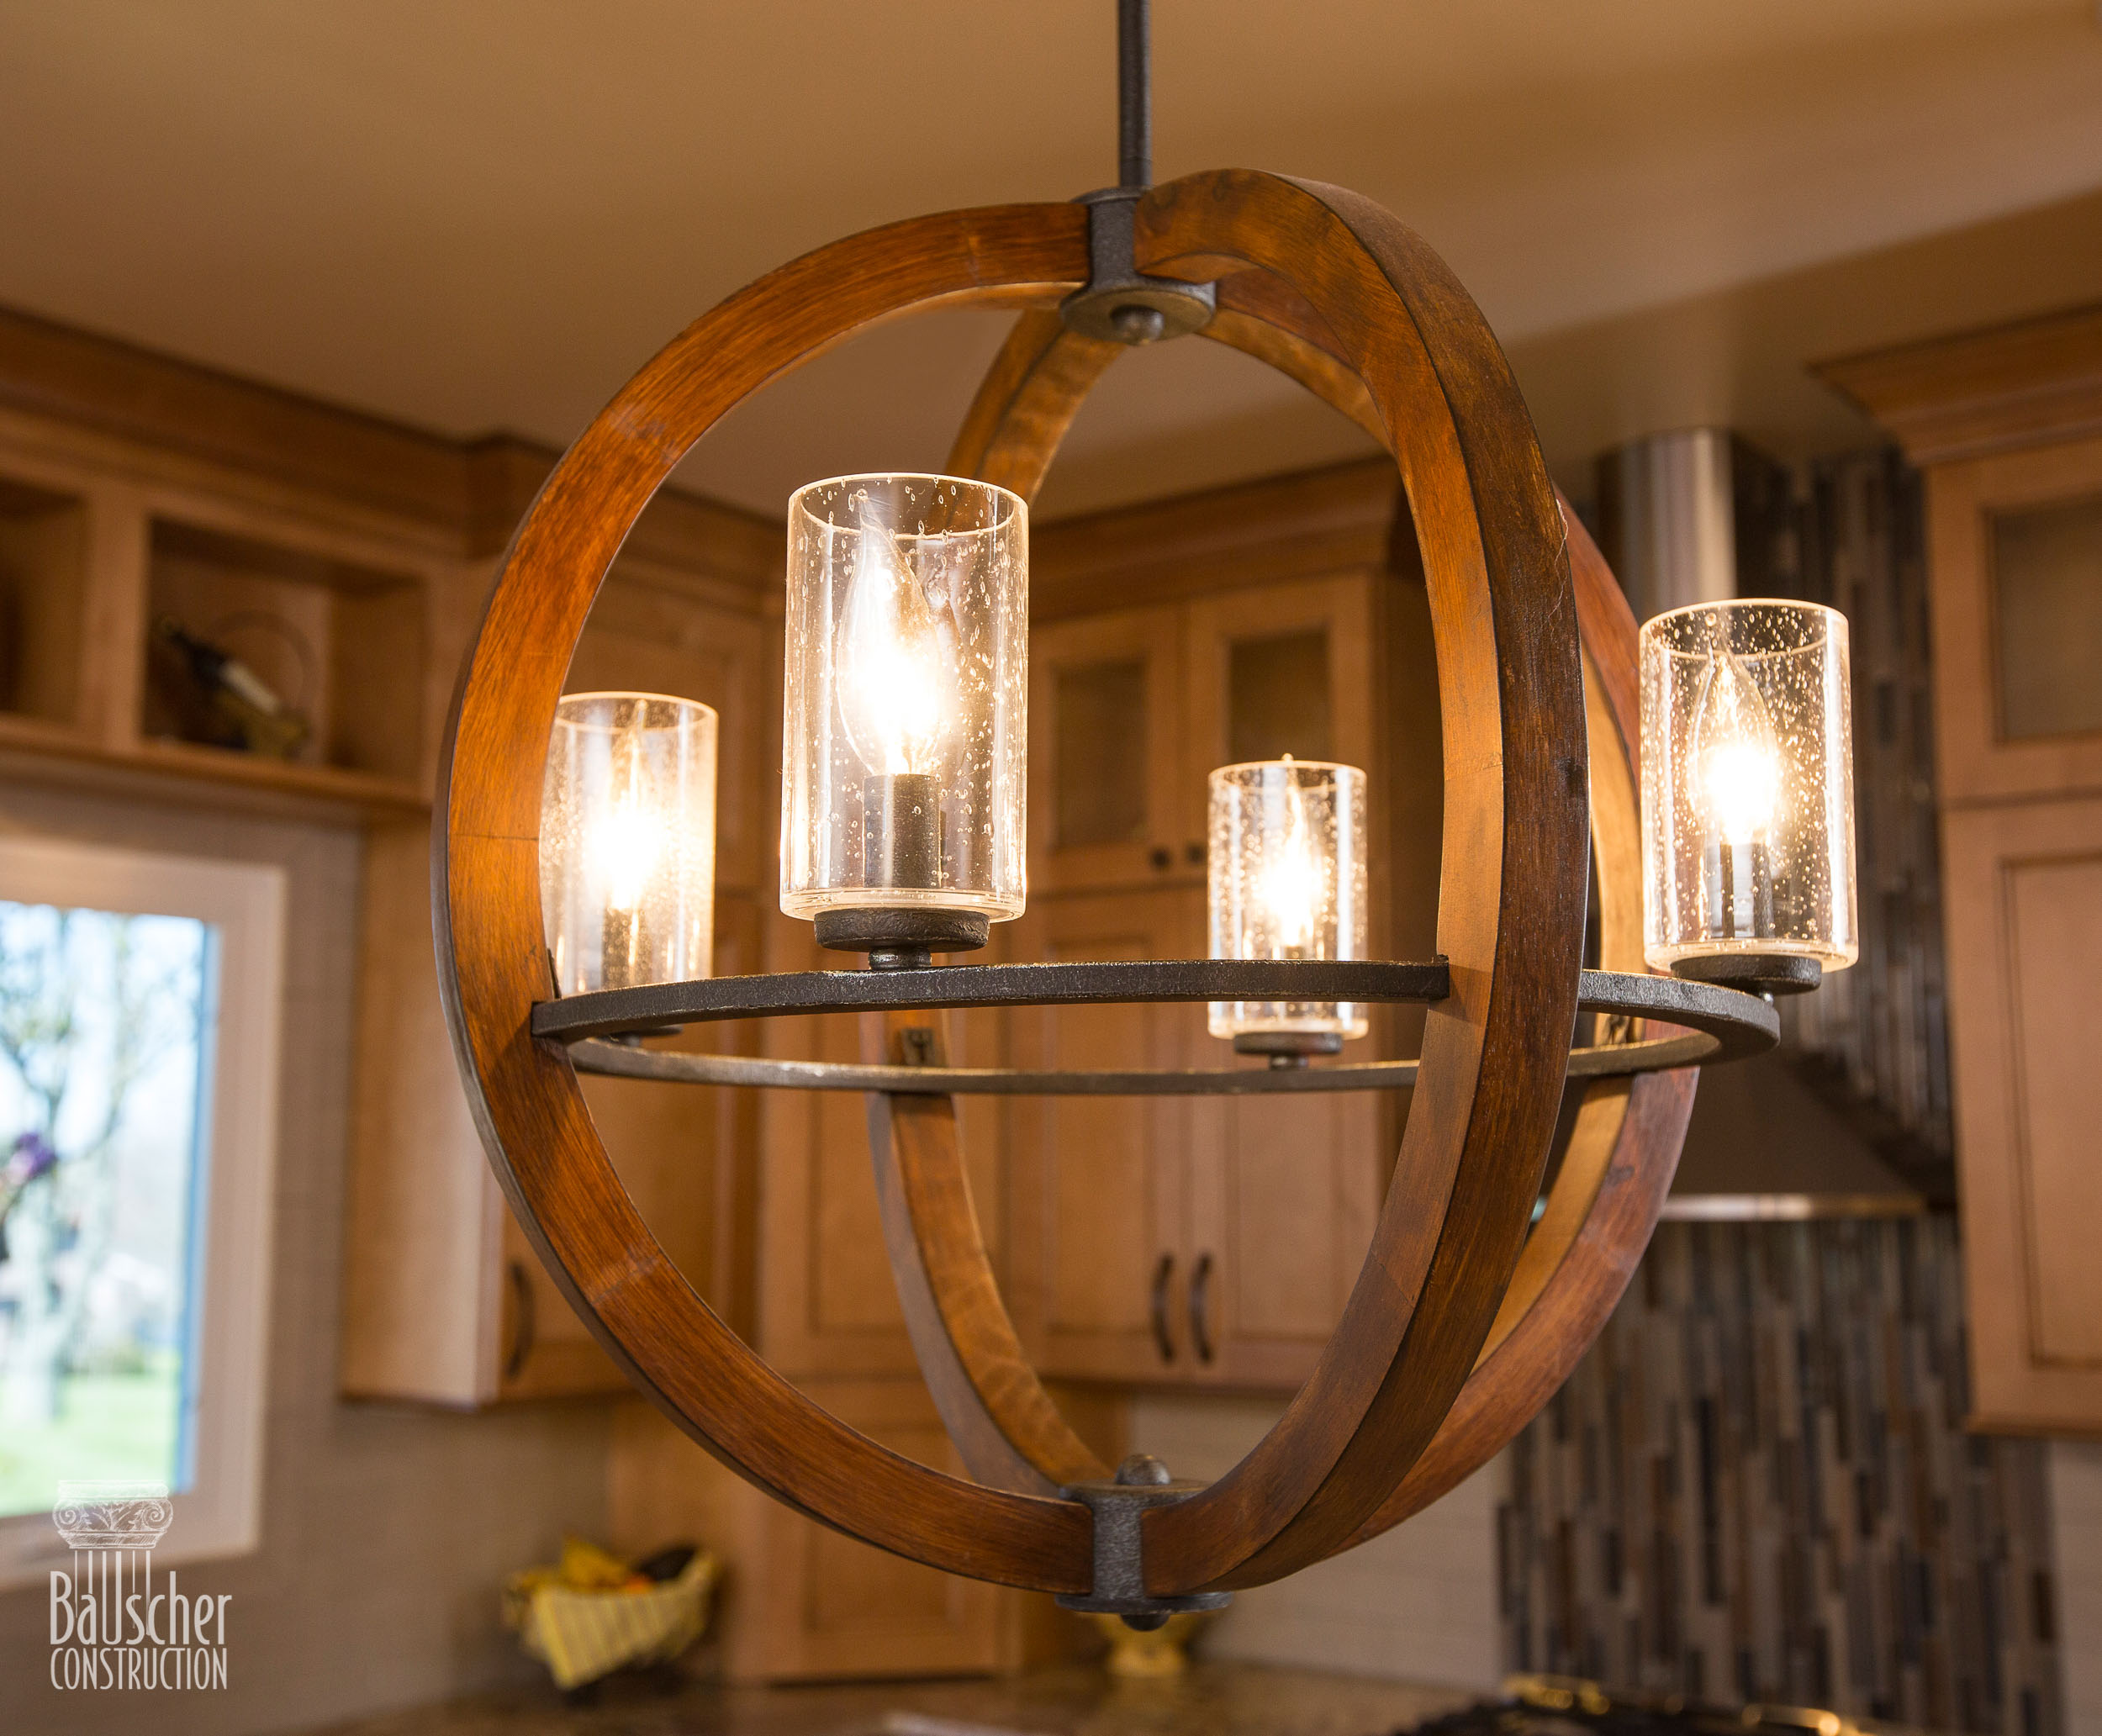
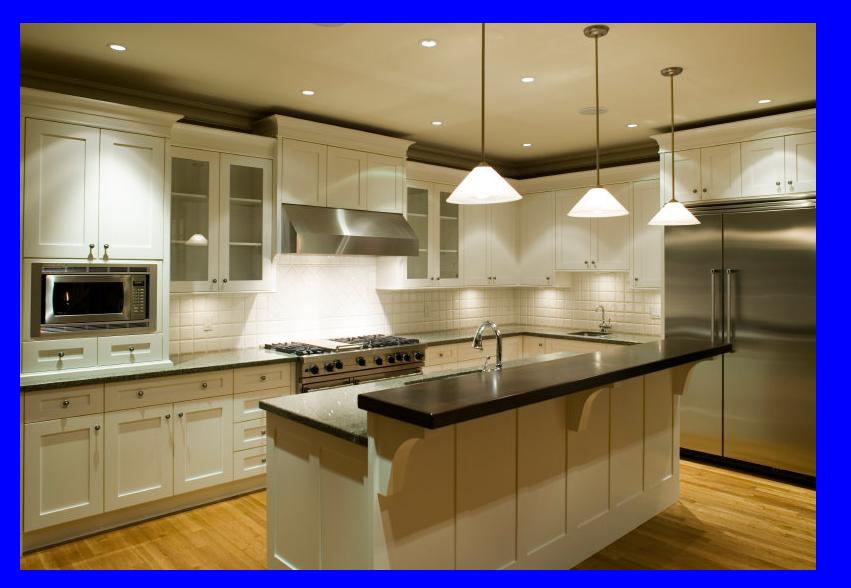
If you're looking to add some farmhouse charm to your kitchen, a DIY galvanized pendant light is the perfect project for you. Not only is it a budget-friendly option, but it also adds a unique and rustic touch to your space. In this article, we'll show you how to make your own galvanized pendant light with step-by-step instructions and helpful tips.DIY Galvanized Pendant Light: A Rustic Addition to Your Kitchen


DIY Galvanized Pendant Light


To make your own galvanized pendant light, you'll need a few materials and tools. These include a galvanized metal bucket, a pendant light kit, wire cutters, pliers, and a drill. You can find most of these items at a local hardware store or online. Once you have everything you need, follow these simple steps to create your own galvanized pendant light.How to Make a DIY Galvanized Pendant Light

How to Make a DIY Galvanized Pendant Light
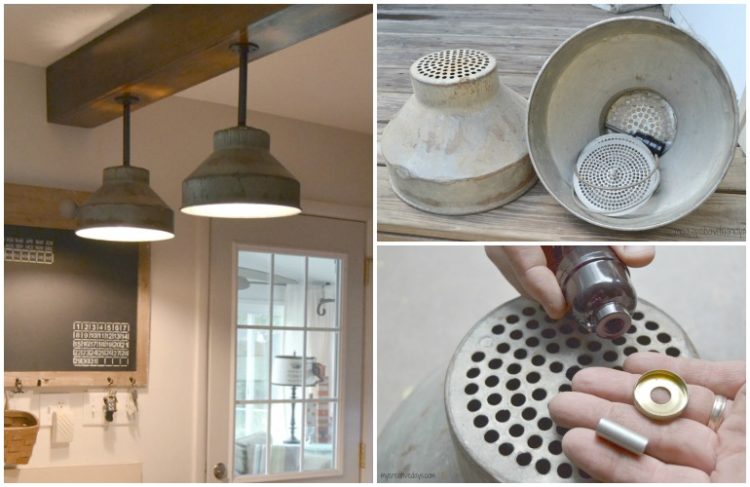


Start by cleaning the galvanized bucket and removing any labels or stickers. Then, using your drill, make a hole in the bottom of the bucket that's large enough for the pendant light kit to fit through. This will serve as the base of your pendant light.Step 1: Prepare the Bucket

Galvanized Pendant Light Tutorial

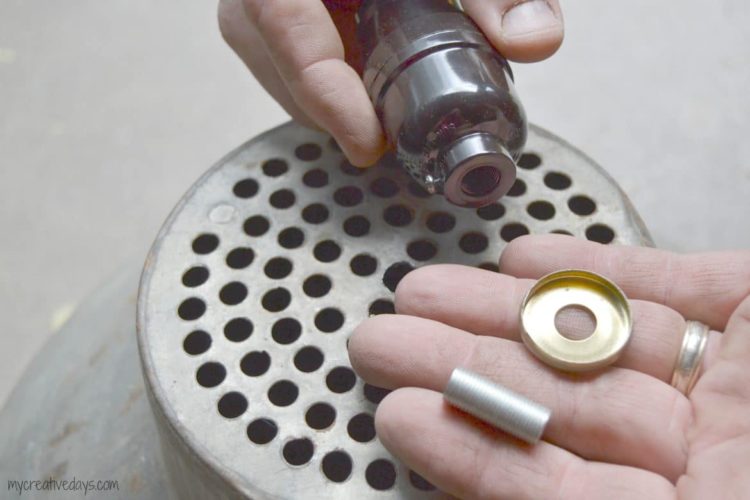


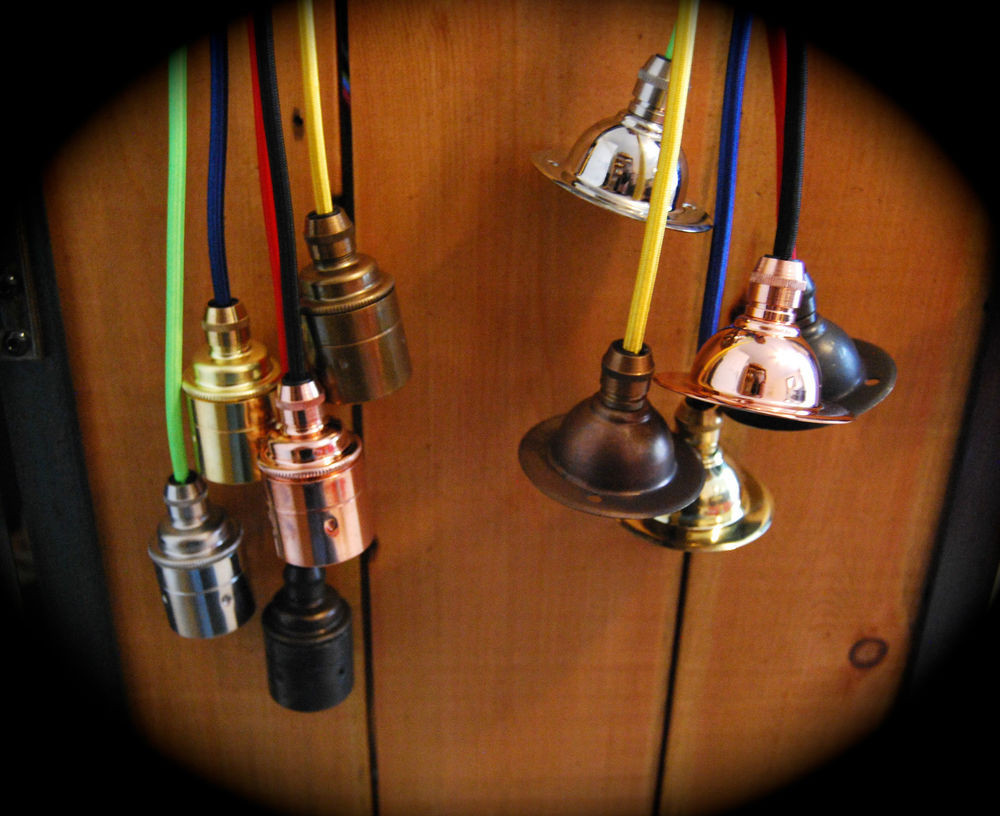
Next, follow the instructions on your pendant light kit to assemble the light fixture. This usually involves attaching the wires and socket to the base of the light. Make sure to leave enough wire to hang the light from the ceiling.Step 2: Assemble the Pendant Light Kit

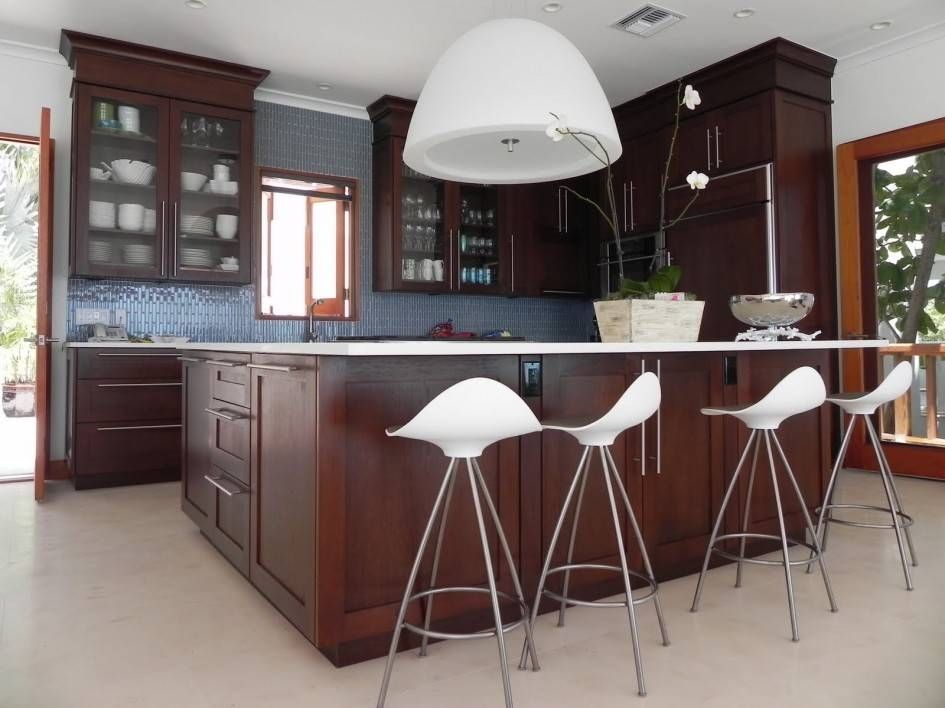
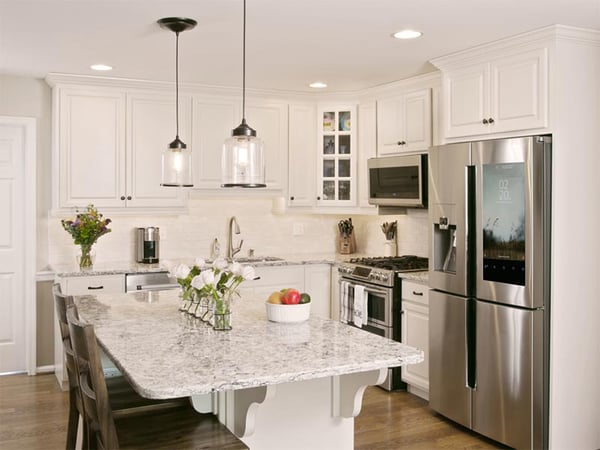
DIY Kitchen Pendant Light


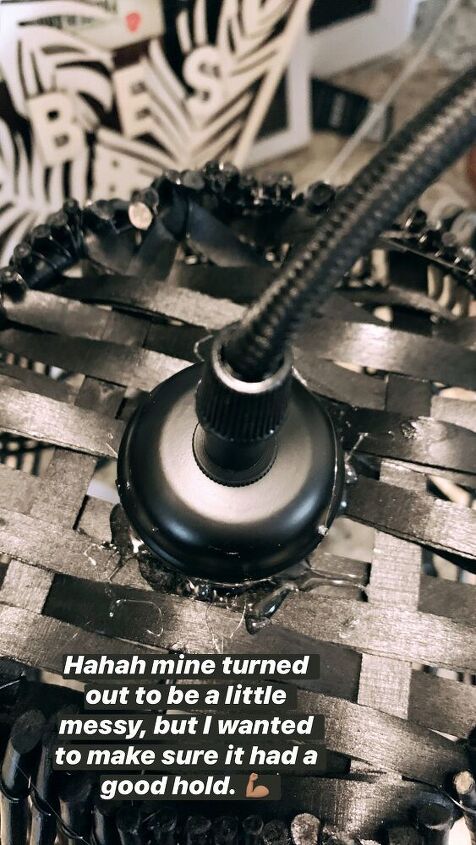
Once your pendant light is assembled, thread the wires through the hole in the bottom of the bucket. You may need to use pliers to help push the wires through. Then, secure the light fixture to the bottom of the bucket using the included hardware.Step 3: Thread the Wire Through the Bucket

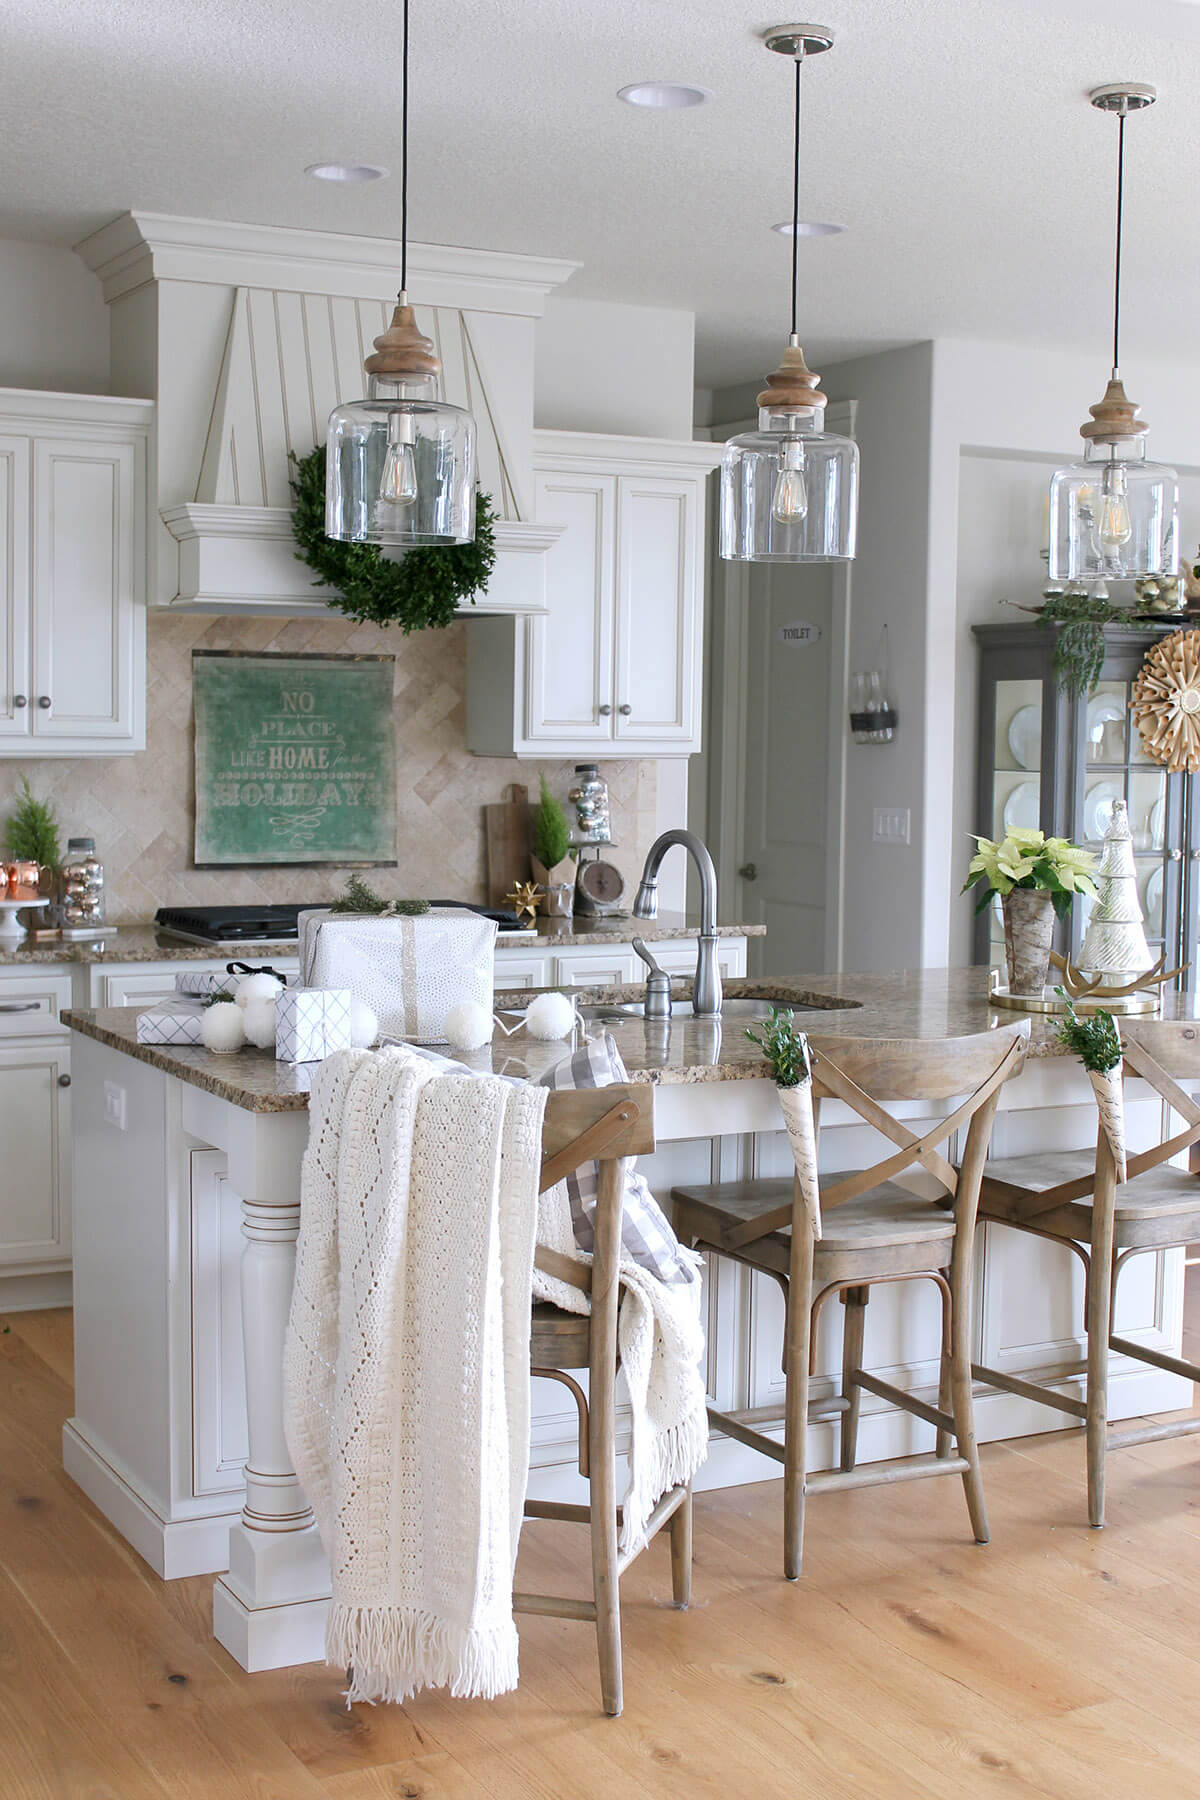
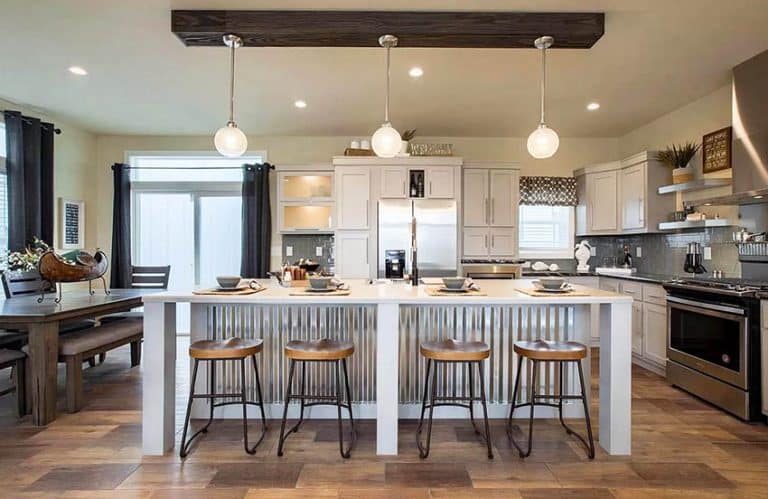
Galvanized Kitchen Lighting Ideas


Using your wire cutters, trim the excess wire, leaving about 6 inches of wire hanging from the bucket. Then, strip off the plastic covering from the end of the wire to expose the copper wire underneath.Step 4: Cut and Strip the Wire


DIY Galvanized Farmhouse Pendant Light


Using your wire cutters, strip the ends of the wires from the pendant light kit. Then, twist the copper wires from the light fixture with the copper wires from the bucket. Secure the connection by twisting a wire nut over the twisted wires.Step 5: Connect the Wires


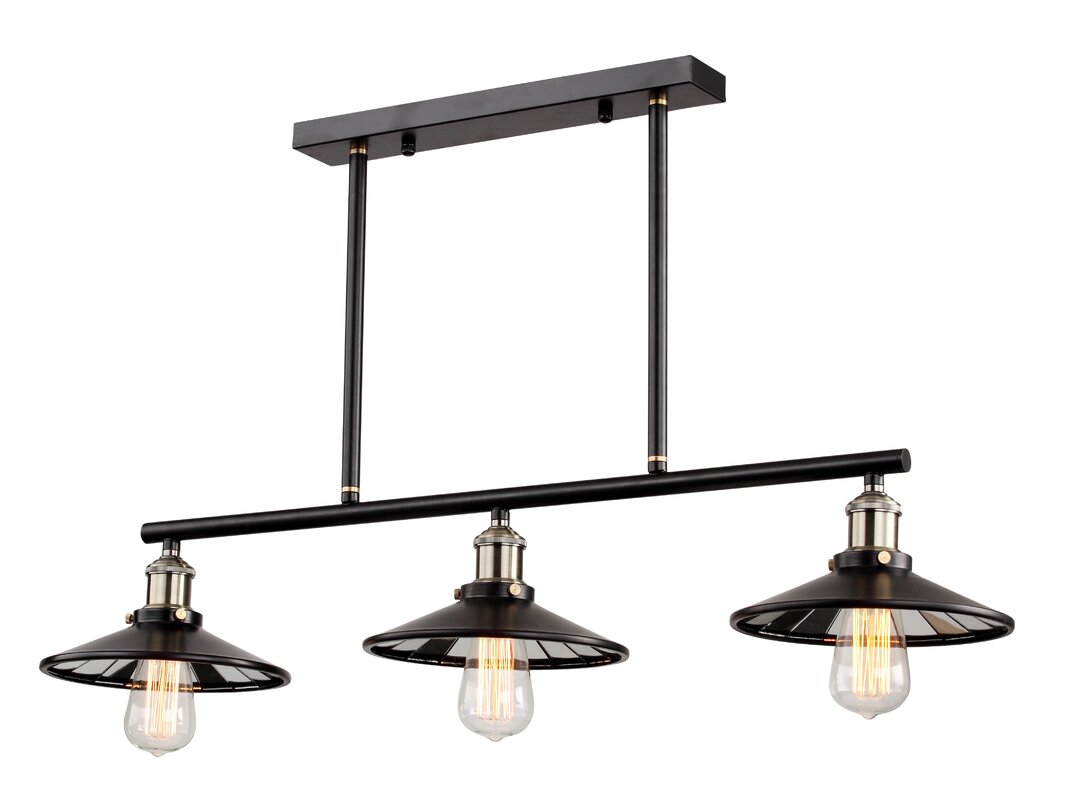
Galvanized Pipe Pendant Light


Finally, it's time to hang your galvanized pendant light in your kitchen. Turn off the power to the room at the circuit breaker before installing the light. Then, using a ladder, carefully attach the light to the ceiling using the hardware included in the pendant light kit. Once it's securely attached, turn the power back on and enjoy your new rustic light fixture.Step 6: Hang Your Galvanized Pendant Light


DIY Galvanized Pendant Light Fixture


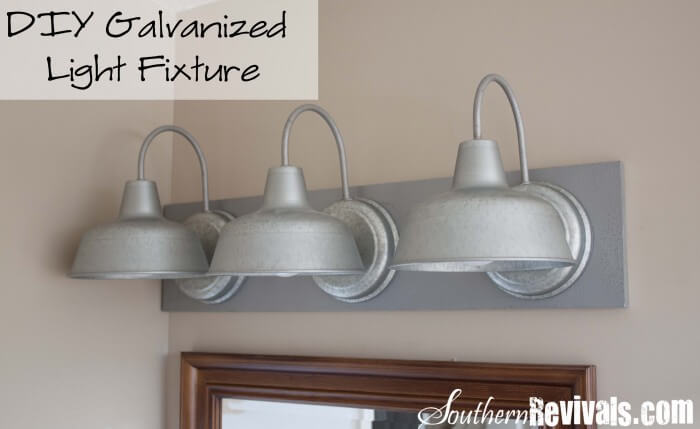

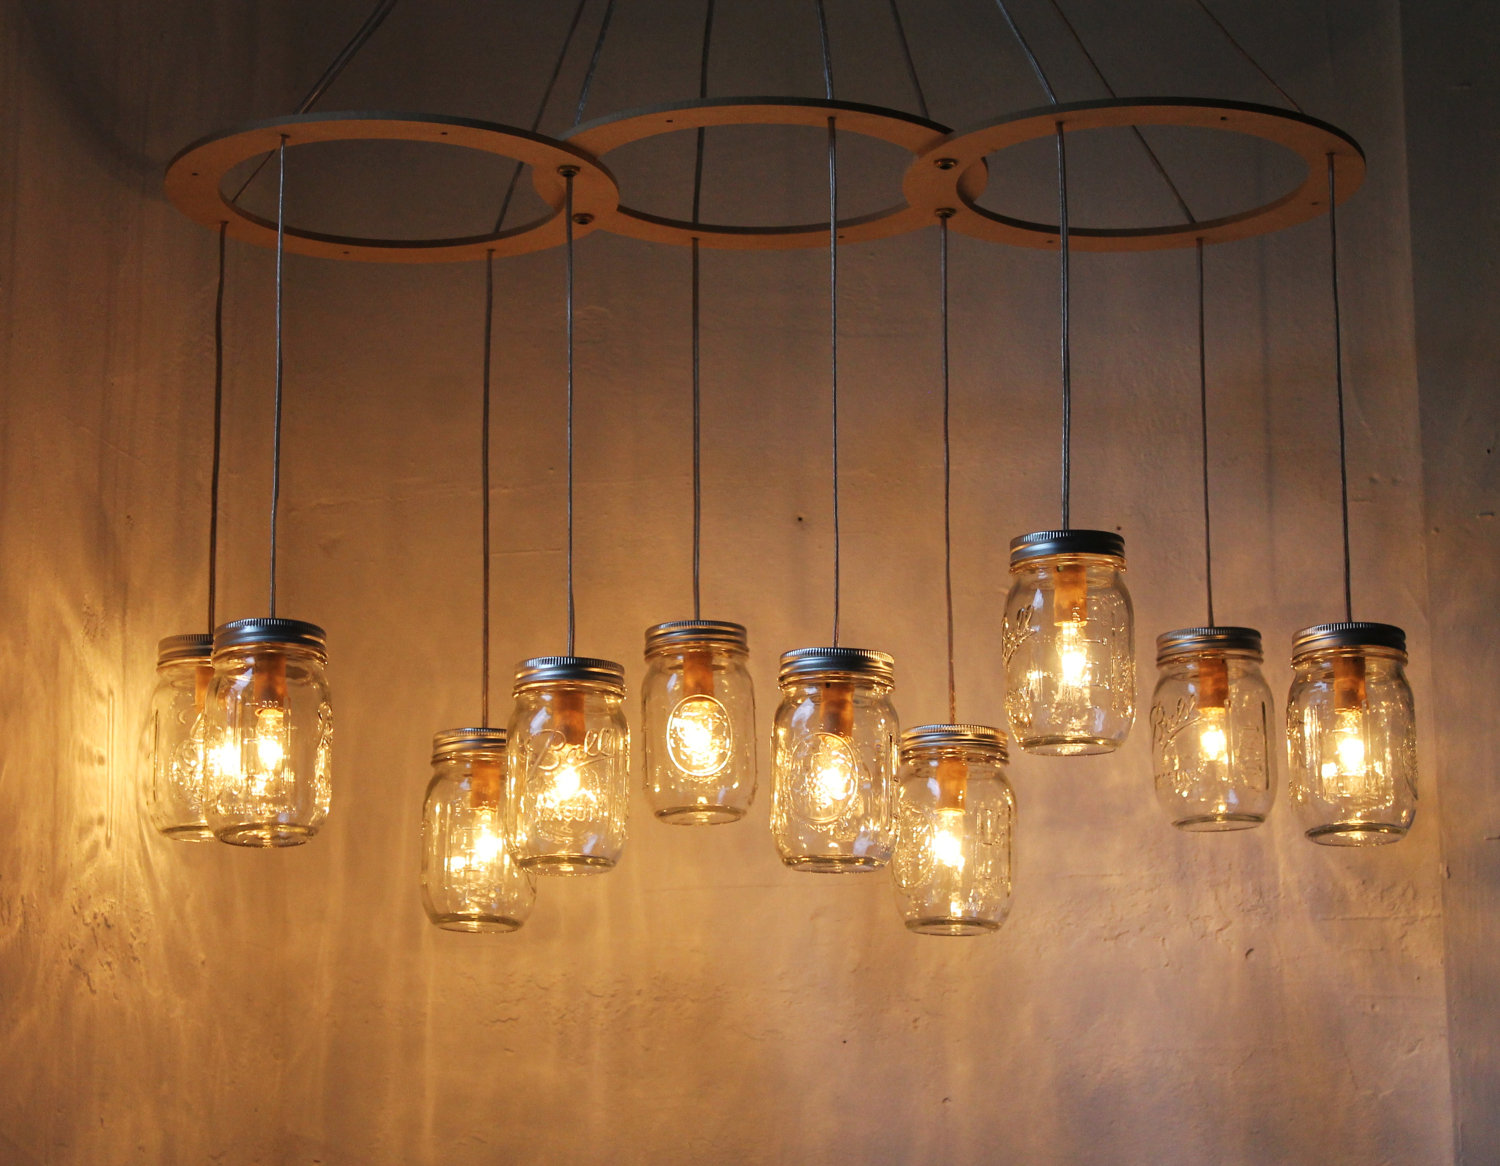
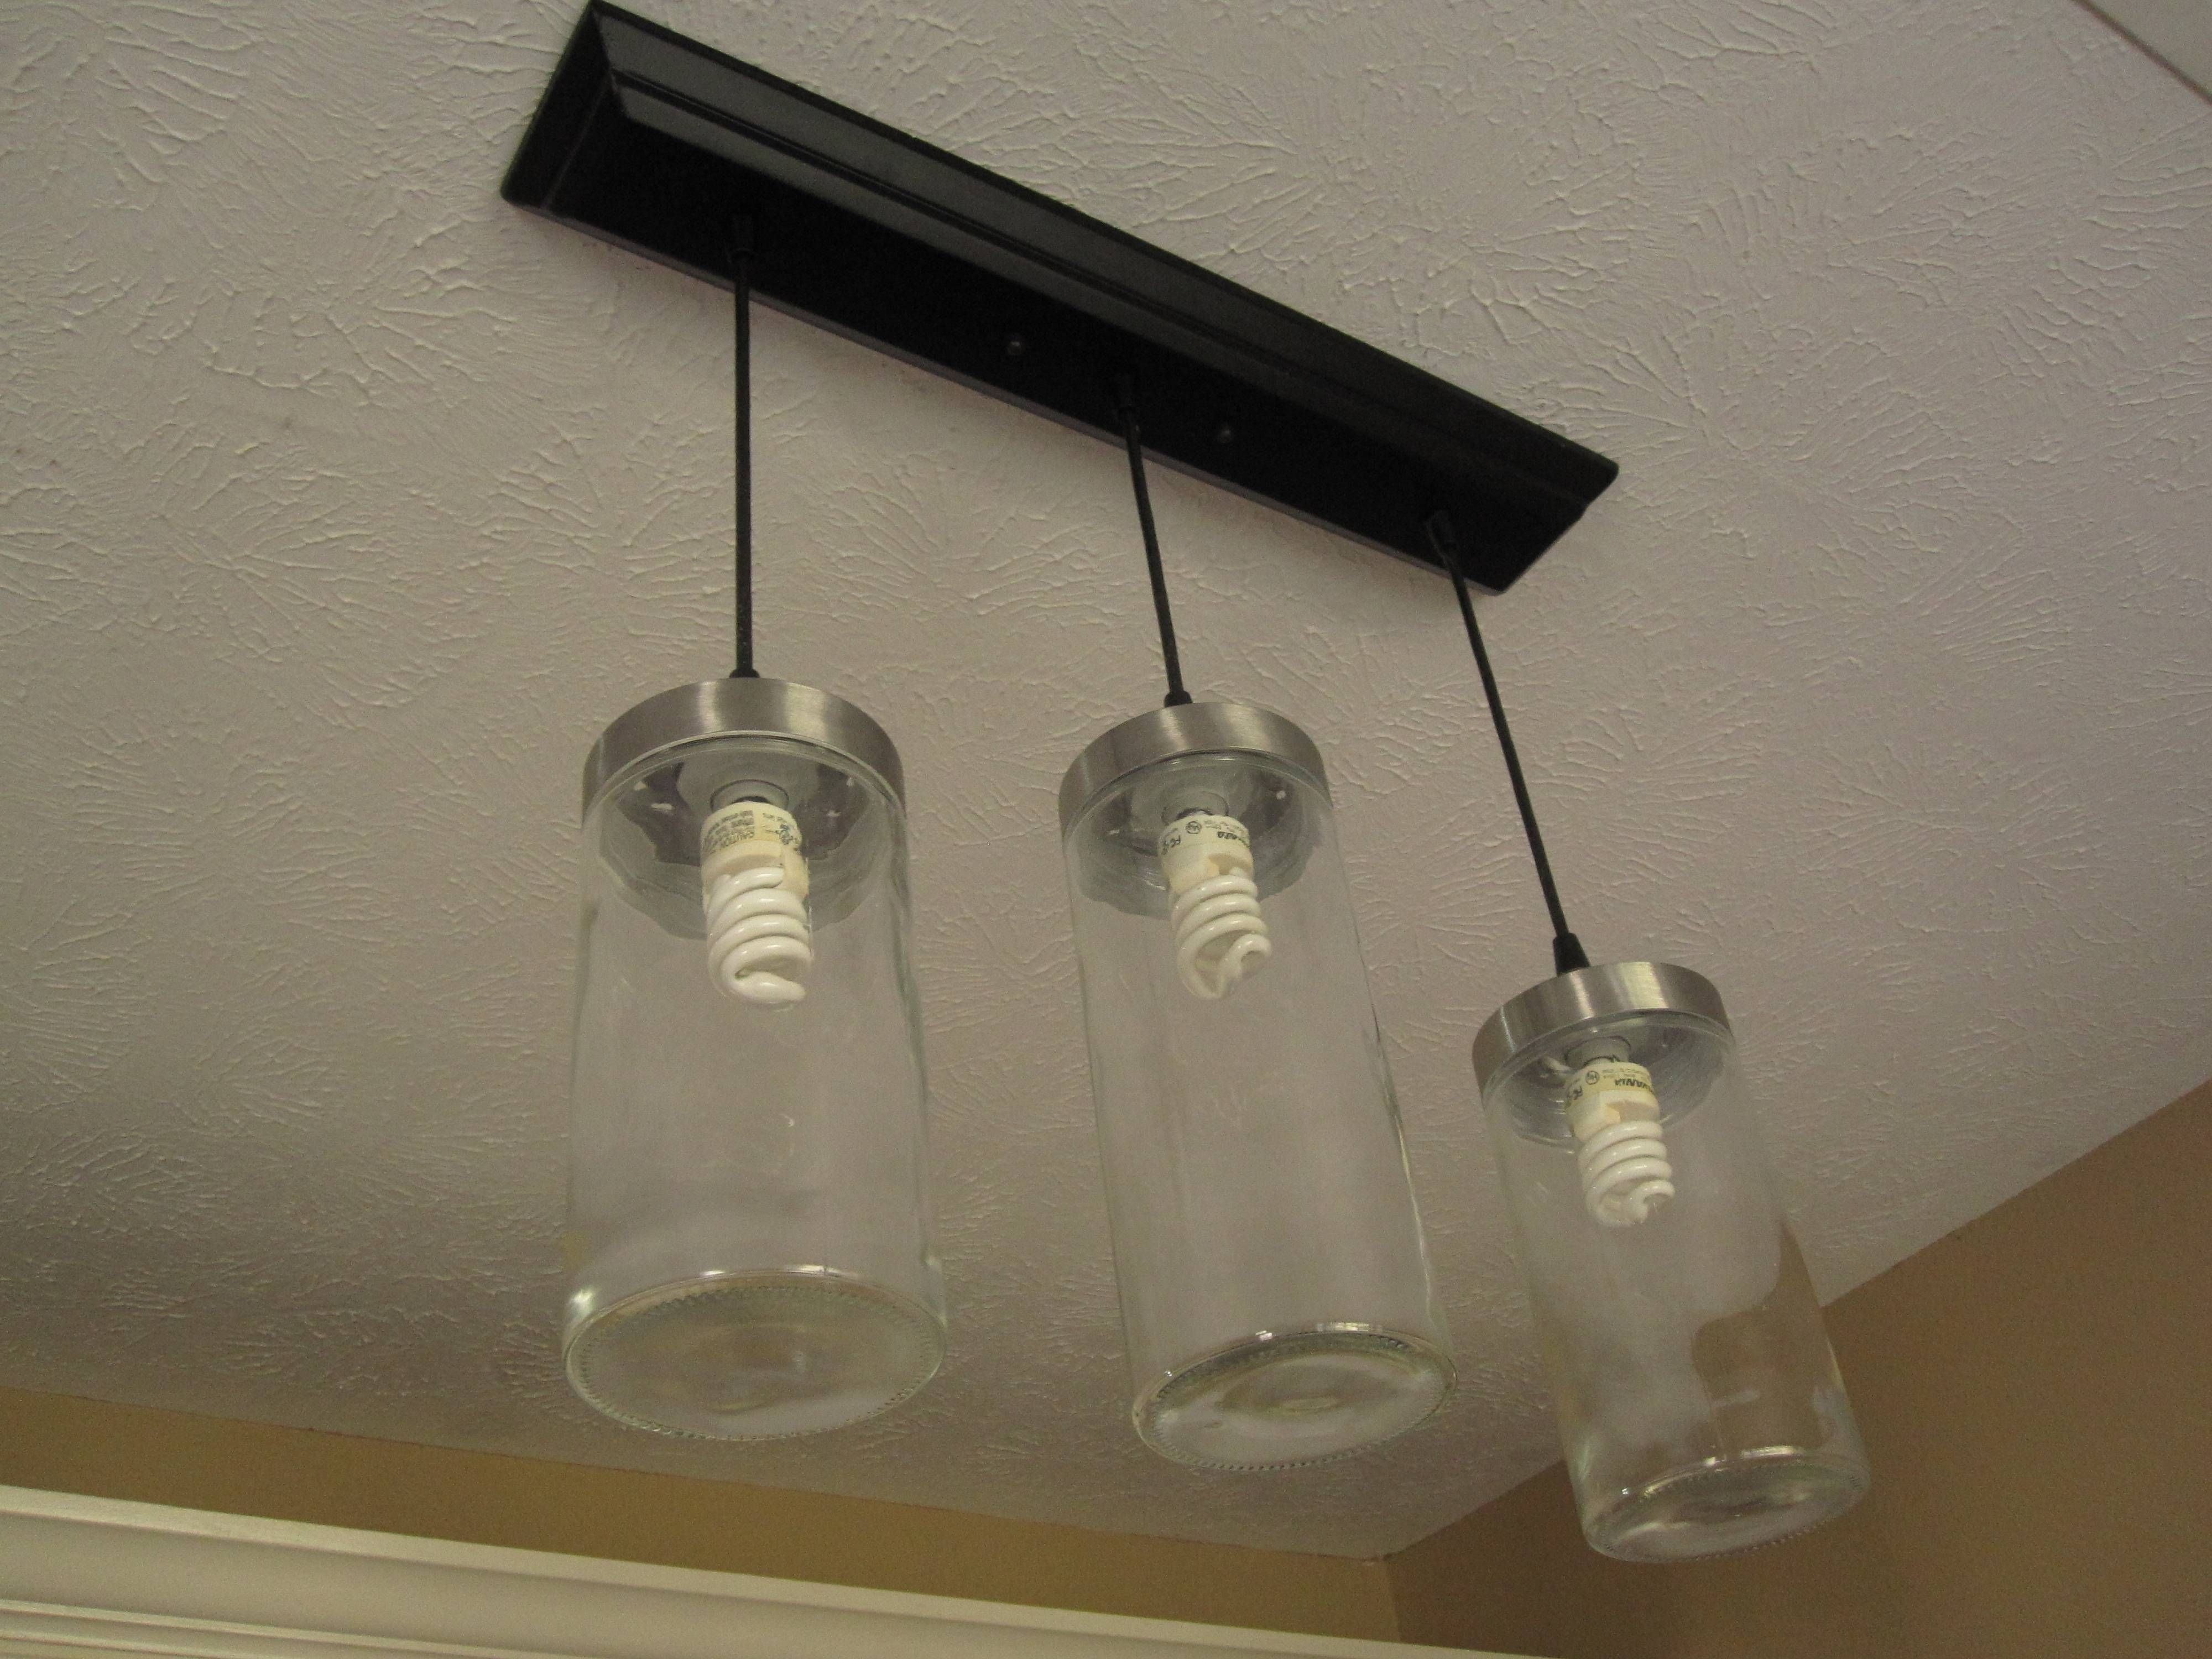
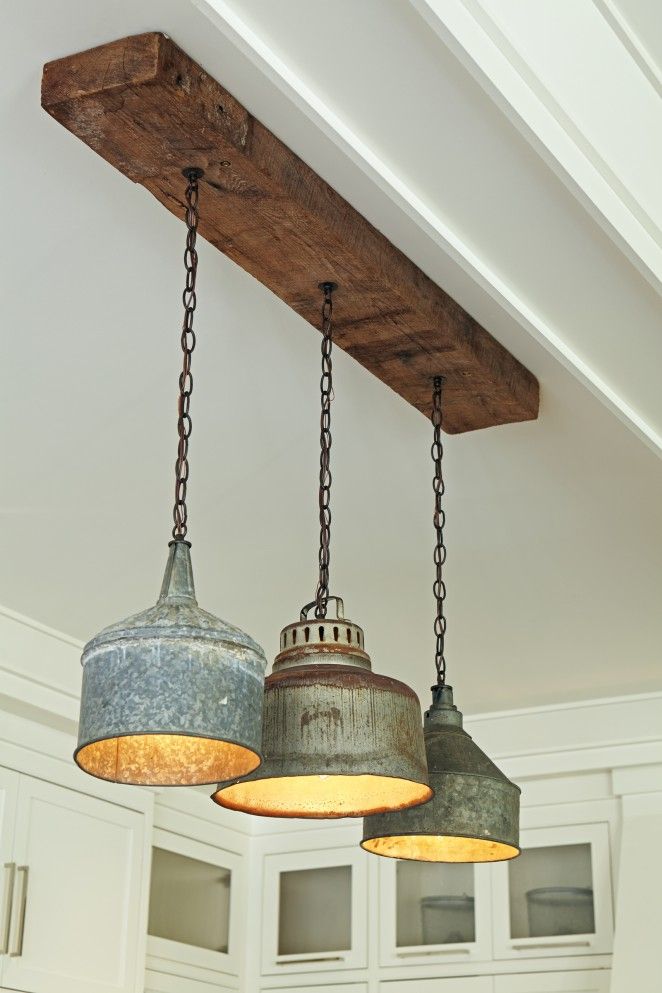
While making your own galvanized pendant light may seem like a daunting task, with the right tools and techniques, it can be a fun and rewarding project. Here are some tips and tricks to keep in mind when creating your DIY galvanized pendant light. Choose the Right Bucket: When selecting a bucket for your pendant light, make sure it's the right size and shape for your space. You can find a variety of shapes and sizes at your local hardware store. Play with Different Finishes: If you want to add some extra character to your galvanized pendant light, consider playing with different finishes. You can use a wire brush to add texture to the metal or even paint the bucket for a unique look. Use Mason Jars for a Rustic Touch: Instead of using a galvanized bucket, you can also create a galvanized pendant light using mason jars. Simply drill a hole in the lid and thread the wires through for a charming and rustic addition to your kitchen.Galvanized Pendant Light Tutorial: Tips and Tricks


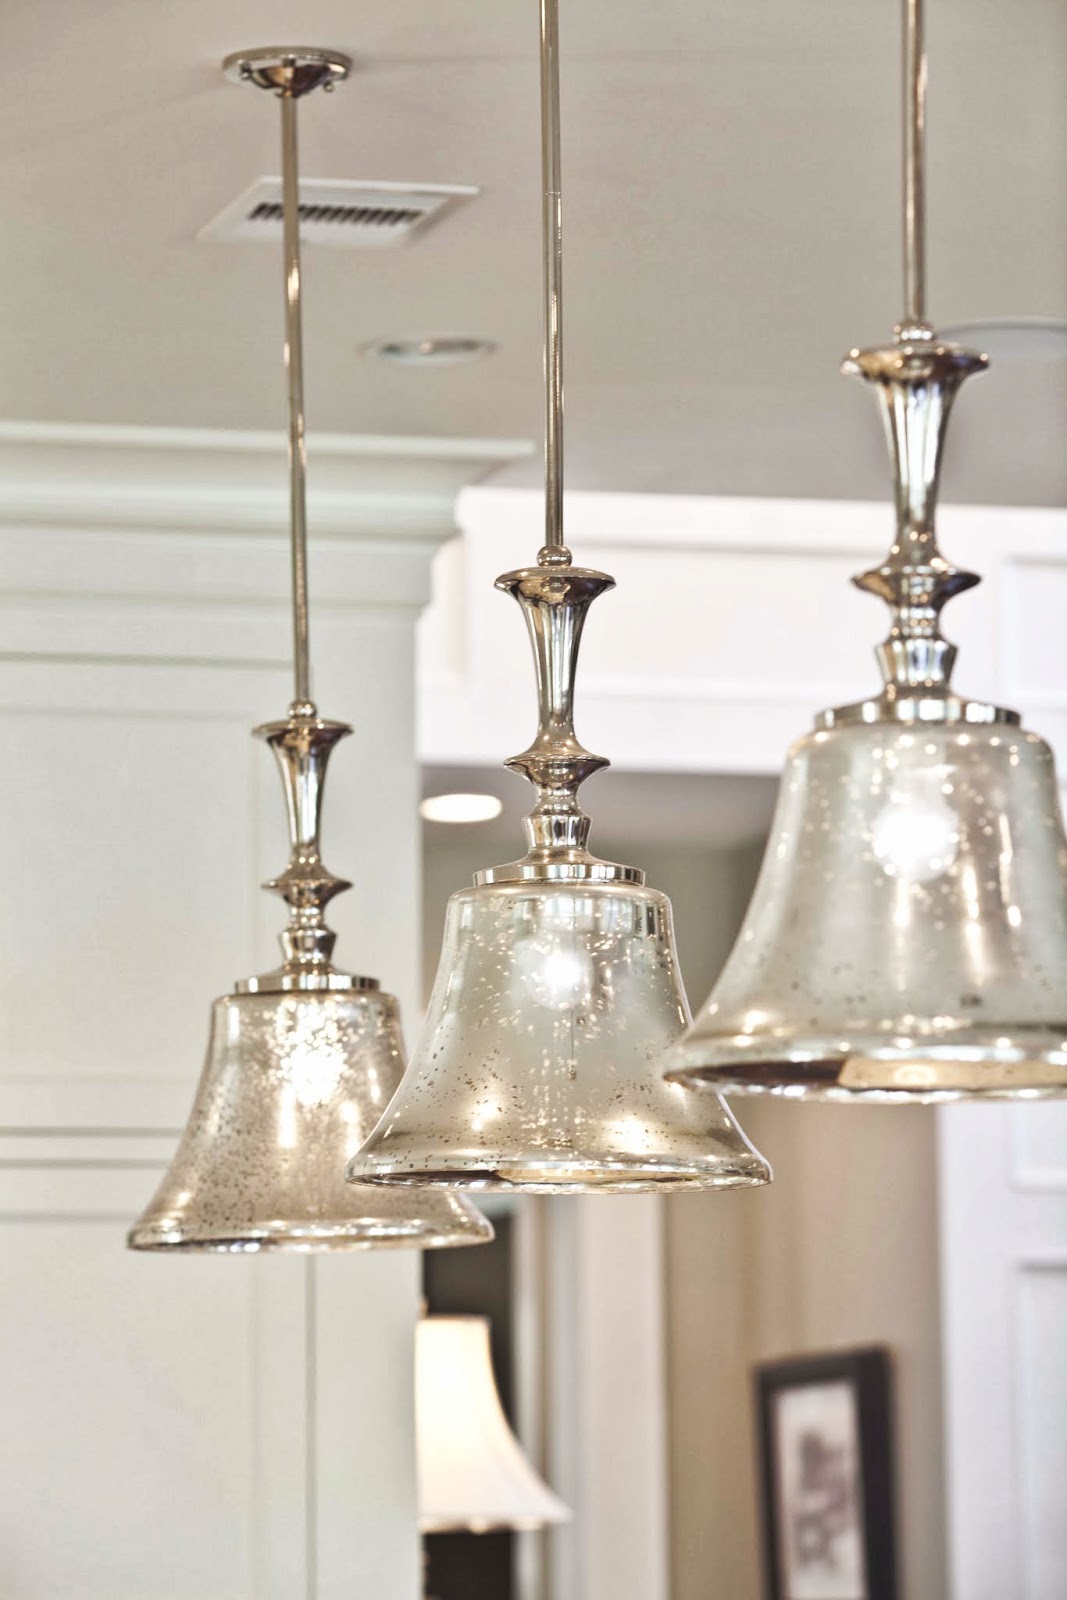
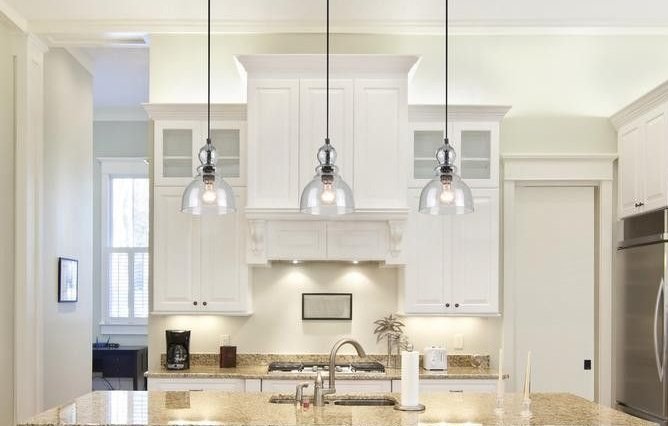
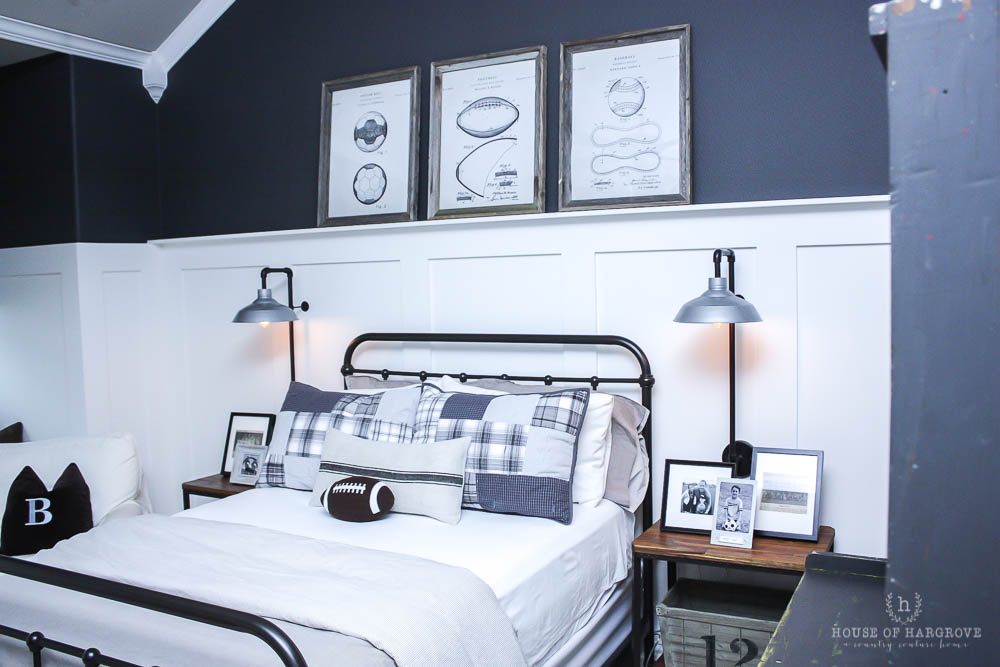
Galvanized Pendant Light for Kitchen Island


One of the best things about making your own galvanized pendant light is that it's a budget-friendly option compared to store-bought light fixtures. With just a few materials and tools, you can create a unique and stylish light fixture for a fraction of the cost.DIY Kitchen Pendant Light: A Budget-Friendly Option
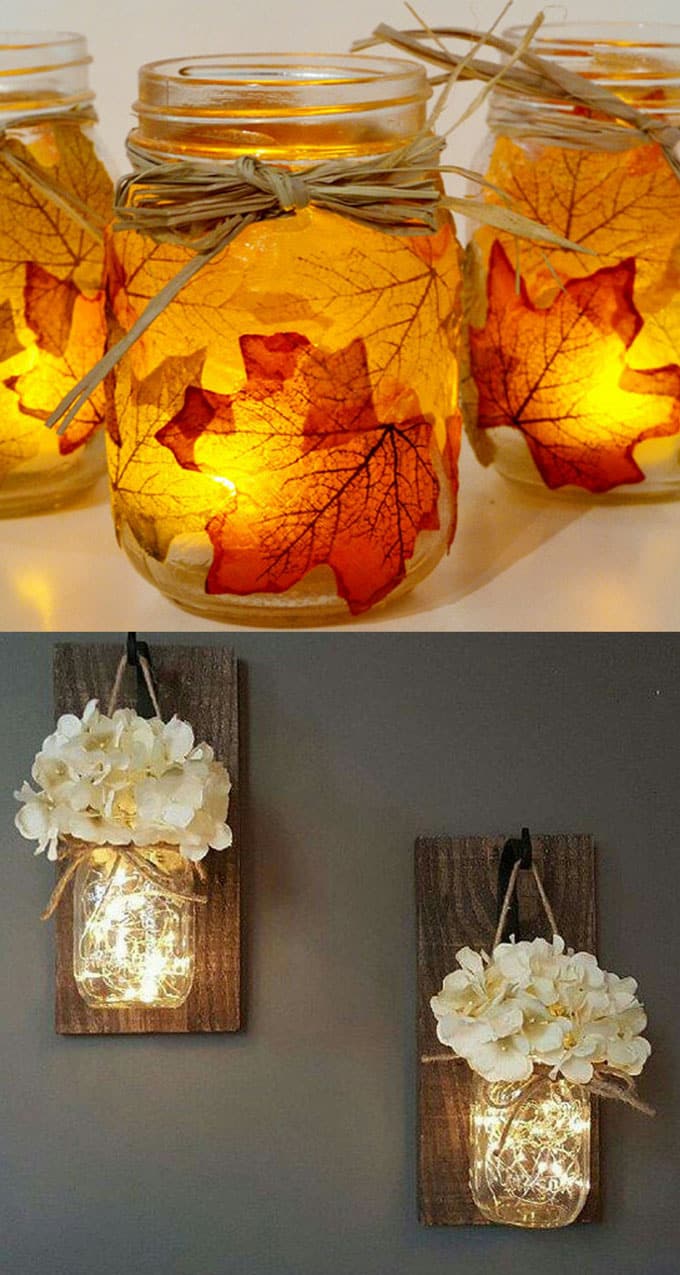


DIY Galvanized Pendant Light with Mason Jars


Enhance Your Kitchen Design with a DIY Galvanized Pendant Light

Revamp Your Kitchen Design
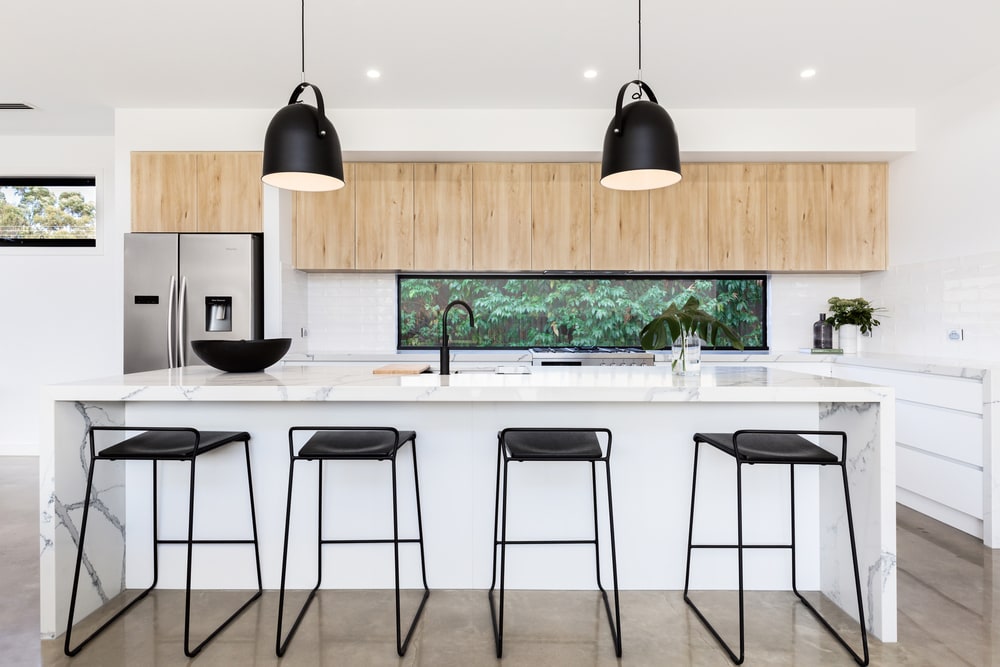
:max_bytes(150000):strip_icc()/PureSaltHIGHREZ-66-44bc07f6f1724683b92e6a5580aa9dba.jpg) The kitchen is often considered the heart of the home, and it's no surprise that homeowners are constantly looking for ways to enhance its design. One way to do this is by incorporating
kitchen pendant lights
into your space. These simple yet stylish fixtures not only provide functional lighting, but they also add a touch of personality and charm to your kitchen. And what better way to make a statement than with a
DIY galvanized pendant light
?
The kitchen is often considered the heart of the home, and it's no surprise that homeowners are constantly looking for ways to enhance its design. One way to do this is by incorporating
kitchen pendant lights
into your space. These simple yet stylish fixtures not only provide functional lighting, but they also add a touch of personality and charm to your kitchen. And what better way to make a statement than with a
DIY galvanized pendant light
?
Benefits of DIY Galvanized Pendant Lights
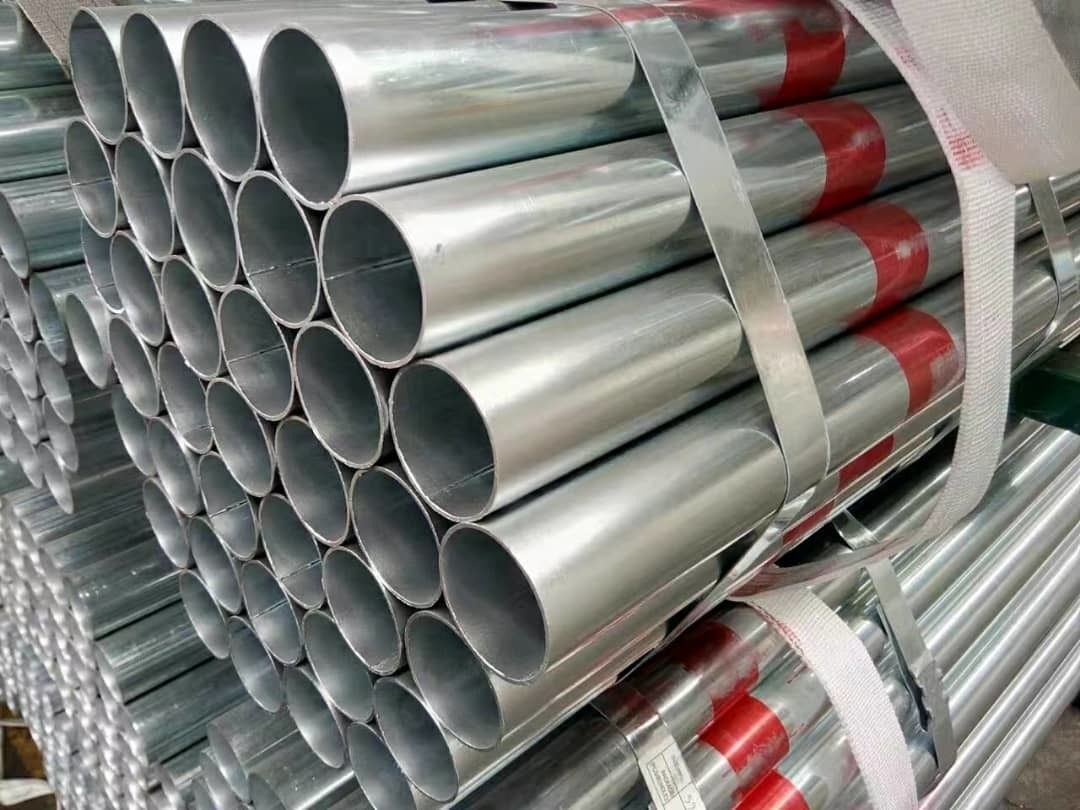
 Galvanized metal has become a popular material in home design, and for good reason. It not only adds an industrial and rustic touch to a space, but it also has several practical benefits.
Galvanized metal is durable and resistant to rust and corrosion
, making it a great choice for high humidity environments like the kitchen. It's also affordable and easy to work with, making it a budget-friendly option for a DIY project.
Galvanized metal has become a popular material in home design, and for good reason. It not only adds an industrial and rustic touch to a space, but it also has several practical benefits.
Galvanized metal is durable and resistant to rust and corrosion
, making it a great choice for high humidity environments like the kitchen. It's also affordable and easy to work with, making it a budget-friendly option for a DIY project.
How to Make Your Own Galvanized Pendant Light
 Creating your own
kitchen pendant light
with galvanized metal is a fun and creative project that can easily be completed in a weekend. Start by gathering your materials, including a galvanized metal shade, pendant light kit, and any additional tools you may need. Then, follow a simple tutorial or create your own design to fit your kitchen's aesthetic.
Creating your own
kitchen pendant light
with galvanized metal is a fun and creative project that can easily be completed in a weekend. Start by gathering your materials, including a galvanized metal shade, pendant light kit, and any additional tools you may need. Then, follow a simple tutorial or create your own design to fit your kitchen's aesthetic.
Customization and Versatility
 One of the best things about a DIY galvanized pendant light is the ability to customize it to your liking. From choosing the shape and size of the shade to adding unique details like stencils or paint, the possibilities are endless. You can also incorporate other materials like wood or rope to add even more character to your light fixture. And once it's complete, you can easily adjust the height and placement to fit your kitchen's layout and design.
Final Thoughts
 A
DIY galvanized pendant light
is a simple yet impactful way to enhance your kitchen's design. Not only is it a budget-friendly option, but it also allows for customization and versatility. So why settle for a basic light fixture when you can create a unique and eye-catching piece for your kitchen? Follow a tutorial or let your creativity run wild and make your own design. Either way, your kitchen will thank you for the added charm and personality.
A
DIY galvanized pendant light
is a simple yet impactful way to enhance your kitchen's design. Not only is it a budget-friendly option, but it also allows for customization and versatility. So why settle for a basic light fixture when you can create a unique and eye-catching piece for your kitchen? Follow a tutorial or let your creativity run wild and make your own design. Either way, your kitchen will thank you for the added charm and personality.

/public/restaurant/626/630e4ed556/pic-1.jpg)