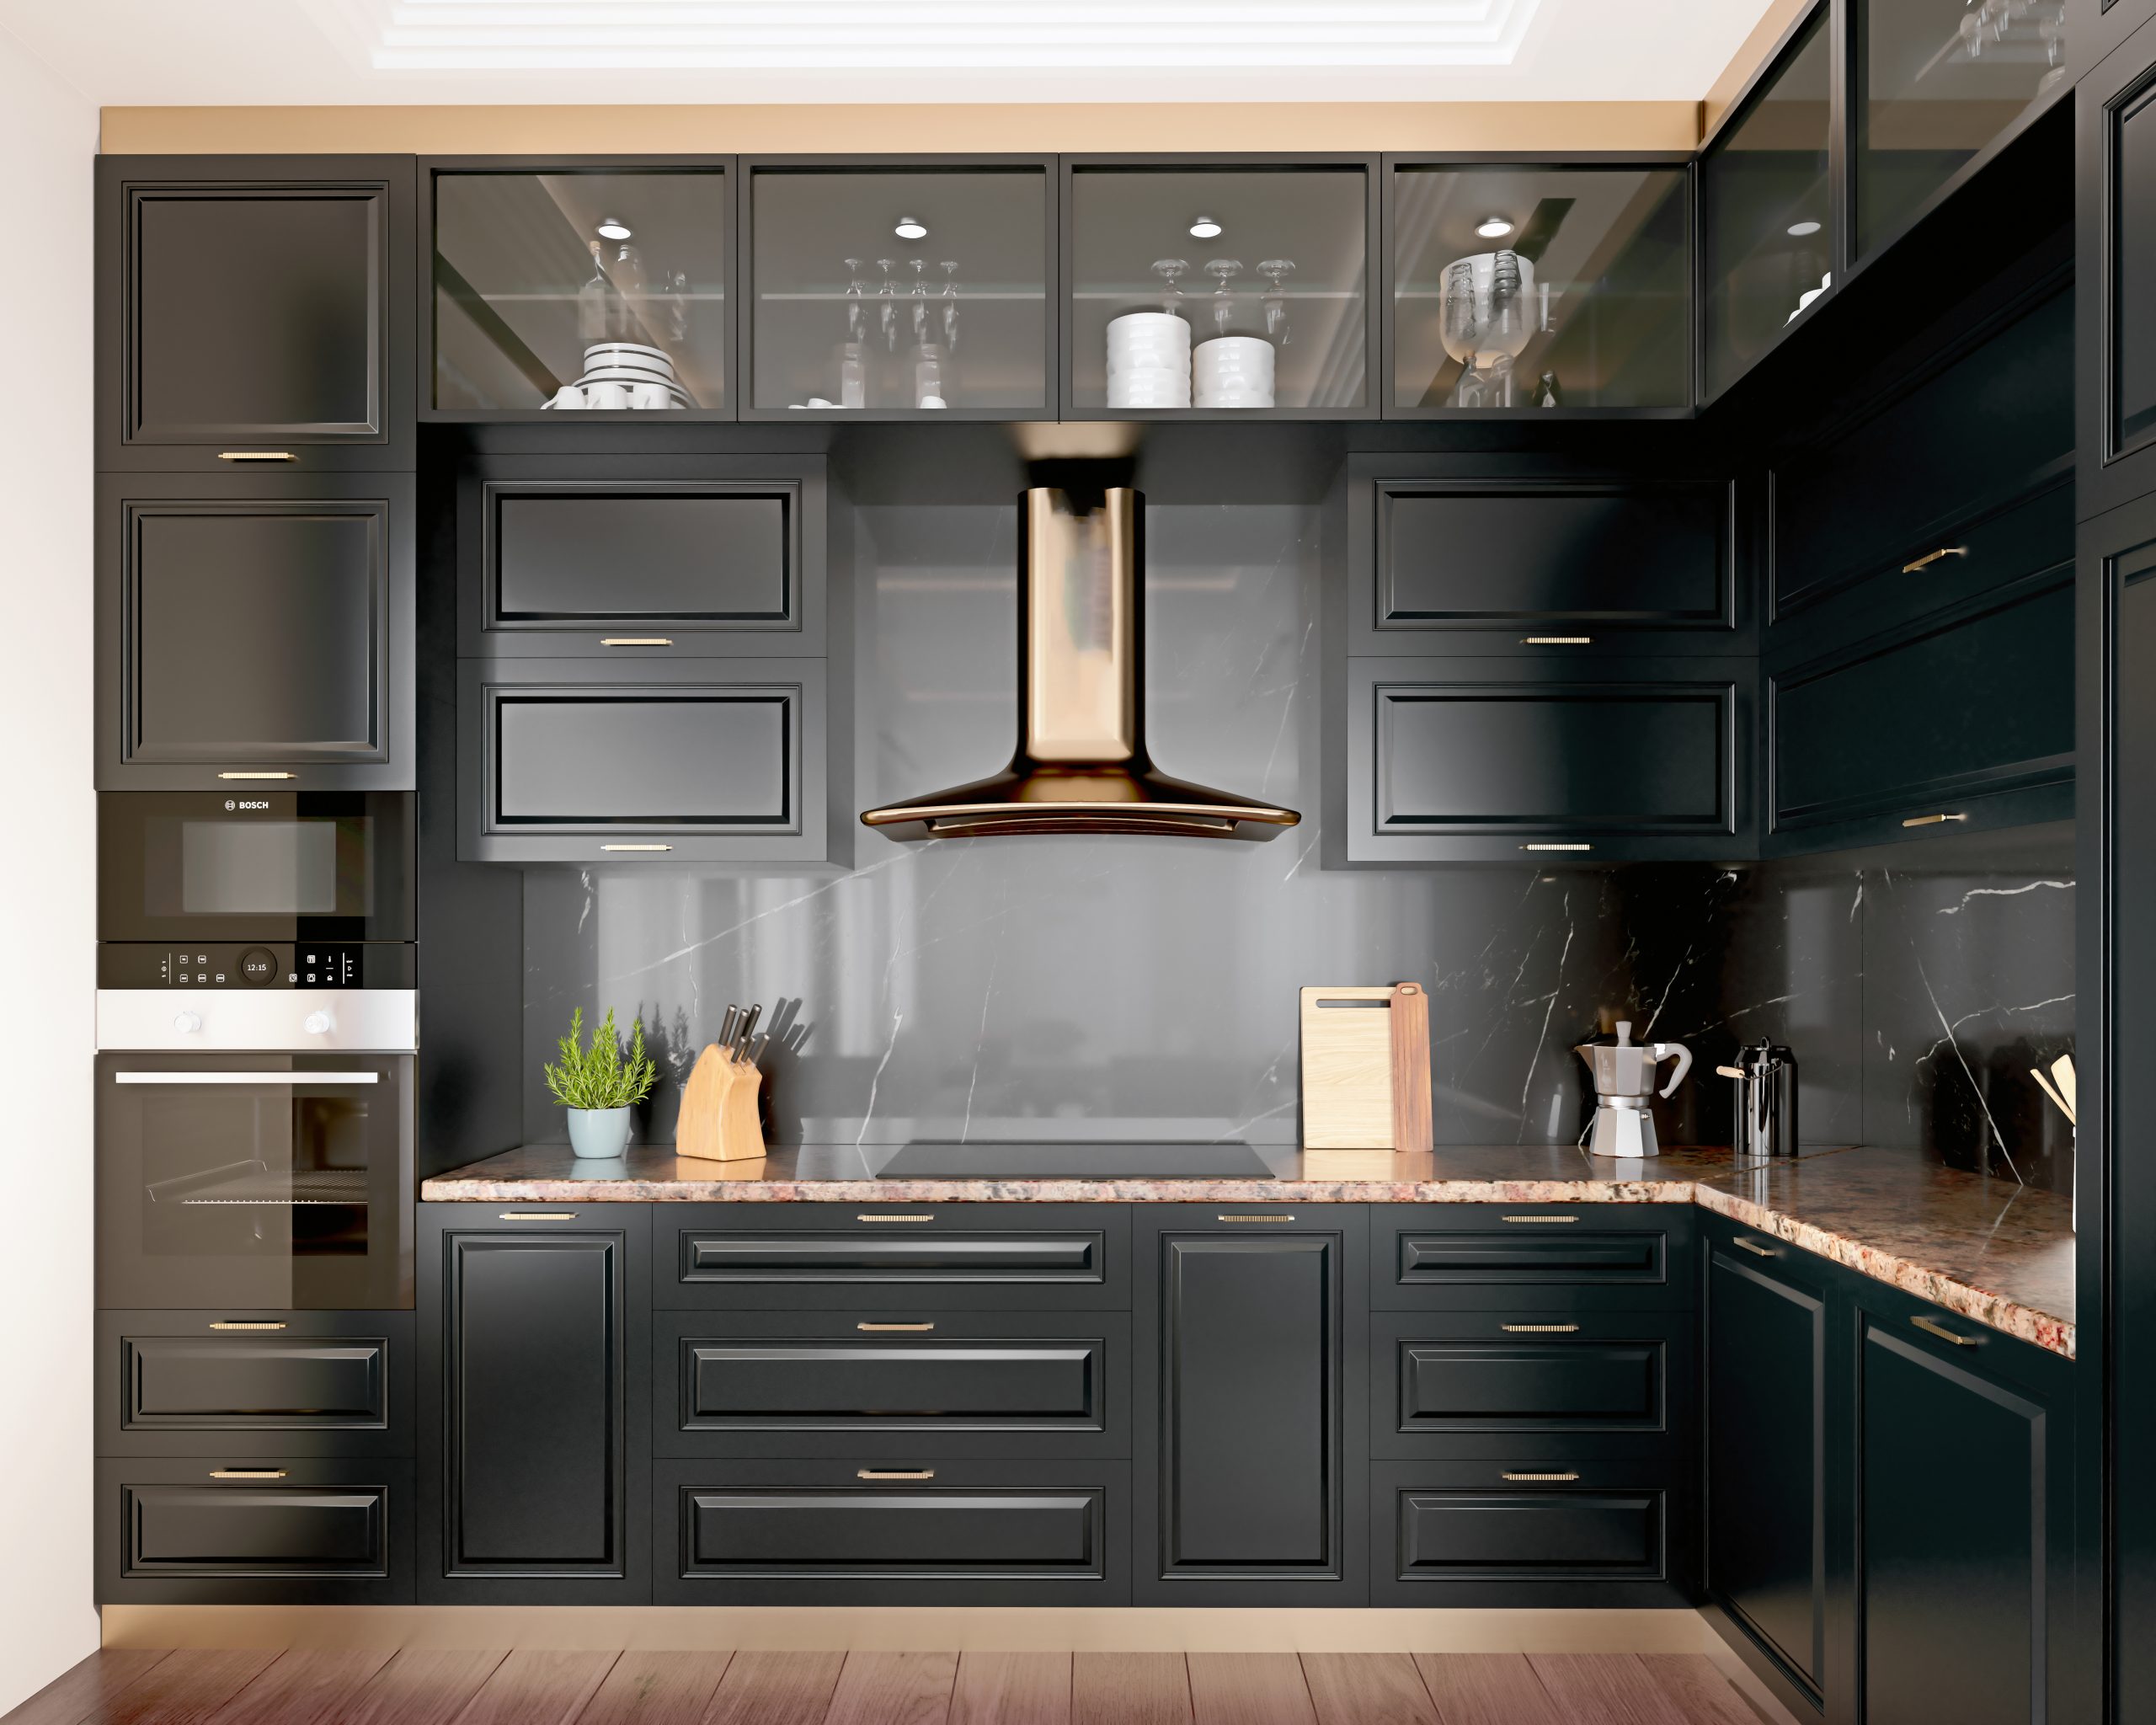
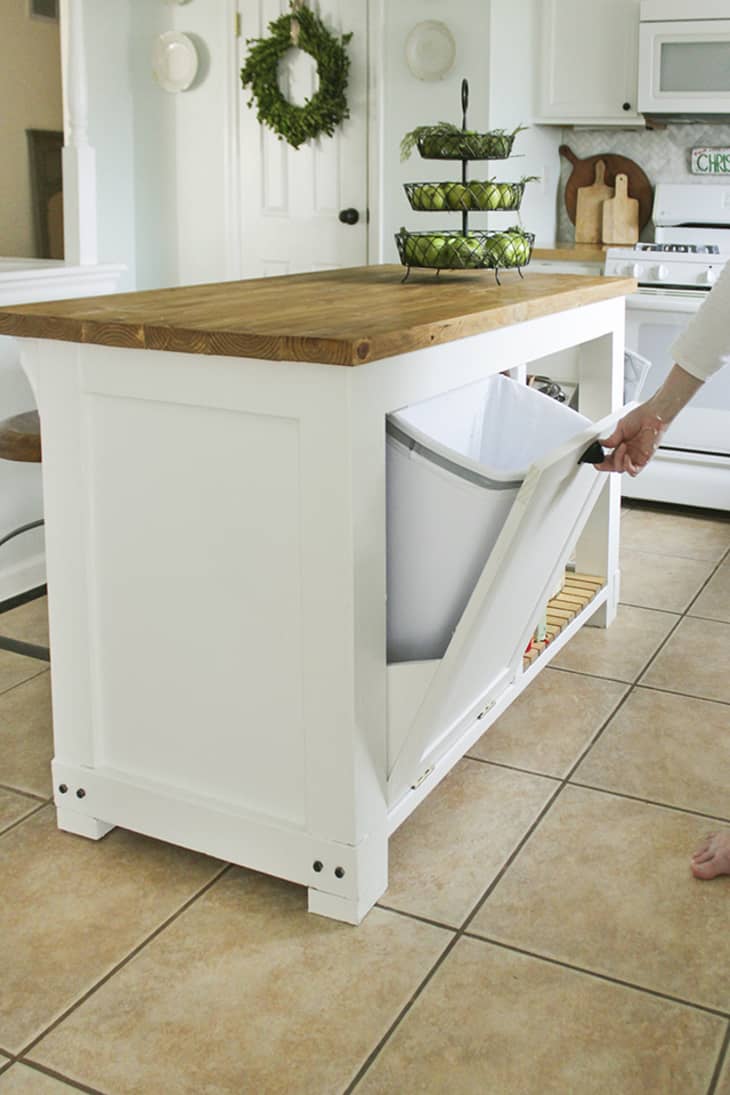
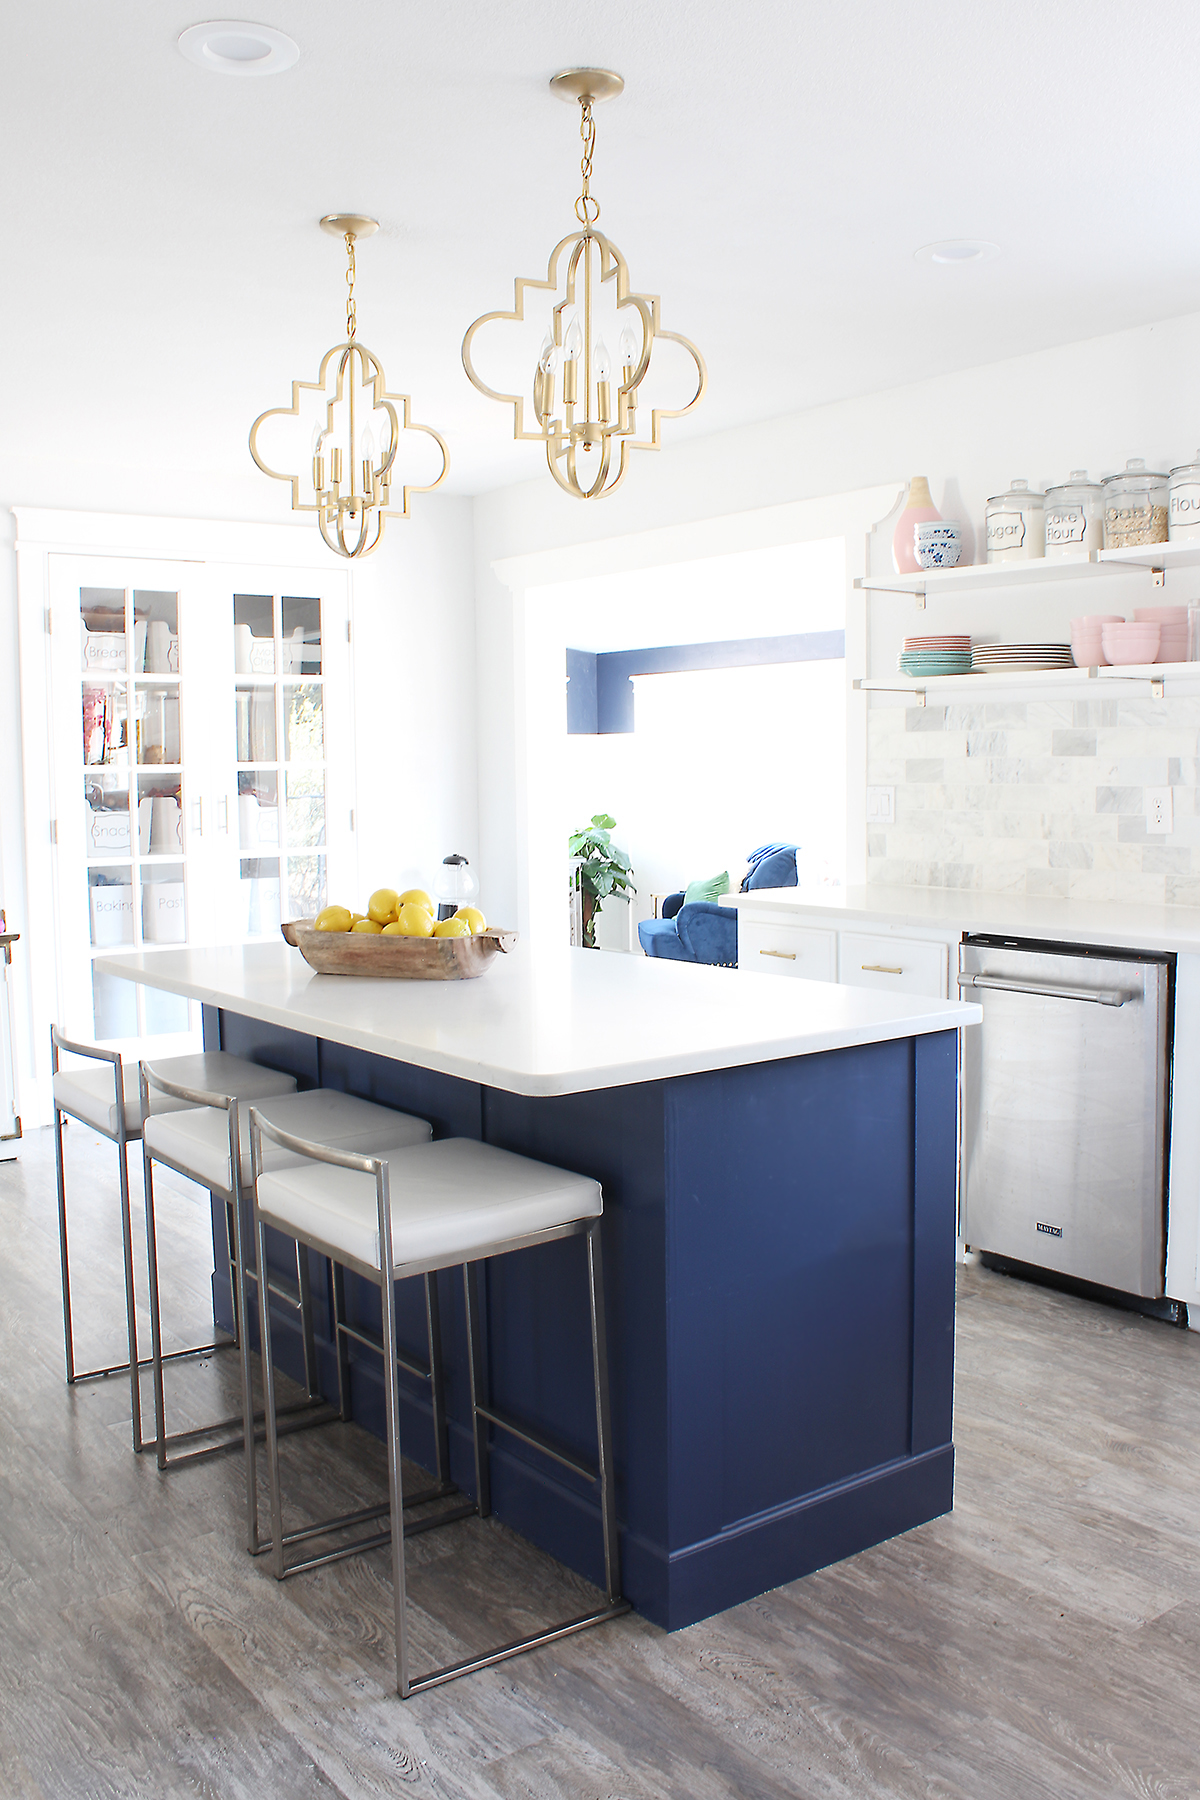
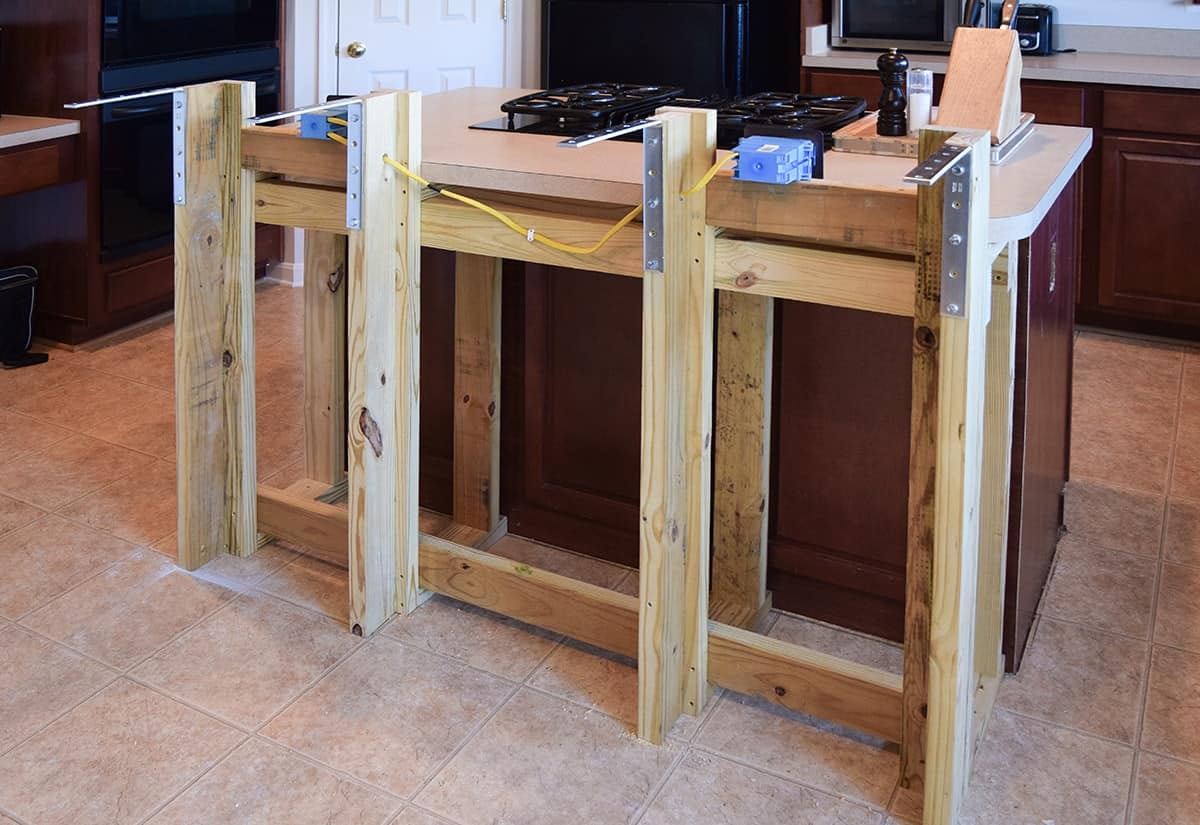
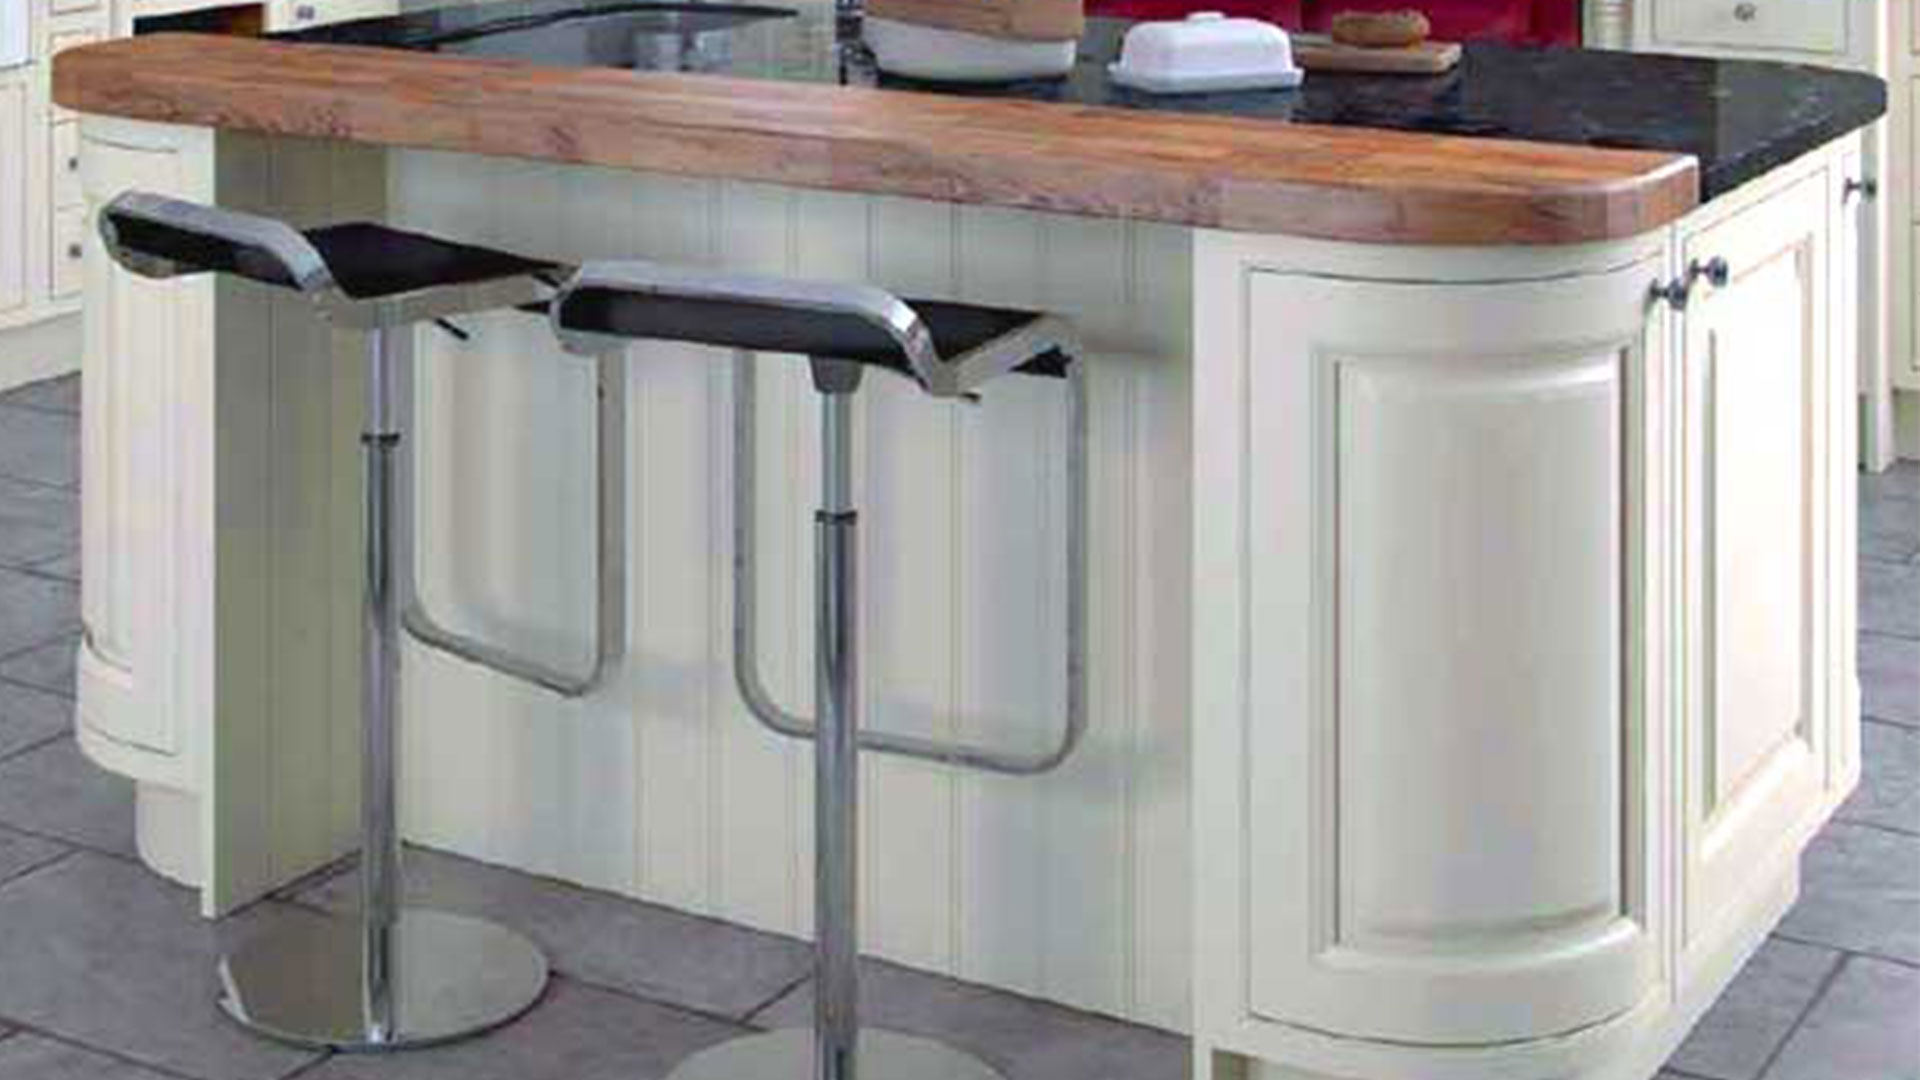
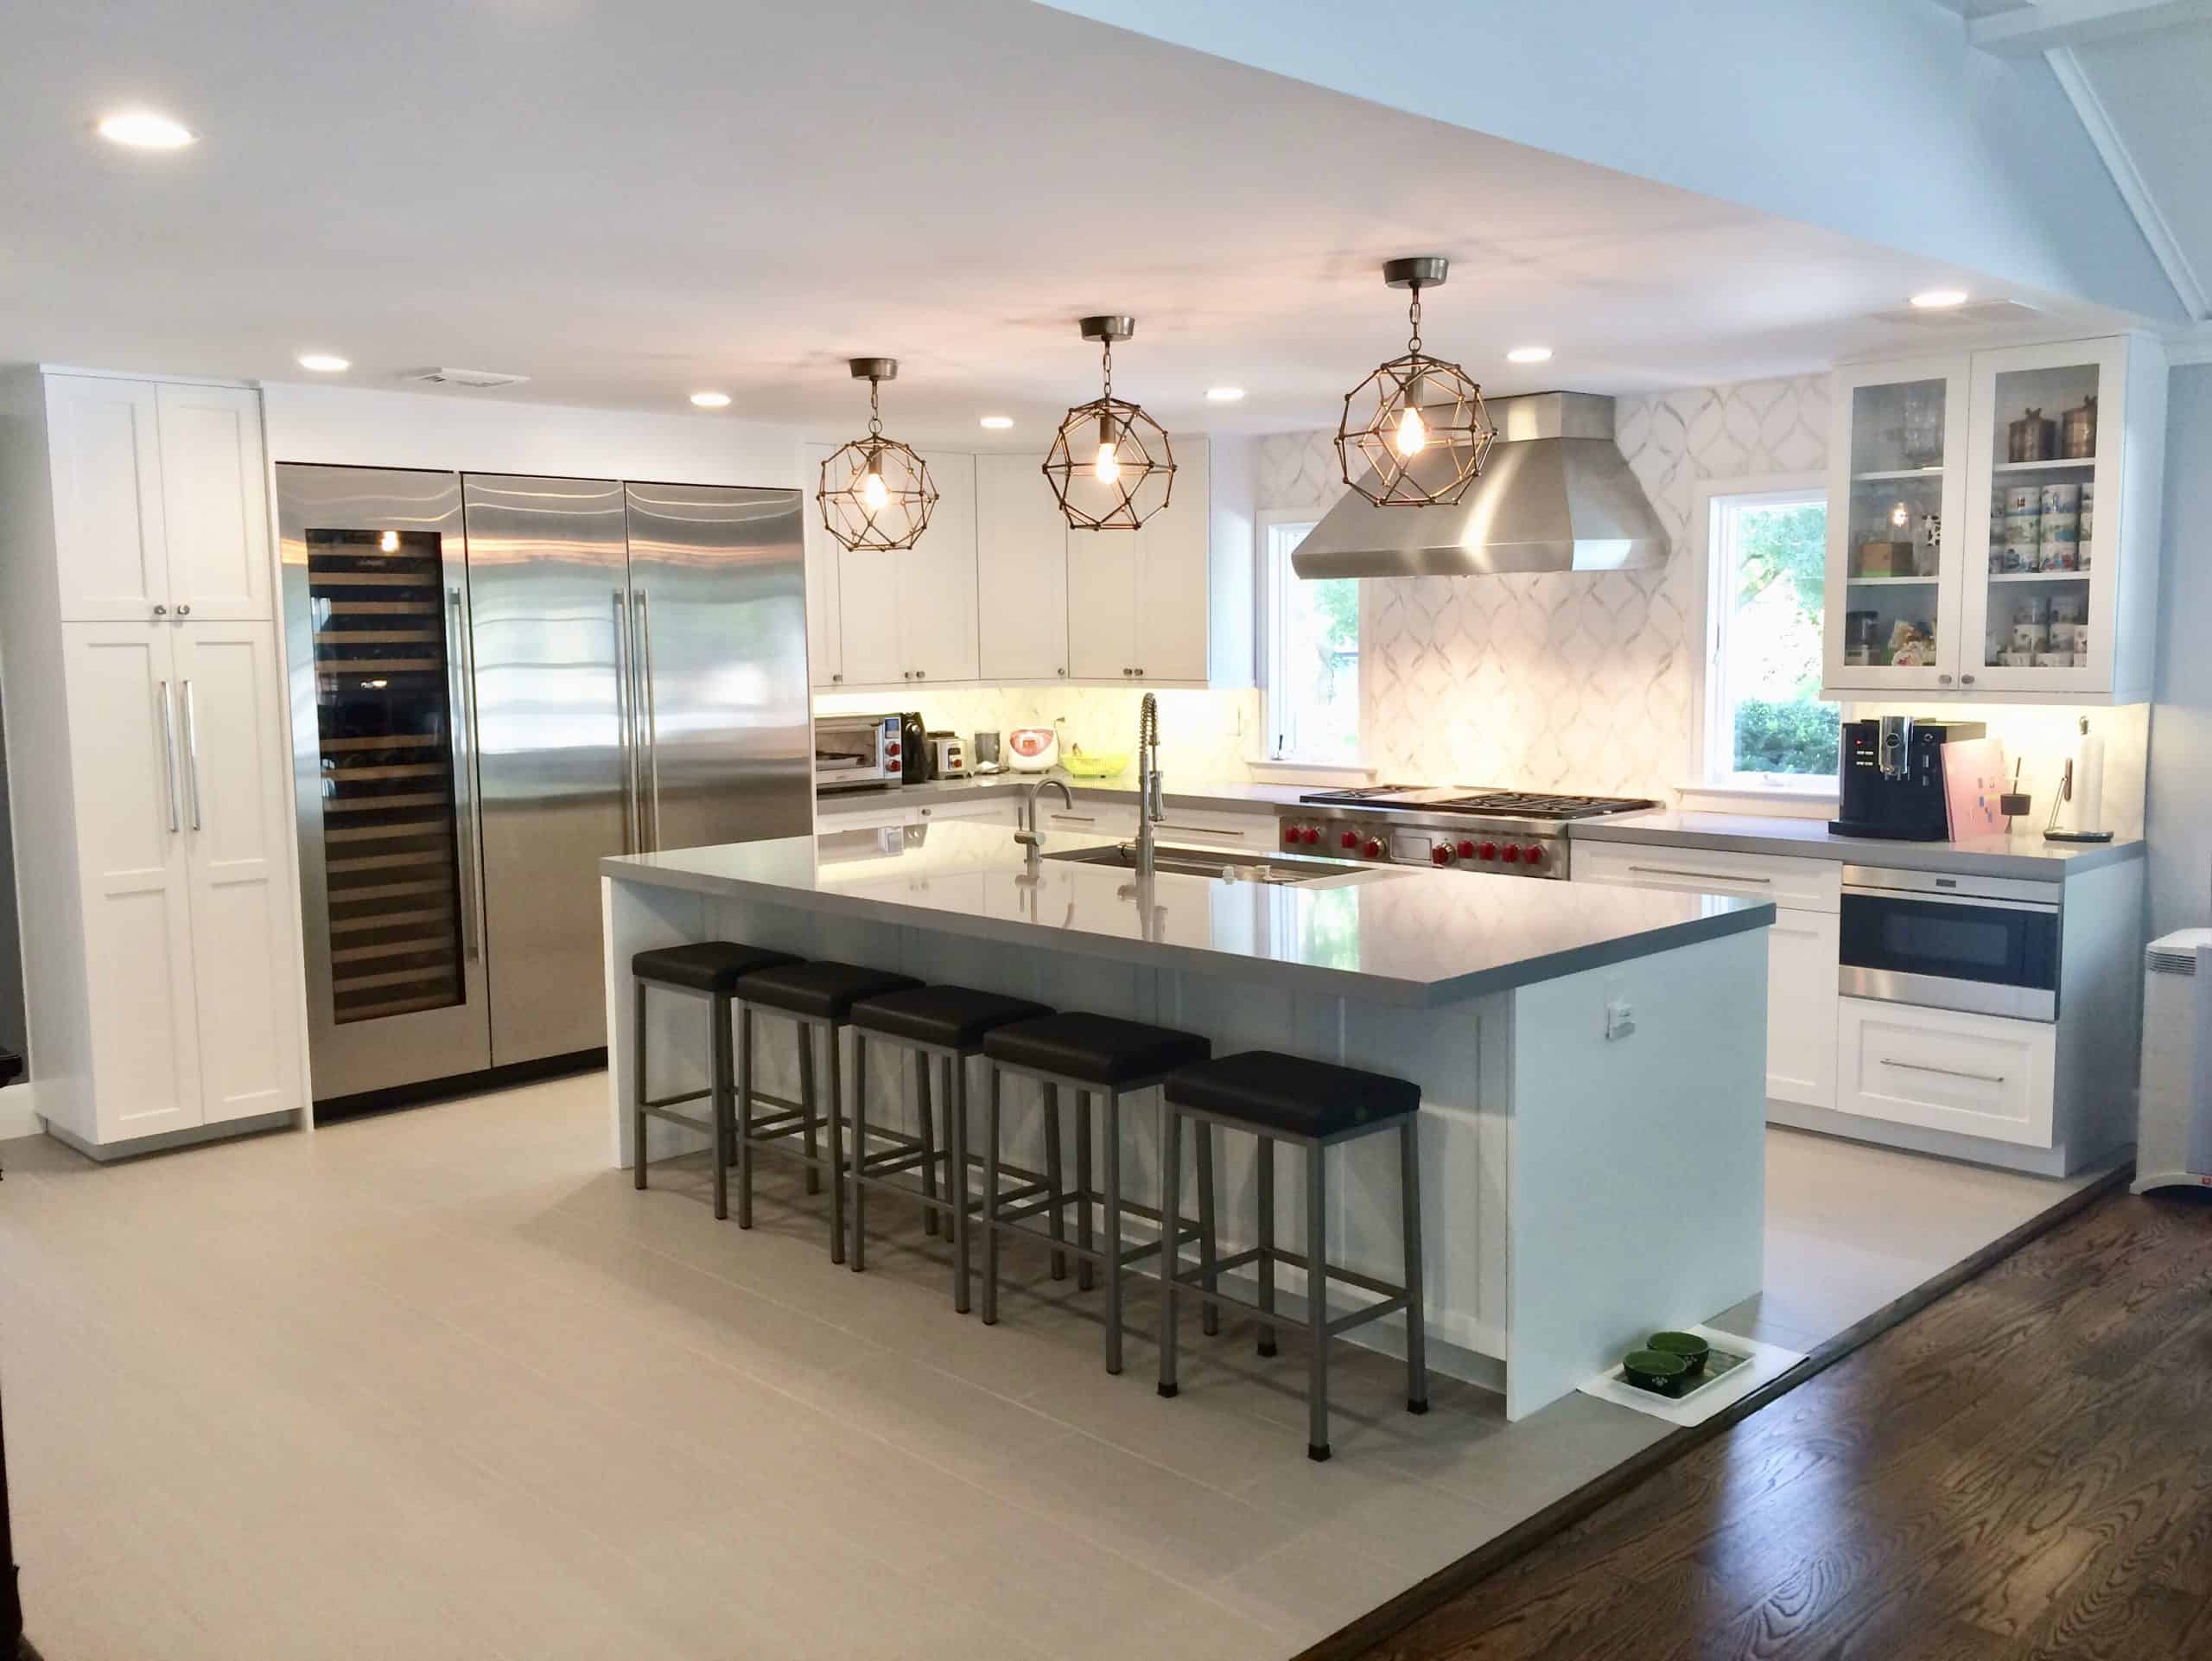
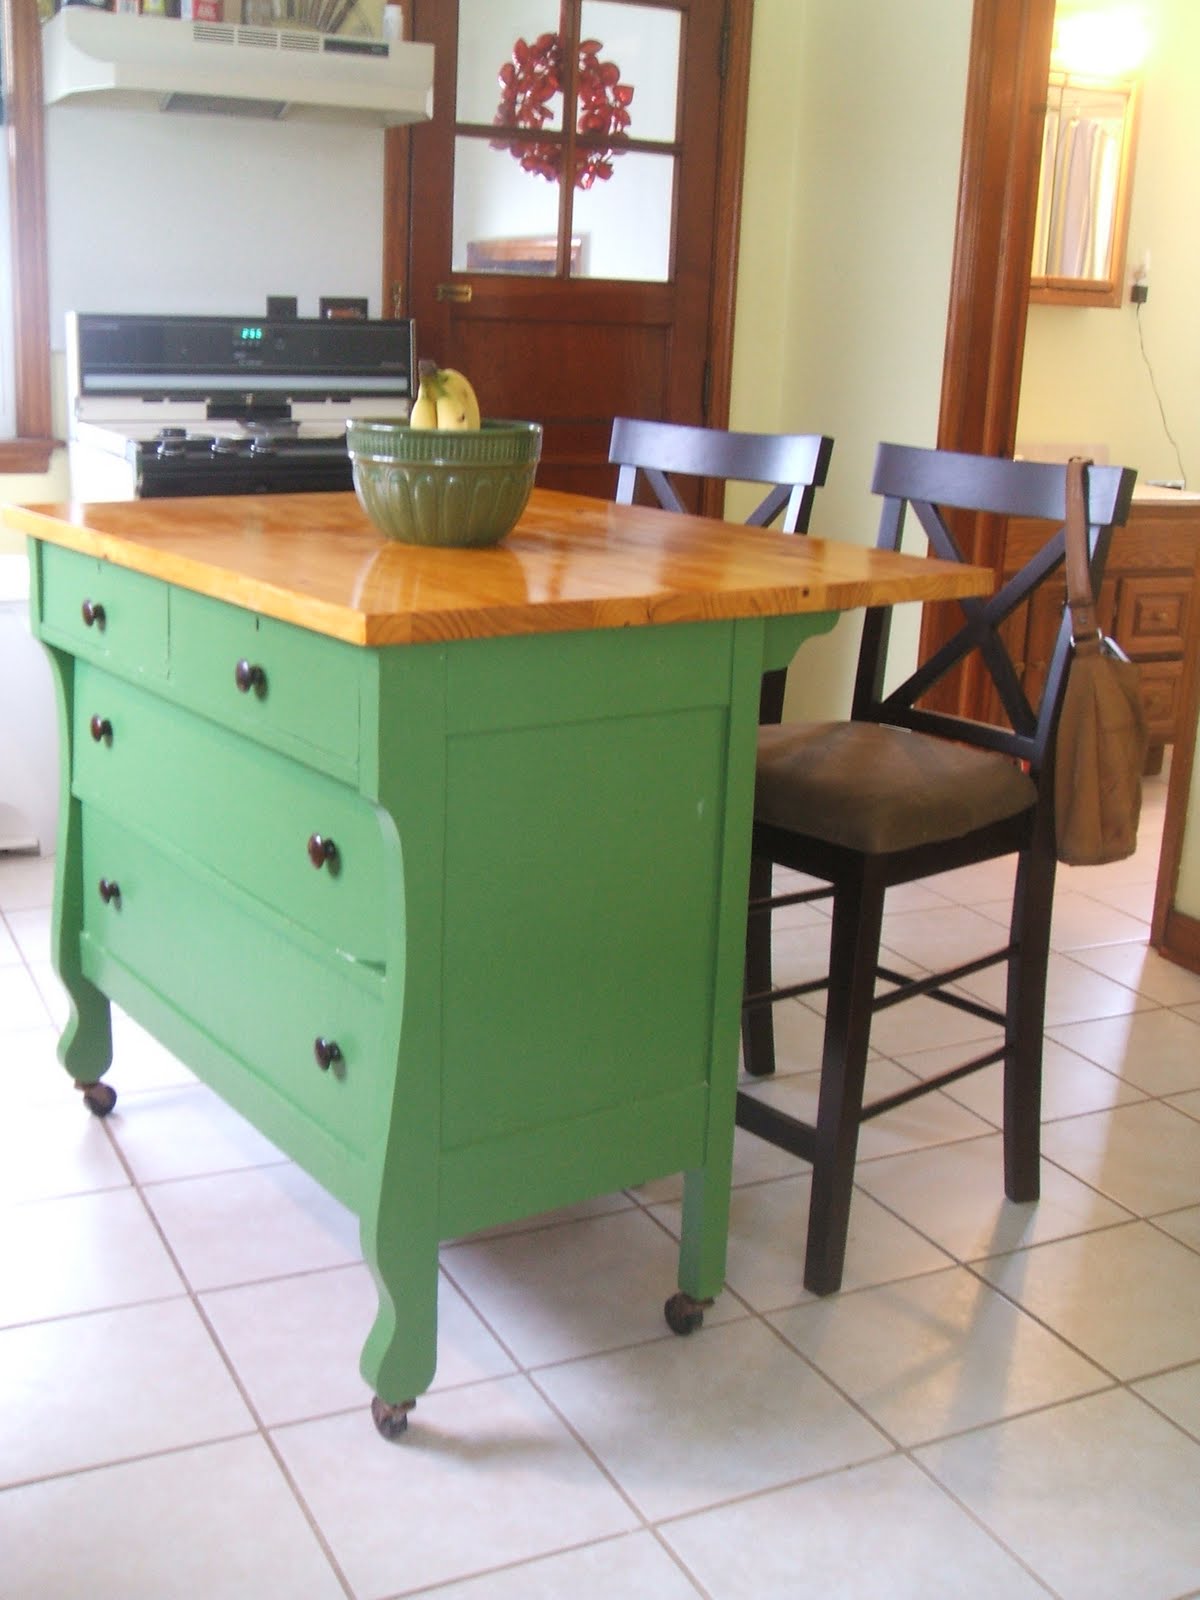
A kitchen island with built-in seating is a great way to add both functionality and style to your kitchen. Not only does it provide extra seating space, but it also creates a central gathering place for family and friends. Plus, building your own DIY kitchen island allows you to customize it to fit your specific needs and design preferences. If you're ready to take on the challenge of building your own kitchen island with built-in seating, here are some tips to help you get started. 1. Plan and Measure The first step in any DIY project is to plan and measure. Measure the available space in your kitchen to determine the size and shape of your island. Consider how many people you want the island to seat and plan the seating accordingly. Also, think about the materials you want to use and gather all necessary tools and supplies. 2. Choose Your Design There are many different designs and styles you can choose from for your kitchen island with built-in seating. You could opt for a traditional rectangular island with a few bar stools, or get creative with a curved or L-shaped design. Take into consideration the overall style and layout of your kitchen to ensure your island complements the space. 3. Build the Base The base of your kitchen island is the foundation for the entire project. You can use pre-made cabinets for a quick and easy option, or build your own using plywood and 2x4s. If you're using cabinets, attach them together and secure them to the floor using screws. If you're building your own base, follow the measurements and plans you created and use a level to ensure everything is straight and sturdy. 4. Add Seating Once the base is built, it's time to add the seating. This can be done in a variety of ways, depending on your design and preferences. You can attach benches to the sides of the island, or create a breakfast bar by extending one side of the island and adding bar stools. Make sure to leave enough space for people to comfortably sit and move around. 5. Finish it Off The finishing touches are what will really make your kitchen island with built-in seating stand out. You can choose to add a countertop made of wood, granite, or another material of your choice. You can also add a backsplash, shelves, or other decorative elements to personalize your island. Just make sure everything is securely attached and level. With these steps, you can create a beautiful and functional DIY kitchen island with built-in seating that will be the highlight of your kitchen. Just remember to plan, measure, and take your time to ensure a successful and satisfying project.DIY Kitchen Island with Built-In Seating
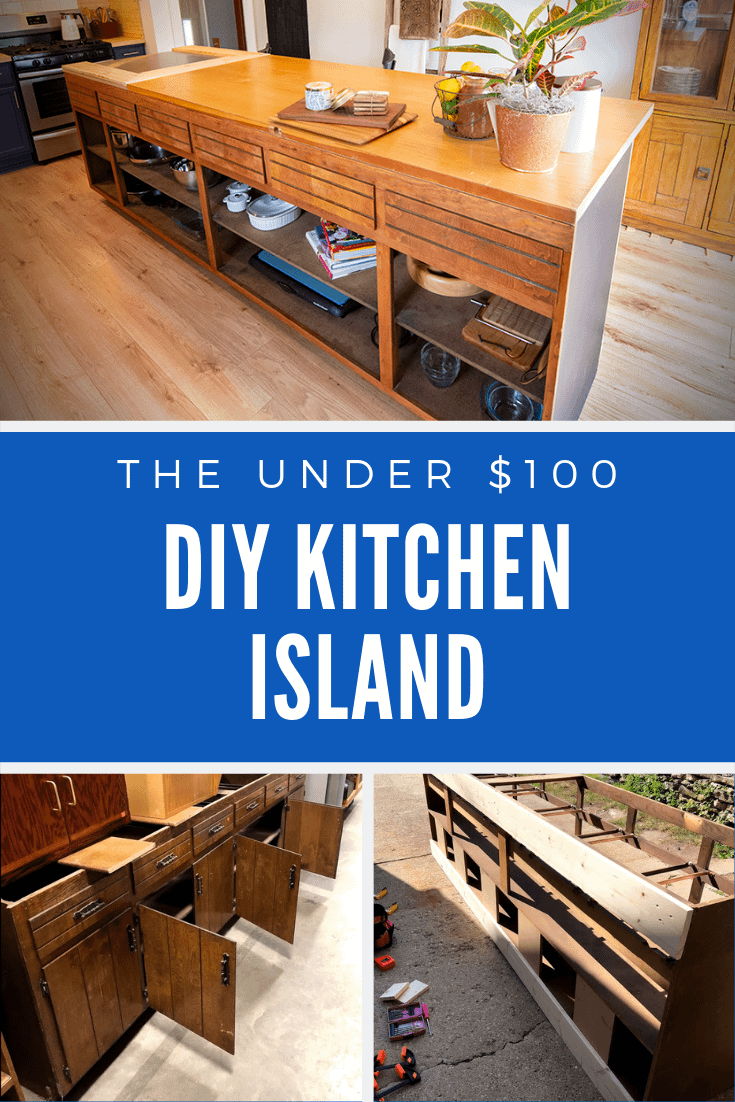
DIY Kitchen Island with Built-In Seating


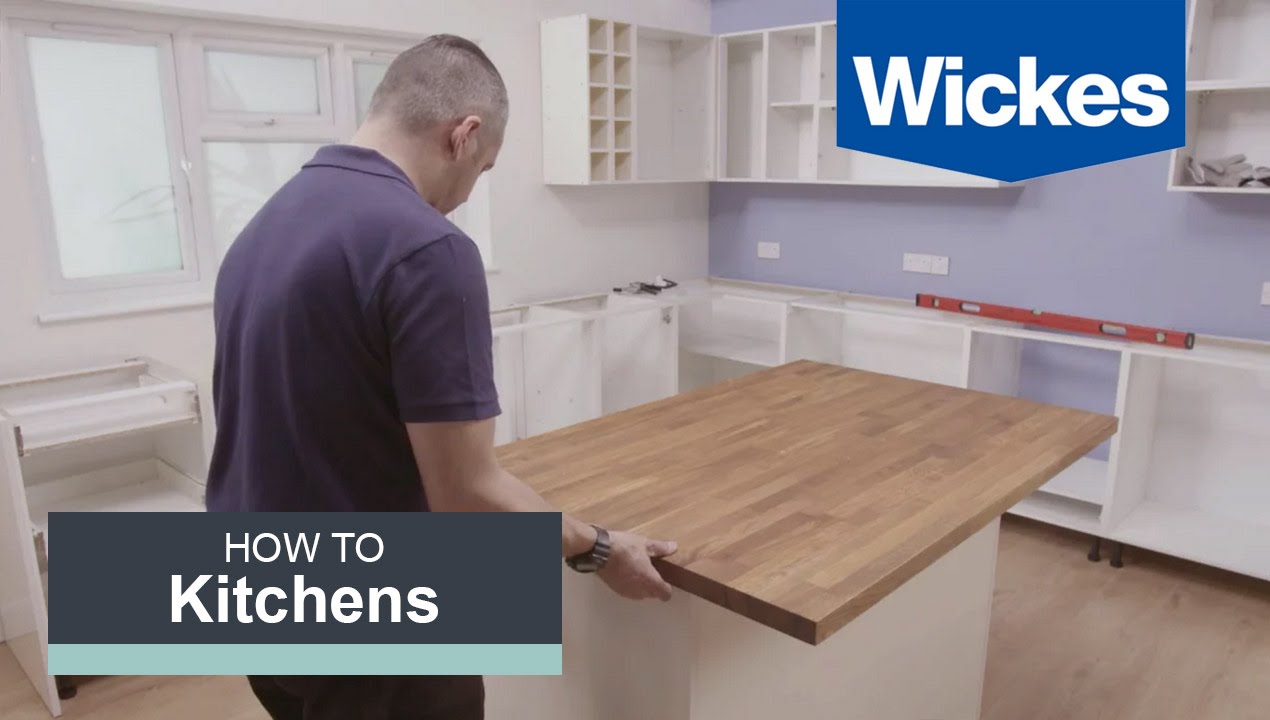
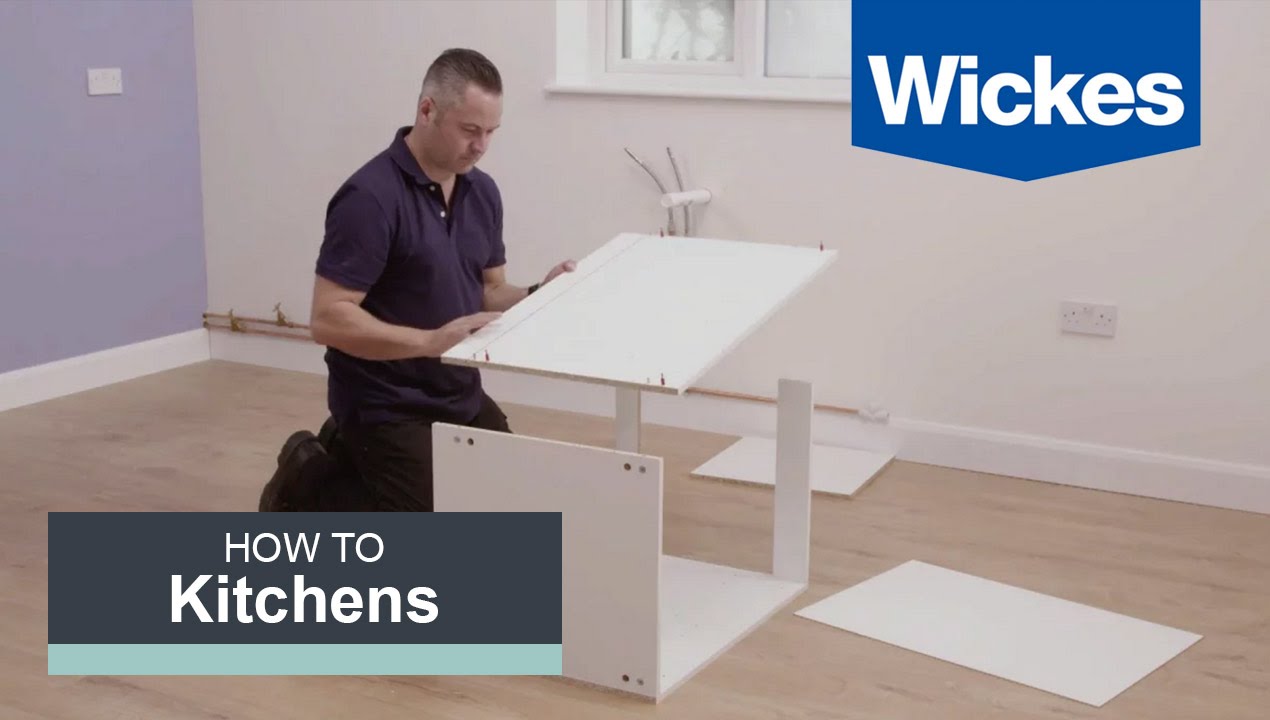
Building a kitchen island with Wickes is a great option for those who want a high-quality, professional-looking island without the hassle of building it completely from scratch. Wickes offers a variety of pre-made kitchen island kits that make the process quick and easy. Here's how to build a kitchen island with Wickes. 1. Choose Your Kit Wickes offers a range of kitchen island kits in different sizes and styles. Choose the one that best fits your space and design preferences. You can also opt for a kit that includes seating or one that is solely for prep and storage. 2. Assemble the Base The base of the island is typically made of cabinets or shelves that will provide the necessary storage. Follow the instructions provided to assemble the base using the included hardware. Most kits will also come with a countertop, so make sure to attach that as well. 3. Add the Seating If your kit includes seating, this is the next step. Attach the benches or stools to the designated areas on the island. Make sure they are securely attached for safety and stability. 4. Personalize Your Island To add a personal touch to your island, you can choose to add a backsplash, shelves, or other decorative elements. You can also paint or stain the island to match your kitchen's color scheme. Just make sure to follow the kit's instructions and use the recommended materials. With a little bit of assembly and personalization, you can have a beautiful and functional kitchen island with Wickes in no time. Plus, their high-quality materials and design options ensure you'll have a durable and stylish island for years to come.How to Build a Kitchen Island with Wickes


How to Build a Kitchen Island with Wickes


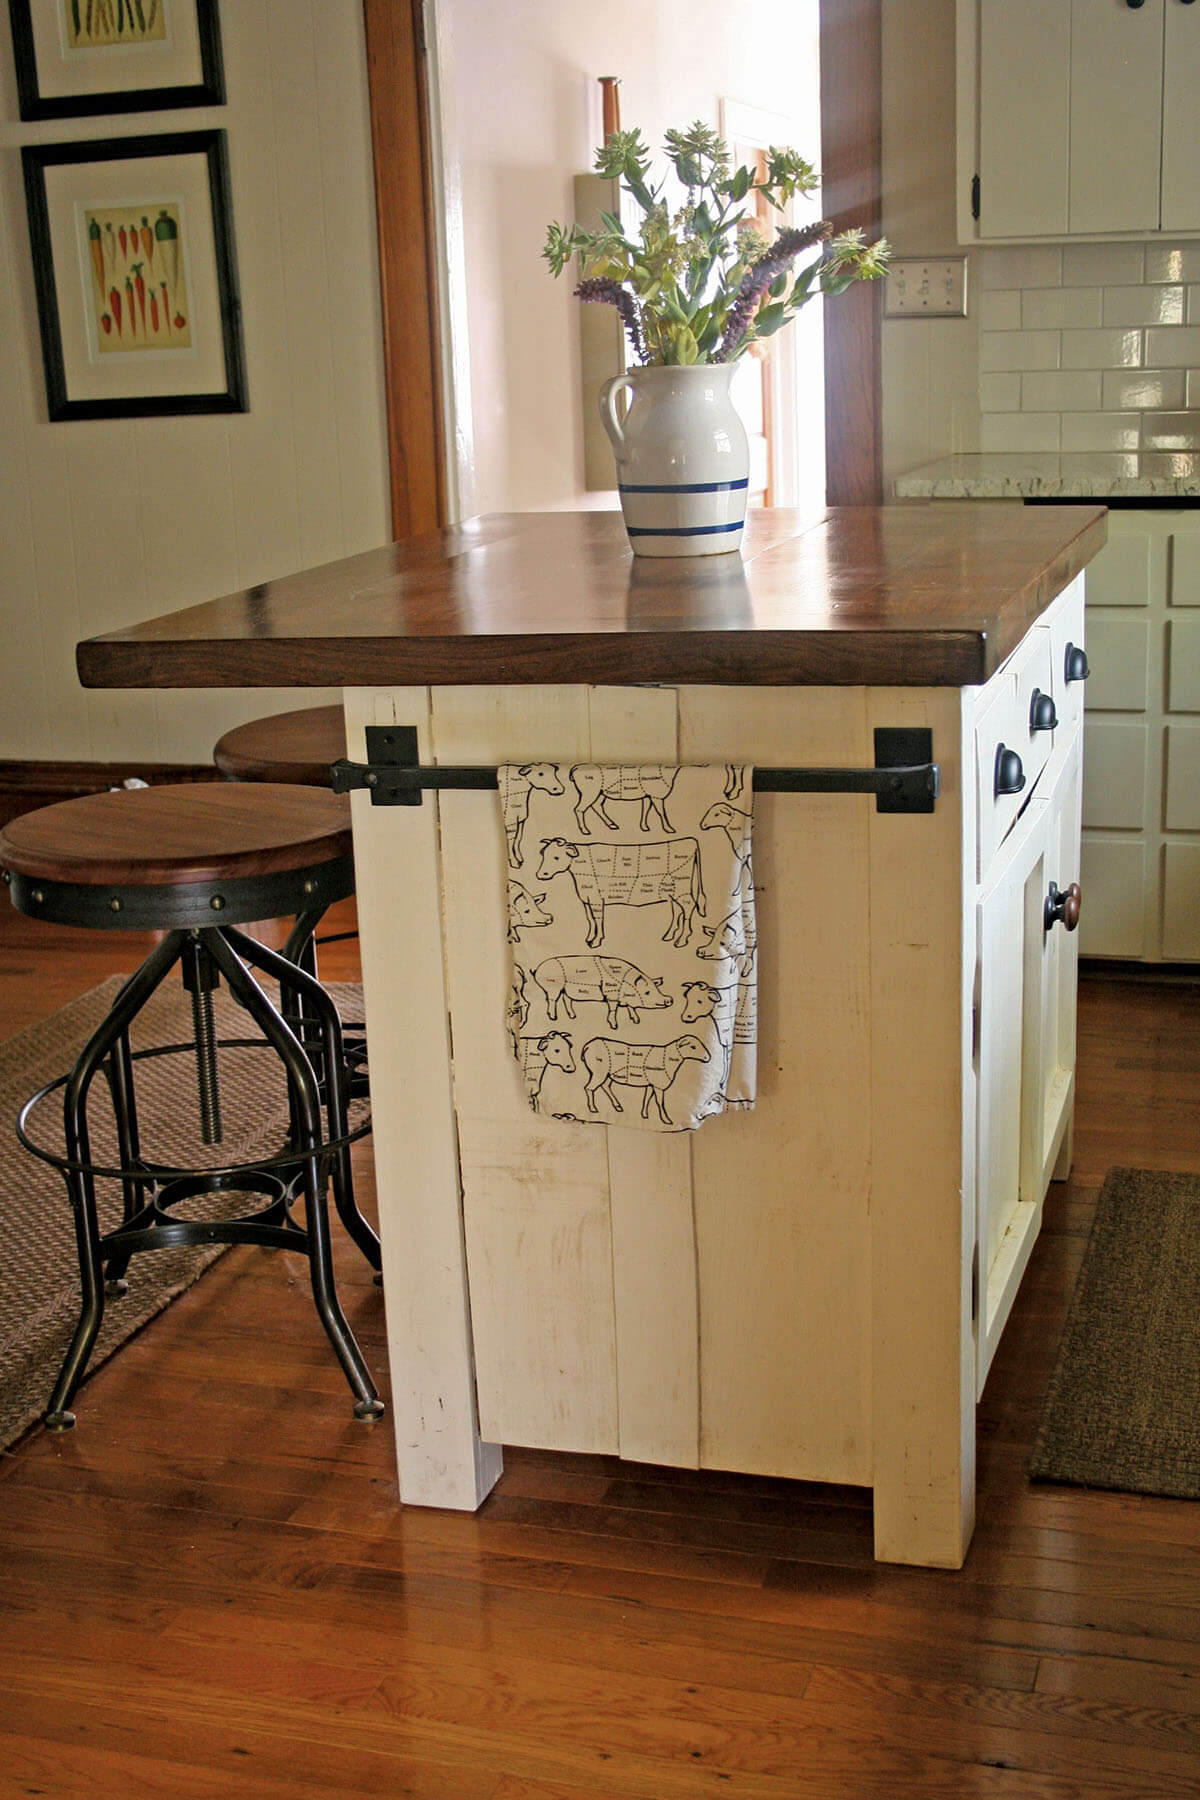
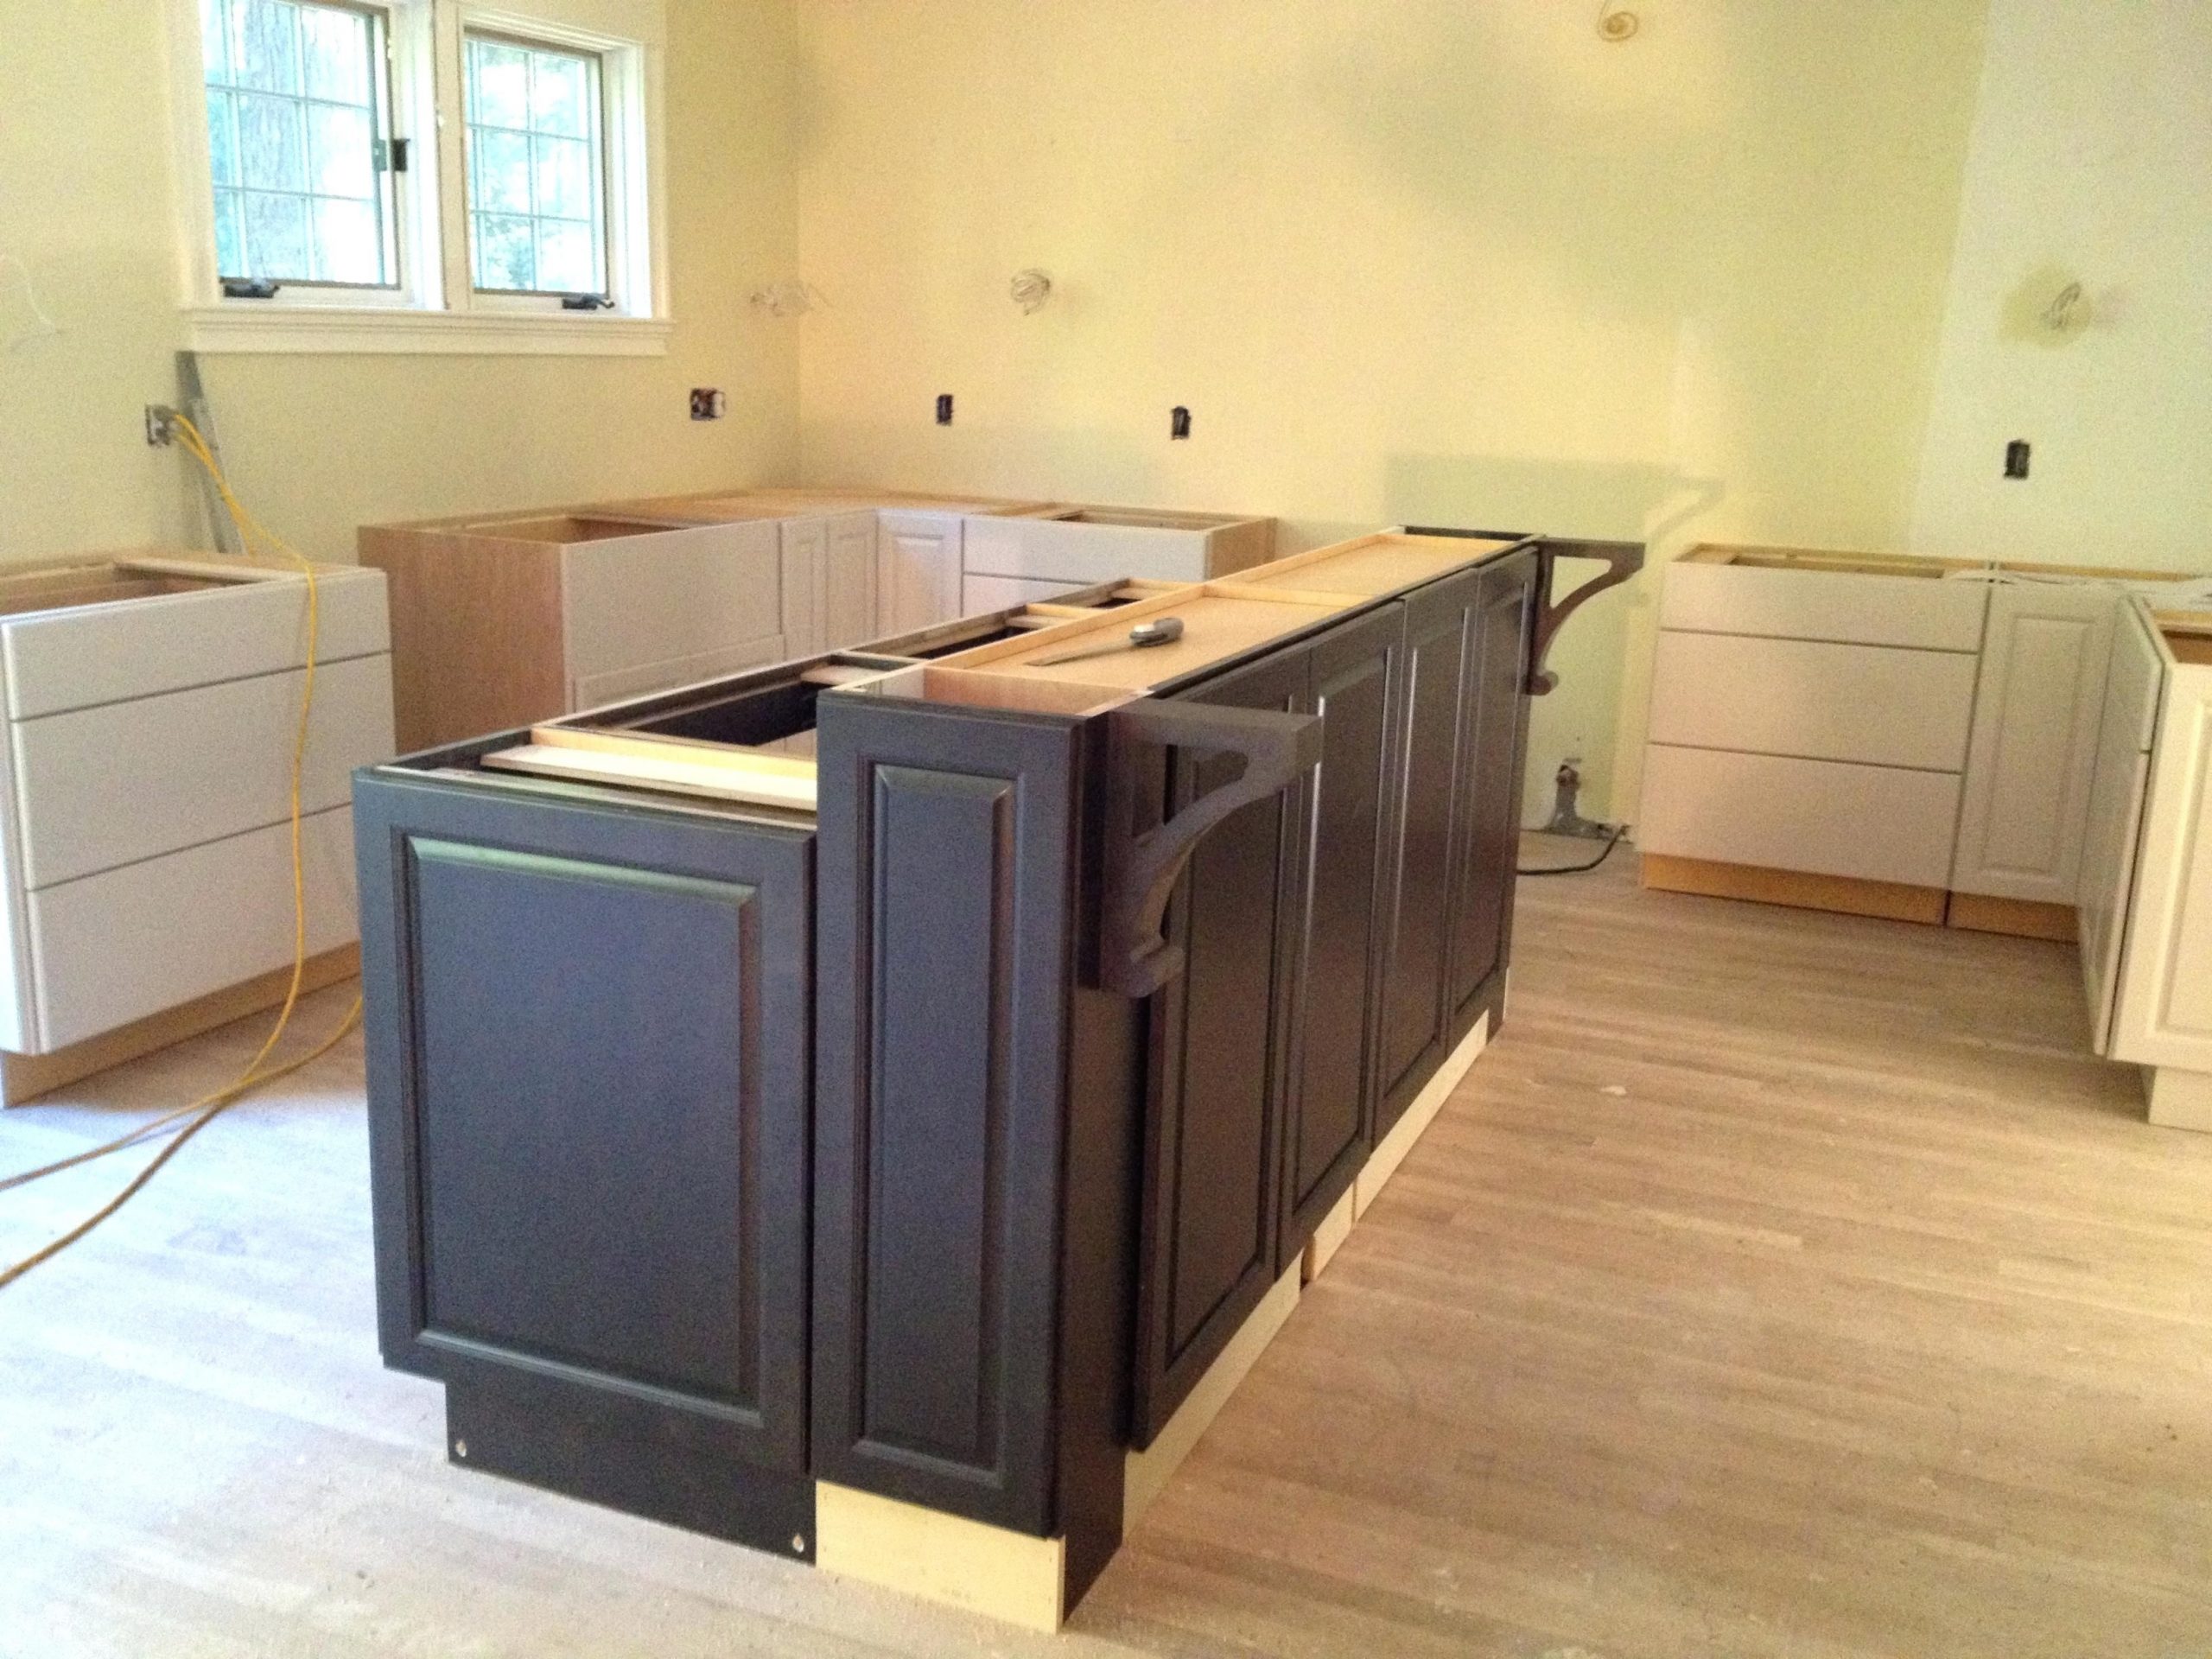
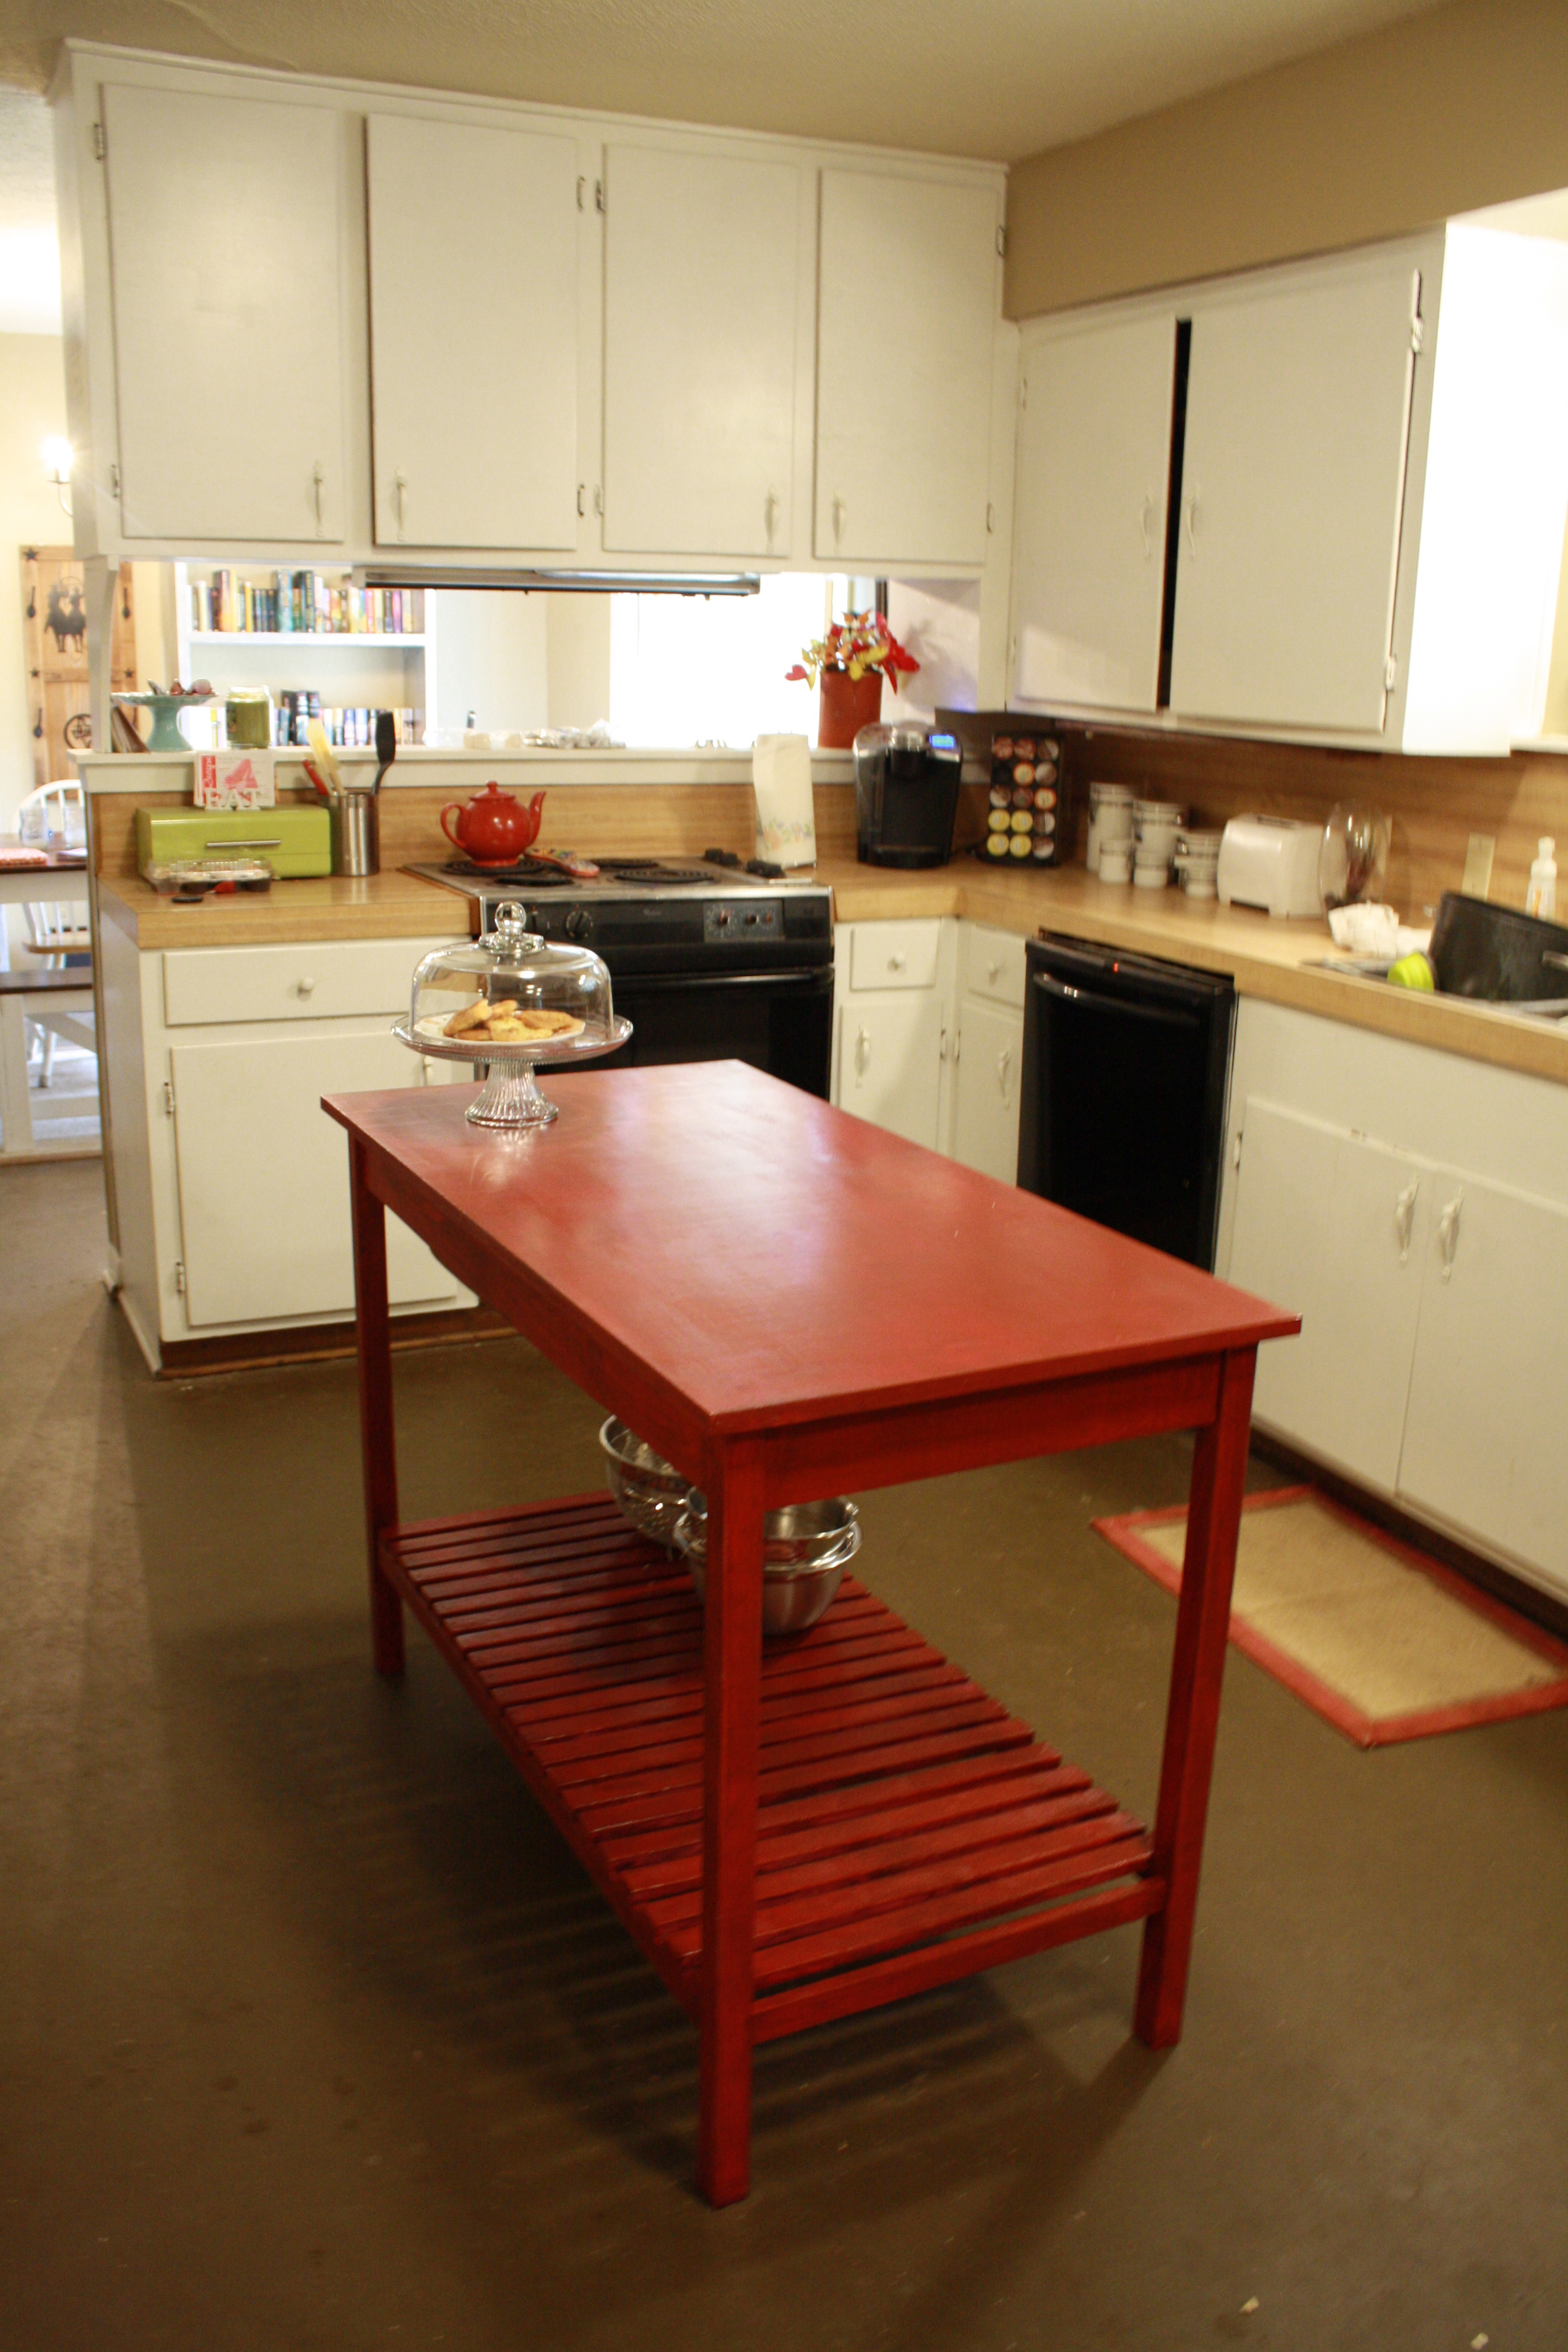
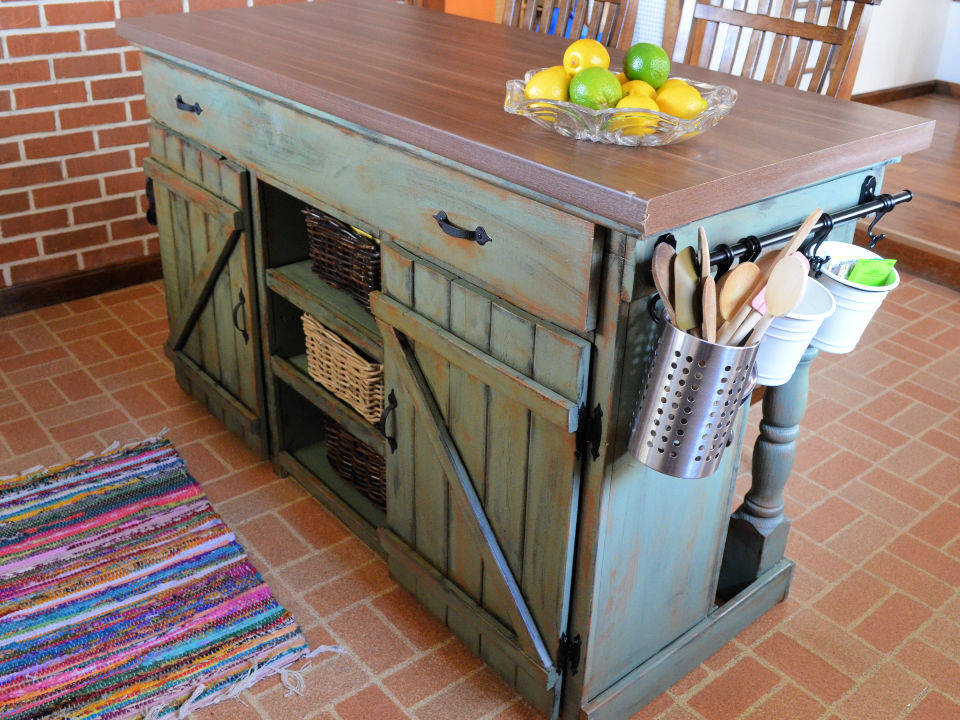
If you have existing cabinets in your kitchen that you want to repurpose, building a kitchen island with cabinets is a great option. It allows you to make use of materials you already have and create a cohesive look in your kitchen. Here's how to build a kitchen island with cabinets. 1. Choose Your Cabinets The first step is to choose the cabinets you want to use for your island. You can use one large cabinet or multiple smaller ones, depending on the size and design of your island. Make sure they are sturdy and in good condition to support the weight of the island. 2. Create a Base To create a base for your island, you can use a combination of plywood, 2x4s, and other materials. Follow your chosen design or create your own using the cabinets as a guide. Secure everything together using screws and make sure it is level and sturdy. 3. Install the Cabinets Once the base is built, you can attach the cabinets to it using screws and brackets. Make sure they are securely attached to avoid any wobbling or instability. You can also choose to add a countertop at this point, or wait until after the island is installed in your kitchen. 4. Customize Your Island Now that your island is built and installed, you can personalize it to fit your needs and preferences. You can add a countertop, backsplash, shelves, or any other decorative elements you desire. You can also paint or stain the island to match your kitchen's style. Building a kitchen island with cabinets is a great way to repurpose existing materials and add a unique touch to your kitchen. With some planning and creativity, you can have a beautiful and functional island that fits seamlessly into your space.How to Build a Kitchen Island with Cabinets

How to Build a Kitchen Island with Cabinets


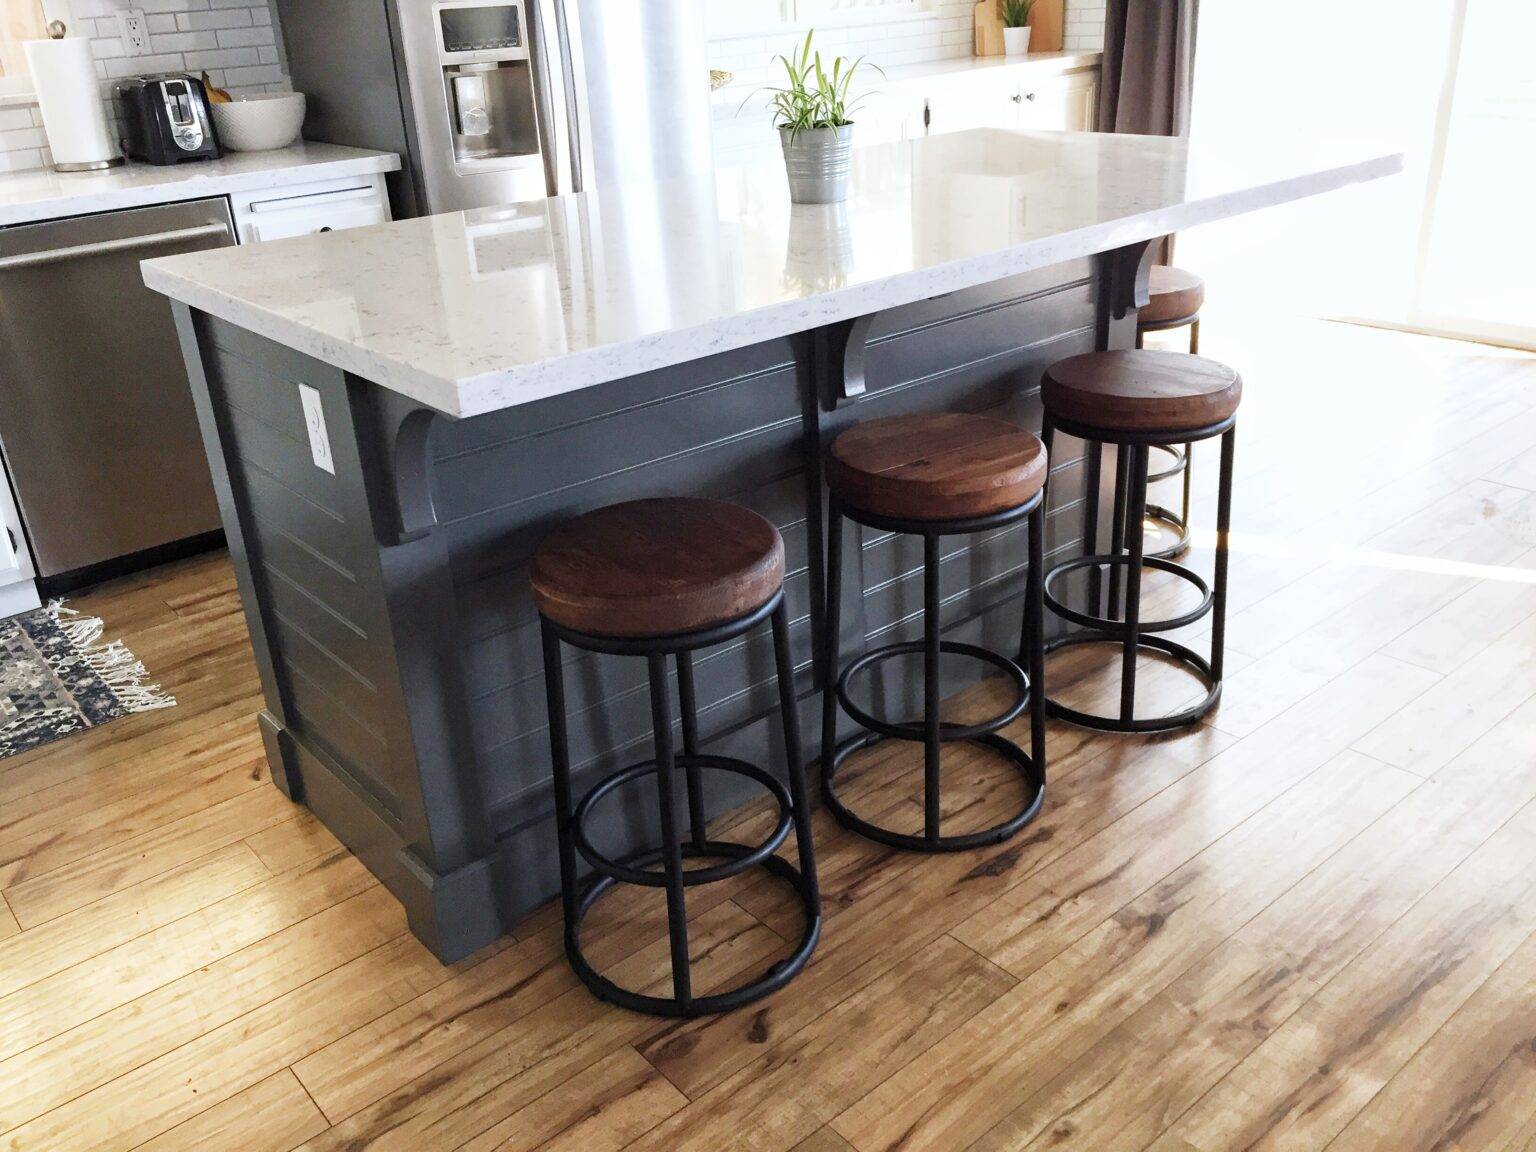
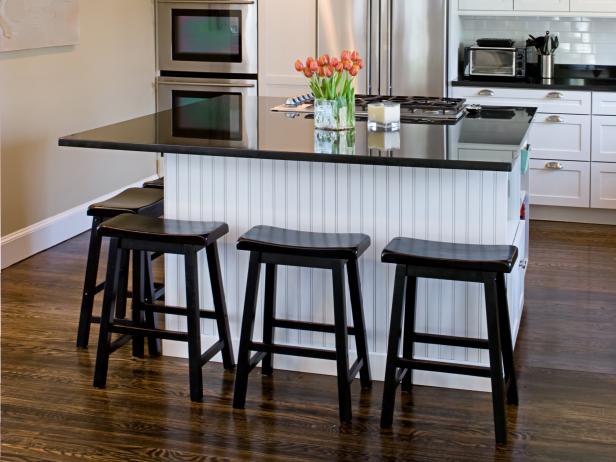
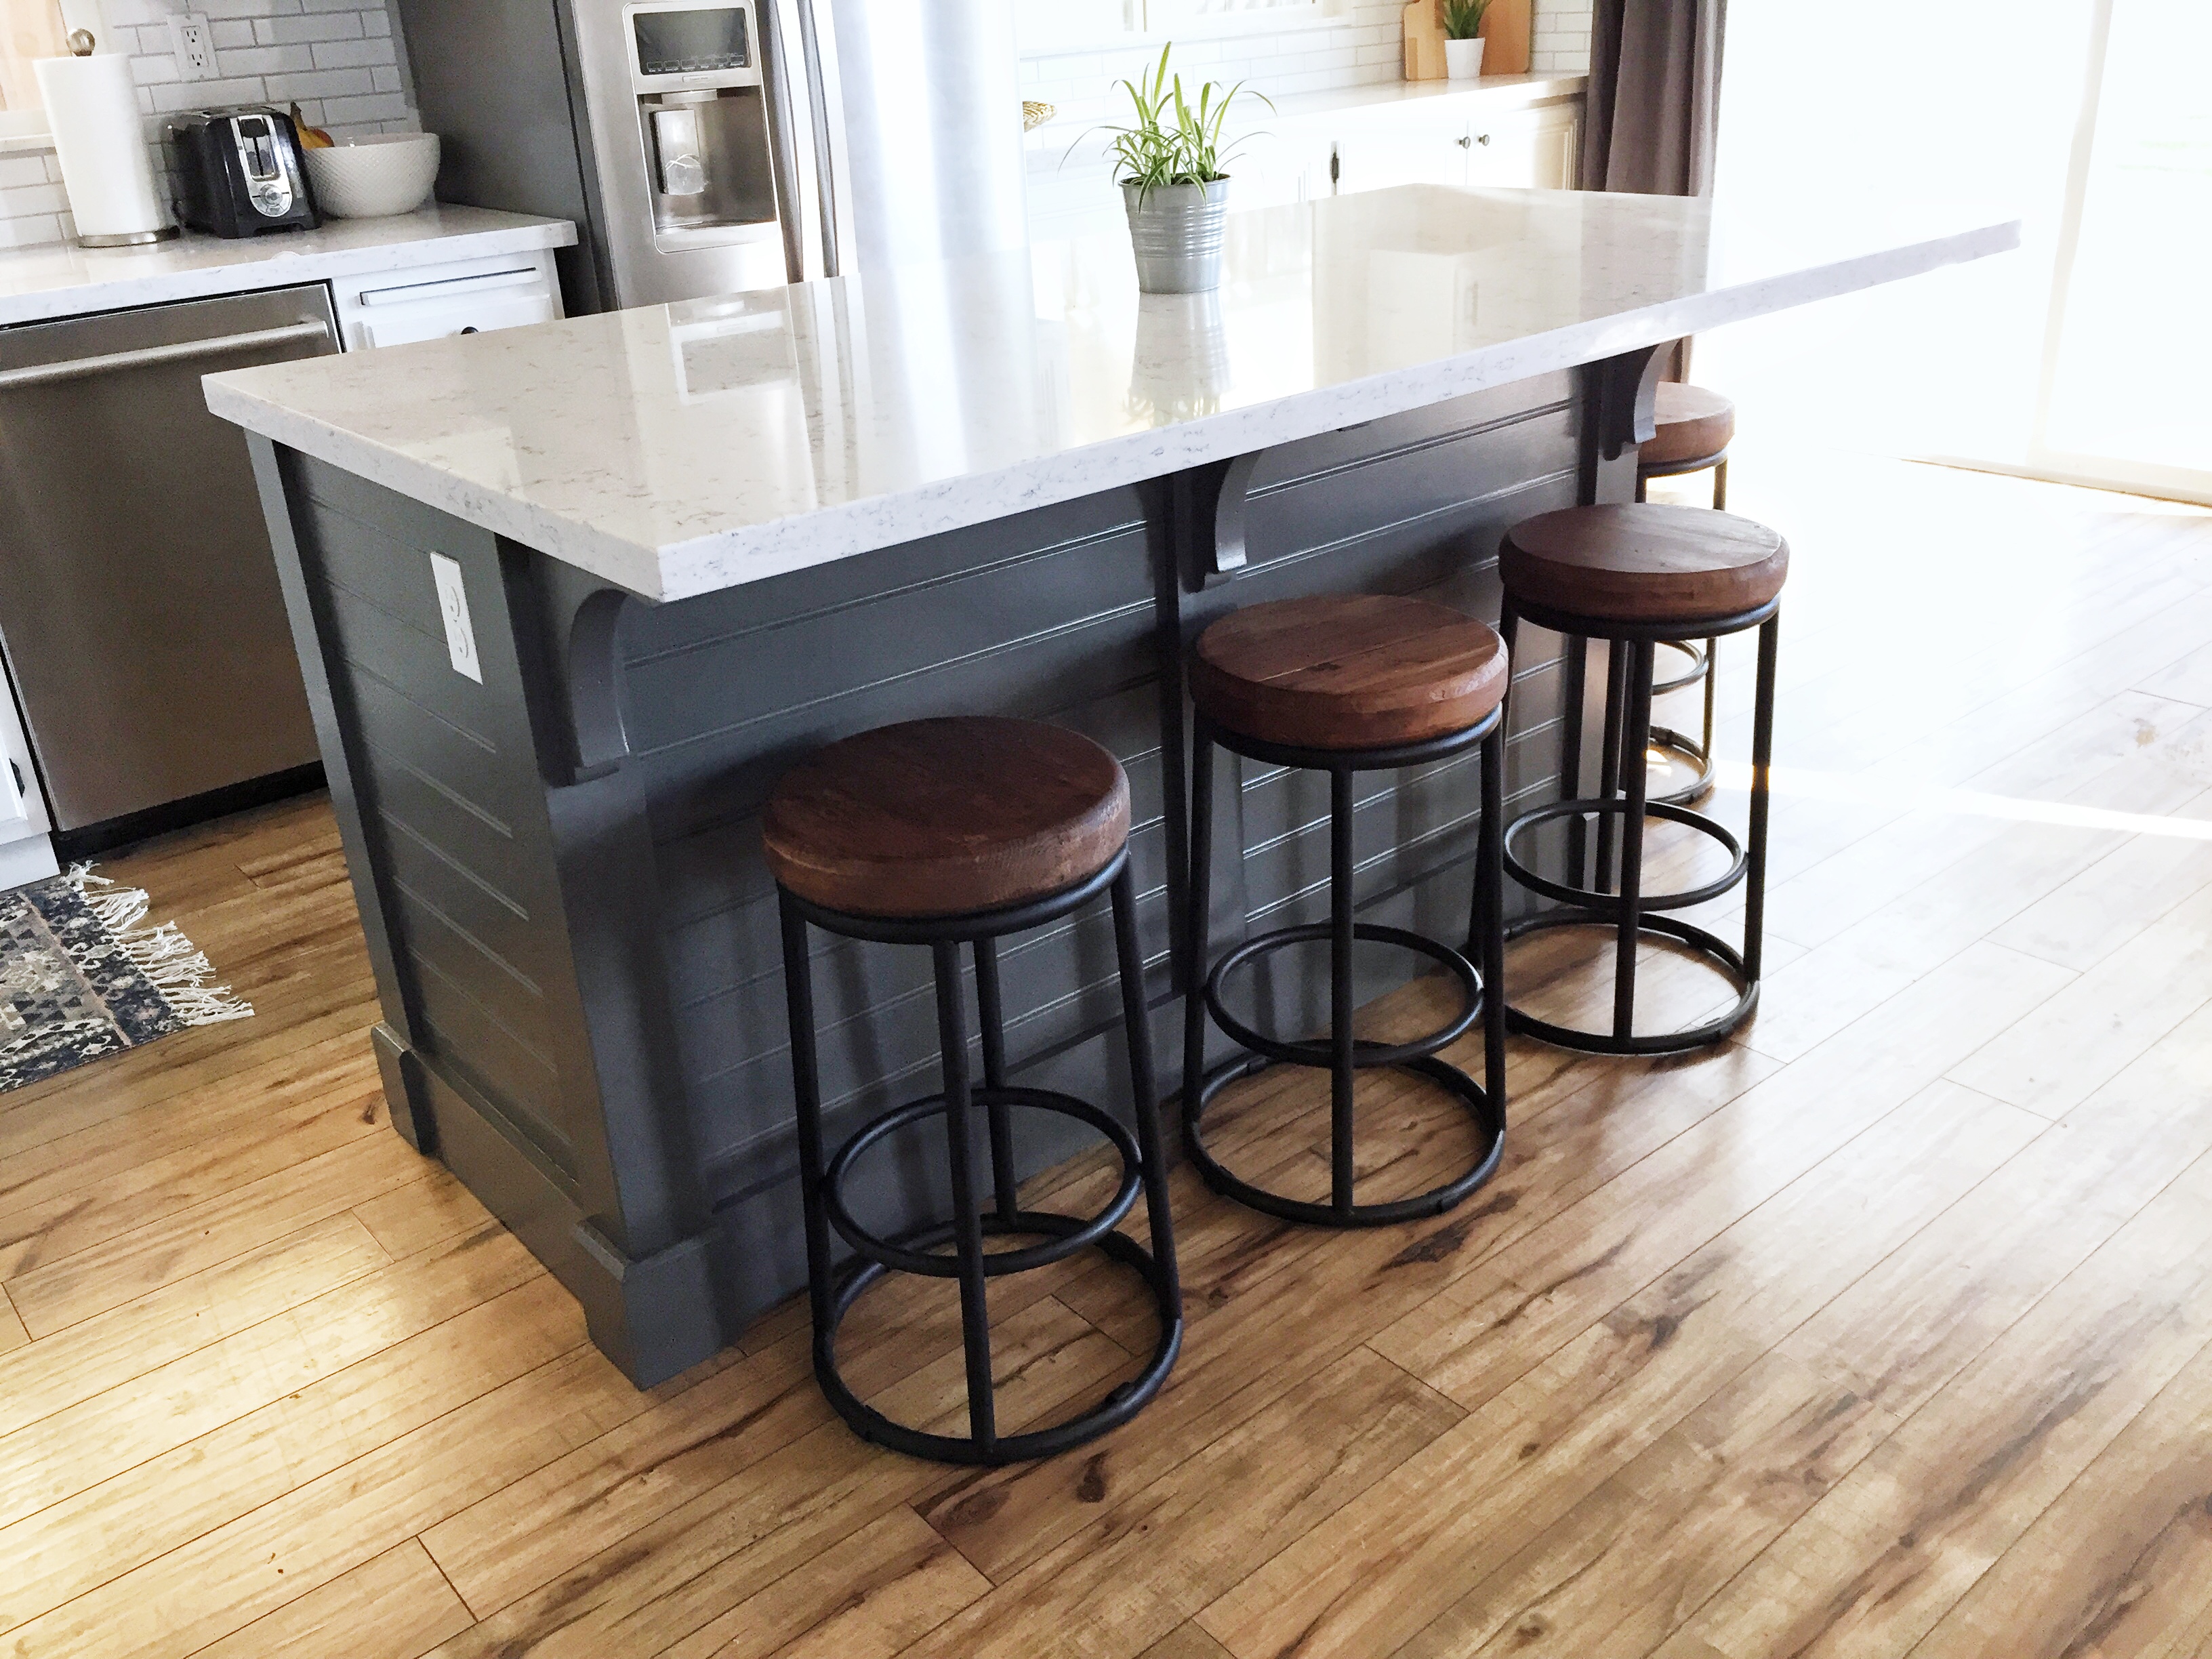
A breakfast bar is a great addition to any kitchen island, providing extra seating and a casual dining space. If you want to build a kitchen island with a breakfast bar, here are some tips to help you get started. 1. Plan and Measure The first step is to plan and measure the space where you want to install your island with a breakfast bar. Consider how many people you want the bar to seat and plan the seating accordingly. Also, decide on the materials you want to use and gather all necessary tools and supplies. 2. Build the Base The base of your island will need to be sturdy and level to support the weight of the bar and seating. You can use pre-made cabinets or build your own using plywood and 2x4s. Make sure to follow your chosen design and use a level to ensure everything is straight and secure. 3. Add the Breakfast Bar Once the base is built and installed, you can add the breakfast bar. This can be done by extending one side of the island and adding a countertop, or by attaching a separate bar top to the base. Make sure the bar is at a comfortable height for seating and that it is securely attached. 4. Personalize Your Island To add a personal touch to your island, you can choose to add a backsplash, shelves, or other decorative elements. You can also paint or stain the island to match your kitchen's color scheme. Just make sure to follow the instructions for your chosen materials. With these steps, you can have a beautiful and functional kitchen island with a breakfast bar that will make your kitchen the heart of your home. Just remember to plan, measure, and take your time to ensure a successful and satisfying project.How to Build a Kitchen Island with Breakfast Bar


How to Build a Kitchen Island with Breakfast Bar


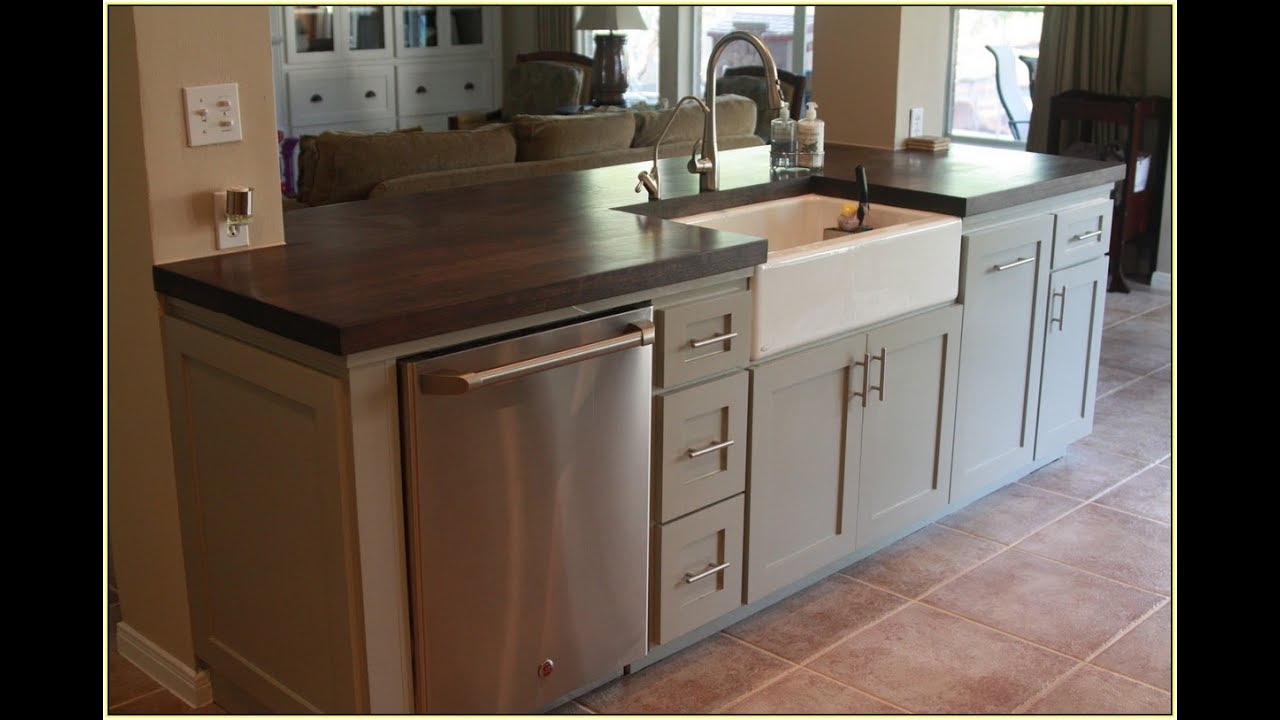
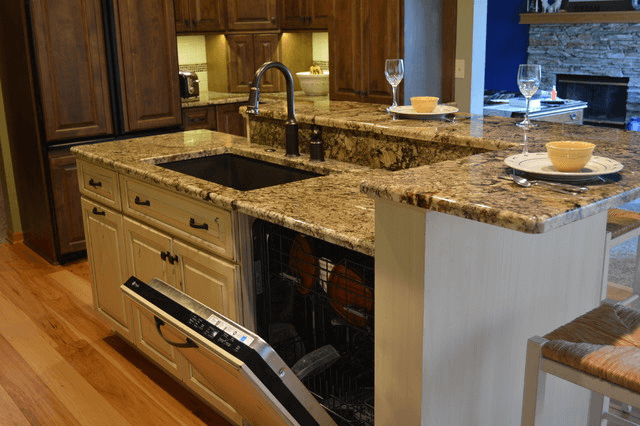
A kitchen island with a sink is a convenient and practical addition to any kitchen. It allows for easy food prep and clean-up without having to go back and forth to the main sink. If you want to build a kitchen island with a sink, here's how. 1. Plan and Measure The first step is to plan and measure the space where you want to install your island with a sink. Consider the size and type of sink you want, as well as the placement of any plumbing. Gather all necessary tools and supplies. 2. Build the Base The base of your island will need to be sturdy and level to support the weight of the sink and any countertops. You can use pre-made cabinets or build your own using plywood and 2x4s. Make sure to follow your chosen design and use a level to ensure everything is straight and secure. 3. Install the Sink Once the base is built and installed, you can install the sink. This will involve cutting a hole in the countertop and attaching the sink and plumbing. If you're not comfortable with this step, it may be best to hire a professional plumber to ensure everything is done correctly. 4. Personalize Your Island To add a personal touch to your island, you can choose to add a backsplash, shelves, or other decorative elements. You can also paint or stain the island to match your kitchen's color scheme. Just make sure to follow the instructions for your chosen materials. With these steps, you can have a functional and stylish kitchen island with a sink that will make your kitchen tasks a breeze. Just remember to plan, measure, and take your time to ensure a successful and satisfying project.How to Build a Kitchen Island with Sink

How to Build a Kitchen Island with Sink


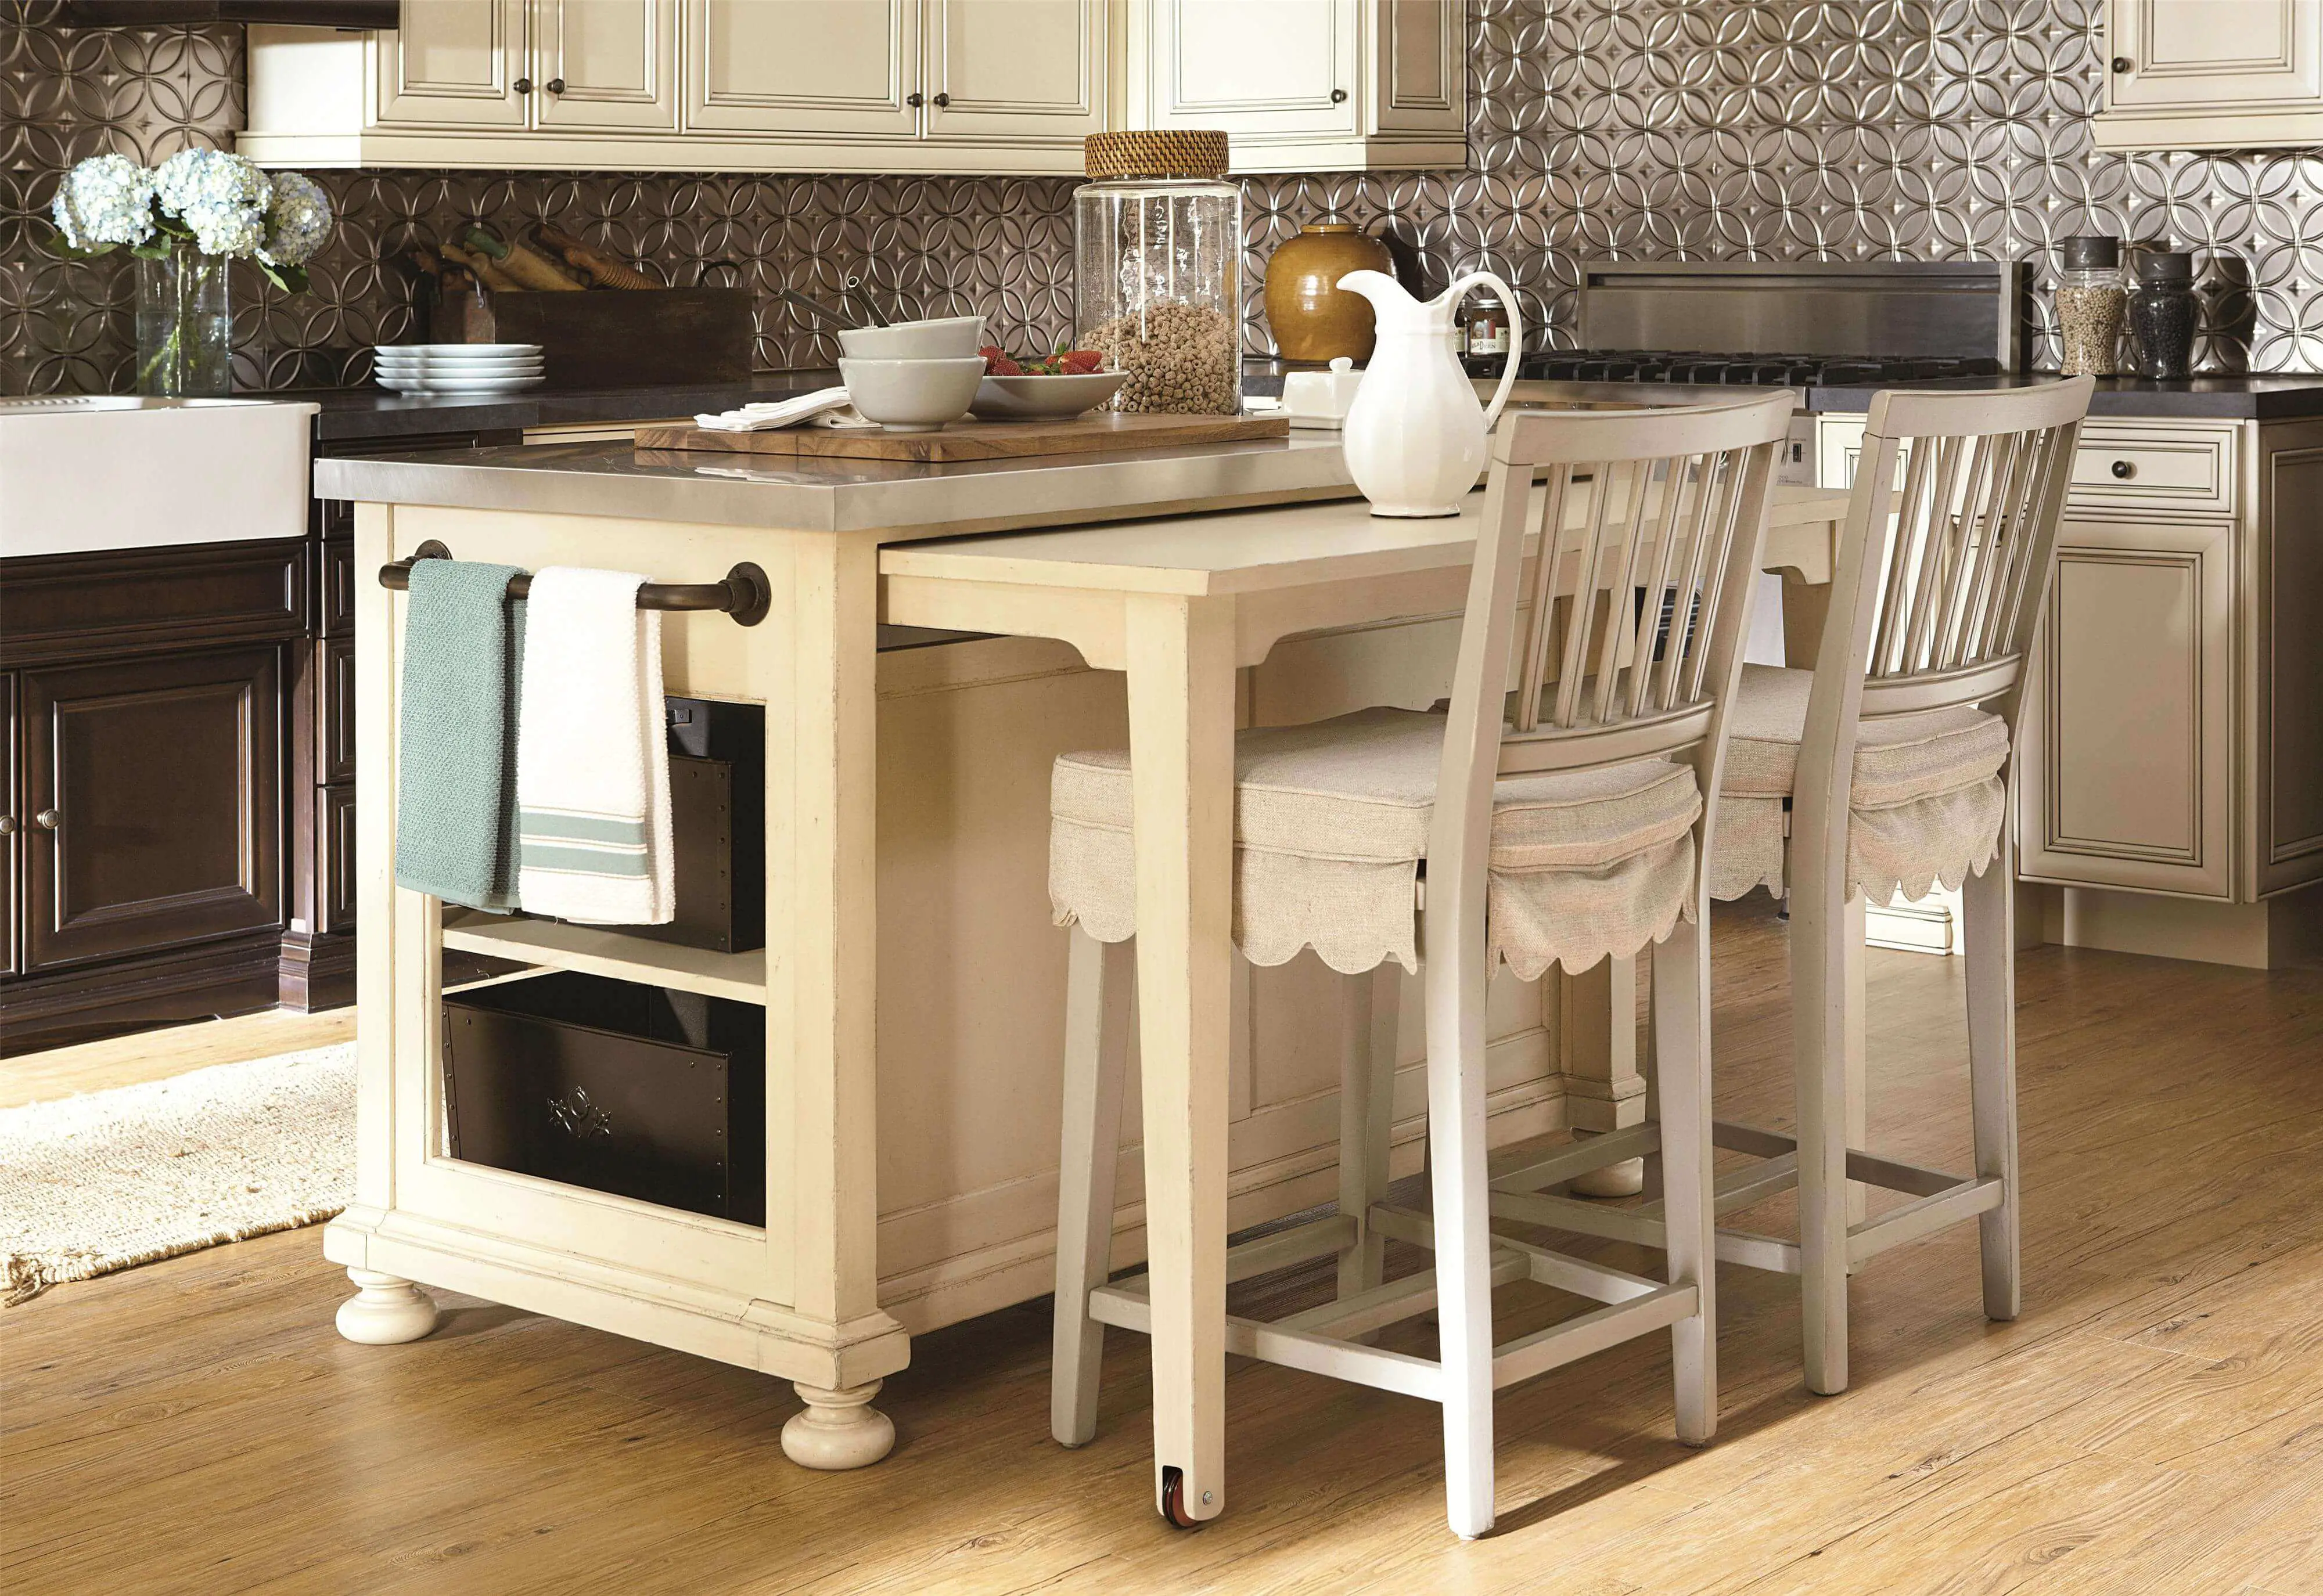
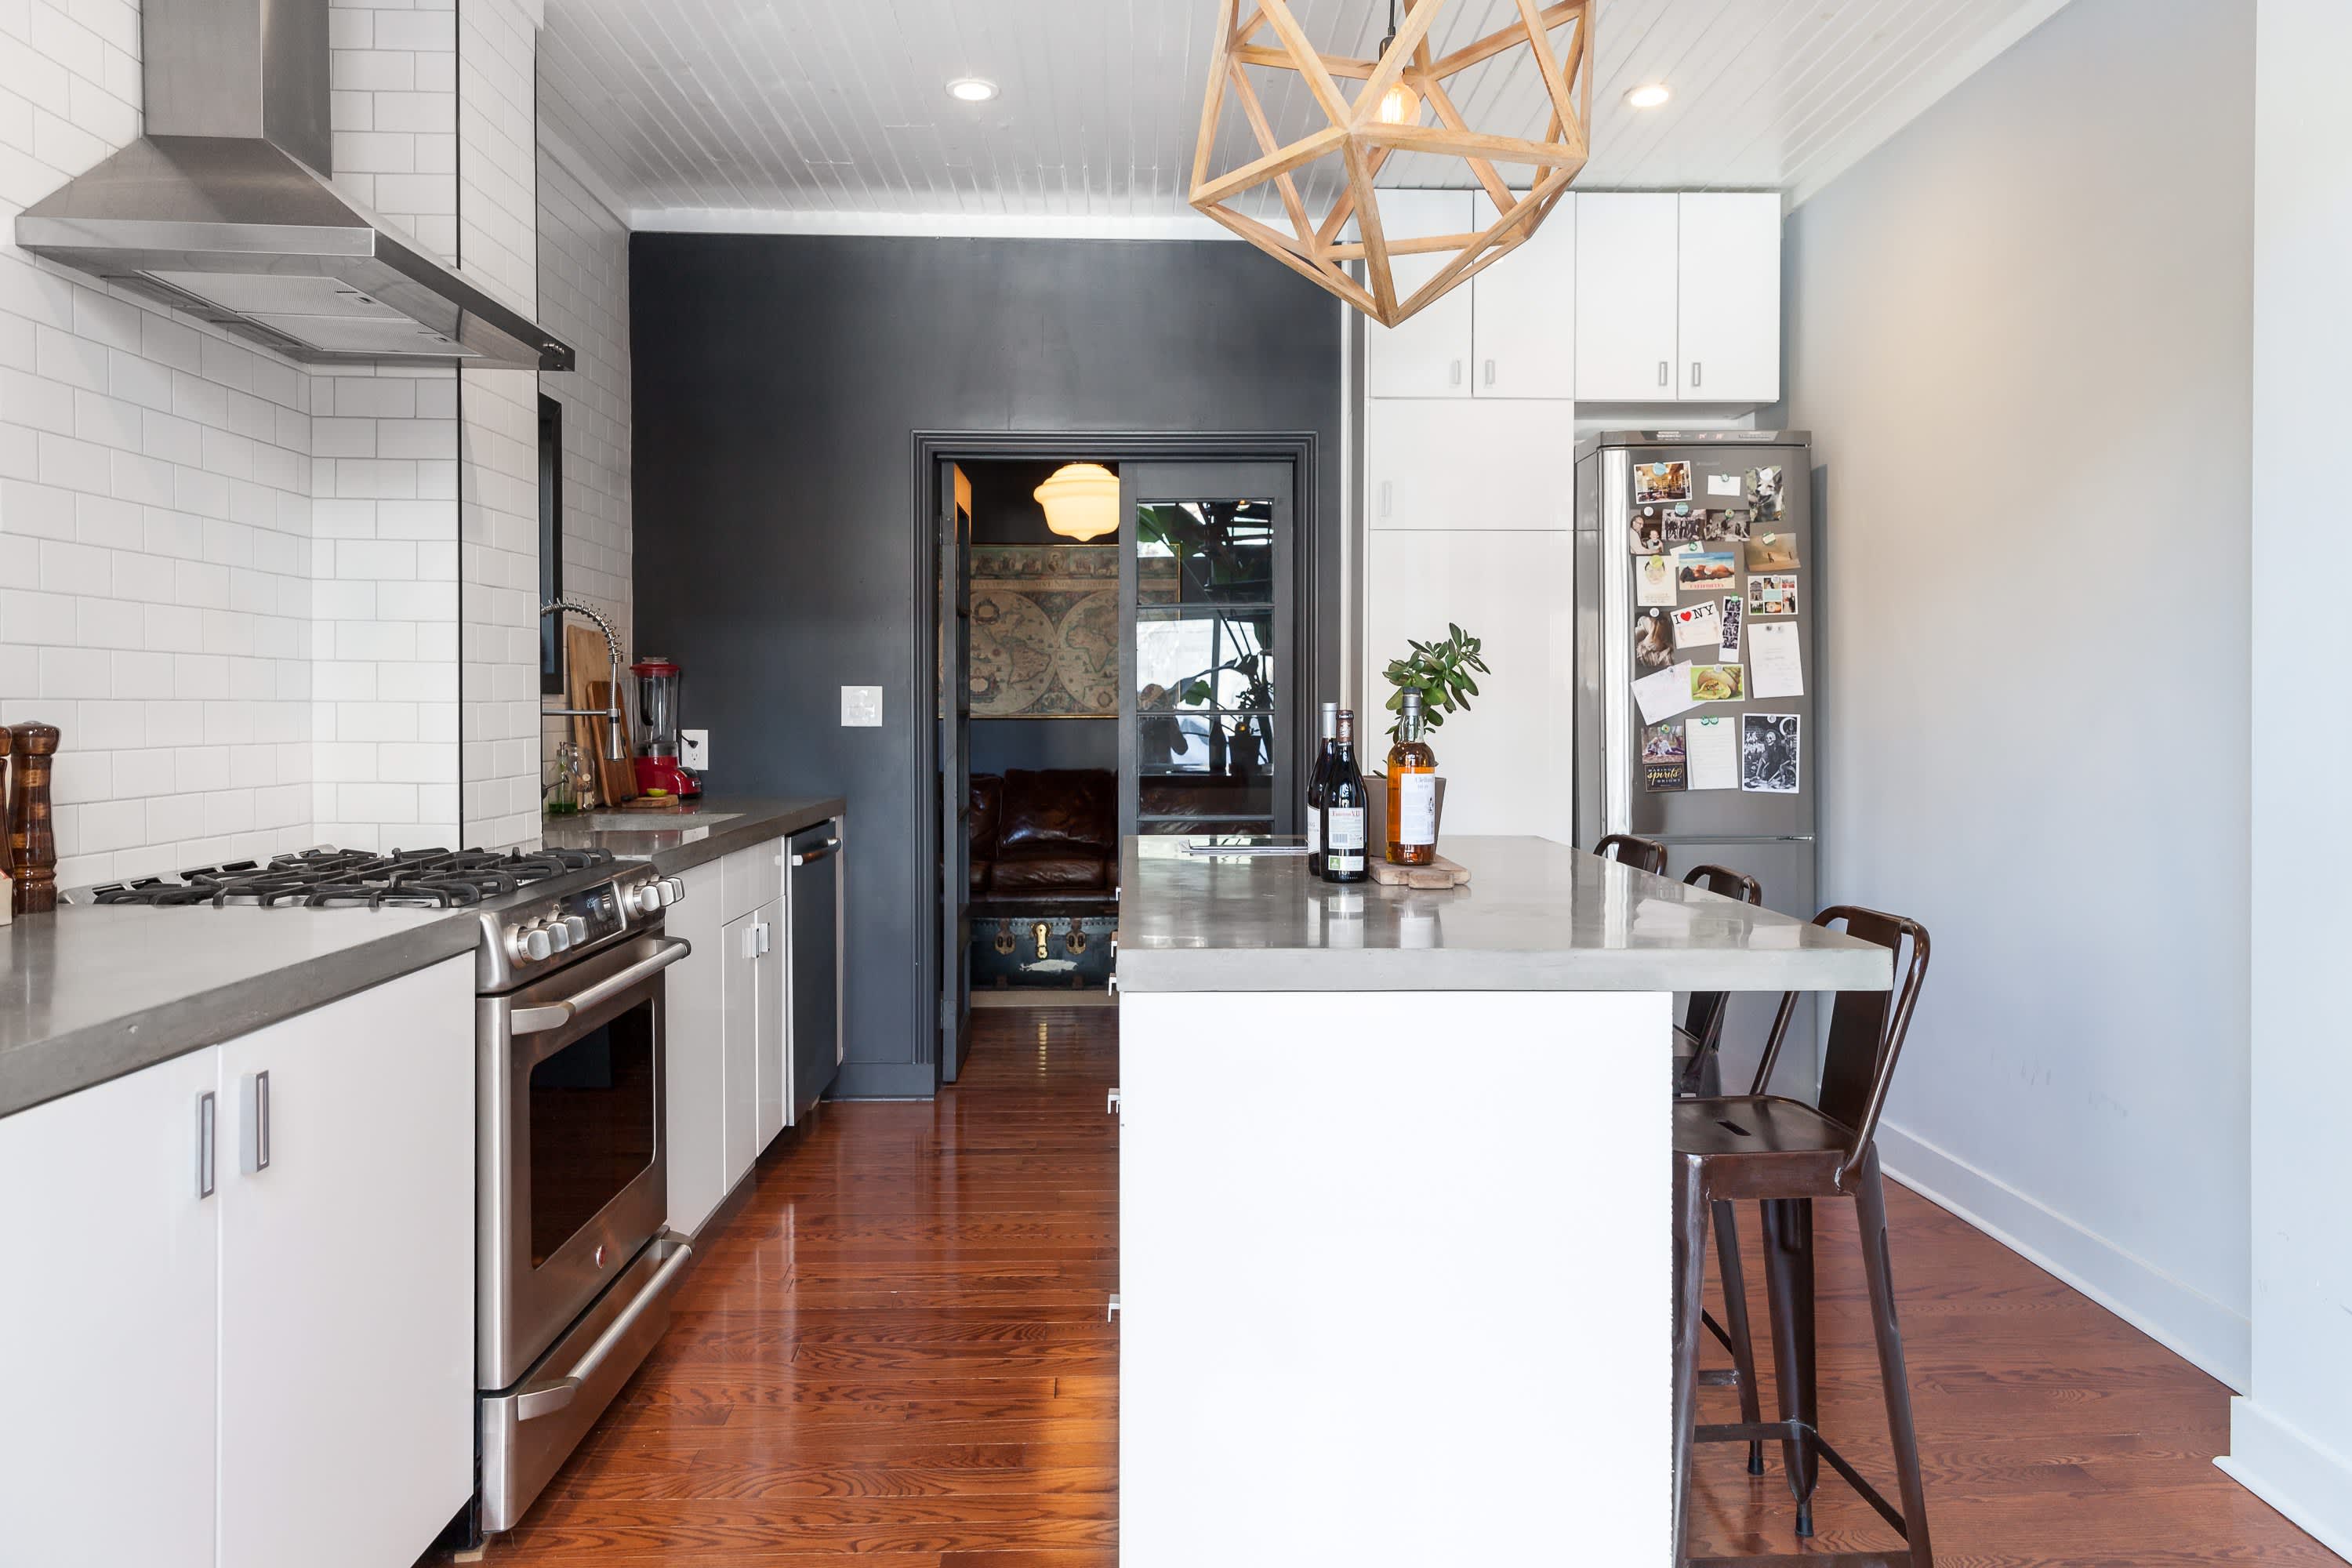
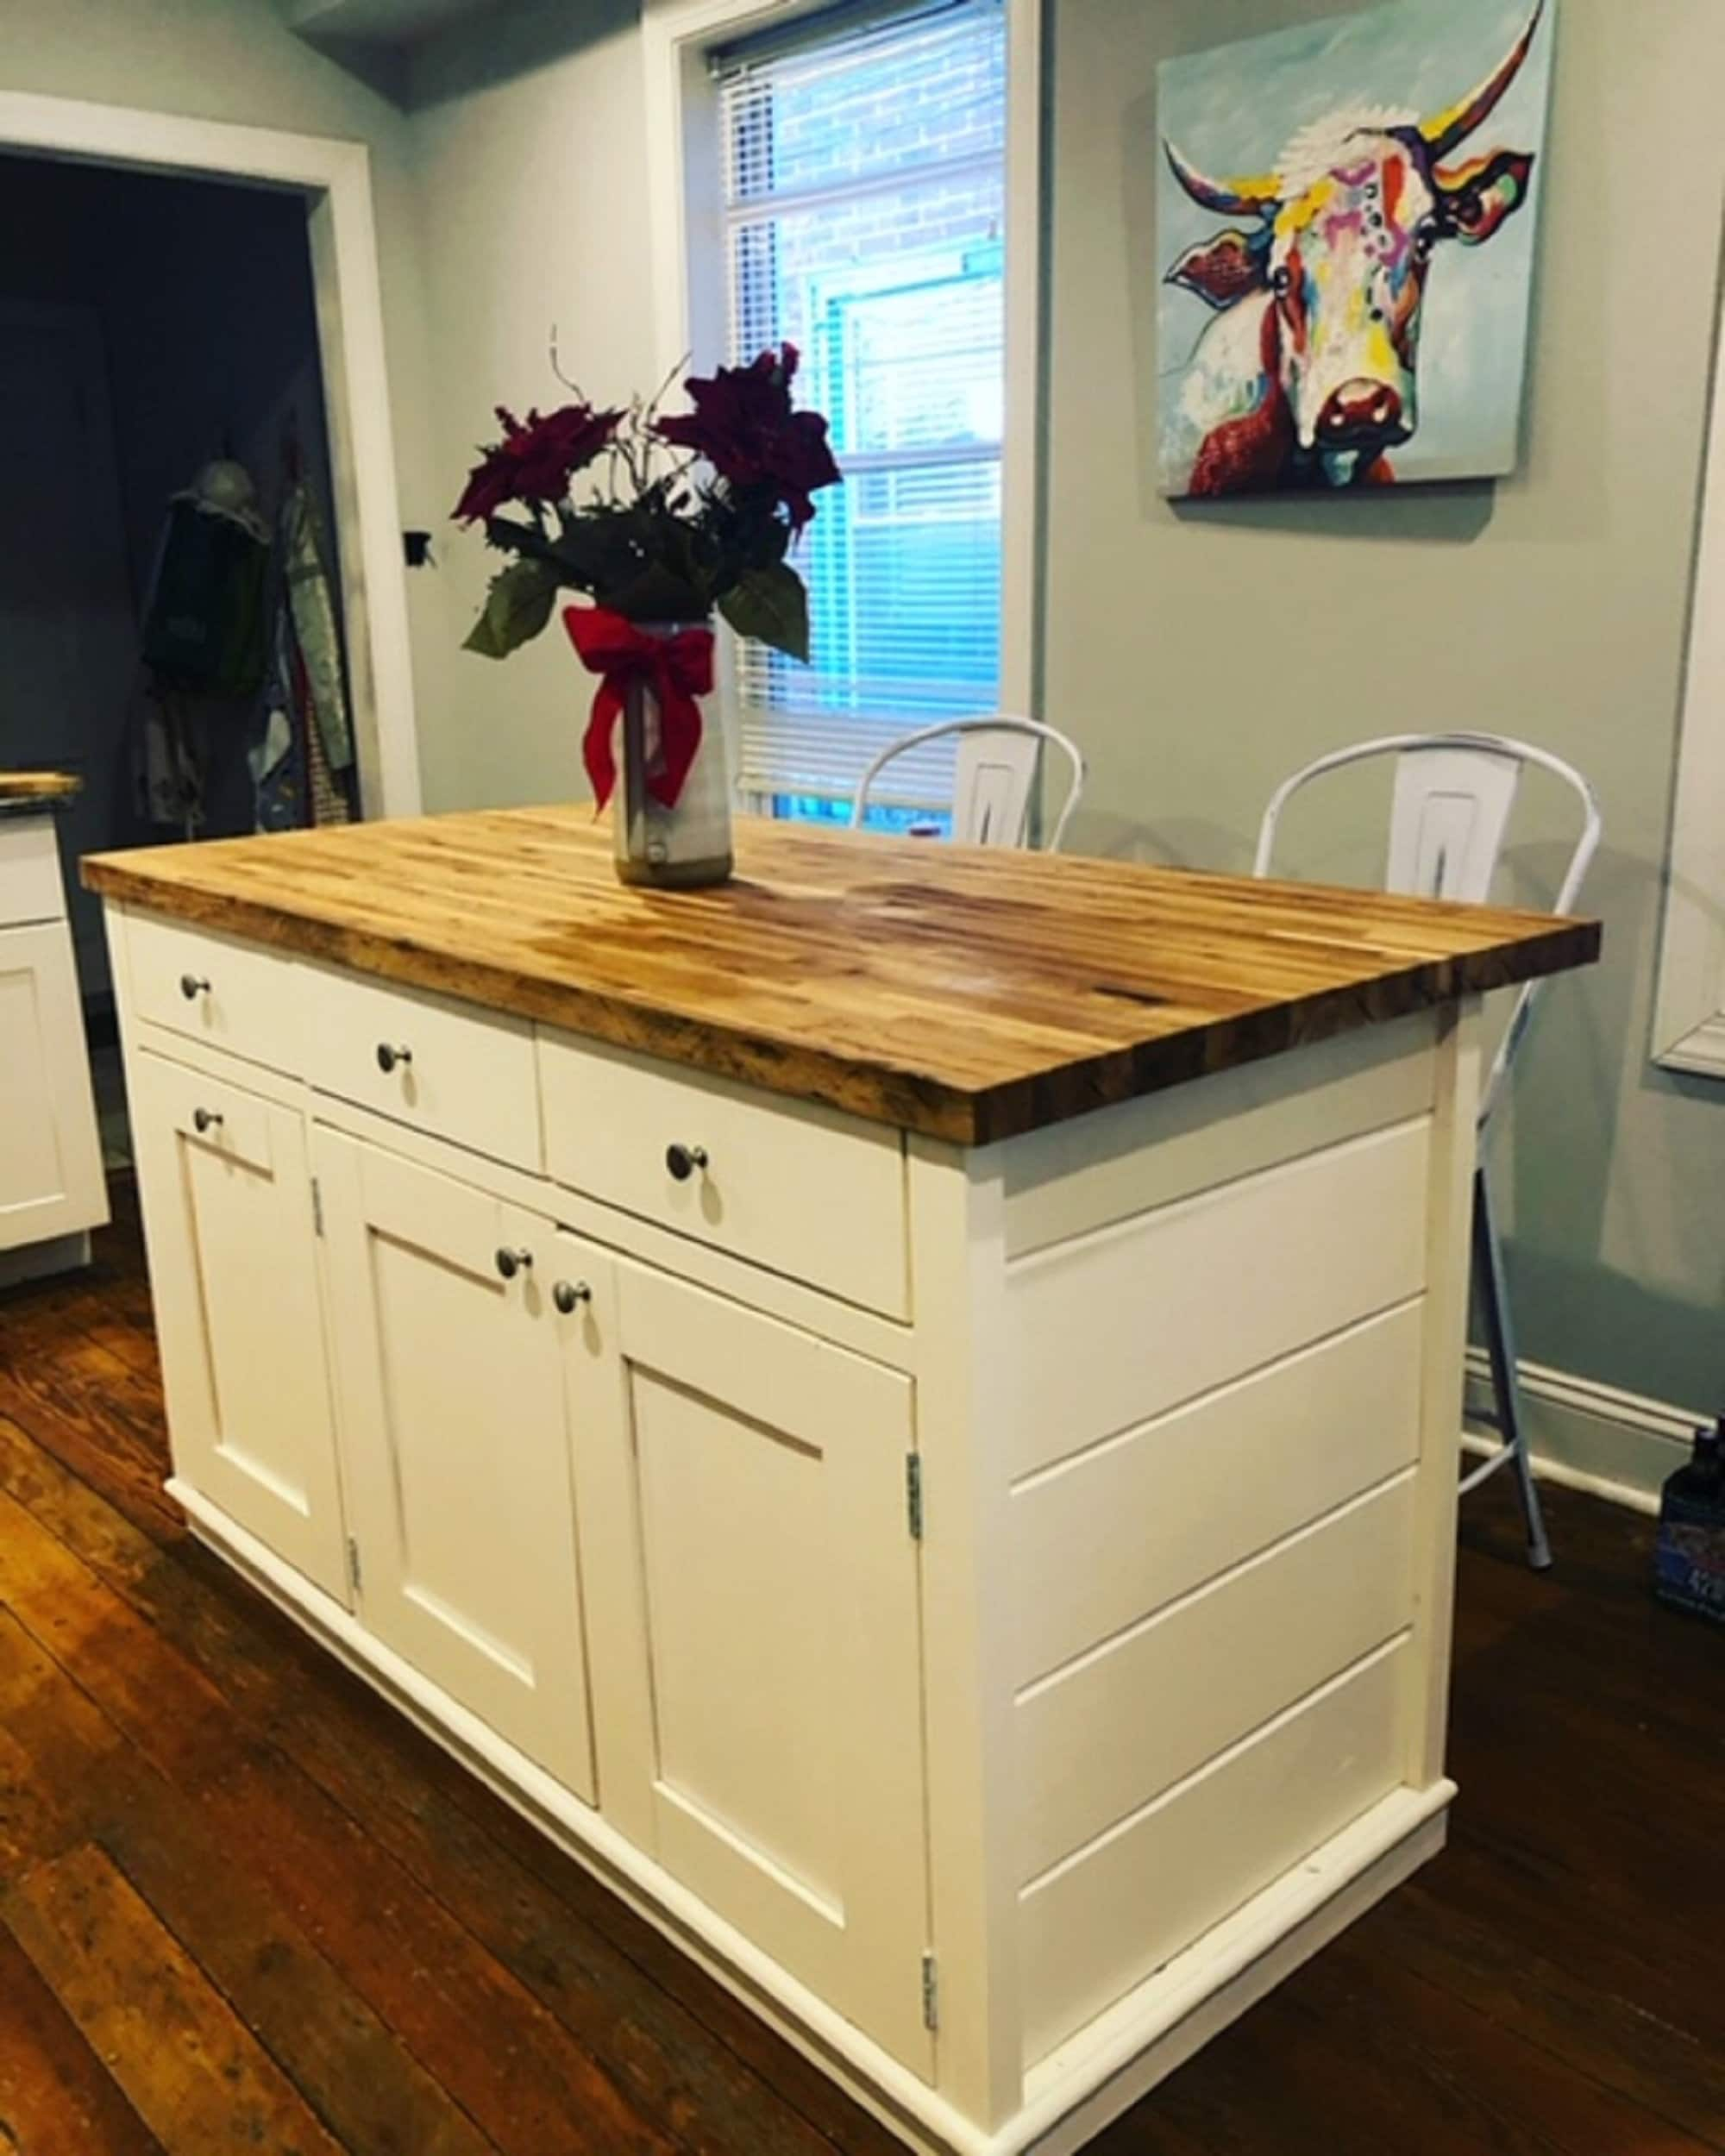
A kitchen island with storage is a great way to add extra storage space to your kitchen while also providing a central gathering place. If you want to build a kitchen island with storage, here are some tips to help you get started. 1. Choose Your Design There are many different designs and styles you can choose from for your kitchen island with storage. You could opt for a traditional rectangular island with cabinets and shelves, or get creative with a curved or L-shaped design. Take into consideration the overall style and layout of your kitchen to ensure your island complements the space. 2. Build the Base The base of your island is the foundation for the entire project. You can use pre-made cabinets for a quick and easy option, or build your own using plywood and 2x4s. If you're using cabinets, attach them together and secure them to the floor using screws. If you're building your own base, follow the measurements and plans you created and use a level to ensure everything is straight and sturdy. 3. Add Storage Solutions Once the base is built, you can add the storage solutions you desire. This could include cabinets, shelves, or drawers, depending on your needs and the design of your island. Make sure everything is securely attached and level. 4. Finish it Off The finishing touches are what will really make your kitchen island with storage stand out. You can choose to add a countertop made of wood, granite, or another material of your choice. You can also add a backsplash, shelves, or other decorative elements to personalize your island. Just make sure everything is securely attached and level. With these steps, you can create a beautiful and functional kitchen island with storage that will help keep your kitchen organized and clutter-free. Just remember to plan, measure, and take your time to ensure a successful and satisfying project.How to Build a Kitchen Island with Storage
How to Build a Kitchen Island with Storage


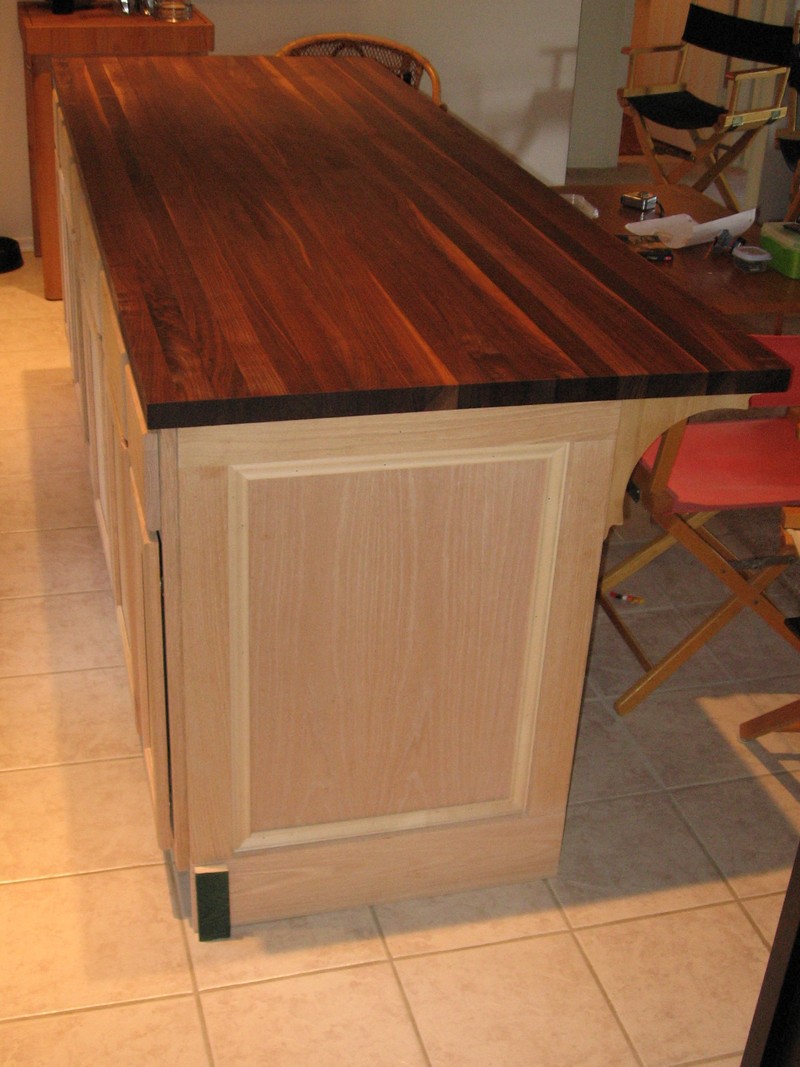
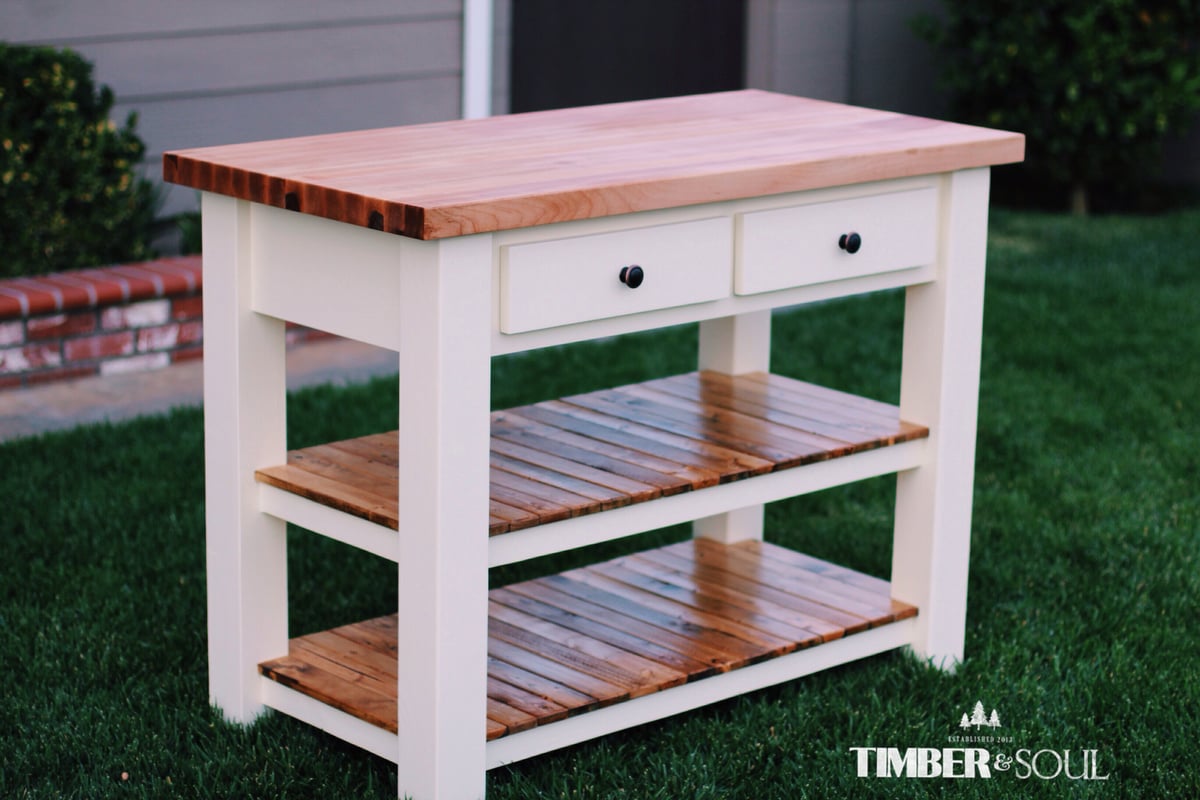
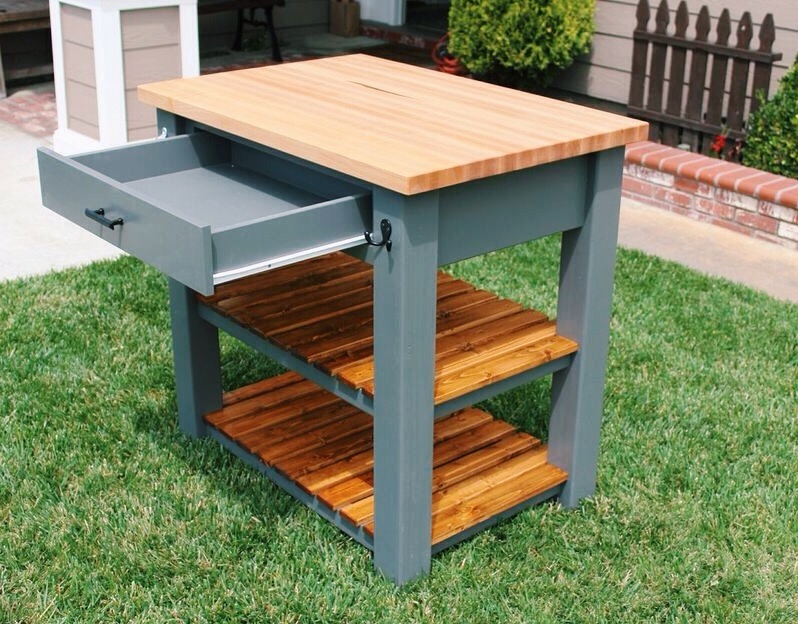
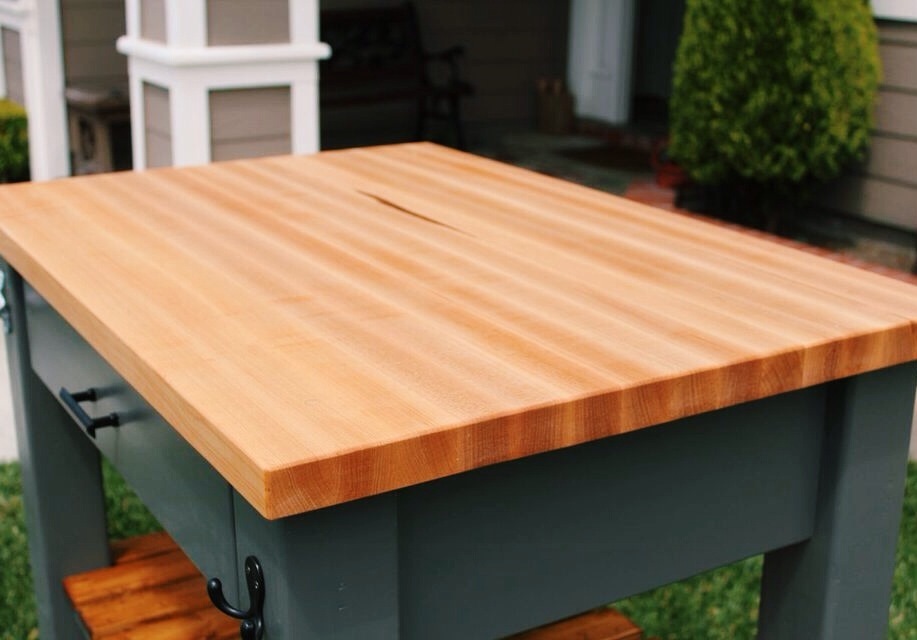
A kitchen island with a butcher block countertop adds a rustic and functional touch to any kitchen. If you want to build a kitchen island with a butcher block, here's how. 1. Choose Your Base The base of your island will need to be sturdy and level to support the weight of the butcher block. You can use pre-made cabinets or build your own using plywood and 2x4s. Make sure to follow your chosen design and use a level to ensure everything is straight and secure. 2. Install the Butcher Block Once the base is built and installed, you can install the butcher block countertop. Make sure it is cut to fit your island's dimensions and that it is securely attached. You may also want to seal the butcher block to protect it from spills and stains. 3. Personalize Your Island To add a personal touch to your island, you can choose to add a backsplash, shelves, or other decorative elements. You can also paint or stain the island to match your kitchen's color scheme. Just make sure to follow the instructions for your chosen materials.How to Build a Kitchen Island with Butcher Block


How to Build a Kitchen Island with Butcher Block


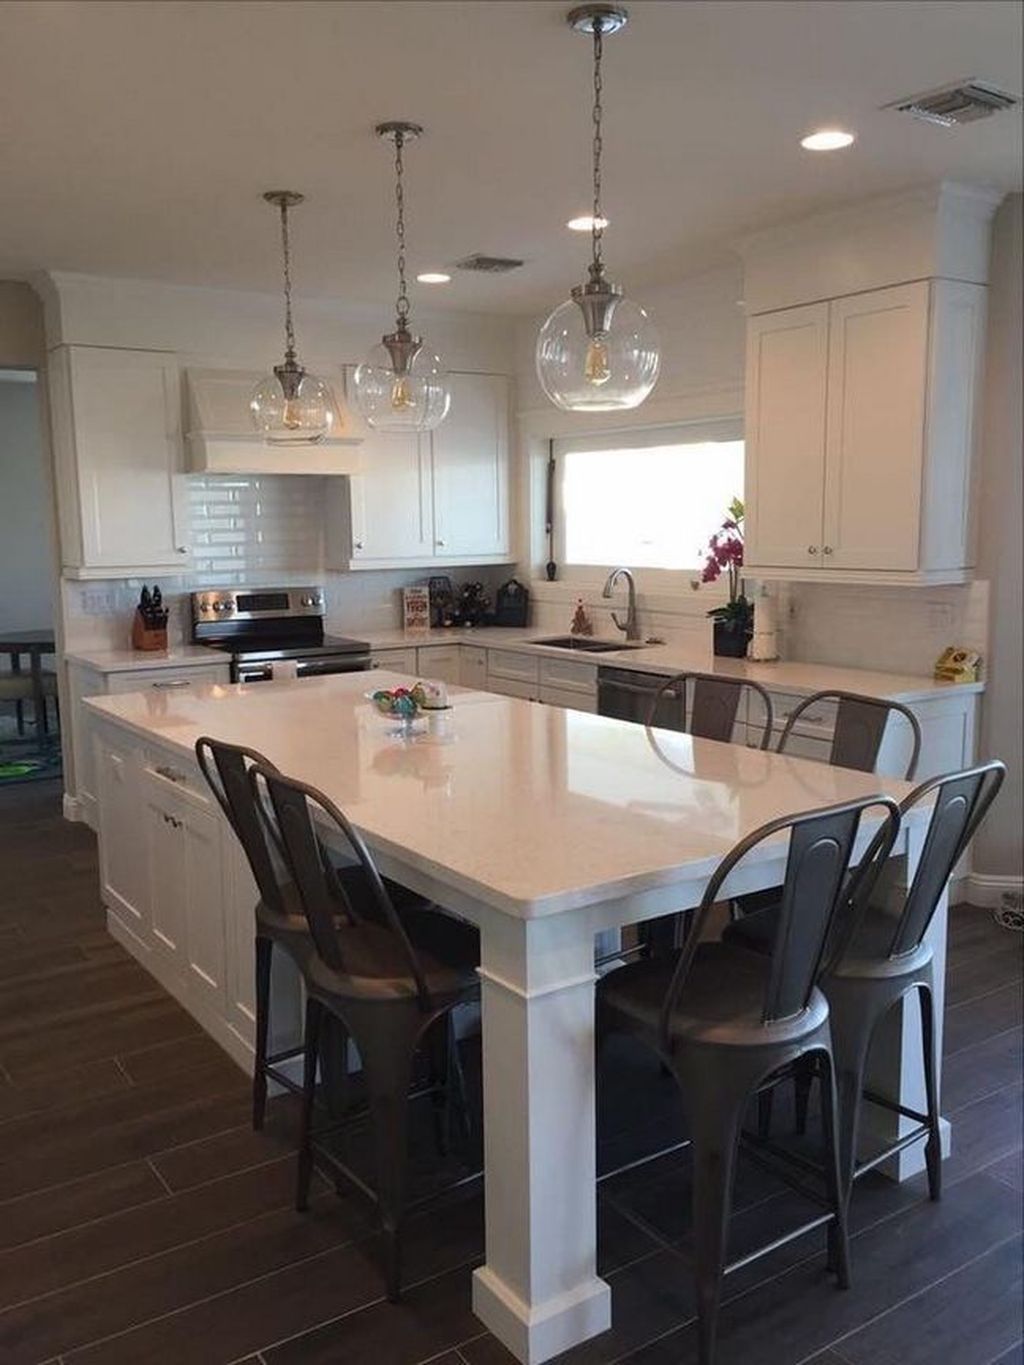
The Benefits of Adding a Kitchen Island with Table Plans to Your House Design

Maximizing Space and Functionality
 In today's modern kitchen designs, incorporating a kitchen island has become increasingly popular. Not only does it provide additional counter space for food preparation, but it also serves as a great gathering spot for family and friends. However, taking it a step further and adding a kitchen island with table plans can provide even more benefits for your house design.
The main keyword
kitchen island with table plans
is a great way to
maximize space and functionality
in your kitchen. By combining a kitchen island with a table, you are essentially adding two pieces of furniture in one space. This eliminates the need for a separate dining table, saving space in your kitchen and allowing for a more open and spacious layout.
In today's modern kitchen designs, incorporating a kitchen island has become increasingly popular. Not only does it provide additional counter space for food preparation, but it also serves as a great gathering spot for family and friends. However, taking it a step further and adding a kitchen island with table plans can provide even more benefits for your house design.
The main keyword
kitchen island with table plans
is a great way to
maximize space and functionality
in your kitchen. By combining a kitchen island with a table, you are essentially adding two pieces of furniture in one space. This eliminates the need for a separate dining table, saving space in your kitchen and allowing for a more open and spacious layout.
Multi-Purpose Use
:max_bytes(150000):strip_icc()/designs-by-studio-c-free-kitchen-island-plans-584ae54d5f9b58a8cd492153.jpg) A kitchen island with table plans also offers
multi-purpose use
in your kitchen. Not only can you use it as a dining table, but it can also double as a workspace, homework area, or even a place to do crafts. This versatility allows you to make the most out of your kitchen space and eliminates the need for additional furniture.
A kitchen island with table plans also offers
multi-purpose use
in your kitchen. Not only can you use it as a dining table, but it can also double as a workspace, homework area, or even a place to do crafts. This versatility allows you to make the most out of your kitchen space and eliminates the need for additional furniture.
Enhanced Design Aesthetic
 Not only is a kitchen island with table plans functional, but it also adds to the overall aesthetic of your house design. It creates a focal point in the kitchen and can serve as a statement piece, adding character and charm to the space. With the right materials and design, a kitchen island with table plans can elevate the look of your kitchen and make it a more inviting and visually appealing space.
In conclusion, adding a kitchen island with table plans to your house design has numerous benefits. It maximizes space and functionality, offers multi-purpose use, and enhances the overall design aesthetic. Consider incorporating this feature into your kitchen to create a more functional and visually appealing space.
Not only is a kitchen island with table plans functional, but it also adds to the overall aesthetic of your house design. It creates a focal point in the kitchen and can serve as a statement piece, adding character and charm to the space. With the right materials and design, a kitchen island with table plans can elevate the look of your kitchen and make it a more inviting and visually appealing space.
In conclusion, adding a kitchen island with table plans to your house design has numerous benefits. It maximizes space and functionality, offers multi-purpose use, and enhances the overall design aesthetic. Consider incorporating this feature into your kitchen to create a more functional and visually appealing space.