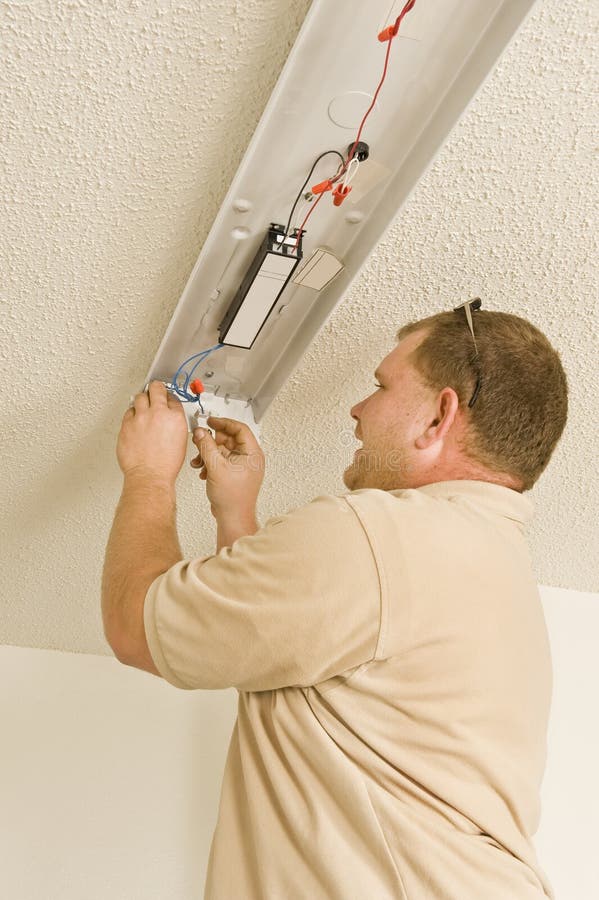
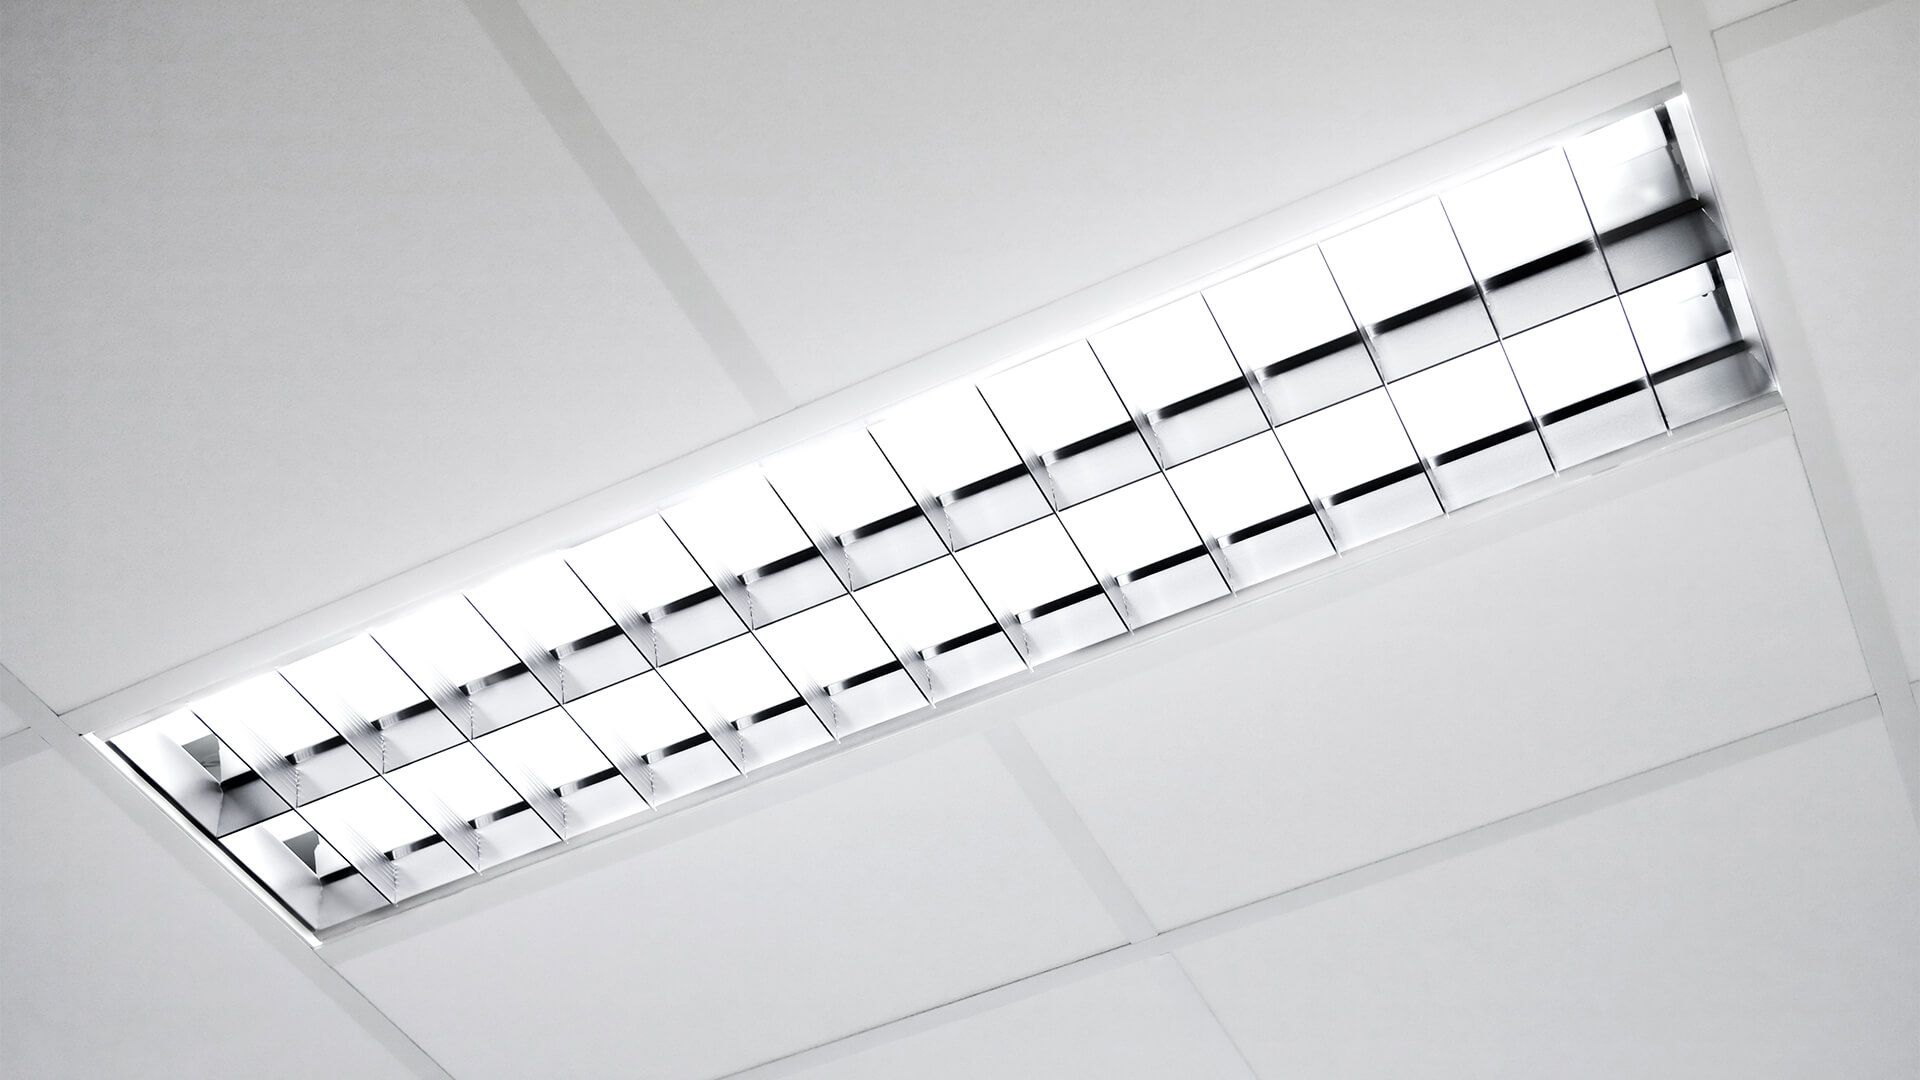
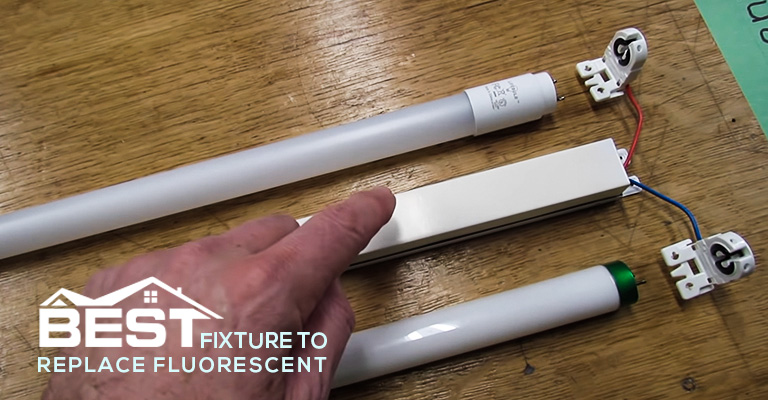
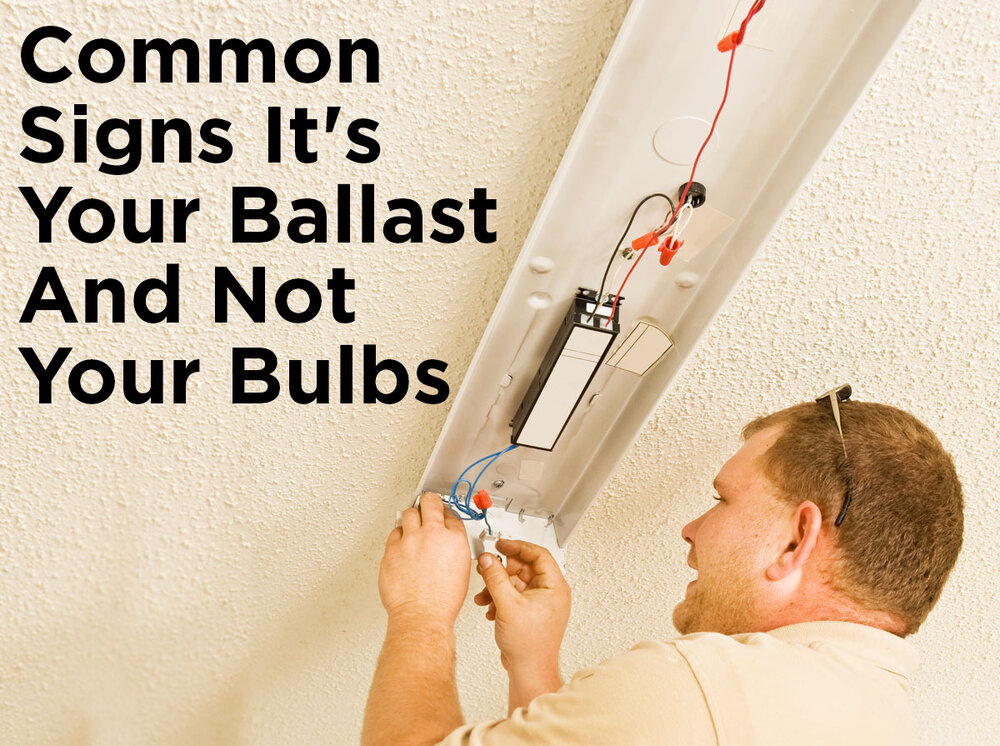
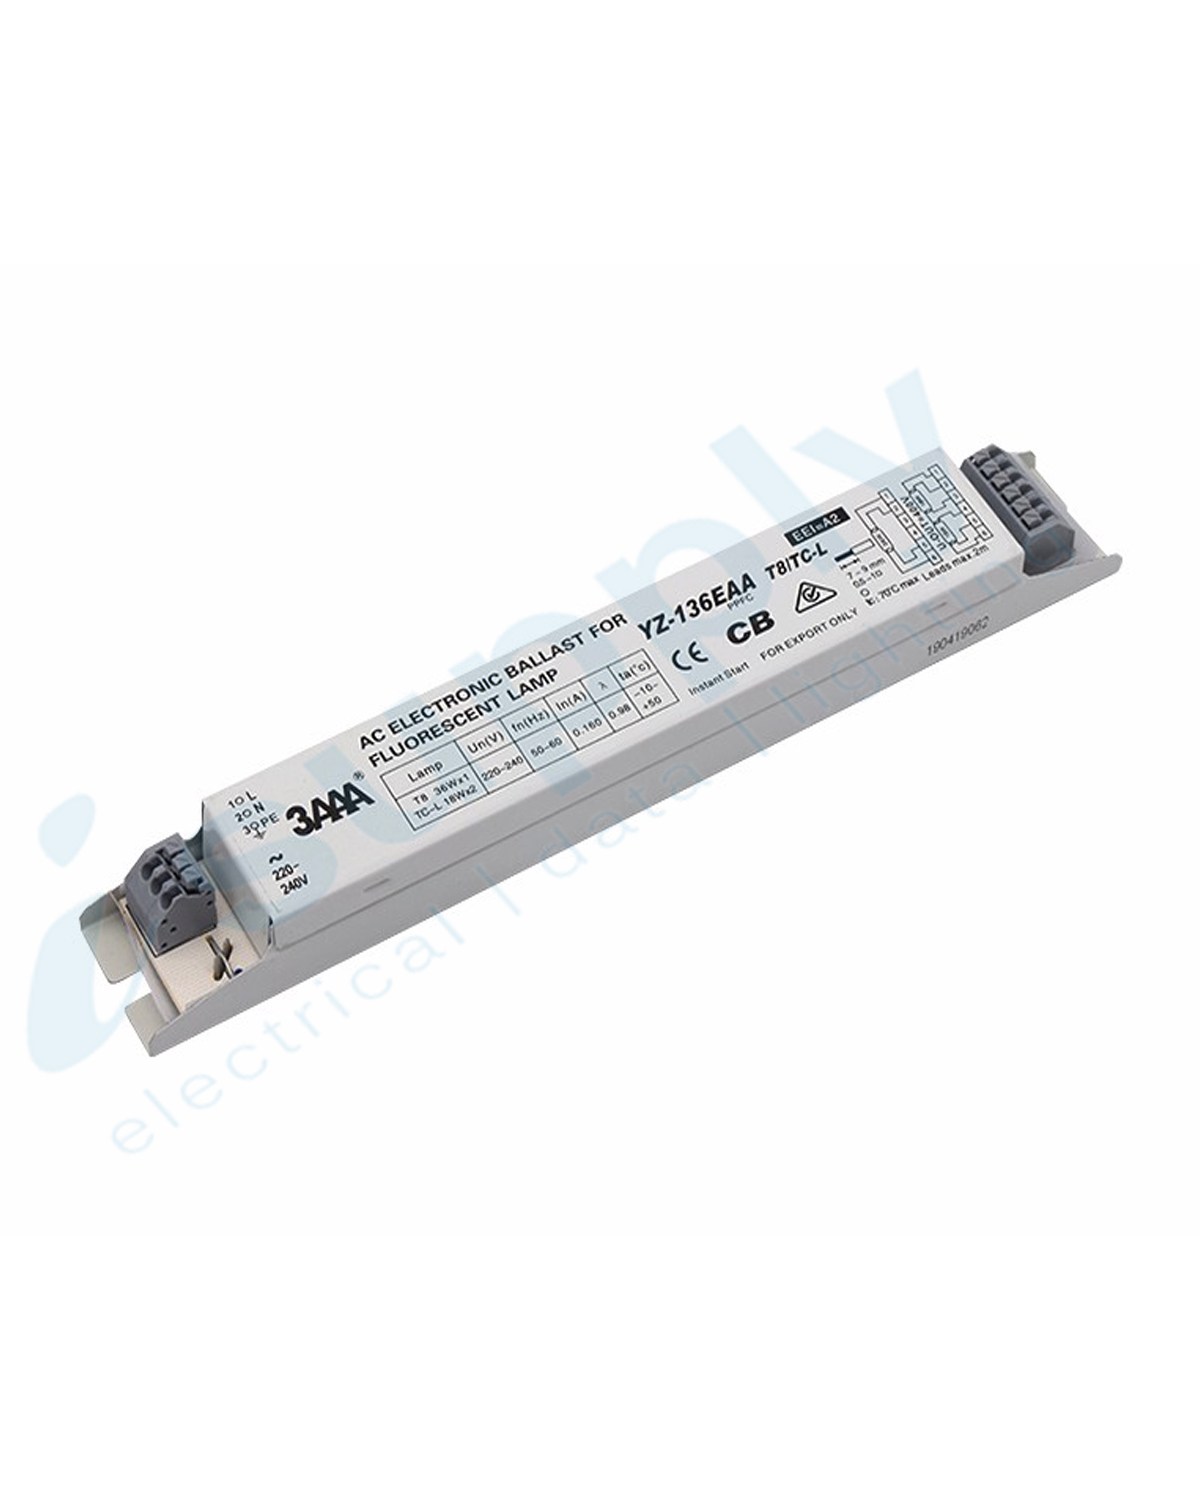
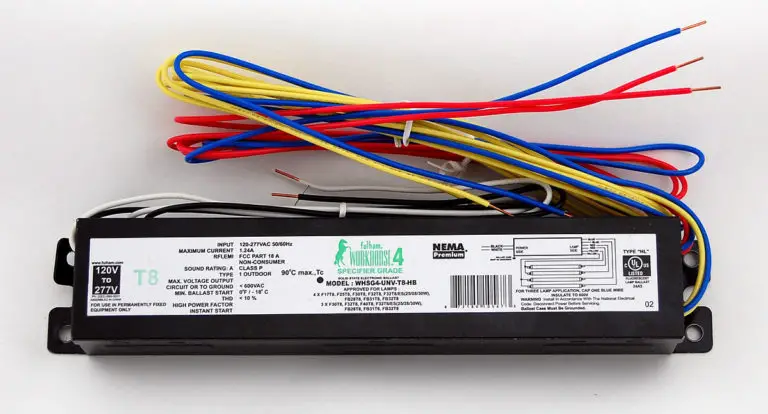
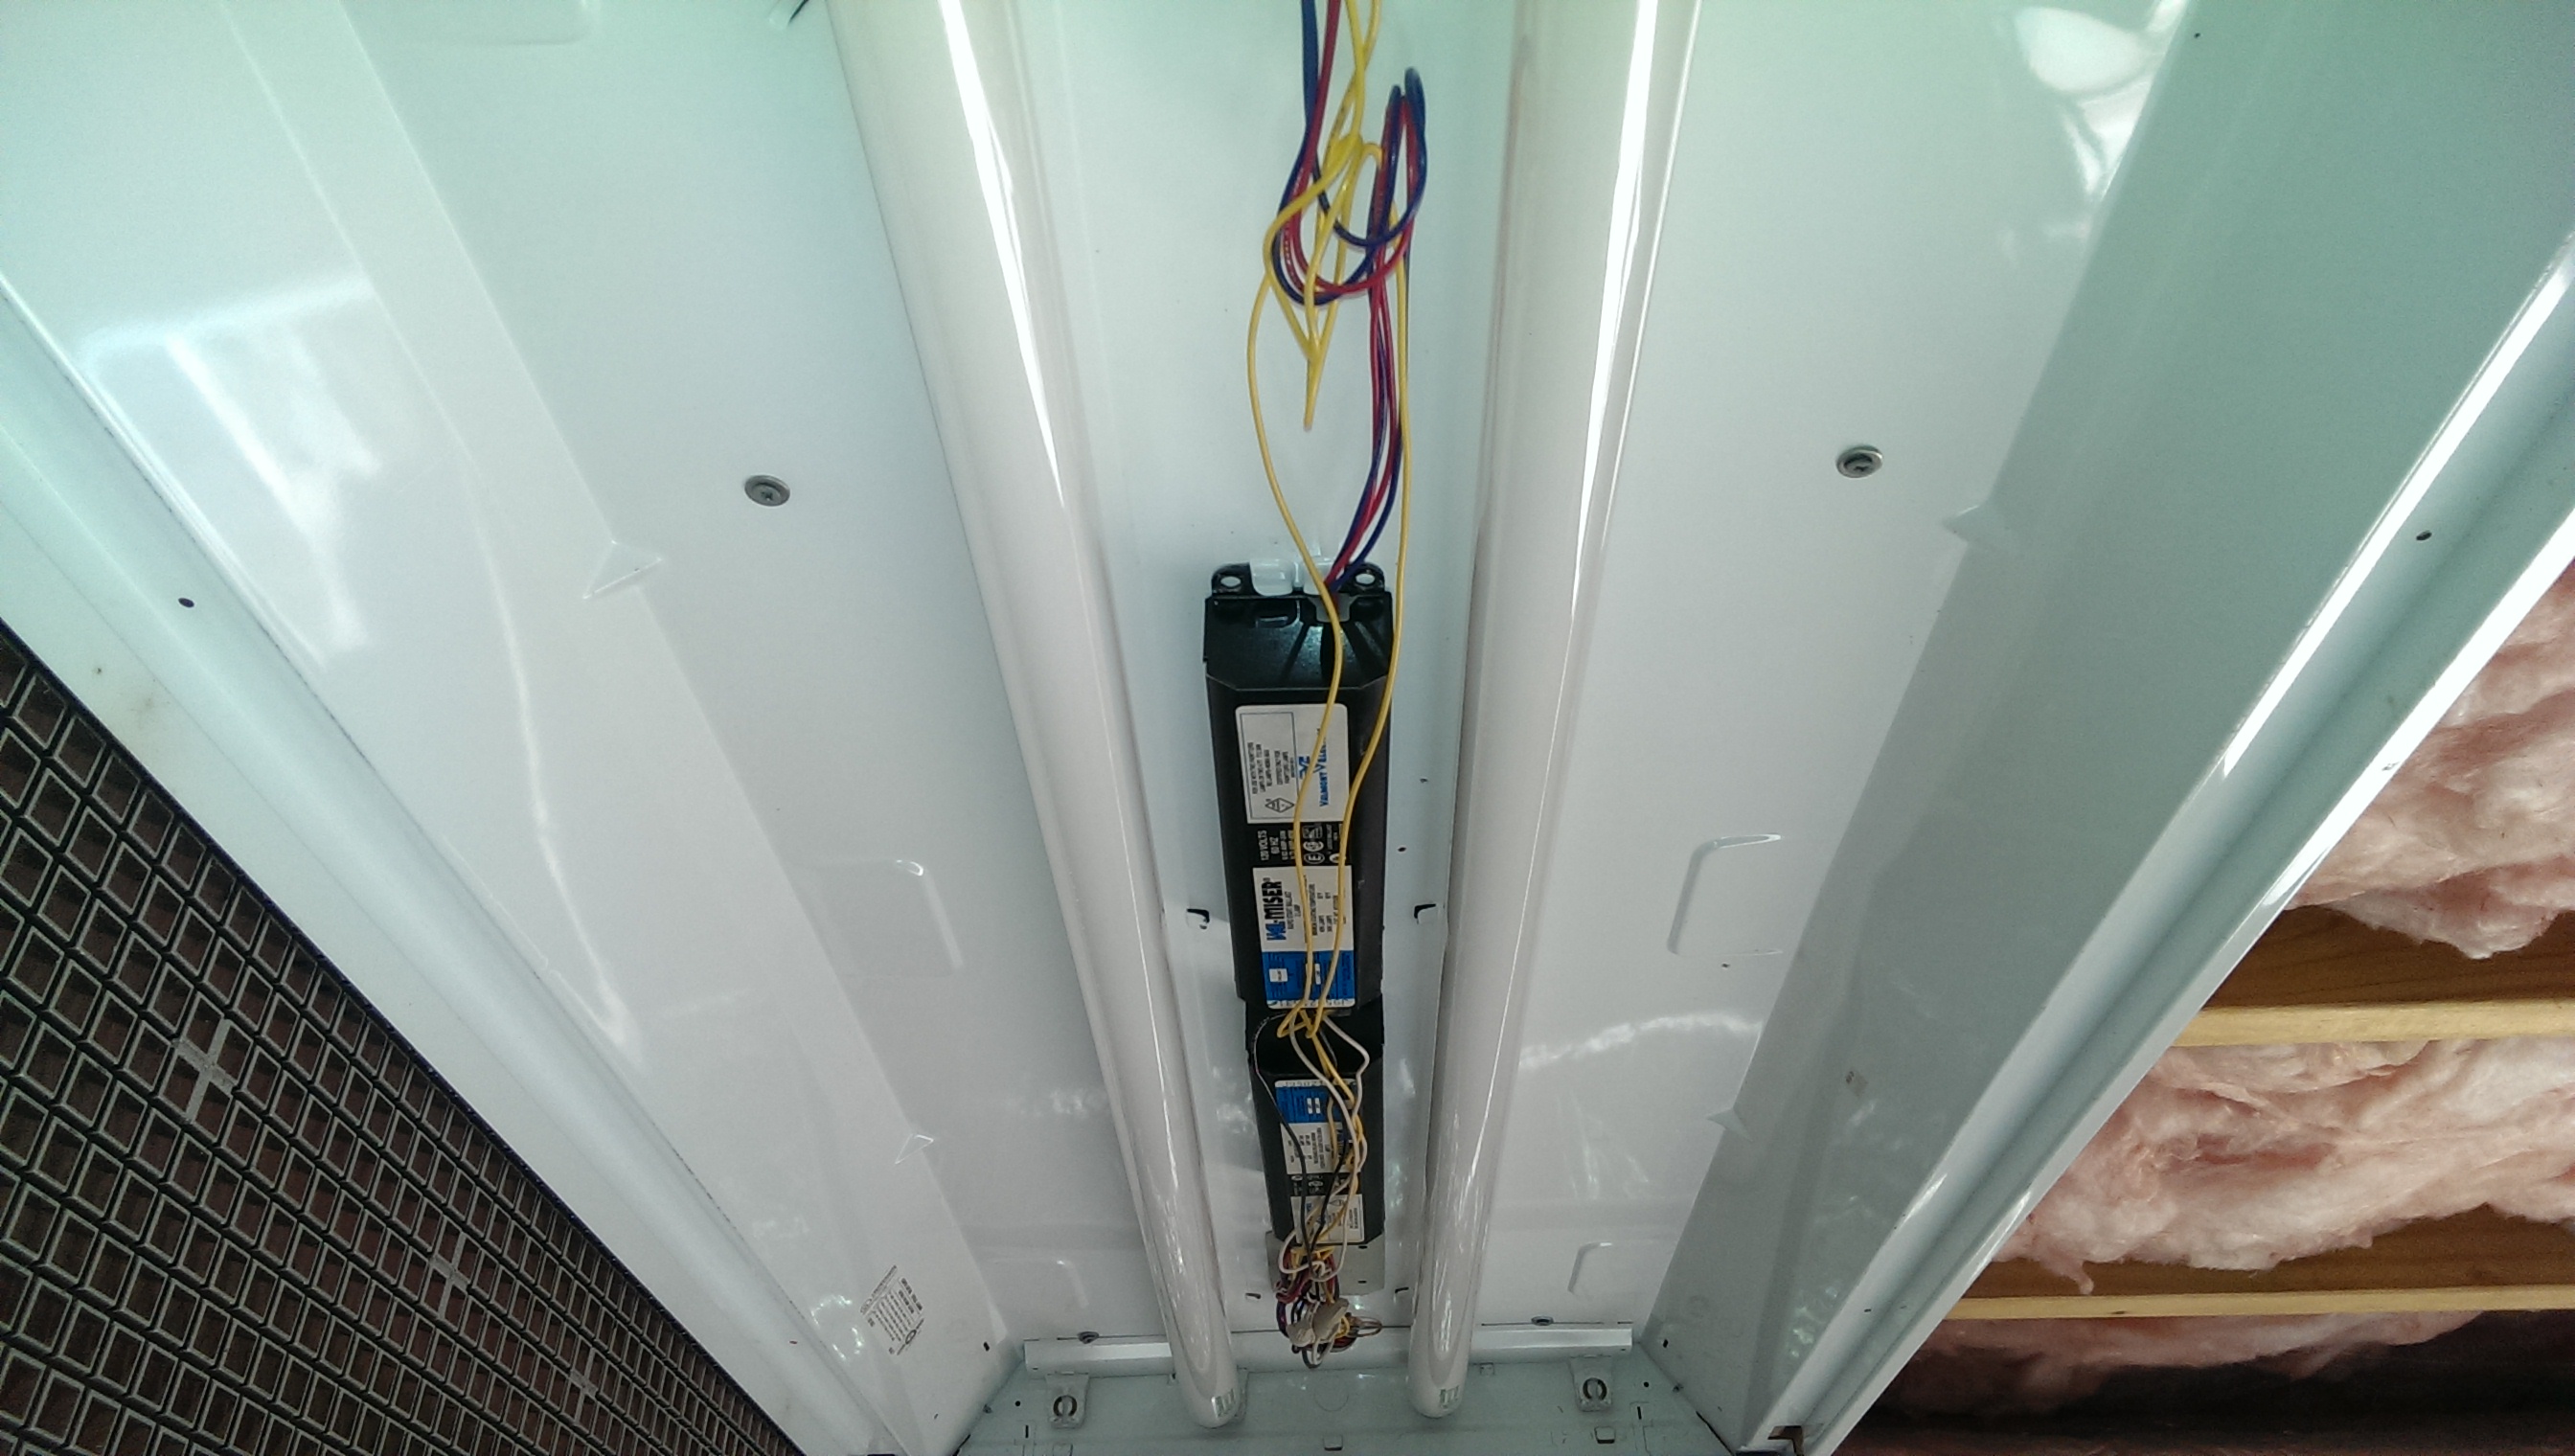
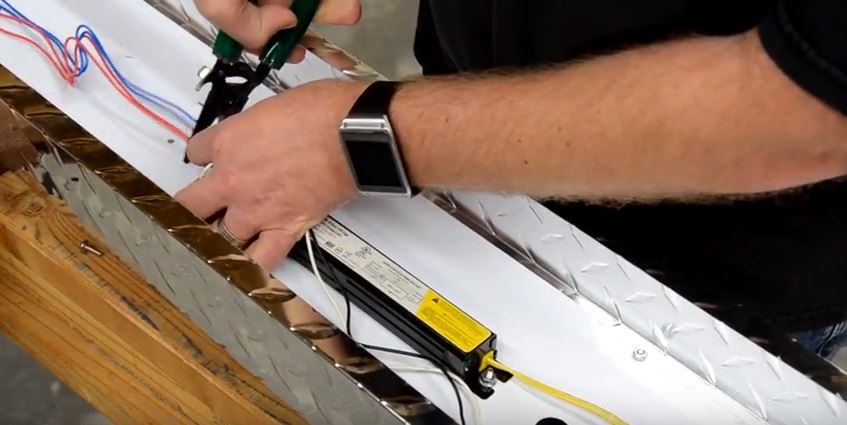
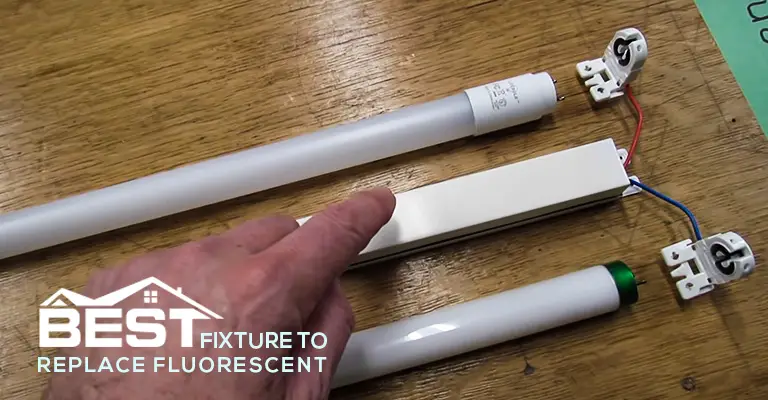
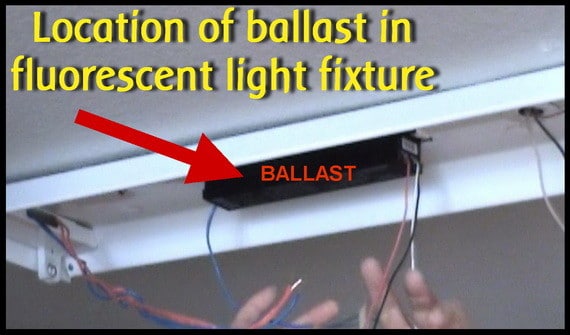
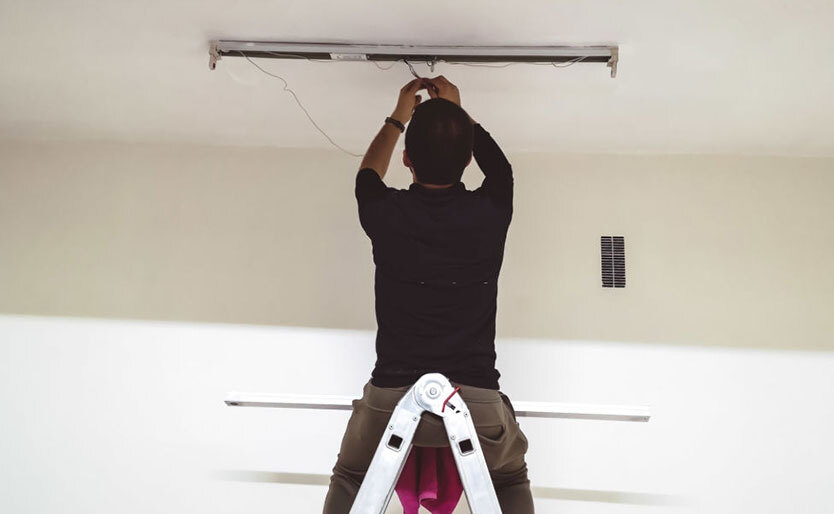
If your kitchen fluorescent light has suddenly gone out, the problem could be with the ballast. The ballast is responsible for regulating the electrical current to the fluorescent light. Without a functioning ballast, the light will not turn on. Here's how you can replace a fluorescent light ballast: Step 1: Turn off the Power The first and most important step is to turn off the power to the light fixture. You can do this by flipping the switch on the circuit breaker that controls the kitchen lights. Make sure to test the light switch to ensure that the power is off before proceeding. Step 2: Remove the Old Ballast Next, you'll need to remove the old ballast. Start by unscrewing the old ballast from the light fixture. Disconnect the wires from the old ballast and remove it from the fixture. Step 3: Install the New Ballast Now it's time to install the new ballast. Follow the instructions provided with the new ballast to properly connect the wires. Make sure to secure the new ballast to the light fixture before moving on to the next step. Step 4: Restore Power and Test the Light Once the new ballast is installed, you can restore power to the light fixture. Turn on the circuit breaker and test the light switch to ensure that the light turns on. If it does, you've successfully replaced the ballast.How to Replace a Fluorescent Light Ballast
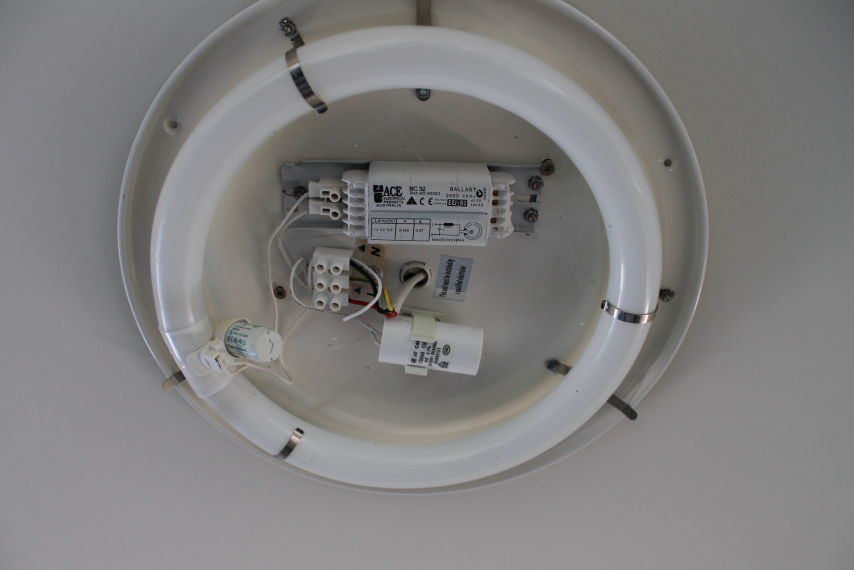
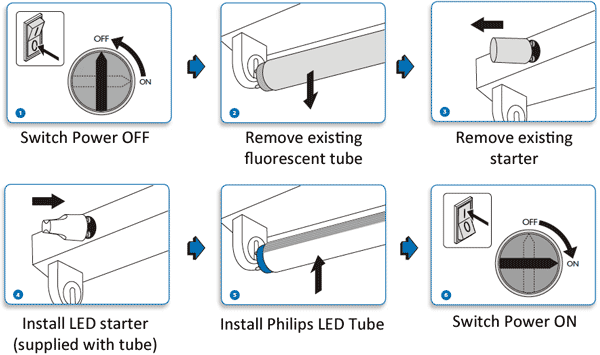
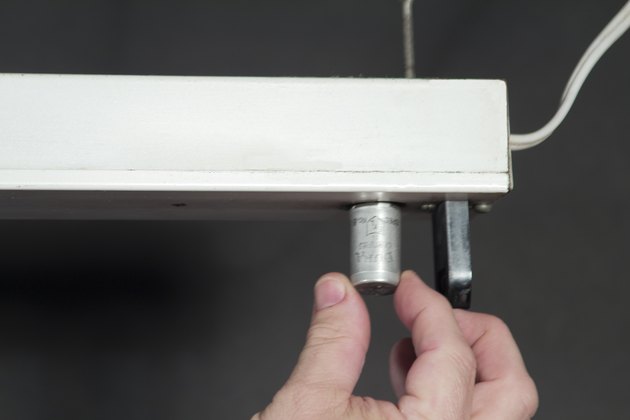
If you've replaced the ballast and the fluorescent light still won't turn on, the problem could be with the starter. The starter is a small, cylindrical device that helps the light bulb start up. Here's how you can replace a fluorescent light starter: Step 1: Turn off the Power As always, the first step is to turn off the power to the light fixture. Make sure to test the light switch to ensure that the power is off before proceeding. Step 2: Remove the Old Starter Next, you'll need to locate the starter. It is usually located near the ballast. Unscrew the starter and remove it from the fixture. Step 3: Install the New Starter Take the new starter and insert it into the same spot where the old one was. Make sure it is securely in place before moving on to the next step. Step 4: Restore Power and Test the Light Restore power to the light fixture and test the light switch to see if the light turns on. If it does, you've successfully replaced the starter.How to Replace a Fluorescent Light Starter
If the light still won't turn on after replacing the ballast and starter, the problem could be with the light bulb itself. Here's how you can replace a fluorescent light bulb: Step 1: Turn off the Power As always, make sure to turn off the power to the light fixture before proceeding. Step 2: Remove the Old Bulb Unscrew the old light bulb and carefully remove it from the fixture. Make sure to properly dispose of the old bulb according to your local regulations. Step 3: Install the New Bulb Take the new light bulb and carefully insert it into the fixture. Make sure it is securely in place before moving on to the next step. Step 4: Restore Power and Test the Light Restore power to the light fixture and test the light switch to see if the new bulb works. If it does, you've successfully replaced the fluorescent light bulb.How to Replace a Fluorescent Light Bulb
If the light still won't turn on after replacing the ballast, starter, and bulb, it's time to troubleshoot the fixture itself. Here are some common issues and how to fix them: Issue: No Power If there is no power to the fixture, check the circuit breaker and make sure it is turned on. If it is, the problem could be with the wiring. Check the connections and make sure they are secure. Issue: Flickering Light If the light is flickering, the problem could be with the ballast or the wiring. Check the connections and make sure they are secure. If the problem persists, replace the ballast. Issue: Dim Light If the light is dim, the problem could be with the ballast or the bulbs. Check the connections and make sure they are secure. If the problem persists, replace the ballast or the bulbs.How to Troubleshoot a Fluorescent Light Fixture
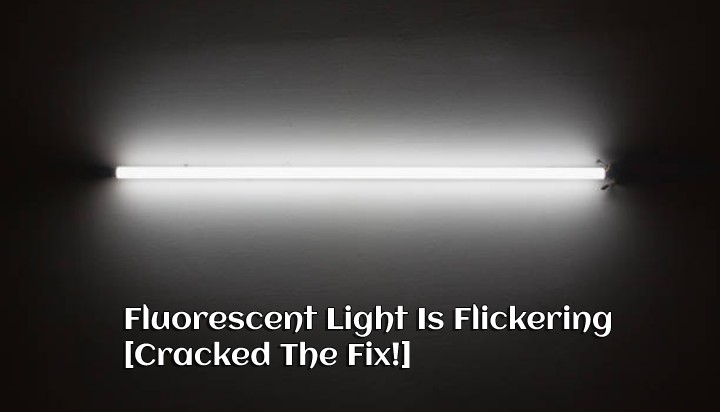
If your fluorescent light is flickering, it can be quite annoying and even cause headaches. Here's how you can fix a flickering fluorescent light: Step 1: Turn off the Power As always, make sure to turn off the power to the light fixture before proceeding. Step 2: Clean the Light Bulbs Often, flickering lights are caused by dirty or dusty light bulbs. Use a clean, dry cloth to wipe off any dirt or dust from the bulbs. Step 3: Tighten the Connections If cleaning the bulbs doesn't work, the problem could be with loose connections. Check all the connections and make sure they are tight. Step 4: Replace the Ballast If the flickering persists, the problem could be with the ballast. Replace it with a new one to see if that solves the issue.How to Fix a Flickering Fluorescent Light
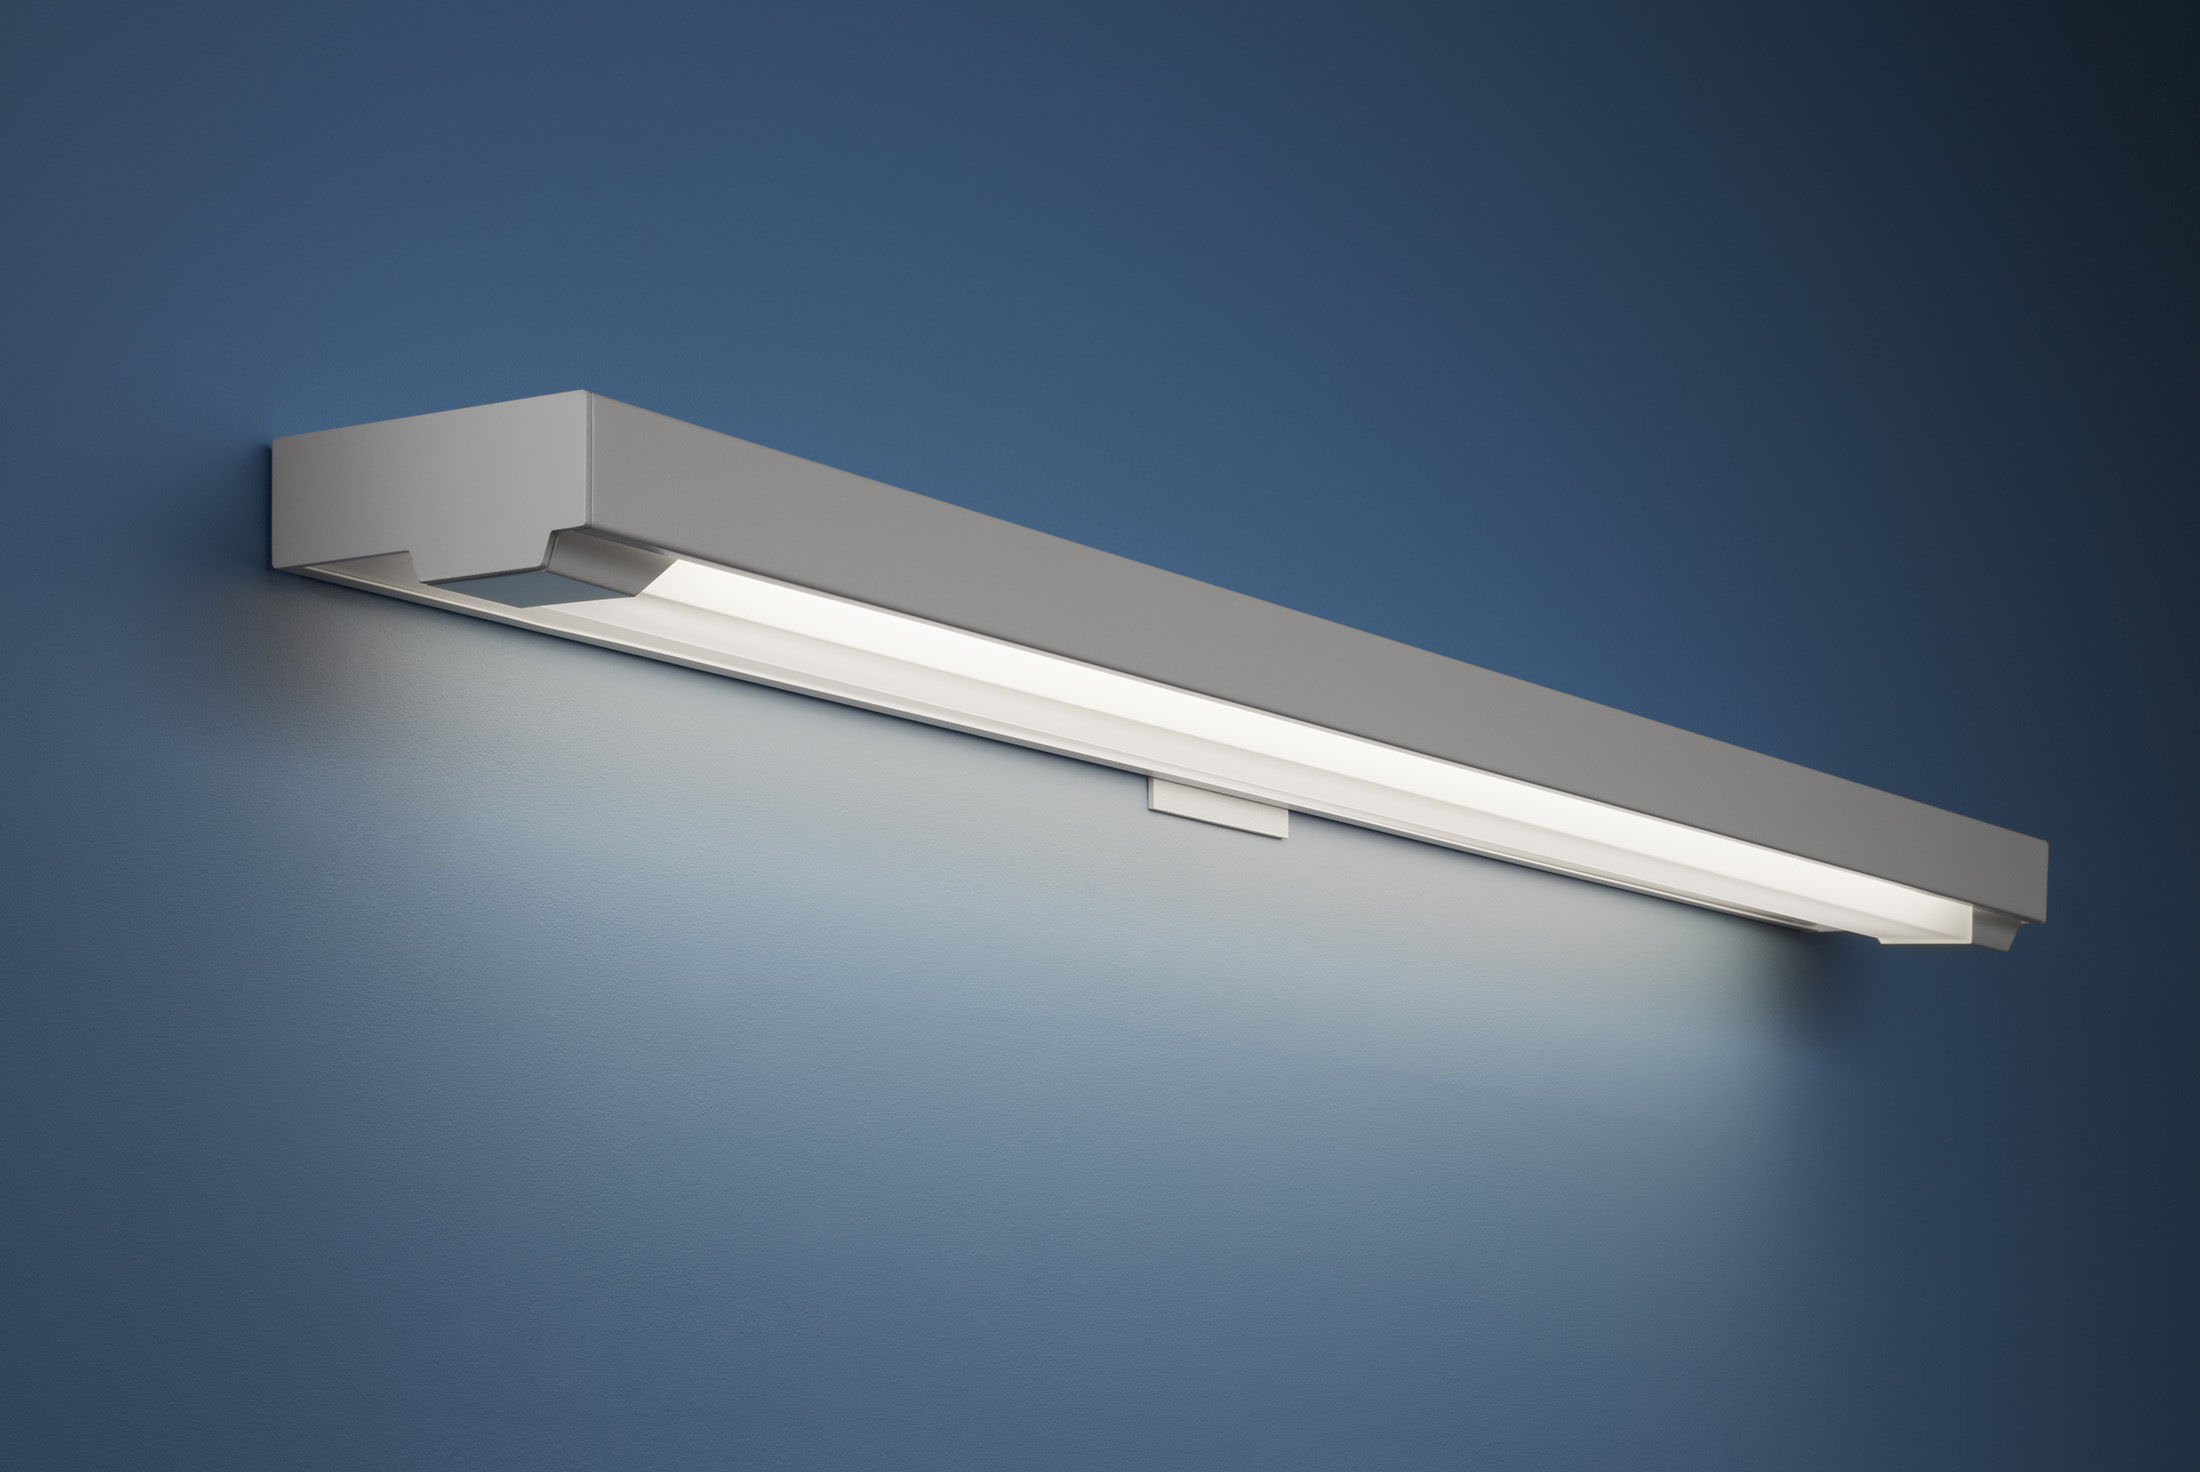
If you need to install a new fluorescent light fixture, here's how you can do it: Step 1: Turn off the Power As always, make sure to turn off the power to the area where you will be installing the new fixture. Step 2: Assemble the Fixture Follow the instructions provided with the fixture to assemble it properly. Step 3: Mount the Fixture Install the light fixture according to the instructions provided. Make sure it is securely mounted to the ceiling. Step 4: Connect the Wires Connect the wires from the fixture to the corresponding wires in the ceiling. Make sure they are securely connected. Step 5: Restore Power and Test the Light Restore power to the area and test the light switch to see if the new fixture is working properly.How to Install a Fluorescent Light Fixture
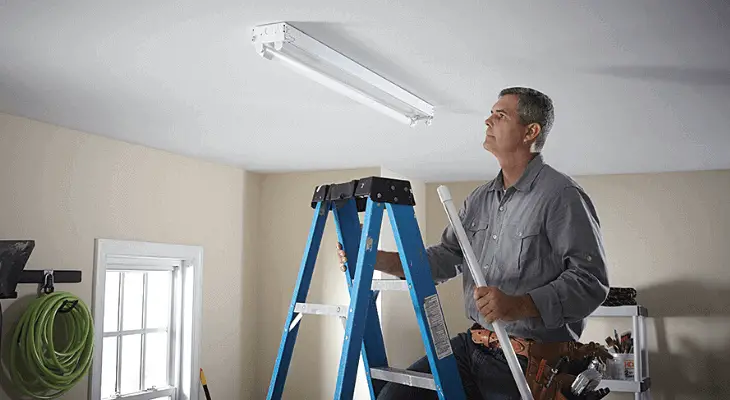
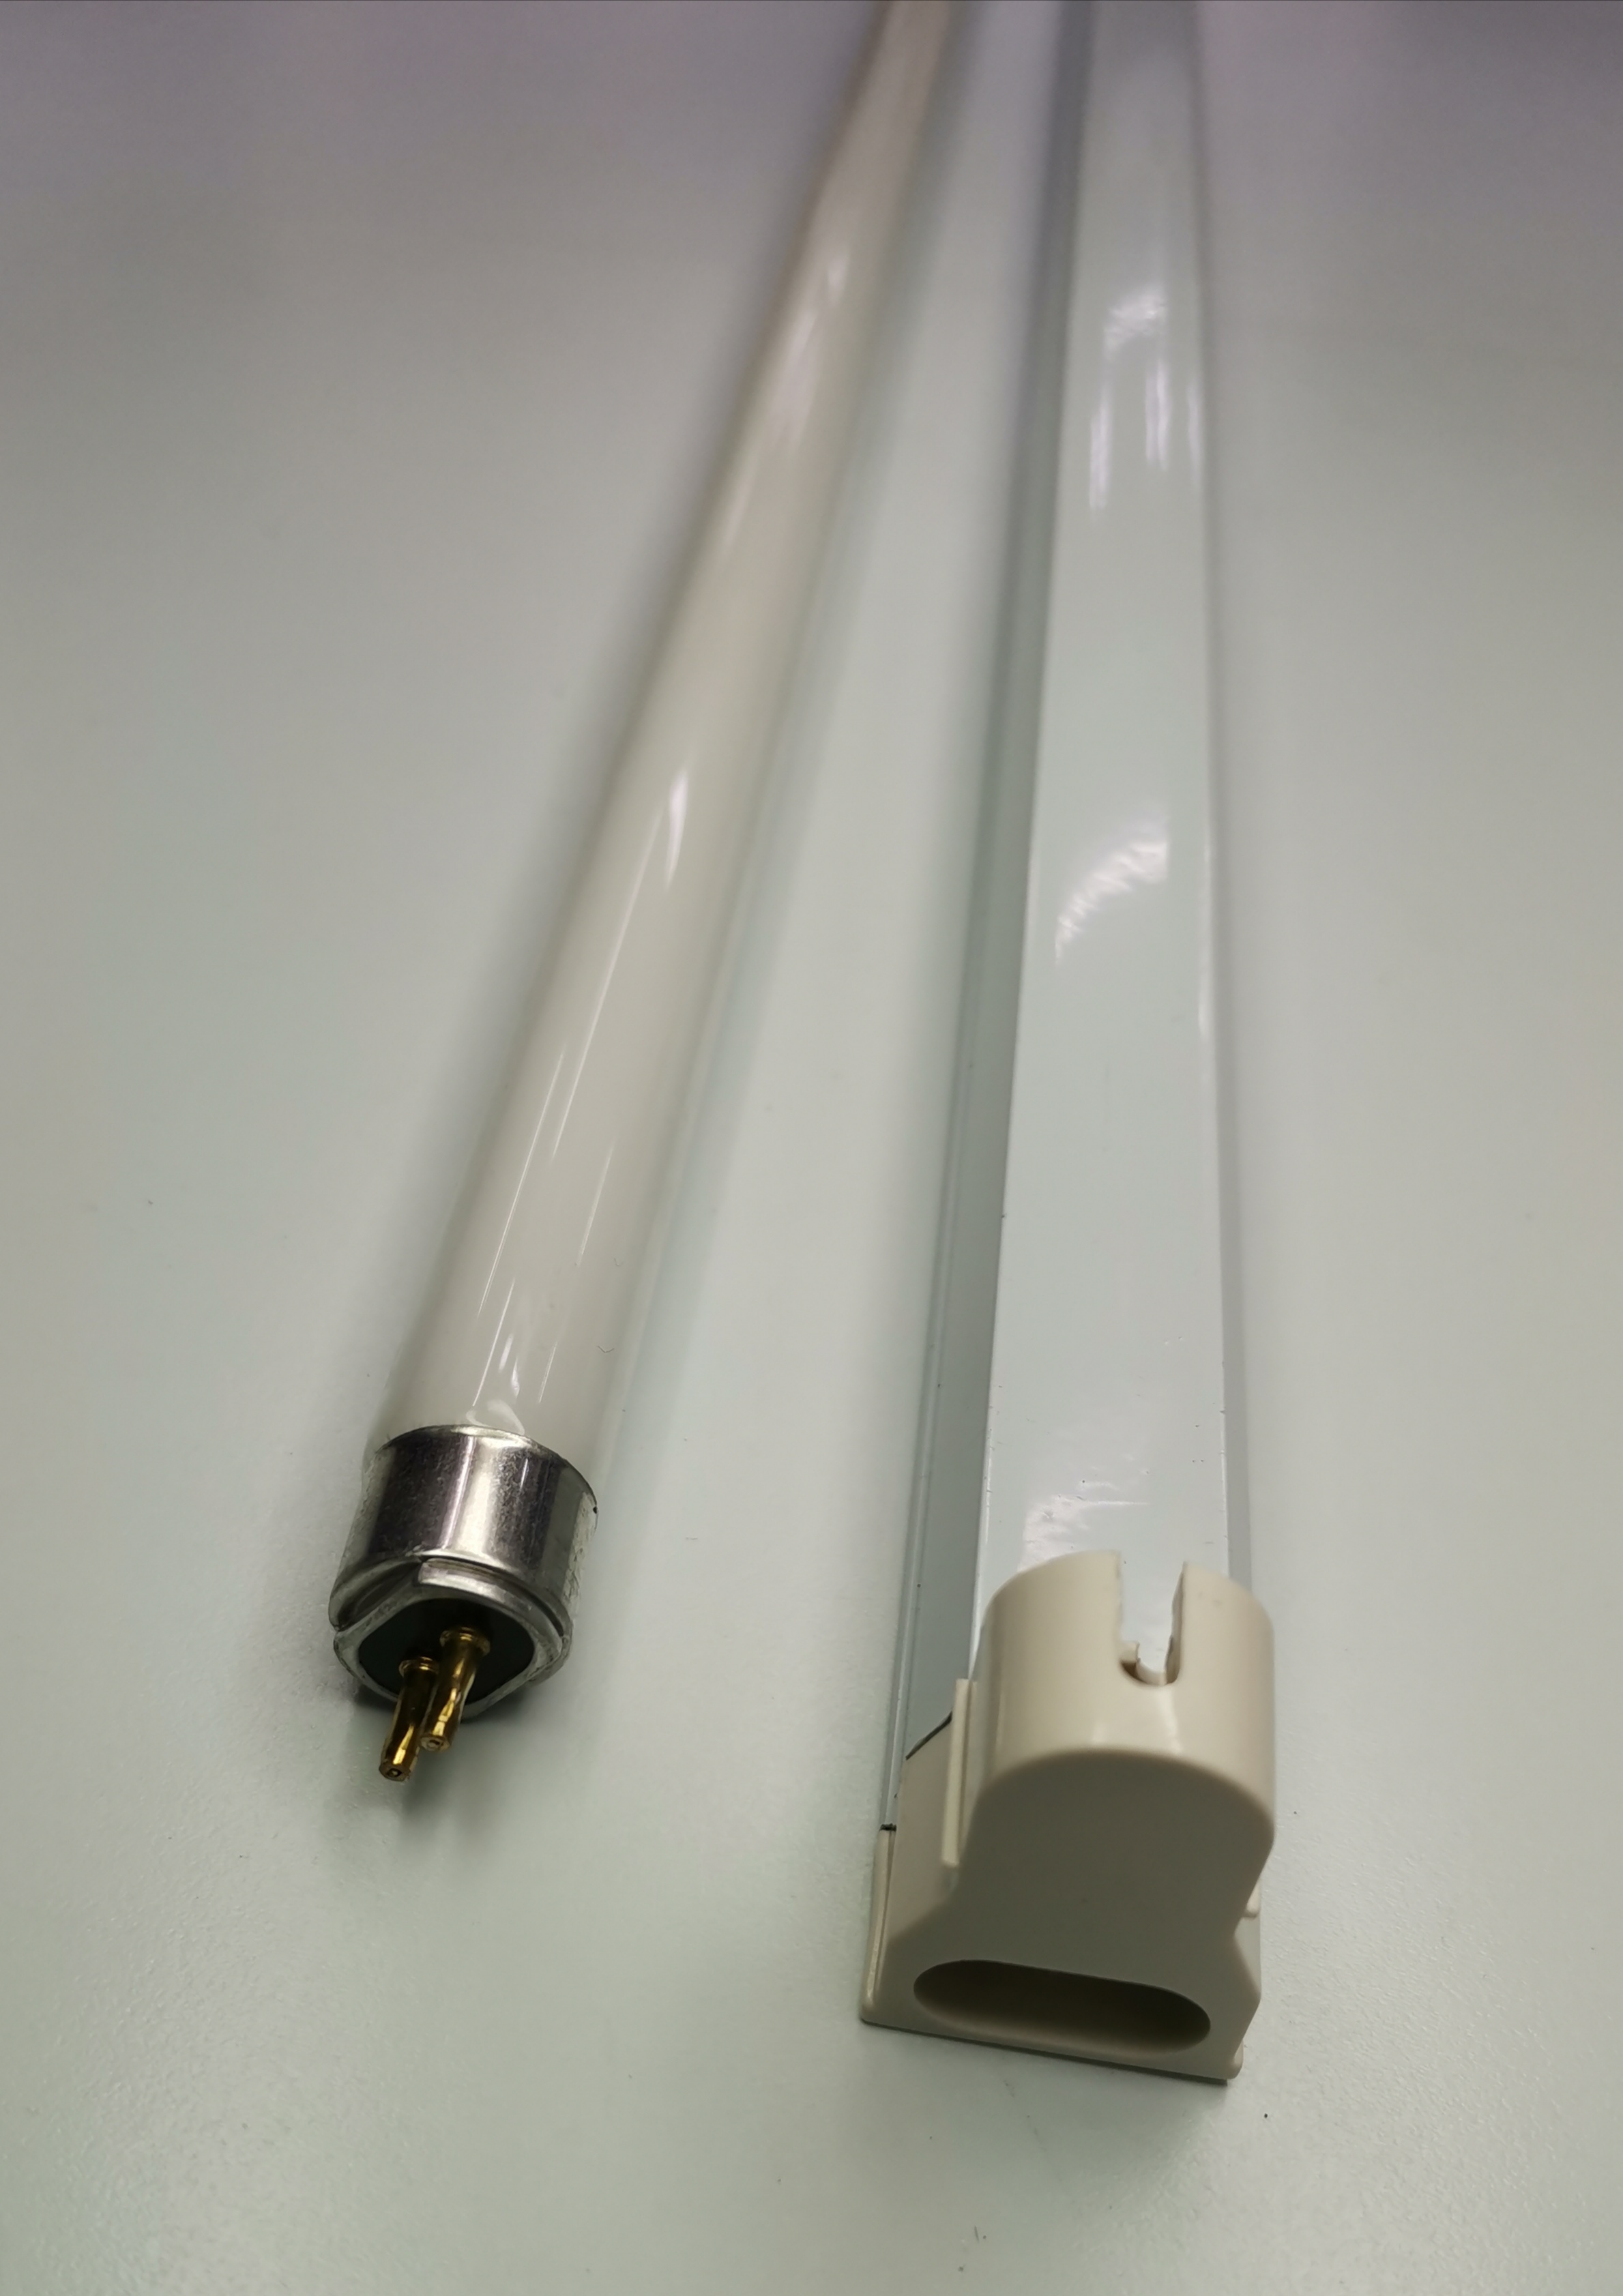
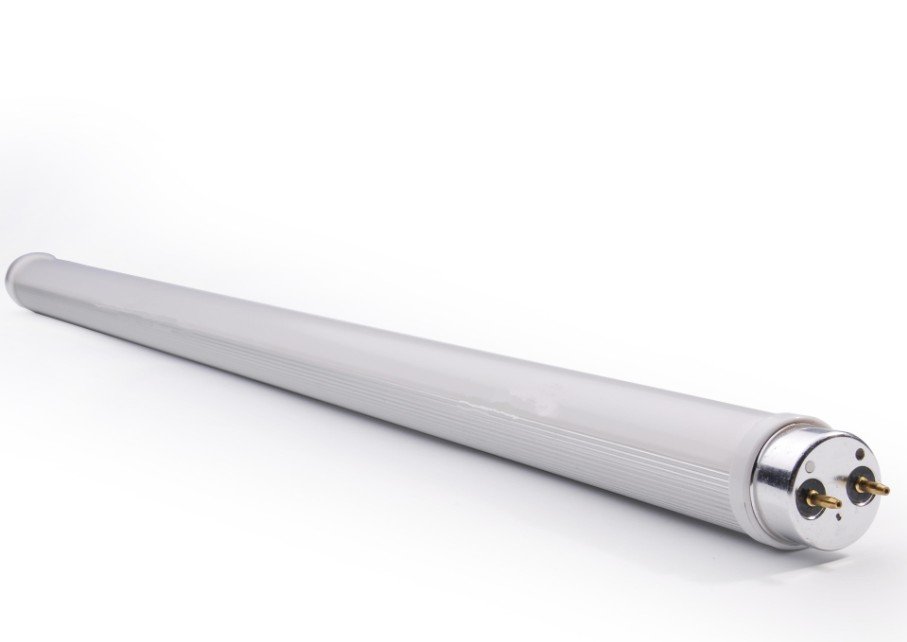
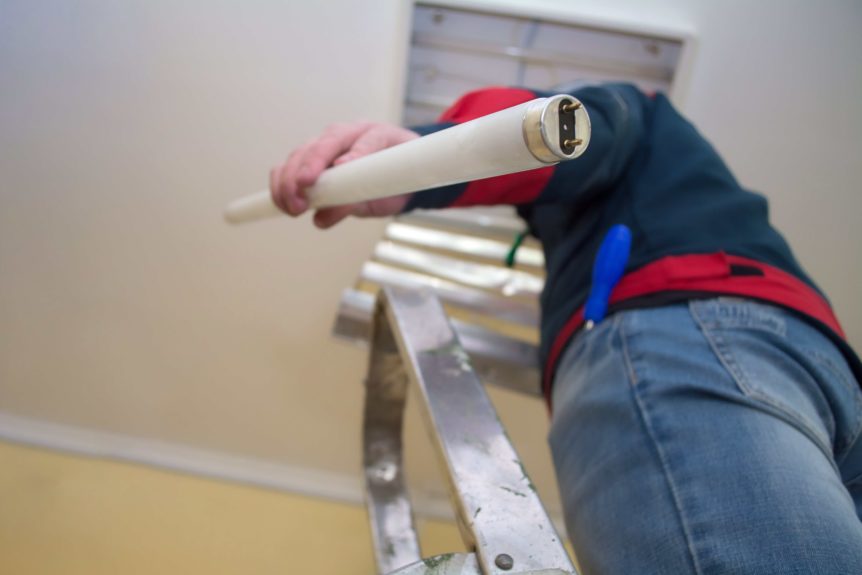
If one or more of the light tubes in your fluorescent light fixture is not working, it's time to replace them. Here's how: Step 1: Turn off the Power As always, make sure to turn off the power to the light fixture before proceeding. Step 2: Remove the Old Tube Unscrew the old tube and carefully remove it from the fixture. Make sure to properly dispose of the old tube according to your local regulations. Step 3: Install the New Tube Take the new tube and carefully insert it into the fixture. Make sure it is securely in place before moving on to the next step. Step 4: Restore Power and Test the Light Restore power to the light fixture and test the light switch to see if the new tube is working properly.How to Change a Fluorescent Light Tube
If your fluorescent light won't turn on at all, here's how you can troubleshoot and fix the problem: Step 1: Turn off the Power As always, make sure to turn off the power to the light fixture before proceeding. Step 2: Check the Connections Make sure all the connections in the fixture are secure and tight. If any wires are loose, reconnect them properly. Step 3: Replace the Starter If the connections are all secure, the problem could be with the starter. Replace it with a new one to see if that solves the issue. Step 4: Replace the Ballast If the starter replacement doesn't work, the problem could be with the ballast. Replace it with a new one and see if that fixes the issue.How to Repair a Fluorescent Light that Won't Turn On
If your fluorescent light turns on but then immediately turns off, the problem could be with the ballast. Here's how you can fix it: Step 1: Turn off the Power As always, make sure to turn off the power to the light fixture before proceeding. Step 2: Check the Connections Make sure all the connections in the fixture are secure and tight. If any wires are loose, reconnect them properly. Step 3: Replace the Ballast If the connections are all secure, the problem is likely with the ballast. Replace it with a new one to see if that solves the issue.How to Fix a Fluorescent Light that Won't Stay On
If your fluorescent light has a transformer, it is responsible for converting the electricity to the correct voltage for the light. If it is not working properly, here's how you can replace it: Step 1: Turn off the Power As always, make sure to turn off the power to the light fixture before proceeding. Step 2: Remove the Old Transformer Unscrew the old transformer and carefully remove it from the fixture. Disconnect the wires from the old transformer and remove it from the fixture. Step 3: Install the New Transformer Follow the instructions provided with the new transformer to properly connect the wires. Make sure to secure the new transformer to the light fixture before moving on to the next step. Step 4: Restore Power and Test the Light Once the new transformer is installed, restore power to the light fixture and test the light switch to see if it is working properly.How to Replace a Fluorescent Light Transformer
The Benefits of Upgrading to LED Lights in Your Kitchen

Say Goodbye to Fluorescent Lights
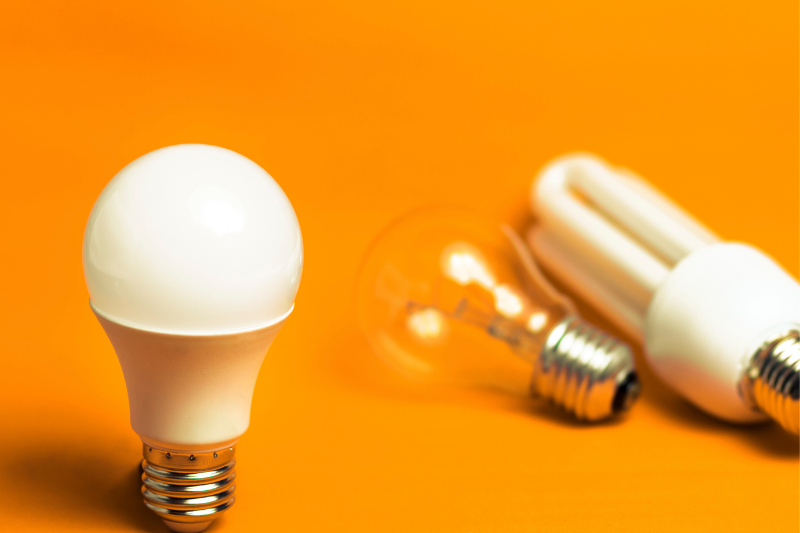
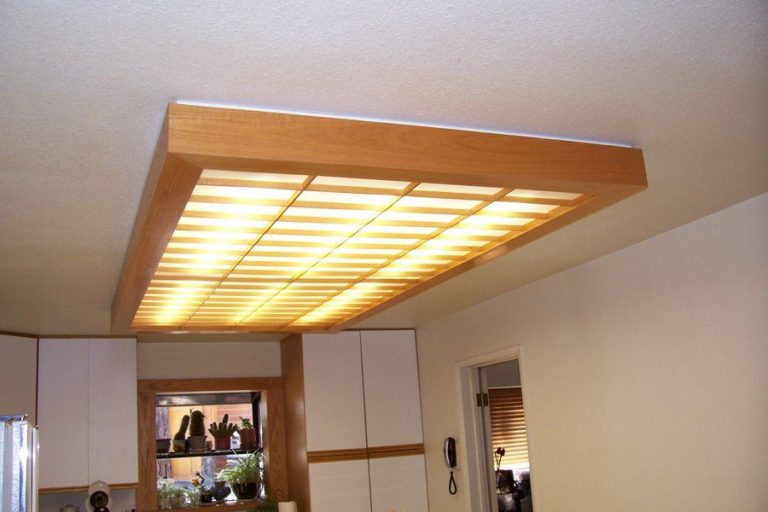
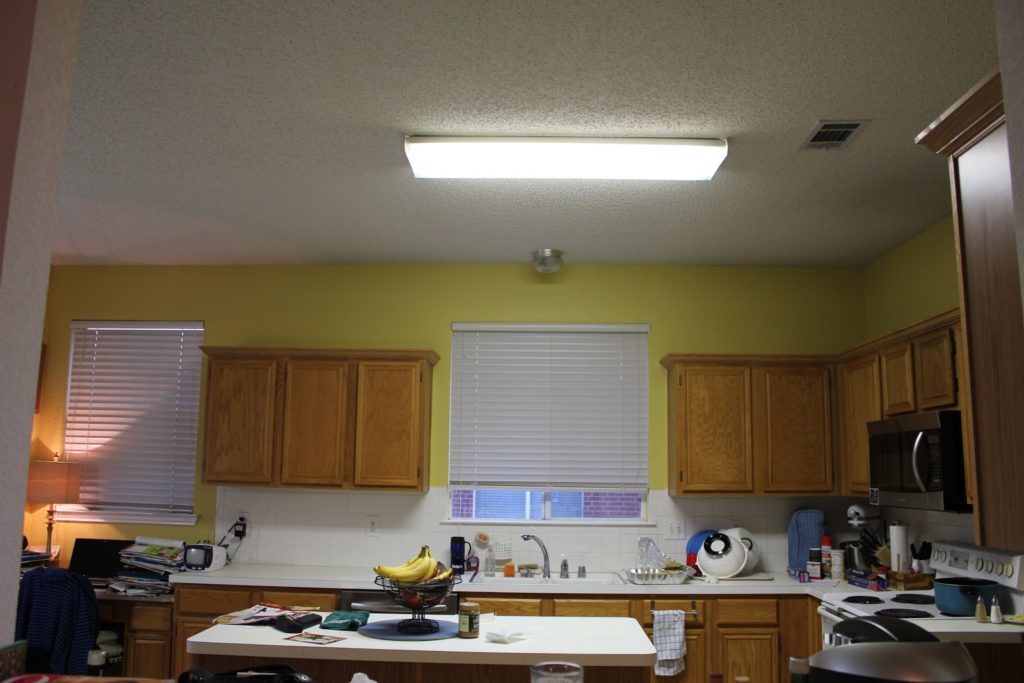 If you've recently experienced your kitchen fluorescent light going out, it may be time to consider upgrading to LED lights. While fluorescent lights have been a staple in kitchen lighting for many years, they have several drawbacks that can make them a nuisance for homeowners.
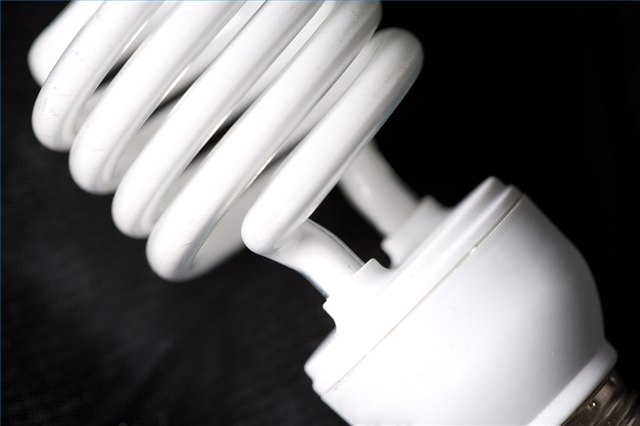
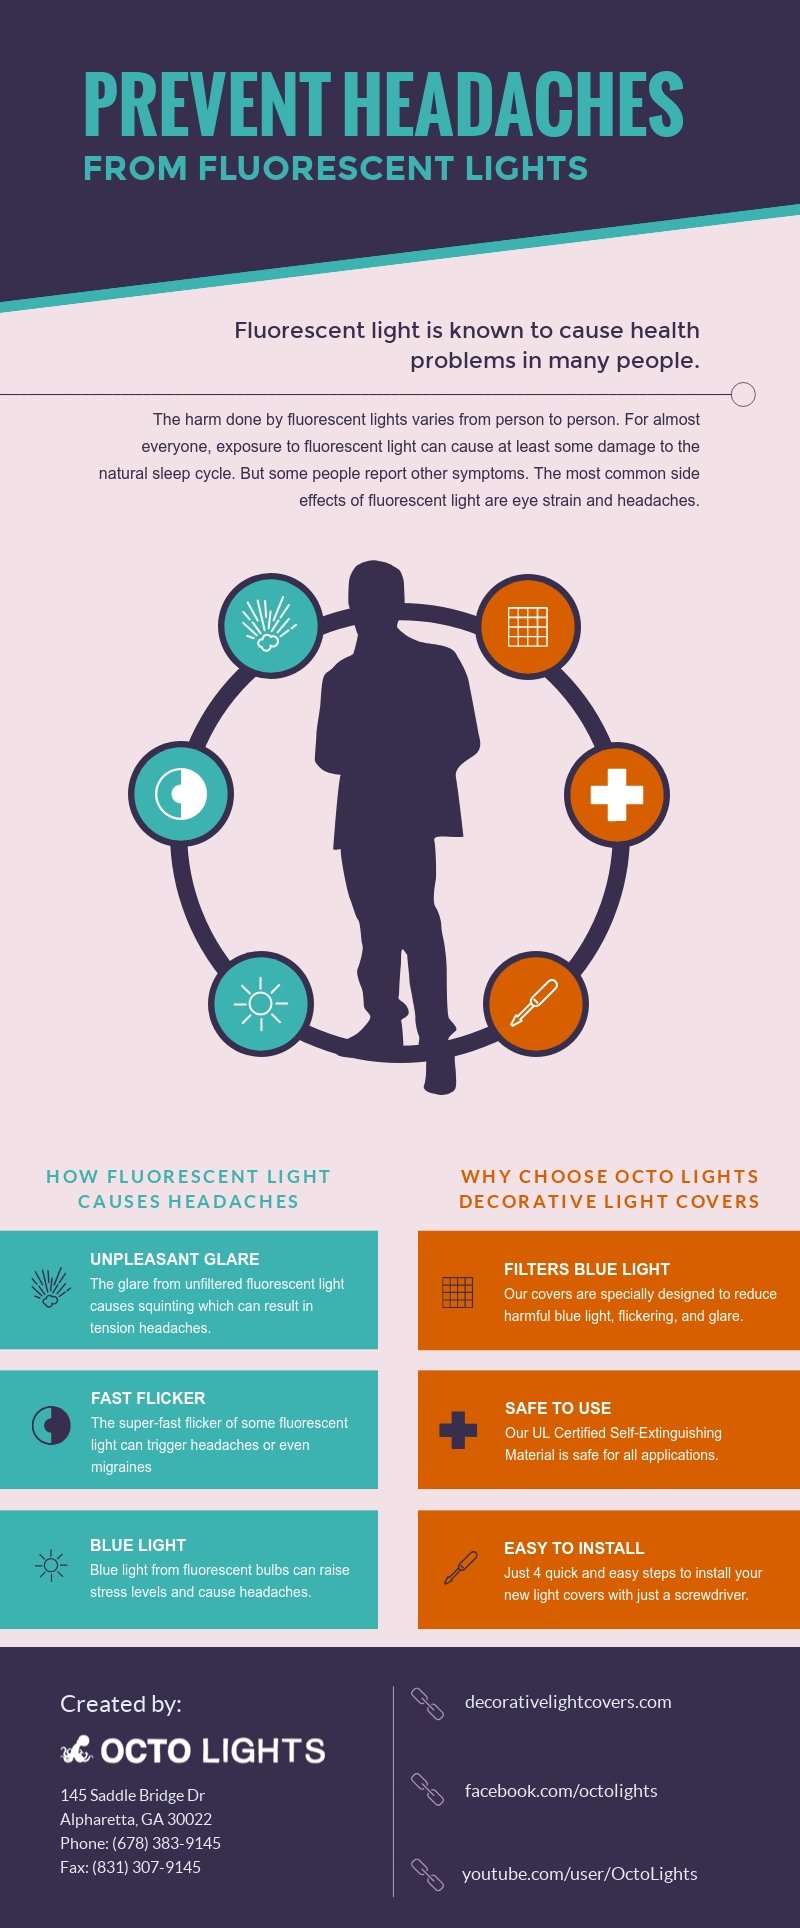
One major issue with fluorescent lights is their tendency to flicker and buzz. This can be not only annoying, but also harmful to those with light sensitivity or migraines. In addition, fluorescent lights contain mercury, a toxic substance that can be dangerous if the bulb breaks. This can be a concern, especially in a kitchen where food is being prepared.
LED lights
, on the other hand, do not contain any toxic materials and are much safer to use in a kitchen setting. They also do not flicker or buzz, providing a consistent and comfortable lighting experience.
Energy Efficiency and Cost Savings
 Another major benefit of upgrading to LED lights in your kitchen is the energy efficiency and cost savings they offer. LED lights use significantly less energy than fluorescent lights, which can help reduce your electricity bill. In fact, studies have shown that switching to LED lights can save up to 85% on energy costs.
In addition, LED lights have a longer lifespan compared to fluorescent lights. While fluorescent lights typically last around 10,000 hours, LED lights can last up to 50,000 hours. This means you won't have to replace your kitchen lights as frequently, saving you money in the long run.
Customizable Lighting Options
 LED lights also offer a wide range of customizable options, making them perfect for any kitchen design. You can choose from different color temperatures, ranging from warm white to cool white, to create the perfect ambiance in your kitchen. You can also opt for dimmable LED lights, giving you control over the brightness and mood of your kitchen.
LED lights are also directional, meaning they emit light in a specific direction, making them ideal for task lighting in the kitchen
. This can be especially useful when preparing meals or doing other tasks that require focused lighting.
Make the Switch to LED Lights Today
 In conclusion, if your kitchen fluorescent light has gone out, it may be time to consider upgrading to
LED lights
. Not only are they safer and more energy-efficient, but they also offer customizable options and a longer lifespan. Make the switch today and enjoy a brighter, more efficient, and modern kitchen.














:max_bytes(150000):strip_icc()/fix-a-flickering-light-bulb-4123638_hero_31625-c30e217bfa4b4525968b4628c03e5954.jpg)


