Replacing a fluorescent light ballast may seem like a daunting task, but with the right tools and knowledge, it can be a simple and cost-effective DIY project. Whether you are looking to upgrade your kitchen lighting or your ballast has malfunctioned, this step-by-step guide will walk you through the process of replacing a ballast in a fluorescent light fixture.How to Replace a Fluorescent Light Ballast


How to Replace a Fluorescent Light Ballast
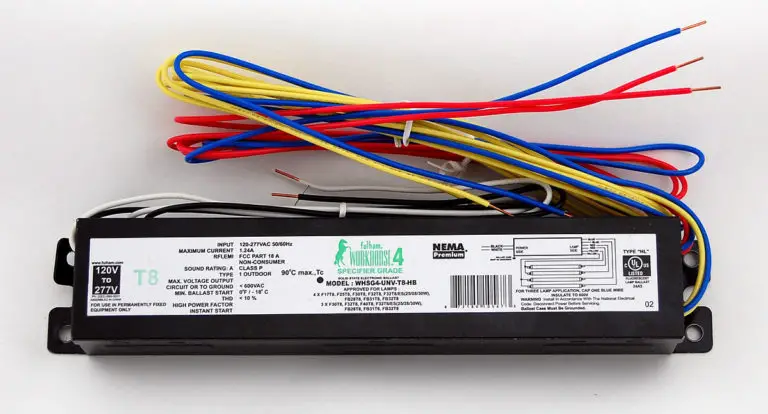

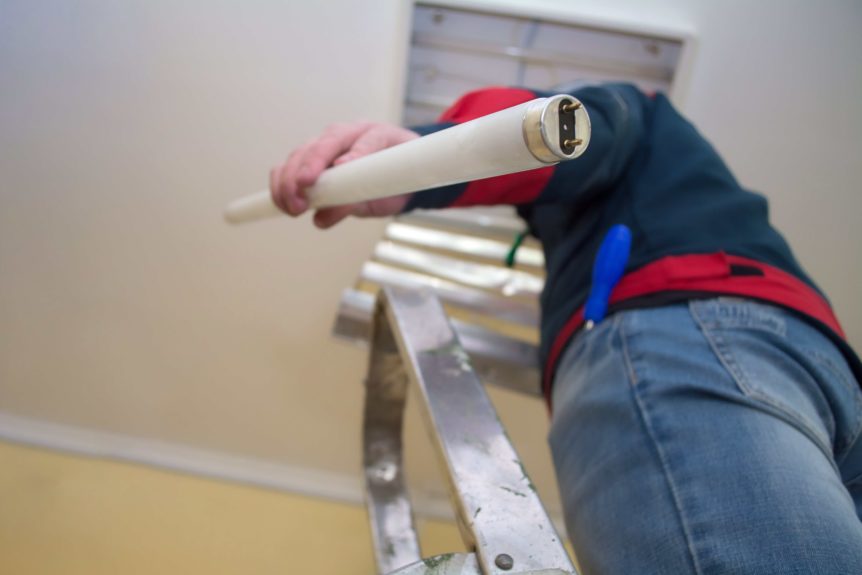


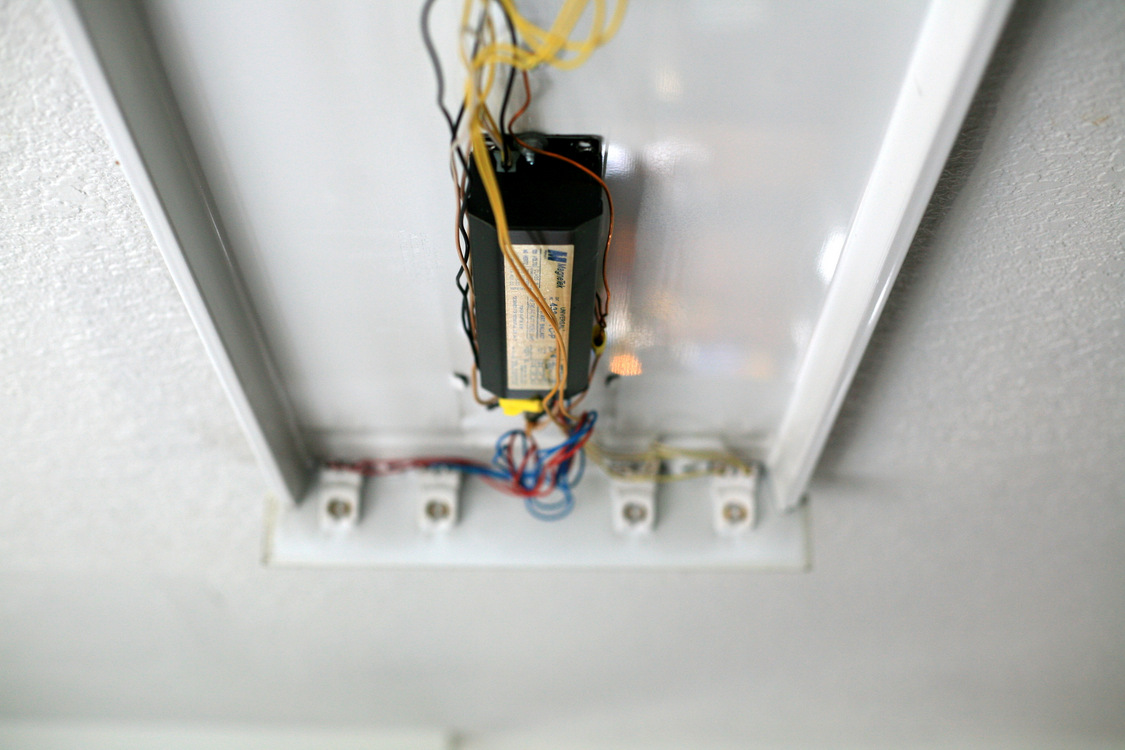
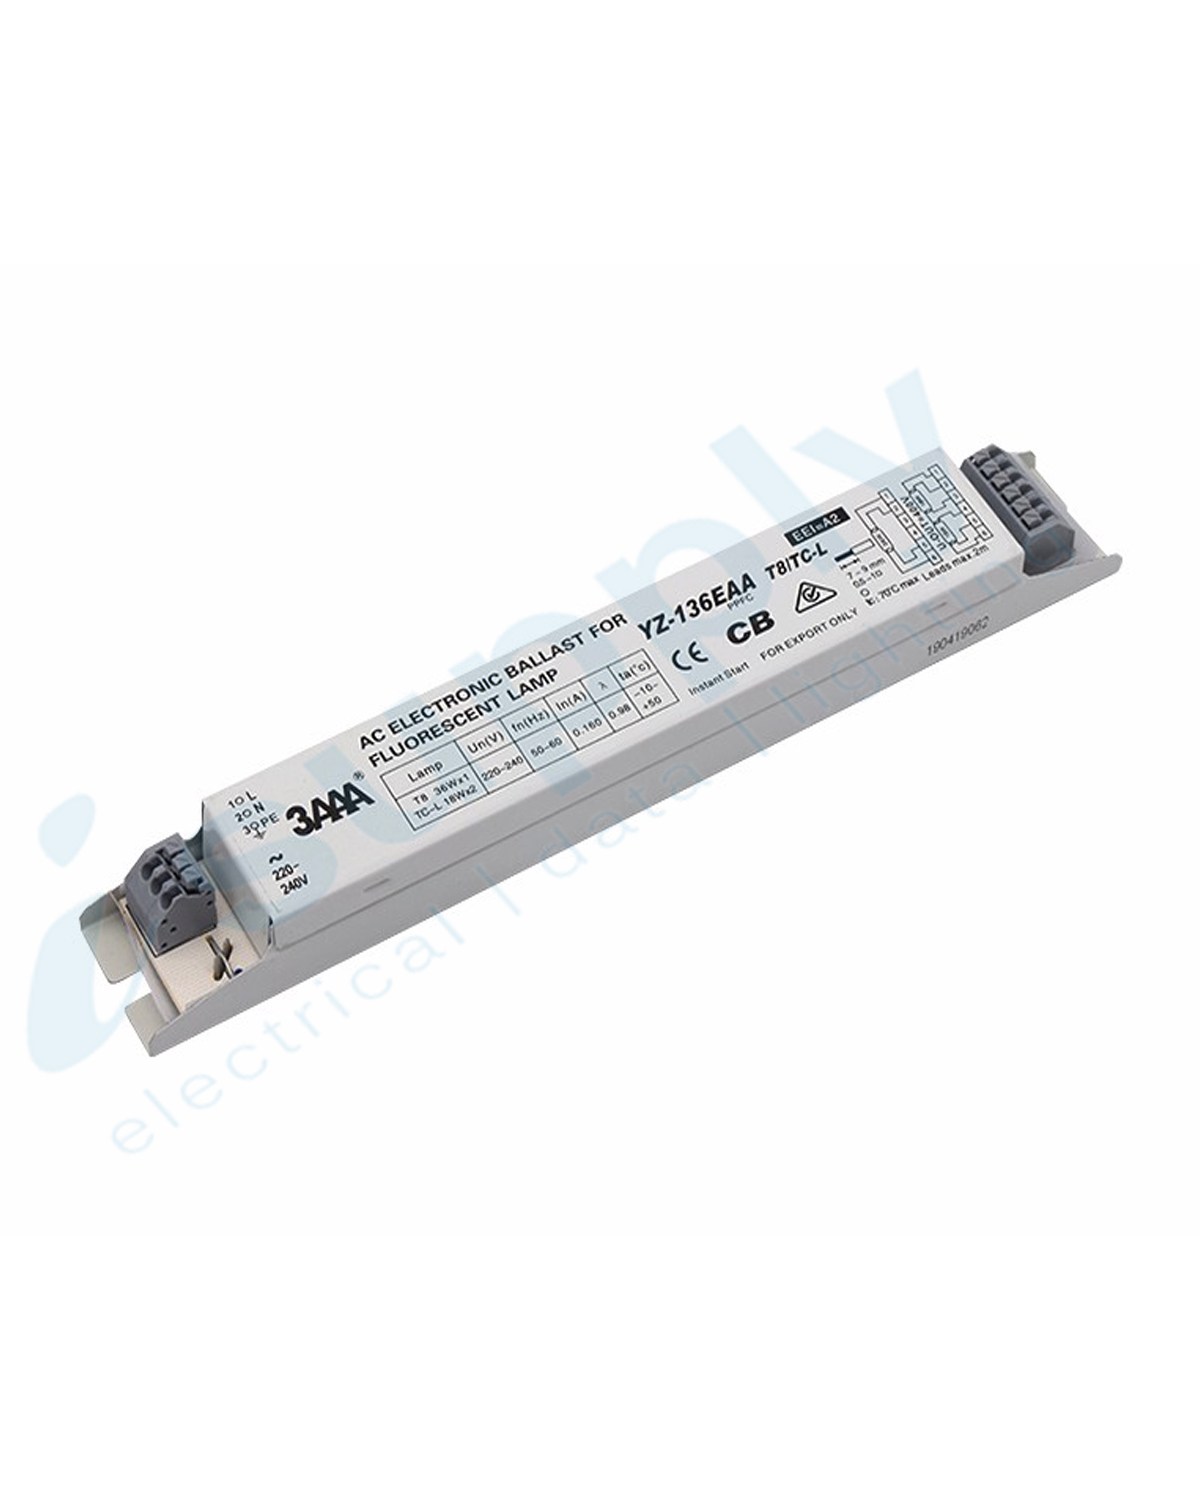
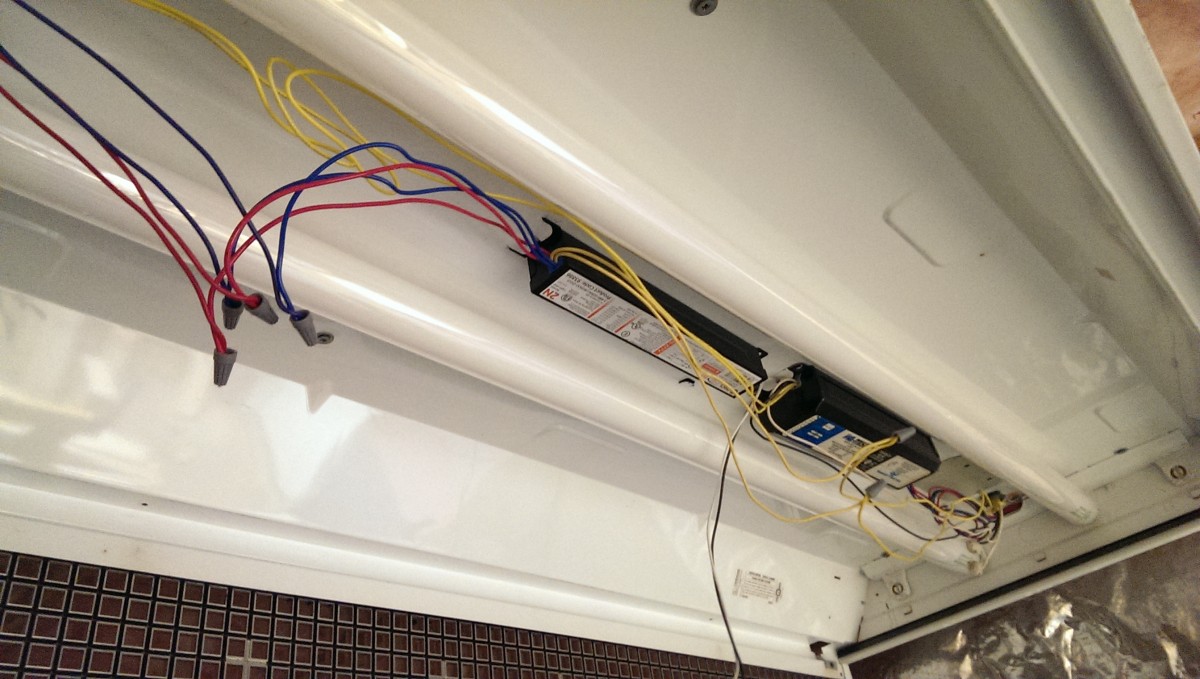
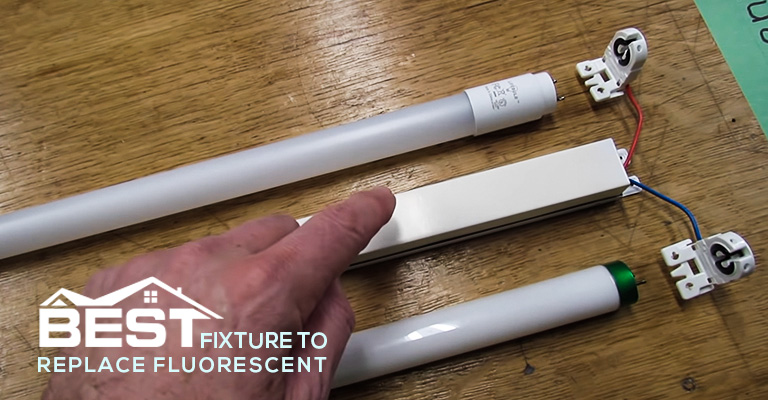
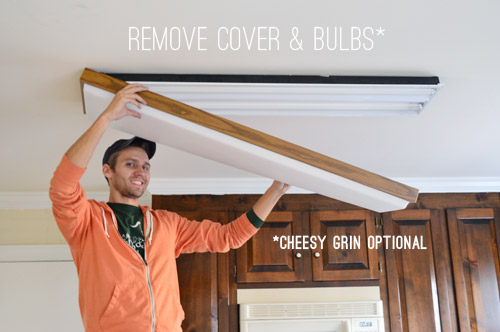
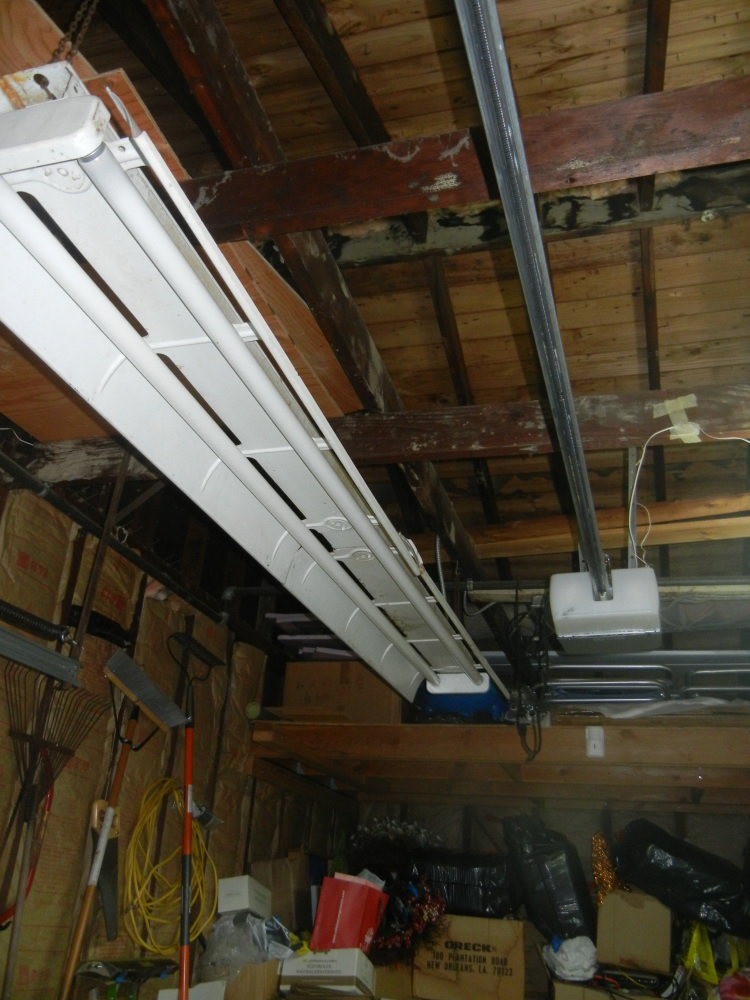
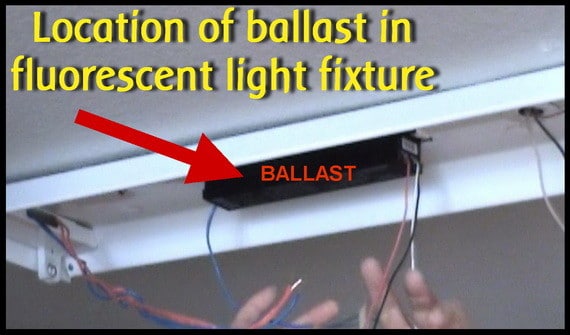
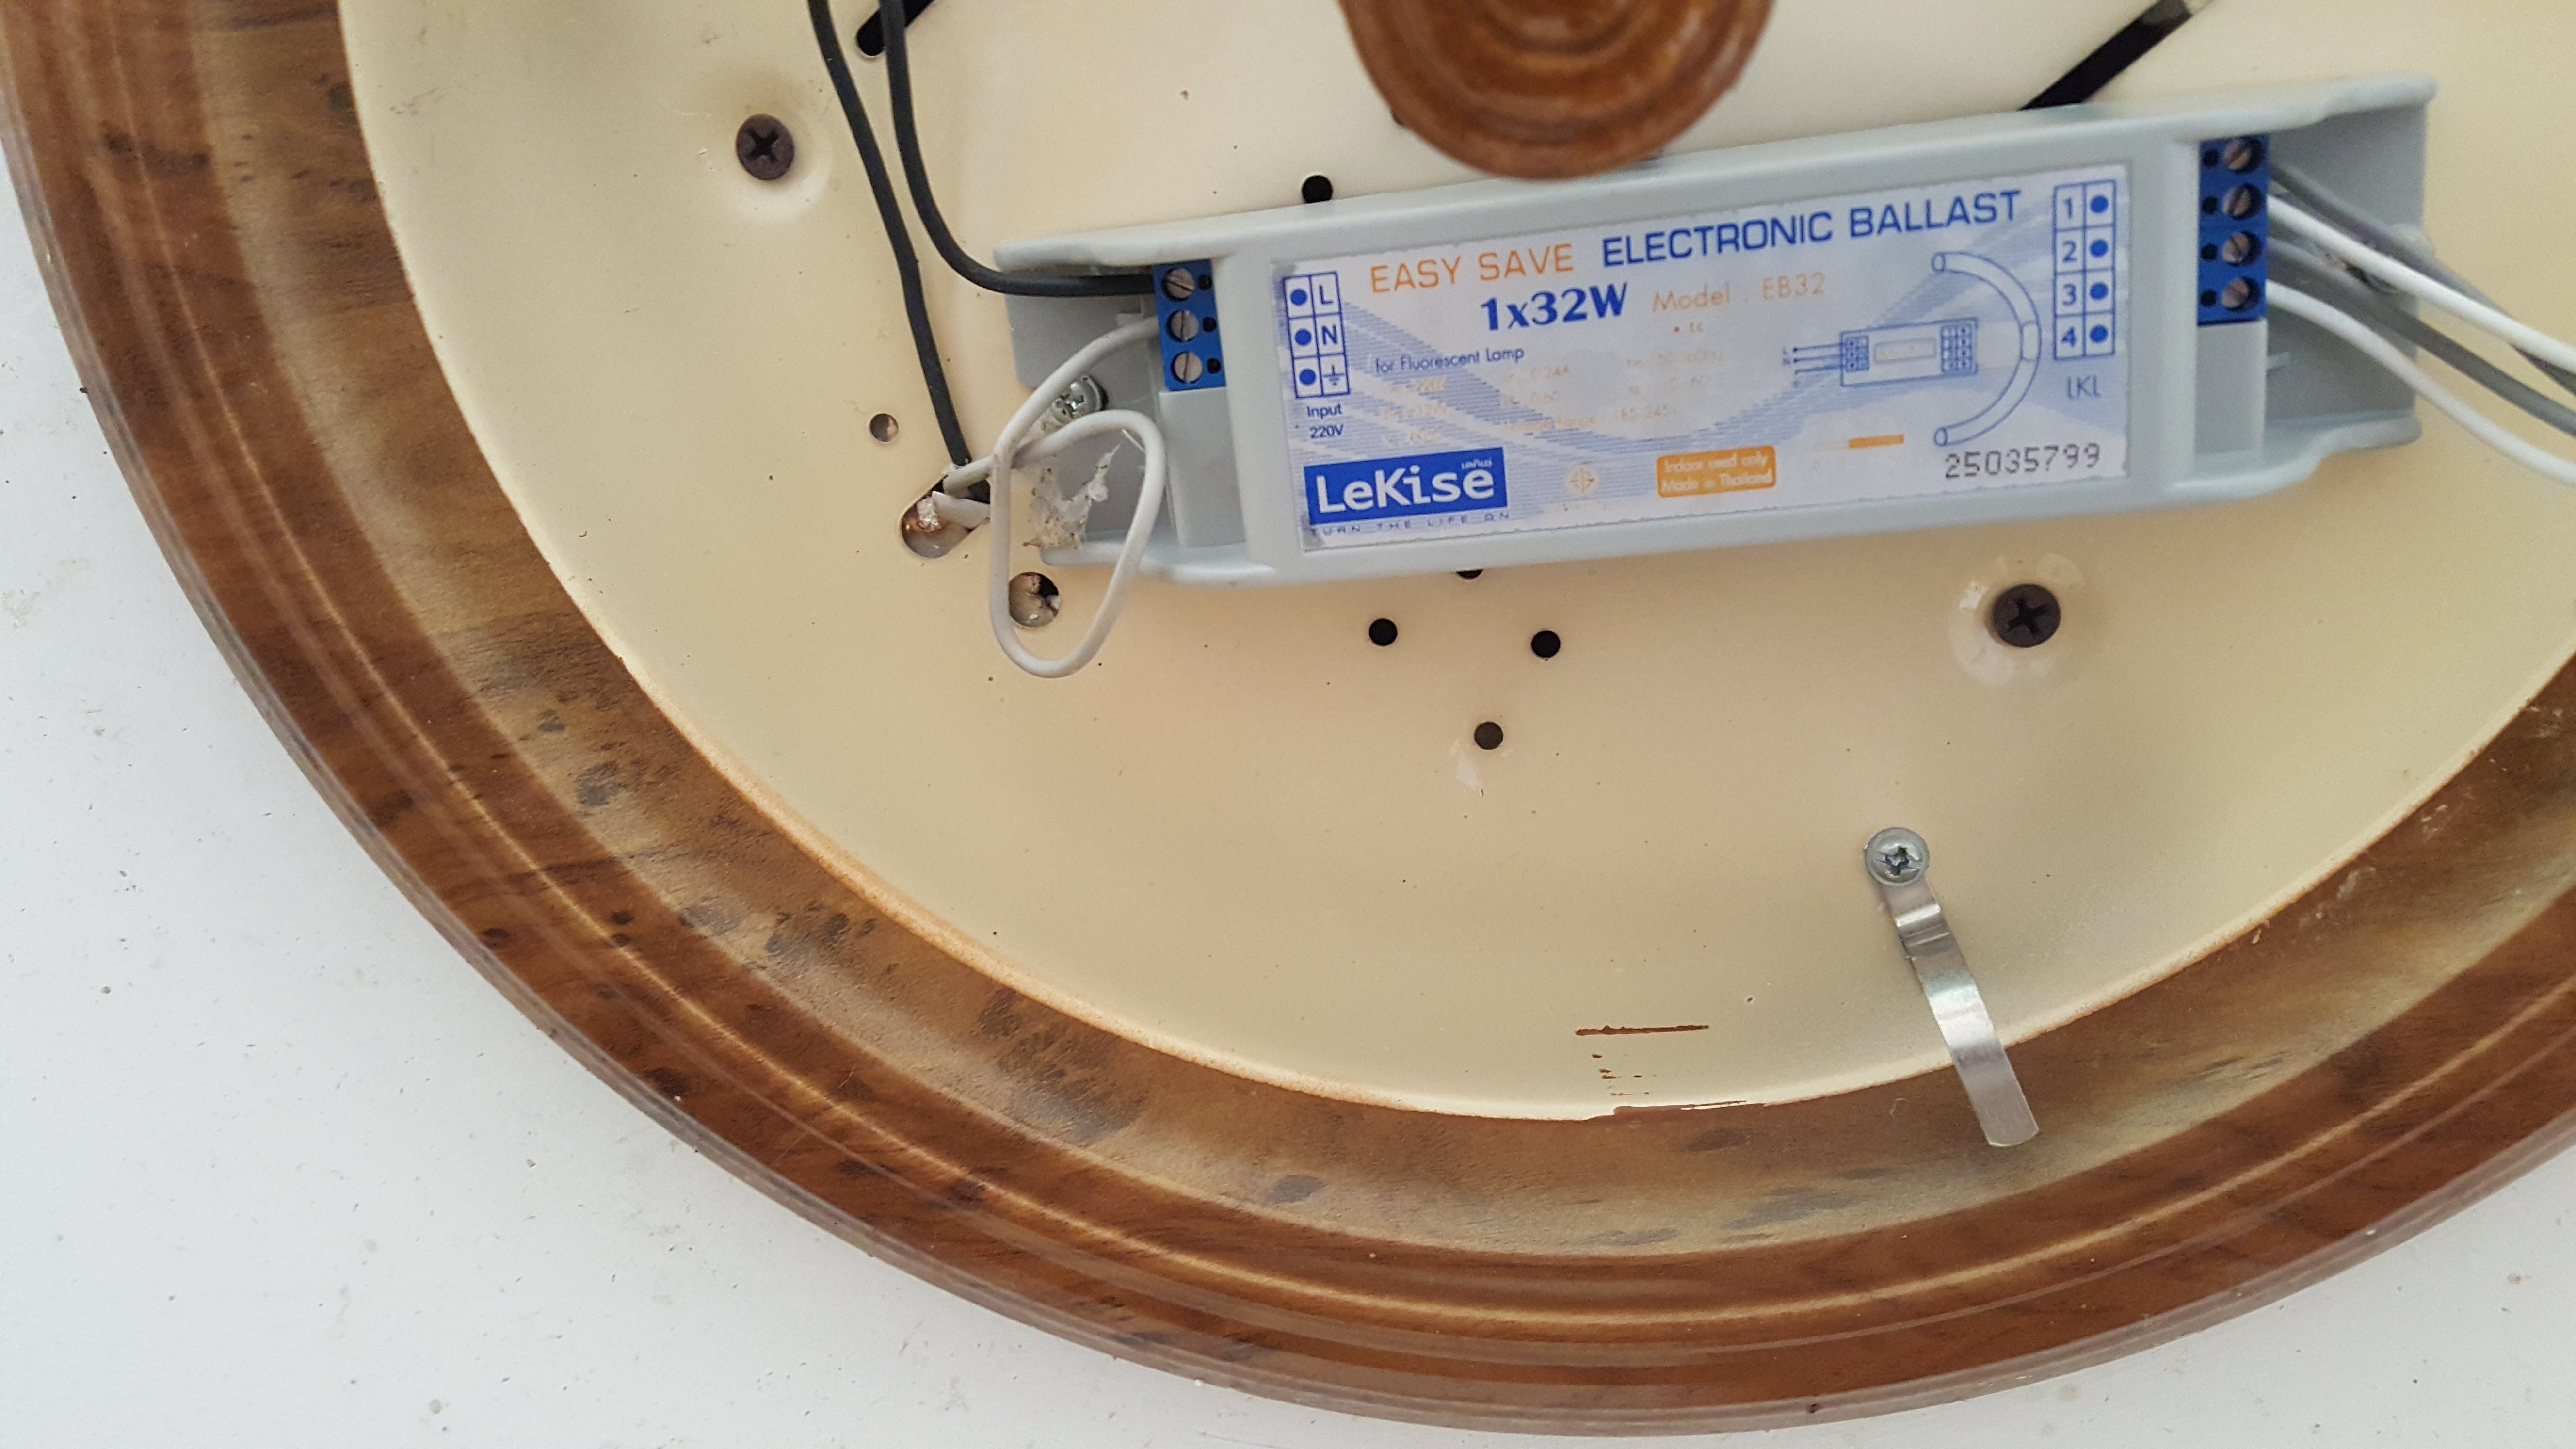
The kitchen is often considered the heart of the home, and having proper lighting in this space is essential for cooking, entertaining, and daily activities. If your kitchen fluorescent light fixture is flickering or not working at all, it may be time to replace the ballast. Here's how to do it: 1. Turn off the power: Before beginning any electrical work, make sure to turn off the power to the light fixture at the circuit breaker. This will ensure your safety while working on the fixture. 2. Remove the old ballast: Once the power is turned off, remove the cover of the fluorescent light fixture and locate the ballast. It is a small rectangular box usually located in the center of the fixture. Carefully disconnect the wires from the old ballast and remove it from the fixture. 3. Choose the right replacement ballast: When purchasing a new ballast, make sure to match the voltage and wattage of the old one. You can find this information on the old ballast or in the fixture's manual. 4. Install the new ballast: Install the new ballast in the same location as the old one, making sure to connect the wires in the same way. If the wiring is different, refer to the instructions provided with the new ballast. Once the wires are connected, secure the ballast in place with screws. 5. Replace the cover and turn on the power: Once the new ballast is installed, replace the cover of the light fixture and turn the power back on at the circuit breaker. Turn on the light switch to test the new ballast.How to Replace a Fluorescent Light Ballast in a Kitchen


How to Replace a Fluorescent Light Ballast in a Kitchen

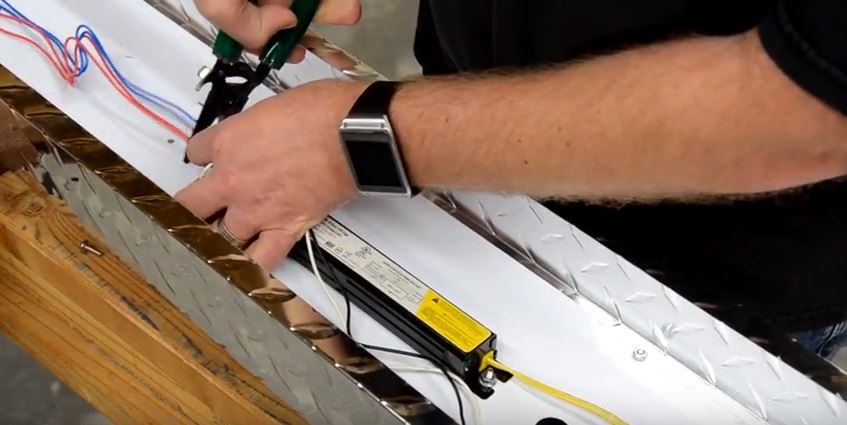
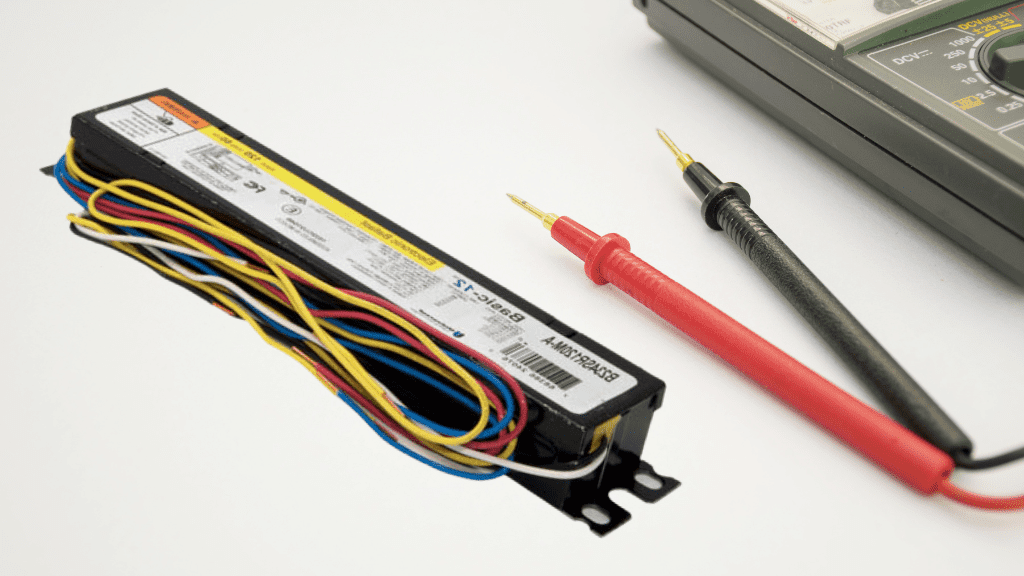
If you are replacing a ballast in a fluorescent light fixture that is not in your kitchen, the steps are the same as above. However, there are a few additional tips to keep in mind: 1. Turn off the power: As with any electrical work, it is essential to turn off the power before starting the project. 2. Use proper tools: To safely remove the old ballast, you will need a wire cutter, wire stripper, and screwdriver. Make sure to use insulated tools and wear protective gear such as safety glasses and gloves. 3. Check the condition of the fixture: Before installing the new ballast, inspect the fixture's wiring and connectors. If they are damaged, they will need to be replaced before installing the new ballast. 4. Test the new ballast: Once the ballast is installed, test it by turning on the power and the light switch. If it does not work, double-check the wiring and connections and make sure the new ballast is compatible with the fixture.Replacing a Ballast in a Fluorescent Light Fixture


Replacing a Ballast in a Fluorescent Light Fixture
:max_bytes(150000):strip_icc()/SPR-ballast-gone-ballistic-1152461-hero-f0a1c039d31a4d9aa074ed25f4675762.jpg)


Replacing a ballast in a fluorescent light fixture is not only a practical skill to have, but it can also save you money by avoiding expensive repairs. By following the steps outlined above, you can easily replace a ballast in your kitchen fluorescent light and upgrade your kitchen's lighting. However, if you are not comfortable working with electricity, it is always best to hire a professional to do the job.DIY Kitchen Lighting: How to Replace a Fluorescent Light Ballast


DIY Kitchen Lighting: How to Replace a Fluorescent Light Ballast


Now that you know the basics of replacing a ballast in a fluorescent light fixture, here is a step-by-step guide to help you through the process: Step 1: Turn off the power to the light fixture at the circuit breaker. Step 2: Remove the cover of the light fixture and locate the ballast. Step 3: Disconnect the wires from the old ballast and remove it from the fixture. Step 4: Purchase a new ballast that matches the voltage and wattage of the old one. Step 5: Install the new ballast in the same location as the old one, making sure to connect the wires in the same way. Step 6: Secure the ballast in place with screws. Step 7: Replace the cover of the light fixture and turn the power back on at the circuit breaker. Step 8: Test the new ballast by turning on the light switch.Step-by-Step Guide to Replacing a Fluorescent Light Ballast in Your Kitchen

Step-by-Step Guide to Replacing a Fluorescent Light Ballast in Your Kitchen

:max_bytes(150000):strip_icc()/SPR-ballast-gone-ballistic-1152461-hero-f0a1c039d31a4d9aa074ed25f4675762.jpg)


If you are new to DIY projects and are unsure how to replace a ballast in a kitchen fluorescent light fixture, don't worry. Here are some additional tips to help you through the process: 1. Make sure to purchase the right ballast for your specific fixture. The voltage and wattage should match the old ballast to ensure compatibility. 2. Take a picture of the wiring before removing the old ballast. This will help you reconnect the wires correctly when installing the new ballast. 3. Be patient and take your time. Rushing through the project can lead to mistakes and accidents. 4. If you encounter any difficulties or are unsure about anything, it is best to seek professional help.Replacing a Ballast in a Kitchen Fluorescent Light Fixture: A Beginner's Guide


Replacing a Ballast in a Kitchen Fluorescent Light Fixture: A Beginner's Guide

Replacing a ballast in a kitchen fluorescent light fixture can seem like a daunting task, but with these tips and tricks, you can successfully complete the project: Tip 1: Always turn off the power before working on any electrical projects. Tip 2: Use insulated tools and wear protective gear when working with electricity. Tip 3: Keep the work area clean and organized to avoid any accidents or confusion. Tip 4: If you are unsure about anything, consult the manufacturer's manual or seek professional help.How to Replace a Ballast in a Kitchen Fluorescent Light Fixture: Tips and Tricks


How to Replace a Ballast in a Kitchen Fluorescent Light Fixture: Tips and Tricks
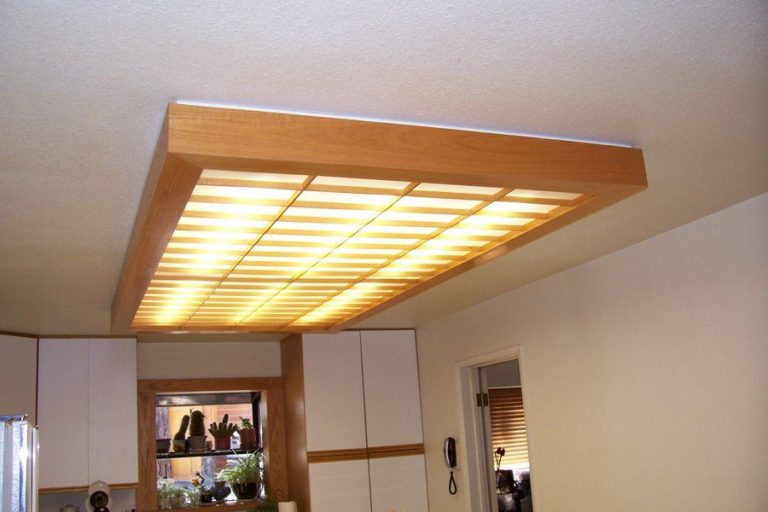
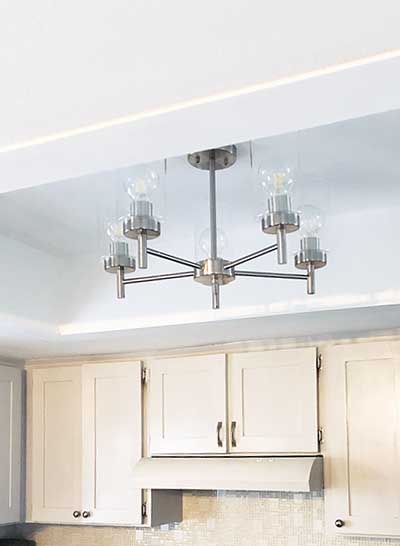
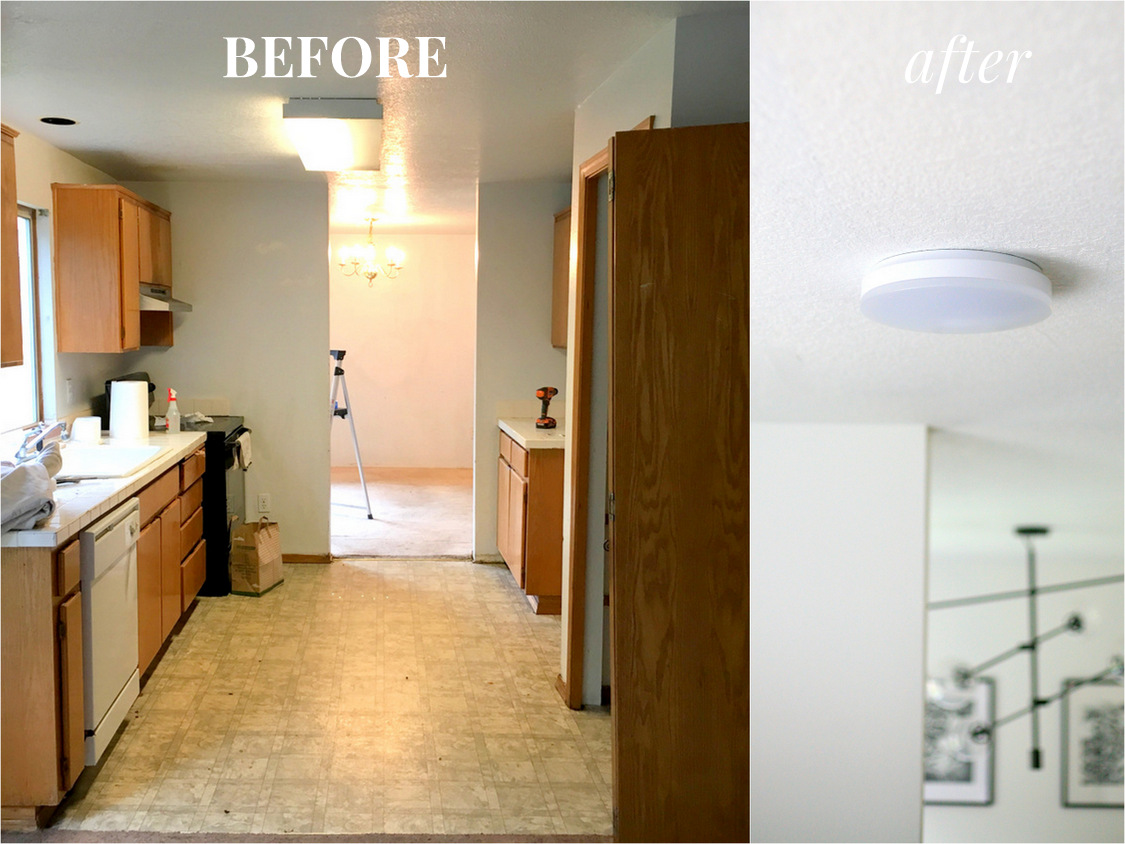
Upgrading your kitchen lighting can significantly improve the appearance and functionality of your kitchen. Replacing a ballast in a fluorescent light fixture is a simple and budget-friendly way to give your kitchen a lighting upgrade. With the right tools and knowledge, you can easily replace a ballast and enjoy a well-lit and beautiful kitchen.Kitchen Lighting Upgrade: Replacing a Fluorescent Light Ballast


Kitchen Lighting Upgrade: Replacing a Fluorescent Light Ballast


While replacing a ballast in a kitchen fluorescent light is a relatively straightforward process, there are some common mistakes that you should avoid: 1. Not turning off the power: Working with electricity can be dangerous, and failing to turn off the power can lead to accidents and injuries. 2. Not purchasing the right ballast: Make sure to match the voltage and wattage of the old ballast when purchasing a new one. Using the wrong ballast can damage the fixture and cause it to malfunction. 3. Rushing through the project: Take your time and follow the steps carefully to avoid mistakes and accidents. 4. Not seeking professional help: If you are unsure about anything, it is always best to seek professional help to avoid any potential hazards or mistakes.Replacing a Ballast in a Kitchen Fluorescent Light: Common Mistakes to Avoid

Replacing a Ballast in a Kitchen Fluorescent Light: Common Mistakes to Avoid

Now that you have all the information on how to replace a ballast in a kitchen fluorescent light fixture, you can confidently tackle this DIY project. Remember to always prioritize safety and take your time when working with electricity. By following the steps outlined in this guide, you can easily replace a ballast and enjoy a well-lit and functional kitchen.Fluorescent Light Ballast Replacement in the Kitchen: What You Need to Know

Fluorescent Light Ballast Replacement in the Kitchen: What You Need to Know


Importance of Properly Functioning Kitchen Lighting

Why Kitchen Lighting is Essential for House Design
 Proper lighting is a fundamental aspect of any house design, and the kitchen is no exception. Not only does it enhance the aesthetic appeal of the space, but it also plays a crucial role in functionality and safety. The kitchen is often referred to as the heart of the home, and it is where most daily activities take place, such as cooking, eating, and socializing. Having a well-lit kitchen is essential for carrying out these tasks efficiently and with ease.
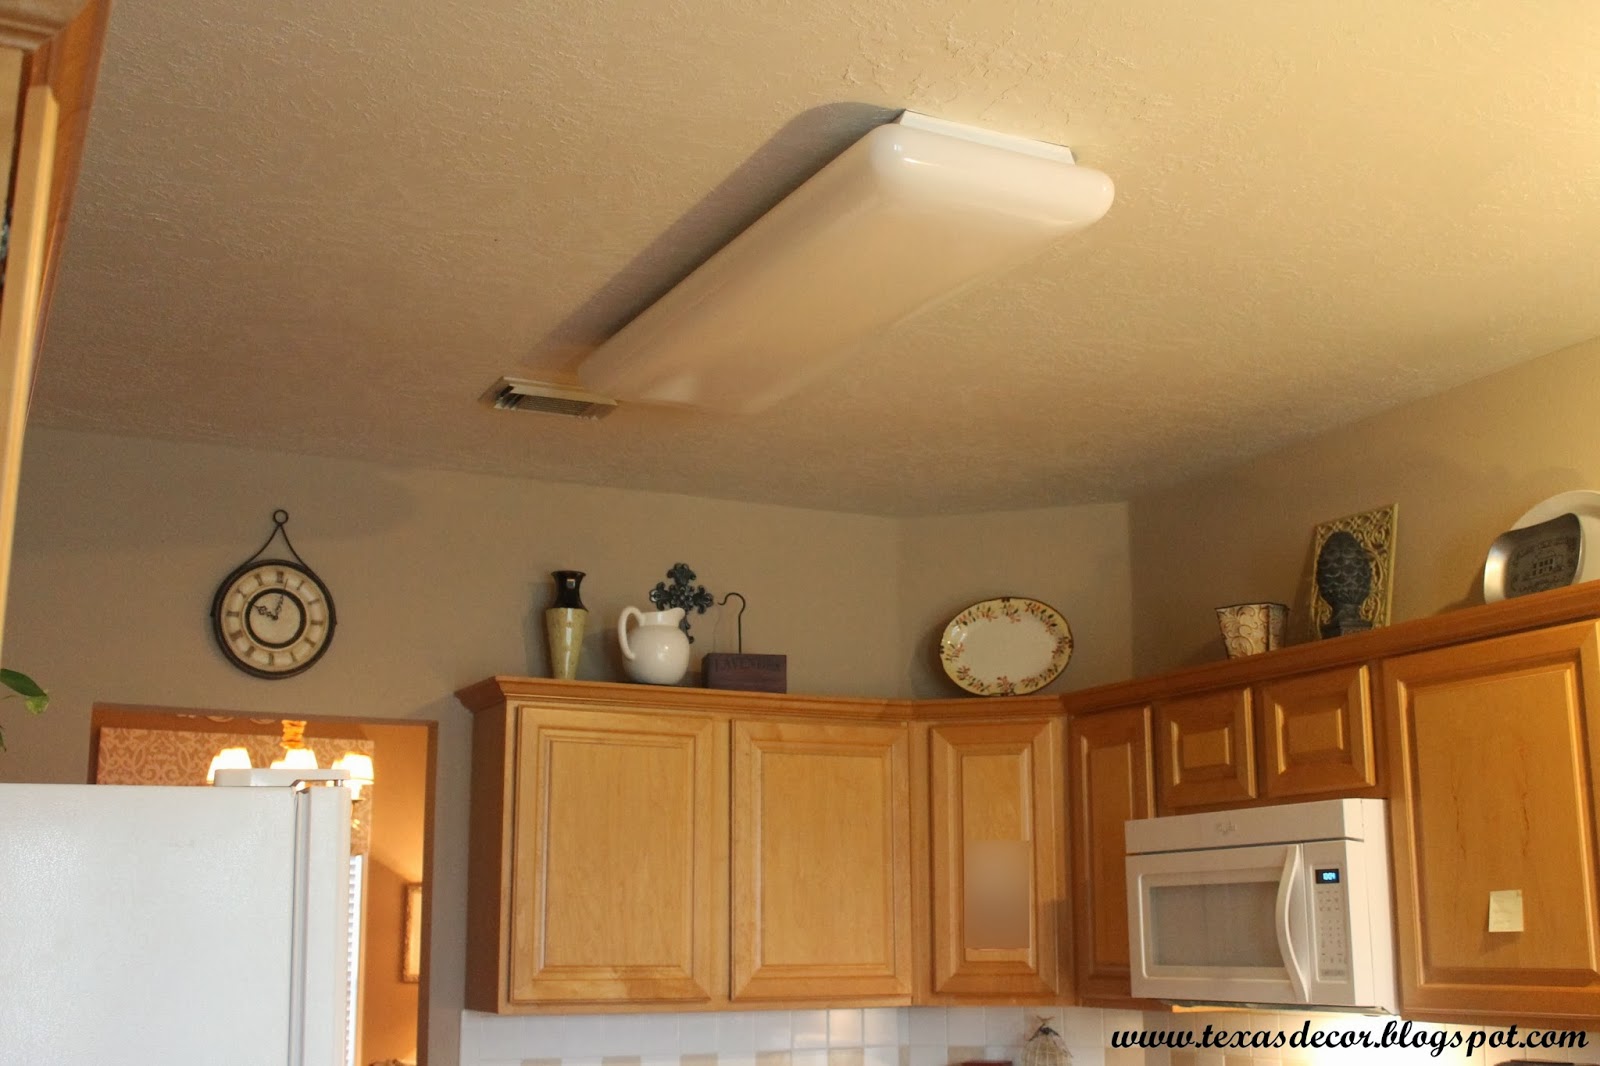
Kitchen Fluorescent Light
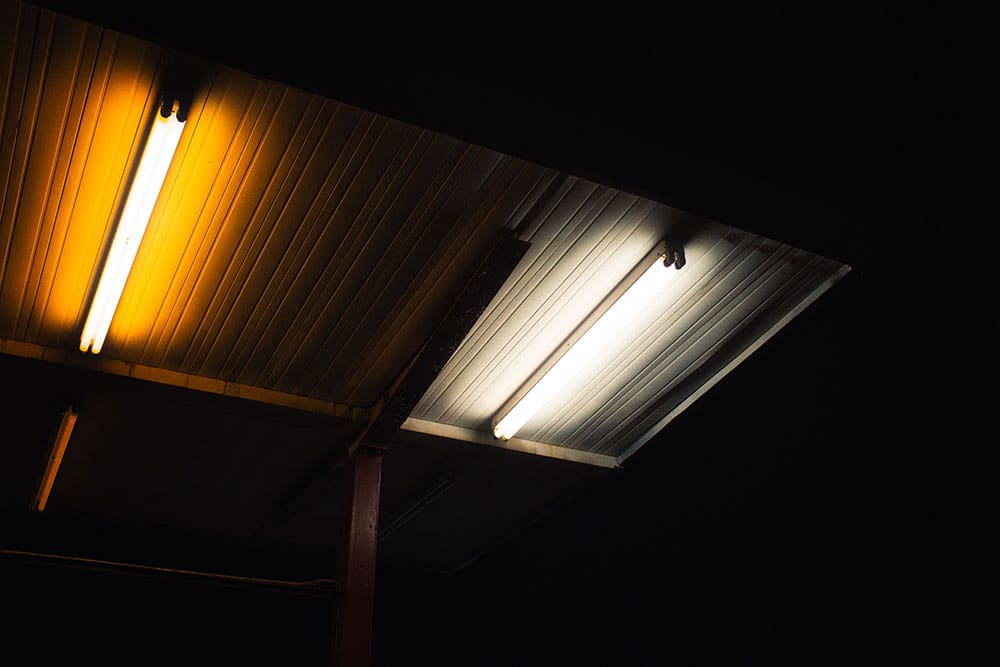
is a popular choice for many homeowners due to its energy efficiency and bright illumination. However, over time, the ballast, which is responsible for starting and regulating the flow of electricity to the light, can wear out and cause the light to flicker or not turn on at all. This can not only be frustrating but also pose a safety hazard. It is crucial to replace the ballast promptly to ensure your kitchen light is functioning properly and to avoid any potential accidents.
Proper lighting is a fundamental aspect of any house design, and the kitchen is no exception. Not only does it enhance the aesthetic appeal of the space, but it also plays a crucial role in functionality and safety. The kitchen is often referred to as the heart of the home, and it is where most daily activities take place, such as cooking, eating, and socializing. Having a well-lit kitchen is essential for carrying out these tasks efficiently and with ease.
Kitchen Fluorescent Light
is a popular choice for many homeowners due to its energy efficiency and bright illumination. However, over time, the ballast, which is responsible for starting and regulating the flow of electricity to the light, can wear out and cause the light to flicker or not turn on at all. This can not only be frustrating but also pose a safety hazard. It is crucial to replace the ballast promptly to ensure your kitchen light is functioning properly and to avoid any potential accidents.
The Process of Replacing a Kitchen Fluorescent Light Ballast
 Replacing a kitchen fluorescent light ballast may seem like a daunting task, but with the right tools and knowledge, it can be a straightforward and cost-effective DIY project. The first step is to turn off the power to the kitchen light at the circuit breaker to avoid any electric shocks. Then, carefully remove the old ballast and make note of the wiring connections. It is essential to follow the manufacturer's instructions for the new ballast and ensure the wiring connections are correct before securing it in place. Finally, turn the power back on and test the light to ensure it is working correctly.
Kitchen fluorescent light replacing ballast
is a simple and effective way to improve the functionality and aesthetics of your kitchen. It not only ensures proper lighting but also saves energy and money in the long run. If you are not comfortable with DIY projects, it is always best to hire a professional electrician to handle the replacement for you.
In conclusion, a well-lit kitchen is essential for a functional and safe house design.
Kitchen fluorescent light replacing ballast
is a crucial maintenance task that should not be overlooked. By keeping your kitchen light in good working condition, you can enjoy a bright and inviting space for all your daily activities.
Replacing a kitchen fluorescent light ballast may seem like a daunting task, but with the right tools and knowledge, it can be a straightforward and cost-effective DIY project. The first step is to turn off the power to the kitchen light at the circuit breaker to avoid any electric shocks. Then, carefully remove the old ballast and make note of the wiring connections. It is essential to follow the manufacturer's instructions for the new ballast and ensure the wiring connections are correct before securing it in place. Finally, turn the power back on and test the light to ensure it is working correctly.
Kitchen fluorescent light replacing ballast
is a simple and effective way to improve the functionality and aesthetics of your kitchen. It not only ensures proper lighting but also saves energy and money in the long run. If you are not comfortable with DIY projects, it is always best to hire a professional electrician to handle the replacement for you.
In conclusion, a well-lit kitchen is essential for a functional and safe house design.
Kitchen fluorescent light replacing ballast
is a crucial maintenance task that should not be overlooked. By keeping your kitchen light in good working condition, you can enjoy a bright and inviting space for all your daily activities.