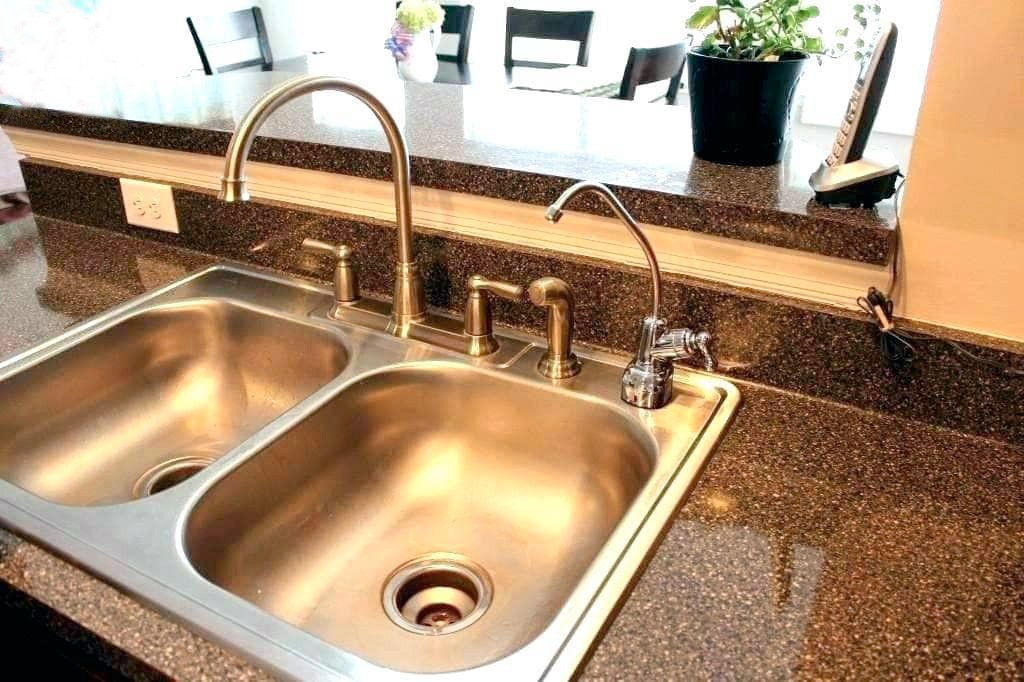
1. Kitchen Sink Installation: Step-by-Step Guide
Installing a new kitchen sink may seem like a daunting task, but with the right tools and knowledge, it can be a straightforward process. Whether you're upgrading your kitchen or replacing a damaged sink, here is a step-by-step guide to help you with your kitchen sink installation.
First, gather all the necessary tools and materials for the installation. This may include a new sink, faucet, drain, plumber's putty, silicone sealant, adjustable wrench, and a screwdriver.
Next, turn off the water supply to your kitchen. This can usually be done by turning off the valves under the sink or shutting off the main water supply to your house.
Now, remove the old sink by disconnecting the water supply lines, removing the mounting clips, and cutting the caulk around the sink. Make sure to have a bucket or towel handy to catch any water that may be left in the pipes.
Before installing the new sink, make sure the countertop is clean and free of any debris. Then, place the sink upside down on a soft surface to protect it from scratches.
Next, attach the faucet and drain to the sink according to the manufacturer's instructions. Apply plumber's putty to the underside of the drain flange before attaching it to the sink. This will create a watertight seal.
Once the faucet and drain are attached, carefully flip the sink over and place it into the countertop hole. Secure the sink with mounting clips and tighten them with a screwdriver.
Now, connect the water supply lines to the new faucet. Turn on the water supply and check for any leaks. If there are no leaks, you can proceed to attach the drain to the plumbing below the sink.
Finally, apply a thin bead of silicone sealant around the edge of the sink to create a watertight seal between the sink and the countertop. Smooth out the sealant with your finger or a putty knife for a neat finish.
And that's it! Your new kitchen sink is now installed and ready to use.


1. Kitchen Sink Installation: Step-by-Step Guide
:no_upscale()/cdn.vox-cdn.com/uploads/chorus_asset/file/19495086/drain_0.jpg)


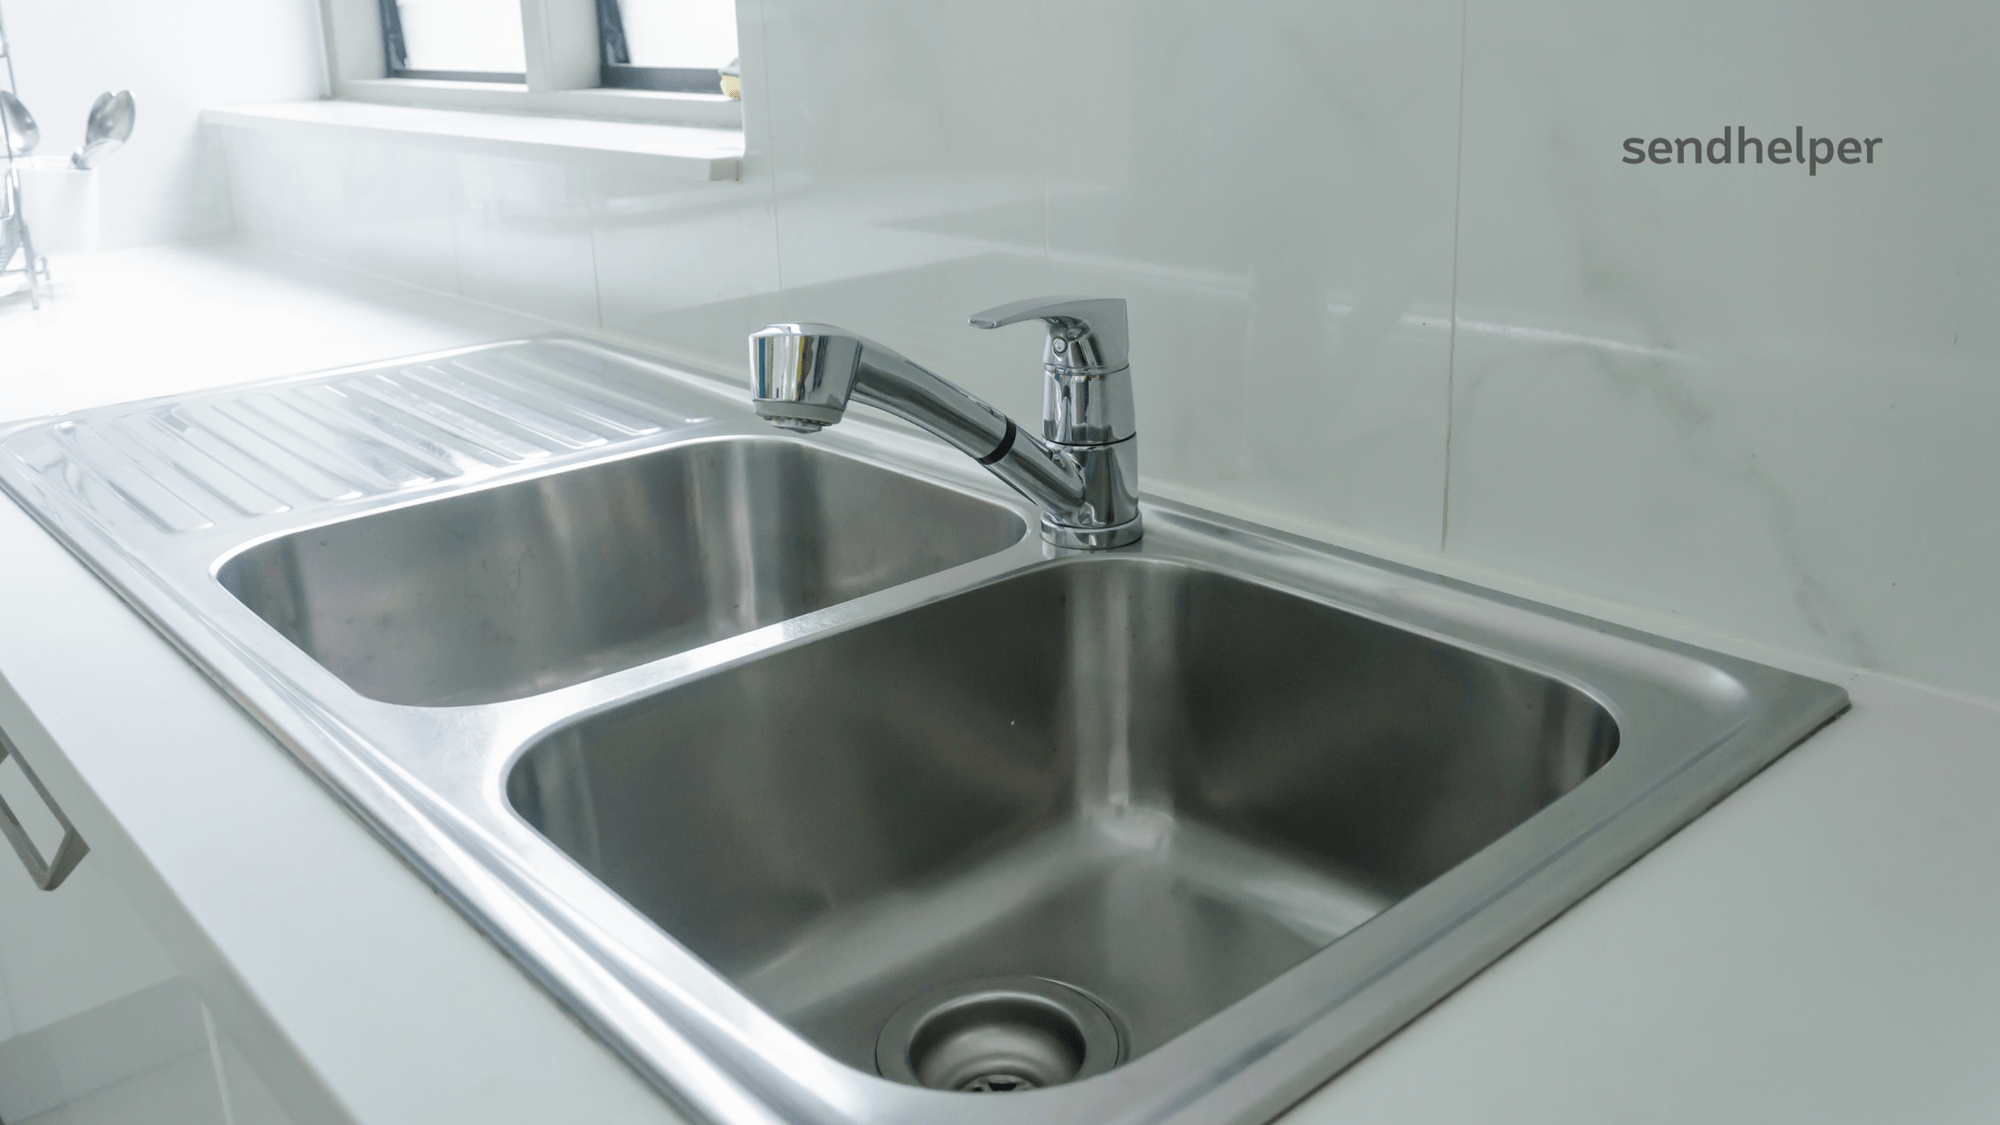
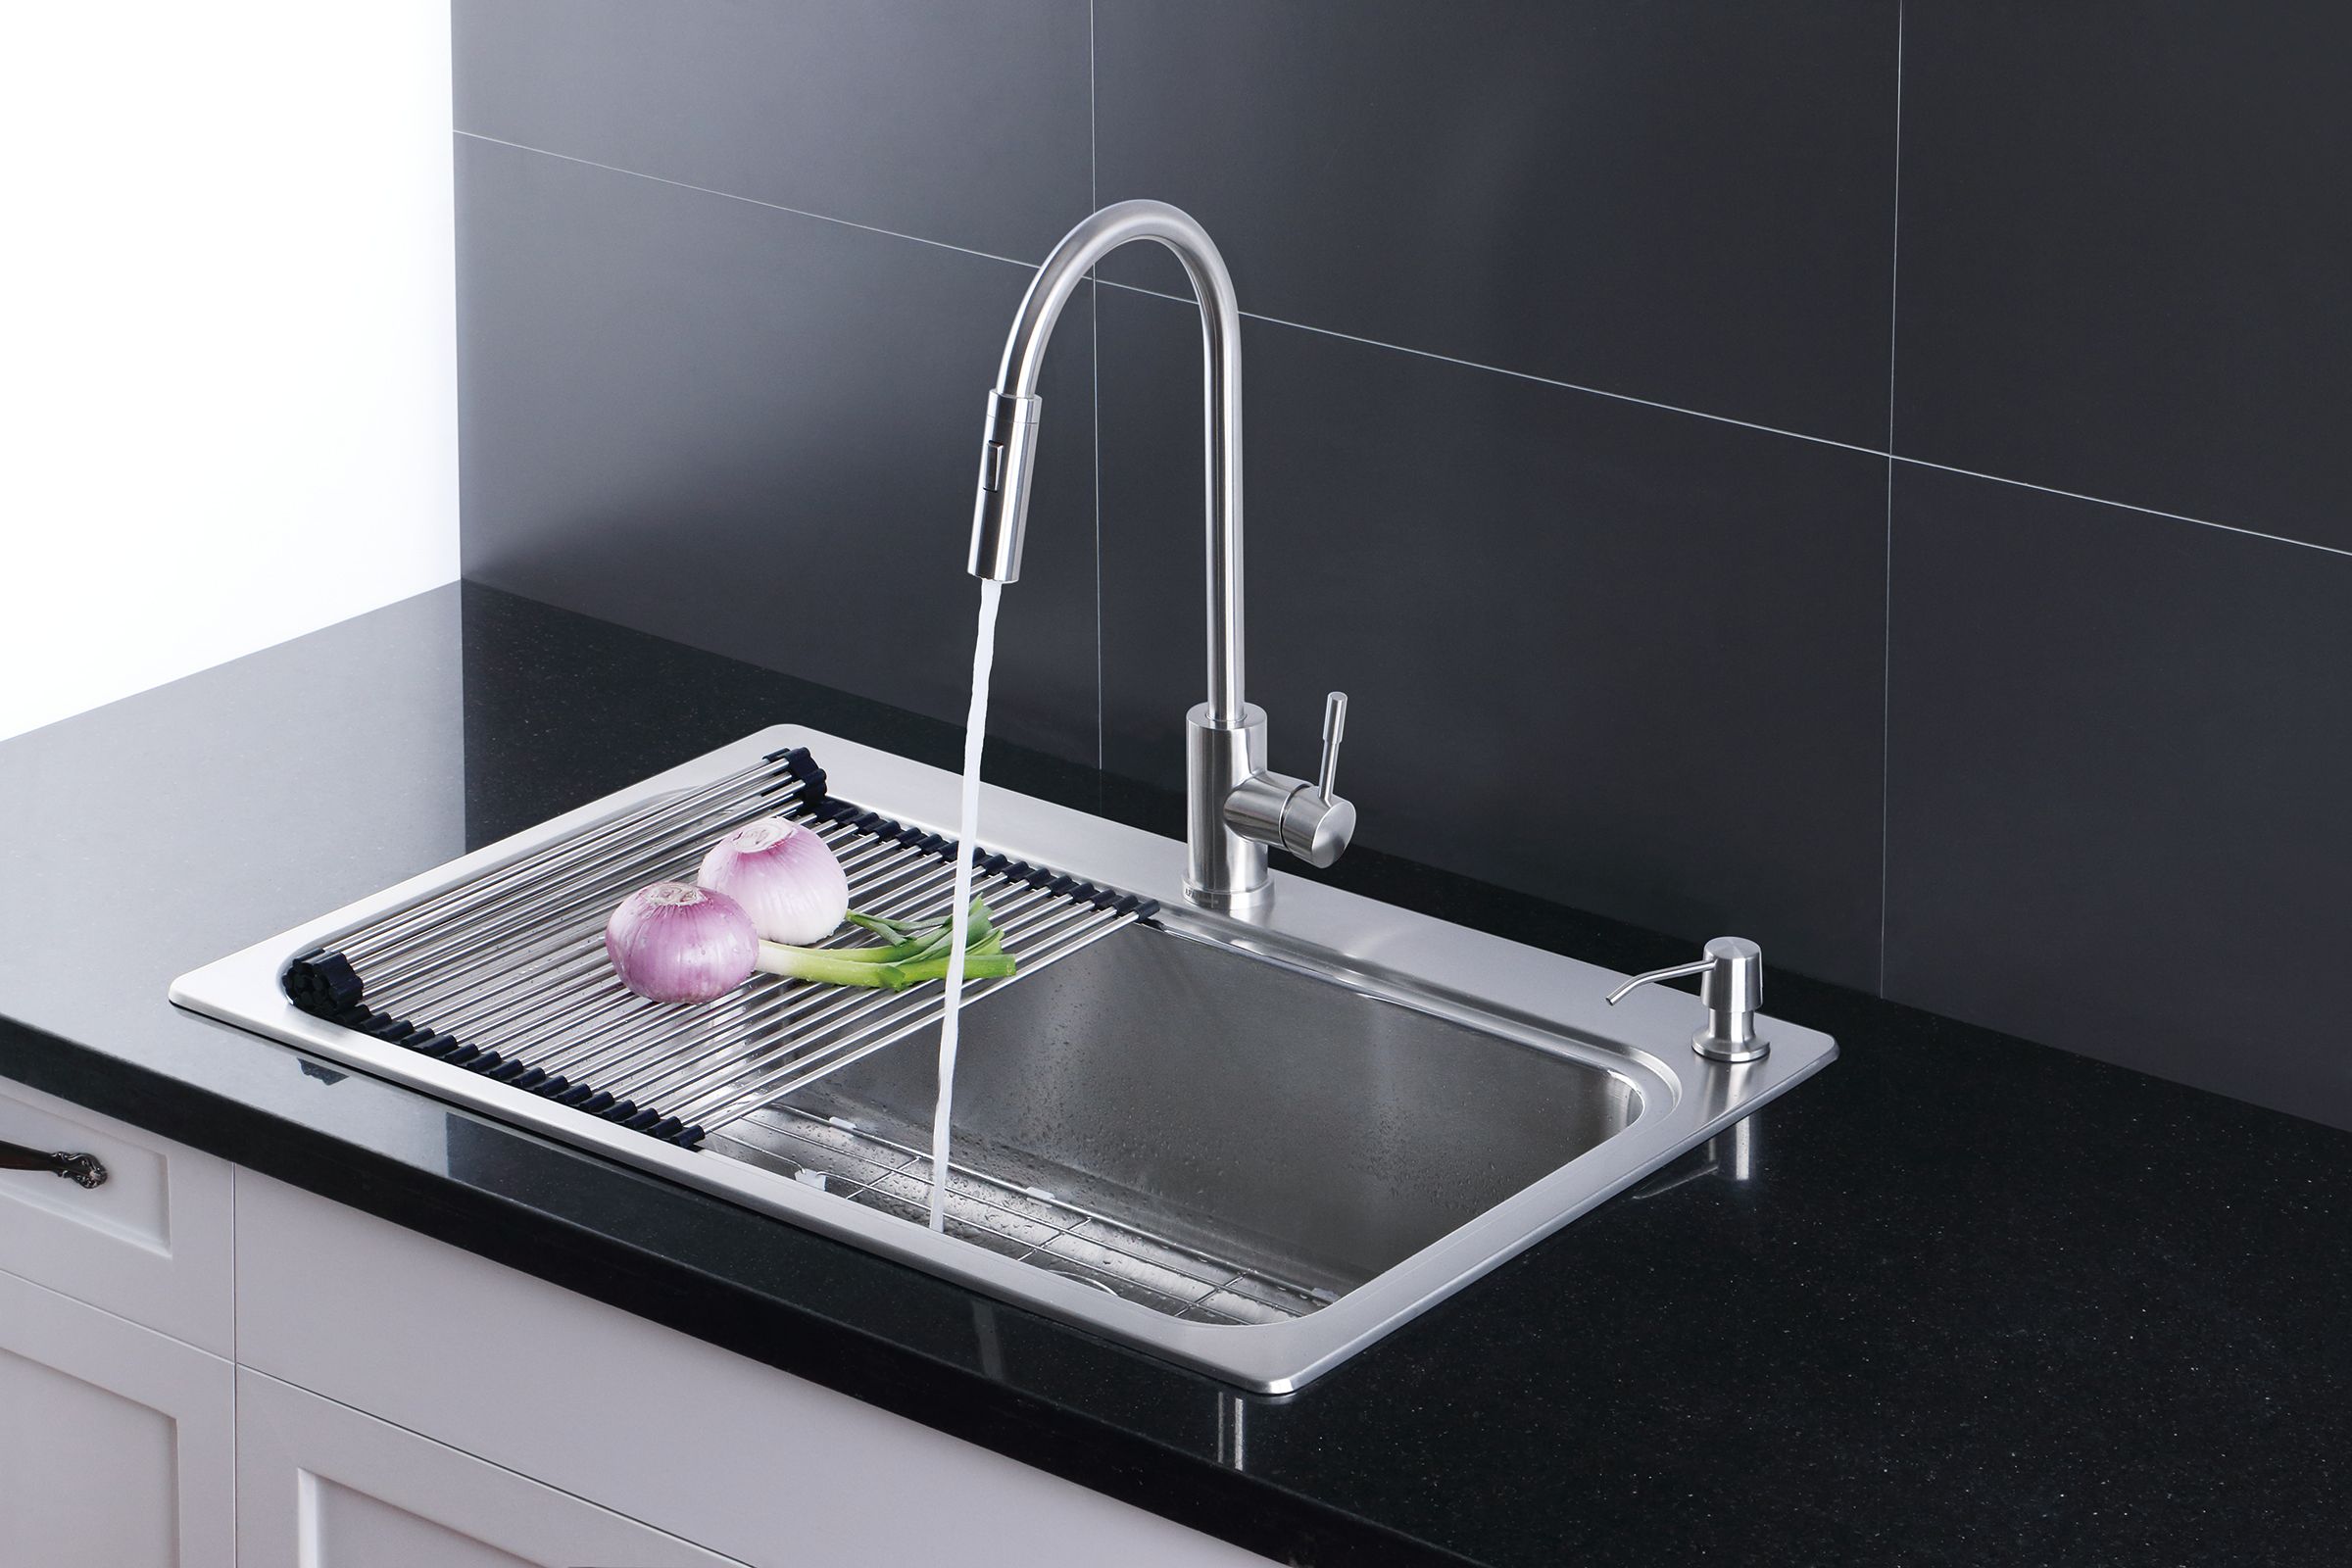
2. How to Install a Kitchen Sink Drain
The drain is an essential part of your kitchen sink, and knowing how to install it properly is crucial for a leak-free kitchen. Here's a step-by-step guide on how to install a kitchen sink drain.
Start by gathering all the necessary tools and materials, including the drain, plumber's putty, silicone sealant, adjustable wrench, and a screwdriver.
Next, remove the old drain by loosening the locknut underneath the sink and pulling out the drain. Make sure to have a bucket or towel handy to catch any water that may spill out.
Before installing the new drain, apply a thin layer of plumber's putty to the underside of the flange. Then, place the drain into the sink's drain hole and tighten the locknut from below to secure it in place.
Once the drain is in place, attach the drain pipe to the bottom of the sink, making sure to use plumber's tape to create a watertight seal. Then, connect the drain pipe to the plumbing below the sink.
Finally, apply a thin bead of silicone sealant around the edge of the flange to create a watertight seal between the drain and the sink. Smooth out the sealant with your finger or a putty knife for a neat finish.
And there you have it – your new kitchen sink drain is now installed and ready to use.


2. How to Install a Kitchen Sink Drain
:max_bytes(150000):strip_icc()/how-to-install-a-sink-drain-2718789-hero-24e898006ed94c9593a2a268b57989a3.jpg)


/how-to-install-a-sink-drain-2718789-hero-b5b99f72b5a24bb2ae8364e60539cece.jpg)

:max_bytes(150000):strip_icc()/how-to-install-a-sink-drain-2718789-04-5715d67f5b7d41429d42bf705bb70e2c.jpg)

3. DIY Kitchen Sink Installation
If you're looking to save some money on your kitchen renovation, installing your kitchen sink yourself can be a great way to do so. However, it's essential to have the right tools and knowledge before attempting a DIY kitchen sink installation.
Before starting the installation process, make sure to read the manufacturer's instructions carefully. This will ensure that you have all the necessary tools and materials and that you understand the installation process.
Start by gathering all the tools and materials needed for the installation, including a new sink, faucet, drain, plumber's putty, silicone sealant, adjustable wrench, and a screwdriver.
Next, turn off the water supply to your kitchen and remove the old sink by disconnecting the water supply lines, removing the mounting clips, and cutting the caulk around the sink.
Now, follow the manufacturer's instructions to install the new sink, faucet, and drain. Make sure to use plumber's putty and silicone sealant to create watertight seals and to tighten all connections securely.
Once everything is installed, turn on the water supply and check for any leaks. If there are no leaks, you can proceed to attach the drain to the plumbing below the sink and apply silicone sealant around the edge of the sink for a neat finish.
With some patience and the right tools, you can successfully install your kitchen sink and save some money in the process.


3. DIY Kitchen Sink Installation

/how-to-install-a-sink-drain-2718789-hero-24e898006ed94c9593a2a268b57989a3.jpg)


4. Installing a Kitchen Sink: Tips and Tricks
Installing a kitchen sink may seem like a daunting task, but with a few tips and tricks, you can make the process much smoother and more efficient.
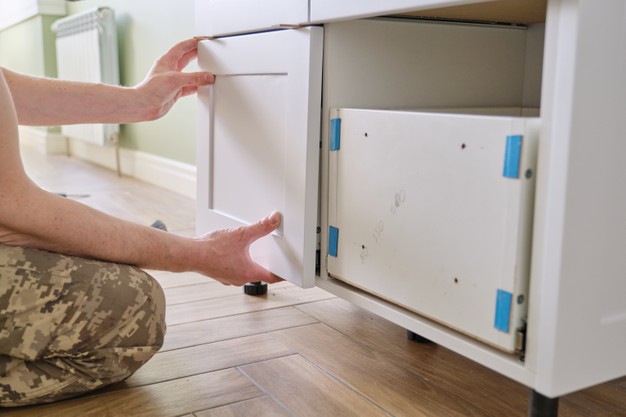
First, make sure to measure the size of your existing sink and the new sink before purchasing it. This will ensure that the new sink will fit in the countertop hole without any adjustments.
Next, before installing the new sink, make sure to clean and prepare the countertop surface by removing any old caulk or debris. This will ensure a secure and leak-free installation.
When attaching the faucet and drain to the sink, make sure to follow the manufacturer's instructions carefully. This will ensure that all connections are tight and secure, preventing any leaks in the future.
If you're installing a new sink in an existing countertop, make sure to cut the hole for the sink carefully. Measure twice and cut once to avoid any mistakes and ensure a perfect fit for your new sink.
Lastly, always double-check for any leaks before finishing the installation. This will save you time and hassle in case there are any issues that need to be addressed.


4. Installing a Kitchen Sink: Tips and Tricks


5. Kitchen Sink Installation Cost
The cost of installing a kitchen sink can vary depending on factors such as the type of sink, the complexity of the installation, and whether you hire a professional or do it yourself.
Average kitchen sink installation costs can range from $200 to $500 for a simple installation of a drop-in or undermount sink. If you're looking to install a more complex sink, such as a farmhouse or apron sink, the cost can increase up to $1,000 or more.
Keep in mind that these costs do not include the price of the sink itself, which can range from $100 to $1,000 or more, depending on the material and brand.
If you're hiring a professional to install your kitchen sink, make sure to get multiple quotes and consider their experience and reputation before making a decision. If you're doing the installation yourself, make sure to have all the necessary tools and materials to avoid any additional costs.


5. Kitchen Sink Installation Cost


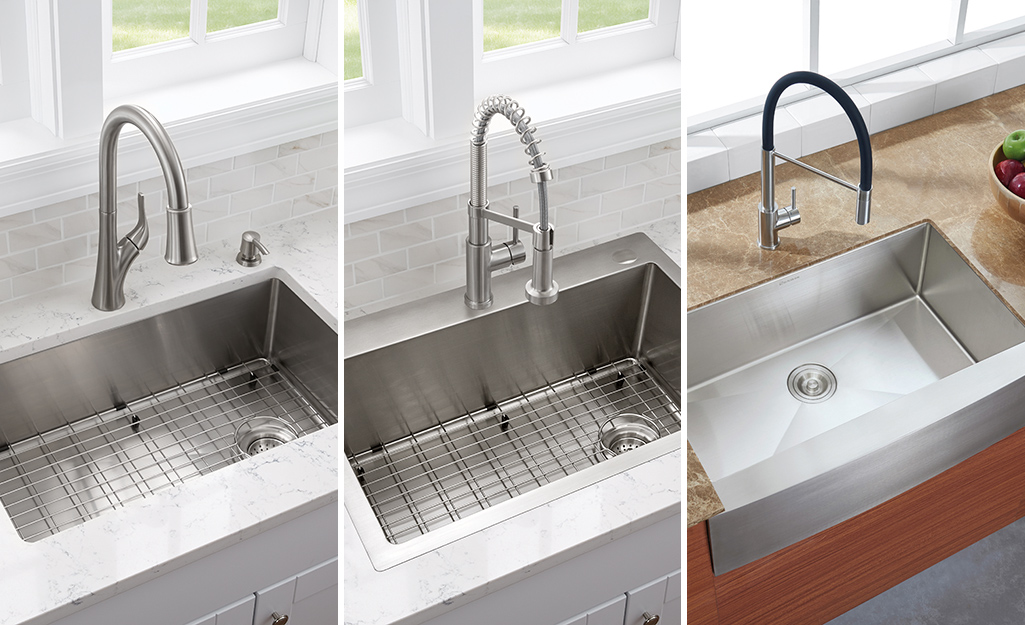
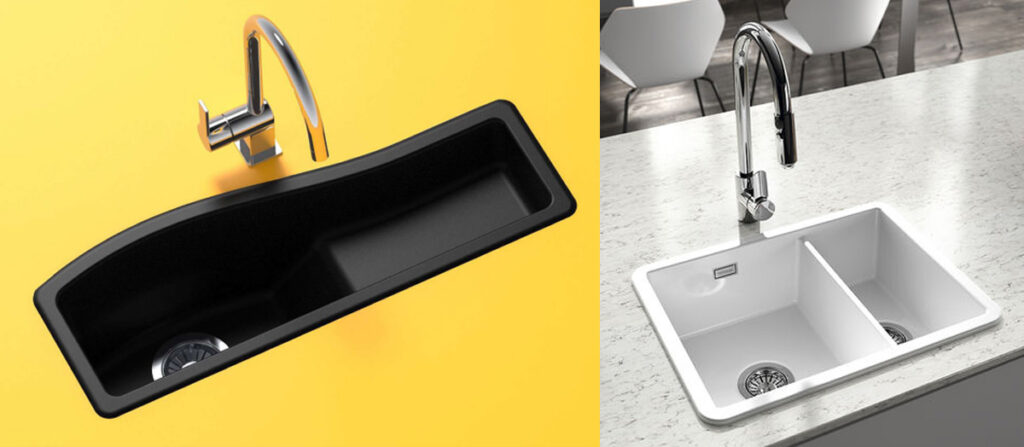
6. Best Kitchen Sink Materials for Installation
When choosing a new kitchen sink, one of the essential factors to consider is the material. Different sink materials offer various benefits and can affect the cost and durability of your sink.
Stainless steel sinks are the most popular choice for their durability and affordability. They are also easy to clean and can match a wide range of kitchen styles.
Cast iron sinks are another popular choice for their durability and classic look. However, they are heavier and may require additional support in the cabinet below the sink.
For a more modern and sleek look, consider a granite or composite sink. They are highly durable, scratch-resistant, and come in a variety of colors to match your kitchen design.
Other popular materials for kitchen sinks include fireclay, copper, and porcelain. Consider your budget, style preferences, and maintenance needs before choosing the best material for your kitchen sink installation.


6. Best Kitchen Sink Materials for Installation


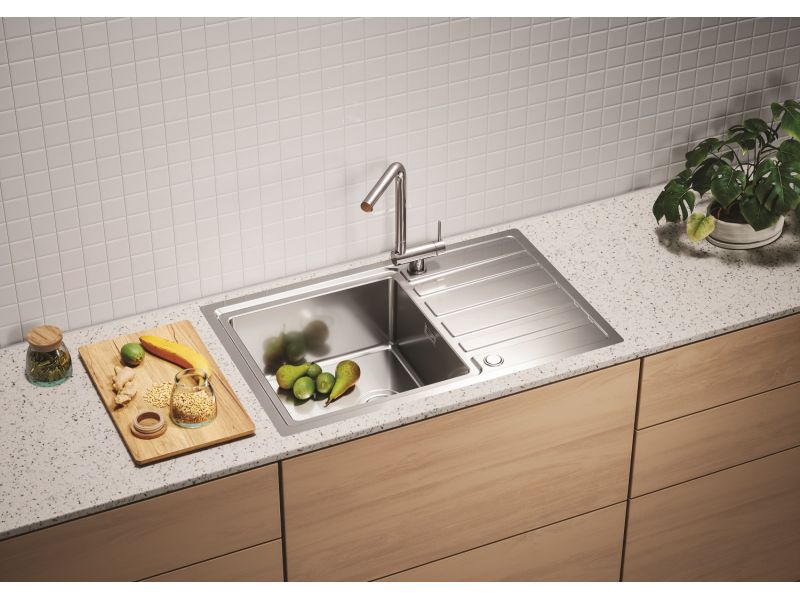
7. How to Install a Kitchen Sink in a New Countertop
If you're installing a new countertop and sink in your kitchen, the process will be slightly different from replacing an existing sink. Here's a step-by-step guide on how to install a kitchen sink in a new countertop.
Start by measuring the size of the new sink and marking the countertop accordingly. Then, use a jigsaw to cut the hole for the sink, making sure to follow the manufacturer's instructions and leaving enough space for the faucet and accessories.
Next, follow the steps for installing the sink and faucet as mentioned in the previous sections. Make sure to apply silicone sealant around the edge of the sink before placing it into the countertop hole.
Once the sink is secured in place, you can proceed to attach the drain and connect the plumbing. Finally, turn on the water supply and check for any leaks before applying a final bead of silicone sealant around the edge of the sink for a neat finish.


7. How to Install a Kitchen Sink in a New Countertop


8. Kitchen Sink Installation: Common Mistakes to Avoid
Installing a kitchen sink may seem like a simple task, but it's essential to avoid some common mistakes that can lead to leaks and costly repairs in the future.
One of the most common mistakes is not properly securing the sink to the countertop. This can lead to movement and eventually cause leaks in the connections. Make sure to use mounting clips and tighten them securely to avoid this issue.
Another common mistake is not properly connecting the drain to the plumbing. This can lead to leaks and water damage in the cabinet below the sink. Make sure to use plumber's tape and tighten all connections securely to prevent this issue.
Lastly, make sure to read and follow the manufacturer's instructions carefully. Each sink and faucet may have different installation requirements, and not following them can lead to costly mistakes.


8. Kitchen Sink Installation: Common Mistakes to Avoid


9. How to Install a Kitchen Sink Strainer
The kitchen sink strainer is a small but essential part of your sink that helps prevent food scraps and debris from clogging your drain. Here's a step-by-step guide on how to install a kitchen sink strainer.
Start by gathering the necessary tools and materials, including the strainer, plumber's putty, and a screwdriver.
Next, apply a thin layer of plumber's putty to the underside of the strainer. Then, place the strainer into the drain hole and tighten the locknut from below to secure it in place.
Once the strainer is installed, you can now attach the drain pipe and connect it to the plumbing below the sink. Make sure to use plumber's tape to create a watertight seal.
Lastly, turn on the water supply and check for any leaks before using your new kitchen sink strainer.


9. How to Install a Kitchen Sink Strainer


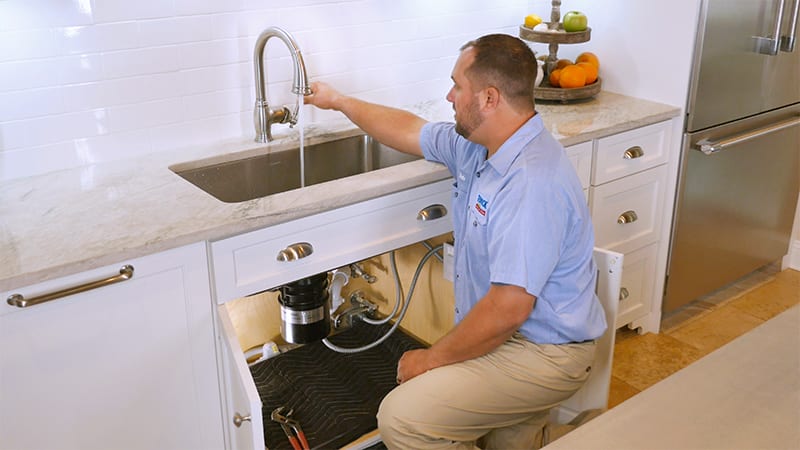
10. Kitchen Sink Installation: Hiring a Professional vs. DIY
Deciding whether to hire a professional or do the kitchen sink installation yourself can be a tough decision. Here are some factors to consider before making a decision.
First, assess your skills and knowledge in plumbing and home improvement. If you're confident in your abilities and have experience with similar projects, you may be able to successfully install your kitchen sink yourself.
However, if you're not comfortable with DIY projects or lack the necessary tools and knowledge, hiring a professional can save you time and ensure a smooth and successful installation.
Another factor to consider is the complexity of the installation. If you're looking to install a simple drop-in or undermount sink, DIY may be a viable option. However, if you're looking to install a more complex sink, such as a farmhouse or apron sink, it's best to leave it to the professionals.
Lastly, consider your budget. Hiring a professional can cost anywhere from $200 to $1,000 or more, depending on the complexity of the installation and your location. If you're looking to save some money, DIY may be the way to go.
Whichever option you choose, make sure to research and plan carefully to ensure a successful and leak-free kitchen sink installation.
:max_bytes(150000):strip_icc()/GettyImages-169941530-5a85d1ae6bf06900372bffd0.jpg)


10. Kitchen Sink Installation: Hiring a Professional vs. DIY


Why a Proper Kitchen Floor Sink Installation is Essential for Your Home

Ensuring a Functional and Aesthetically Pleasing Kitchen
 When it comes to designing and renovating your home, the kitchen is often considered the heart of the house. Not only is it a place where delicious meals are prepared, but it also serves as a gathering space for family and friends. That's why it's crucial to have a well-designed and functional kitchen, and one essential aspect of this is a proper kitchen floor sink installation.
Kitchen floor sinks
are becoming increasingly popular in modern homes, as they offer a sleek and seamless design that adds to the overall aesthetic of the kitchen. These sinks are typically installed in the kitchen floor, rather than the traditional placement on the countertop or against the wall. This not only frees up valuable counter space but also allows for easier clean-up and maintenance.
When it comes to designing and renovating your home, the kitchen is often considered the heart of the house. Not only is it a place where delicious meals are prepared, but it also serves as a gathering space for family and friends. That's why it's crucial to have a well-designed and functional kitchen, and one essential aspect of this is a proper kitchen floor sink installation.
Kitchen floor sinks
are becoming increasingly popular in modern homes, as they offer a sleek and seamless design that adds to the overall aesthetic of the kitchen. These sinks are typically installed in the kitchen floor, rather than the traditional placement on the countertop or against the wall. This not only frees up valuable counter space but also allows for easier clean-up and maintenance.
Preventing Structural Damage and Costly Repairs
 Aside from adding to the visual appeal of your kitchen, a
proper kitchen floor sink installation
is also essential for preventing structural damage and costly repairs in the long run. When a sink is not installed correctly, it can lead to leaks and water damage, which can weaken the foundation of your home and create the potential for mold and mildew growth. This not only poses a health hazard but can also result in expensive repairs down the line.
Moreover, installing a floor sink also ensures proper drainage and prevents water from pooling on your kitchen floor, which can cause slips and falls. By investing in a professional and proper installation, you can avoid these potential hazards and keep your kitchen safe and functional for years to come.
Aside from adding to the visual appeal of your kitchen, a
proper kitchen floor sink installation
is also essential for preventing structural damage and costly repairs in the long run. When a sink is not installed correctly, it can lead to leaks and water damage, which can weaken the foundation of your home and create the potential for mold and mildew growth. This not only poses a health hazard but can also result in expensive repairs down the line.
Moreover, installing a floor sink also ensures proper drainage and prevents water from pooling on your kitchen floor, which can cause slips and falls. By investing in a professional and proper installation, you can avoid these potential hazards and keep your kitchen safe and functional for years to come.
Expert Installation for Optimal Results
 While it may be tempting to try and install a
kitchen floor sink
yourself, it's always best to leave it to the experts. A professional installation ensures that the sink is properly connected to the plumbing system, ensuring proper drainage and preventing any potential leaks. They also have the necessary tools and expertise to ensure a seamless and secure installation that will last for years to come.
In conclusion, a
proper kitchen floor sink installation
is an essential aspect of a well-designed and functional kitchen. Not only does it add to the visual appeal of your home, but it also prevents potential structural damage and costly repairs. So, if you're looking to renovate your kitchen or upgrade your sink, be sure to invest in a professional installation for optimal results.
While it may be tempting to try and install a
kitchen floor sink
yourself, it's always best to leave it to the experts. A professional installation ensures that the sink is properly connected to the plumbing system, ensuring proper drainage and preventing any potential leaks. They also have the necessary tools and expertise to ensure a seamless and secure installation that will last for years to come.
In conclusion, a
proper kitchen floor sink installation
is an essential aspect of a well-designed and functional kitchen. Not only does it add to the visual appeal of your home, but it also prevents potential structural damage and costly repairs. So, if you're looking to renovate your kitchen or upgrade your sink, be sure to invest in a professional installation for optimal results.