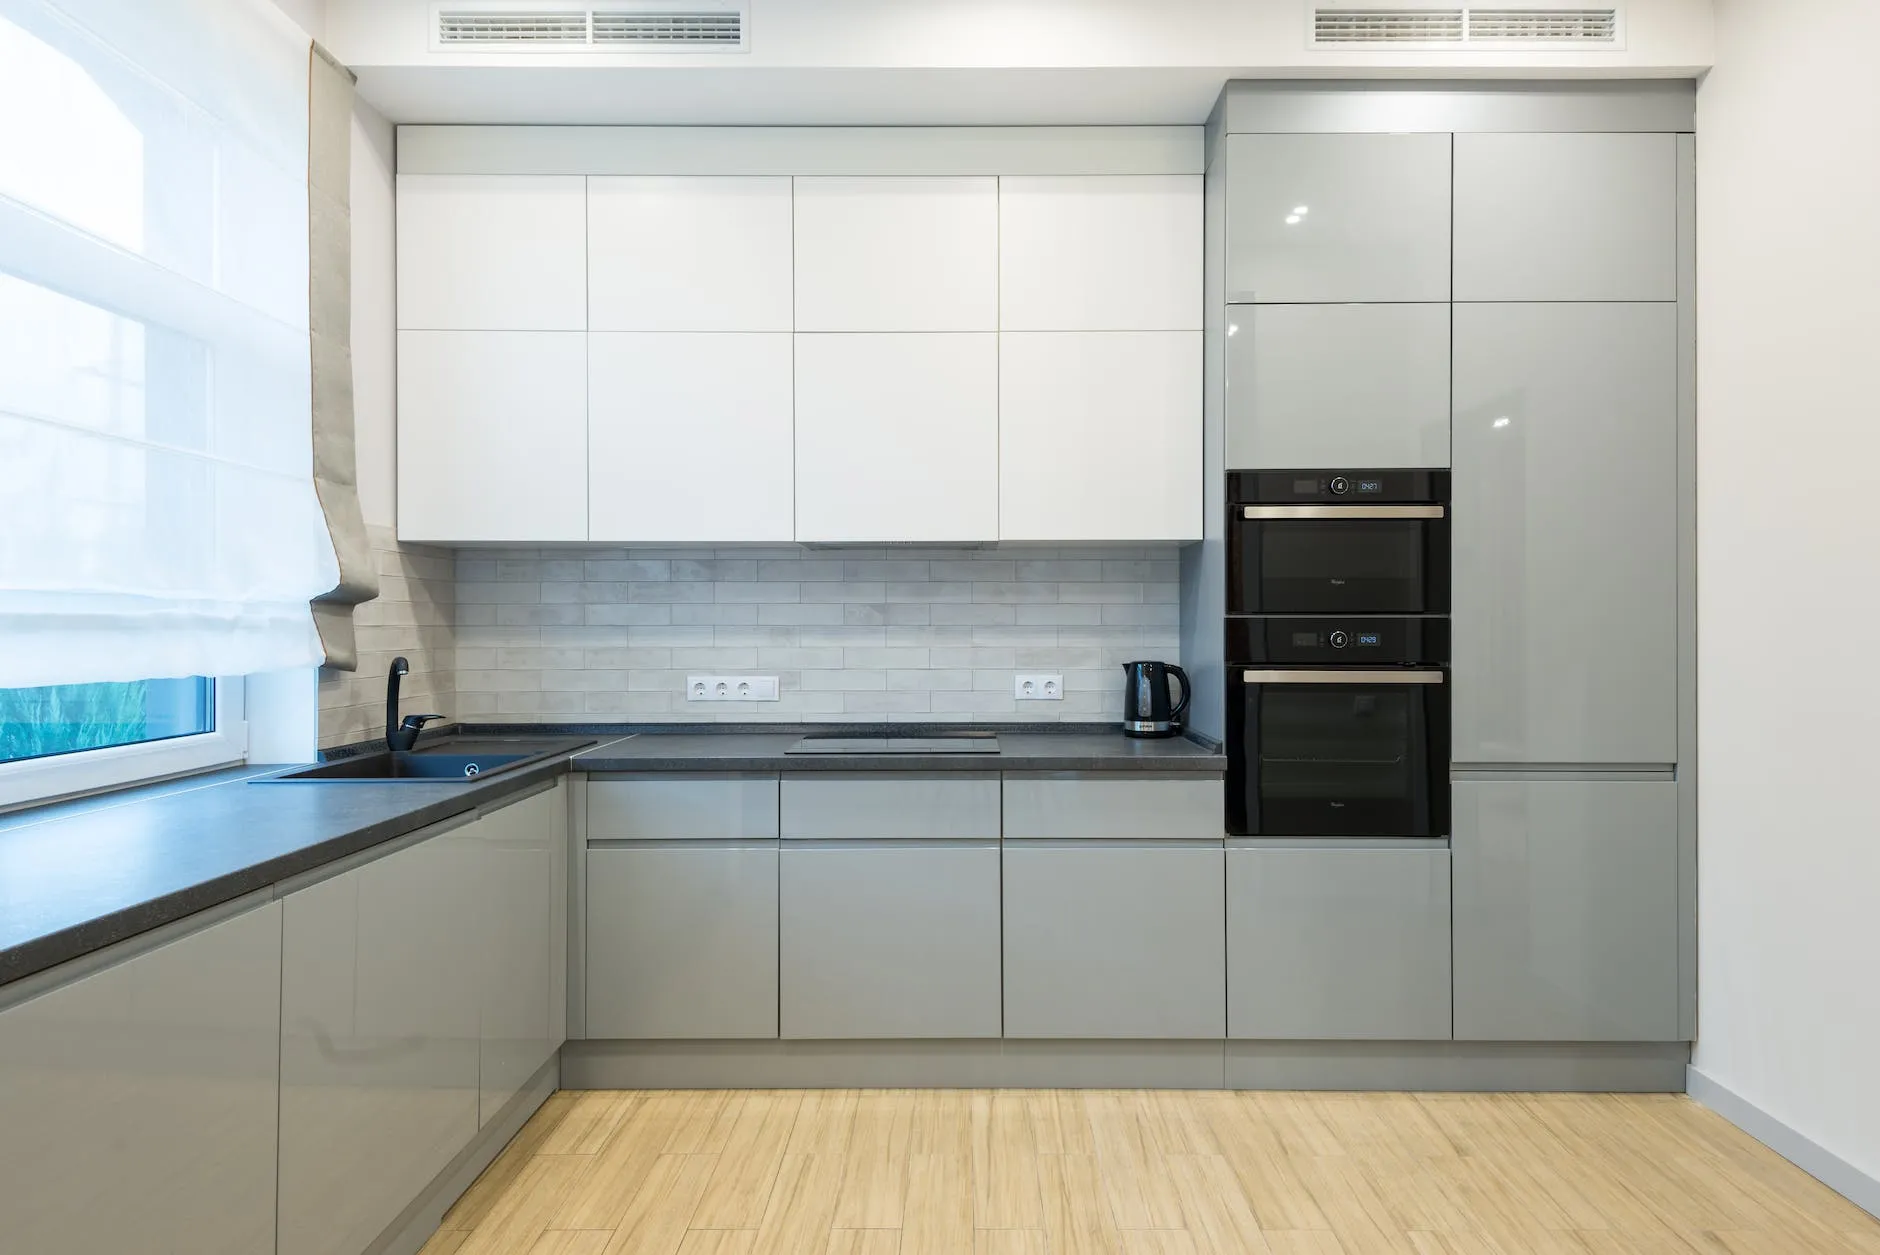
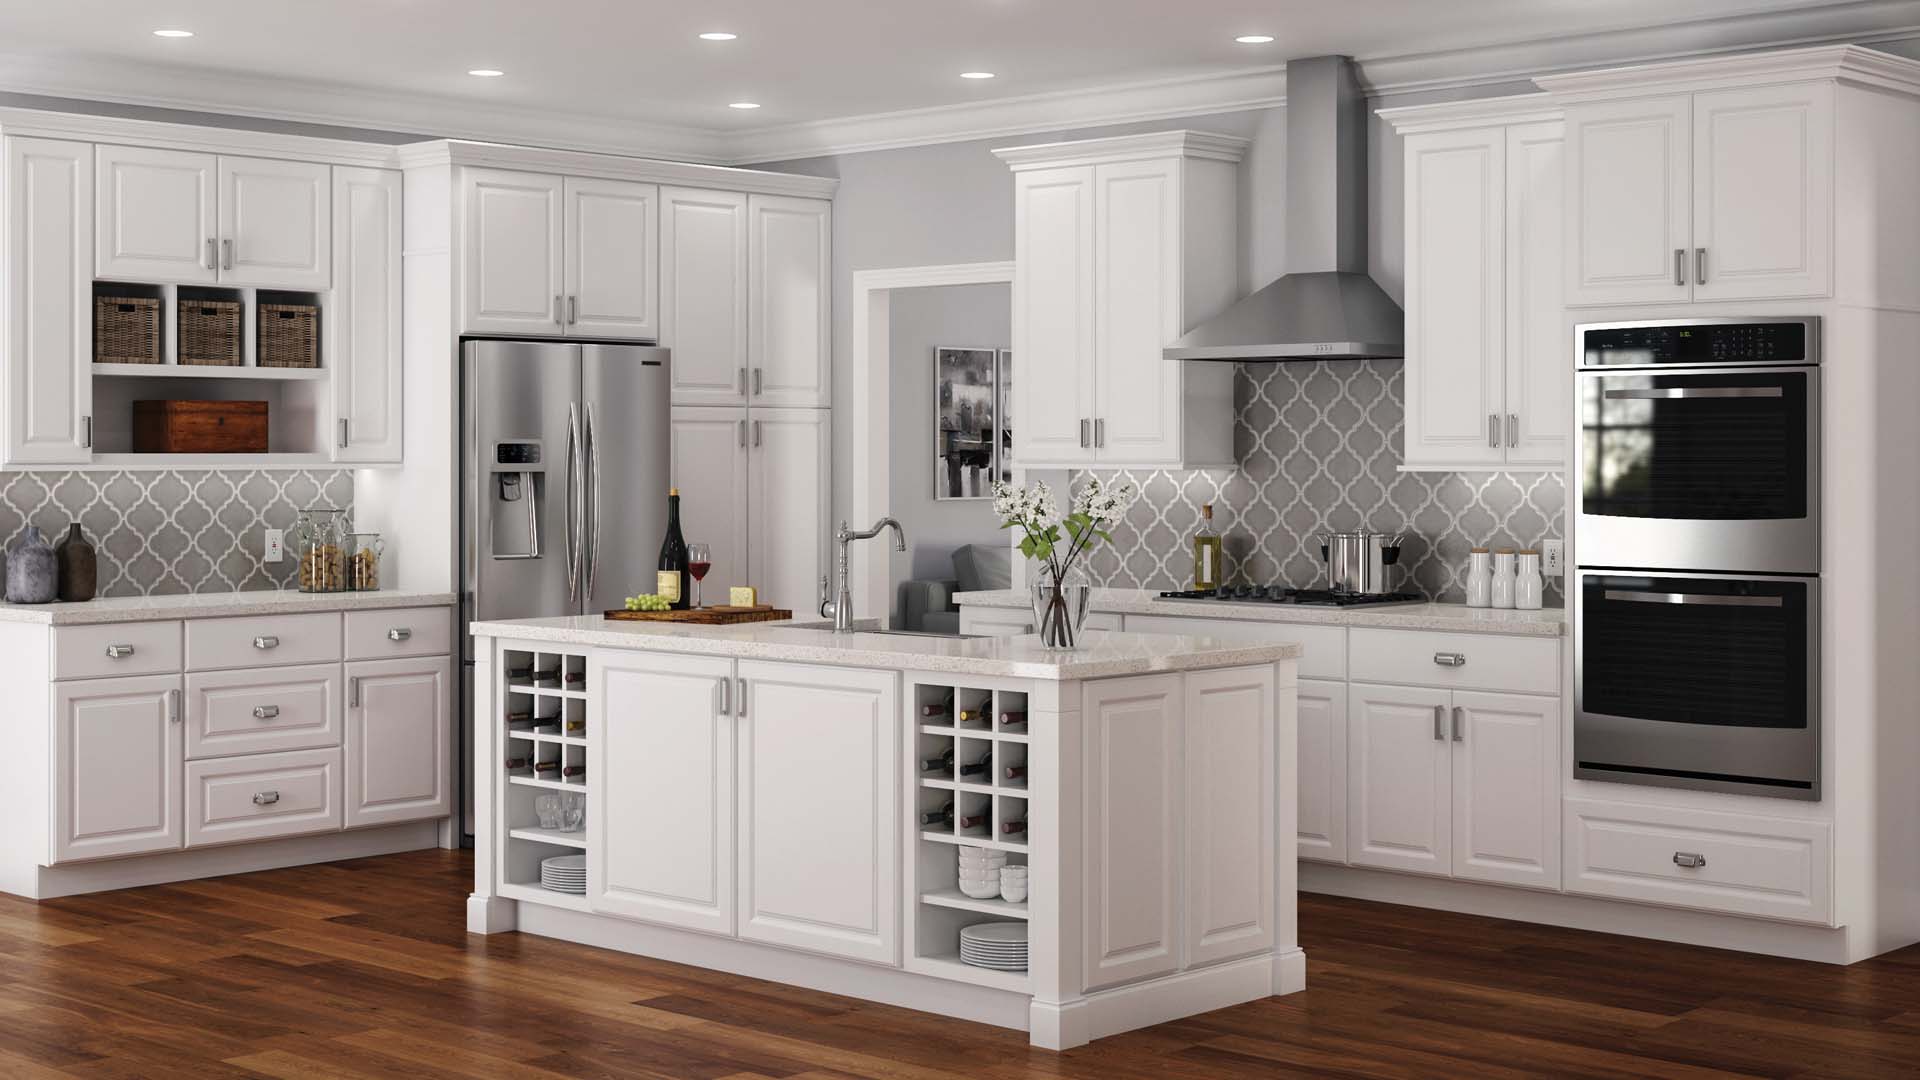
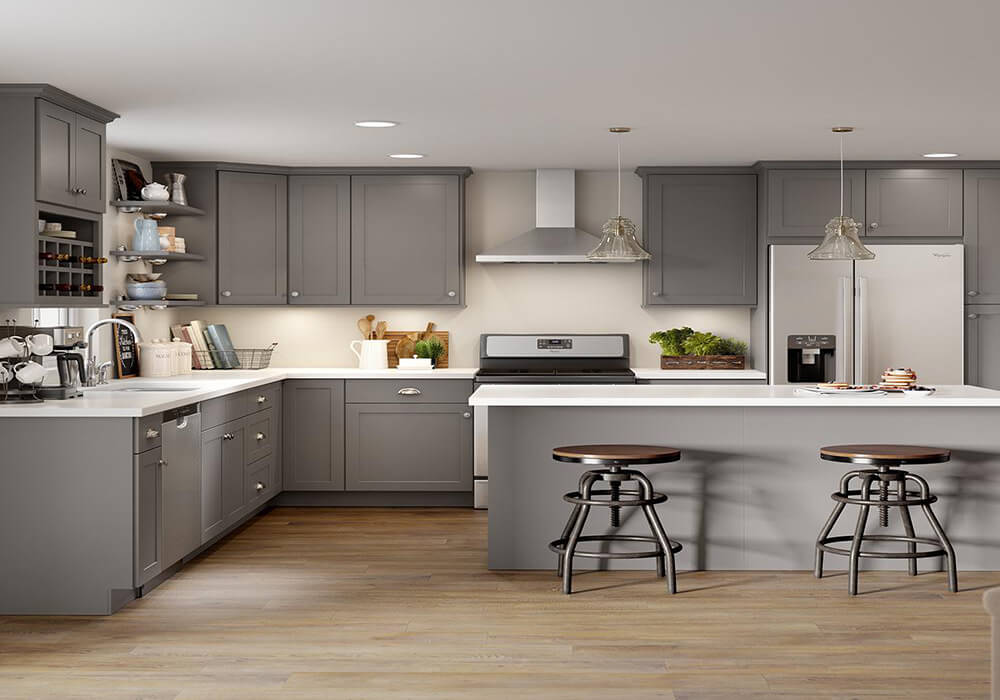
Kitchen cabinet installation can be a daunting task, but with the right tips and techniques, it can be a smooth and successful process. Installing cabinets is a crucial part of any kitchen remodel, as they not only provide essential storage space but also add to the overall aesthetic of the room. In this article, we will discuss the top 10 tips for installing kitchen cabinets to the wall fill, ensuring a professional and polished finish.Introduction


How to Install Kitchen Cabinets - The Home Depot


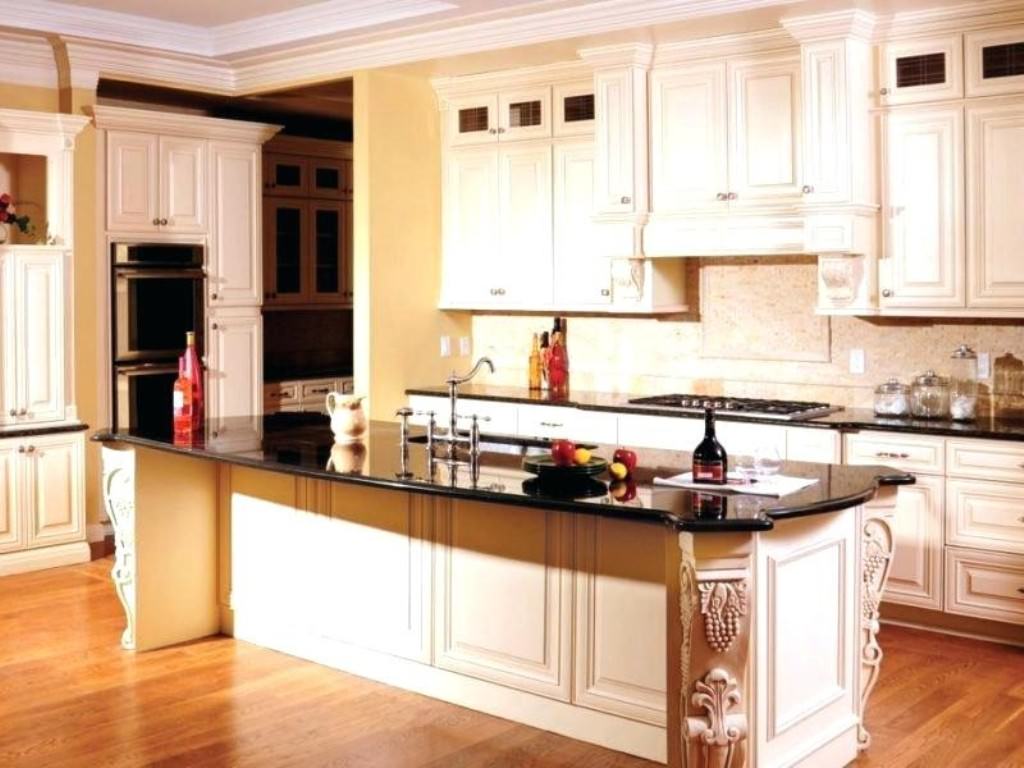
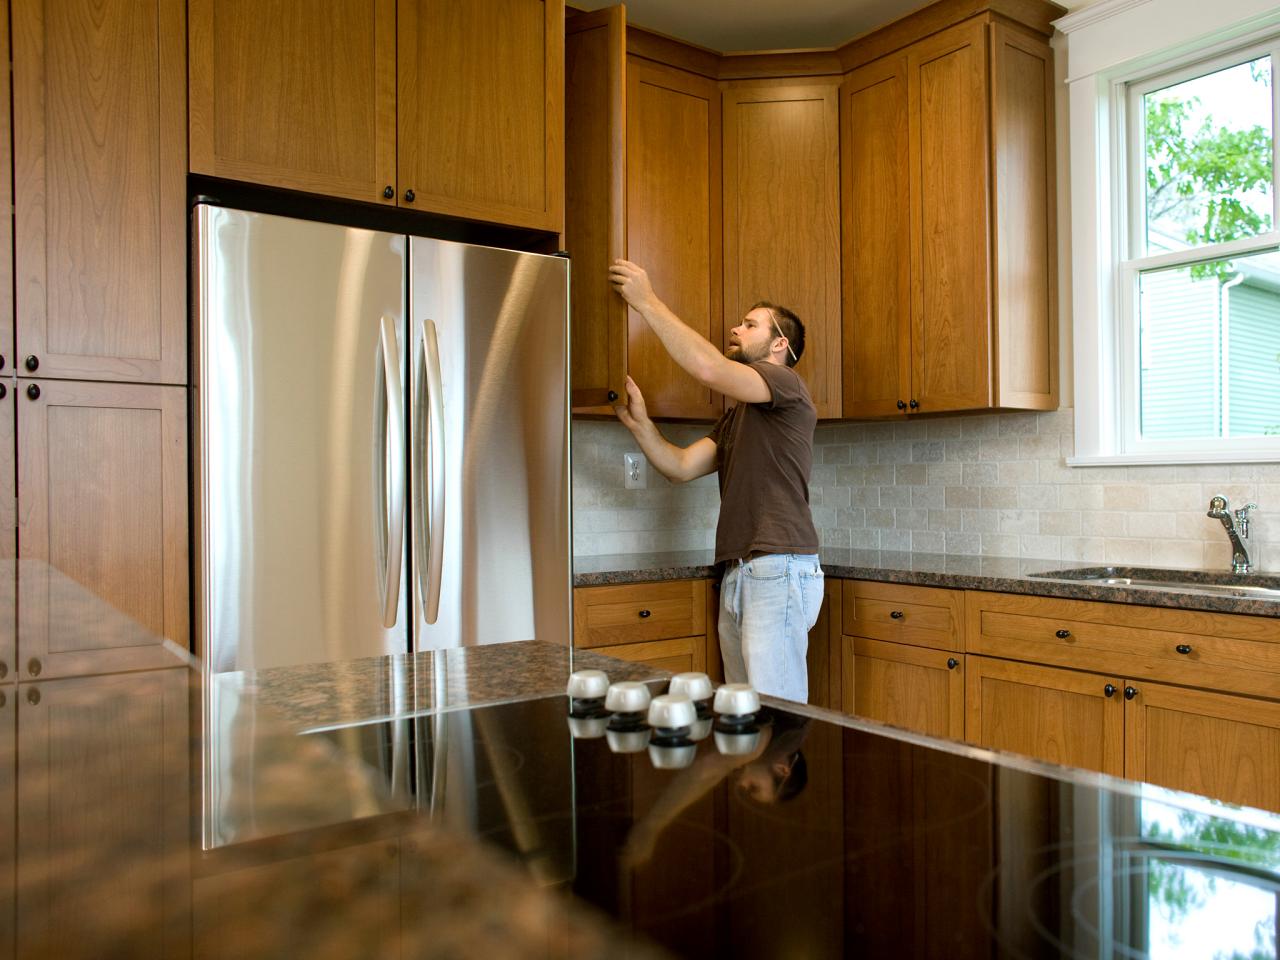
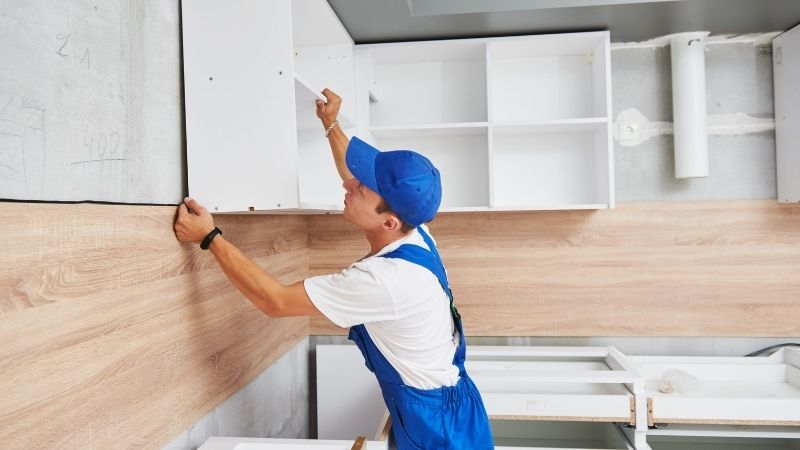
The old adage of "measure twice, cut once" is especially true when it comes to kitchen cabinet installation. Accurate measurements are essential to ensure that your cabinets fit snugly against the wall fill and each other. Use a tape measure to measure the length and width of your wall fill, and then double-check your measurements before cutting any materials.1. Measure Twice, Cut Once

How to Install Kitchen Cabinets - The Home Depot


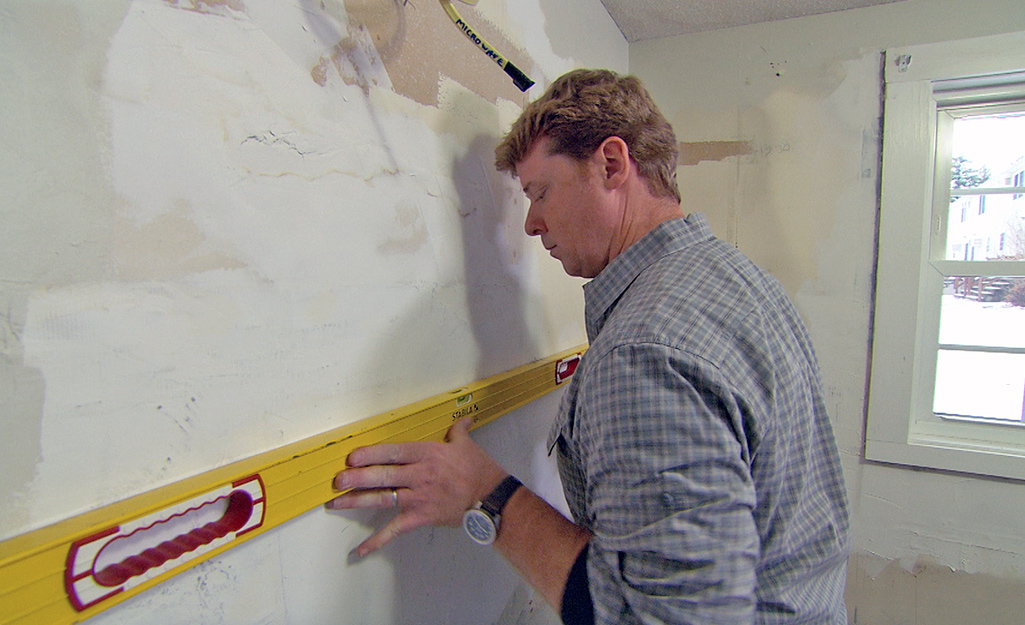
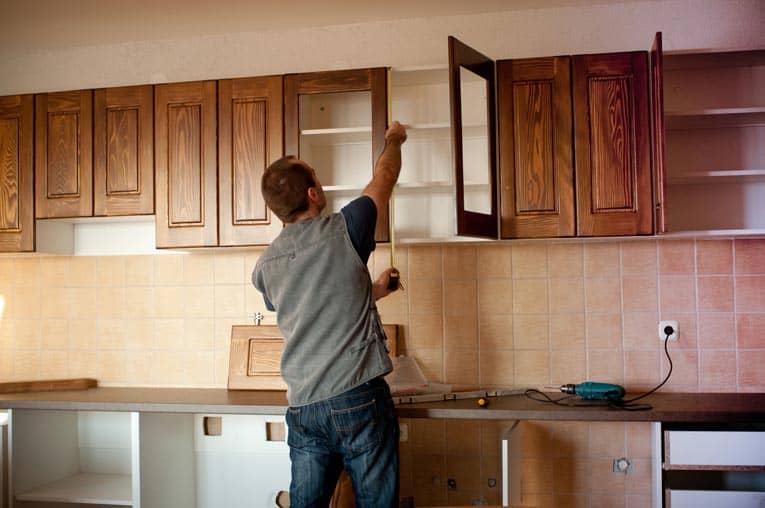
Using a level is crucial for ensuring that your cabinets are installed straight and level. Begin by using a pencil to mark a straight line along the top of your wall fill. This line will serve as a guide for installing your cabinets. Place the level against the line to ensure it is straight, and make any necessary adjustments before proceeding with installation.2. Use a Level

How to Install Kitchen Cabinets - The Home Depot


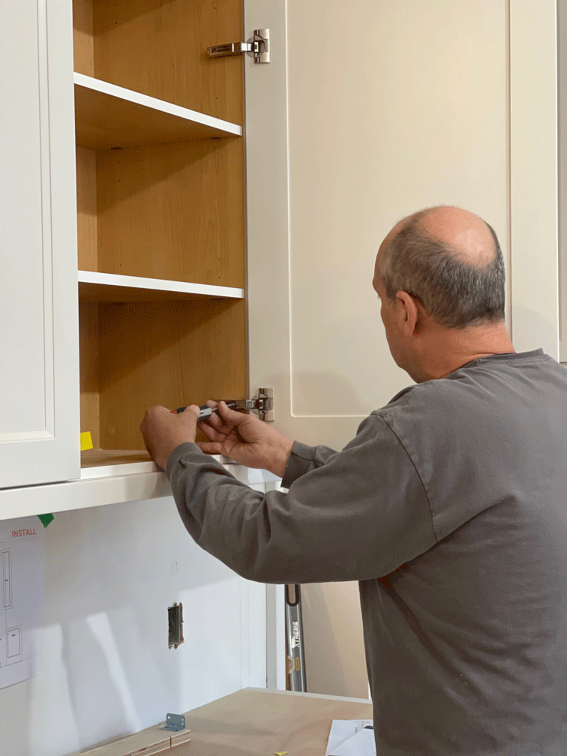
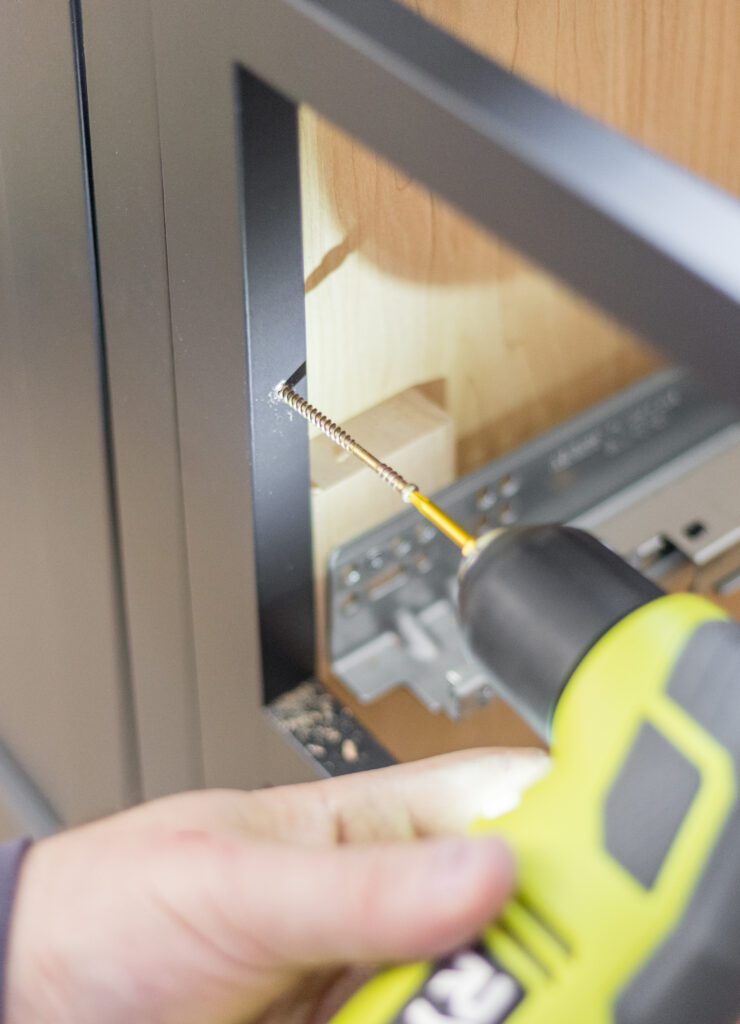
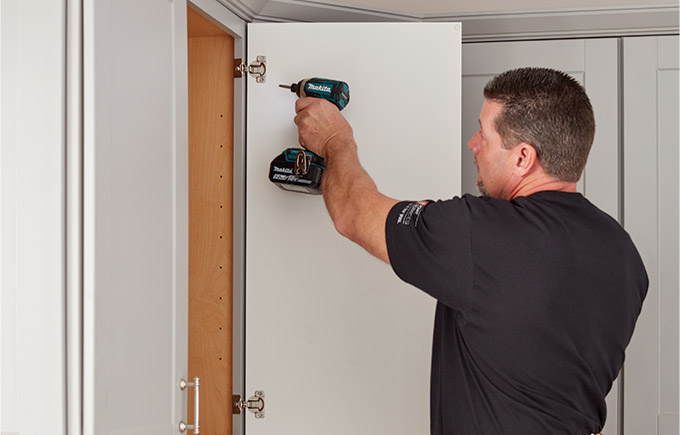
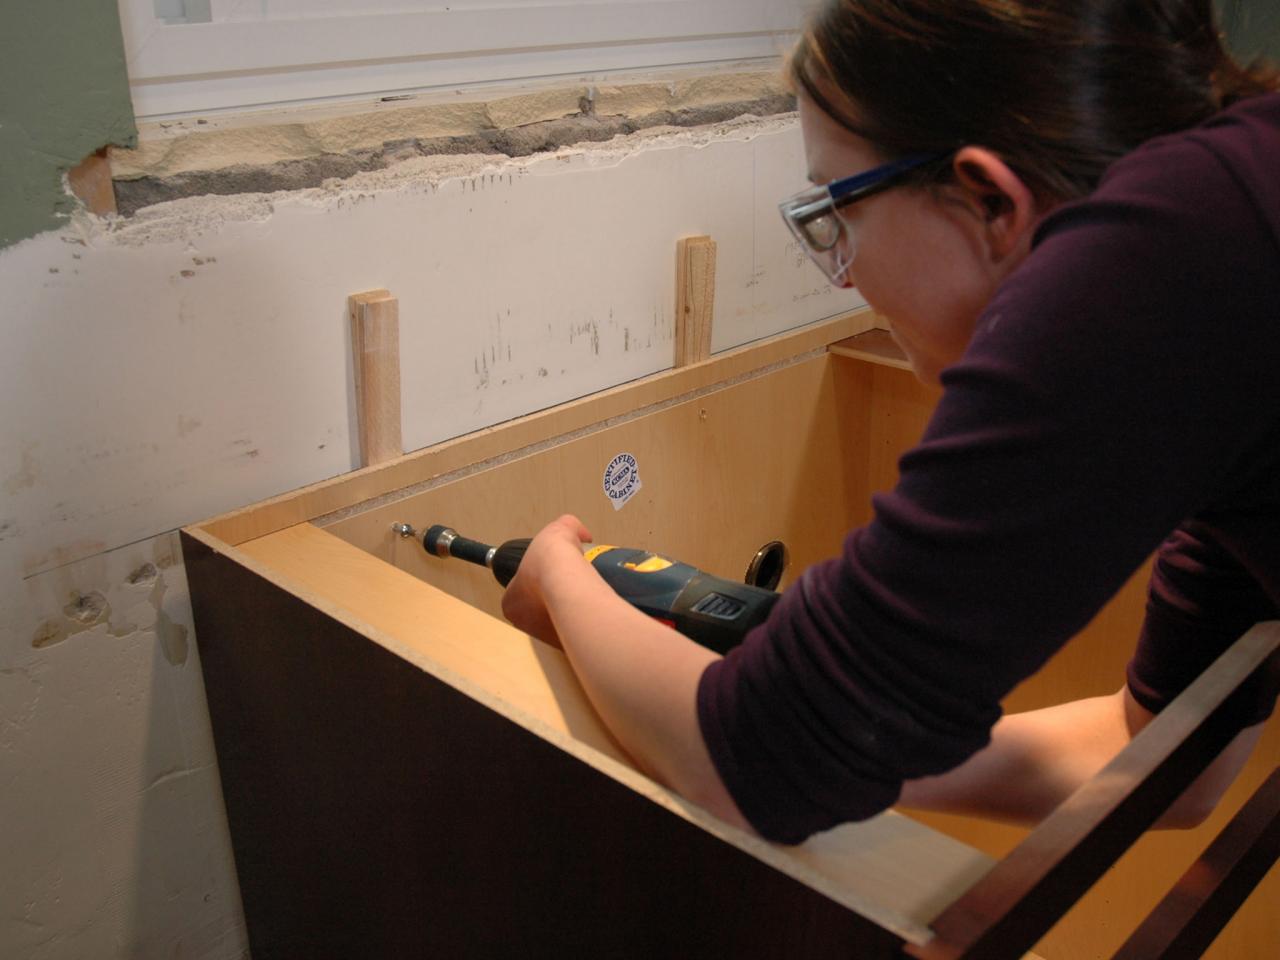
When installing kitchen cabinets, it is crucial to secure them to the wall studs for stability and support. Use a stud finder to locate the studs behind the wall fill and mark their positions. Then, drill pilot holes into the cabinet backs and attach them to the studs using screws.3. Secure the Cabinets to Studs
How to Install Kitchen Cabinets - The Home Depot
Not all walls are perfectly straight, and this can cause issues when installing cabinets. To ensure that your cabinets are level, use shims between the cabinet and the studs. Shims are small, thin pieces of wood that can be adjusted to level out any unevenness. Place shims behind the cabinet where necessary to ensure a straight and level installation.4. Use Shims for Leveling
How to Install Kitchen Cabinets - The Home Depot
Before attaching the cabinet doors and drawers, it is essential to pre-drill holes for the hardware. This will ensure that the hardware is aligned and installed correctly, making for a more polished finish. Use a drill bit that is slightly smaller than the hardware screws to avoid any splitting or cracking of the wood.5. Pre-Drill Holes for Hardware
How to Install Kitchen Cabinets - The Home Depot
Cabinet spacers are small, plastic pieces that can be used to keep a consistent gap between cabinets. This helps to create a seamless and professional look, as well as allowing for easier installation. Simply place the spacers between the cabinets as you install them.6. Use Cabinet Spacers
How to Install Kitchen Cabinets - The Home Depot


If you are installing both upper and lower cabinets, it is best to install the countertops before the upper cabinets. This will ensure that the countertops are level and even, making it easier to install the upper cabinets. It also eliminates the need to cut the upper cabinets to fit around the countertops.7. Install Countertops Before Upper Cabinets
How to Install Kitchen Cabinets - The Home Depot
In addition to using screws, applying wood glue to the joints and edges of the cabinets can provide added stability. This is especially useful for heavy or large cabinets that may need extra support. Just be sure to wipe off any excess glue before it dries.8. Use Wood Glue for Added Stability
How to Install Kitchen Cabinets - The Home Depot
If you are not confident in your ability to install kitchen cabinets, it may be best to leave it to the professionals. Hiring a professional can save you time, stress, and potentially costly mistakes. They have the experience and tools necessary to ensure a flawless installation.9. Consider a Professional Installation


How to Install Kitchen Cabinets - The Home Depot
Kitchen Cabinet Installation: Tips for Filling the Gap Between Cabinets and Walls

Why Filling the Gap Between Cabinets and Walls is Important
 When it comes to kitchen cabinet installation, one of the most important factors to consider is the gap between the cabinets and the walls. This gap is often overlooked, but it plays a crucial role in the overall aesthetics and functionality of your kitchen. Not only does it affect the visual appeal of your cabinets, but it can also impact the durability and stability of your cabinets over time. Therefore, it is essential to properly fill this gap to ensure your cabinets are secure and looking their best.
The Challenges of Filling the Gap
 Filling the gap between cabinets and walls may seem like a simple task, but it can actually be quite challenging. The main hurdle is dealing with uneven or irregular walls. Most walls are not perfectly straight, which means the gap between your cabinets and walls may vary in width in different areas. This can make it difficult to find a one-size-fits-all solution for filling the gap.
Another challenge is ensuring that the filler material you choose matches the color and style of your cabinets. You want the filler to seamlessly blend in with your cabinets, rather than standing out as an obvious patch job.
Filling the gap between cabinets and walls may seem like a simple task, but it can actually be quite challenging. The main hurdle is dealing with uneven or irregular walls. Most walls are not perfectly straight, which means the gap between your cabinets and walls may vary in width in different areas. This can make it difficult to find a one-size-fits-all solution for filling the gap.
Another challenge is ensuring that the filler material you choose matches the color and style of your cabinets. You want the filler to seamlessly blend in with your cabinets, rather than standing out as an obvious patch job.
Options for Filling the Gap
 There are several options available for filling the gap between cabinets and walls. One popular choice is using wood shims, which are thin, wedge-shaped pieces of wood that can be inserted into the gap. These shims can be sanded down to fit the exact width of the gap and then painted or stained to match your cabinets.
Another option is using a flexible filler material, such as caulk or silicone. These materials can easily be applied to the gap and then smoothed out for a seamless finish. However, it is important to choose a high-quality, paintable caulk or silicone to ensure it will last and match the color of your cabinets.
There are several options available for filling the gap between cabinets and walls. One popular choice is using wood shims, which are thin, wedge-shaped pieces of wood that can be inserted into the gap. These shims can be sanded down to fit the exact width of the gap and then painted or stained to match your cabinets.
Another option is using a flexible filler material, such as caulk or silicone. These materials can easily be applied to the gap and then smoothed out for a seamless finish. However, it is important to choose a high-quality, paintable caulk or silicone to ensure it will last and match the color of your cabinets.
Tips for Filling the Gap
 When filling the gap between cabinets and walls, there are a few tips to keep in mind. First, make sure to properly measure the gap to determine the best method and materials to use. It may also be helpful to use a level to ensure the cabinets are straight and even before filling the gap.
Additionally, it is important to use a high-quality filler material and to take your time to achieve a smooth and seamless finish. Rushing through this step can result in a sloppy and unprofessional looking result.
When filling the gap between cabinets and walls, there are a few tips to keep in mind. First, make sure to properly measure the gap to determine the best method and materials to use. It may also be helpful to use a level to ensure the cabinets are straight and even before filling the gap.
Additionally, it is important to use a high-quality filler material and to take your time to achieve a smooth and seamless finish. Rushing through this step can result in a sloppy and unprofessional looking result.
Conclusion
 Properly filling the gap between cabinets and walls is essential for achieving a seamless and polished look in your kitchen. By considering the challenges and options for filling this gap and following these tips, you can ensure your kitchen cabinets are securely installed and looking their best. Don't let this small detail go unnoticed, as it can make a big difference in the overall design of your kitchen.