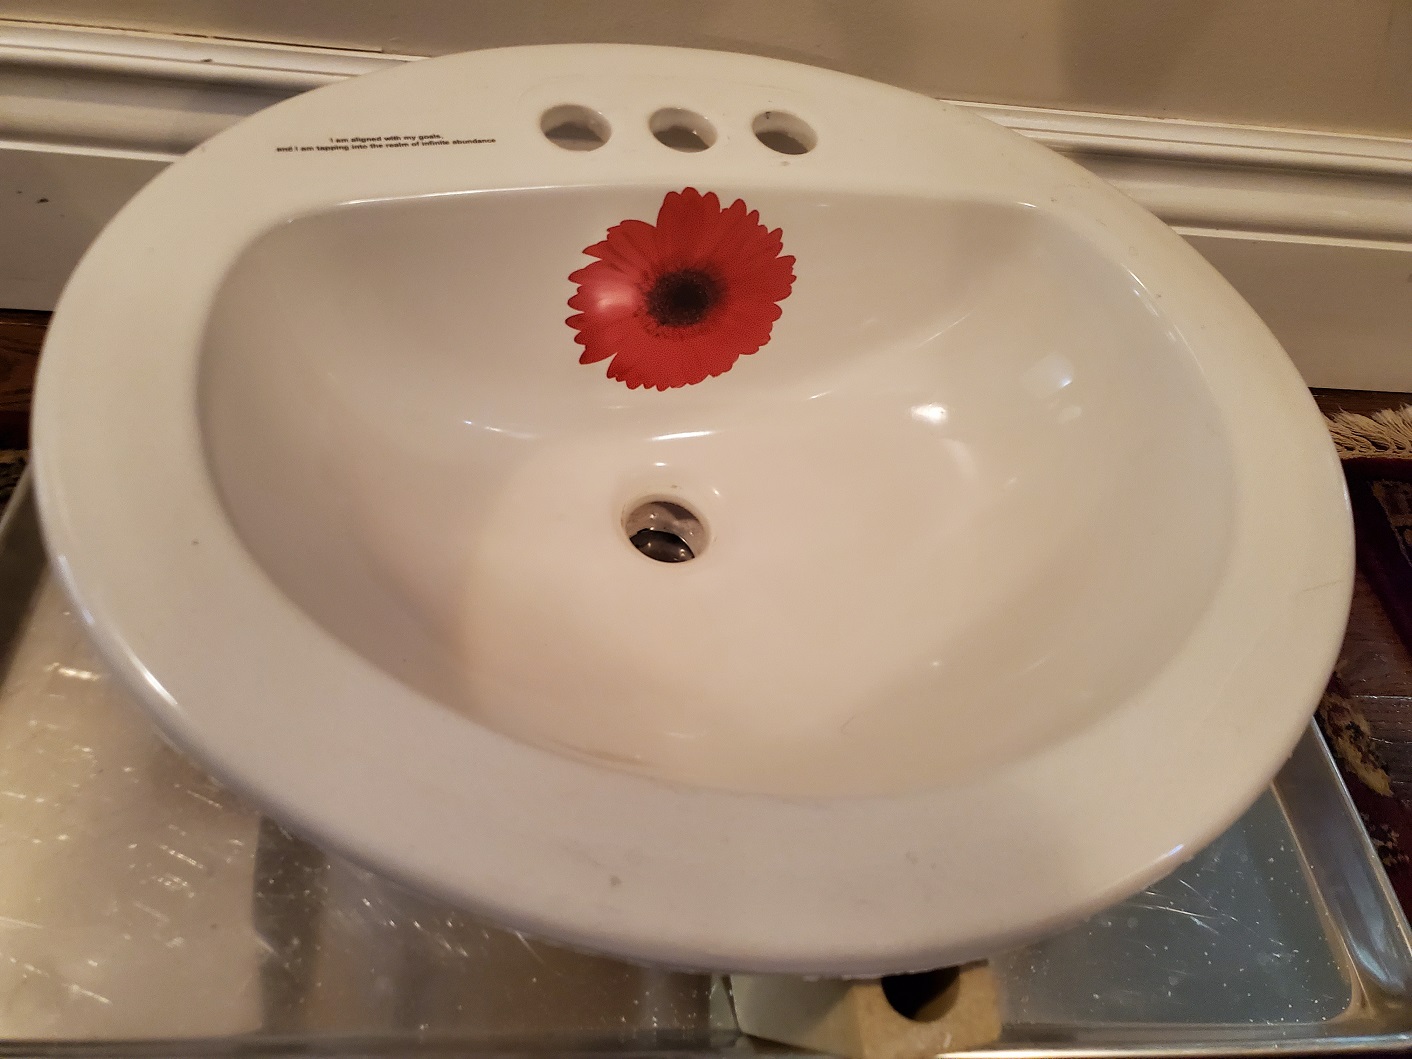
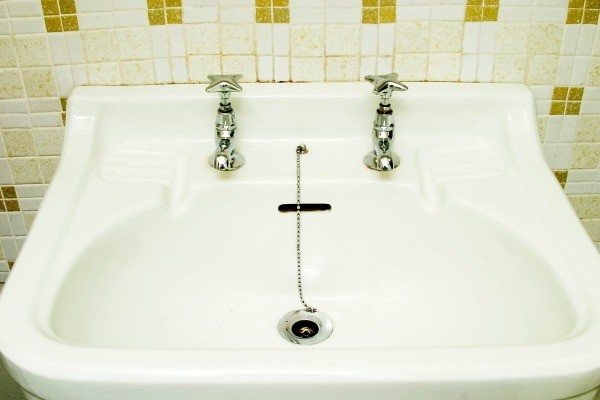
Are you looking to upgrade your bathroom with a new porcelain sink? Installing a porcelain bathroom sink can be a great way to add style and functionality to your space. However, the installation process can seem daunting for beginners. But fear not, in this article, we will provide you with a step-by-step guide on how to install a porcelain bathroom sink like a pro.How to Install a Porcelain Bathroom Sink
Installing a porcelain bathroom sink may seem like a complex task, but it can be done with the right tools and techniques. Follow these steps to install your new sink:Step-by-Step Guide for Installing a Porcelain Bathroom Sink
Before you begin the installation process, make sure you have all the necessary tools and materials on hand. This includes a new porcelain bathroom sink, a drill, a wrench, plumber's putty, and a tube of silicone caulk.Step 1: Gather Your Tools and Materials
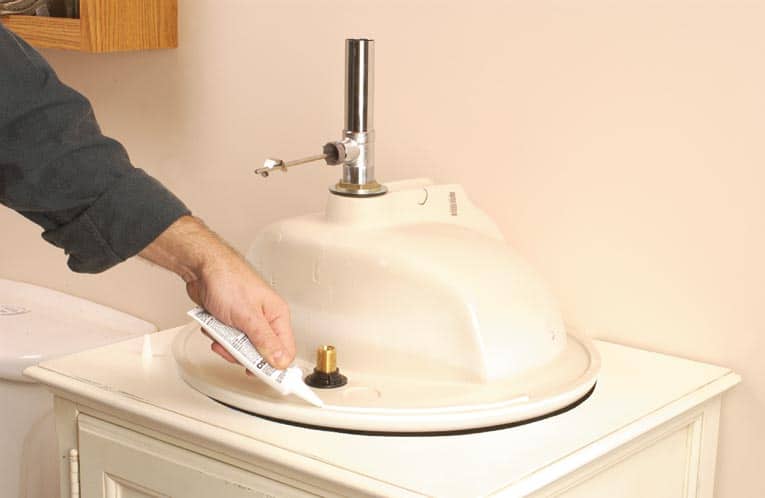
Before installing the sink, you'll need to prepare it. First, place the sink upside down on a flat surface and attach the faucet and drain assembly according to the manufacturer's instructions. Then, apply a layer of plumber's putty around the edges of the sink where it will come into contact with the countertop.Step 2: Prepare the Sink
Next, you'll need to install the drain assembly. Begin by attaching the rubber gasket and metal ring to the bottom of the sink. Then, insert the drain assembly into the sink's drain hole and secure it in place with the nut provided. Finally, tighten the nut with a wrench.Step 3: Install the Drain Assembly
If your new sink requires additional holes for the faucet or handles, now is the time to drill them. Use a drill with a diamond hole saw attachment to create clean and precise holes in the countertop.Step 4: Drill Holes in the Countertop
With the sink prepared and the holes drilled, it's time to install the sink. Carefully lift the sink and place it on top of the countertop, making sure it is aligned with the drain hole. Gently press down to secure the sink in place.Step 5: Install the Sink
Now that the sink is in place, you can connect the faucet and drain to the water supply. Follow the manufacturer's instructions to properly connect the water supply lines and secure the drain in place.Step 6: Connect the Faucet and Drain
To prevent water from leaking under the sink, apply a line of silicone caulk around the edges where the sink meets the countertop. Smooth out the caulk with a damp finger or a caulk smoothing tool to create a clean and even seal.Step 7: Apply Silicone Caulk
Once the caulk has dried, use a damp cloth to wipe away any excess caulk and clean up the area. Let the sink sit for 24 hours before using it to allow the caulk to fully dry and set.Step 8: Clean Up
Why Choose Porcelain Bathroom Sinks for Your House Design?

The Beauty and Durability of Porcelain
 When it comes to choosing a bathroom sink for your house design, porcelain is a popular material that is both beautiful and durable. Porcelain is a type of ceramic material that is made by firing clay at high temperatures. This process creates a smooth, glossy surface that is resistant to stains, scratches, and chipping. This makes porcelain bathroom sinks a great choice for high-traffic areas like the bathroom, as they can withstand daily use without showing signs of wear and tear.
Porcelain bathroom sinks
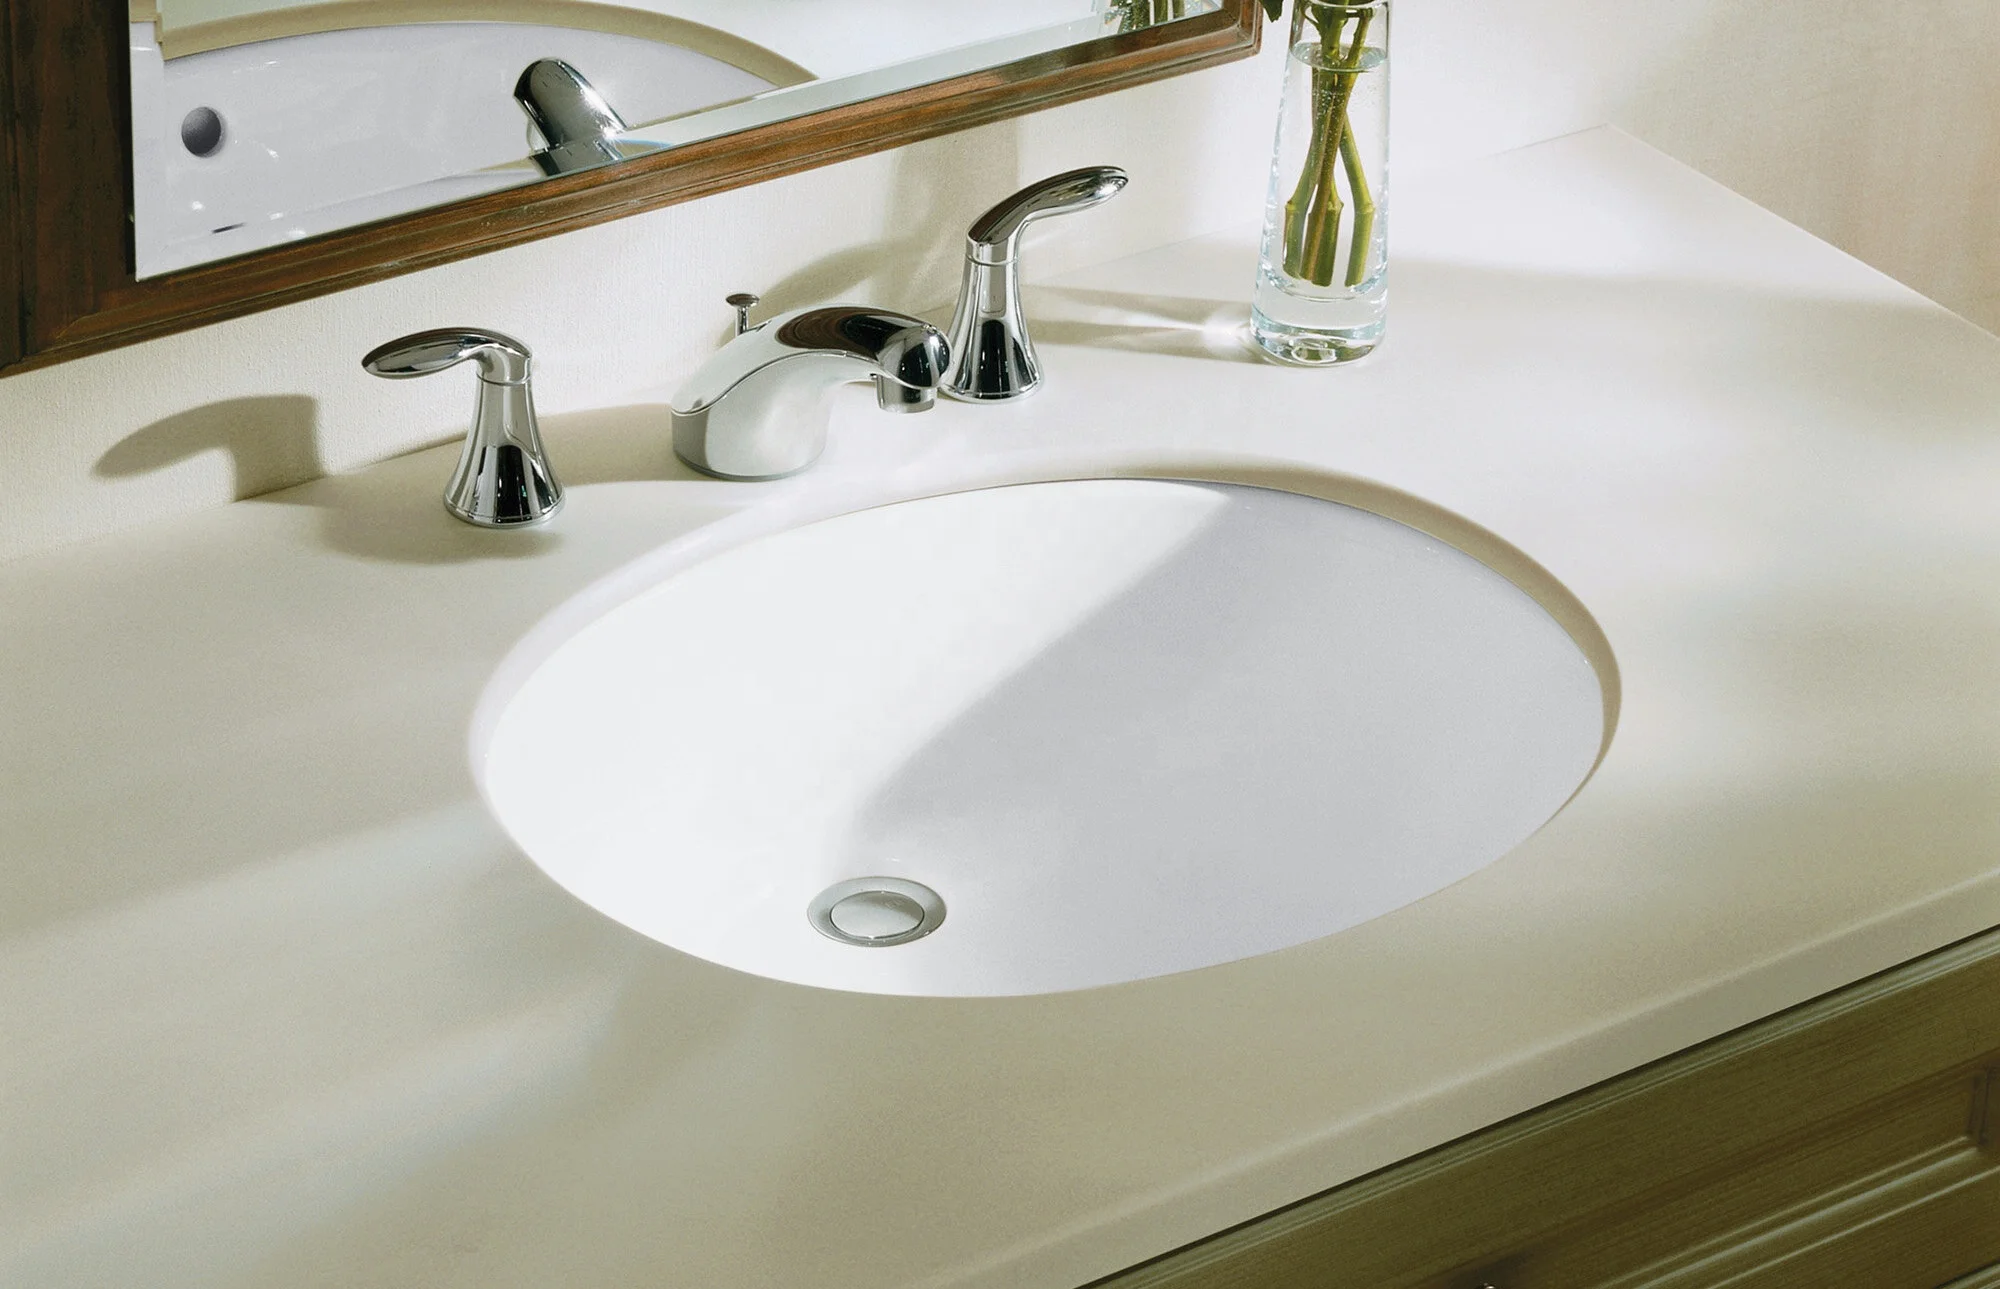
come in a variety of shapes, sizes, and designs, making them a versatile option for any house design. From classic oval-shaped sinks to modern square designs, there is a porcelain sink to fit every style and aesthetic. You can also choose from a variety of colors, from traditional white to bold and colorful options, allowing you to customize your bathroom sink to match your personal taste and the overall design of your house.
Easy Maintenance and Cleaning
 One of the main advantages of choosing a porcelain bathroom sink for your house design is its ease of maintenance and cleaning. The smooth, non-porous surface of porcelain makes it resistant to staining, making it easy to wipe clean with just a damp cloth and mild soap. This is especially beneficial in a high-moisture environment like the bathroom, where other materials may be prone to mold and mildew growth.
In addition, porcelain is a low-maintenance material that does not require any special cleaning products or techniques. This makes it a great option for busy households, as it can be quickly and easily cleaned without the need for harsh chemicals or excessive scrubbing.
Porcelain bathroom sinks
are also a durable choice that can withstand the use of most household cleaning products without any damage. This makes them a practical and long-lasting option for your house design, ensuring that your bathroom sink will look beautiful for years to come.
Conclusion
 In conclusion,
choosing a porcelain bathroom sink
for your house design is a smart and stylish choice. Its beauty, durability, and easy maintenance make it a practical option for any bathroom, while its versatility in design allows you to personalize it to your specific style and taste. Consider installing a porcelain bathroom sink in your home for a timeless and functional addition to your bathroom design.


