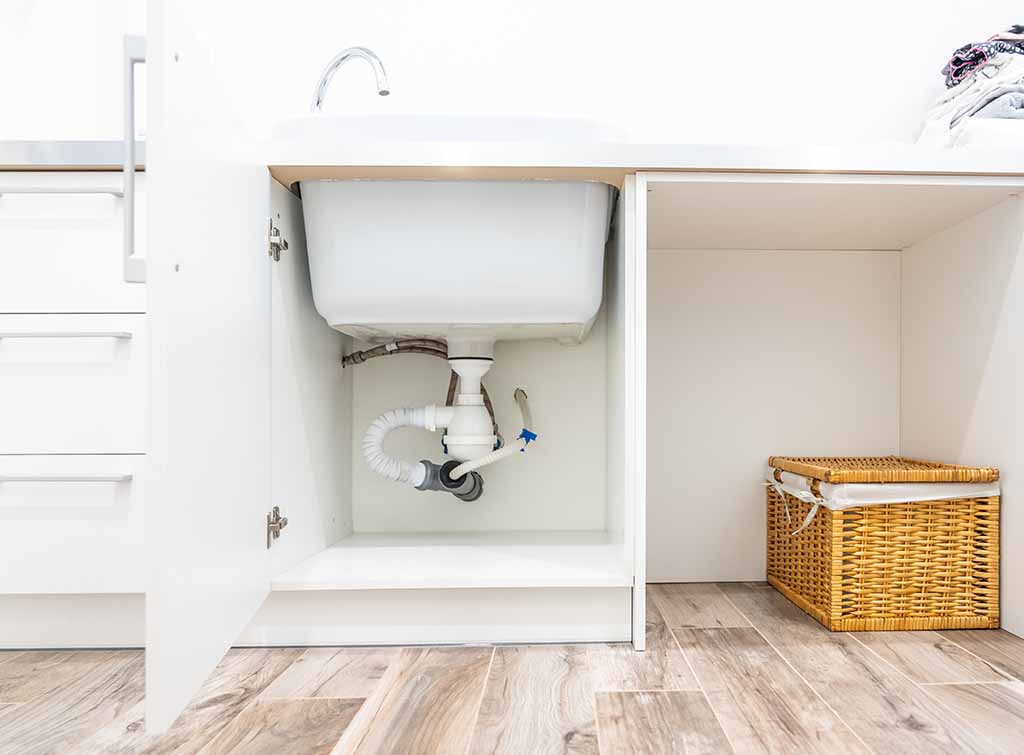
Installing pipes under a bathroom sink may seem like a daunting task, but with the right tools and knowledge, it can be a simple DIY project. Whether you're renovating your bathroom or just replacing old pipes, this step-by-step guide will walk you through the process and have you successfully installing pipes in no time.How to Install Pipes Under a Bathroom Sink


How to Install Pipes Under a Bathroom Sink


Before getting started, make sure to turn off the water supply to your bathroom sink. Then, follow these steps for a smooth installation process: Step 1: Remove the old pipes by loosening the nuts connecting them to the sink and drain. You may need a wrench to do this. Step 2: Measure and cut the new pipes to the appropriate length using a pipe cutter or hacksaw. Make sure to leave some extra length for adjustments. Step 3: Dry fit the pipes to ensure they fit properly before securing them in place. Step 4: Apply plumber's tape to the threaded ends of the pipes to create a tight seal. Step 5: Connect the pipes to the sink and drain, tightening the nuts with a wrench. Step 6: Turn the water supply back on and check for any leaks. If there are any, tighten the nuts further until they stop. Step 7: Once everything is secure, run water through the pipes to ensure they are functioning properly.Step-by-Step Guide for Installing Pipes Under a Bathroom Sink


Step-by-Step Guide for Installing Pipes Under a Bathroom Sink


Installing pipes under a bathroom sink is a DIY project that can save you money and give you a sense of accomplishment. With the right tools and following the steps above, you can successfully install new pipes under your sink without having to hire a professional.DIY: Installing Pipes Under a Bathroom Sink


DIY: Installing Pipes Under a Bathroom Sink


To successfully install pipes under a bathroom sink, you will need the following tools and materials: Tools: wrench, pipe cutter or hacksaw, plumber's tape Materials: new pipes, replacement nuts and washers, plumber's puttyTools and Materials Needed for Installing Pipes Under a Bathroom Sink

Tools and Materials Needed for Installing Pipes Under a Bathroom Sink

While installing pipes under a bathroom sink may seem simple, there are some common mistakes that can lead to issues down the line. Make sure to avoid the following mistakes: Not turning off the water supply: This can result in a big mess and potential water damage. Not measuring properly: Cutting pipes to the wrong length can lead to leaks and the need for replacements. Forgetting to use plumber's tape: This can cause leaks due to a lack of a tight seal.Common Mistakes to Avoid When Installing Pipes Under a Bathroom Sink


Common Mistakes to Avoid When Installing Pipes Under a Bathroom Sink
Want to install pipes under your bathroom sink like a pro? Follow these tips: Use plumber's putty: This will help create a tight seal between the sink and pipes. Double check measurements: Measure twice, cut once to avoid any mistakes. Secure pipes tightly: Use a wrench to tighten the nuts as much as possible to prevent leaks.Tips for Installing Pipes Under a Bathroom Sink Like a Pro


Tips for Installing Pipes Under a Bathroom Sink Like a Pro

For a visual guide on how to install pipes under a bathroom sink, check out this helpful video tutorial: Insert link to a relevant video tutorial here.Video Tutorial: Installing Pipes Under a Bathroom Sink


Video Tutorial: Installing Pipes Under a Bathroom Sink
If you run into any issues while installing pipes under your bathroom sink, here are some troubleshooting tips: Leaking pipes: Make sure all connections are tight and that you have used plumber's tape. Incorrect measurements: If your pipes are too short, you may need to purchase new ones or use couplings to extend the length. Cracks or breaks in pipes: If your new pipes are damaged, you will need to replace them with new ones.How to Troubleshoot Common Issues When Installing Pipes Under a Bathroom Sink

How to Troubleshoot Common Issues When Installing Pipes Under a Bathroom Sink


The cost of installing pipes under a bathroom sink will vary depending on the materials you choose and if you hire a professional. On average, the cost can range from $100-$500. If you choose to hire a professional, expect to pay for labor costs in addition to the materials.Cost Breakdown: Installing Pipes Under a Bathroom Sink


Cost Breakdown: Installing Pipes Under a Bathroom Sink


Hiring a professional to install pipes under a bathroom sink can save you time and ensure the job is done correctly. However, if you have some DIY experience and the right tools, you can save money by doing it yourself. Consider your budget and skill level when deciding whether to hire a professional or take on the project yourself.Professional vs. DIY: Installing Pipes Under a Bathroom Sink
Professional vs. DIY: Installing Pipes Under a Bathroom Sink


Adding a New Pipe to Your Bathroom Sink: A Step-by-Step Guide
Step 1: Gather Your Tools and Materials
 Before starting any plumbing project, it's important to have all the necessary tools and materials on hand. For installing pipes under your bathroom sink, you will need a pipe wrench, adjustable wrench, hacksaw, pipe cutter, Teflon tape, plumber's putty, and the new pipe itself. Make sure to also have a bucket or towels nearby to catch any water that may leak during the installation process.
Step 2: Shut Off the Water Supply
 Before beginning any work, it's crucial to turn off the water supply to your bathroom. Locate the shut-off valve, which is typically located under the sink or in the basement, and turn it clockwise to shut off the water flow.
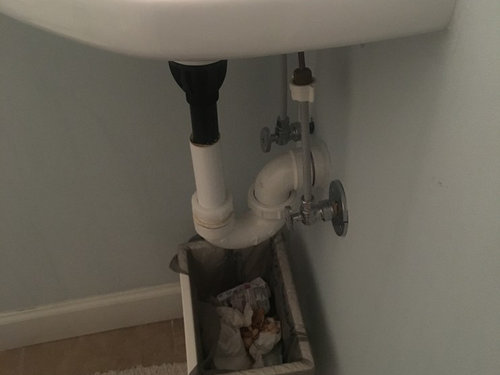
Step 3: Remove the Old Pipe
 Using your pipe wrench, loosen and remove the old pipe from the sink drain. If the pipe is rusted or difficult to remove, try using a lubricant spray to make the process easier. Once the old pipe is removed, clean the drain area with a rag to remove any debris or old plumber's putty.
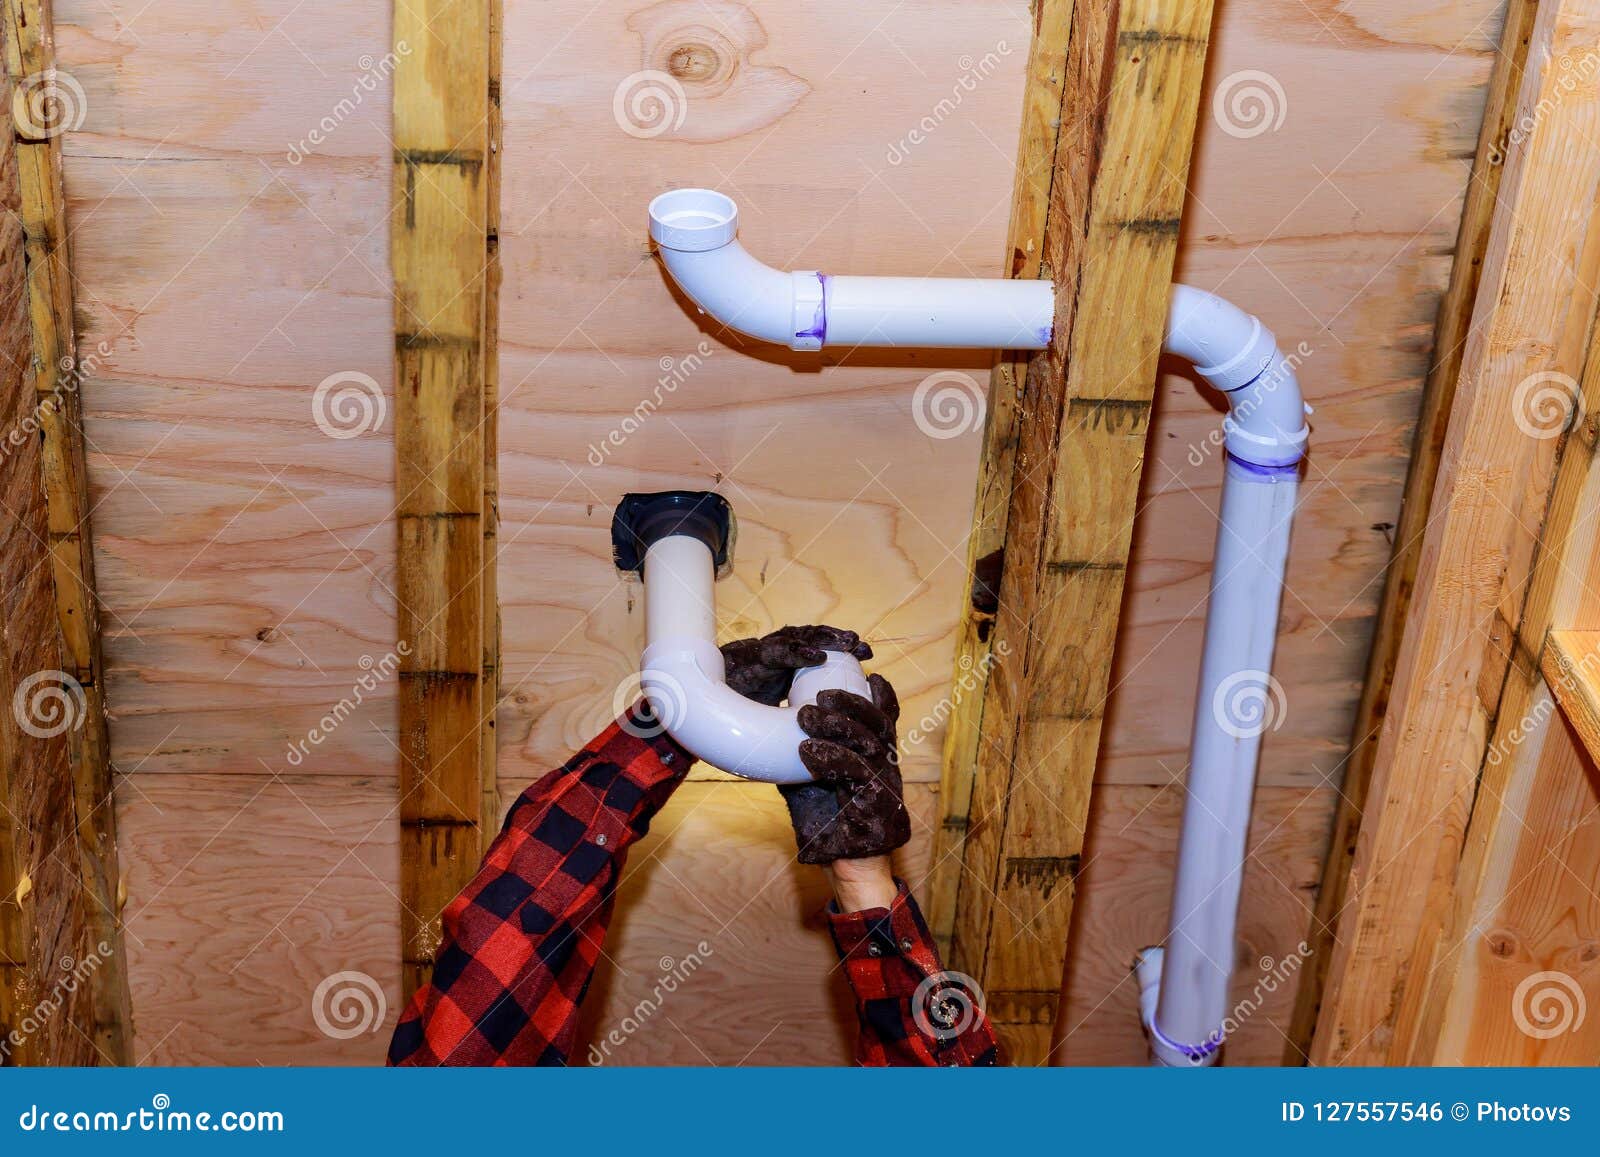
Step 4: Measure and Cut the New Pipe
 Measure the length of your new pipe and use a pipe cutter or hacksaw to cut it to the appropriate size. Make sure to leave a little extra length on both ends to allow for adjustments during installation.
Step 5: Apply Plumber's Putty
 Take a small amount of plumber's putty and roll it into a thin rope. Wrap the putty around the threads on one end of the new pipe. This will create a watertight seal when the pipe is screwed into place.
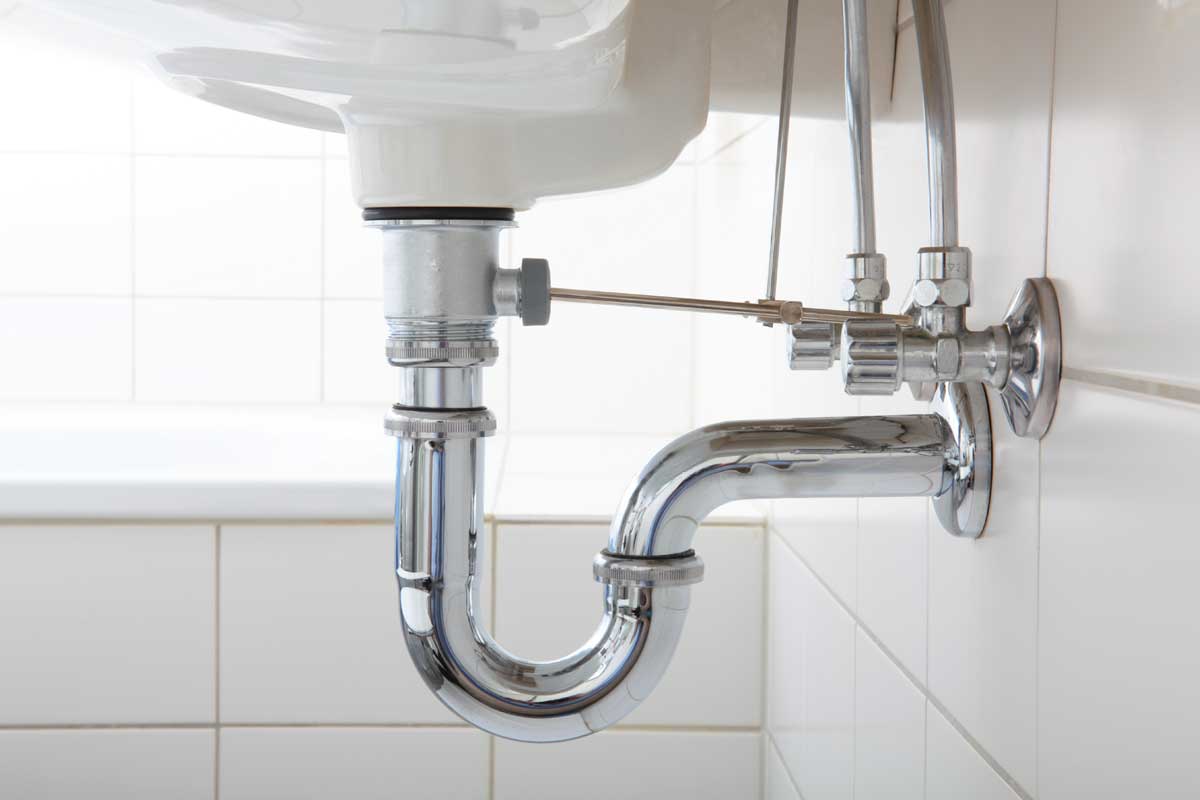
Step 6: Install the New Pipe
 Carefully place the new pipe into the drain and use your pipe wrench to tighten it in place. If necessary, use an adjustable wrench to make small adjustments to ensure the pipe is securely fitted into the drain.
Step 7: Turn the Water Supply Back On
 Once the new pipe is securely in place, turn the water supply back on and check for any leaks. If you notice any leaks, tighten the pipe further or add more plumber's putty to the threads.
Step 8: Test the New Pipe
 Run water through your sink to test the new pipe and make sure it is functioning properly. If there are no leaks and the water flows smoothly, you have successfully installed a new pipe under your bathroom sink!
With these easy steps, you can confidently add a new pipe to your bathroom sink and improve the functionality and design of your space.
Remember to always shut off the water supply before beginning any plumbing project and use caution when handling tools. If you encounter any difficulties, don't hesitate to call a professional plumber for assistance.
Run water through your sink to test the new pipe and make sure it is functioning properly. If there are no leaks and the water flows smoothly, you have successfully installed a new pipe under your bathroom sink!
With these easy steps, you can confidently add a new pipe to your bathroom sink and improve the functionality and design of your space.
Remember to always shut off the water supply before beginning any plumbing project and use caution when handling tools. If you encounter any difficulties, don't hesitate to call a professional plumber for assistance.