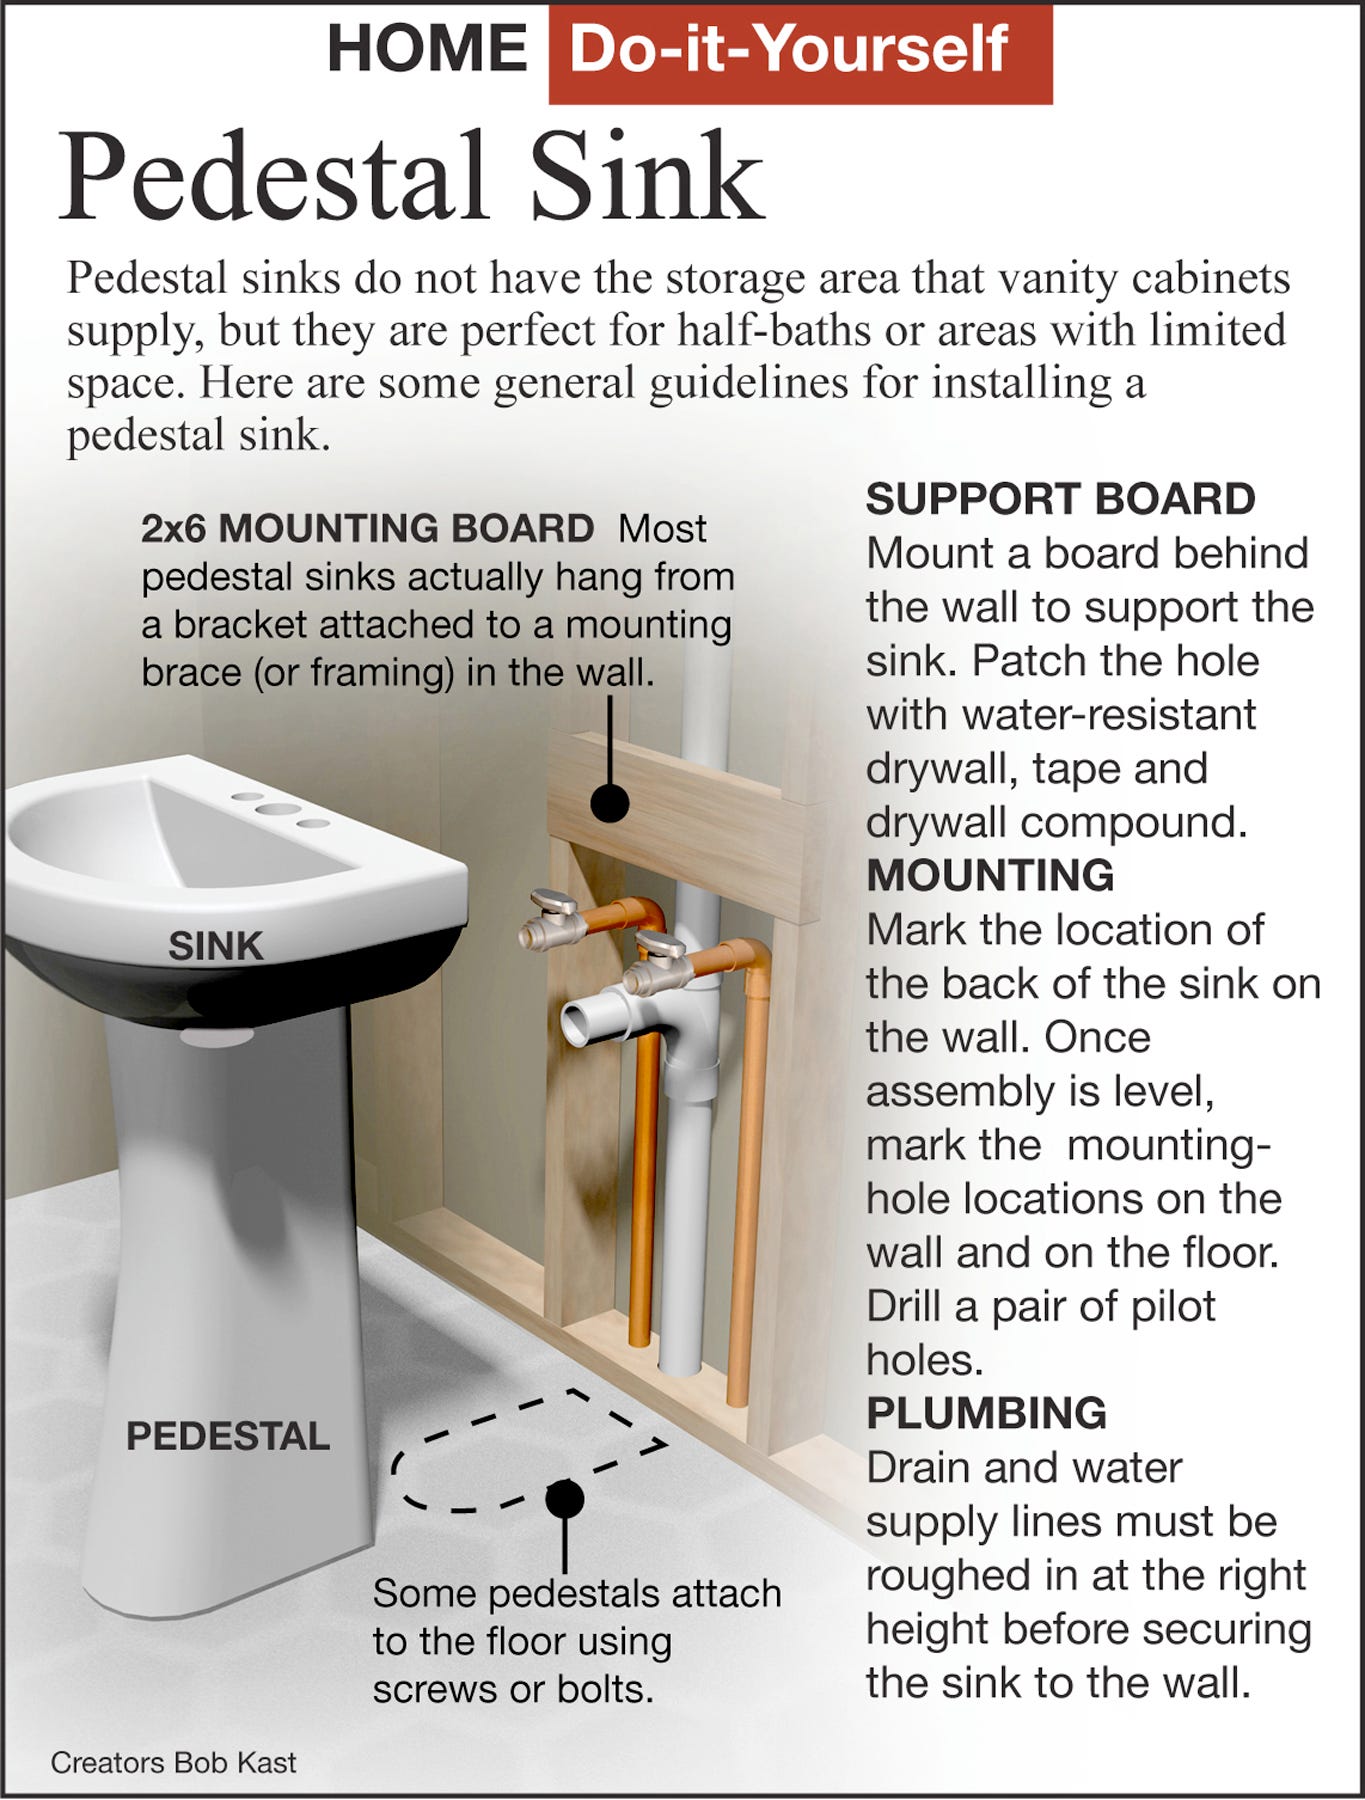
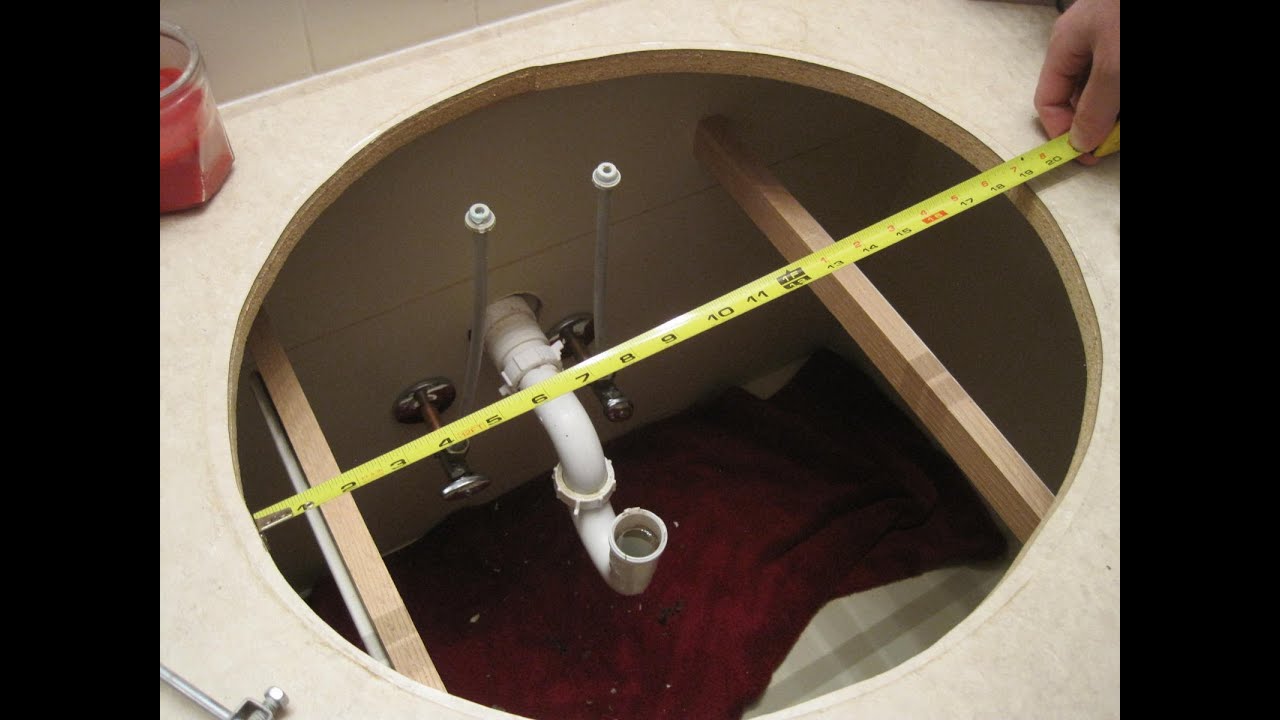
Before diving into the exciting process of installing a new bathroom sink, it's important to plan and prepare properly. This will ensure a smooth and successful installation, without any unexpected setbacks. Start by measuring the area where the sink will be placed, taking note of any obstacles such as pipes or electrical outlets. Next, choose the type and style of sink that best fits your bathroom's design and your personal preferences. There are various options available, including pedestal sinks, wall-mounted sinks, and vanity sinks. Consider the size, material, and features of each sink to determine which one will work best for your space. Lastly, gather all the necessary tools and materials for the installation, such as a wrench, plumber's putty, and silicone caulk. Having everything on hand will make the process much easier and prevent any delays.1. Planning and Preparation


Installing a New Bathroom Sink: A Step-by-Step Guide


Now that you have everything you need, it's time to remove the old sink. Start by turning off the water supply and disconnecting the water lines and drain pipes from the sink. Use a wrench to loosen any nuts or bolts that are keeping the sink in place. Once everything is disconnected, carefully lift the old sink out of its place. If it's attached to the wall, use a screwdriver to remove any screws or brackets holding it in place. This step may require some patience and elbow grease, especially if the sink has been in place for a long time.2. Removing the Old Sink


How to Install a Bathroom Sink: 13 Steps (with Pictures)


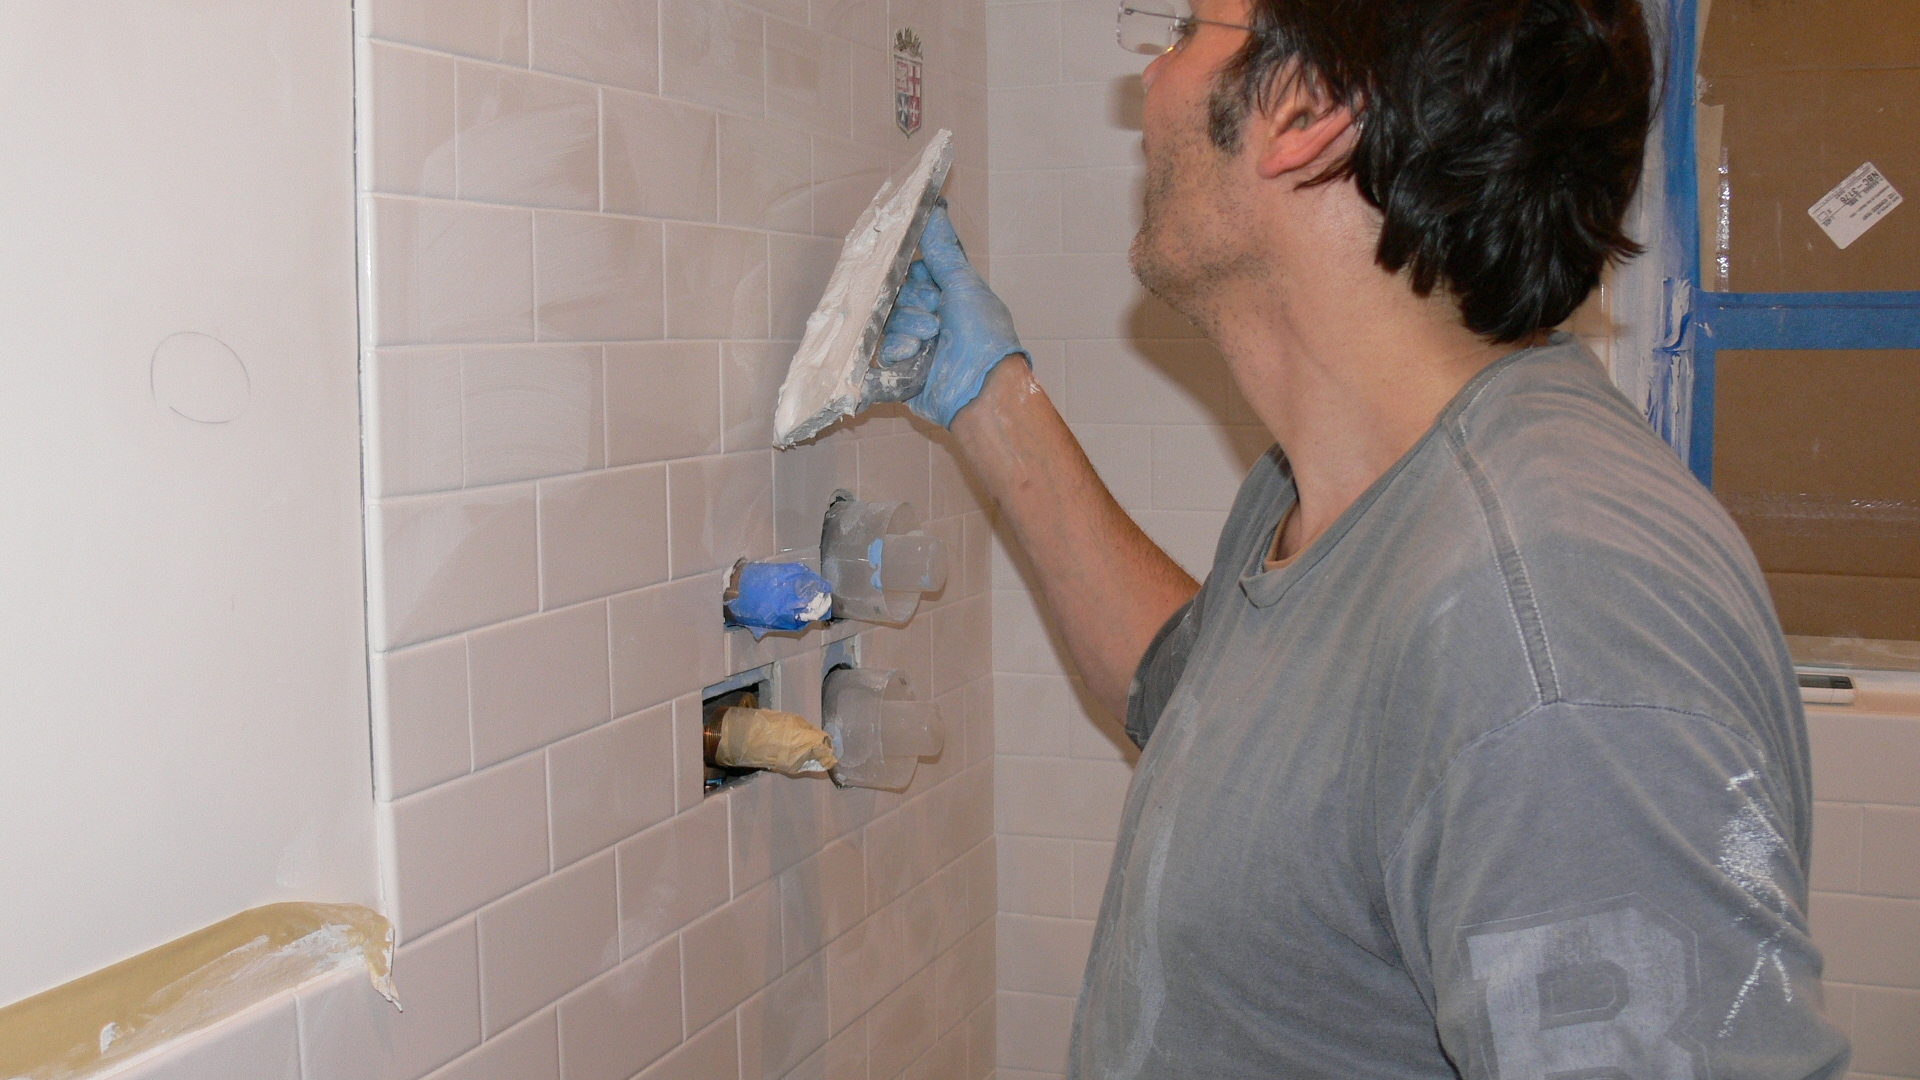
With the old sink removed, it's important to clean and prep the area for the new one. Use a putty knife to scrape off any old caulk or adhesive residue. If the wall or countertop is damaged, now is the time to repair or replace it. If you're installing a wall-mounted sink, make sure to attach any necessary brackets or supports to the wall according to the manufacturer's instructions. For pedestal sinks, you may need to secure the pedestal to the floor with adhesive or screws.3. Preparing the Area for the New Sink


How to Install a Bathroom Sink - The Home Depot


With the area prepped, it's finally time to install the new sink. Place the sink in its designated spot, making sure it's level and centered. Then, attach the sink to the wall or vanity using the appropriate screws or brackets. Next, connect the water supply lines and drain pipes to the sink. Use plumber's tape on the threads of the water line connections to prevent any leaks. Once everything is connected, turn on the water supply and check for any leaks. If everything looks good, you can move on to the final step.4. Installing the New Sink


How to Install a Bathroom Sink


The last step in installing a new bathroom sink is to add the finishing touches. Use silicone caulk to seal any gaps between the sink and the wall or countertop. This will prevent any water from leaking and also give the sink a polished look. If your sink came with a faucet, now is the time to install it. Follow the manufacturer's instructions for proper installation. Finally, turn on the water supply and test the sink to make sure everything is working correctly. With the sink successfully installed, you can now enjoy your new and improved bathroom. Whether you're upgrading an old sink or starting from scratch, installing a new bathroom sink is a DIY project that can be completed in just a few hours. Just follow these steps and you'll have a beautiful and functional sink in no time!5. Finishing Touches


DIY


Installing a New Bathroom Sink: A Step-by-Step Guide
:max_bytes(150000):strip_icc()/8_IMG_3767-56a4a2753df78cf772835b72.JPG)
Why Choose a New Bathroom Sink?
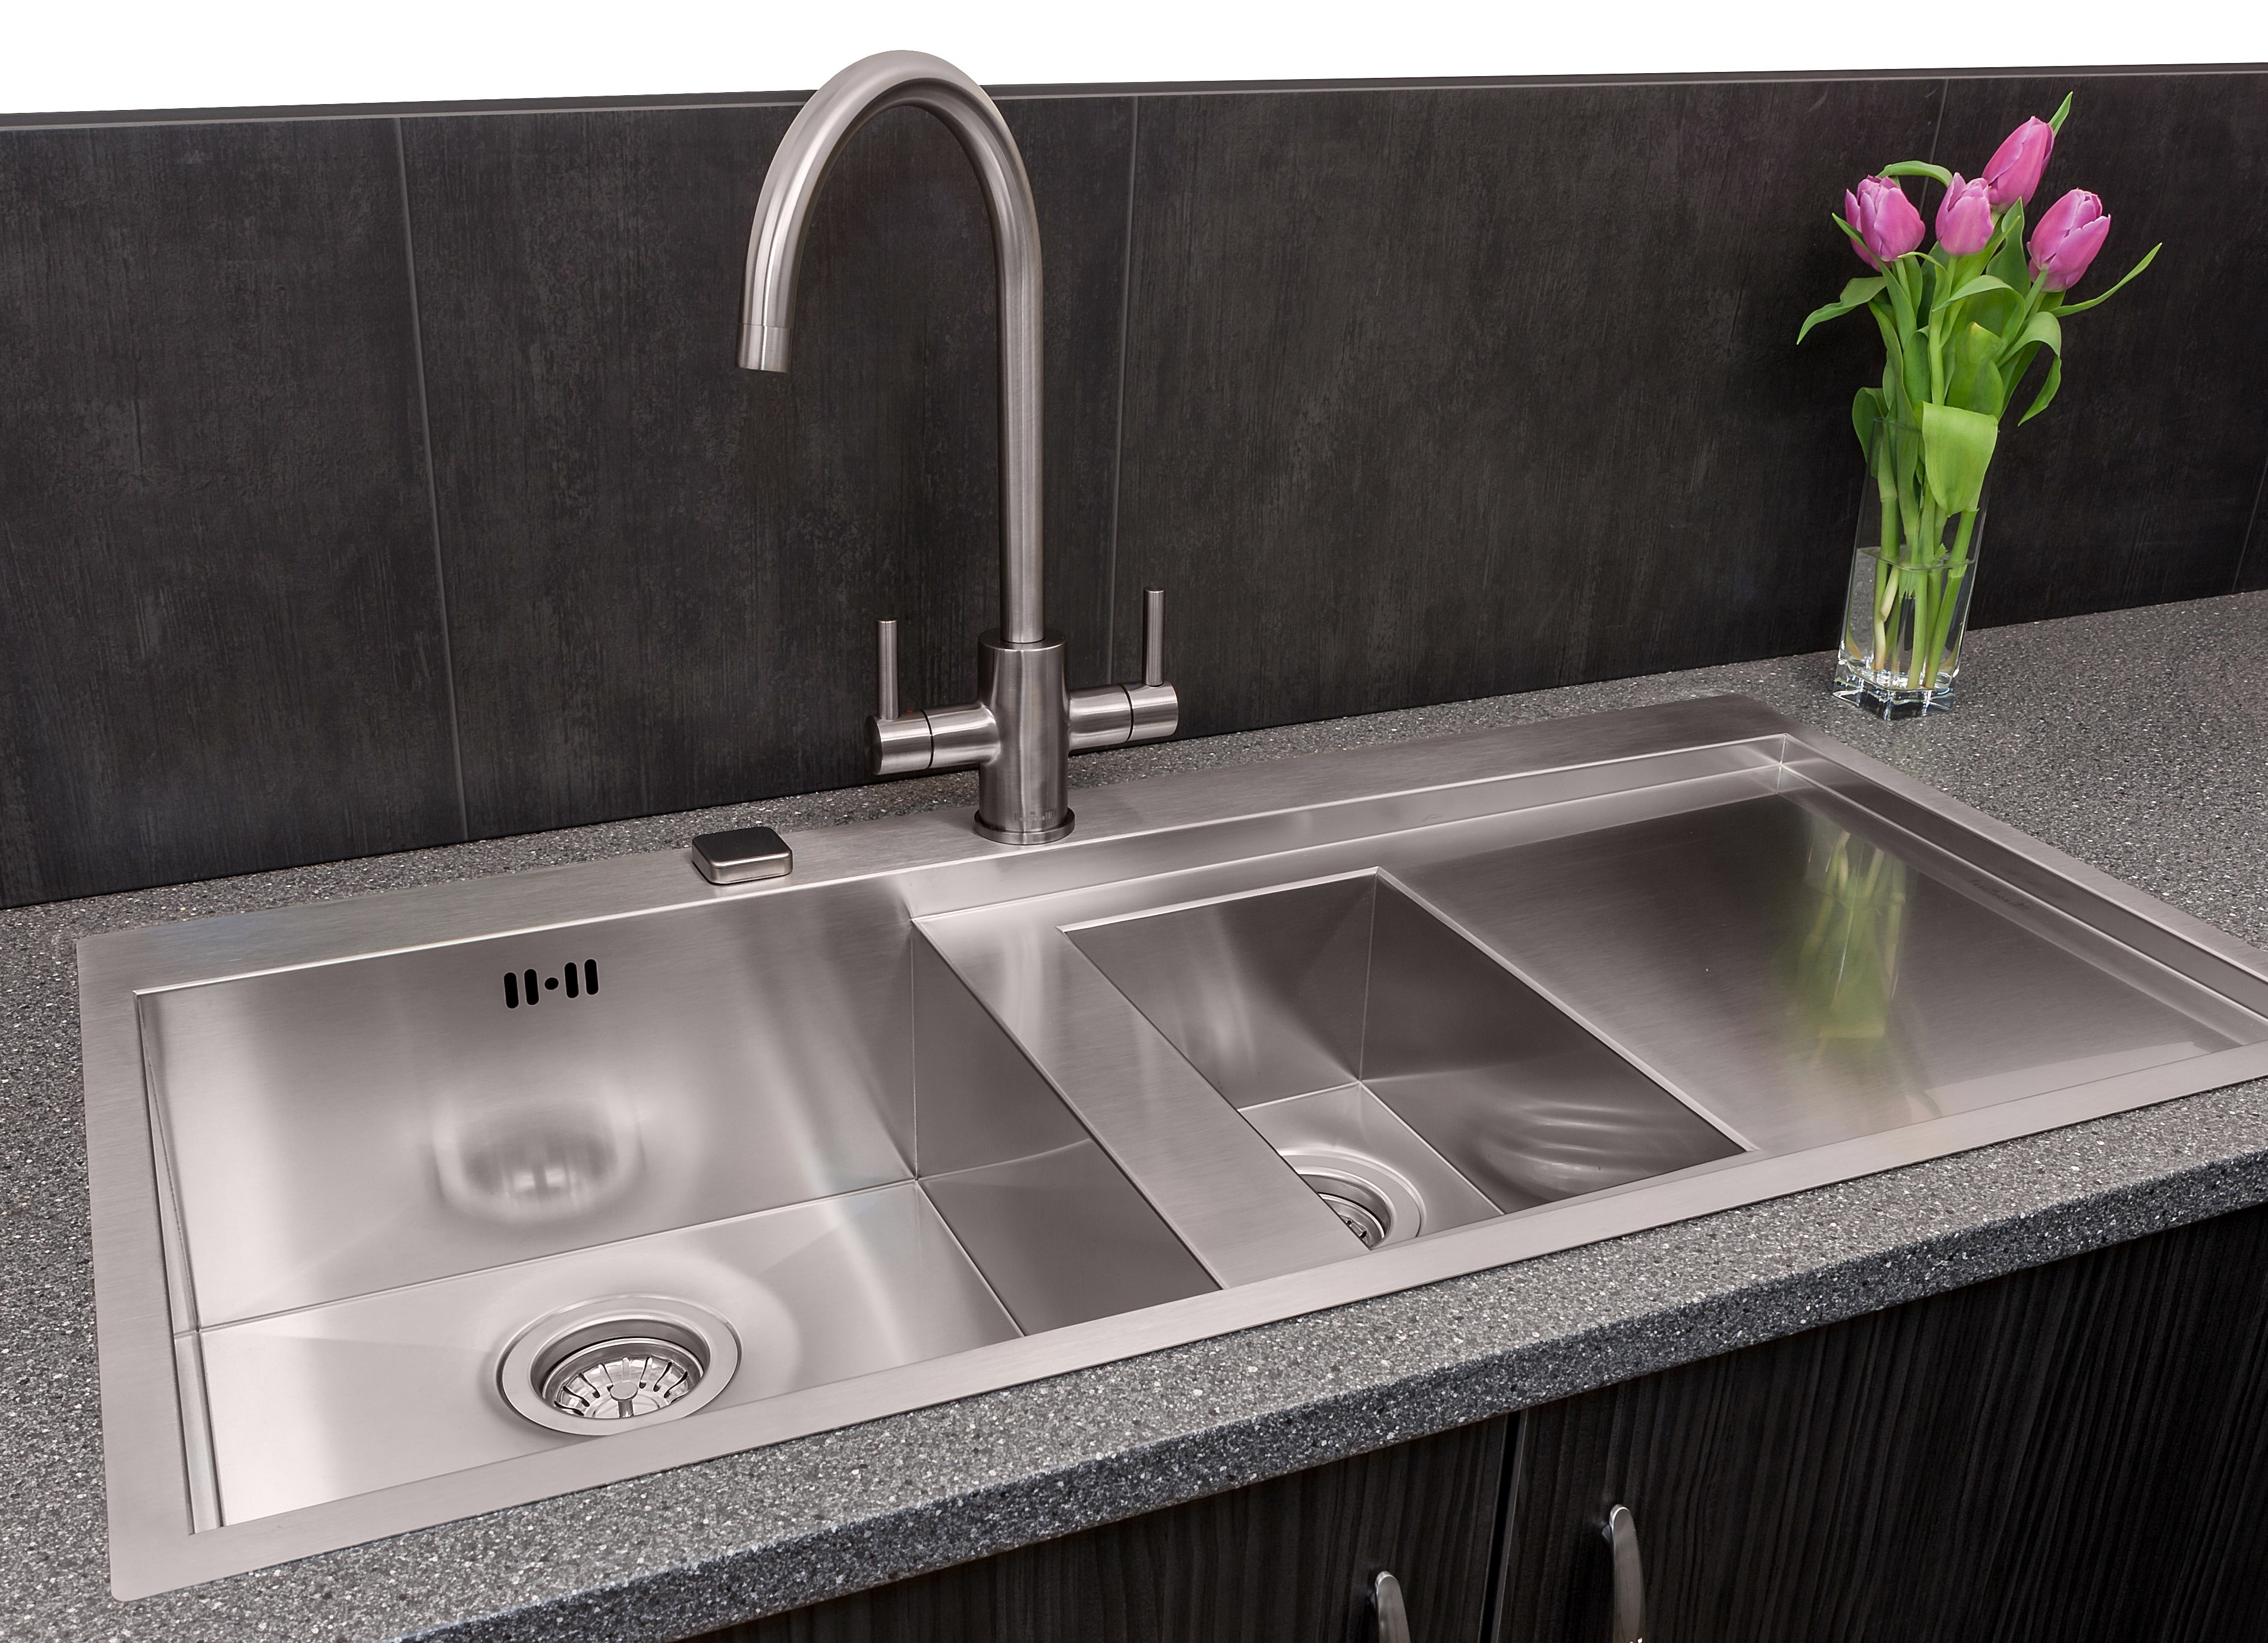
 When it comes to house design, the bathroom is often overlooked. However, a well-designed bathroom can make a significant impact on the overall look and feel of your home. One simple way to upgrade your bathroom is by installing a new
bathroom sink
. Not only does it add functionality and convenience, but it also adds a touch of style to your space. In this article, we will guide you through the process of
installing a new bathroom sink
and provide you with some tips and tricks along the way.
When it comes to house design, the bathroom is often overlooked. However, a well-designed bathroom can make a significant impact on the overall look and feel of your home. One simple way to upgrade your bathroom is by installing a new
bathroom sink
. Not only does it add functionality and convenience, but it also adds a touch of style to your space. In this article, we will guide you through the process of
installing a new bathroom sink
and provide you with some tips and tricks along the way.
Step 1: Gather Your Tools and Materials
 Before you begin, make sure you have all the necessary tools and materials. These may include a new sink, faucet, drain and supply lines, wrench, screwdriver, silicone sealant, and plumber's putty. It's also a good idea to have a bucket and towels on hand to catch any water that may spill during the installation process.
Step 2: Turn off the Water Supply
 Before you start
installing your new bathroom sink
, it's crucial to turn off the water supply. This can usually be done by locating the shut-off valves under the sink or near the main water supply line. Once the water is turned off, turn on the faucet to drain any remaining water in the pipes.
Before you start
installing your new bathroom sink
, it's crucial to turn off the water supply. This can usually be done by locating the shut-off valves under the sink or near the main water supply line. Once the water is turned off, turn on the faucet to drain any remaining water in the pipes.
Step 3: Remove the Old Sink
 Next, remove the old sink by loosening the mounting clips or screws that hold it in place. Once the sink is detached, carefully remove it from the vanity or countertop. You may need to use a utility knife to cut through any caulking or adhesive that is holding the sink in place.
Step 4: Install the New Sink
 Now it's time to install your new sink. If your sink comes with a template, use it to mark the location of the faucet and drain holes on the countertop. Carefully drill these holes using a drill bit that is appropriate for the material of your countertop.
Step 5: Connect the Drain and Faucet
 Attach the drain and faucet to the sink according to the manufacturer's instructions. Make sure to use plumber's putty or silicone sealant to create a watertight seal. Then, place the sink into the countertop and secure it with mounting clips or brackets.
Step 6: Connect the Supply Lines
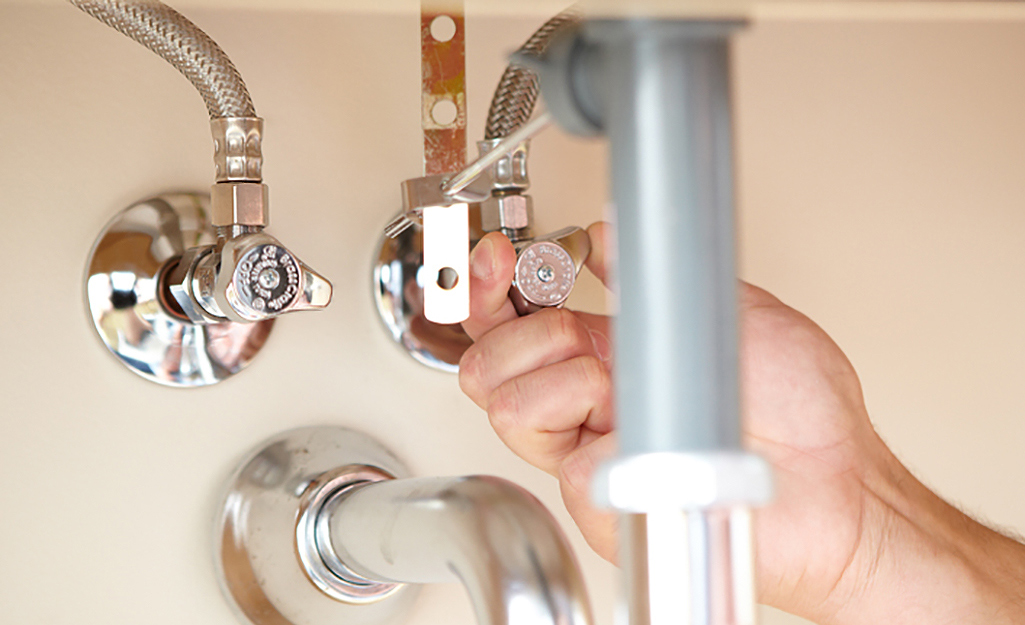 Now it's time to connect the supply lines to the faucet and the shut-off valves. Be sure to use the correct size and type of supply lines for your specific faucet. Tighten the connections using a wrench, but be careful not to overtighten.
Step 7: Test and Seal
 Finally, turn on the water supply and test your new sink. Check for any leaks and make sure the water is flowing properly. If everything looks good, apply a bead of silicone sealant around the edges of the sink to create a waterproof seal.
In Conclusion
 Installing a new bathroom sink is a simple and cost-effective way to upgrade your bathroom and add value to your home. By following these steps and taking your time, you can easily
install a new bathroom sink
on your own. However, if you are unsure or uncomfortable with any part of the process, it's always best to consult a professional plumber for assistance. With your new sink in place, you can now enjoy a fresh and modern look in your bathroom.
Installing a new bathroom sink is a simple and cost-effective way to upgrade your bathroom and add value to your home. By following these steps and taking your time, you can easily
install a new bathroom sink
on your own. However, if you are unsure or uncomfortable with any part of the process, it's always best to consult a professional plumber for assistance. With your new sink in place, you can now enjoy a fresh and modern look in your bathroom.