Are you looking to upgrade your bathroom with a new faucet? Look no further than Moen's high-quality and stylish bathroom sink faucets. Not only are they durable and reliable, but they also come in a variety of styles to match any bathroom decor. However, installing a new faucet may seem like a daunting task, especially if you're not a DIY expert. But fear not, with our step-by-step guide, you'll have your new Moen bathroom sink faucet installed in no time. So let's get started!Installing a Moen Bathroom Sink Faucet: A Step-by-Step Guide
Before you begin, make sure you have all the necessary tools and materials. You'll need a wrench, pliers, Teflon tape, and of course, your new Moen bathroom sink faucet. Once you have everything ready, follow these five easy steps: Step 1: Prepare the Sink Step 2: Install the New Faucet Step 3: Connect the Water Supply Step 4: Secure the Drain Assembly Step 5: Turn on the Water Supply and TestHow to Install a Moen Bathroom Sink Faucet in 5 Easy Steps
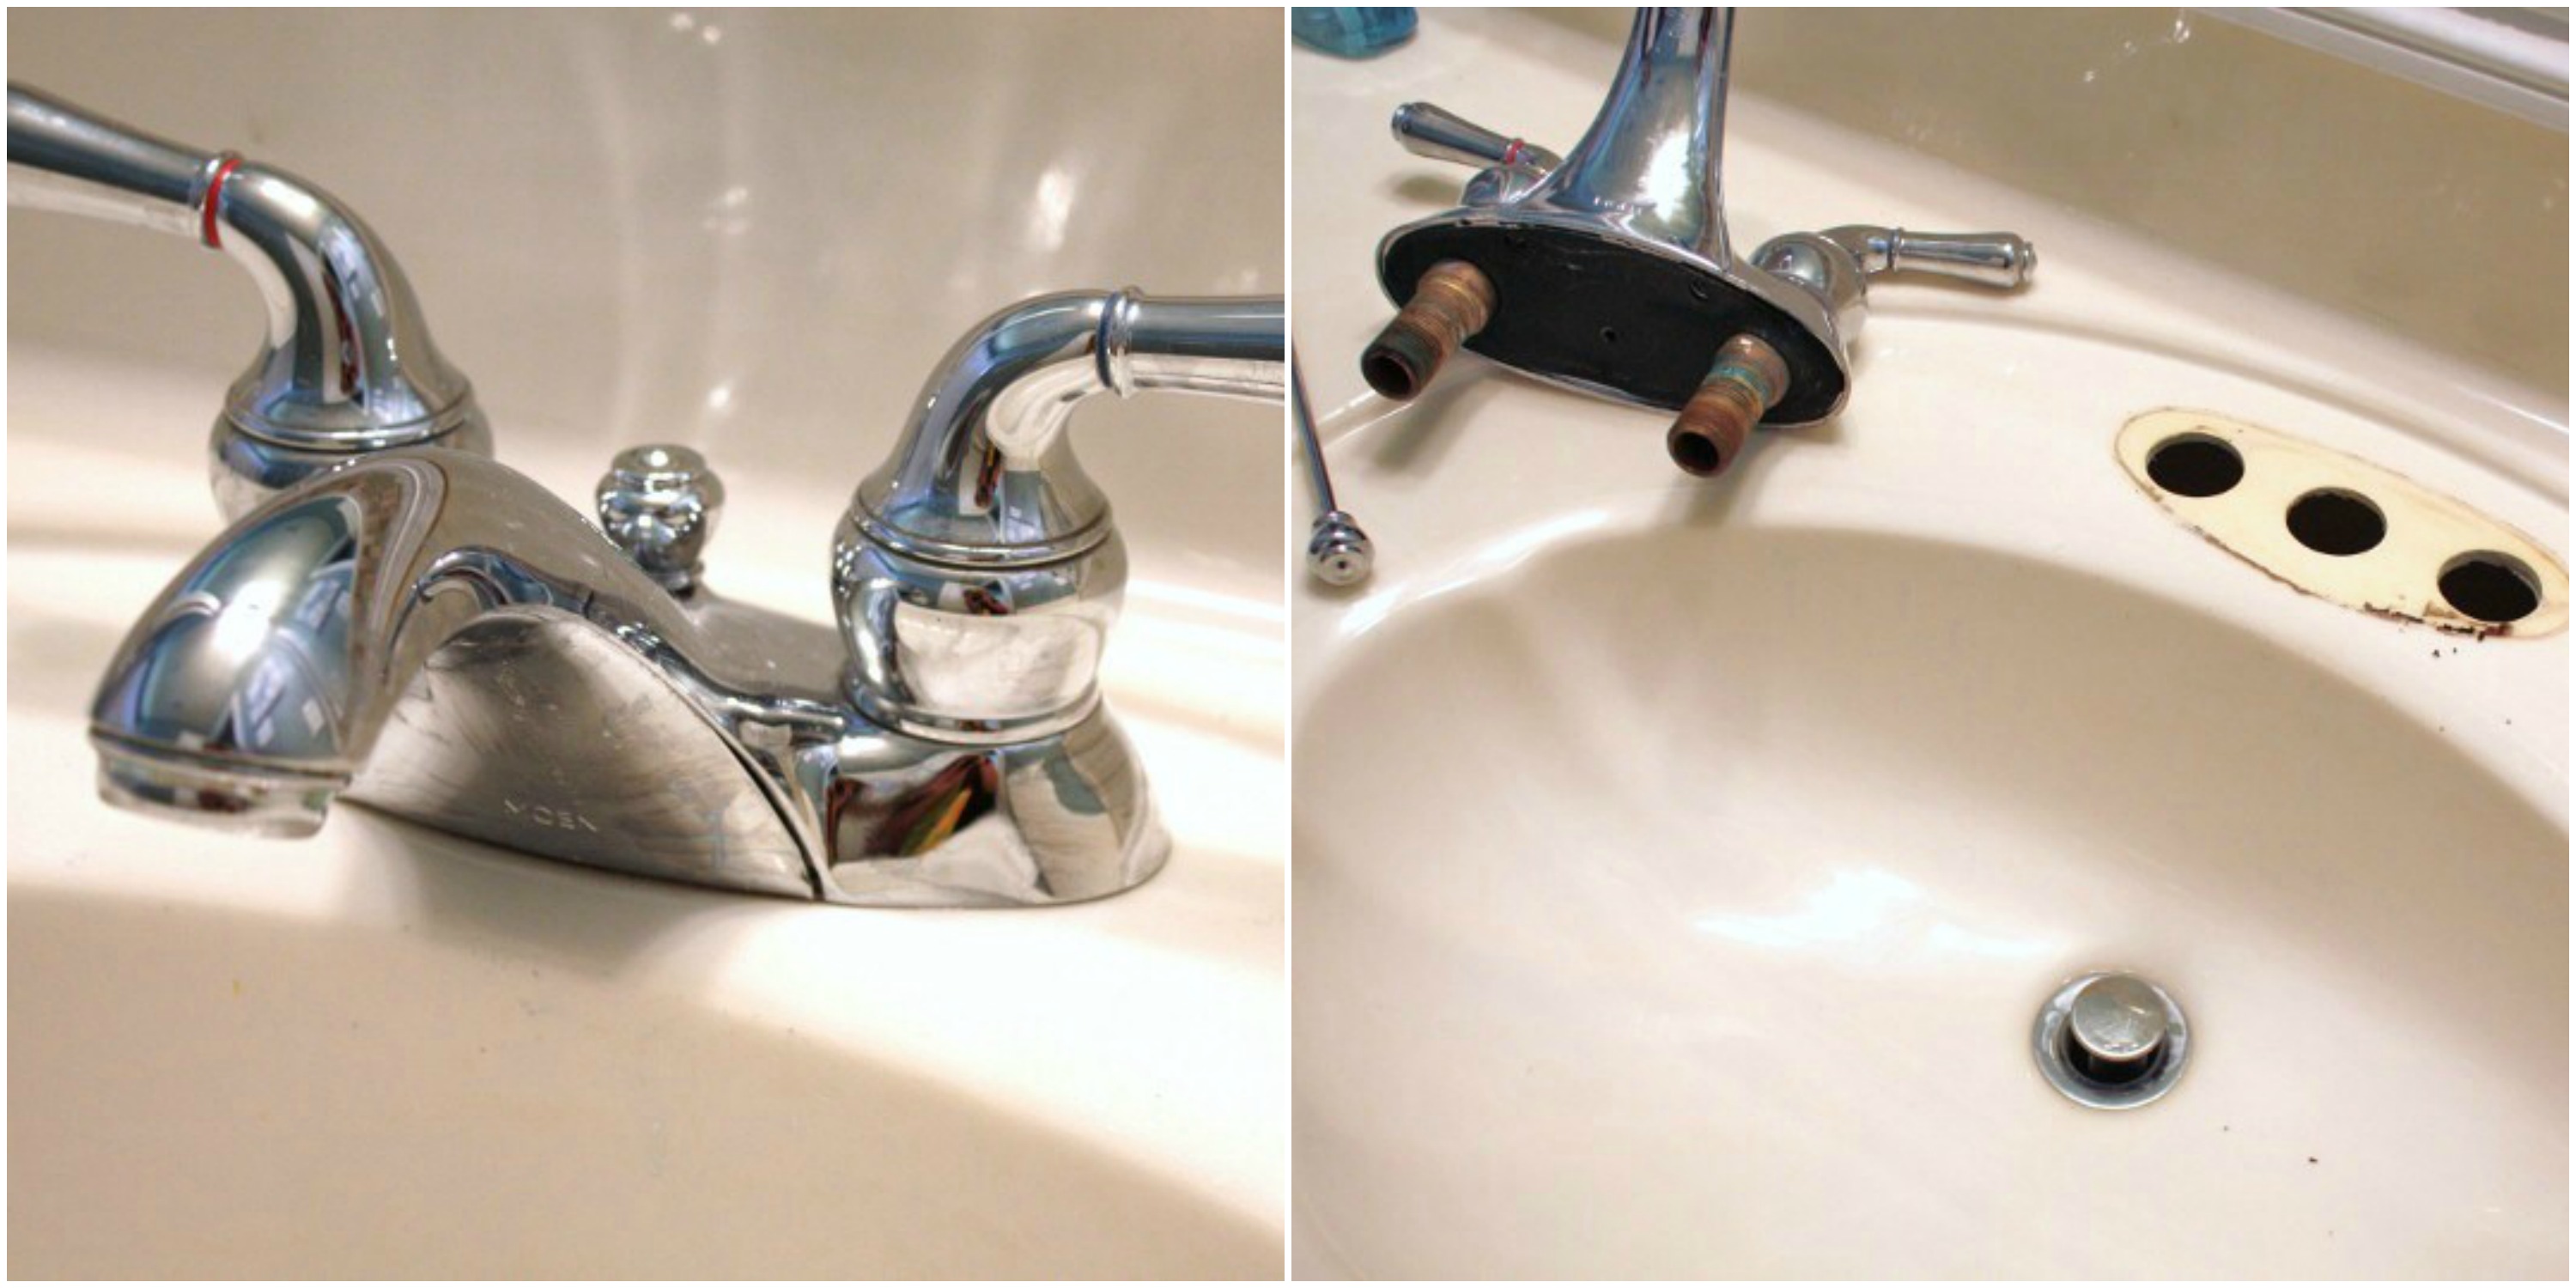
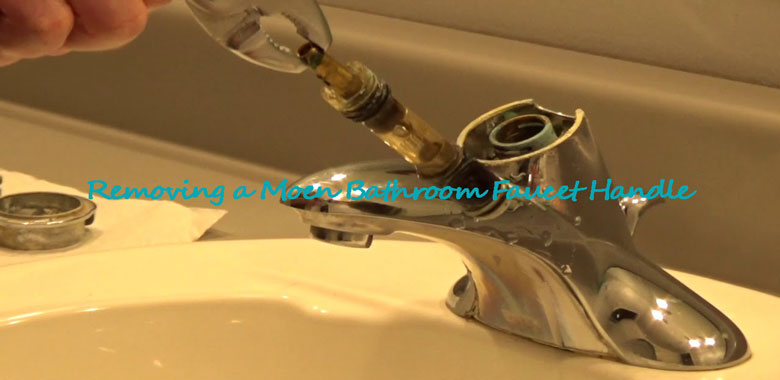
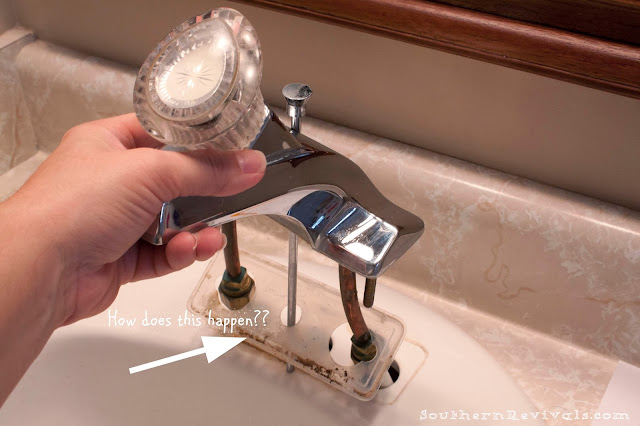
The first step is to prepare the sink for the installation. This includes removing the old faucet and cleaning the sink of any debris or old sealant. Make sure to turn off the water supply before proceeding to avoid any accidents.
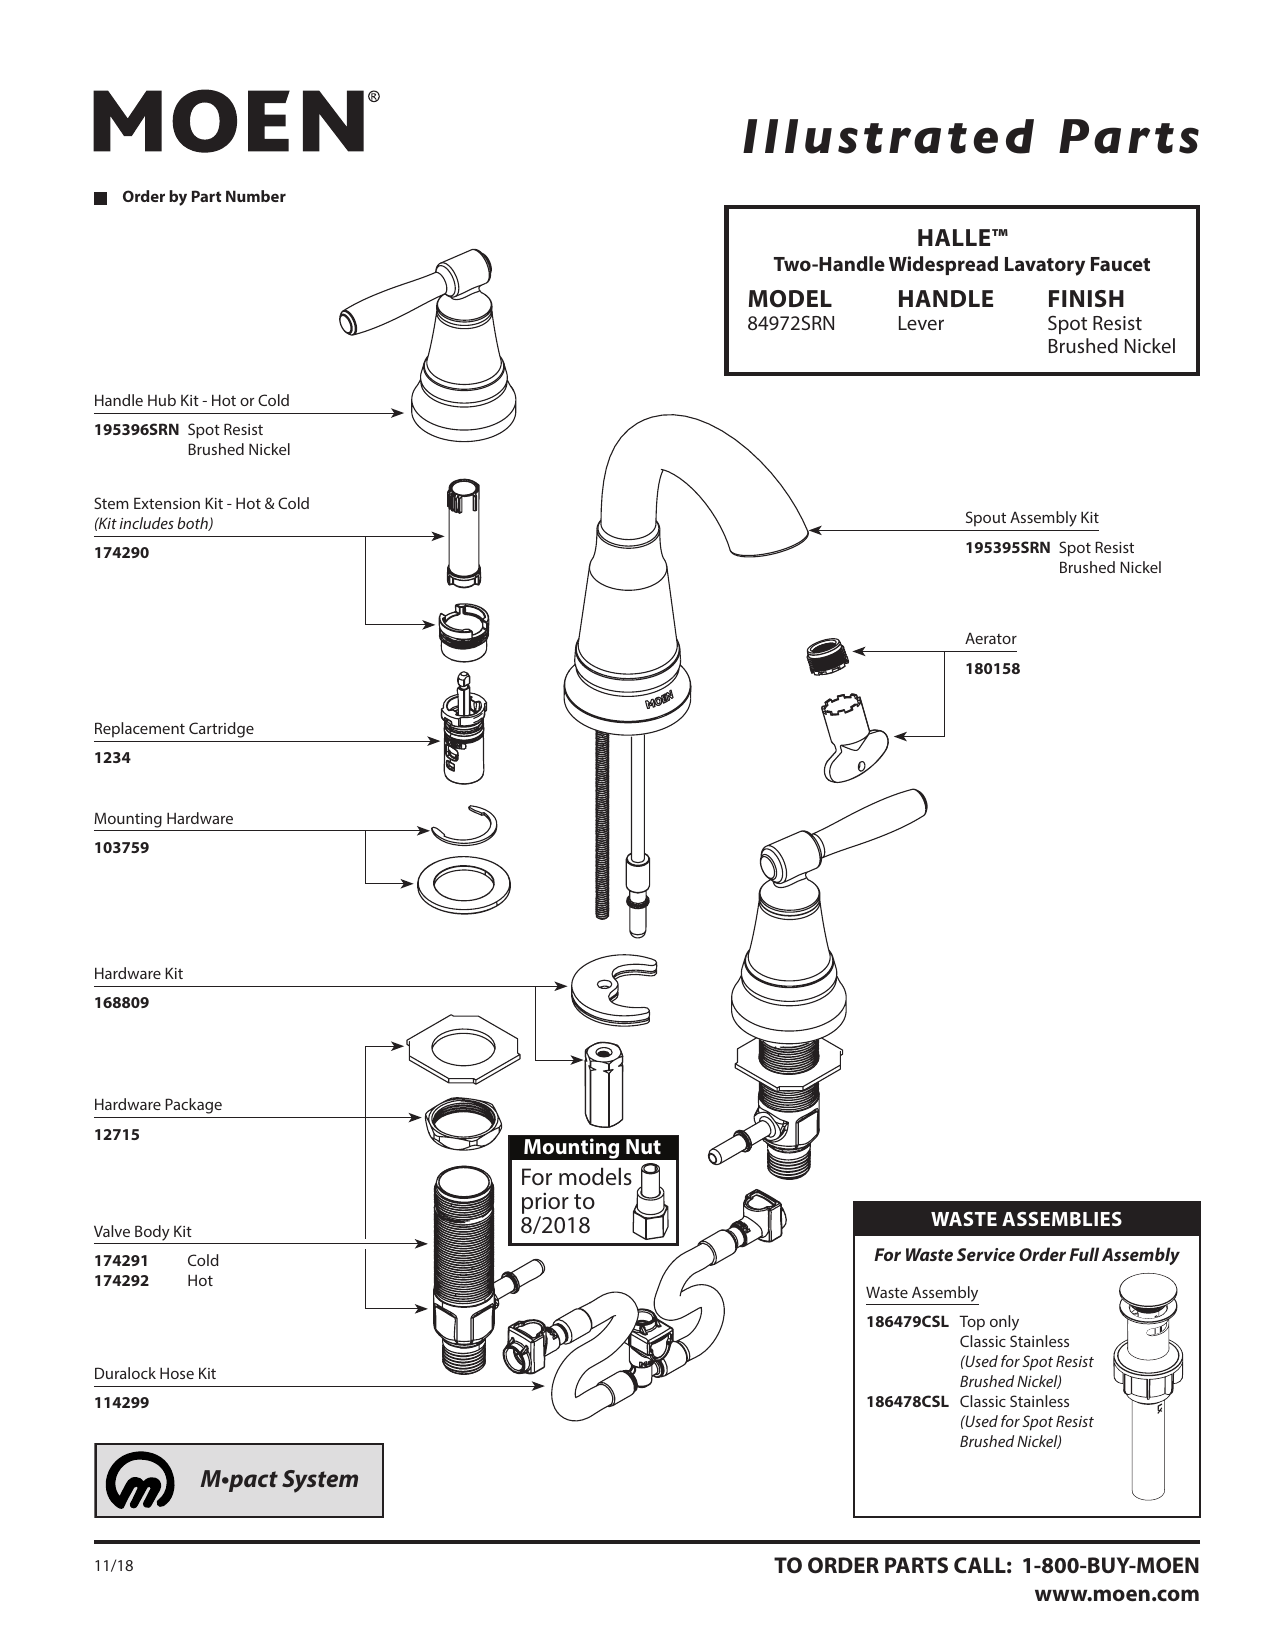
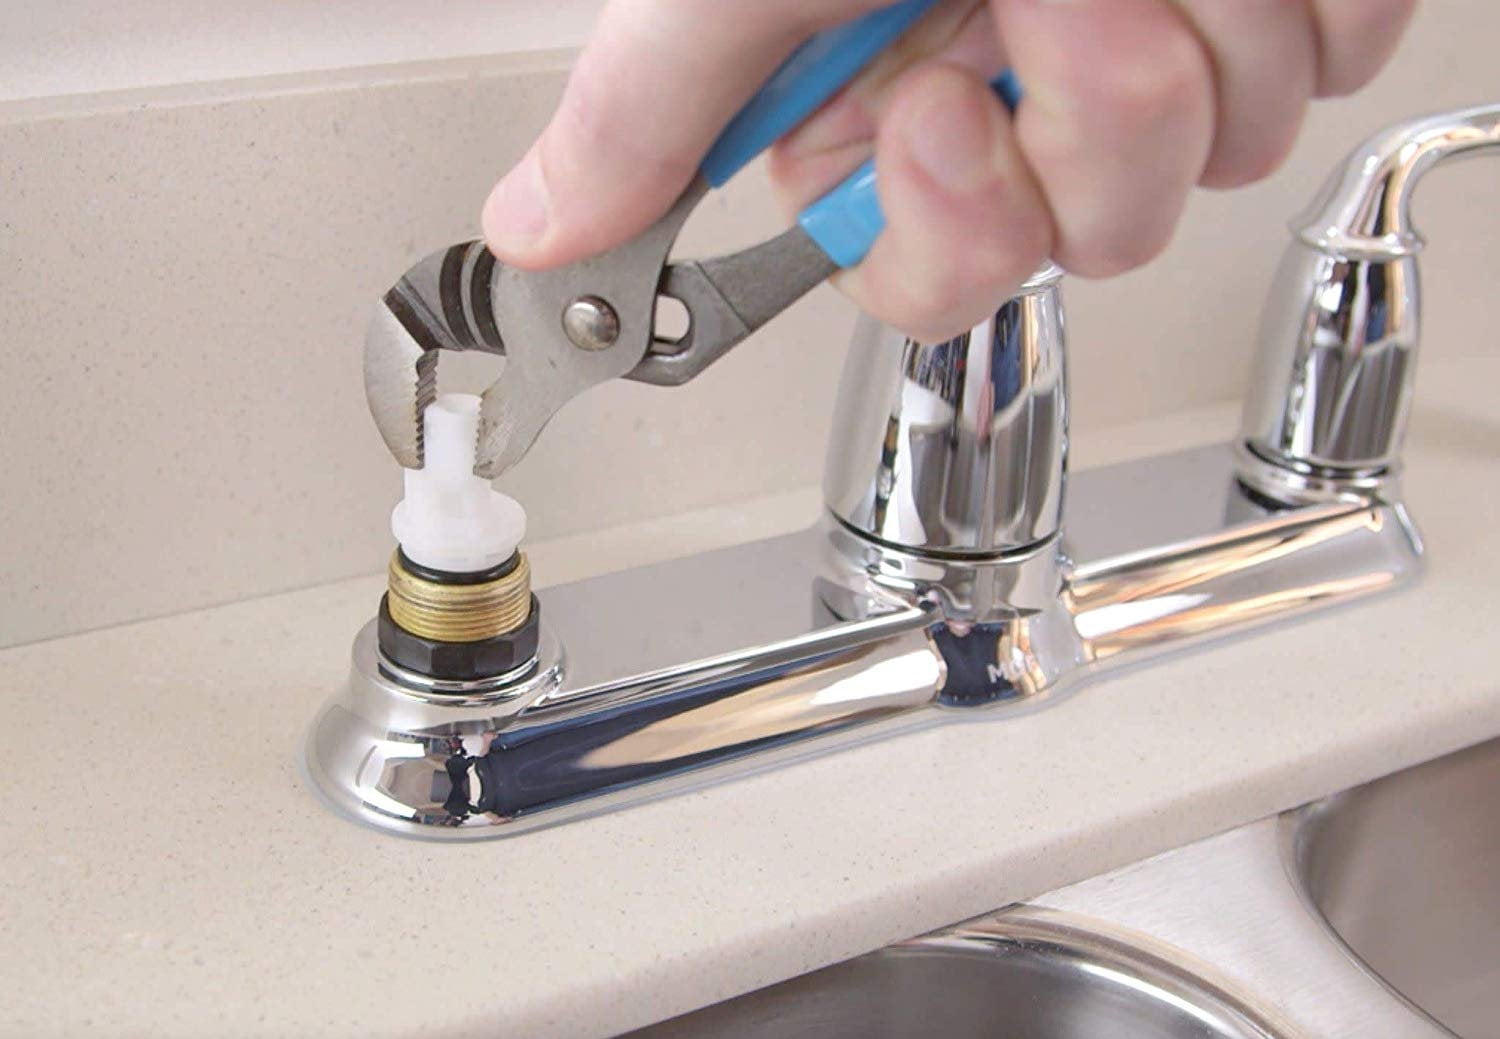
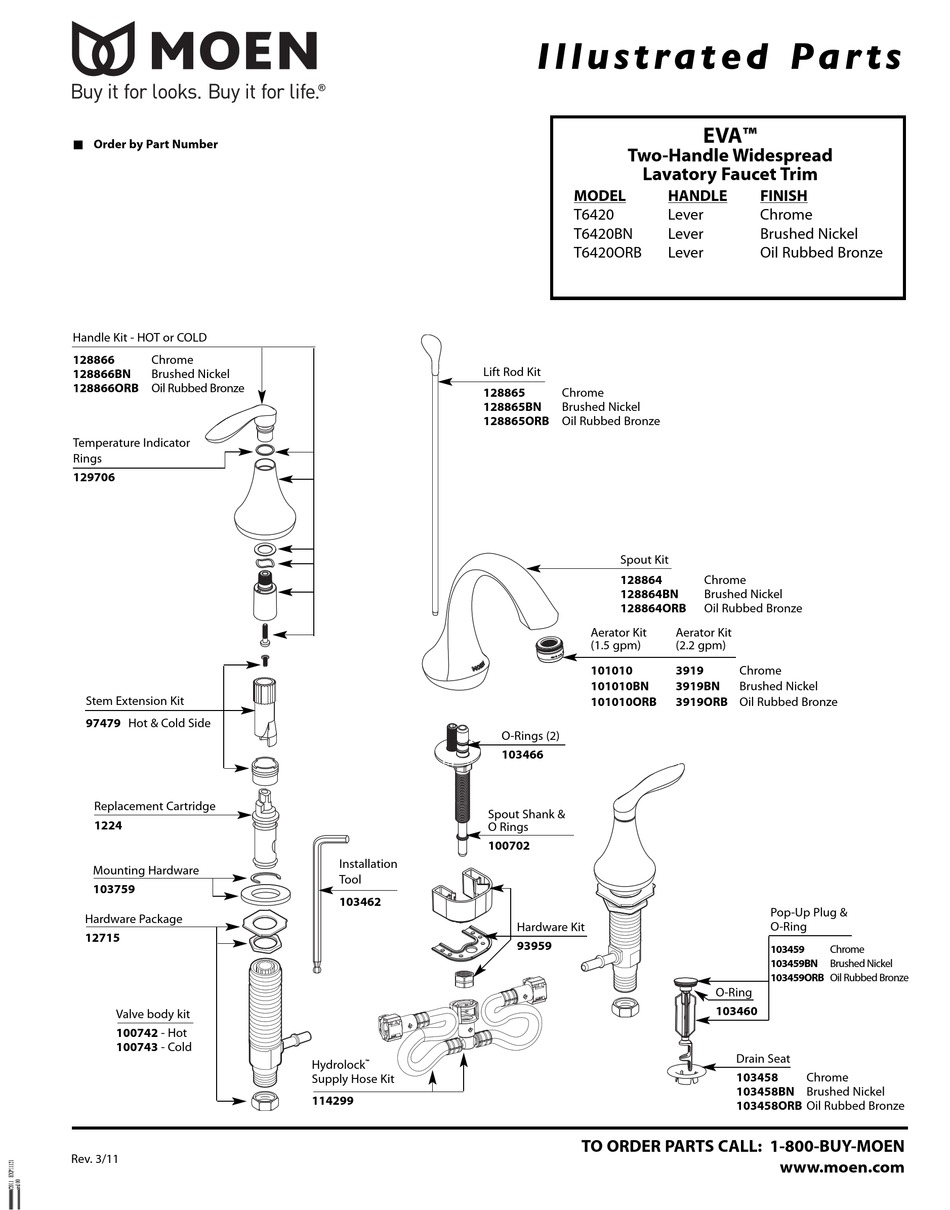
With the sink prepared, it's time to install the new Moen bathroom sink faucet. Start by inserting the faucet into the mounting holes and securing it with the mounting nuts. Use pliers to tighten the nuts, but be careful not to over-tighten them.
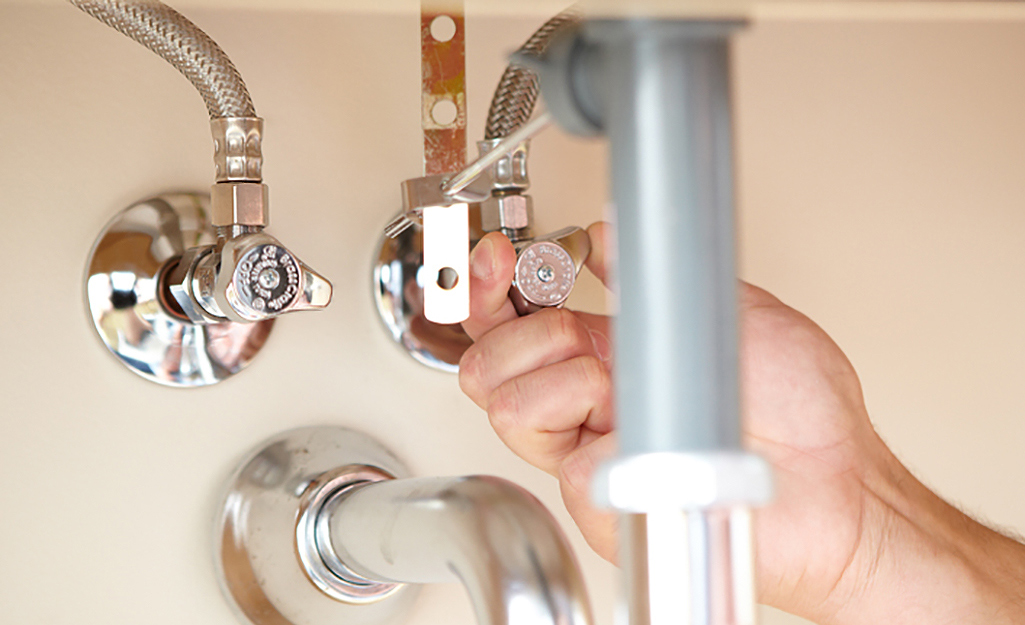
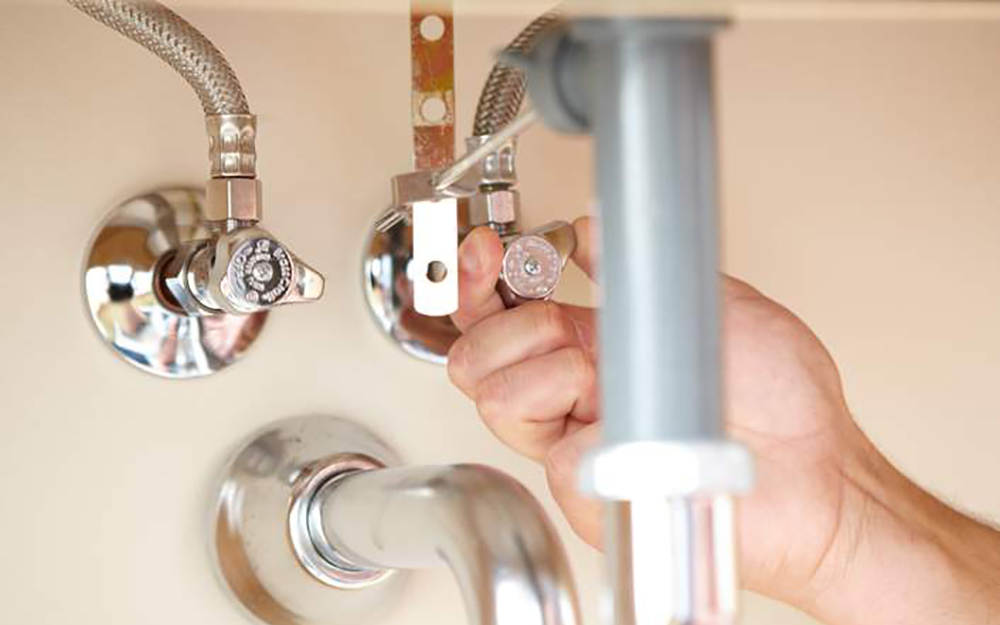
Next, you'll need to connect the water supply lines to the faucet. Apply Teflon tape to the threads of the supply lines to ensure a tight seal. Then, connect the hot and cold supply lines to their respective sides on the faucet.
Now it's time to secure the drain assembly. Apply plumber's putty around the drain hole and insert the drain assembly. Then, tighten the drain nut underneath the sink to secure it in place. Wipe away any excess putty that may have squeezed out.
With everything in place, it's time to turn the water supply back on and test your new Moen bathroom sink faucet. Check for any leaks and make any necessary adjustments. Once everything is functioning properly, congratulations, you have successfully installed your new faucet!
While the installation process may seem straightforward, there are a few tips and tricks that can make it even easier. Here are some things to keep in mind when installing your Moen bathroom sink faucet: Choose the Right Faucet Read the Instructions Use Teflon Tape Don't Over-Tighten Keep Your Old Faucet as a ReferenceMoen Bathroom Sink Faucet Installation: Tips and Tricks
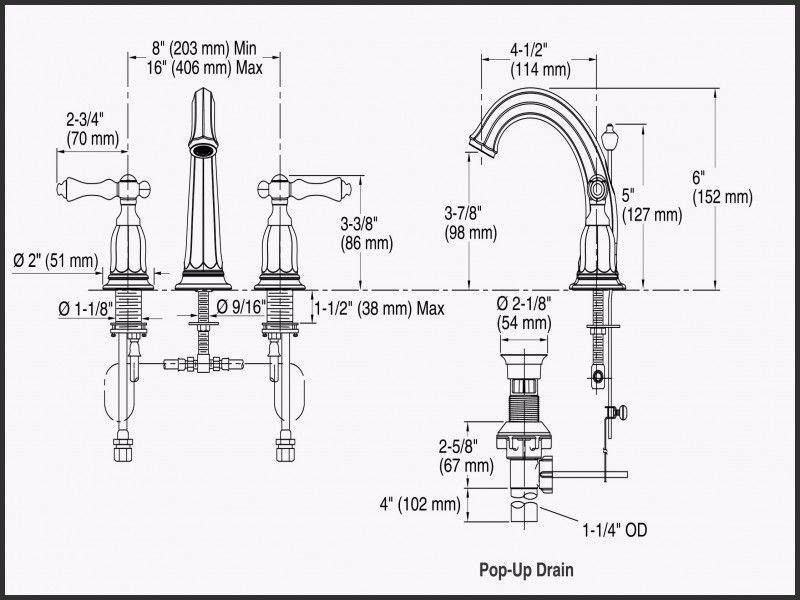
Before purchasing your new faucet, make sure to measure the distance between the mounting holes on your sink. This will ensure that you choose a faucet that will fit properly.
While our guide provides a general overview, it's always a good idea to read the specific instructions that come with your Moen bathroom sink faucet. This will ensure that you have all the necessary information for your specific faucet model.
As mentioned earlier, using Teflon tape on the supply line threads will help create a tight seal and prevent leaks. Make sure to wrap the tape around the threads in a clockwise direction.
When securing the mounting nuts and drain assembly, be careful not to over-tighten them. This can cause damage to the faucet and sink, and may even lead to leaks.
If you're having trouble identifying which supply line is hot and which is cold, or which way to turn the handle for hot water, keep your old faucet nearby as a reference.
Installing a new faucet can be a fun and rewarding DIY project. Not only will it save you money, but it will also give you a sense of accomplishment. Just make sure to take your time and follow the instructions carefully. If you're new to DIY projects, start with a simple faucet installation like the Moen bathroom sink faucet. You'll be surprised at how easy it can be, and you'll gain valuable skills for future projects.DIY: Installing a Moen Bathroom Sink Faucet
Still feeling a bit overwhelmed? Don't worry; our ultimate guide has got you covered. We've included all the necessary steps, tips, and tricks to make your Moen bathroom sink faucet installation a breeze. You'll have your new faucet up and running in no time. Remember to take your time, read the instructions, and don't hesitate to ask for help if needed. With this guide, you'll have a professional-looking faucet installation without the expensive cost.The Ultimate Guide to Installing a Moen Bathroom Sink Faucet
Installing a new faucet can seem like a daunting task, but with Moen's high-quality and easy-to-install bathroom sink faucets, it's never been simpler. With our step-by-step guide and helpful tips, you'll have your new faucet installed in no time, and your bathroom will have a fresh and updated look.Moen Bathroom Sink Faucet Installation Made Simple
By now, you should be well-equipped with all the necessary information to install your new Moen bathroom sink faucet. Just remember to take your time, follow the instructions, and don't hesitate to seek professional help if needed. If you encounter any issues during the installation process, refer back to our guide or contact Moen's customer service for assistance.Step-by-Step Instructions for Installing a Moen Bathroom Sink Faucet
Now that you know the basics of installing a Moen bathroom sink faucet, here are some expert tips to help ensure a successful installation: Turn Off the Water Supply Install a New Drain Stopper Use a Basin Wrench Check for LeaksExpert Tips for Installing a Moen Bathroom Sink Faucet
Before starting the installation, make sure to turn off the water supply. This will prevent any accidents or water damage.
If your old drain stopper is worn out, consider replacing it with a new one while installing your new faucet. This will prevent any future issues.
A basin wrench is a handy tool that can make the installation process easier, especially in tight spaces. Consider investing in one for future DIY projects.
After completing the installation, check for any leaks and make any necessary adjustments. This will ensure that your faucet is functioning properly.
While installing a Moen bathroom sink faucet is relatively straightforward, there are some common mistakes that you'll want to avoid: Not Turning Off the Water Supply Over-Tightening Not Using Teflon Tape Ignoring the InstructionsCommon Mistakes to Avoid When Installing a Moen Bathroom Sink Faucet
Failing to turn off the water supply can lead to accidents and water damage. Always remember to turn off the water before starting the installation process.
As mentioned earlier, over-tightening the mounting nuts and drain assembly can cause damage and leaks. Use pliers to tighten, but be careful not to overdo it.
Skipping the Teflon tape can lead to leaks and water damage. Make sure to apply it to the supply line threads before connecting them to the faucet.
While our guide provides a general overview, it's essential to read the specific instructions that come with your Moen bathroom sink faucet. This will ensure that you have all the necessary information for your specific faucet model.
Lastly, before purchasing your new Moen bathroom sink faucet, make sure to consider the following factors: Style Finish Size Budget With these factors in mind, you'll be able to choose the perfect Moen bathroom sink faucet for your installation.How to Choose the Right Moen Bathroom Sink Faucet for Your Installation
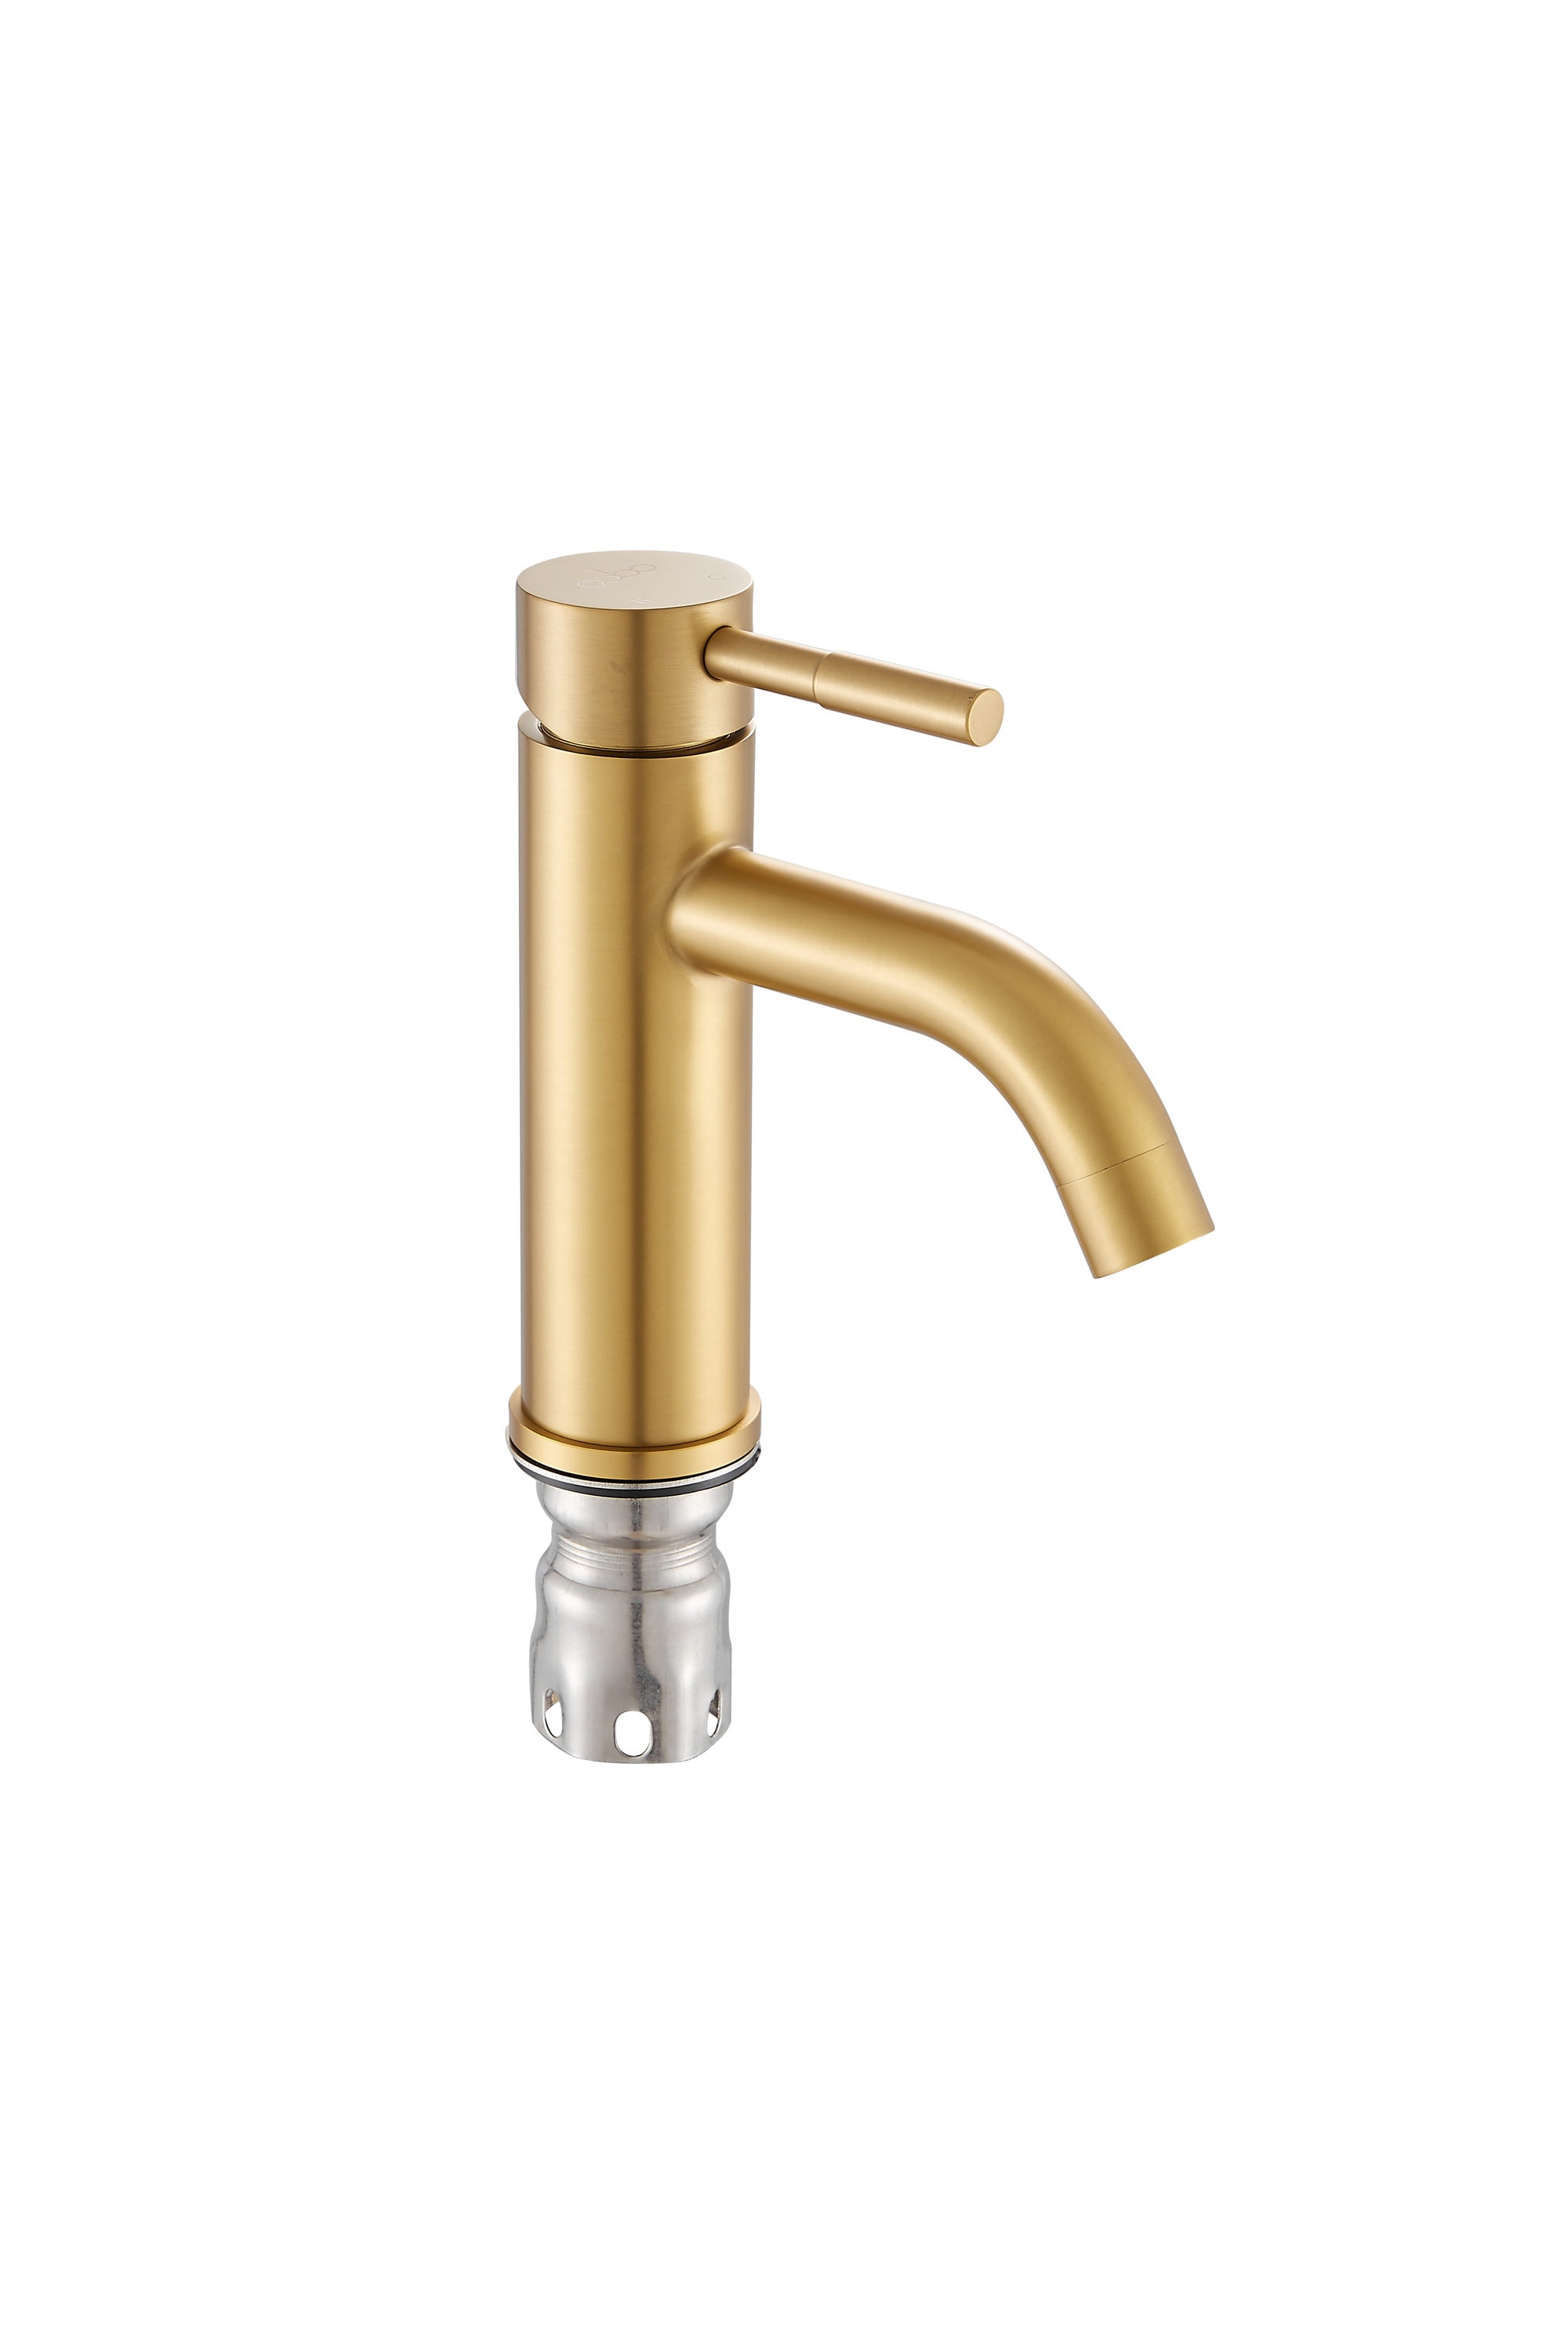
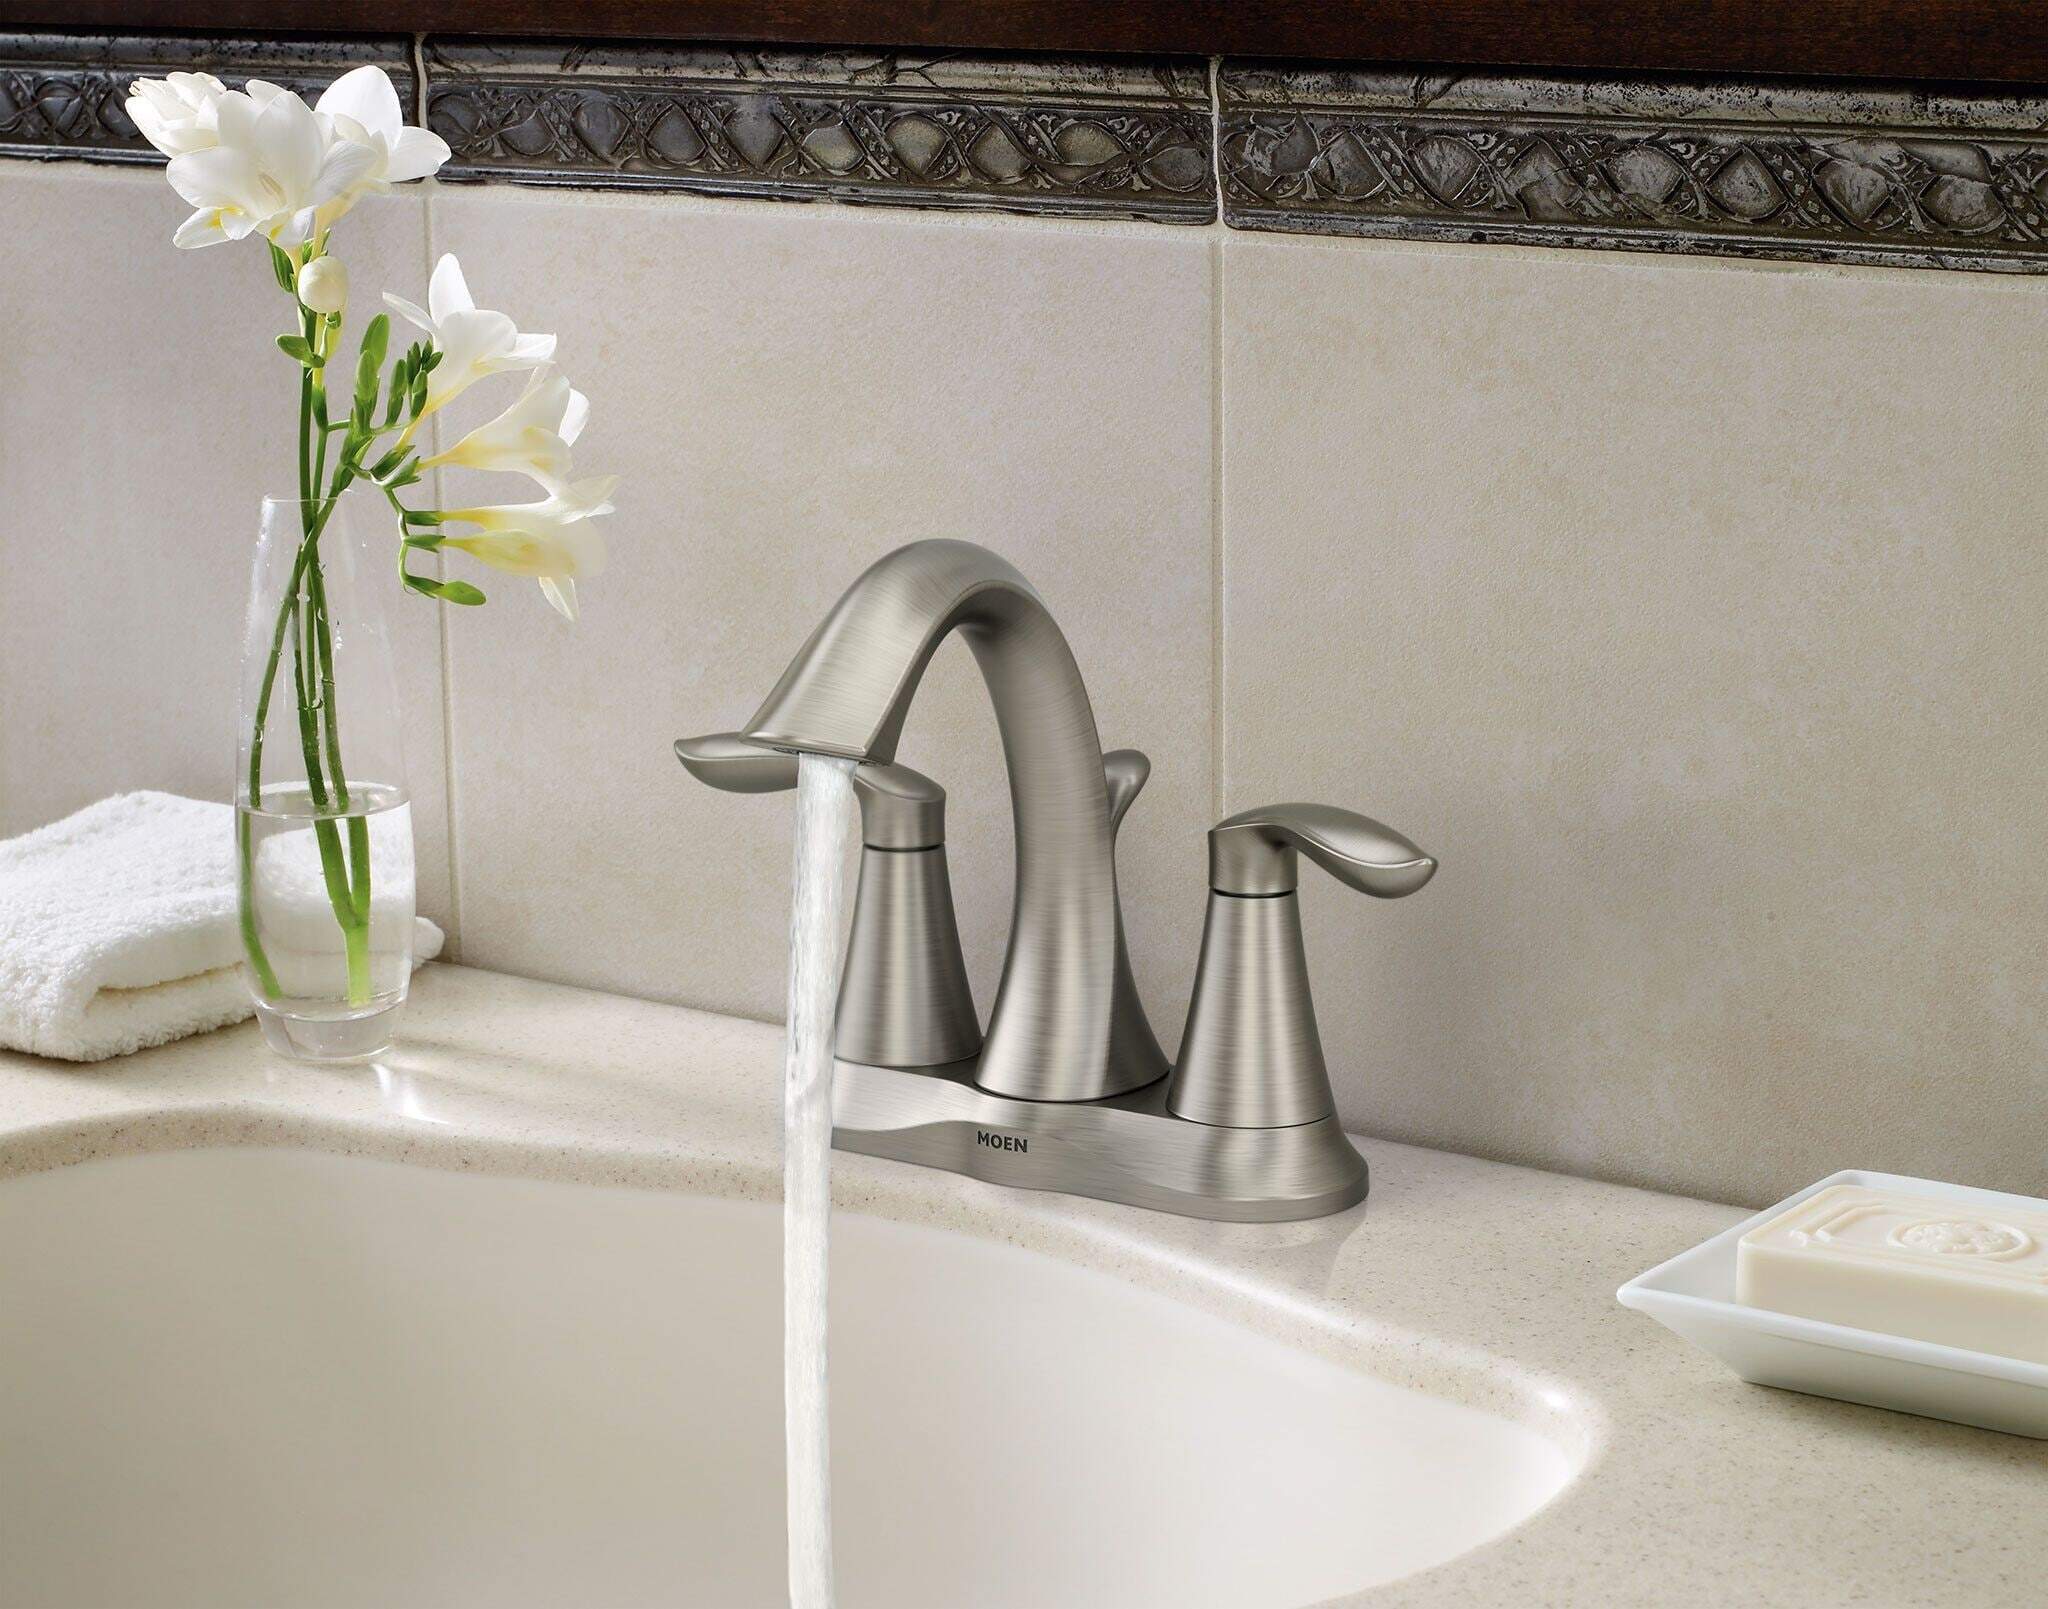
Choose a faucet that matches the style and decor of your bathroom. Moen offers a variety of styles, from modern to traditional, to fit any bathroom design.
The finish of your faucet can make a significant impact on the overall look of your bathroom. Choose a finish that complements your bathroom's color scheme and other fixtures.
Make sure to measure the distance between the mounting holes on your sink and choose a faucet that will fit properly.
Last but not least, consider your budget when choosing a Moen bathroom sink faucet. While they offer high-quality products, they also have options to fit different budget ranges.
Choosing the Right Moen Bathroom Sink Faucet for Your House Design

The Importance of a Bathroom Sink Faucet in House Design
 When it comes to designing your dream bathroom, every detail matters. From the tile selection to the paint color, every element contributes to the overall aesthetic and functionality of the space. One of the most crucial components of any bathroom design is the
bathroom sink faucet
. Not only does it serve as a functional fixture, but it also adds to the overall style and design of the room. That's why it's essential to choose the right faucet for your house design.
Factors to Consider when Choosing a Moen Bathroom Sink Faucet
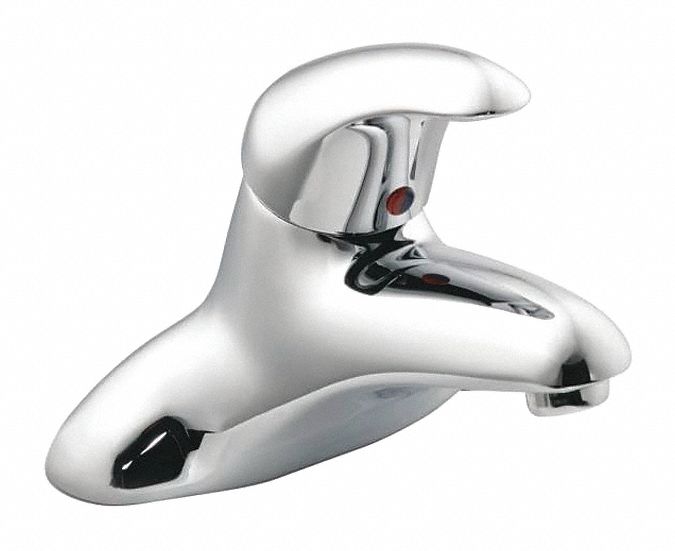 Moen
is a well-known and trusted brand in the plumbing industry, offering a range of
bathroom sink faucets
in various styles and finishes. But with so many options to choose from, how do you know which one is right for your house design? Here are some factors to consider:
1. Style and Design
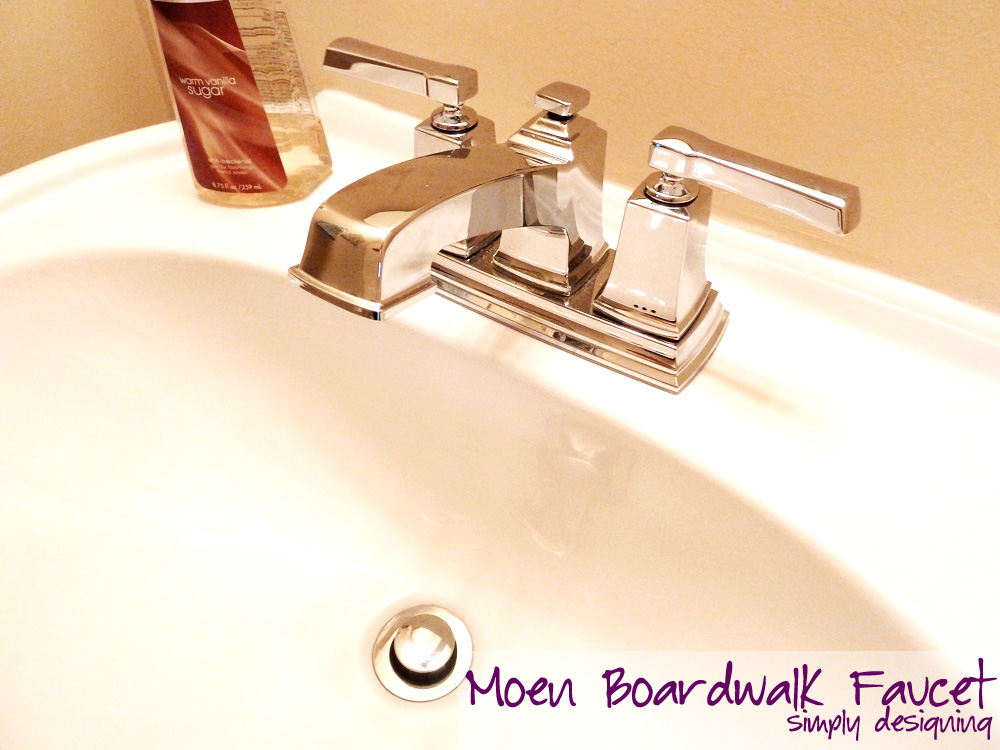
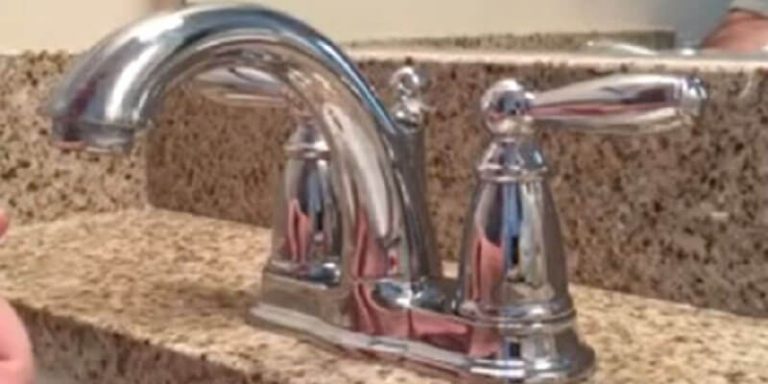
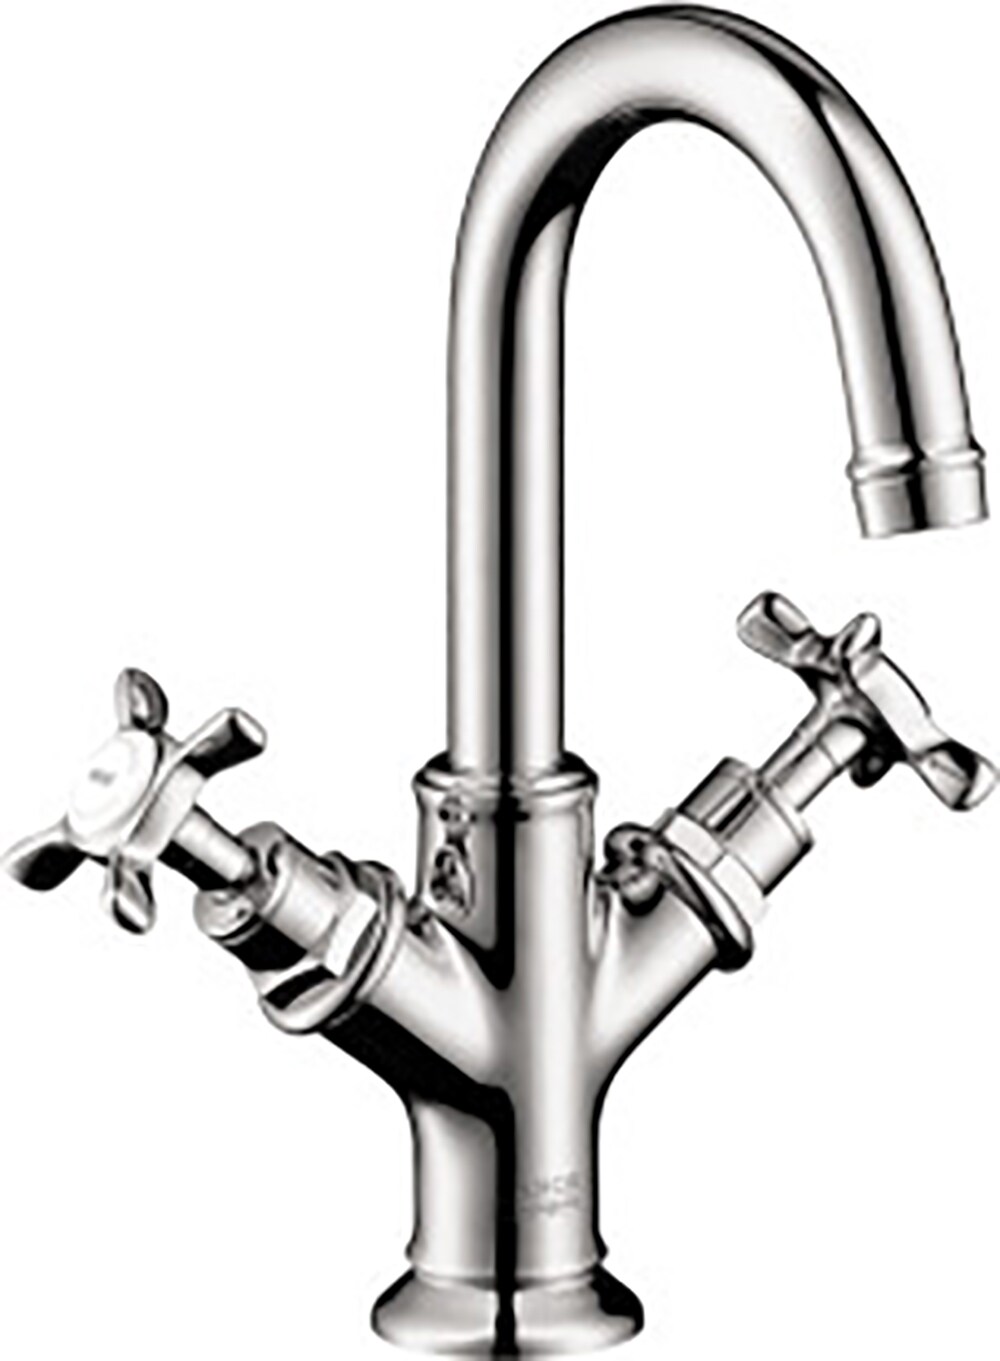
The first thing to consider is the style and design of the faucet. Do you want a modern, sleek look or a more traditional and classic design? Moen offers a variety of styles, including contemporary, transitional, and traditional, to suit any house design.2. Finishes
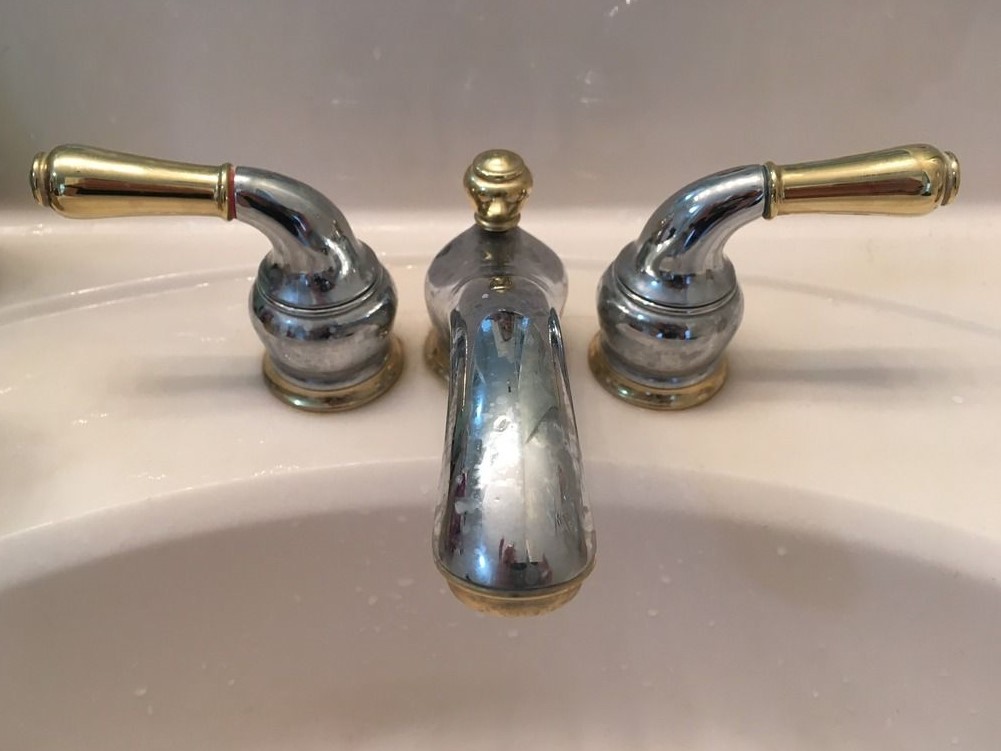
The finishes of the faucet can also play a significant role in the overall look of your bathroom. Moen offers a range of finishes, such as chrome, brushed nickel, and oil-rubbed bronze, to match your other bathroom fixtures and complement your house design.3. Functionality
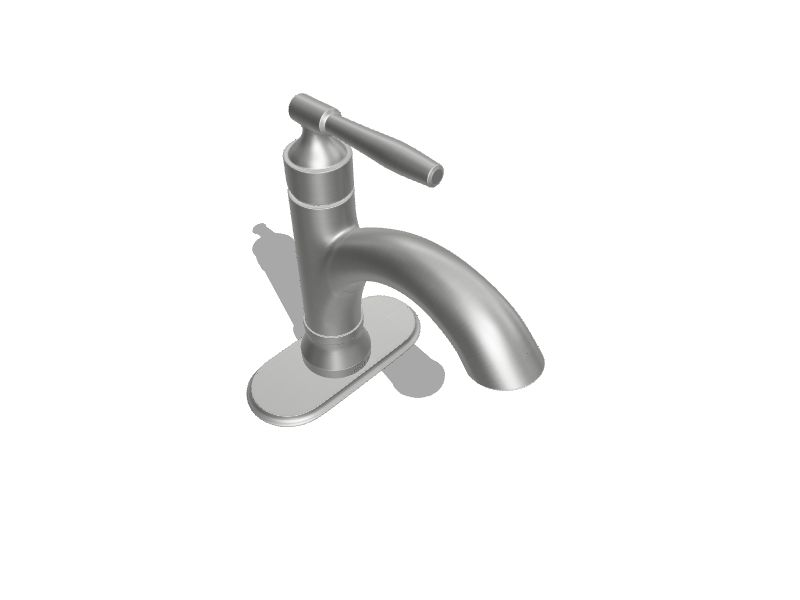
Aside from its aesthetic appeal, a bathroom sink faucet also needs to be functional. Consider the height and reach of the faucet, as well as the type of handles (single or dual) and spout (standard or high arc) that best fit your needs and preferences.4. Budget
Finally, it's essential to consider your budget when choosing a Moen bathroom sink faucet. While Moen offers high-quality and durable products, they also have options at different price points to fit your budget.Conclusion
 The right bathroom sink faucet can make a significant impact on your house design. With Moen's wide range of styles, finishes, and functionalities, you can find the perfect faucet to elevate your bathroom and bring your vision to life. So don't overlook this important detail in your bathroom design and choose a Moen faucet that fits your style and needs.


