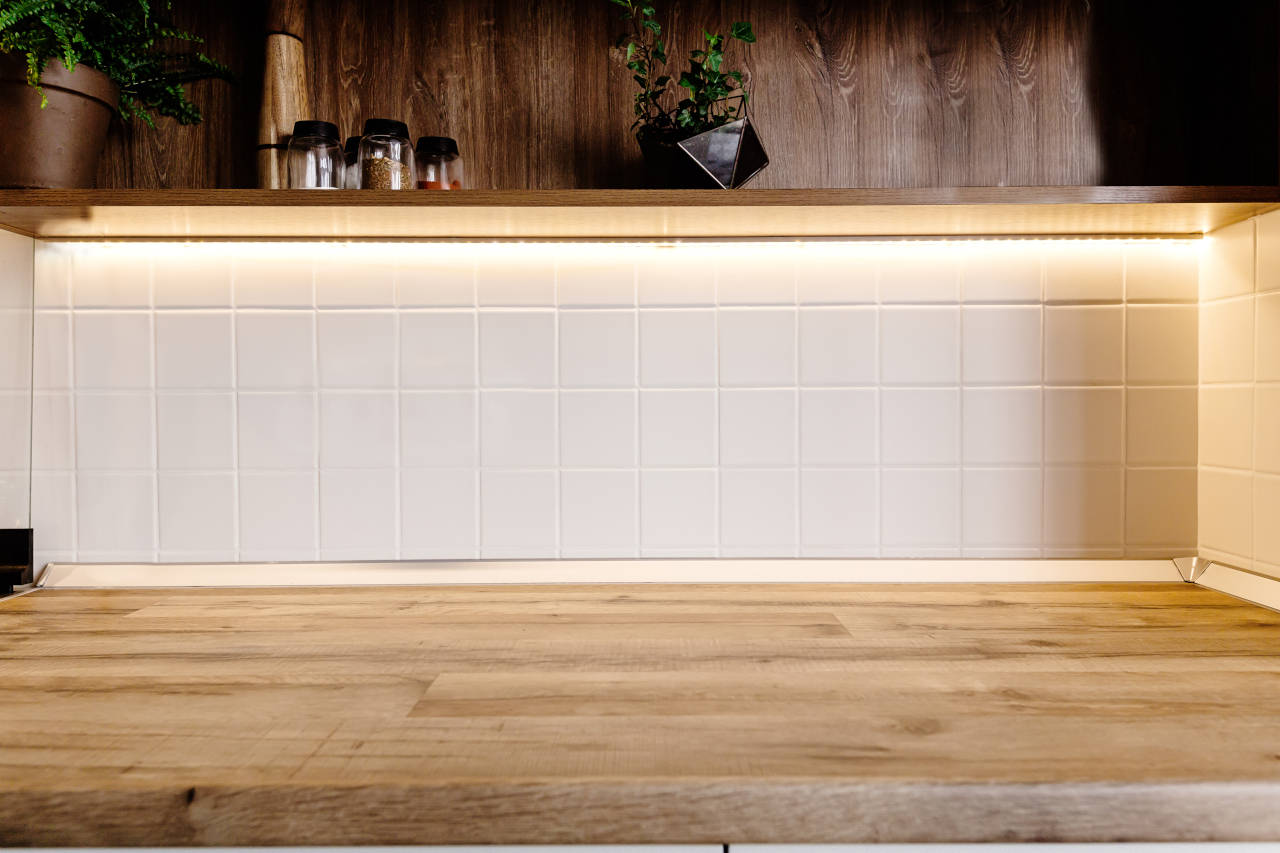
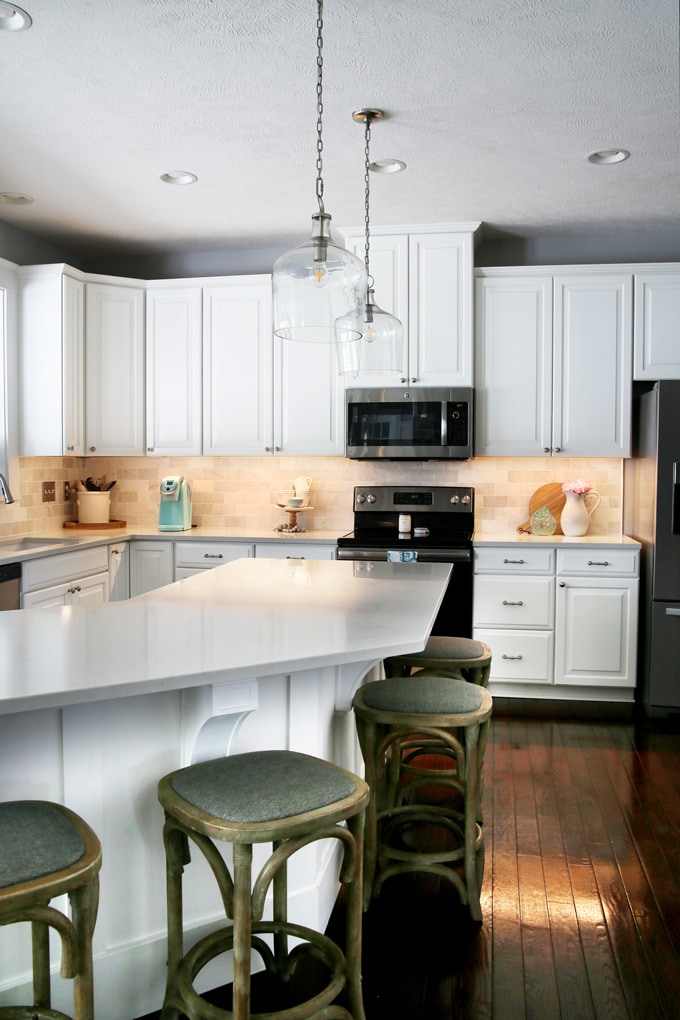
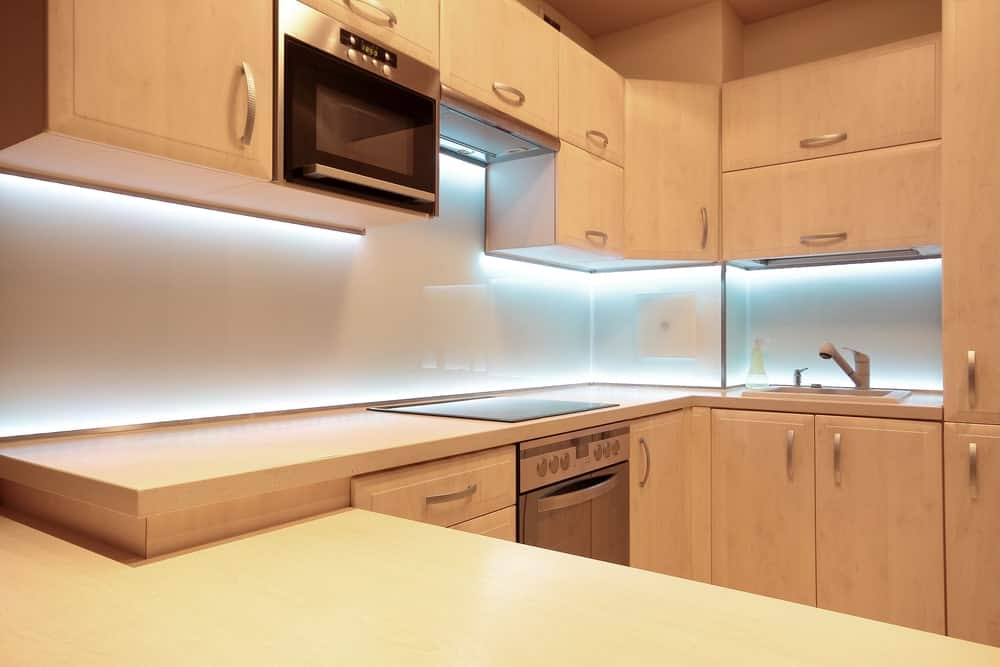
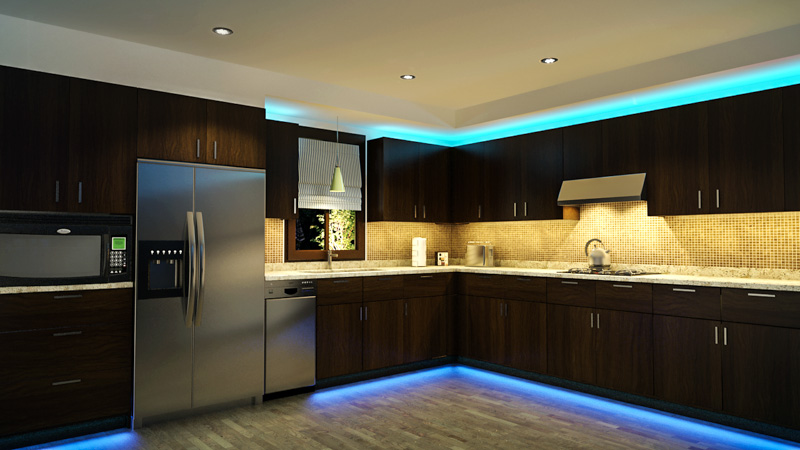
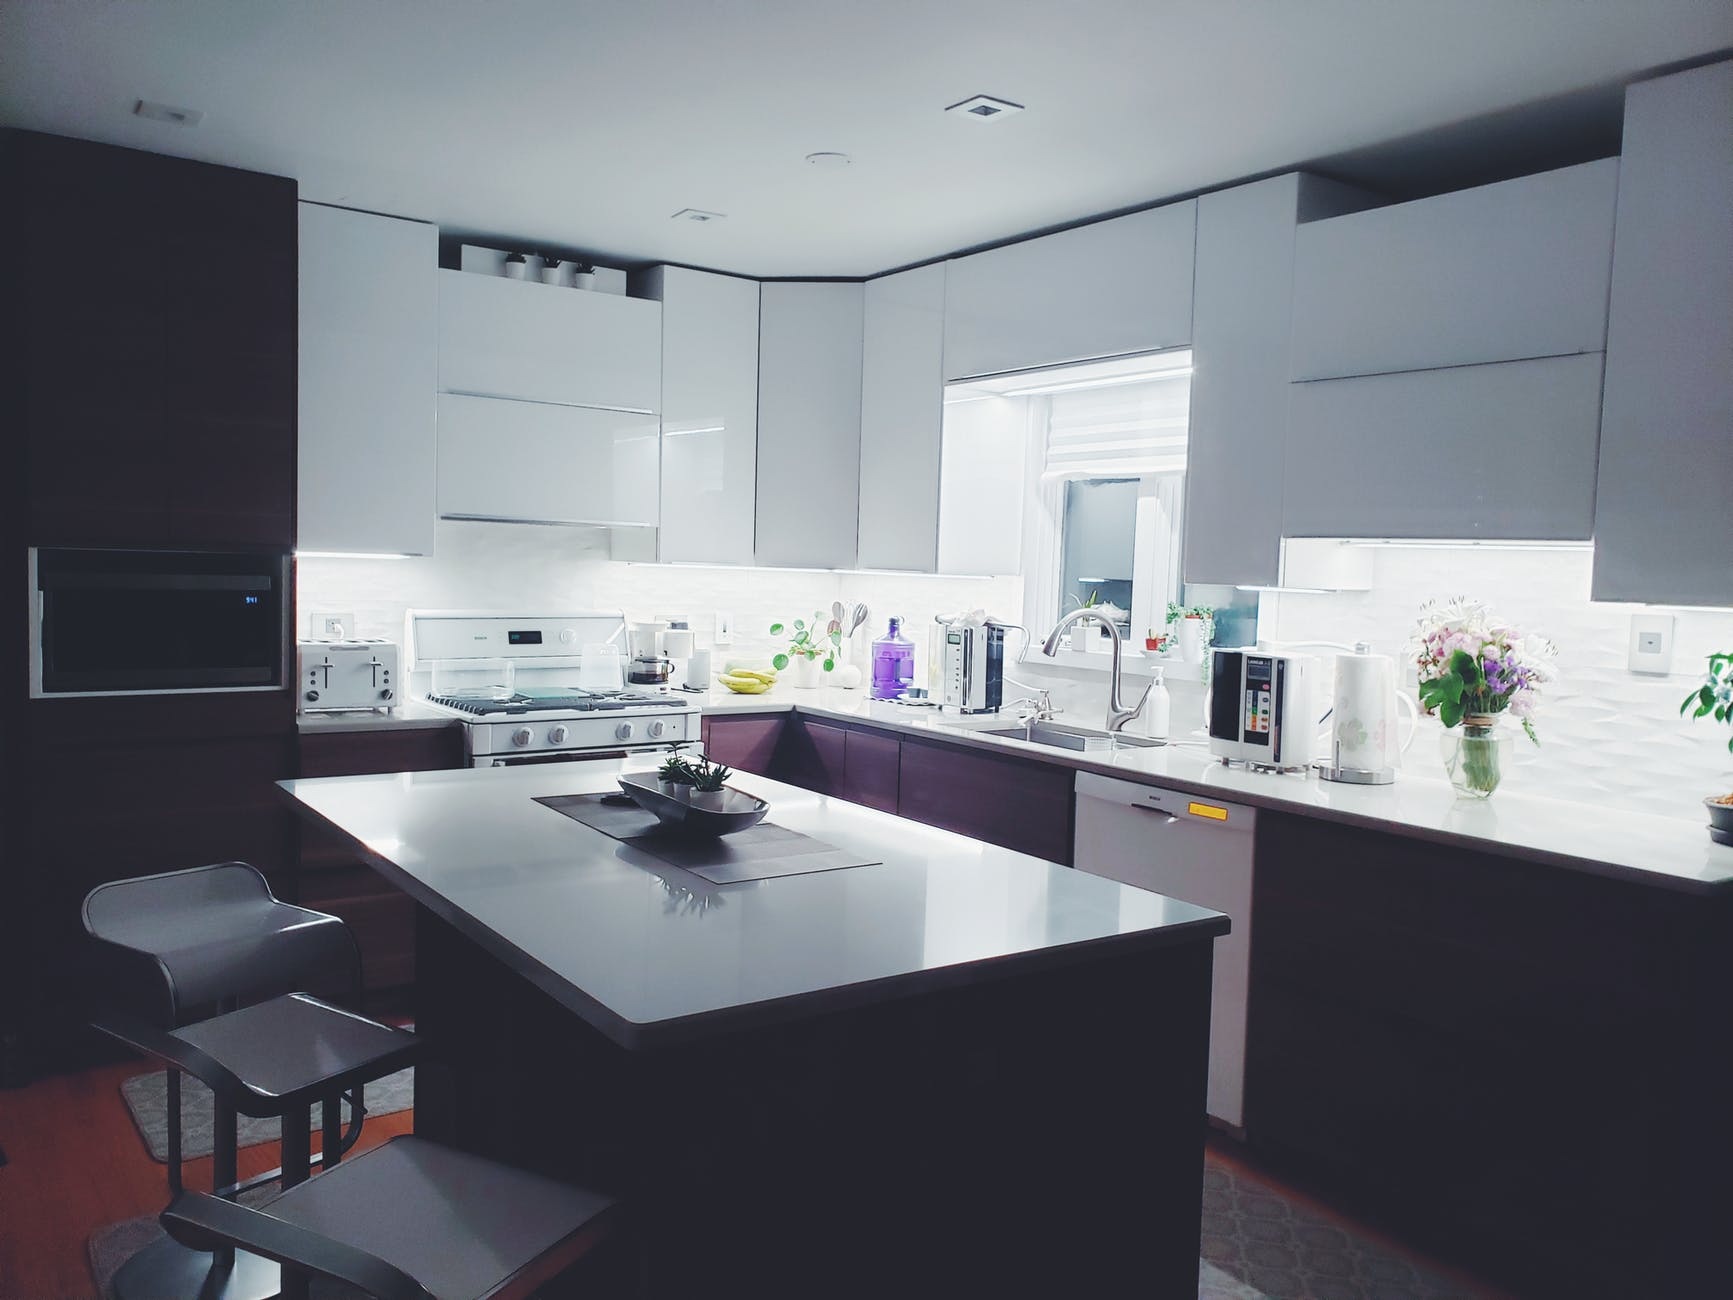
Installing under cabinet lighting is a great way to add both functionality and style to your kitchen. It not only provides additional lighting for your countertops, but also creates a warm and inviting atmosphere. In this guide, we will go through the steps of installing under cabinet lighting in your kitchen.How to Install Under Cabinet Lighting
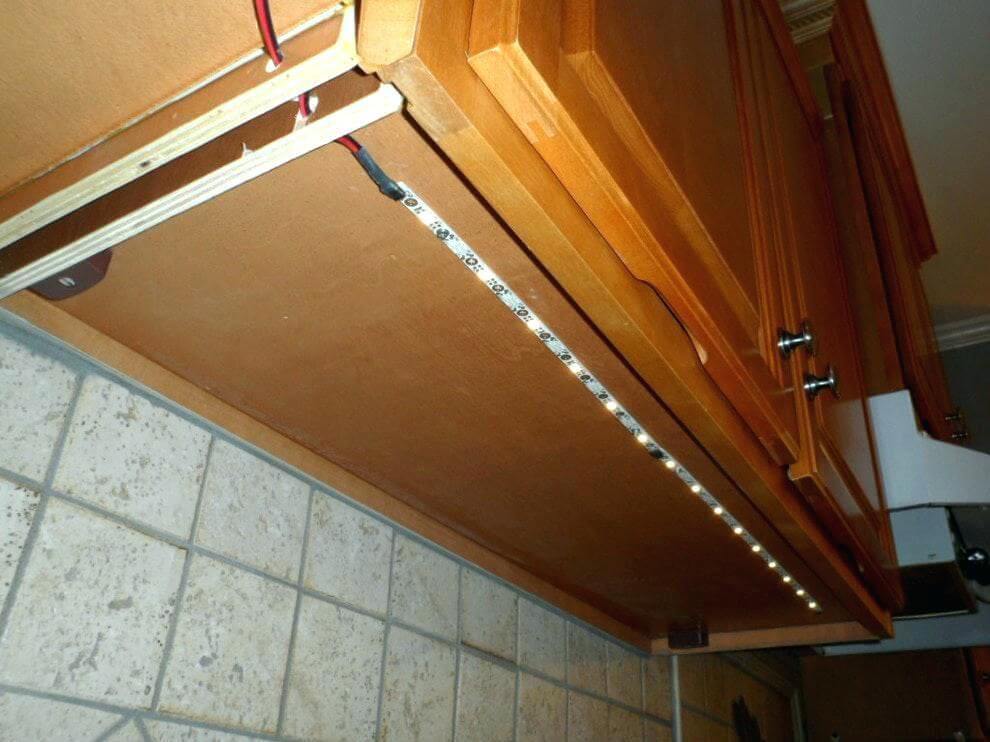
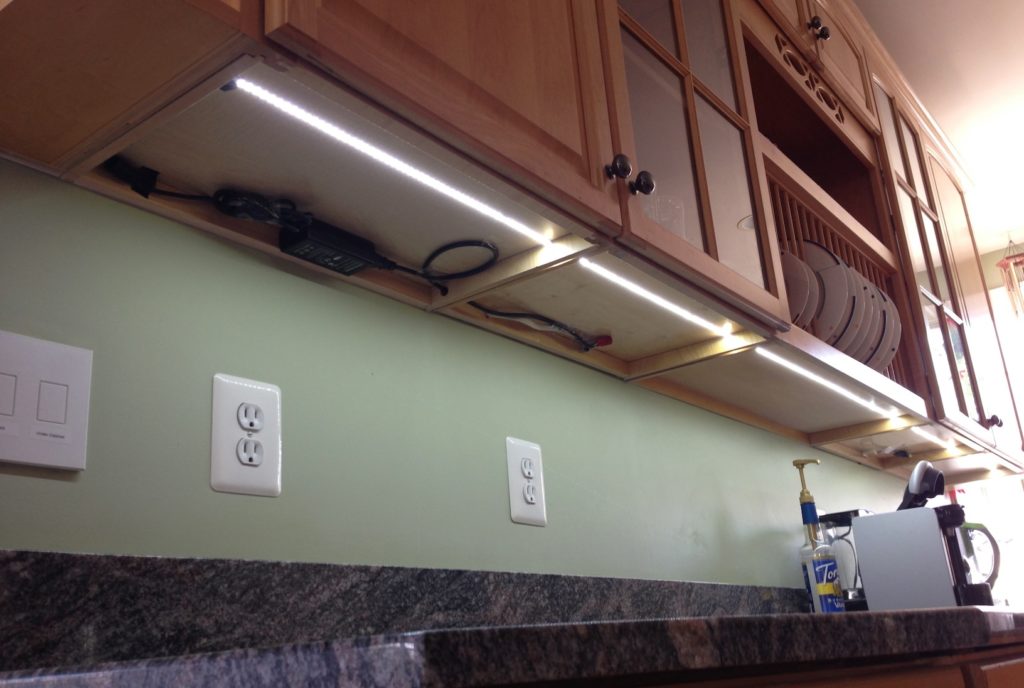
LED strip lights are a popular choice for under cabinet lighting due to their energy efficiency and flexibility. They can be easily cut to fit any length and can be dimmed to create the perfect lighting for any occasion. Here’s how to install them in your kitchen.How to Install LED Strip Lights Under Kitchen Cabinets
If you’re looking for a DIY project that will instantly upgrade your kitchen, installing LED under-cabinet lights and an above-the-sink light is the way to go. Not only will it add a modern touch to your kitchen, but it will also make your workspace more functional. Follow these steps to get started.DIY Kitchen Lighting Upgrade: LED Under-Cabinet Lights & Above-the-Sink Light
The first step in installing under cabinet lighting is to gather all the necessary materials. You will need LED light strips, a power supply, wire connectors, and a dimmer switch. Make sure to measure the length of your cabinets to determine how much LED strip lights you will need.How to Install Under Cabinet Lighting in Your Kitchen
Using a pencil, mark the placement of the lights on the underside of your cabinets. Make sure to leave enough space between each light to ensure even lighting. If you are using LED strip lights, you can cut them to fit the exact length of your cabinets.Mark the Placement of the Lights
Using adhesive tape or clips, attach the lights to the marked spots on your cabinets. Make sure they are securely attached and facing towards the backsplash for optimal lighting. If you are using LED strip lights, make sure to peel off the backing before attaching them.Attach the Lights
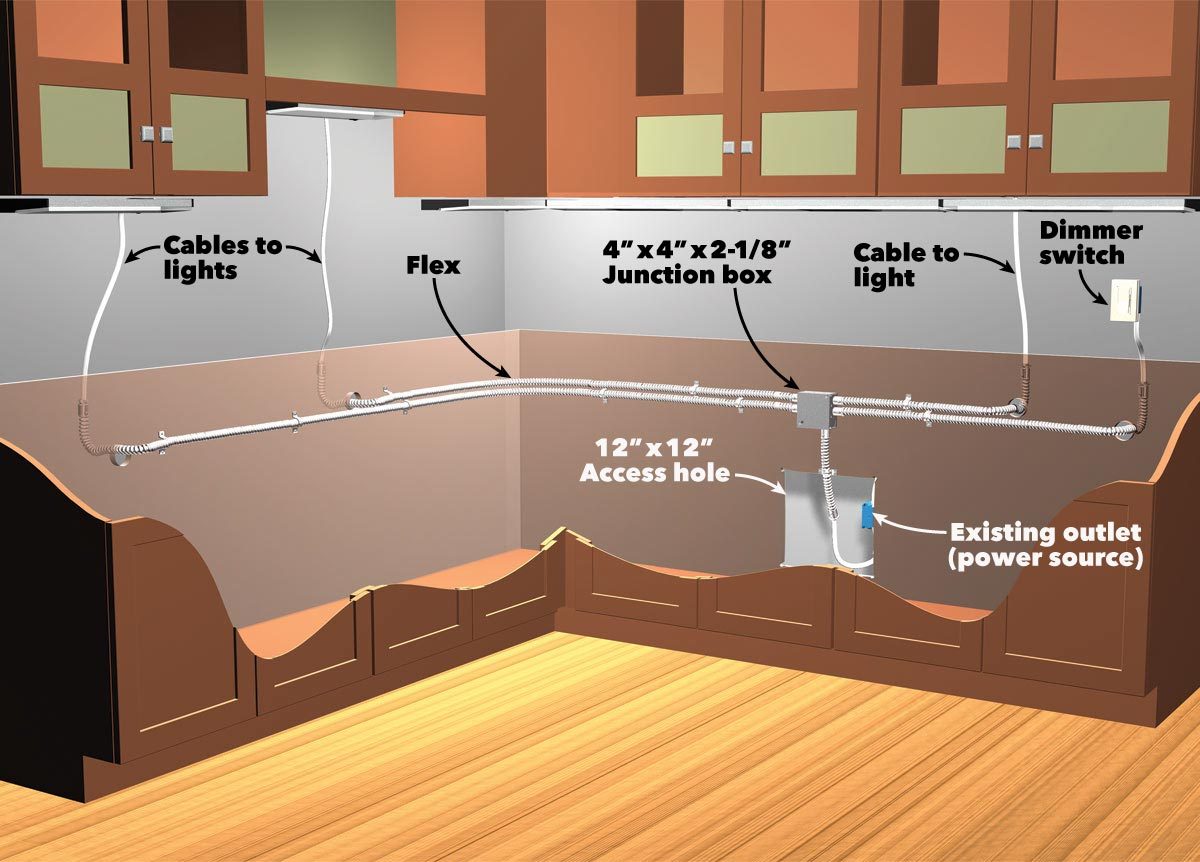
Next, you will need to connect the lights to the power supply. This can be done using wire connectors. Make sure to follow the manufacturer’s instructions for proper wiring. Once connected, plug in the power supply and turn on the lights to test them.Connect the Lights to the Power Supply
To have control over the brightness of your under cabinet lighting, install a dimmer switch. This will allow you to adjust the lighting according to your needs and desired ambiance. Make sure to follow the instructions for proper installation.Install a Dimmer Switch
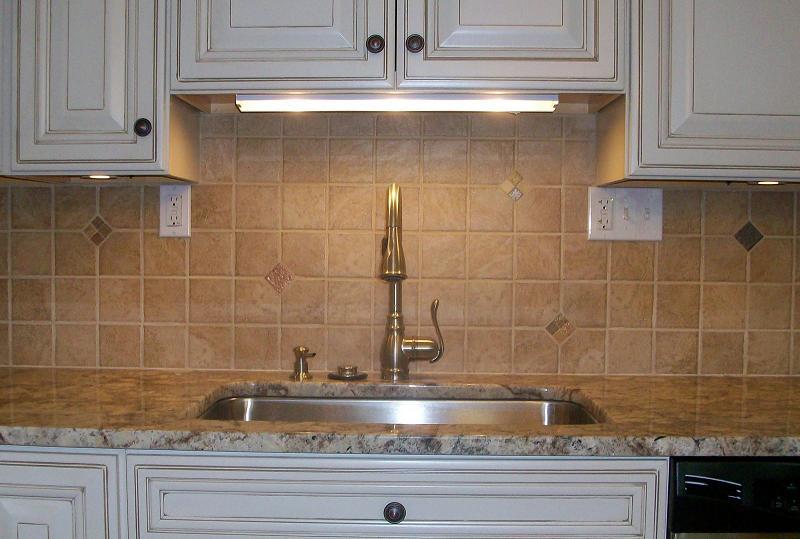
If you want to add even more lighting to your kitchen, consider installing an above-the-sink light. This will provide additional task lighting for your sink area. Follow the same steps as above to install the light and connect it to a dimmer switch.Add an Above-The-Sink Light
After completing these steps, you can now enjoy your newly installed under cabinet lighting. Not only will it make your kitchen more functional, but it will also create a warm and inviting atmosphere. Be sure to regularly clean the lights to maintain their brightness and longevity.Enjoy Your New Kitchen Lighting
Adding Light to Your Kitchen Cabinets: A Guide to Brighten Up Your Space
Elevate Your Kitchen Design
 When it comes to designing a functional and aesthetically pleasing kitchen, lighting is often overlooked. We tend to focus on the layout, color scheme, and appliances, but lighting plays a crucial role in creating a warm and inviting space. One area that is often neglected is the kitchen cabinets. Adding
light to your kitchen cabinets
can not only improve the overall design, but also make it easier to find and access items in your cabinets.
Types of Cabinet Lighting
 There are several options when it comes to adding
light to your kitchen cabinets
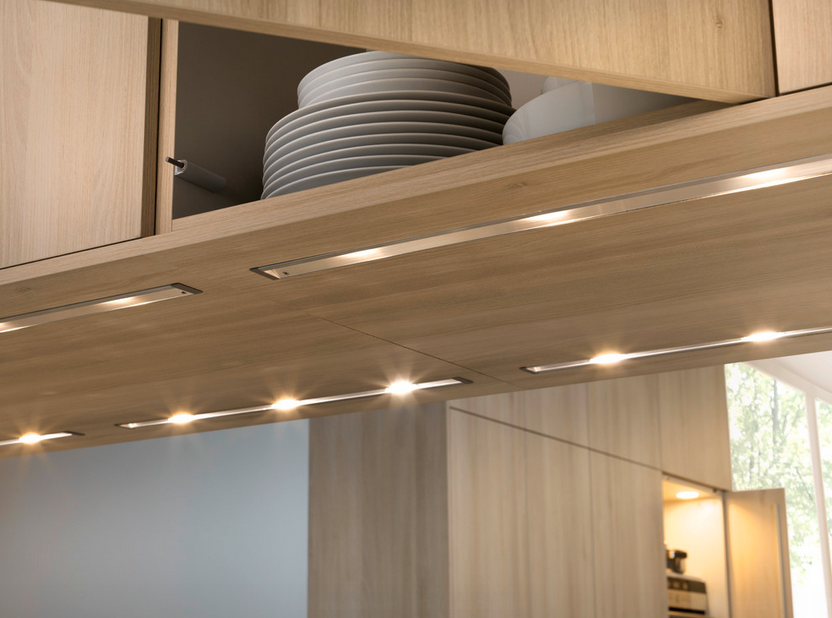
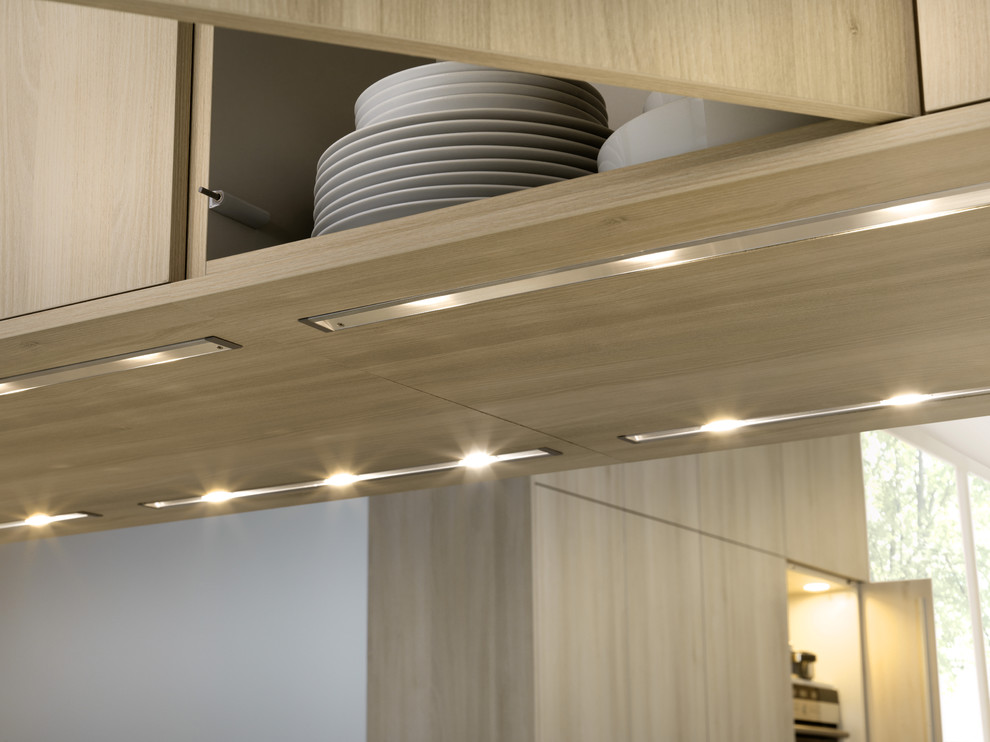
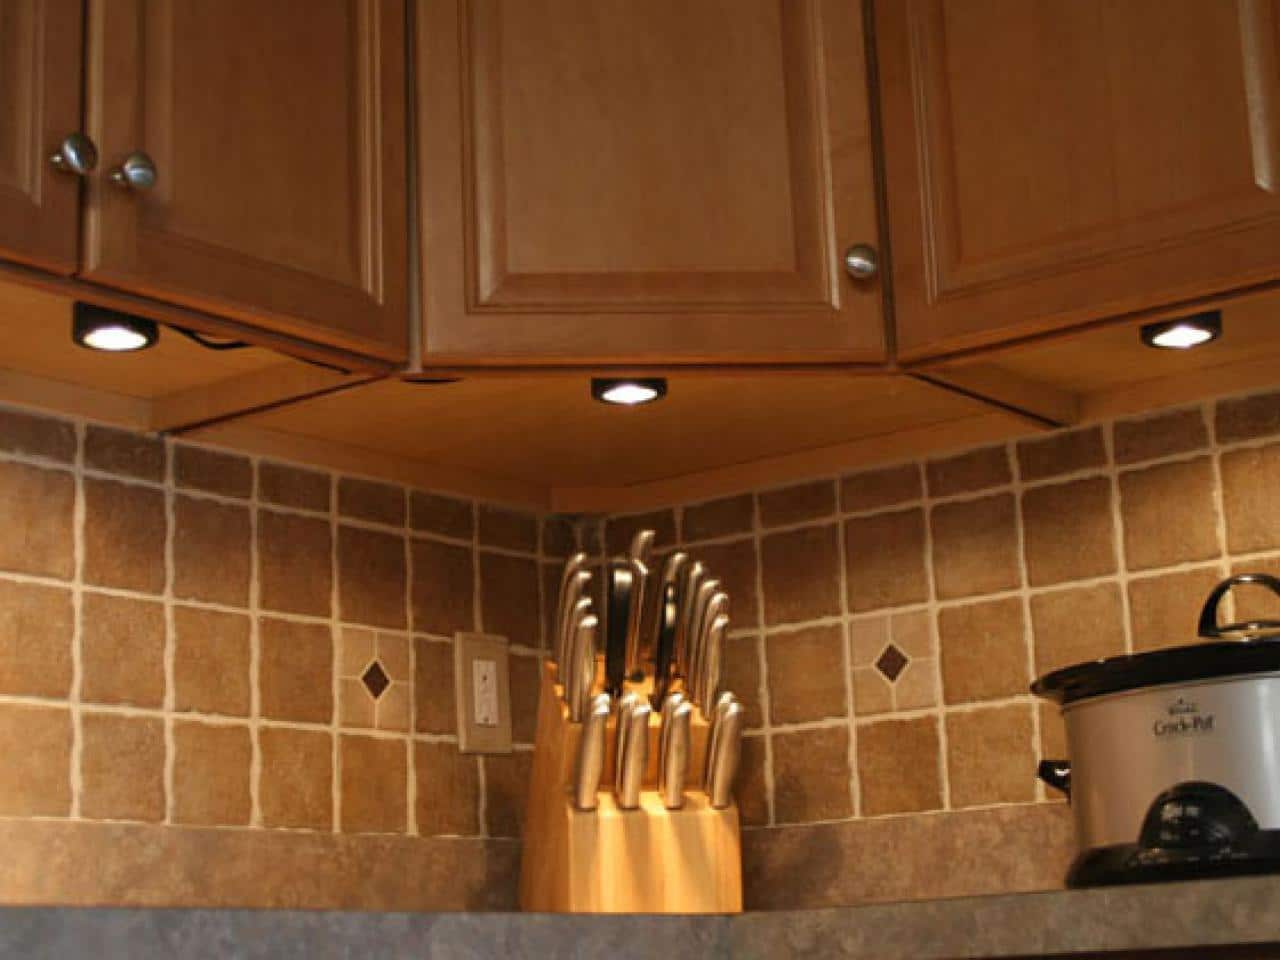
. The most common and cost-effective option is using LED strip lights. These thin, flexible strips can be easily attached to the inside of your cabinets and provide a soft, ambient light. Another option is puck lights, which are small, round lights that can be recessed or surface-mounted inside your cabinets. These lights are great for highlighting specific items or adding a dramatic effect to your space. Lastly, you can opt for under cabinet lighting, which is installed underneath the cabinets to provide direct task lighting for your countertops.
Installation Process
 Before you begin the installation process, it's important to measure the inside of your cabinets and determine the length of LED strip lights or number of puck lights needed. You will also need to plan for an outlet or junction box nearby to plug in the lights. Once you have all your materials, the installation process is relatively simple and can be done in a few hours. For LED strip lights, you will need to clean the inside of your cabinets and use an adhesive to attach the strips. For puck lights and under cabinet lighting, you may need to drill holes and attach the lights with screws.
Benefits of Cabinet Lighting
 Not only does
adding light to your kitchen cabinets
enhance the overall design of your space, but it also has practical benefits. With proper lighting, you can easily find and access items in your cabinets, eliminating the need to constantly rummage through and potentially damaging your kitchenware. Additionally, cabinet lighting can create a warm and inviting ambiance, making your kitchen feel more inviting and spacious.
Conclusion
 By adding
light to your kitchen cabinets
, you can elevate your kitchen design and improve the functionality of your space. With various options for lighting and a simple installation process, it's a cost-effective way to enhance your kitchen. So, don't overlook the importance of lighting in your kitchen design and consider adding cabinet lighting for a brighter and more inviting space.


