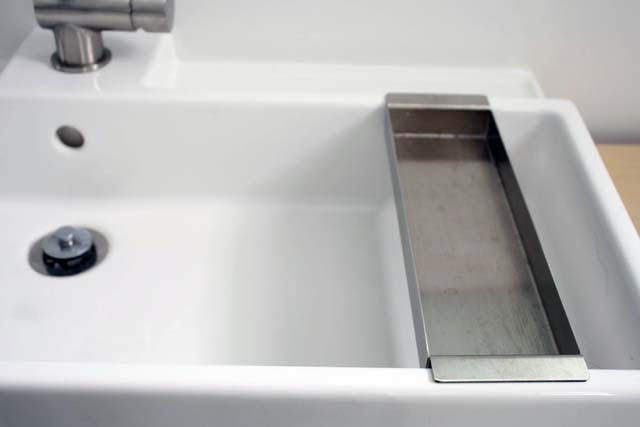
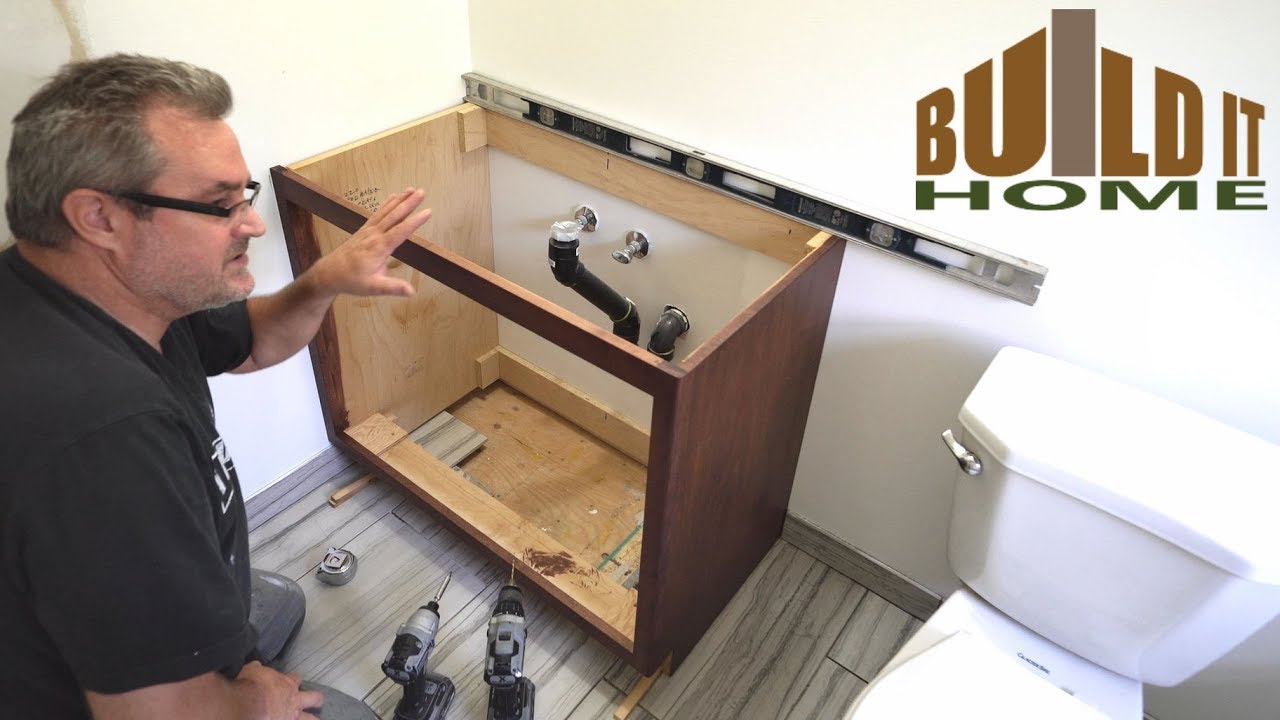
Installing a bathroom vanity may seem like a daunting task, but with the right tools and techniques, it can be a relatively simple DIY project. One of the most important factors in a successful bathroom vanity installation is ensuring that it is level. A level vanity not only looks aesthetically pleasing, but also prevents any future problems such as water pooling and uneven wear and tear. In this guide, we will walk you through the steps of installing a level bathroom vanity, so you can achieve a professional-looking and functional bathroom space.How to Install a Level Bathroom Vanity
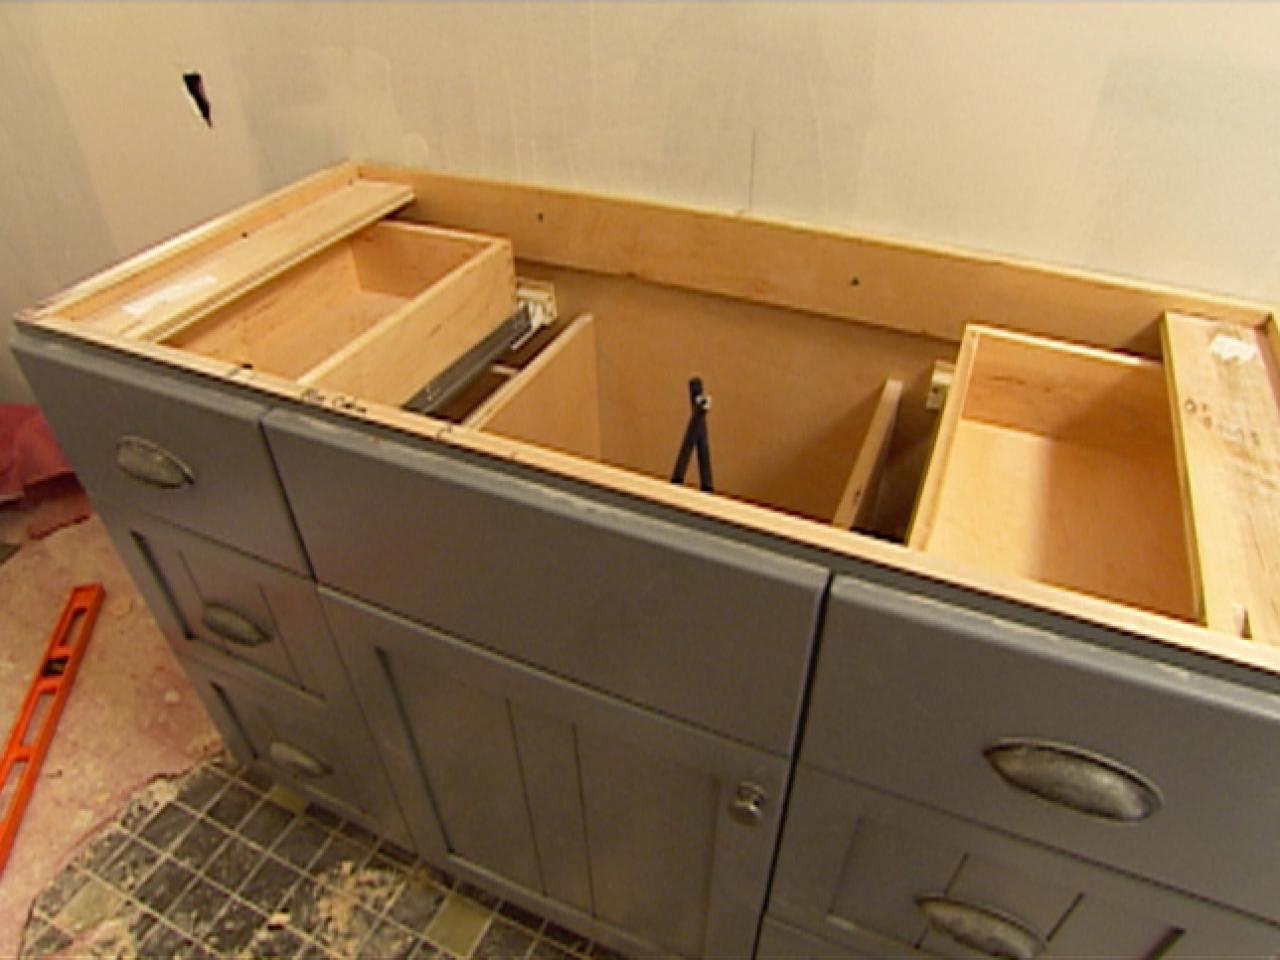
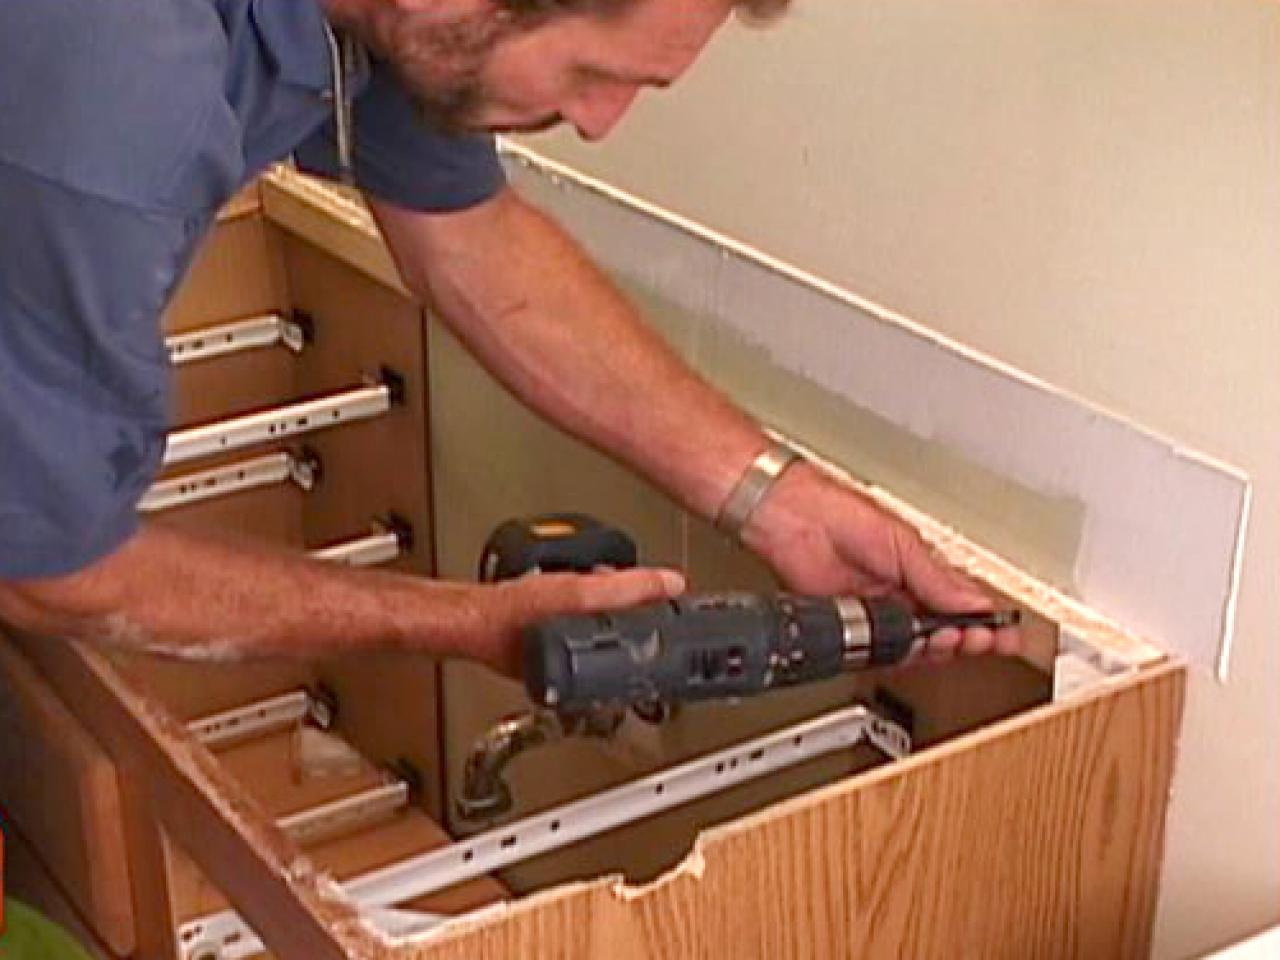
Before you begin the installation process, it is important to gather all the necessary tools and materials. These may include a measuring tape, level, screwdriver, drill, and shims. Once you have everything you need, follow these steps: Step 1: Measure the bathroom space where the vanity will be installed to ensure that it fits properly. Step 2: Use a level to check the floor for any unevenness. If the floor is not level, you may need to use shims to even it out. Step 3: Place the vanity in its designated spot and use the level to ensure that it is straight and even. Step 4: Once you have confirmed that the vanity is level, use a pencil to mark the holes for the screws on the wall and the vanity. Step 5: Use a drill to create holes for the screws, making sure they are the same size as the screws. Step 6: Place the vanity back in its designated spot and use the screws to secure it to the wall. Step 7: Check the vanity with the level again to ensure that it is still level. If necessary, use shims to make any adjustments. Step 8: Once the vanity is level, use silicone caulk to seal any gaps between the vanity and the wall. Step 9: Install the faucet, sink, and any other vanity components according to the manufacturer's instructions. Step 10: Turn on the water and check for any leaks. If there are any, tighten the connections or call a professional plumber for assistance.Step-by-Step Guide for Installing a Level Bathroom Vanity
While installing a bathroom vanity may seem like a straightforward task, there are a few tips and tricks that can help you achieve a perfectly level installation: Tip 1: Use a laser level for more accurate results. This tool projects a straight line onto the wall, making it easier to ensure that the vanity is level. Tip 2: Check the vanity's levelness from multiple angles. This will help you catch any small discrepancies and make adjustments accordingly. Tip 3: Use shims to level out any uneven spots on the floor. These thin pieces of wood or plastic can be placed under the vanity to even it out and prevent any wobbling. Tip 4: If you are unsure about your DIY skills, consider hiring a professional to ensure a perfectly level installation.DIY Bathroom Vanity Installation: Leveling Tips
Having the right tools is crucial for a successful bathroom vanity installation. Some of the essential tools you may need include: Measuring tape: This will help you accurately measure the bathroom space and ensure that the vanity fits properly. Level: This tool is essential for checking the vanity's levelness and ensuring a professional-looking installation. Screwdriver and drill: These tools are necessary for securing the vanity to the wall and installing any necessary components. Shims: These thin pieces of wood or plastic can help you level out any unevenness in the floor. Silicone caulk: This will be used to seal any gaps between the vanity and the wall for a seamless finish.Tools You Need for Installing a Level Bathroom Vanity
There are a few different techniques you can use to ensure a level bathroom vanity installation: Technique 1: Use a level on top of the vanity to check for levelness. Adjust the vanity's position until it is perfectly level. Technique 2: Place the level on the sides of the vanity to check for any tilting. If necessary, use shims to make adjustments and achieve a level installation. Technique 3: Use a laser level to project a straight line onto the wall. This will help you ensure that the vanity is level from all angles.Leveling Techniques for Bathroom Vanity Installation
While installing a bathroom vanity may seem like a simple task, there are a few common mistakes that can lead to an uneven installation: Mistake 1: Not checking for levelness before securing the vanity to the wall. Mistake 2: Not using shims to level out any uneven spots on the floor. Mistake 3: Not checking the vanity's levelness from multiple angles. Mistake 4: Not using the correct tools for the job.Common Mistakes to Avoid When Installing a Level Bathroom Vanity
When selecting a bathroom vanity, it is important to consider its size and weight, as well as the condition of your bathroom floor. If your floor is not level, you may need to choose a lighter vanity or use shims to even it out. It is also important to ensure that the vanity is the correct size for your bathroom space to avoid any installation issues.Choosing the Right Vanity for a Level Installation
If you are not confident in your DIY skills, it is always best to hire a professional for a perfectly level bathroom vanity installation. However, if you do decide to tackle the project yourself, here are some tips from the pros: Tip 1: Use a level on top of the vanity and on the sides to ensure that it is completely level and straight. Tip 2: Check for any gaps between the vanity and the wall and use shims or silicone caulk to fill them in for a seamless finish. Tip 3: Use a measuring tape to ensure that the vanity is centered in the bathroom space.Professional Tips for Installing a Level Bathroom Vanity
To ensure a perfectly level bathroom vanity installation, it is important to follow these key steps: Step 1: Measure the bathroom space and ensure that the vanity will fit properly. Step 2: Check for any unevenness in the floor and use shims to even it out. Step 3: Use a level to check the vanity for levelness from all angles. Step 4: Secure the vanity to the wall using the appropriate tools. Step 5: Check for any gaps between the vanity and the wall and use silicone caulk to seal them.How to Ensure a Perfectly Level Bathroom Vanity Installation
If you encounter any issues with an uneven bathroom vanity installation, here are some troubleshooting tips: Issue: Unevenness in the floor causing the vanity to be uneven. Solution: Use shims to even out the floor and ensure a level installation. Issue: Gaps between the vanity and the wall after installation. Solution: Use silicone caulk to seal any gaps and create a seamless finish. Issue: Vanity is tilting to one side after installation. Solution: Check for any loose screws and tighten them accordingly. If the issue persists, use shims to make adjustments.Troubleshooting Unevenness in a Level Bathroom Vanity Installation
Why Choose a Level Bathroom Vanity for Your Home?

Professional and Modern Design
 One of the biggest trends in house design today is the use of level bathroom vanities. These sleek and modern fixtures offer a professional and contemporary look to any bathroom. With their clean lines and minimalist design, a level vanity can instantly elevate the overall aesthetic of your bathroom. It is a great way to add a touch of sophistication to your home and impress your guests.
Optimized Space
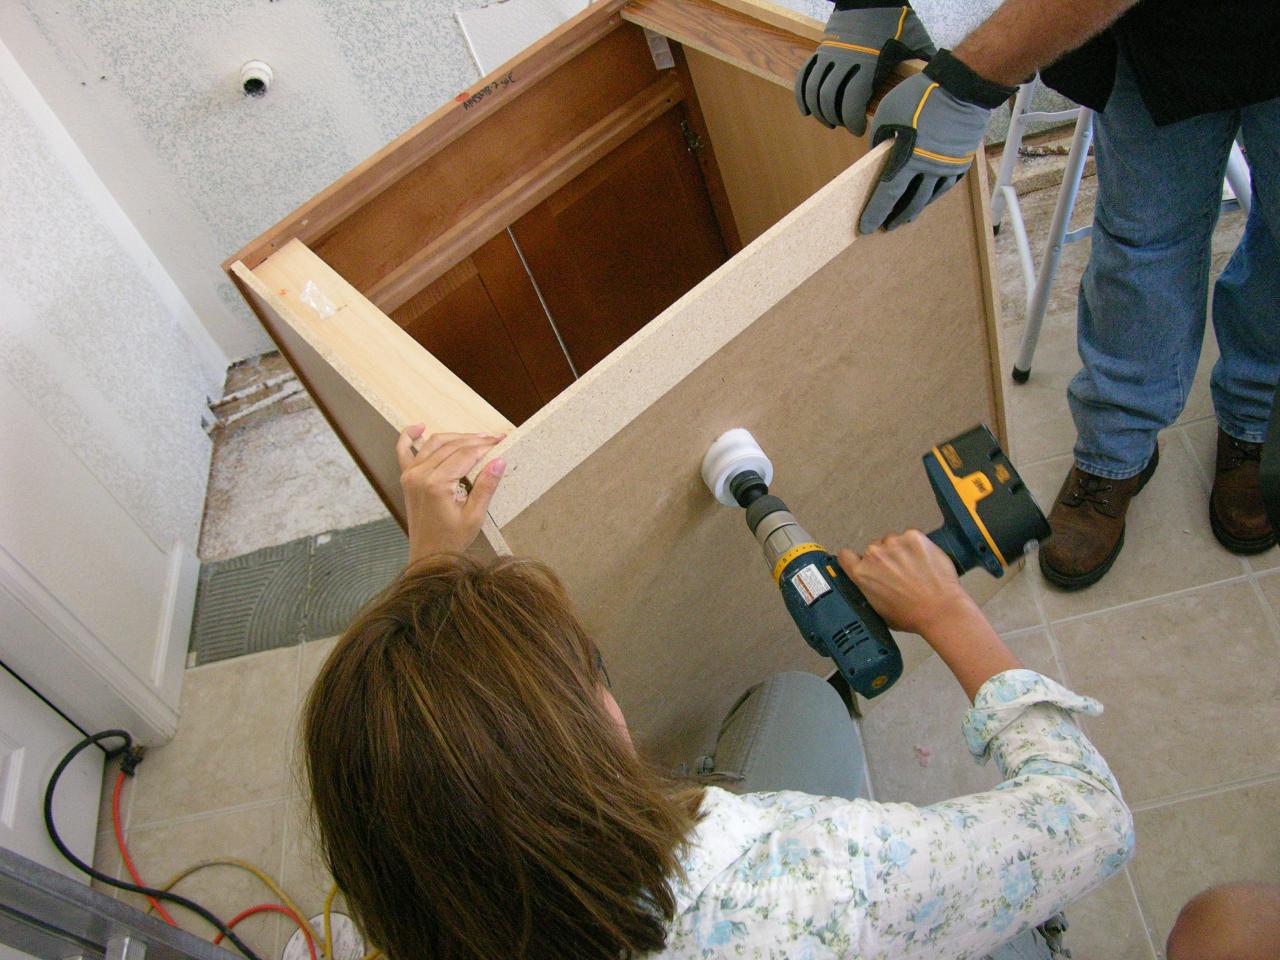 Another advantage of a level bathroom vanity is its space-saving feature. These vanities are designed to be mounted directly onto the wall, leaving the floor space below it open. This is especially helpful for smaller bathrooms, where every inch of space counts. By choosing a level vanity, you can make the most out of your bathroom and create a more spacious and open feel.
Customizable Options
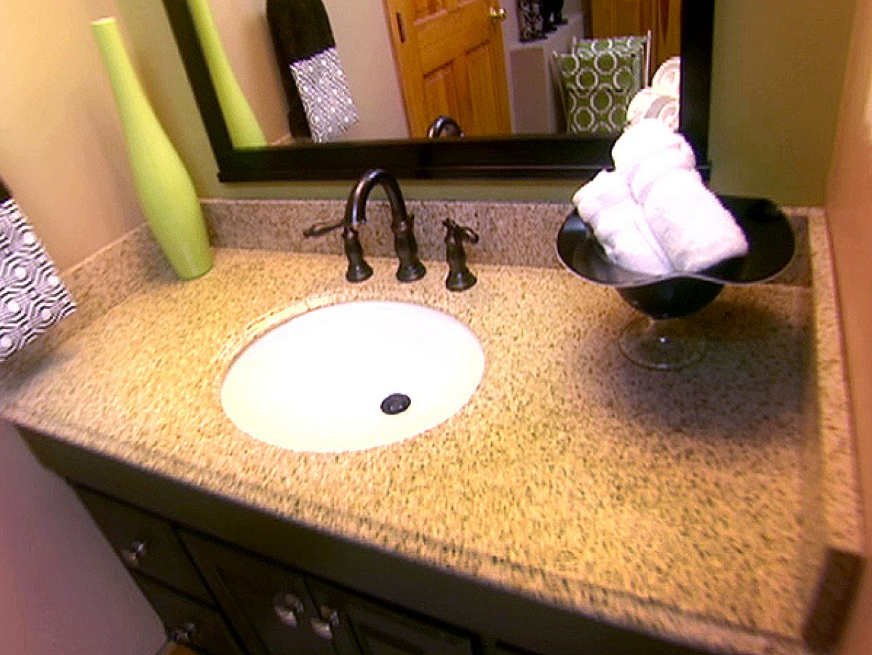 Level bathroom vanities come in a variety of shapes, sizes, and materials, making it easy to find one that fits your specific design preferences and needs. Whether you prefer a floating vanity or a wall-mounted one, there is a level vanity that can cater to your desired style. You can also choose from a range of finishes, such as wood, marble, or glass, to match the overall theme of your bathroom.
Easy Installation
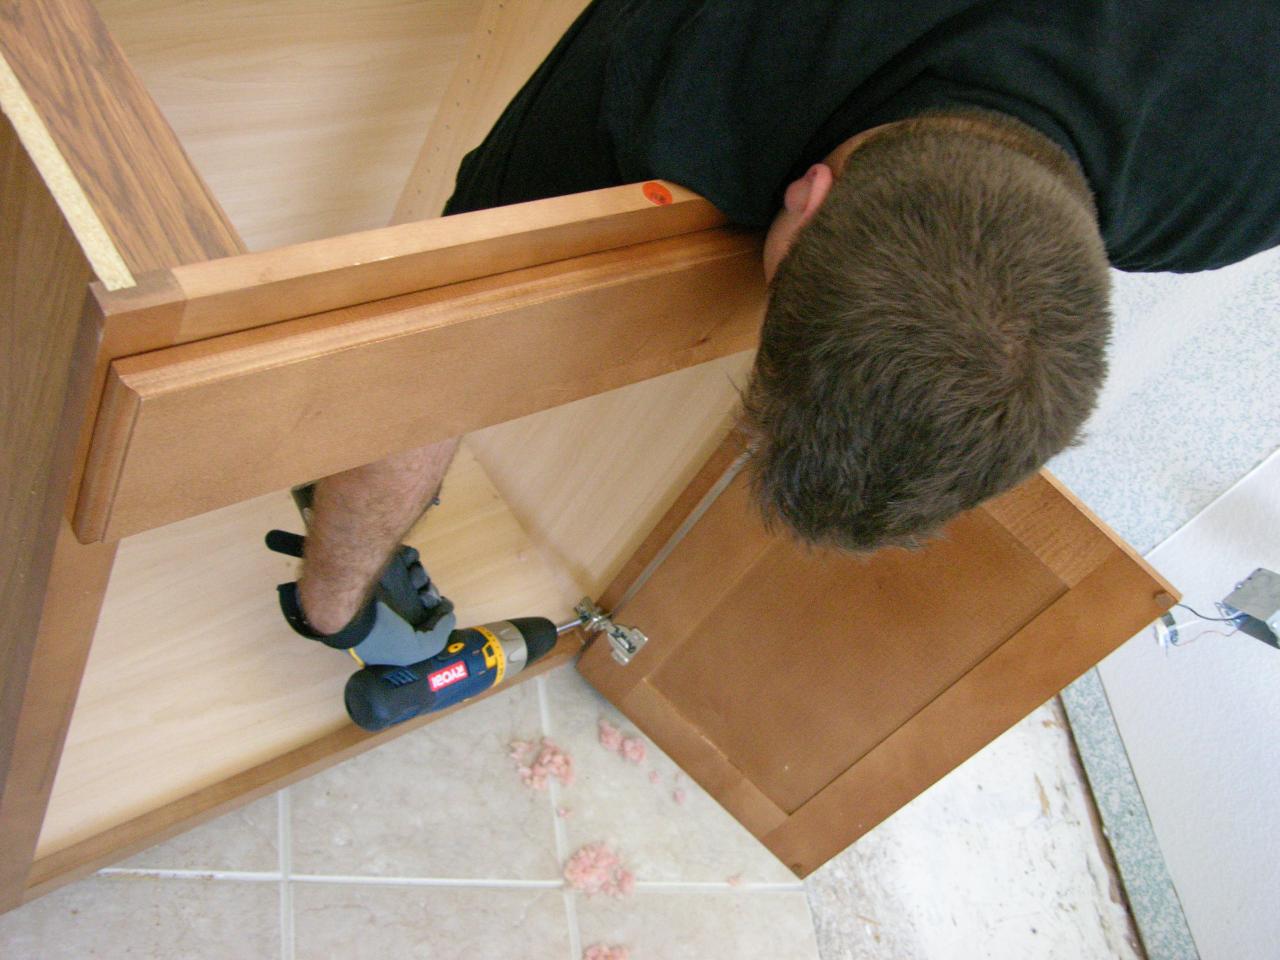
 Installing a level bathroom vanity is a relatively straightforward process, making it a popular choice for DIY enthusiasts. With just a few simple tools and the right instructions, you can easily mount your new vanity onto the wall. However, if you are not confident in your DIY skills, it is always best to hire a professional to ensure a secure and accurate installation.
Final Thoughts
 In conclusion, a level bathroom vanity is a must-have for any modern and stylish home. With its professional and sleek design, optimized space, customizable options, and easy installation, it is no wonder that more and more homeowners are choosing this type of vanity for their bathrooms. So, if you are looking to upgrade your bathroom, consider installing a level vanity to add a touch of elegance and functionality to your space.


