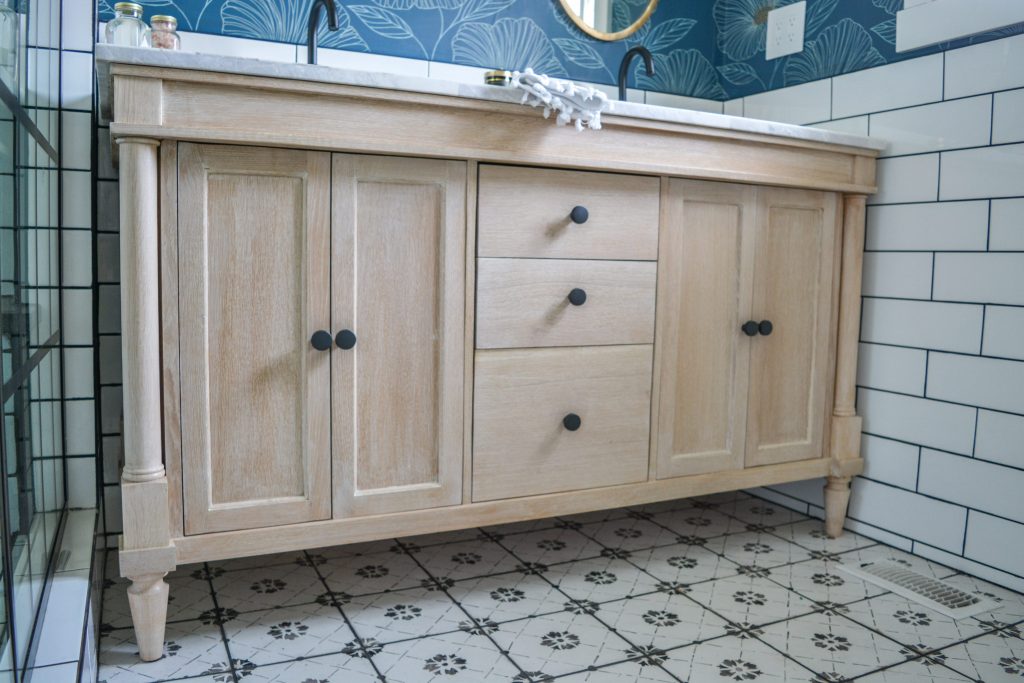
How to Install Legs on a Floating Bathroom Vanity
Installing legs on a floating bathroom vanity may seem like a daunting task, but with the right tools and techniques, it can be a smooth and easy process. Whether you are renovating your bathroom or simply want to add a touch of style to your existing vanity, installing legs can make a big difference. In this guide, we will walk you through the step-by-step process of installing legs on a floating bathroom vanity. So let's get started!


How to Install Legs on a Floating Bathroom Vanity


Tips for Installing Legs on a Floating Bathroom Vanity
Before you begin, it is important to gather all the necessary tools and materials. This will save you time and make the process more efficient. You will need a drill, screws, a level, a measuring tape, and a pencil. Additionally, make sure you have the correct size and type of legs for your vanity. It is also a good idea to have someone assist you during the installation process.


Tips for Installing Legs on a Floating Bathroom Vanity


Step-by-Step Guide for Installing Legs on a Floating Bathroom Vanity
Step 1: Measure and Mark - Use a measuring tape to determine the placement of the legs on your vanity. Make sure they are evenly spaced and marked with a pencil. Use a level to ensure the marks are straight.
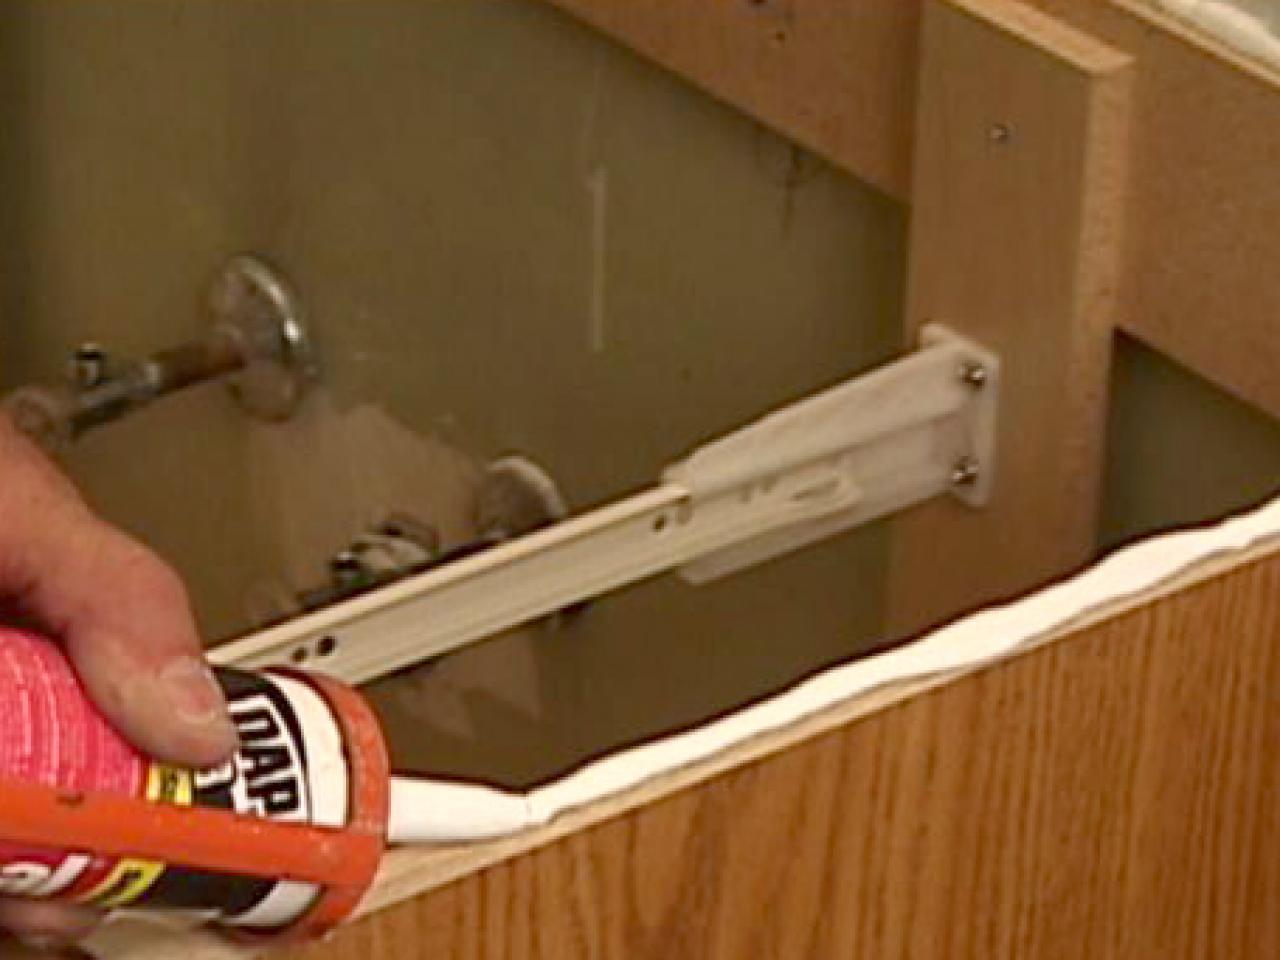
Step 2: Drill Pilot Holes - Using a drill, create pilot holes on the marked spots. This will make it easier to screw in the legs later on.
Step 3: Attach the Legs - With the help of your assistant, hold the leg in place and use a screwdriver to screw it into the pilot holes. Make sure it is securely attached and level.
Step 4: Repeat the Process - Repeat steps 1-3 for each leg of the vanity.
Step 5: Double Check - Once all the legs are attached, double check that they are all level and securely attached.


Step-by-Step Guide for Installing Legs on a Floating Bathroom Vanity


Common Mistakes When Installing Legs on a Floating Bathroom Vanity
One of the most common mistakes when installing legs on a floating bathroom vanity is not measuring and marking the placement properly. This can result in uneven legs and an unstable vanity. Another mistake is not using the correct size or type of legs for the vanity, which can also lead to instability and potential falls.


Common Mistakes When Installing Legs on a Floating Bathroom Vanity


Tools Needed for Installing Legs on a Floating Bathroom Vanity
As mentioned earlier, the tools needed for installing legs on a floating bathroom vanity include a drill, screws, a level, a measuring tape, and a pencil. Additionally, you may need a screwdriver and an assistant to help with the installation process.


Tools Needed for Installing Legs on a Floating Bathroom Vanity


Safety Precautions for Installing Legs on a Floating Bathroom Vanity
When handling power tools, it is important to take necessary safety precautions. This includes wearing protective gear, such as goggles and gloves, and following the manufacturer's instructions for proper use of the tools. It is also important to have an assistant to help with holding the legs in place and to avoid any accidents.


Safety Precautions for Installing Legs on a Floating Bathroom Vanity


Troubleshooting Tips for Installing Legs on a Floating Bathroom Vanity
If you encounter any issues during the installation process, such as uneven legs or difficulty screwing in the legs, it is important to stop and reassess the situation. Make sure the legs are properly aligned and the screws are the correct size. If the issue persists, consult a professional for assistance.


Troubleshooting Tips for Installing Legs on a Floating Bathroom Vanity


How to Prevent Legs from Falling on a Floating Bathroom Vanity
To prevent the legs from falling on a floating bathroom vanity, it is important to make sure they are securely attached and level. Double check the installation process and regularly check the legs for any signs of loosening. If you notice any issues, tighten the screws or seek professional help.


How to Prevent Legs from Falling on a Floating Bathroom Vanity


Best Practices for Installing Legs on a Floating Bathroom Vanity
To ensure a successful and safe installation of legs on a floating bathroom vanity, here are some best practices to keep in mind:
- Measure and mark the placement of the legs accurately.
- Use the correct size and type of legs for your vanity.
- Have an assistant to help with the installation process.
- Regularly check the legs for any signs of loosening.

Best Practices for Installing Legs on a Floating Bathroom Vanity


Expert Advice for Installing Legs on a Floating Bathroom Vanity
If you are unsure about the installation process or encounter any difficulties, it is always best to seek advice from a professional. They can provide you with expert guidance and ensure a safe and successful installation of legs on your floating bathroom vanity.

Expert Advice for Installing Legs on a Floating Bathroom Vanity


Why Choose a Floating Bathroom Vanity?

The Benefits of Installing a Floating Bathroom Vanity
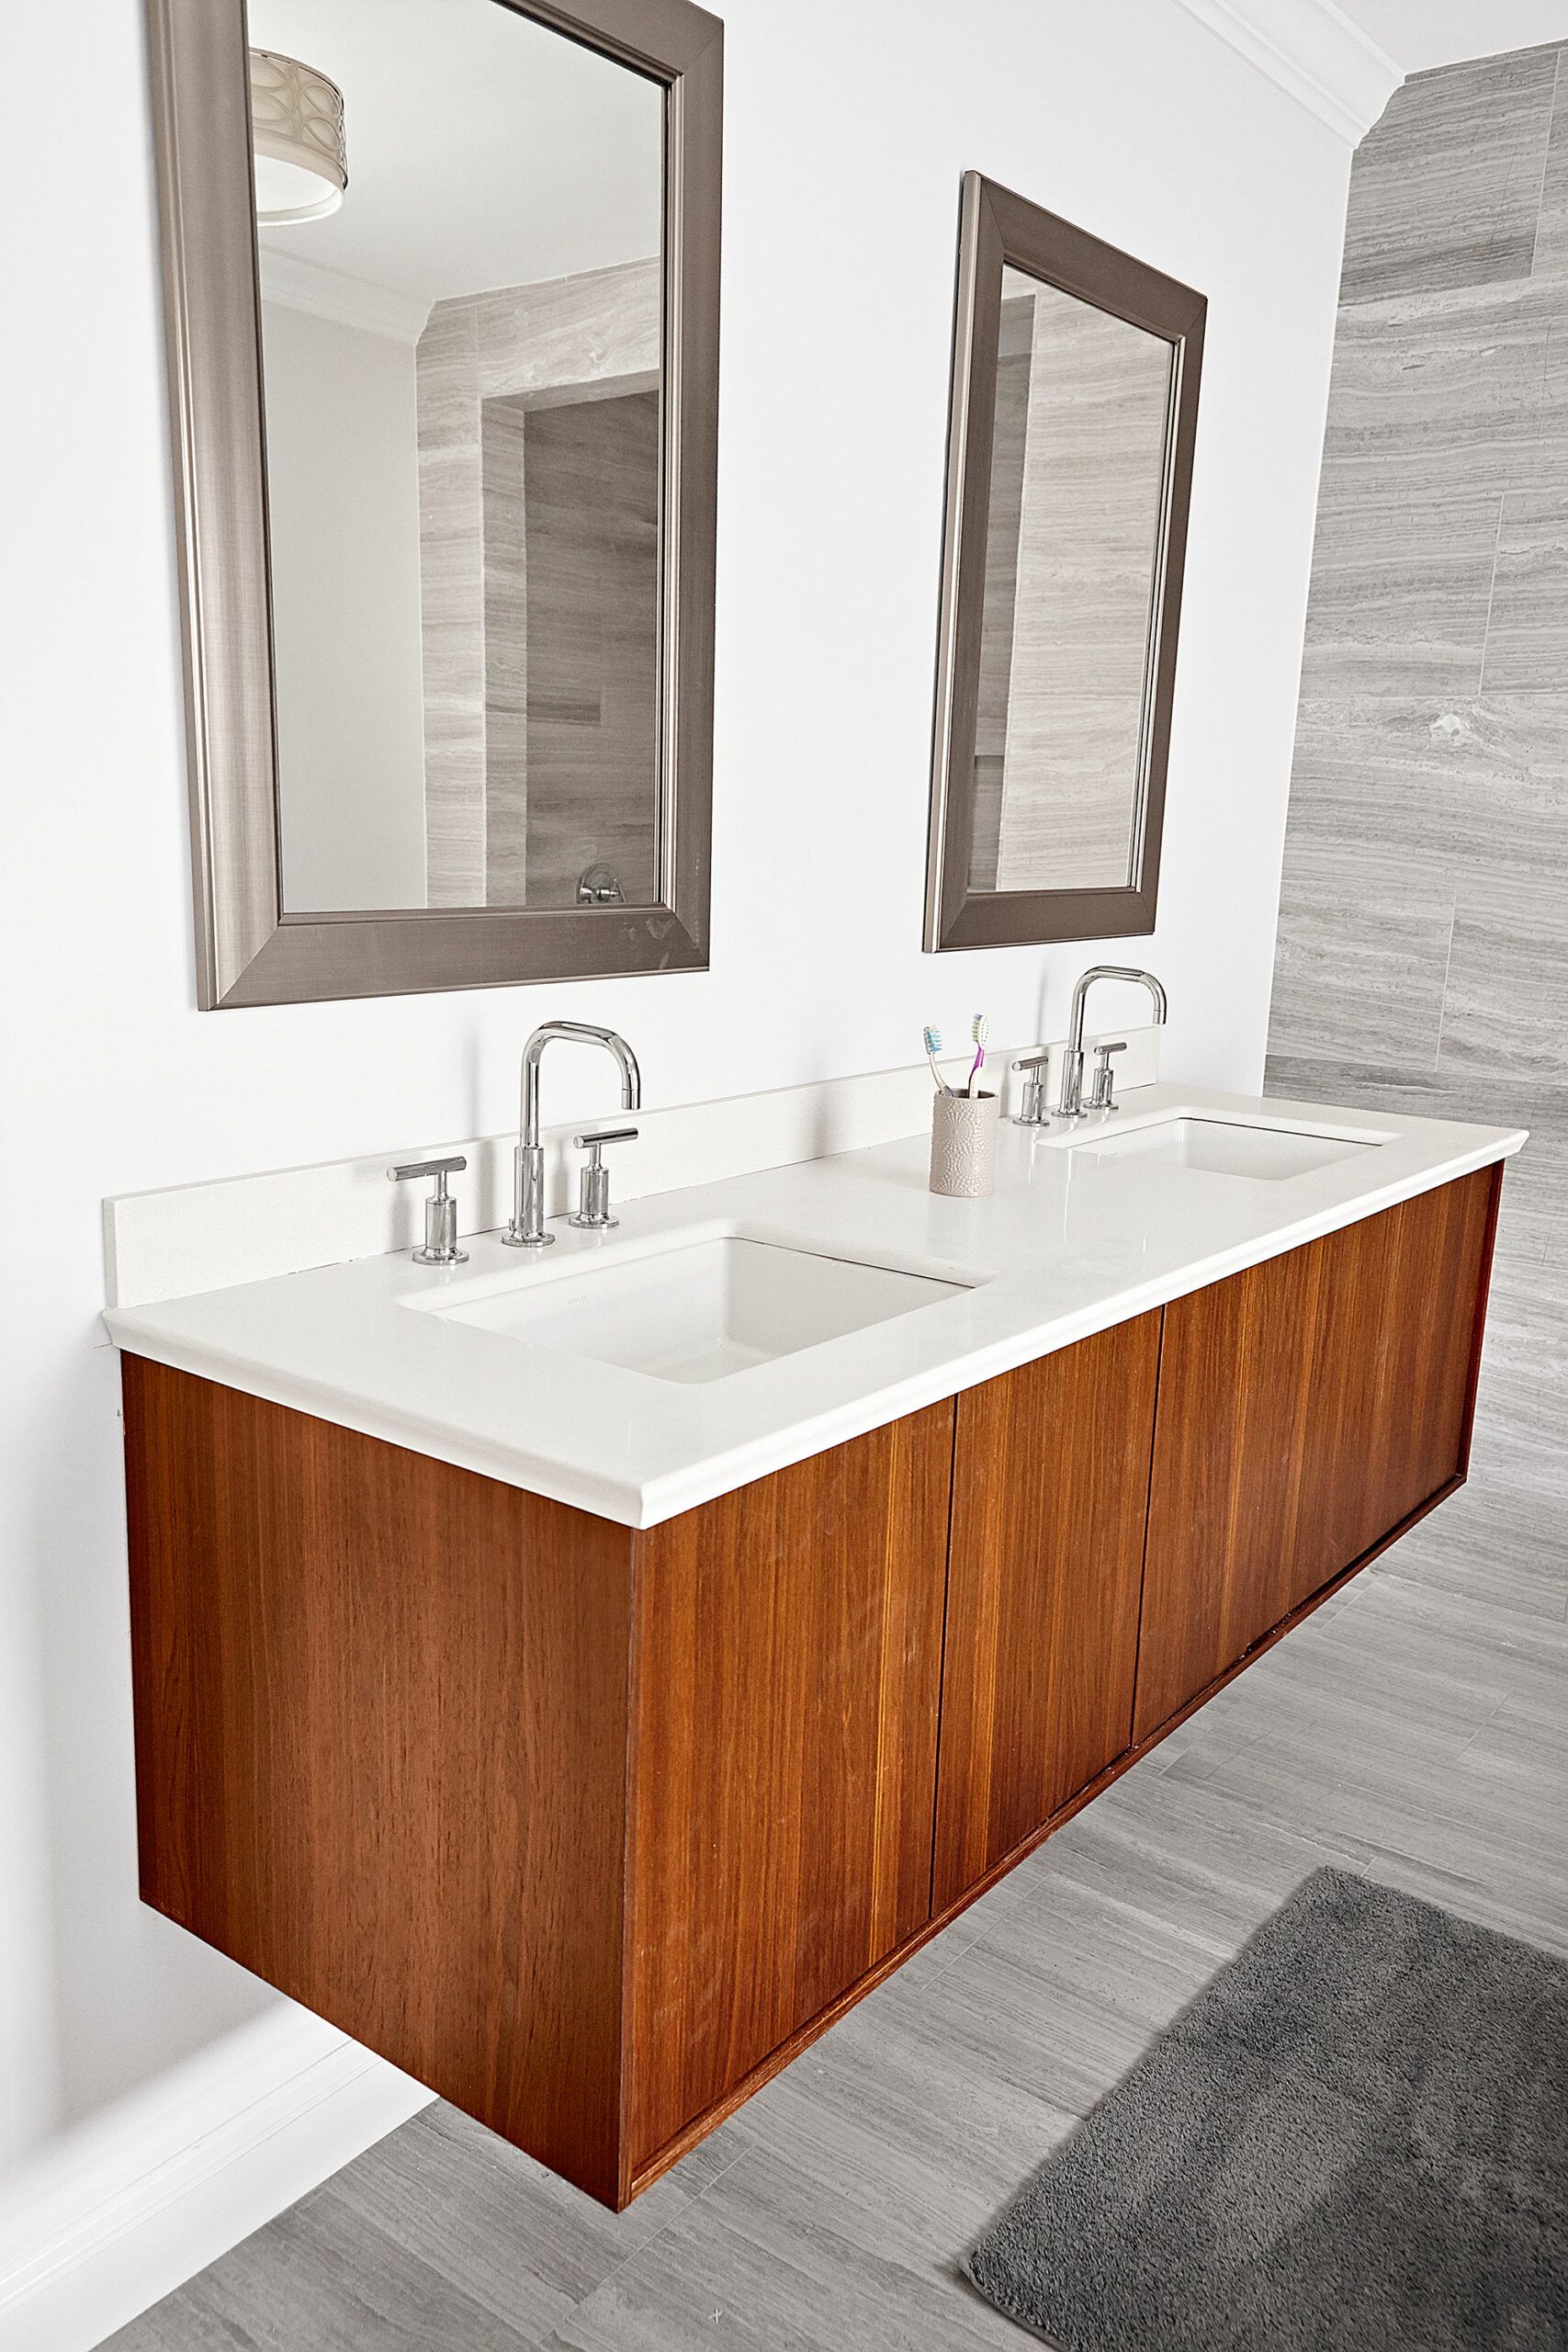
 When it comes to designing a modern and stylish bathroom, a popular trend that is gaining popularity is the use of
floating bathroom vanities
. These unique vanities are mounted to the wall and do not have legs or a base, giving the illusion that they are floating. This sleek and minimalist design not only adds a touch of elegance to your bathroom, but it also has numerous practical benefits.
One of the main advantages of a
floating bathroom vanity
is the amount of space it can save in a small bathroom. Without the need for legs or a base, the vanity appears to be floating and takes up less floor space. This creates a more open and spacious feel in the bathroom, making it perfect for smaller bathrooms or those in need of a more minimalist design.
Moreover, the lack of legs or base also makes cleaning and maintenance much easier. With a traditional vanity, you would need to maneuver around the legs and base to clean the floor, but with a floating vanity, you can easily sweep or mop underneath without any obstructions. This not only saves time and effort but also ensures a cleaner and more hygienic bathroom.
Another benefit of a
floating bathroom vanity
is its versatility in design. Since it is mounted to the wall, it can be installed at any height, making it suitable for people of all ages and heights. This makes it a great option for families with children or elderly members. It also allows for more customization in terms of storage and organization, as you can choose the height and number of shelves or drawers to suit your specific needs.
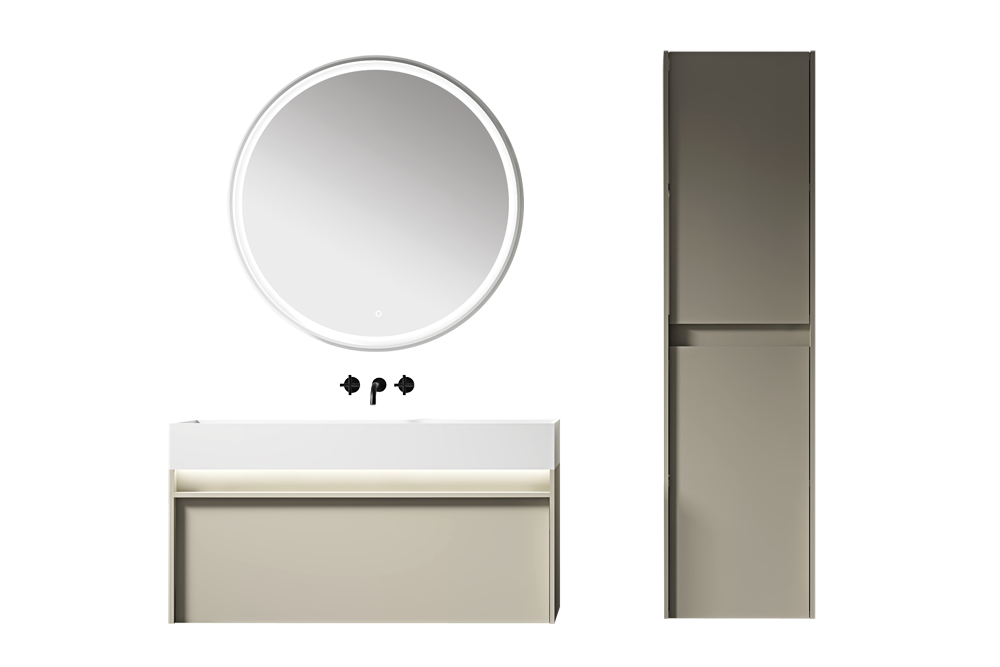
In addition to these practical advantages, a
floating bathroom vanity
also adds a touch of sophistication and modernity to your bathroom. The seamless and sleek design creates a more contemporary look and can elevate the overall aesthetic of your bathroom. It also allows for more creativity in terms of the materials and finishes used, giving you endless possibilities to design a unique and personalized space.
In conclusion, a
floating bathroom vanity
is not only a stylish addition to your bathroom design, but it also offers numerous practical benefits. From saving space to easy maintenance and customizable design, it is a wise choice for any modern and functional bathroom. So if you're considering a bathroom renovation, consider installing a floating vanity for a sleek and functional upgrade.
When it comes to designing a modern and stylish bathroom, a popular trend that is gaining popularity is the use of
floating bathroom vanities
. These unique vanities are mounted to the wall and do not have legs or a base, giving the illusion that they are floating. This sleek and minimalist design not only adds a touch of elegance to your bathroom, but it also has numerous practical benefits.
One of the main advantages of a
floating bathroom vanity
is the amount of space it can save in a small bathroom. Without the need for legs or a base, the vanity appears to be floating and takes up less floor space. This creates a more open and spacious feel in the bathroom, making it perfect for smaller bathrooms or those in need of a more minimalist design.
Moreover, the lack of legs or base also makes cleaning and maintenance much easier. With a traditional vanity, you would need to maneuver around the legs and base to clean the floor, but with a floating vanity, you can easily sweep or mop underneath without any obstructions. This not only saves time and effort but also ensures a cleaner and more hygienic bathroom.
Another benefit of a
floating bathroom vanity
is its versatility in design. Since it is mounted to the wall, it can be installed at any height, making it suitable for people of all ages and heights. This makes it a great option for families with children or elderly members. It also allows for more customization in terms of storage and organization, as you can choose the height and number of shelves or drawers to suit your specific needs.
In addition to these practical advantages, a
floating bathroom vanity
also adds a touch of sophistication and modernity to your bathroom. The seamless and sleek design creates a more contemporary look and can elevate the overall aesthetic of your bathroom. It also allows for more creativity in terms of the materials and finishes used, giving you endless possibilities to design a unique and personalized space.
In conclusion, a
floating bathroom vanity
is not only a stylish addition to your bathroom design, but it also offers numerous practical benefits. From saving space to easy maintenance and customizable design, it is a wise choice for any modern and functional bathroom. So if you're considering a bathroom renovation, consider installing a floating vanity for a sleek and functional upgrade.