Are you tired of cooking in a kitchen filled with smoke and odors? Installing a kitchen vent with a wall stack can help improve the air quality and overall ventilation in your kitchen. This step-by-step guide will walk you through the process of installing a kitchen vent with a wall stack, whether you're a seasoned DIY enthusiast or a first-time homeowner.Installing a Kitchen Vent with a Wall Stack


Installing a Kitchen Vent with a Wall Stack


Installing a kitchen vent with a wall stack may seem like a daunting task, but with the right tools and materials, it can be a relatively straightforward process. Here's a step-by-step guide to help you get started:How to Install a Kitchen Vent with a Wall Stack


How to Install a Kitchen Vent with a Wall Stack


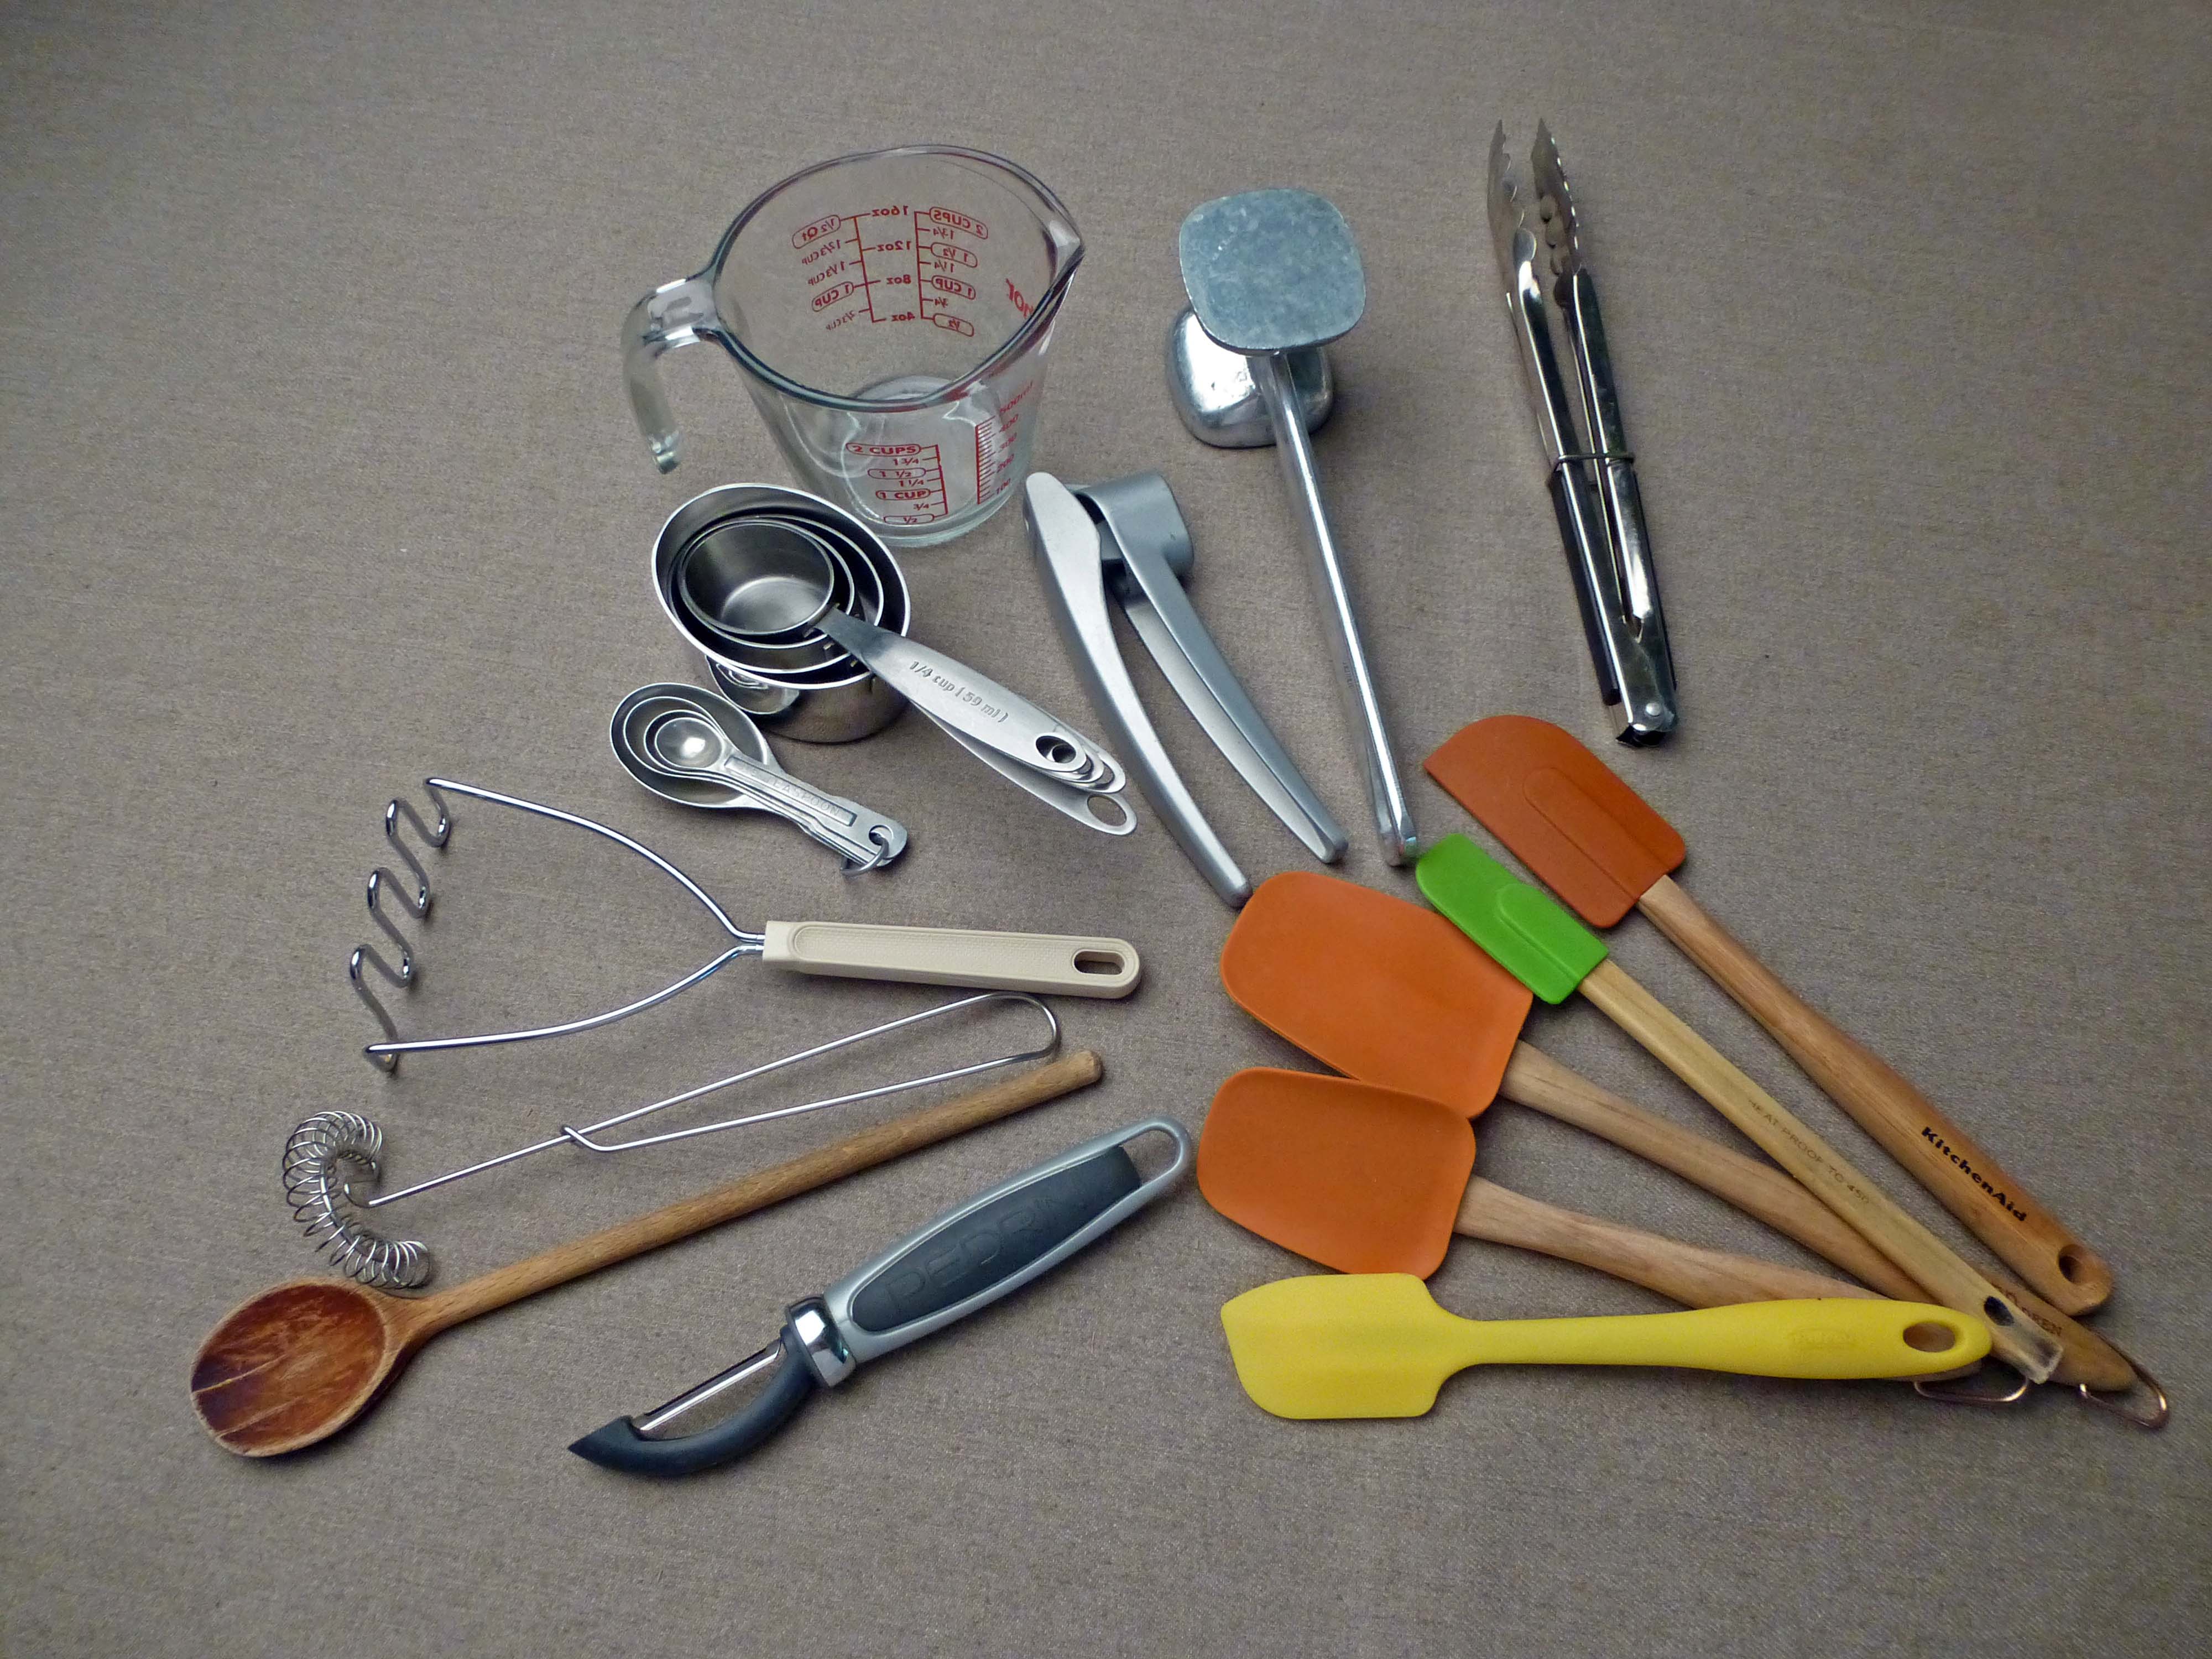
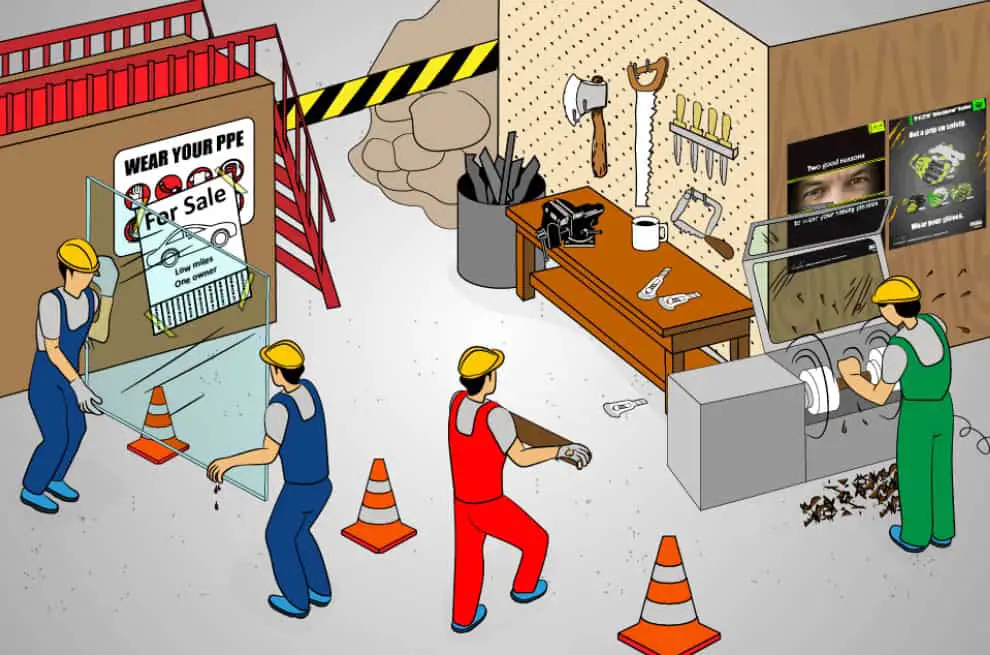
Before you begin, make sure you have all the tools and materials you'll need for the installation. This may include a drill, screwdriver, measuring tape, ductwork, vent hood, and wall stack. It's also essential to have safety equipment, such as gloves and goggles, to protect yourself during the installation process.Step 1: Gather the Necessary Tools and Materials


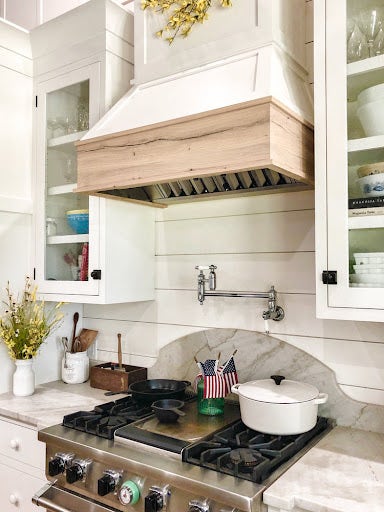
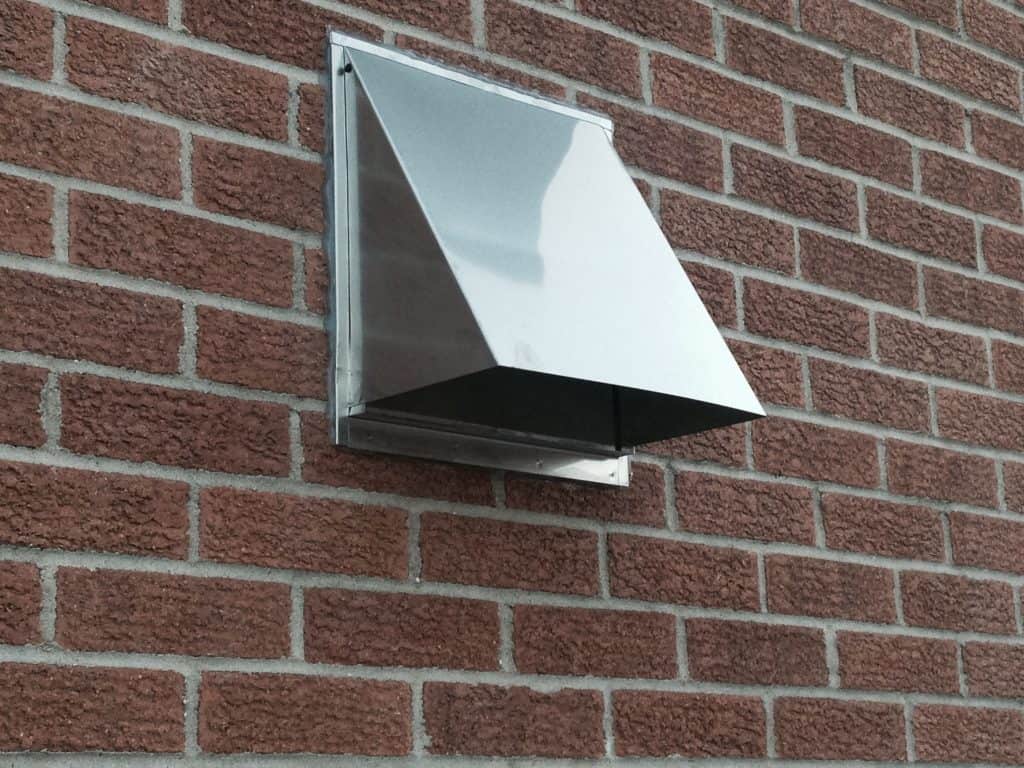
Step-by-Step Guide for Installing a Kitchen Vent with a Wall Stack

.jpg)


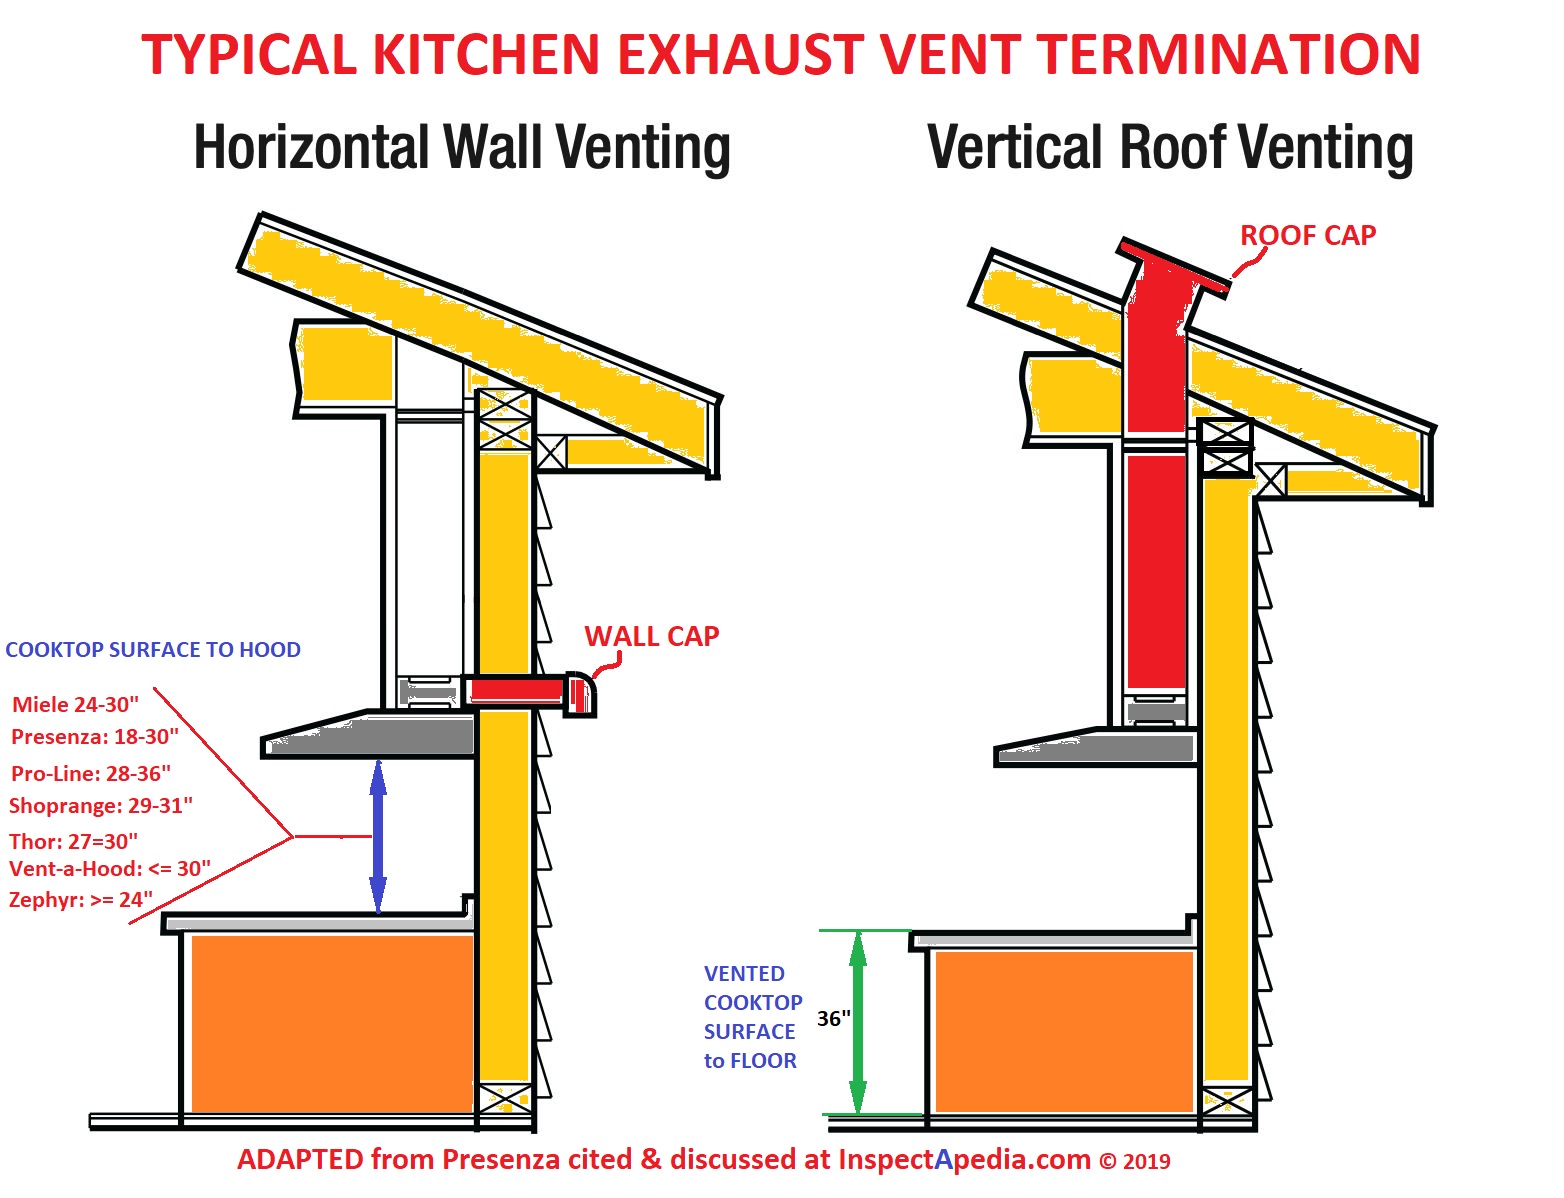
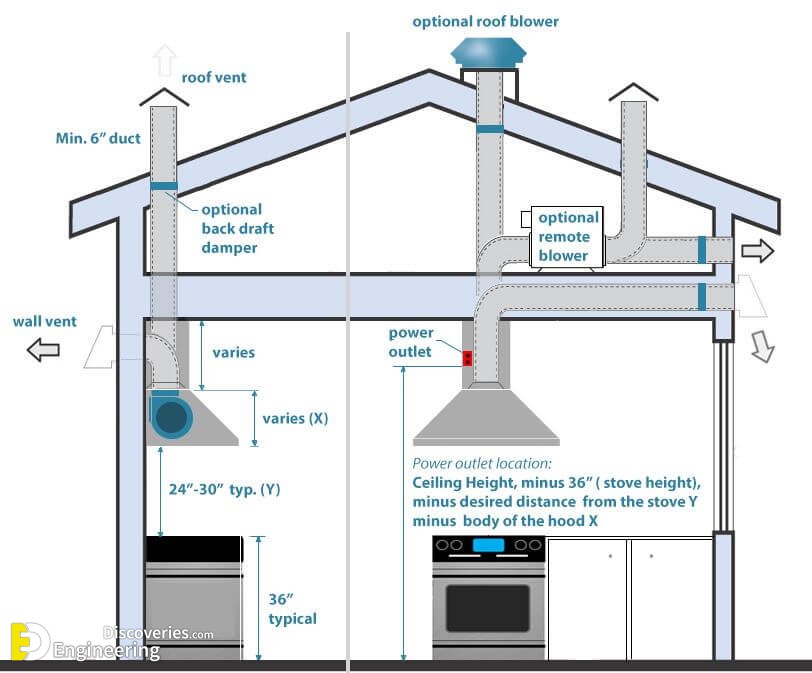
Using a measuring tape, determine the location of the wall stack on the wall above your stove. Mark the spot with a pencil. Make sure the wall stack is centered and at least 18 inches above the cooking surface to comply with safety regulations.Step 2: Measure and Mark the Wall


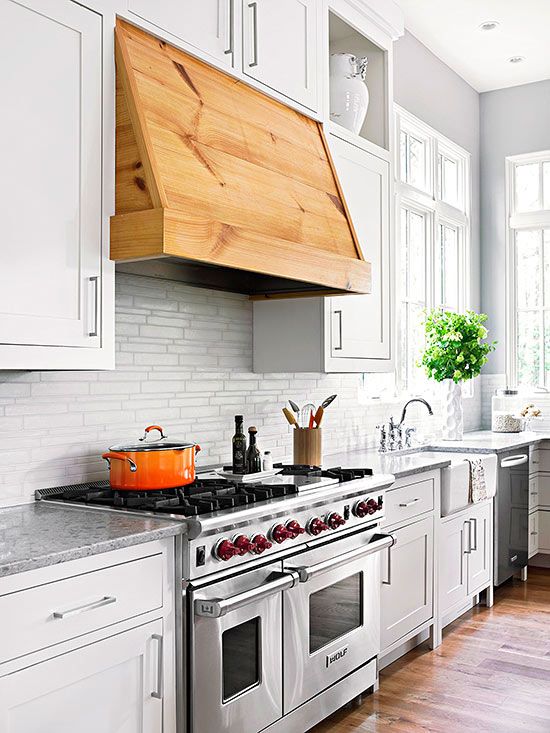
DIY Kitchen Vent Installation with a Wall Stack


Using a jigsaw or drywall saw, cut out the marked area on the wall. Be sure to wear safety goggles and gloves during this step to protect yourself from any debris. Once the hole is cut, smooth out any rough edges with sandpaper.Step 3: Cut the Hole for the Wall Stack

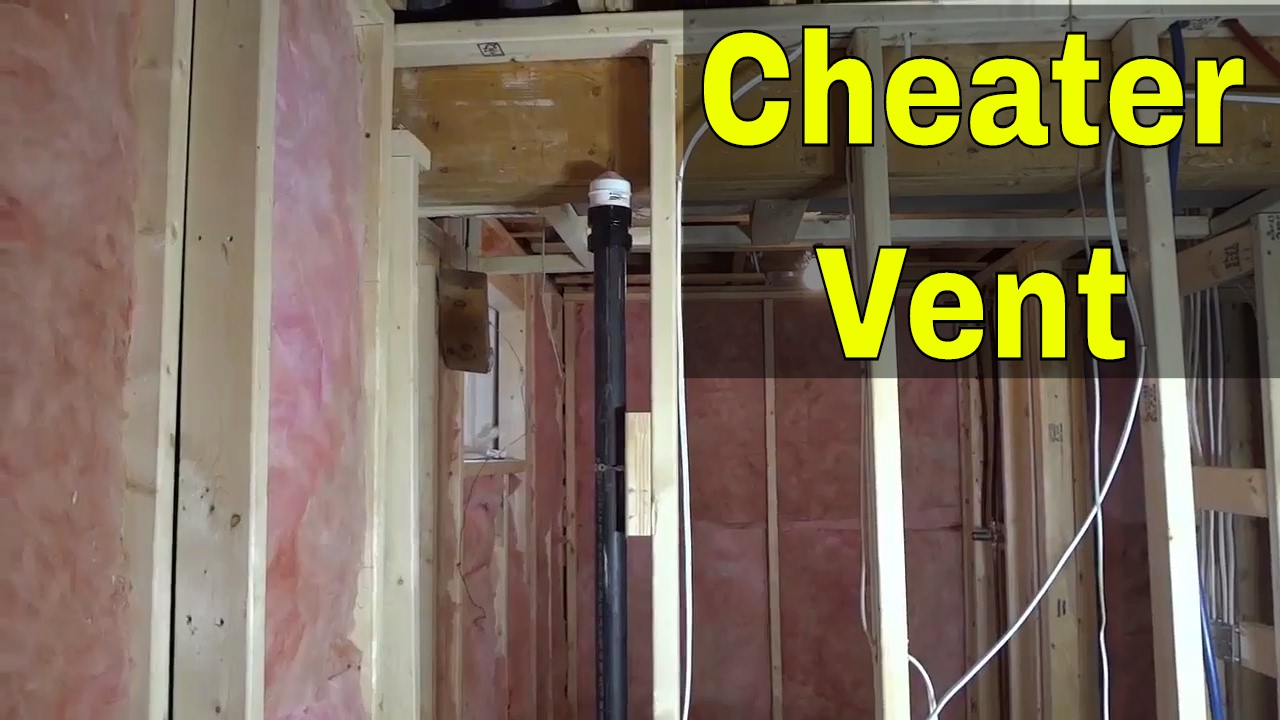
Tools and Materials Needed for Installing a Kitchen Vent with a Wall Stack


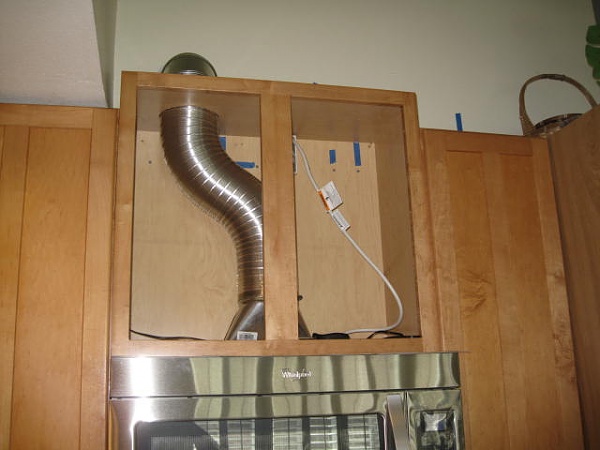
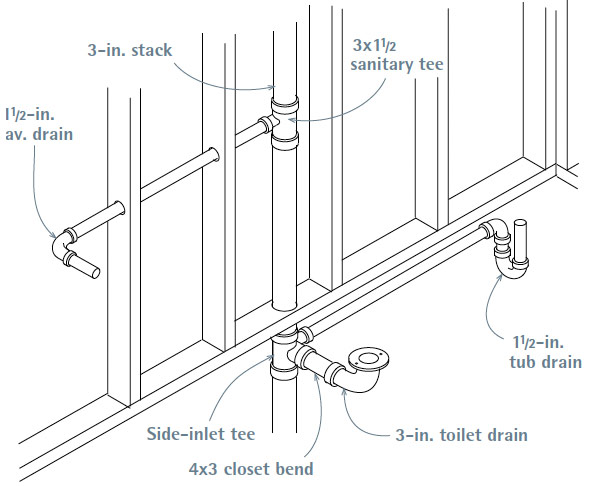
Insert the wall stack into the hole in the wall, making sure it fits securely. Use screws or adhesive to secure the wall stack in place. If your wall stack has a damper, make sure it is facing the right direction for proper air flow.Step 4: Install the Wall Stack

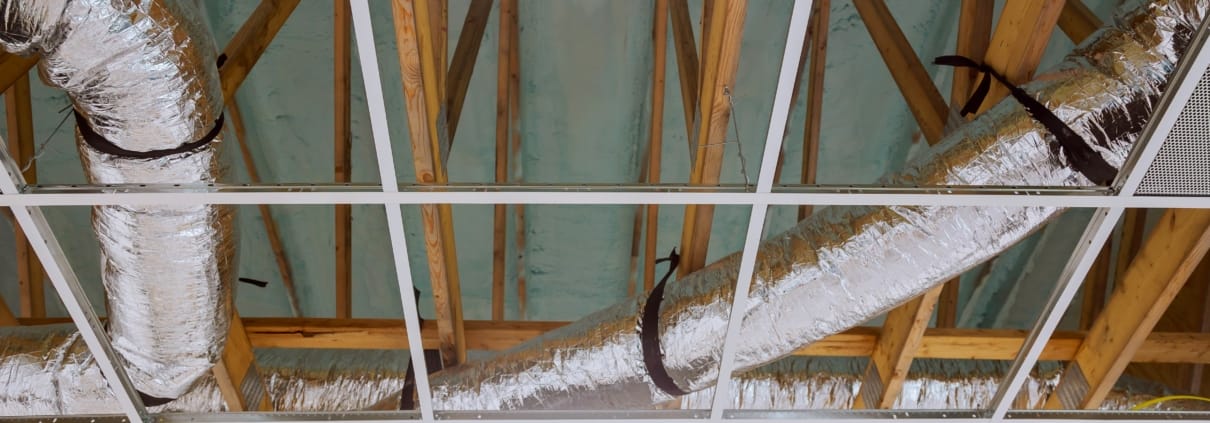
Tips for a Successful Kitchen Vent Installation with a Wall Stack

Measure the distance between the wall stack and the vent hood above your stove. Cut the ductwork to size and connect it to the wall stack and vent hood. Use duct tape or metal clamps to secure the connections and prevent air leaks.Step 5: Connect the Ductwork


Common Mistakes to Avoid When Installing a Kitchen Vent with a Wall Stack


Mount the vent hood onto the wall above your stove, making sure it aligns with the ductwork. Use screws to secure the vent hood in place. If your vent hood has a light or fan, make sure to connect the electrical wires before securing it to the wall.Step 6: Install the Vent Hood


Cost and Time Estimates for Installing a Kitchen Vent with a Wall Stack


Once everything is installed, turn on your kitchen vent and make sure it's working correctly. Adjust the damper and fan settings as needed to achieve optimal air flow. If you notice any issues, such as air leaks, make the necessary adjustments to ensure proper ventilation.Step 7: Test and Adjust

Professional vs. DIY Kitchen Vent Installation with a Wall Stack


Installing a kitchen vent with a wall stack can be a DIY project for those with some handy skills. It's important to follow safety precautions and have the necessary tools and materials on hand. If you're not confident in your abilities, it's best to hire a professional to ensure the job is done correctly.DIY Kitchen Vent Installation with a Wall Stack


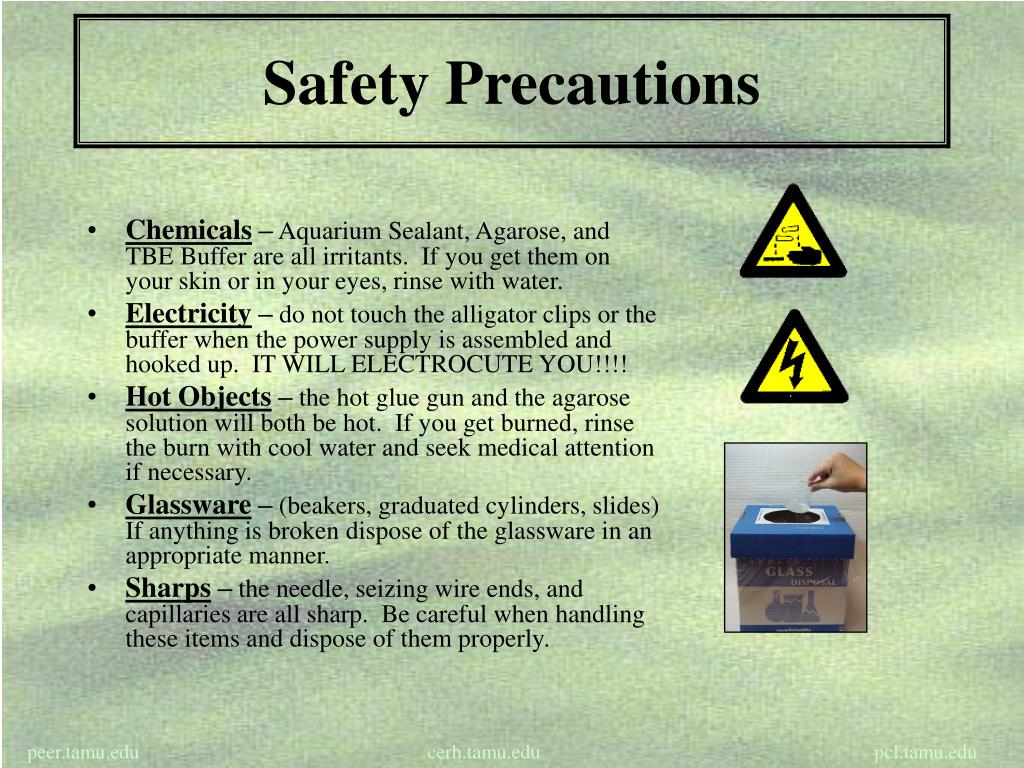
Safety Precautions for Installing a Kitchen Vent with a Wall Stack


Benefits of Installing a Kitchen Vent with Wall Stack

Improved Air Quality
 One of the main reasons for installing a kitchen vent with wall stack is to improve the air quality in your home. Cooking can produce a lot of smoke, grease, and odors, and without proper ventilation, these pollutants can linger in your home and affect your indoor air quality.
Ventilation is especially important for homes with gas stoves, as they produce carbon monoxide, a poisonous gas that needs to be properly vented outdoors.
By installing a kitchen vent with wall stack, you can effectively remove these pollutants from your home and ensure that you and your family are breathing in clean air.
One of the main reasons for installing a kitchen vent with wall stack is to improve the air quality in your home. Cooking can produce a lot of smoke, grease, and odors, and without proper ventilation, these pollutants can linger in your home and affect your indoor air quality.
Ventilation is especially important for homes with gas stoves, as they produce carbon monoxide, a poisonous gas that needs to be properly vented outdoors.
By installing a kitchen vent with wall stack, you can effectively remove these pollutants from your home and ensure that you and your family are breathing in clean air.
Reduces Humidity
 Cooking can also produce a lot of moisture, which can lead to high humidity levels in your home.
Excess humidity can cause mold and mildew growth, which can be harmful to your health and damage your home's structure.
By installing a kitchen vent with wall stack, you can effectively remove the excess moisture from your home and maintain a healthy humidity level.
Cooking can also produce a lot of moisture, which can lead to high humidity levels in your home.
Excess humidity can cause mold and mildew growth, which can be harmful to your health and damage your home's structure.
By installing a kitchen vent with wall stack, you can effectively remove the excess moisture from your home and maintain a healthy humidity level.
Prevents Grease Build-Up
 Without proper ventilation, grease and oil particles from cooking can get trapped in your kitchen and build up over time. This can not only create an unpleasant smell but also pose a fire hazard.
Installing a kitchen vent with wall stack can effectively remove these particles from your home and prevent them from accumulating on your kitchen surfaces and appliances.
This will not only keep your kitchen cleaner, but also make it safer.
Without proper ventilation, grease and oil particles from cooking can get trapped in your kitchen and build up over time. This can not only create an unpleasant smell but also pose a fire hazard.
Installing a kitchen vent with wall stack can effectively remove these particles from your home and prevent them from accumulating on your kitchen surfaces and appliances.
This will not only keep your kitchen cleaner, but also make it safer.
Increases Energy Efficiency
 Without proper ventilation, your kitchen can become hot and stuffy, especially when cooking for extended periods. This can cause your air conditioning to work harder, resulting in higher energy bills.
A kitchen vent with wall stack can effectively remove the hot air and steam from your kitchen, helping to keep your home cool and reducing the strain on your air conditioning.
This can lead to energy savings and a more comfortable living environment.
Without proper ventilation, your kitchen can become hot and stuffy, especially when cooking for extended periods. This can cause your air conditioning to work harder, resulting in higher energy bills.
A kitchen vent with wall stack can effectively remove the hot air and steam from your kitchen, helping to keep your home cool and reducing the strain on your air conditioning.
This can lead to energy savings and a more comfortable living environment.
Adds Value to Your Home
 Aside from the practical benefits, installing a kitchen vent with wall stack can also add value to your home.
Buyers are often willing to pay more for a home that has proper ventilation, as it is an important aspect of a healthy and functional kitchen.
This investment can also make your home more attractive to potential buyers in the future.
In conclusion, installing a kitchen vent with wall stack is a wise investment for any homeowner looking to improve the air quality, reduce humidity, prevent grease build-up, increase energy efficiency, and add value to their home.
Not only will it improve your living environment, but it can also save you money in the long run.
Make sure to hire a professional for the installation and enjoy the benefits of a well-ventilated kitchen.
Aside from the practical benefits, installing a kitchen vent with wall stack can also add value to your home.
Buyers are often willing to pay more for a home that has proper ventilation, as it is an important aspect of a healthy and functional kitchen.
This investment can also make your home more attractive to potential buyers in the future.
In conclusion, installing a kitchen vent with wall stack is a wise investment for any homeowner looking to improve the air quality, reduce humidity, prevent grease build-up, increase energy efficiency, and add value to their home.
Not only will it improve your living environment, but it can also save you money in the long run.
Make sure to hire a professional for the installation and enjoy the benefits of a well-ventilated kitchen.