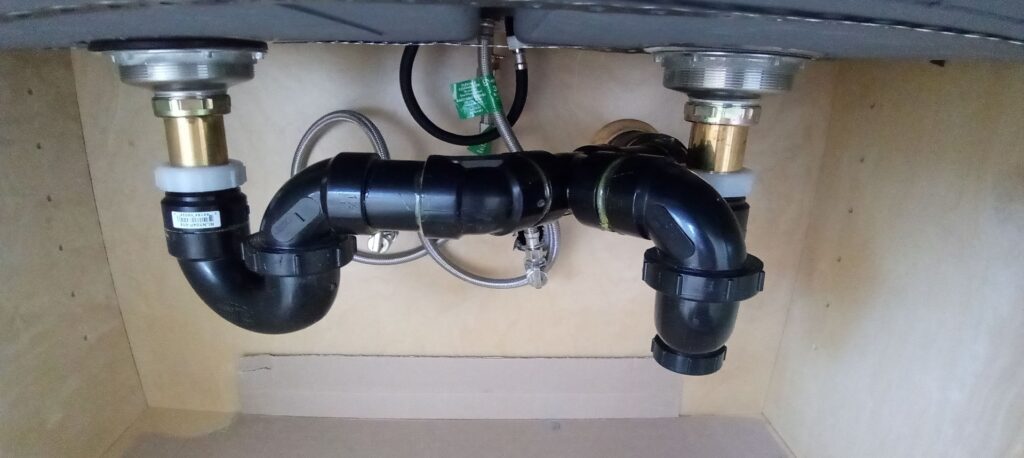
Installing kitchen sink cabinets may seem like a daunting task, but with the right tools and a little bit of know-how, you can easily do it yourself. Not only will it save you money, but it will also give your kitchen a fresh new look. Here's a step-by-step guide on how to install kitchen sink cabinets.How to Install Kitchen Sink Cabinets
Before you start, make sure you have all the necessary tools, including a drill, screwdriver, level, measuring tape, and a stud finder. It's also important to have the right cabinet and sink size for your space. Step 1: Begin by removing the old cabinets and sink, if you have any. This will give you a clean slate to work with. Step 2: Measure and mark where your cabinets will go, making sure they are level. It's important to measure carefully to ensure a perfect fit. Step 3: Secure the cabinets to the wall using screws and a drill. Make sure to attach them to the studs for stability. Step 4: Install the sink into the cabinets, following the manufacturer's instructions. This usually involves attaching brackets and sealing the edges. Step 5: Connect the plumbing to the sink, making sure everything is tightly secured. Step 6: Install any additional features, such as a garbage disposal or soap dispenser. Step 7: Finally, add any finishing touches, such as caulk around the edges of the sink and cabinets, to create a polished look.Step-by-Step Guide for Installing Kitchen Sink Cabinets
Installing kitchen sink cabinets as a DIY project can be a rewarding experience. Not only will you save money, but you'll also have the satisfaction of knowing you did it yourself. However, it's important to have some basic knowledge and skills before taking on this task. Make sure you have all the necessary tools and materials, measure carefully, and follow the instructions closely. If you're unsure about something, don't hesitate to consult a professional for guidance.DIY Kitchen Sink Cabinet Installation
Here are some tips and tricks to keep in mind when installing kitchen sink cabinets: Tip 1: Use a stud finder to locate the studs in your wall before attaching the cabinets. This will ensure they are securely anchored and can support the weight of the sink and any items stored in the cabinets. Tip 2: Measure multiple times to ensure accuracy. It's better to double check than to have to redo the installation because of a measurement error. Tip 3: Use shims to level the cabinets if needed. This will prevent any wobbling or unevenness. Tip 4: Have a partner help you with the installation, especially when attaching the cabinets to the wall. It's easier and safer to have someone hold the cabinets in place while you secure them.Installing Kitchen Sink Cabinets: Tips and Tricks
Here are the essential tools you'll need for installing kitchen sink cabinets: Drill - for attaching the cabinets to the wall Screwdriver - for assembling the cabinets and attaching hardware Level - for ensuring the cabinets are straight and level Measuring Tape - for measuring the space and cabinets accurately Stud Finder - for locating studs in the wallTools Needed for Installing Kitchen Sink Cabinets
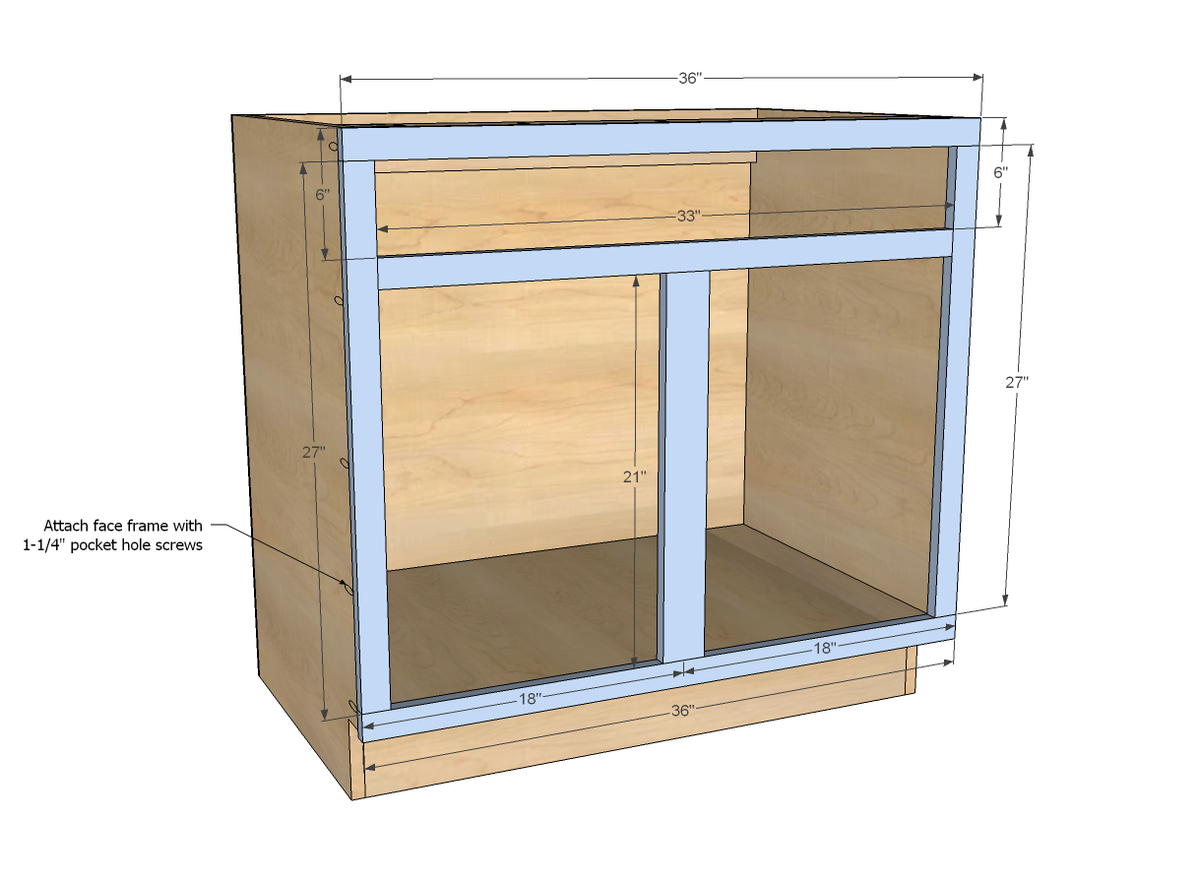
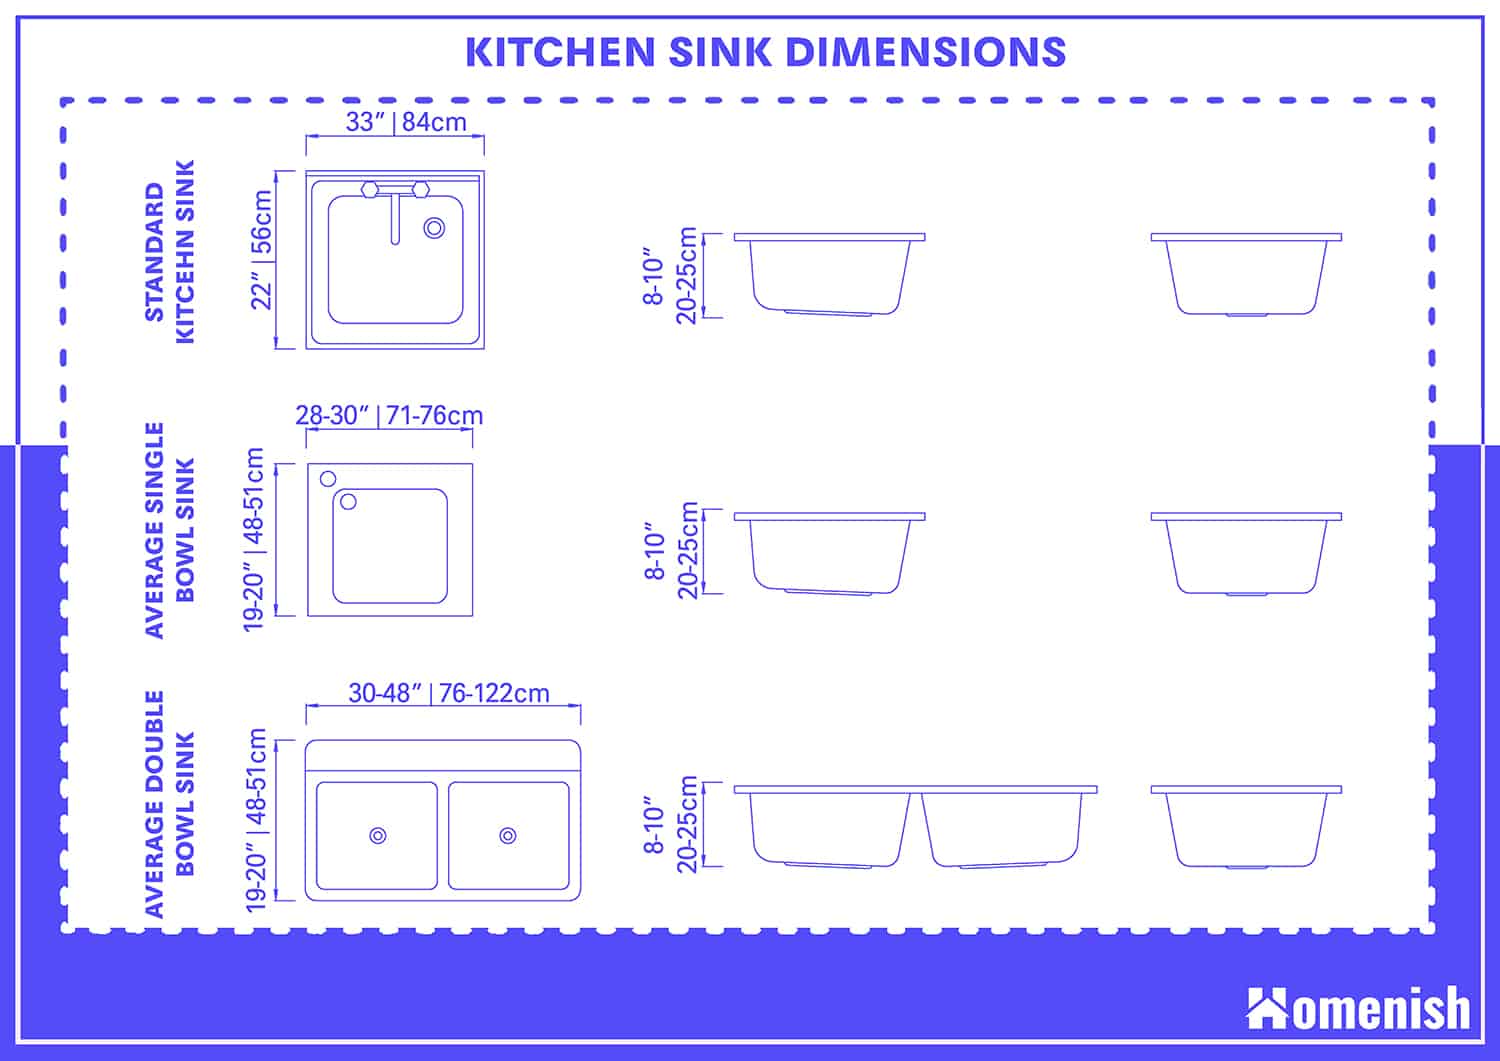
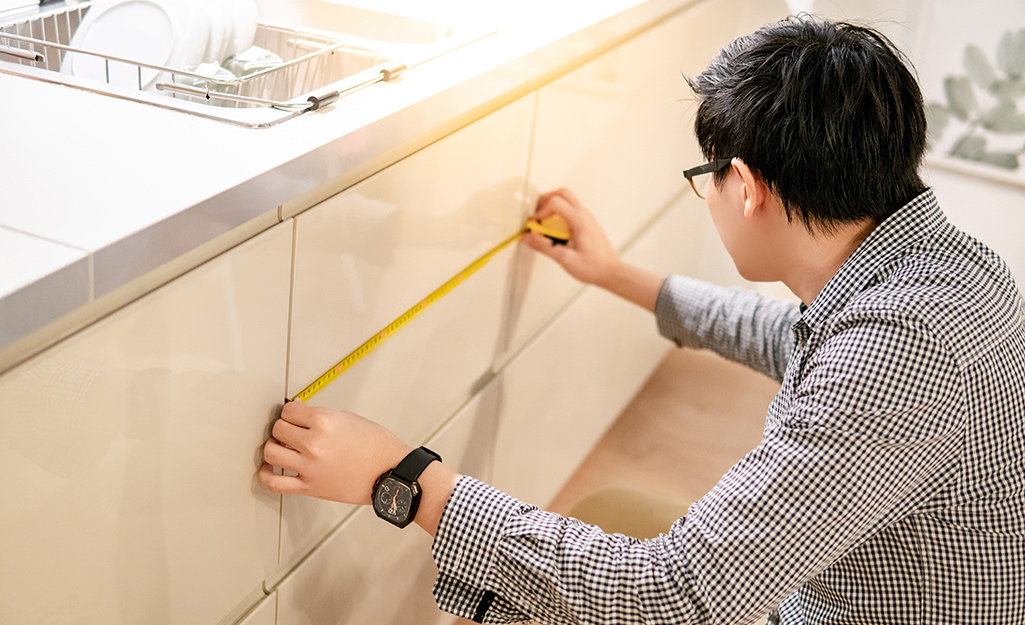
Proper measurement and preparation are crucial for a successful kitchen sink cabinet installation. Here's what you need to do: Step 1: Measure the space where the cabinets will go, including the width, height, and depth. Make sure to account for any obstacles, such as pipes or outlets. Step 2: Measure the sink and cabinets to ensure they will fit in the space. Step 3: Use a stud finder to locate the studs in the wall and mark them. Step 4: Remove any old cabinets or fixtures in the space.Measuring and Preparing for Kitchen Sink Cabinet Installation
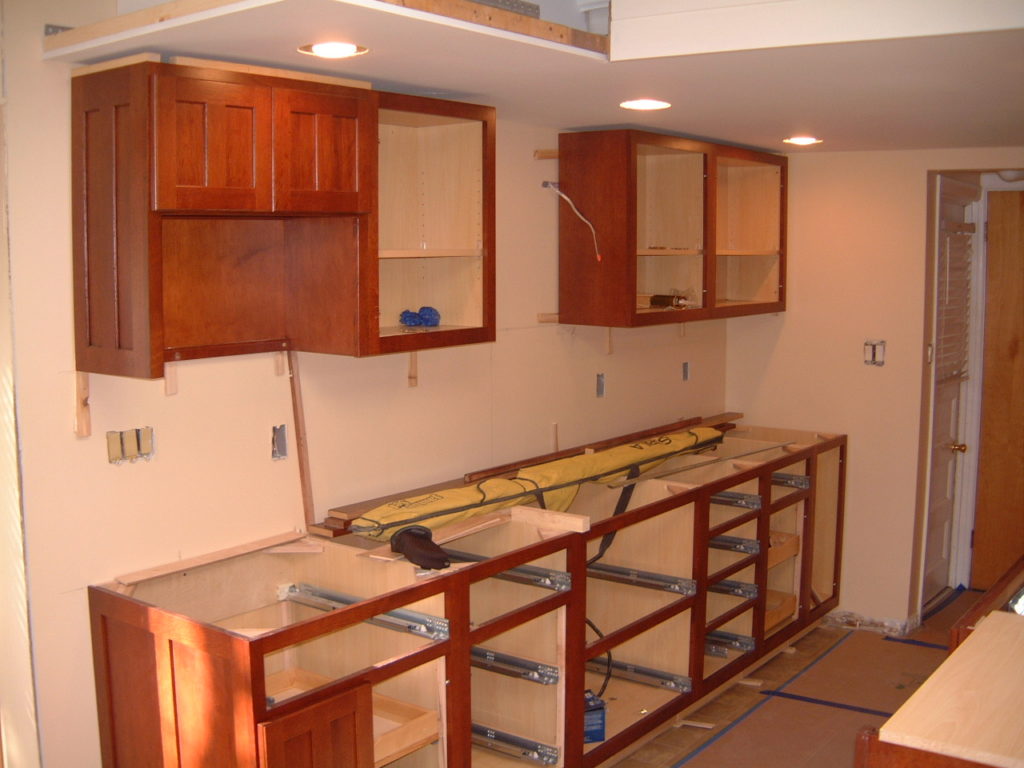
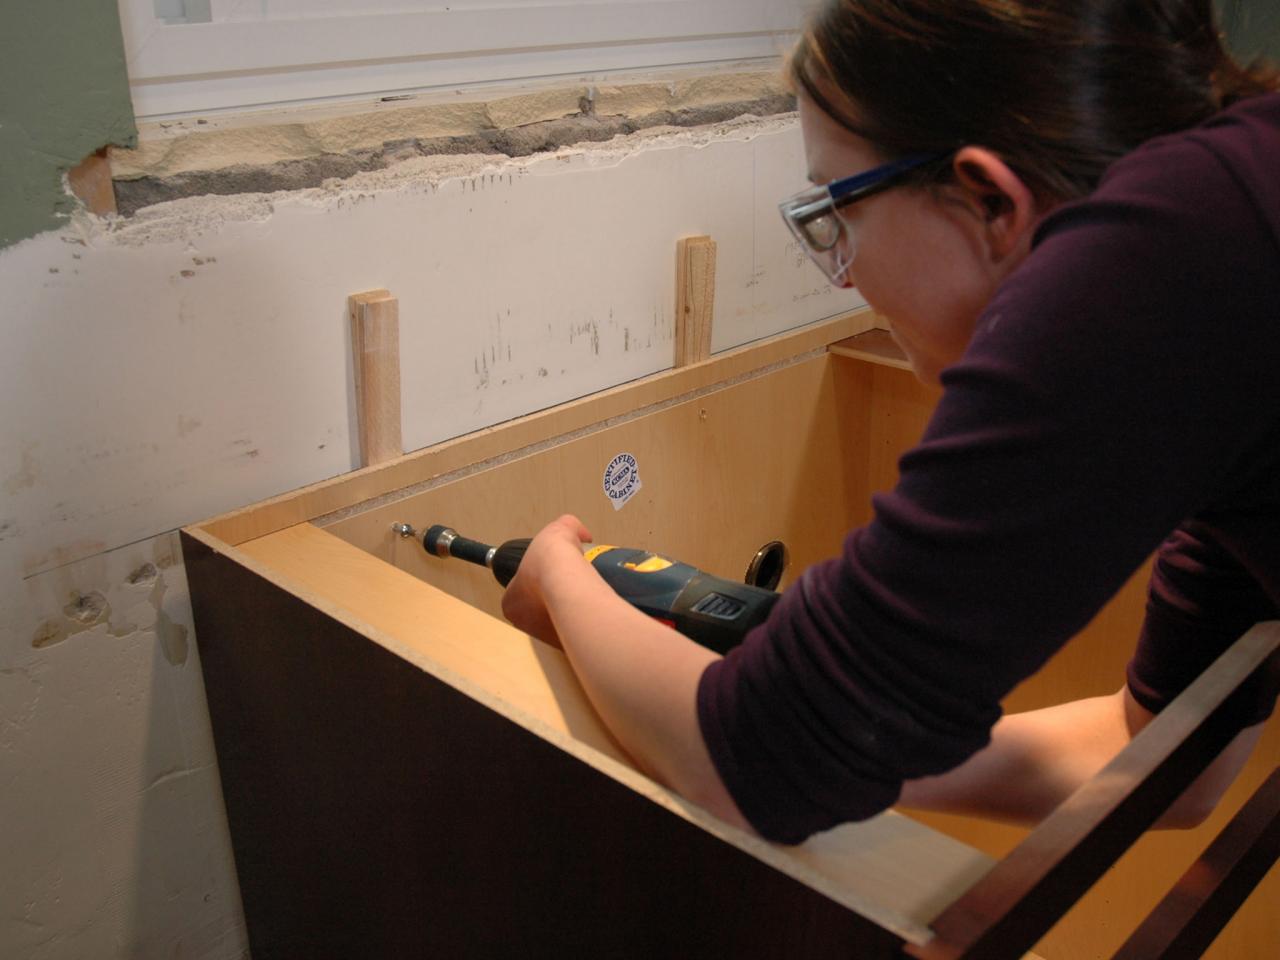
Securing the cabinets to the wall is an important step in the installation process. Here's how to do it: Step 1: Begin by attaching the upper cabinets first, using the marked studs as a guide. Step 2: Use a level to ensure the cabinets are straight and adjust if needed. Step 3: Once the upper cabinets are secure, attach the base cabinets to the wall in the same manner. Step 4: Double check that all cabinets are level and securely attached.Securing Kitchen Sink Cabinets to the Wall
Now that the cabinets are in place, it's time to install the sink and connect the plumbing. Here's how: Step 1: Follow the manufacturer's instructions to attach the sink to the cabinets, usually with brackets and sealant. Step 2: Connect the plumbing, including the water supply and drain pipes, to the sink. Step 3: Test the sink and plumbing to make sure everything is working properly and fix any leaks if needed.Attaching Sink and Plumbing to Kitchen Sink Cabinets
To complete the installation, add any finishing touches such as caulk around the edges of the sink and cabinets for a clean, polished look. You can also add any additional features, such as a garbage disposal or soap dispenser, at this time.Finishing Touches for Kitchen Sink Cabinet Installation
Here are some common mistakes to avoid when installing kitchen sink cabinets: Mistake 1: Not measuring accurately and ending up with cabinets or a sink that doesn't fit. Mistake 2: Not securing the cabinets to the wall properly, leading to instability and potential damage. Mistake 3: Not following the manufacturer's instructions for attaching the sink and plumbing, resulting in leaks or other issues. Mistake 4: Not checking for levelness throughout the installation process, leading to an uneven and unprofessional look.Common Mistakes to Avoid When Installing Kitchen Sink Cabinets
Why Installing Kitchen Sink Cabinets is Essential for Your House Design

Maximizing Space and Storage
 When it comes to designing a kitchen, functionality is key. Kitchen sink cabinets are an essential element in every kitchen as they provide not only a designated space for your sink but also ample storage for all your kitchen essentials. With the right cabinet design, you can make the most out of your available space and create an organized and clutter-free kitchen.
Kitchen sink cabinets
come in a variety of sizes and styles, allowing you to choose the best fit for your kitchen layout and design. By incorporating these cabinets into your kitchen design, you can maximize your storage space and keep your kitchen looking neat and tidy.
Seamless Design and Aesthetics
 In addition to their practical use, kitchen sink cabinets also play a crucial role in enhancing the overall aesthetics of your kitchen. With the wide range of designs and finishes available, you can choose cabinets that complement your kitchen’s style and color scheme.
Installing kitchen sink cabinets
can help create a seamless and cohesive look in your kitchen, making it not only functional but also visually appealing. You can choose from traditional wood cabinets to modern and sleek designs, ensuring that your cabinets not only serve their purpose but also add to the overall design of your kitchen.
Protecting Your Plumbing and Appliances
 Another important reason to invest in
kitchen sink cabinets
is to protect your plumbing and appliances. These cabinets provide a barrier between your sink and the rest of your kitchen, preventing any water damage or leaks from spreading. This is especially important for kitchens with wooden flooring, as exposure to water can cause damage over time. Additionally, having a designated cabinet for your sink can also protect your appliances, such as a dishwasher or garbage disposal, from potential water damage. By having a sturdy and well-built cabinet, you can ensure the longevity of your plumbing and appliances.
Conclusion
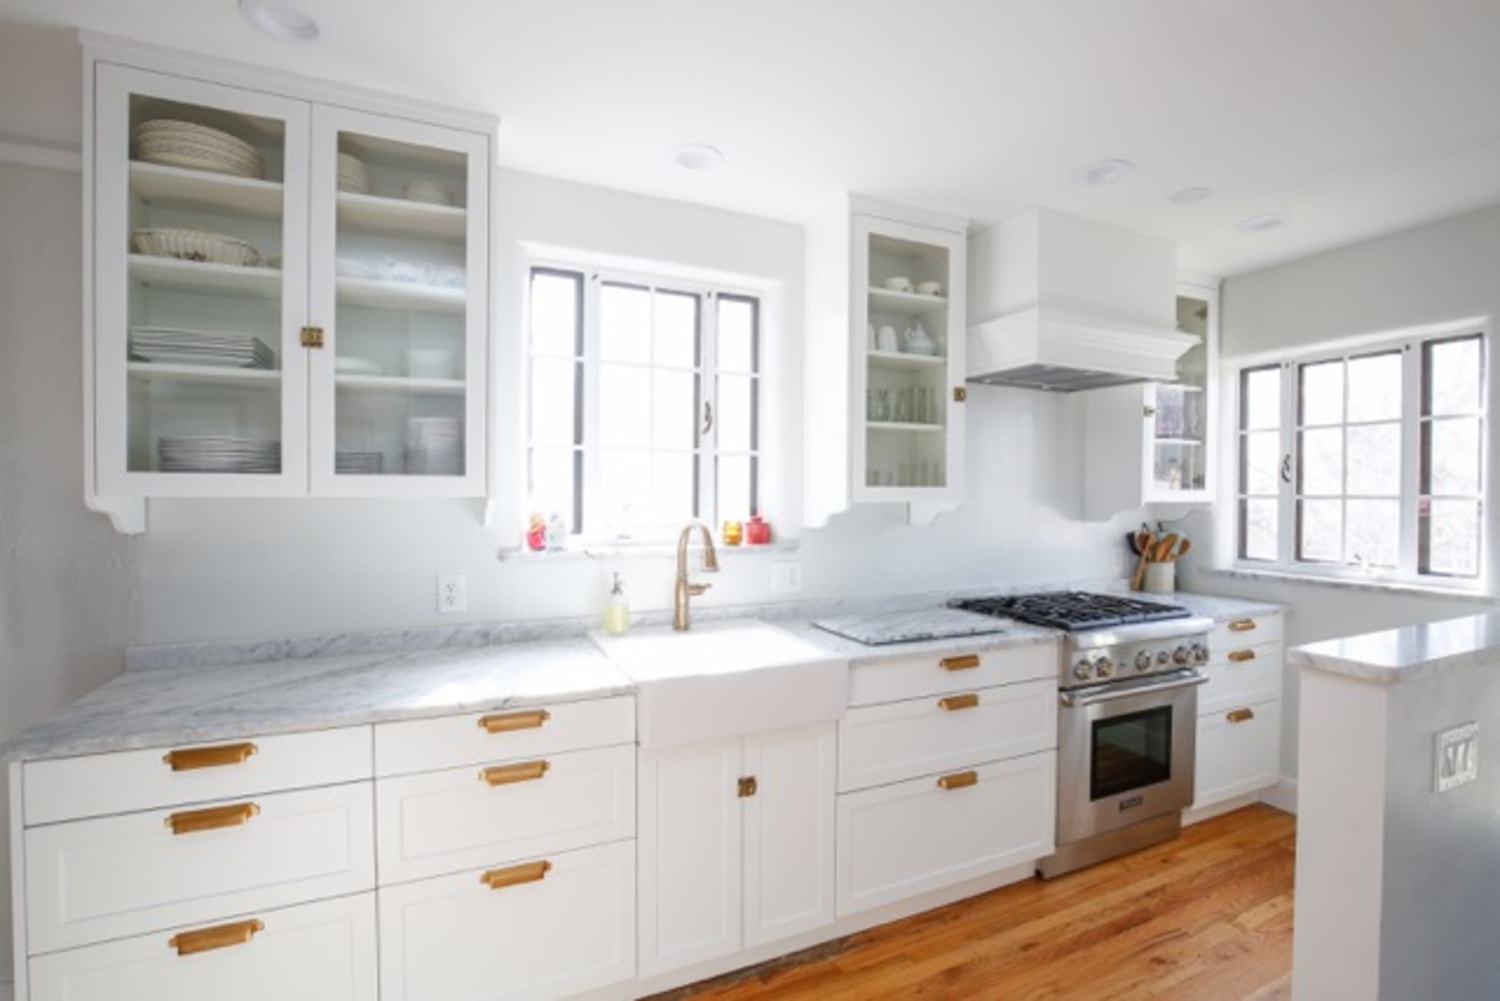 In conclusion,
installing kitchen sink cabinets
is not only practical but also essential for a well-designed kitchen. With the right cabinet design, you can maximize your storage space, enhance the aesthetics of your kitchen, and protect your plumbing and appliances. Don't overlook the importance of these cabinets when designing your kitchen, as they can make a significant difference in both functionality and design. So, if you're in the process of designing or renovating your kitchen, be sure to include kitchen sink cabinets in your plans for a functional and visually appealing space.




:no_upscale()/cdn.vox-cdn.com/uploads/chorus_asset/file/19495086/drain_0.jpg)






/cabinet-refacing-demystified-1822044v2-29c0506ee7014a54a7473d9a5d85b149.jpg)







/how-to-install-a-sink-drain-2718789-hero-24e898006ed94c9593a2a268b57989a3.jpg)
