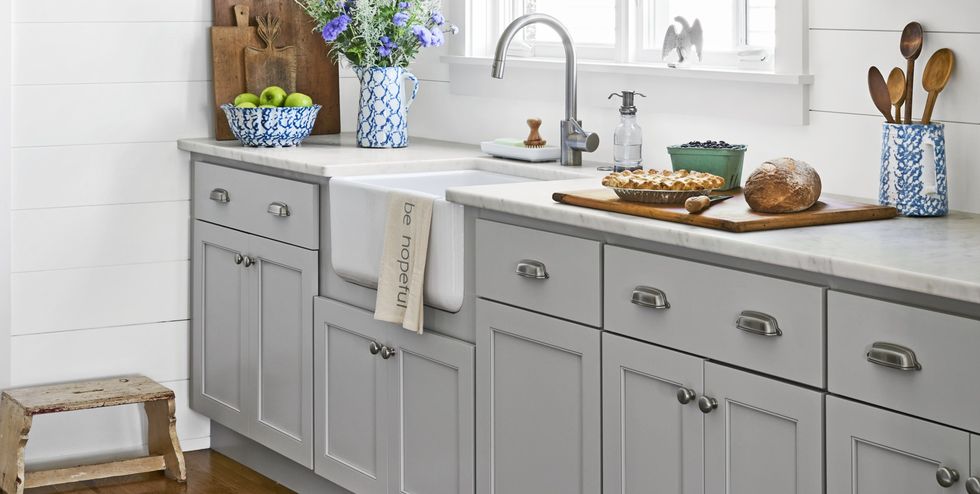
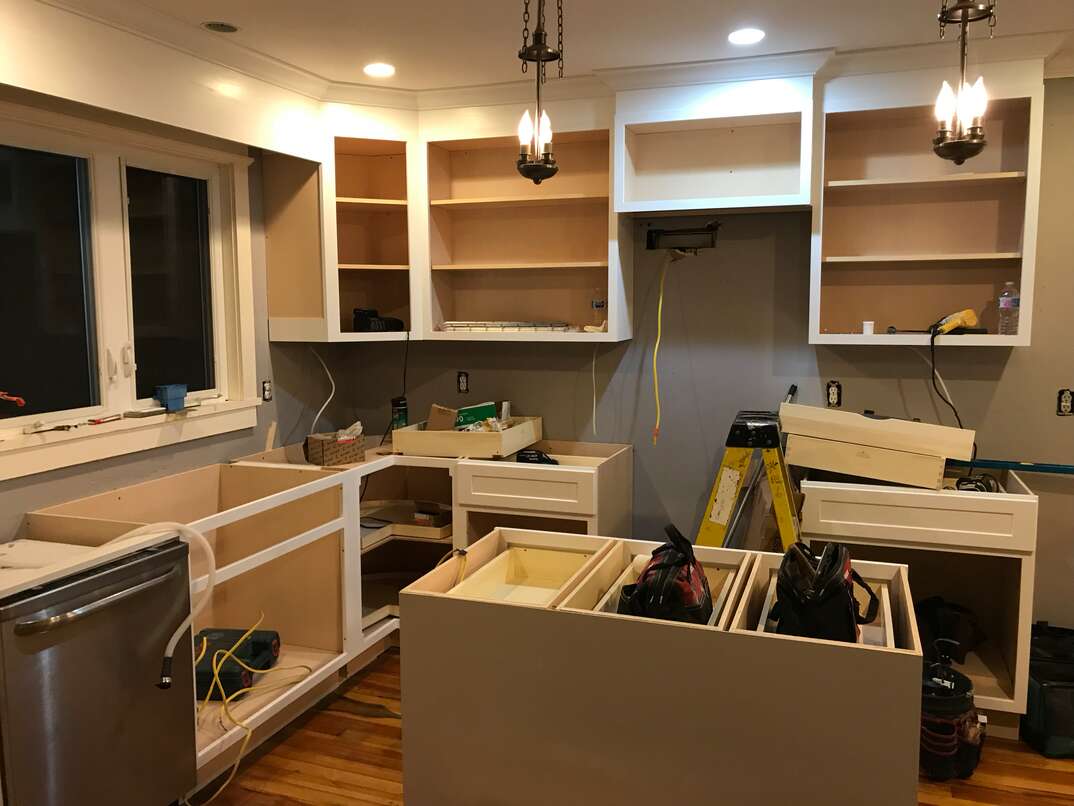
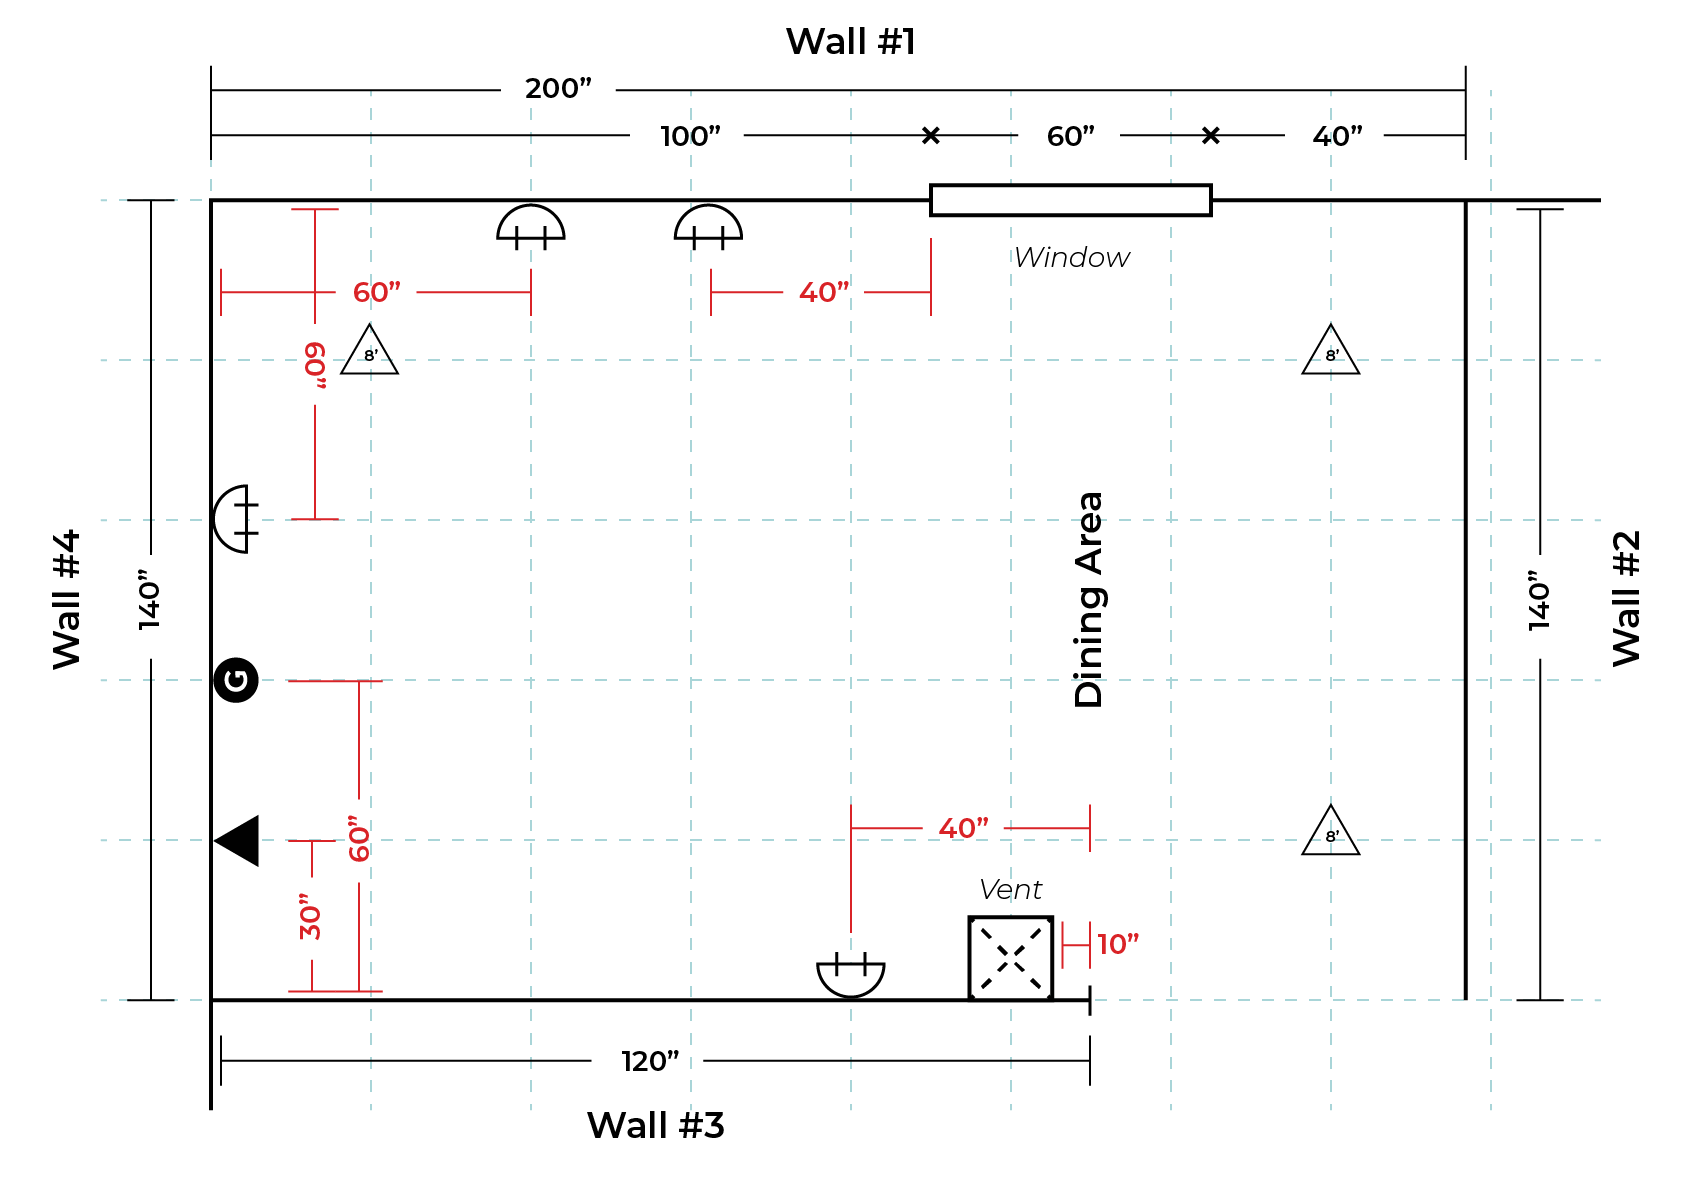
Before embarking on the installation of kitchen cabinets with a corner sink, it is important to take accurate measurements and plan out the layout. This will ensure that the cabinets and sink fit seamlessly into the designated space, avoiding any potential issues during the installation process. Use a measuring tape to measure the dimensions of the corner area and take note of any obstacles such as electrical outlets or plumbing that may need to be taken into consideration. Once you have the measurements, use them to create a plan or layout of how you want the cabinets and sink to be arranged. This will serve as a guide during the installation and help you determine the best placement for the cabinets and sink.1. Measuring and Planning for the Installation of Kitchen Cabinets with a Corner Sink
Before you can start installing the cabinets, you need to prepare the area by removing any existing cabinets or appliances. Make sure the area is clean and free of any debris or dust. Next, locate the studs in the walls where the cabinets will be attached. This is crucial for ensuring the cabinets are securely installed and can support the weight of the sink and countertops. If the walls are not level, use shims to even them out. This will prevent any gaps between the cabinets and the wall, ensuring a professional finish.2. Preparing the Area for Installing Kitchen Cabinets with a Corner Sink
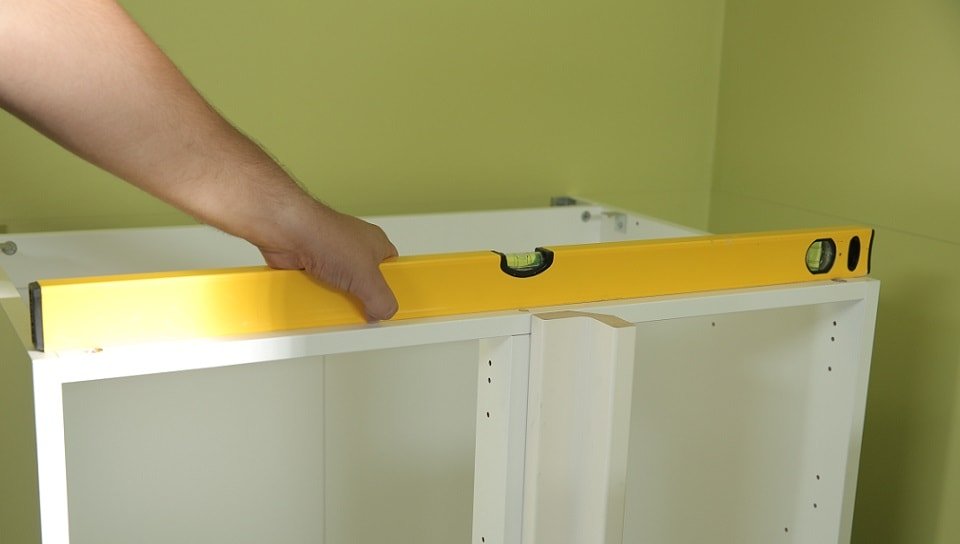
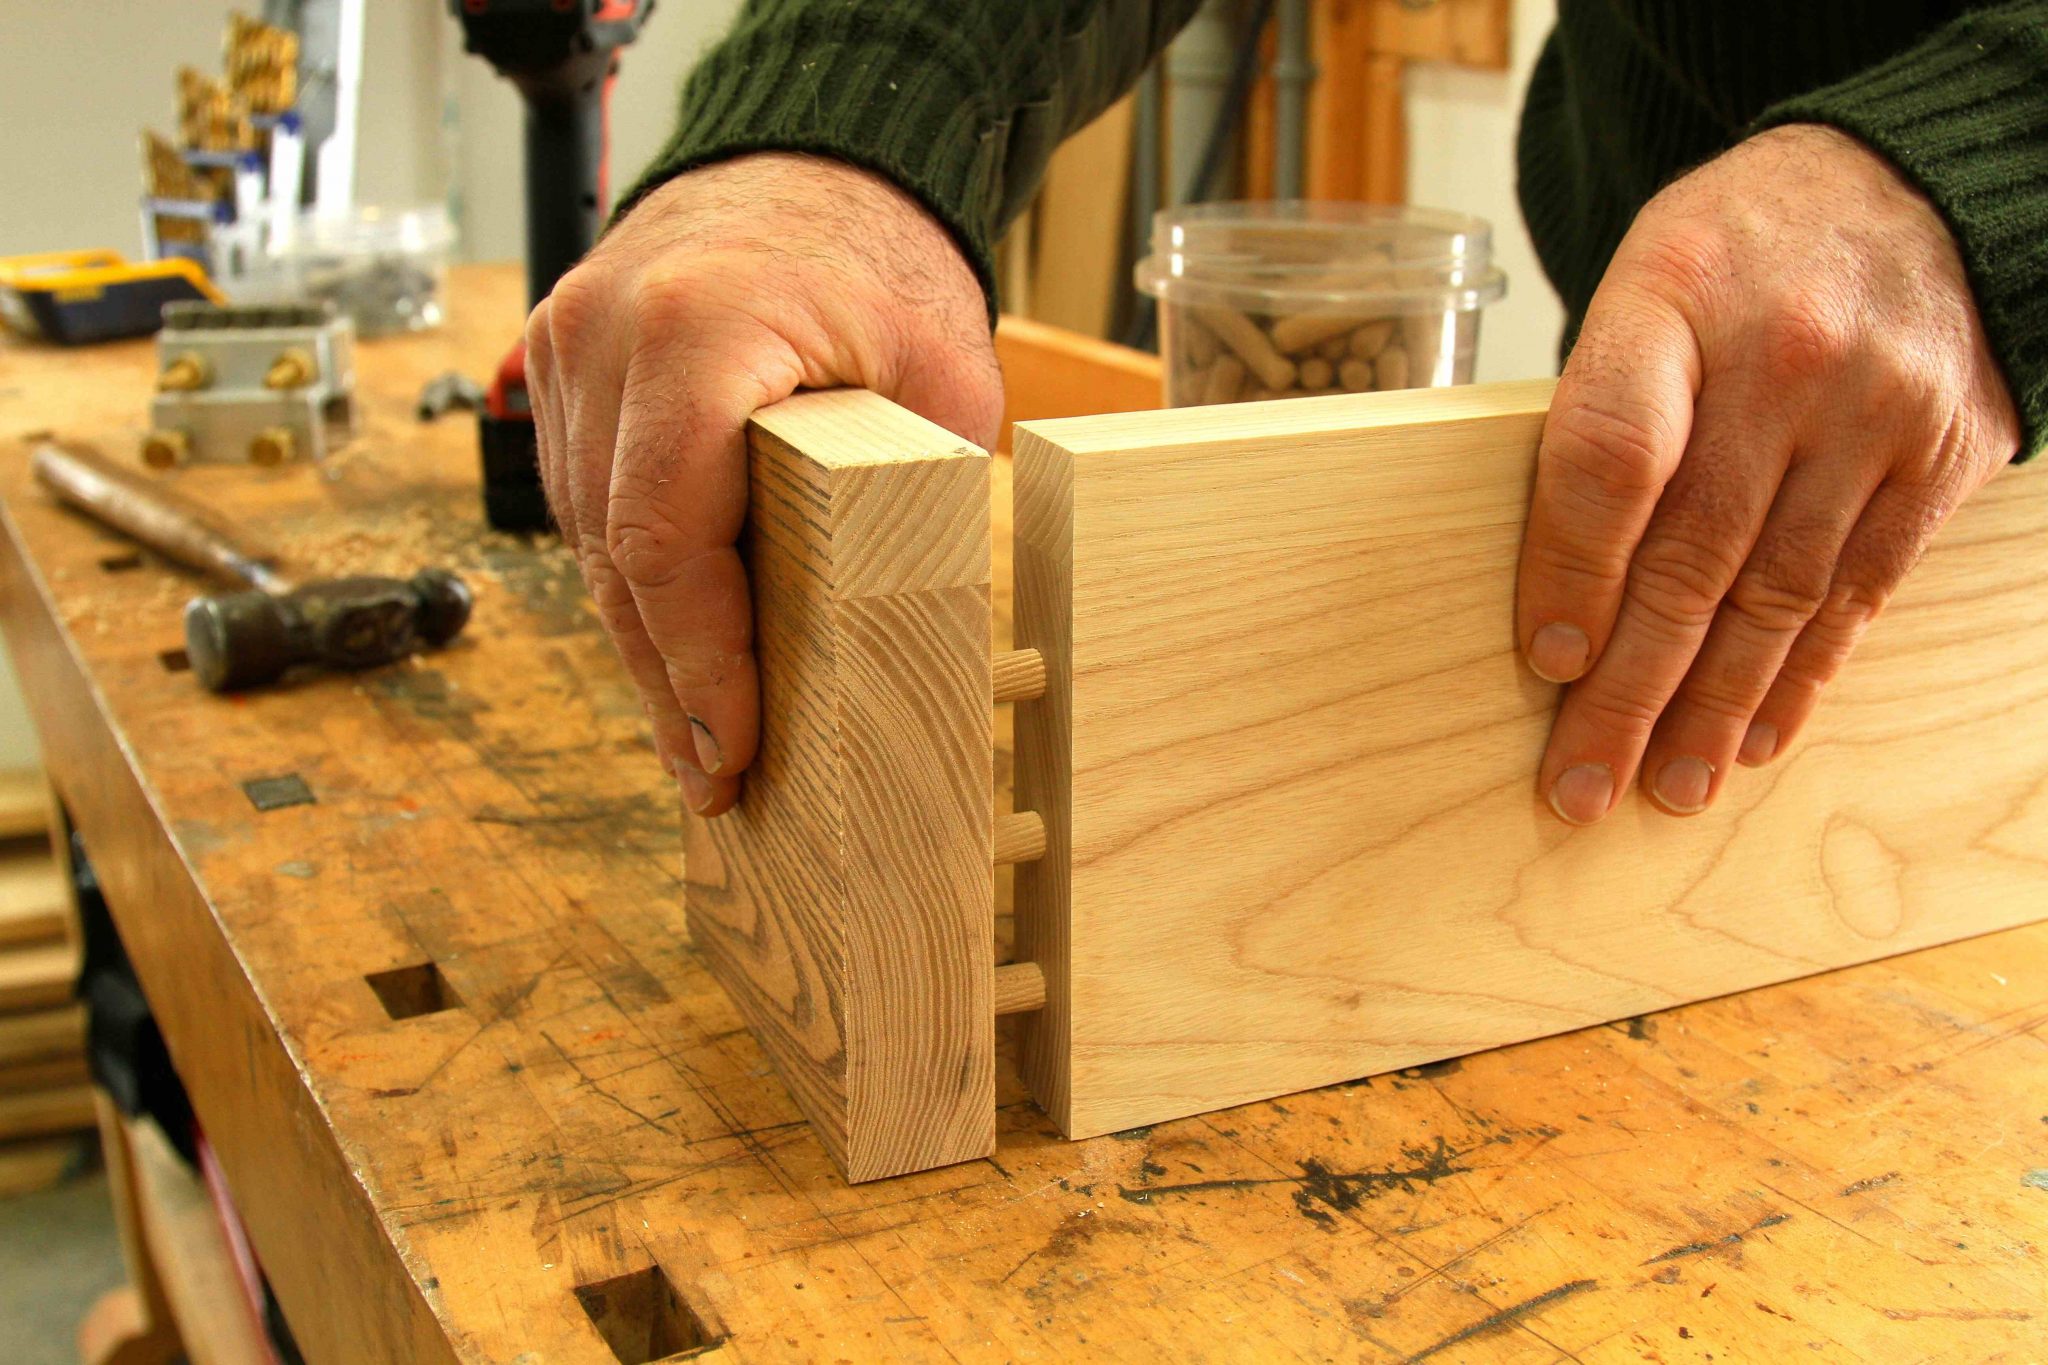
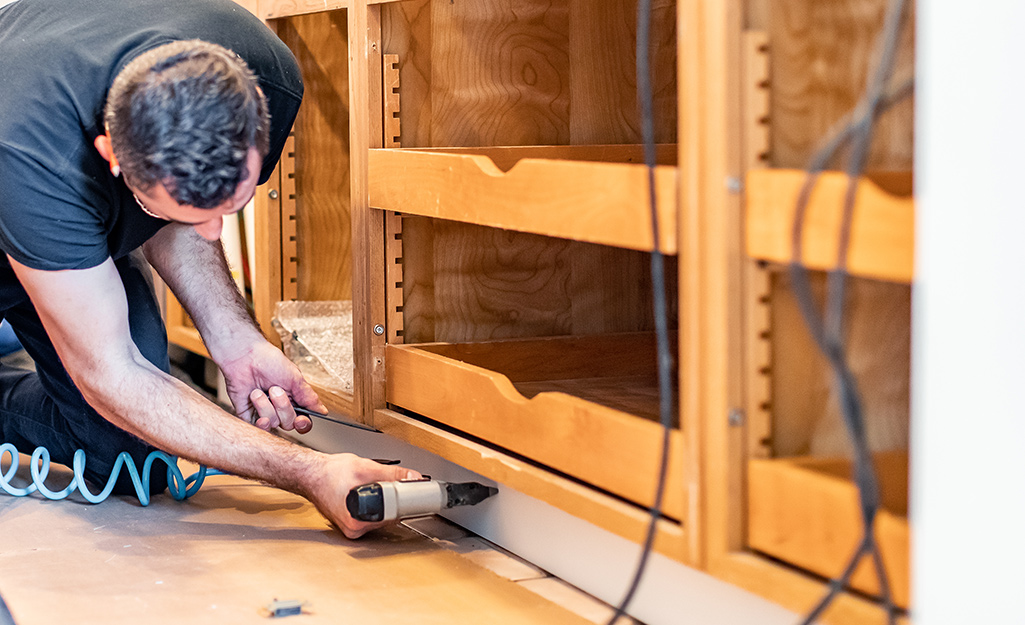
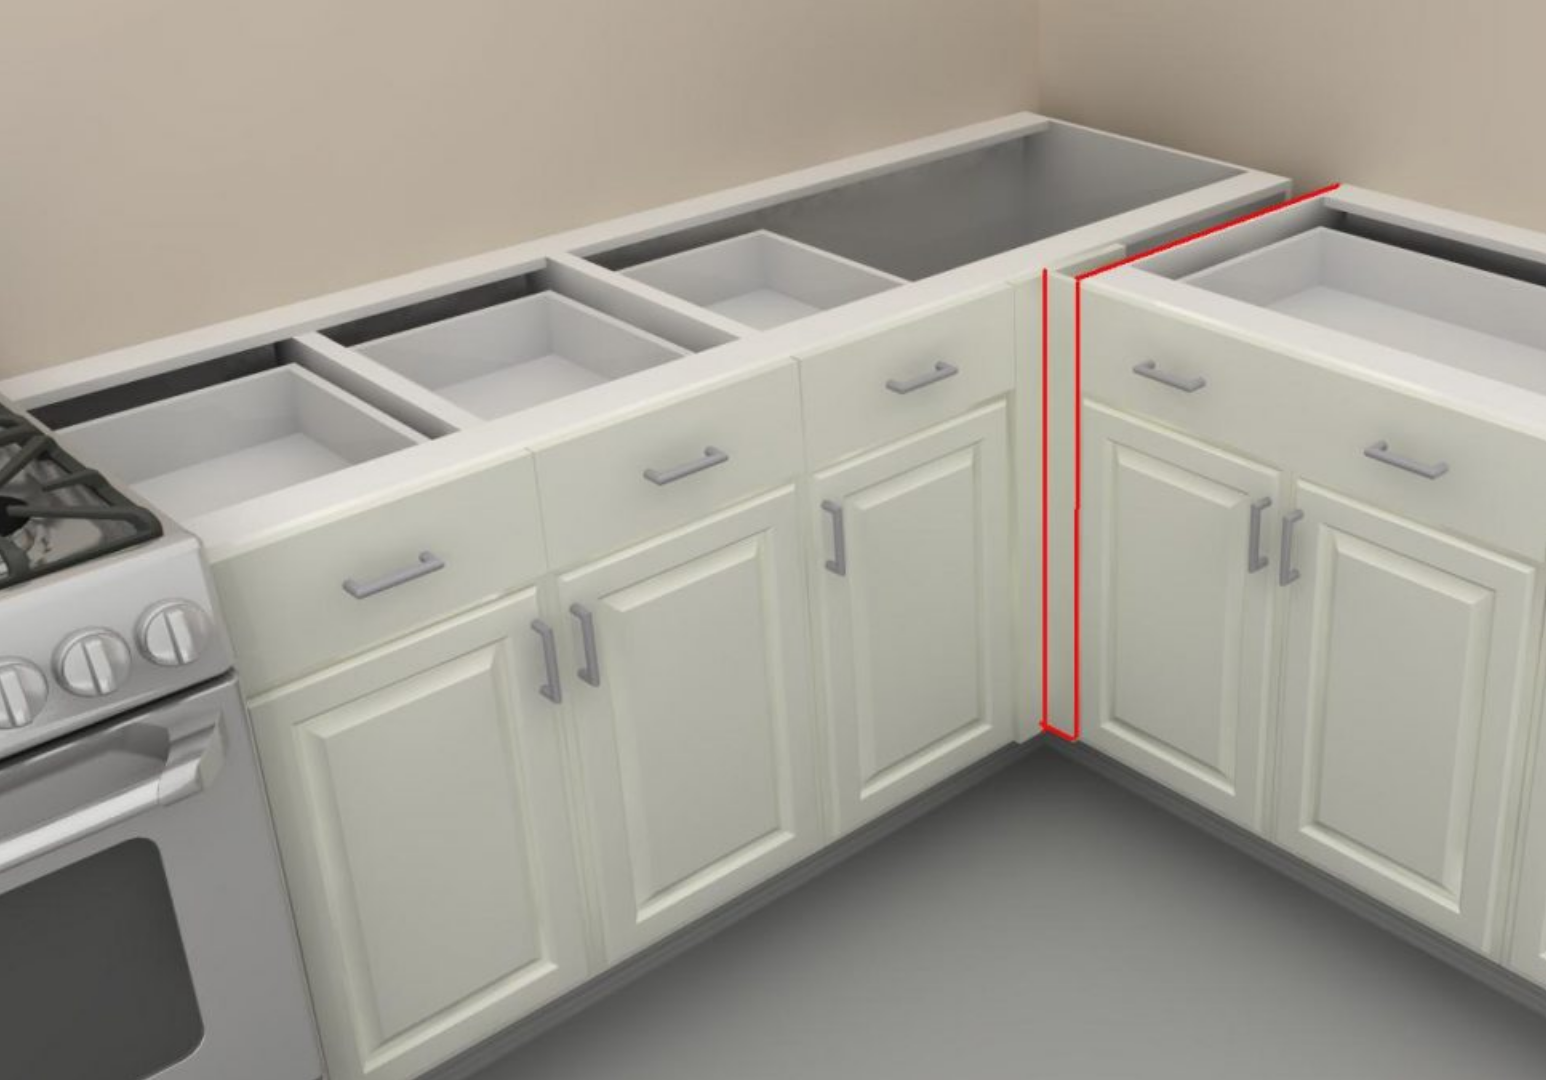
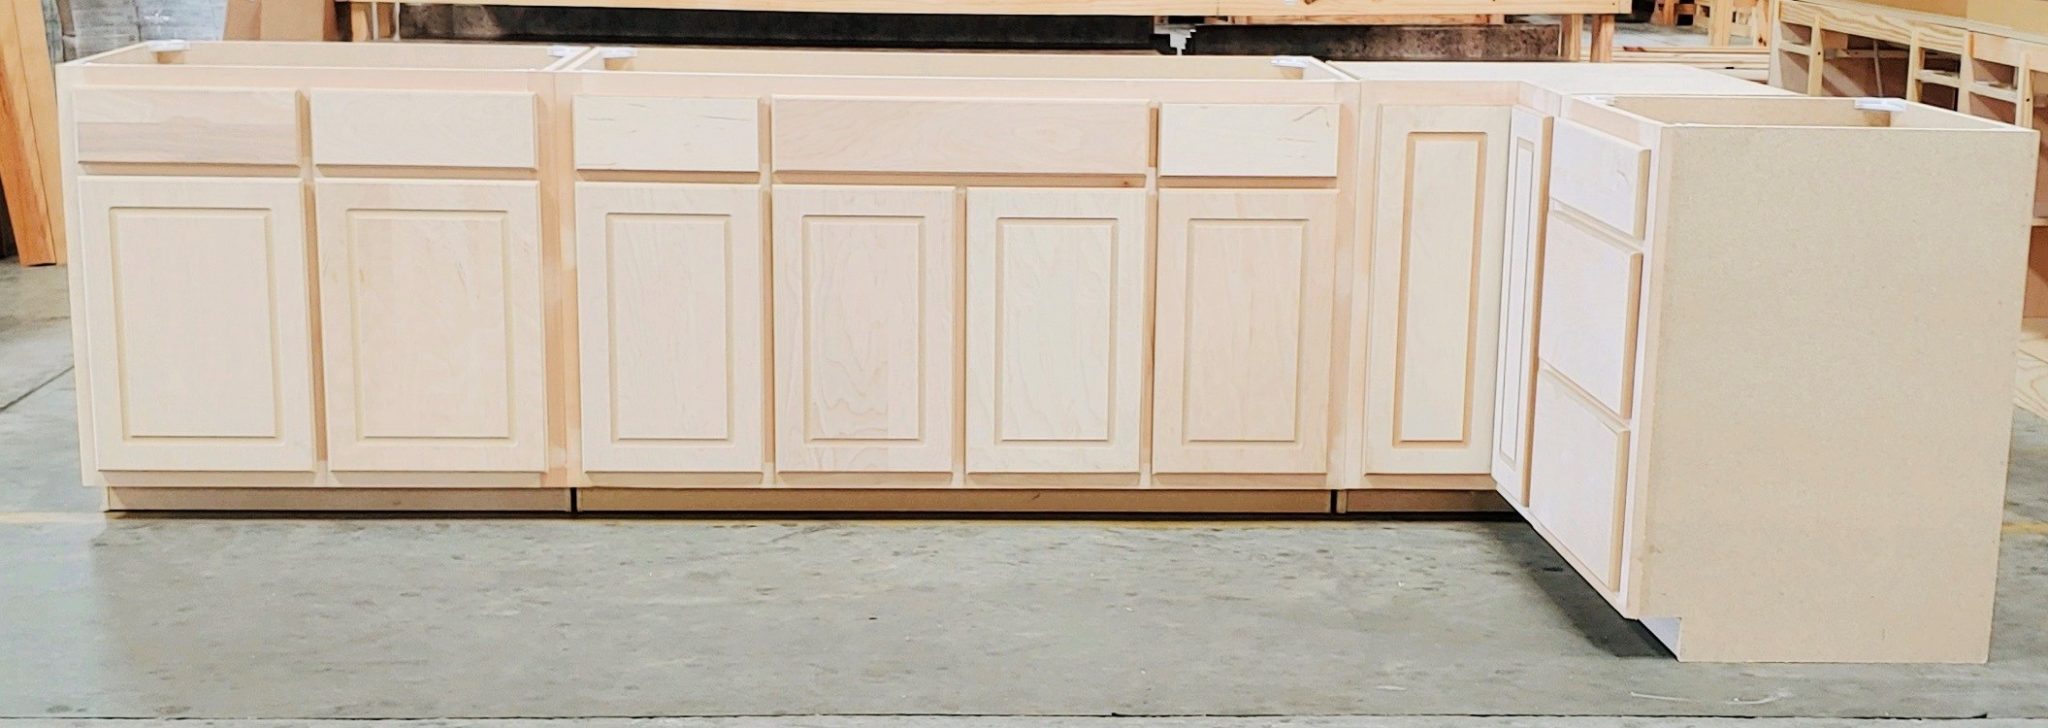
With the area prepared, it's time to assemble the base cabinets. Follow the manufacturer's instructions carefully, making sure all pieces are securely connected. Once assembled, place the cabinets in the designated area, making sure they are level and plumb. Use shims if necessary to adjust the cabinets. Next, attach the cabinets to the wall using screws and a drill. Make sure to secure them to the studs for maximum stability. Once all the base cabinets are installed, check for any gaps between them and adjust as needed.3. Assembling and Installing the Base Cabinets for a Corner Sink
Installing the corner sink is a critical step in this process. Begin by placing the sink in the designated space and marking where the holes for the faucet and drain will be. Use a drill to create these holes. Then, apply a bead of caulk around the edges of the sink and carefully lower it into place. Next, attach the sink to the base cabinets using screws and brackets provided by the manufacturer. This will secure the sink in place and prevent it from shifting or moving.4. Installing the Corner Sink and Attaching it to the Base Cabinets
The installation of upper cabinets follows a similar process to the base cabinets. Assemble the cabinets according to the instructions and place them in their designated spots. Use a level to ensure they are straight and secure them to the wall using screws. Make sure to attach the upper cabinets to the base cabinets as well for added stability.5. Installing the Upper Cabinets for a Corner Sink
After all the cabinets are in place, it's important to secure them to the wall and each other for added stability. Use screws and brackets provided by the manufacturer to attach the cabinets to the wall studs. Then, use clamps to hold the cabinets together and secure them with screws or brackets. This step is crucial, as it will prevent the cabinets from shifting or falling over time. It will also ensure a seamless look and professional finish.6. Securing the Cabinets to the Wall and Each Other
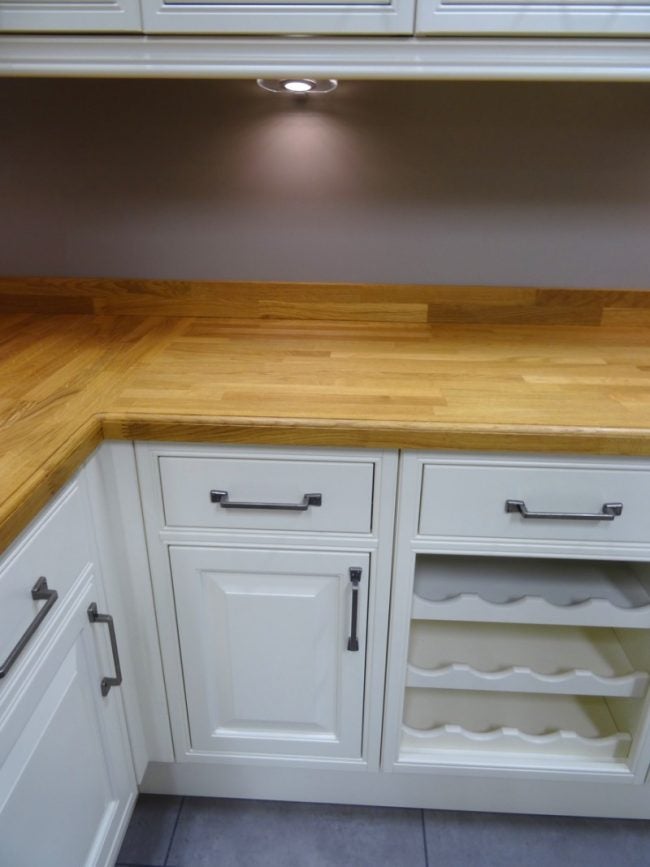
With the cabinets in place, it's time to measure and cut the countertops to fit around the corner sink. Measure and mark where the sink and faucet holes will be, and use a jigsaw to cut them out. Then, carefully place the countertops on top of the cabinets and make any necessary adjustments. Once the countertops are in place, secure them to the cabinets using screws and brackets. This will ensure they are held securely in place and prevent any shifting or movement.7. Cutting and Installing Countertops for a Corner Sink
With the countertops in place, it's time to install the sink and plumbing. Begin by attaching the faucet and drain to the sink according to the manufacturer's instructions. Then, carefully lower the sink into the designated space, making sure it is level and secure. Next, connect the plumbing to the sink and make sure all connections are tight and secure. Run water through the sink to check for any leaks and make adjustments as needed.8. Installing the Sink and Plumbing for a Corner Sink
With the sink and plumbing in place, it's time to add any finishing touches. This may include adding trim or molding around the cabinets and countertops, or applying a sealant to protect the countertops. Take a step back and inspect the entire installation for any adjustments that may be needed. This is the time to make any final tweaks to ensure a flawless finish.9. Adding Finishing Touches and Adjustments for a Corner Sink
Installing kitchen cabinets with a corner sink can be a challenging task, but with the right techniques and tools, it can be a successful and rewarding project. Here are some tips and tricks to keep in mind:10. Tips and Tricks for a Successful Installation of Kitchen Cabinets with a Corner Sink
Maximizing Space with a Corner Sink and Kitchen Cabinets

Creating a Functional and Stylish Kitchen Design
 When it comes to designing a kitchen, one of the biggest challenges is making the most out of the available space. This is especially true for smaller kitchens where every inch counts. That's why, when it comes to installing kitchen cabinets, incorporating a corner sink into the design can be a game changer. Not only does it add visual interest to the space, but it also maximizes the functionality of the kitchen.
Corner sinks
are a popular choice for kitchens because they take advantage of the often overlooked corner space. This type of sink not only looks great, but it also frees up the central area of the kitchen for more important tasks such as food preparation and cooking. Additionally,
corner sinks
can come in different shapes and sizes, making them a versatile option for any kitchen design.
When it comes to
installing kitchen cabinets with a corner sink
, there are a few important things to keep in mind. First and foremost, proper measurement and planning is crucial. The sink and cabinets should be measured and placed carefully to ensure a seamless fit. This is where hiring a professional can be beneficial, as they have the experience and expertise to create a functional and aesthetically pleasing design.
Another important factor to consider when installing
kitchen cabinets
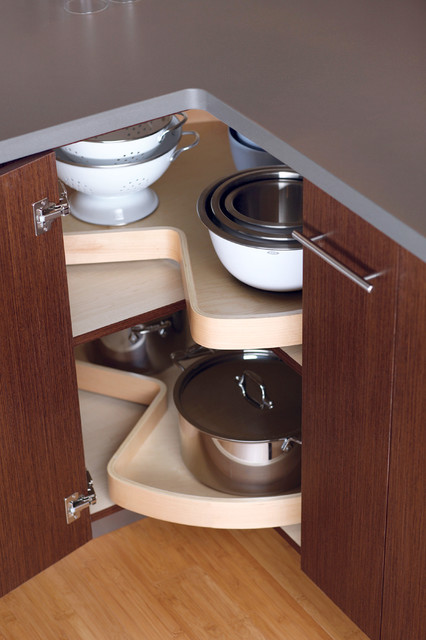
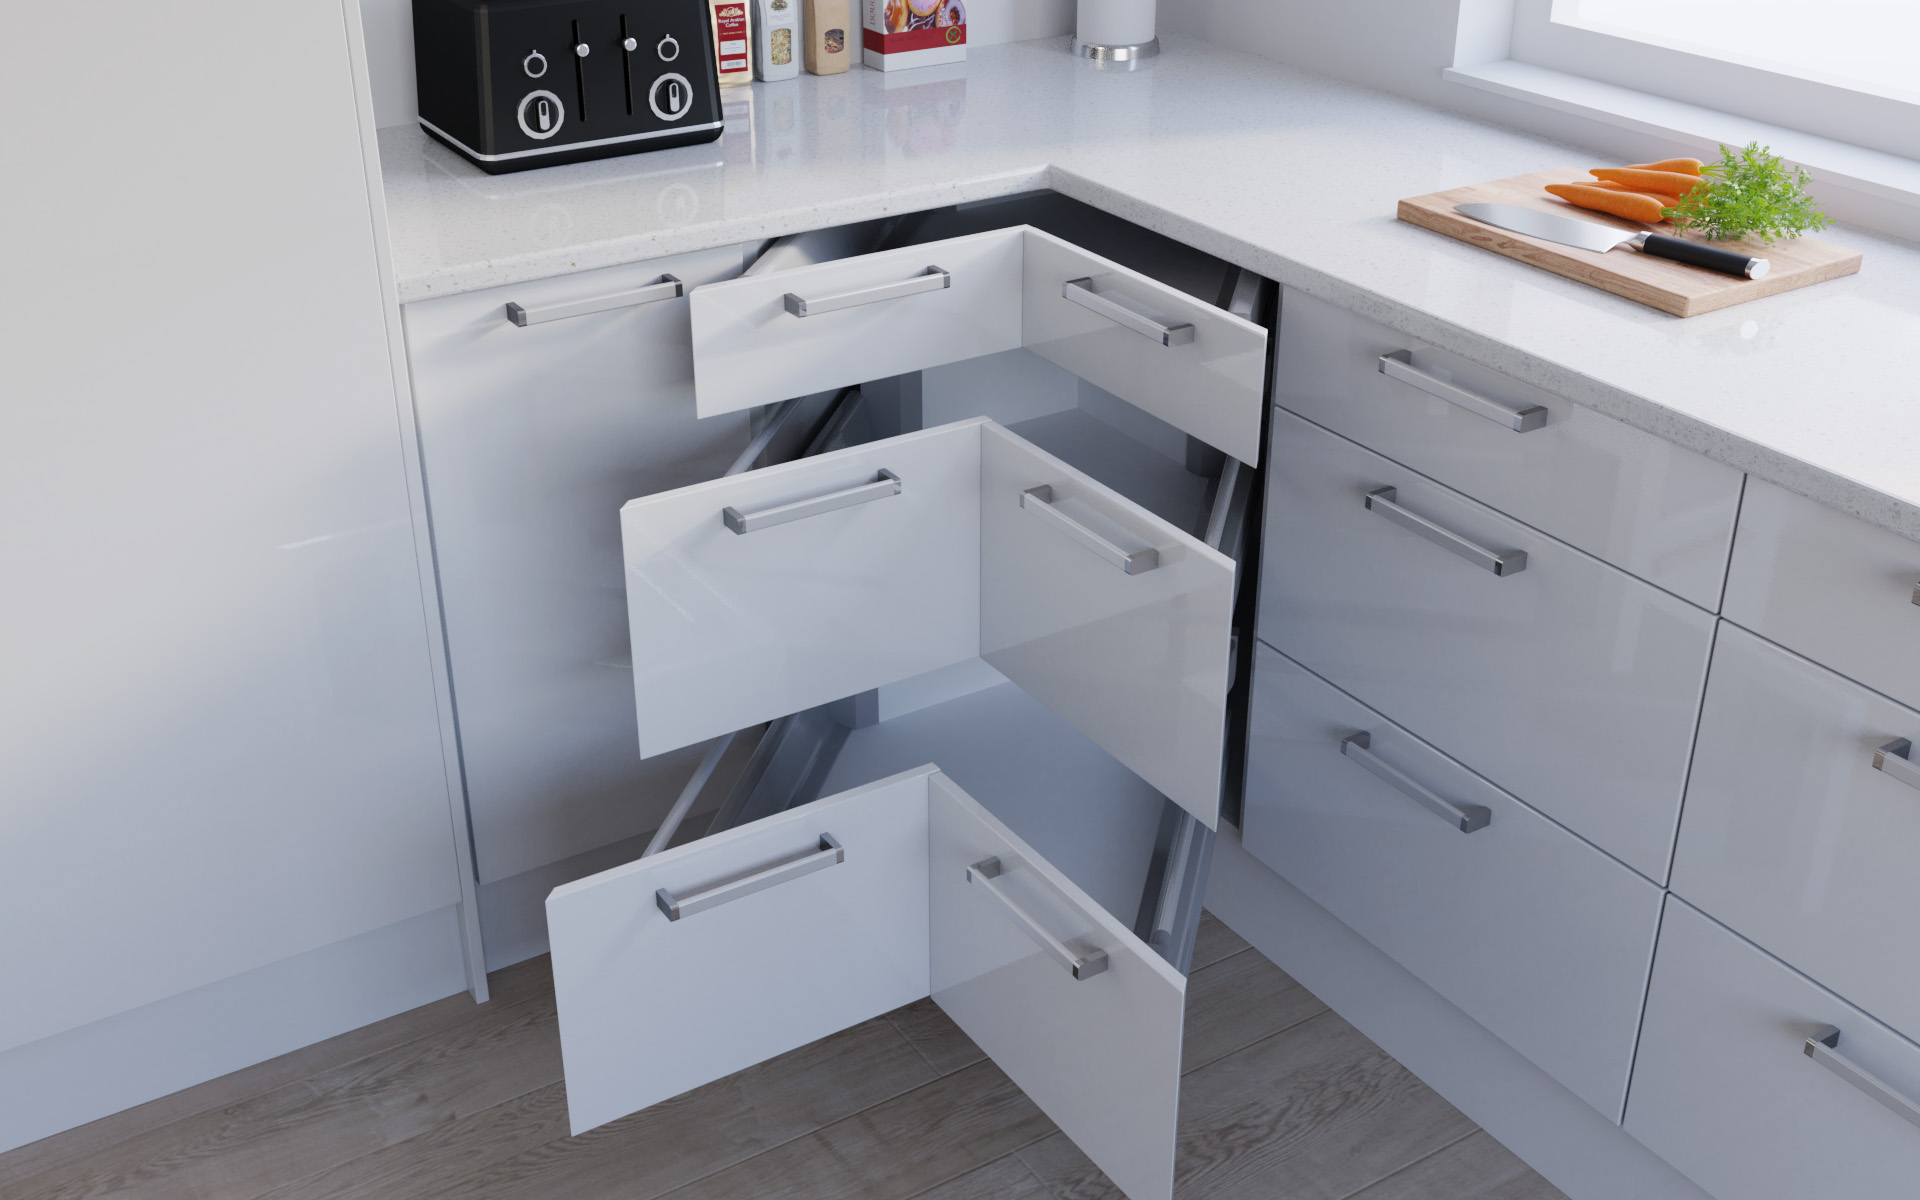
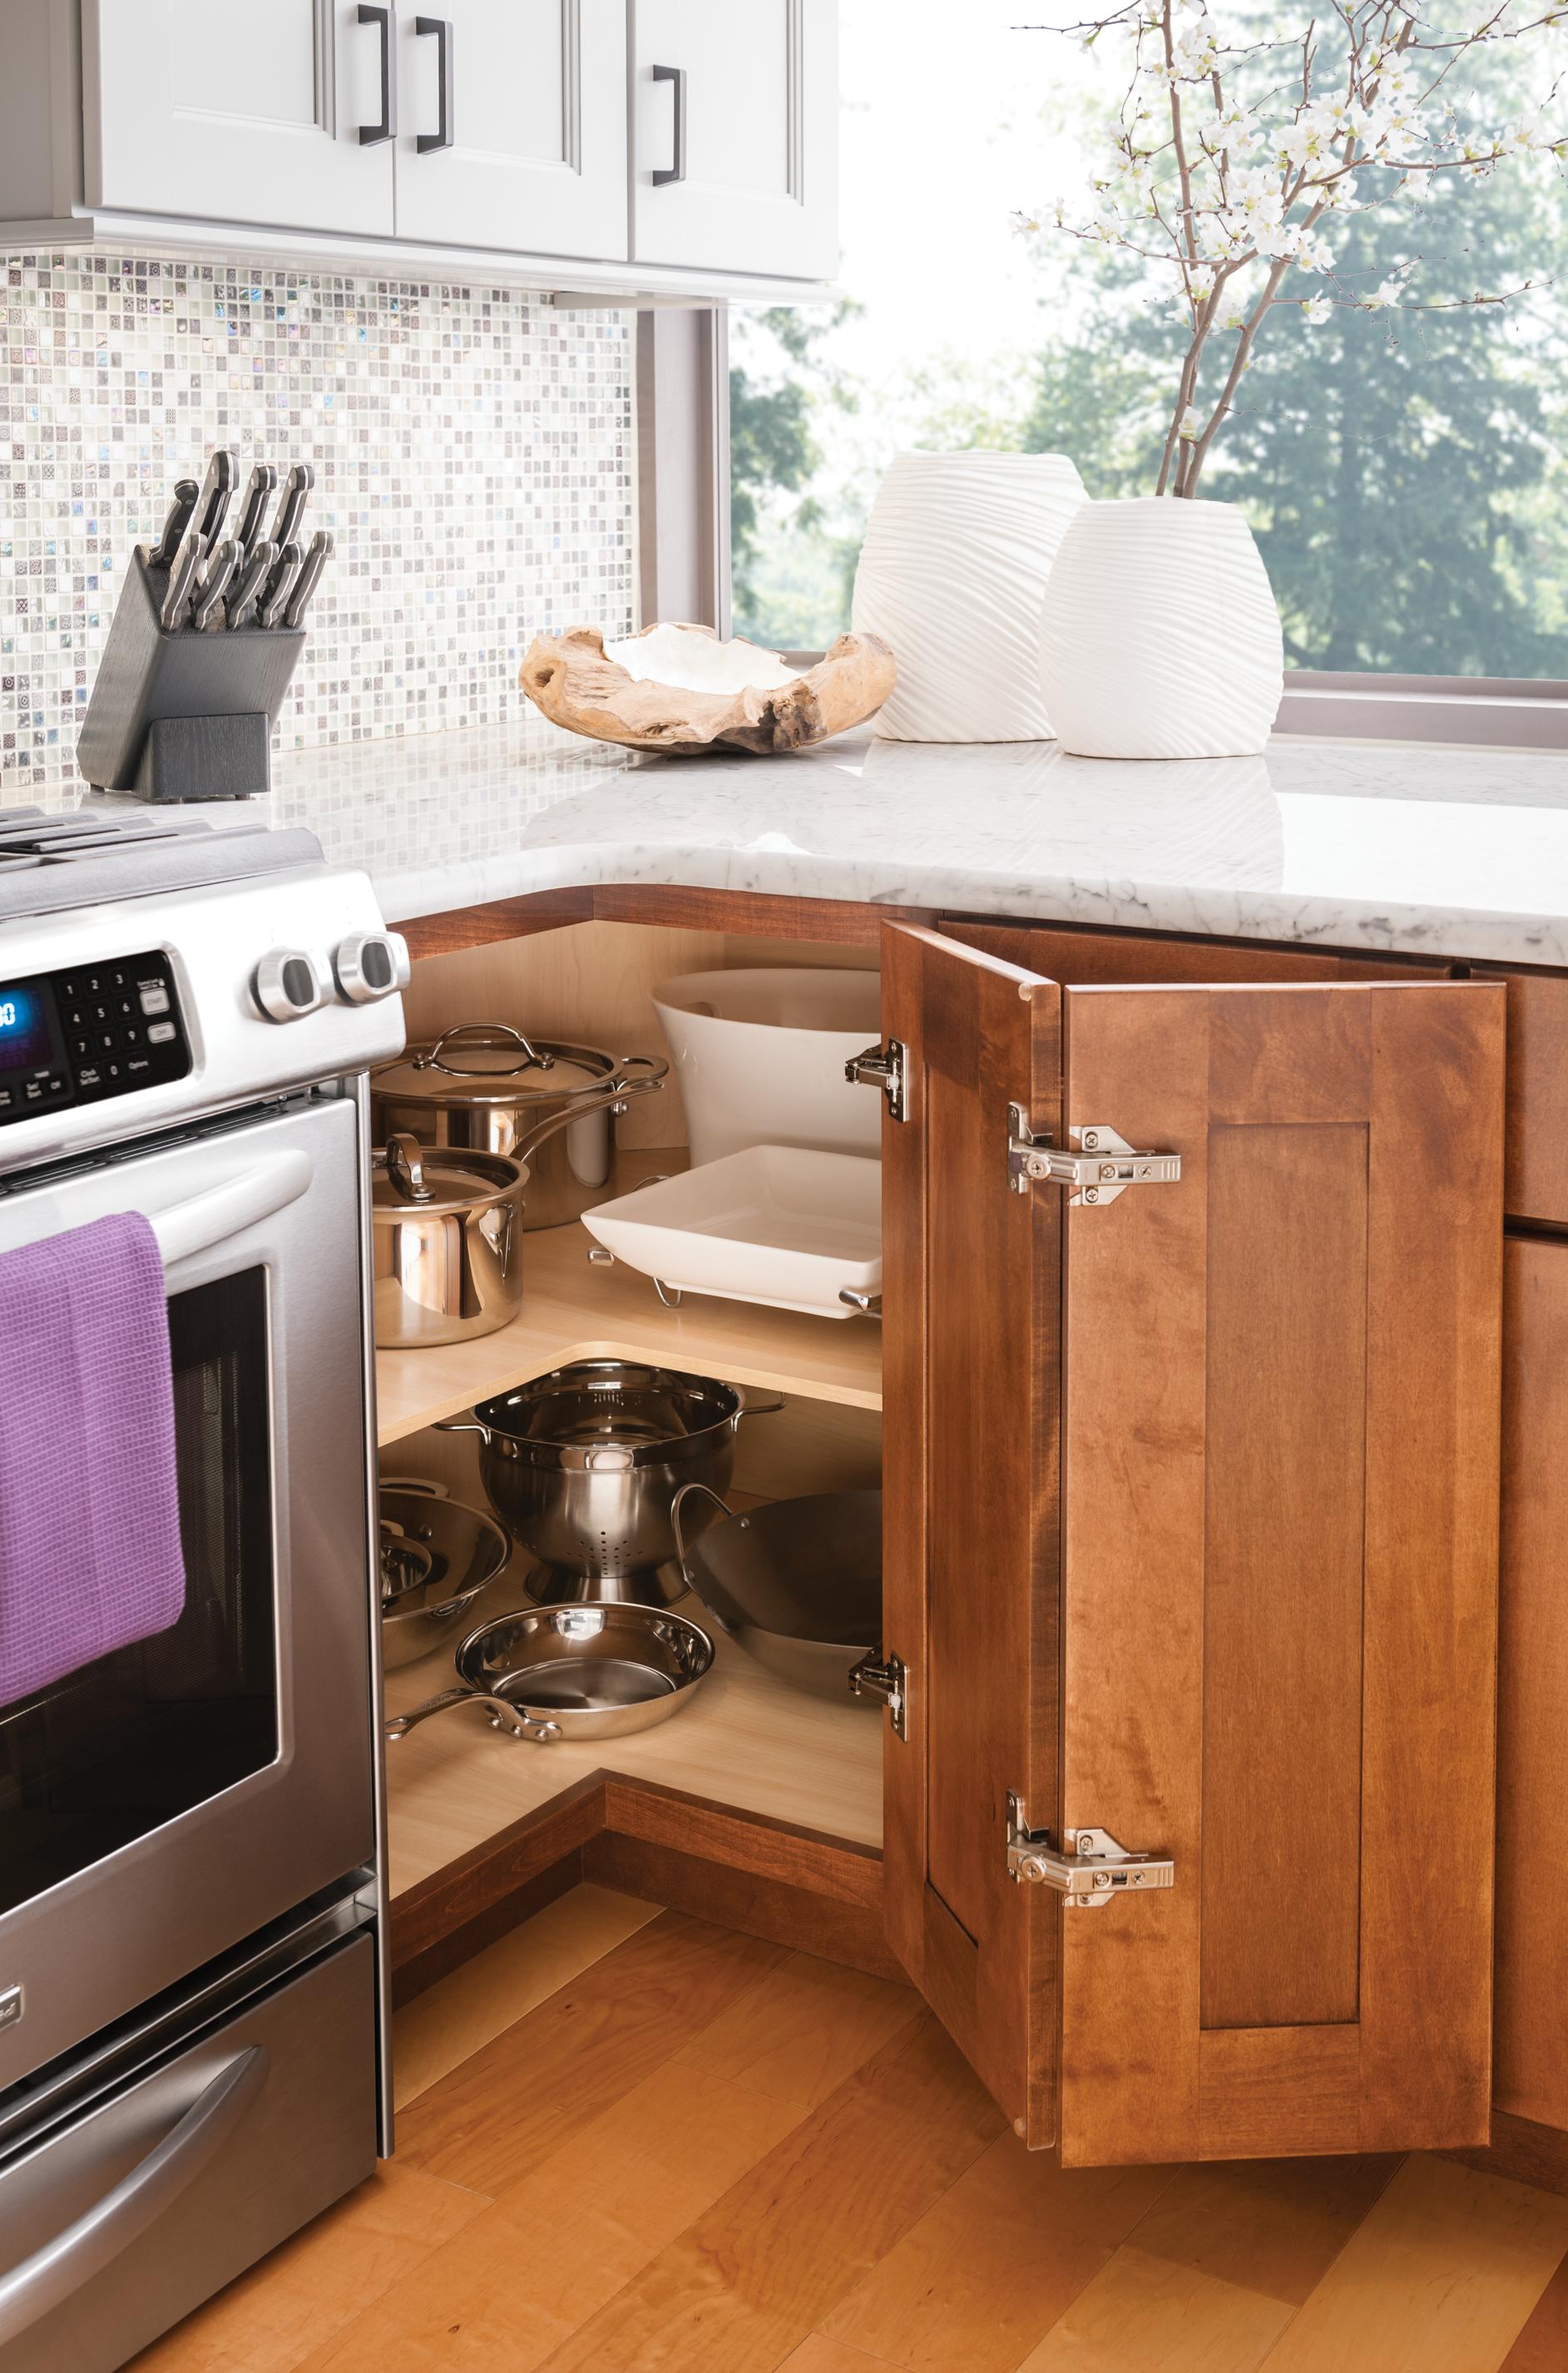
with a corner sink is the placement of plumbing and electrical outlets. These should be strategically placed to avoid any obstructions or awkward angles. It's also important to choose cabinets that are specifically designed for corner sinks, as they will have a cutout to accommodate the sink and provide a seamless look.
In addition to maximizing space, incorporating a
corner sink
into the kitchen design can also add a touch of style. With the right cabinet and sink combination, it can be a focal point of the kitchen and create a unique and modern look. This is particularly beneficial for smaller kitchens where every design element counts.
In conclusion,
installing kitchen cabinets with a corner sink
is a smart and practical choice for any kitchen design. It not only maximizes space and functionality, but it also adds a touch of style to the heart of the home. With careful planning and the right professionals, this design element can truly transform a kitchen into a functional and stylish space.































:max_bytes(150000):strip_icc()/how-to-install-a-sink-drain-2718789-hero-24e898006ed94c9593a2a268b57989a3.jpg)


/double-sink-plumbing-differences-and-how-to-install-5209390-09-e44e8dd68aa34356a592a6d547c2628d.jpg?strip=all)


