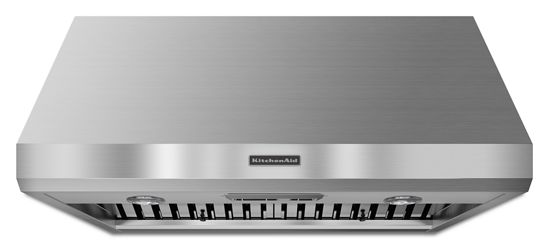
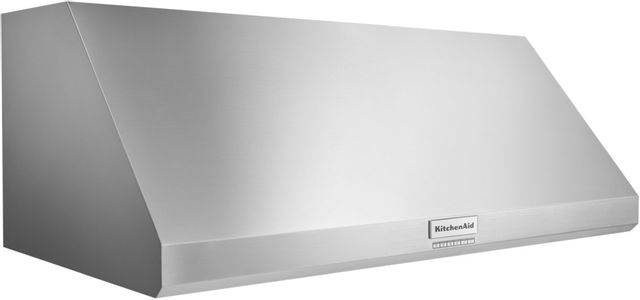
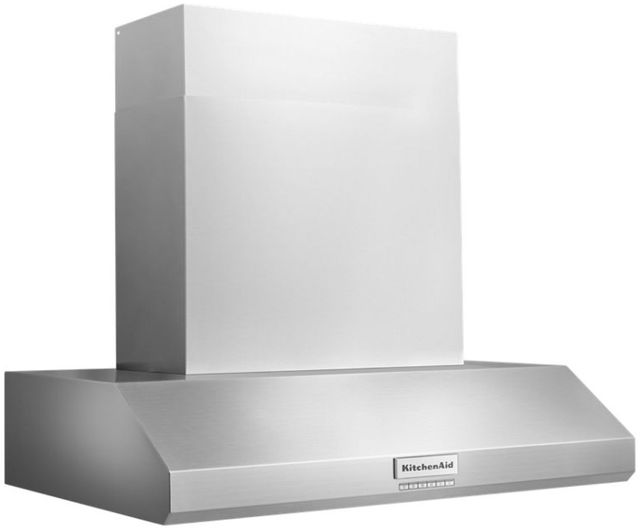
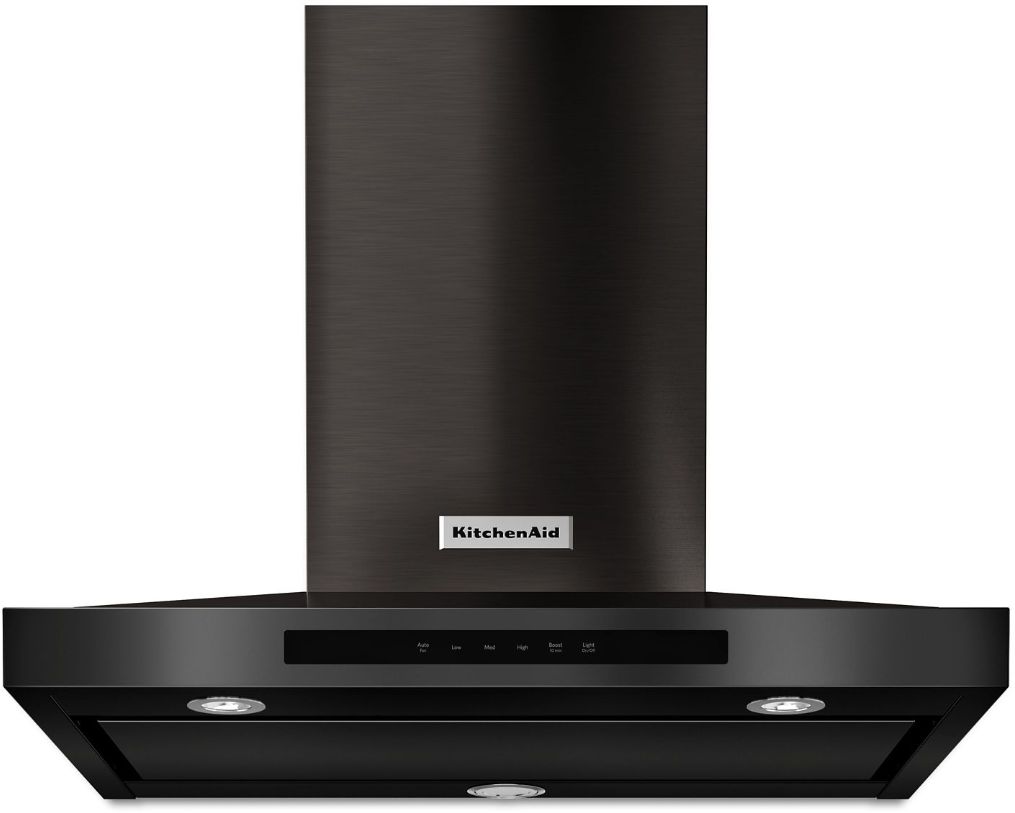
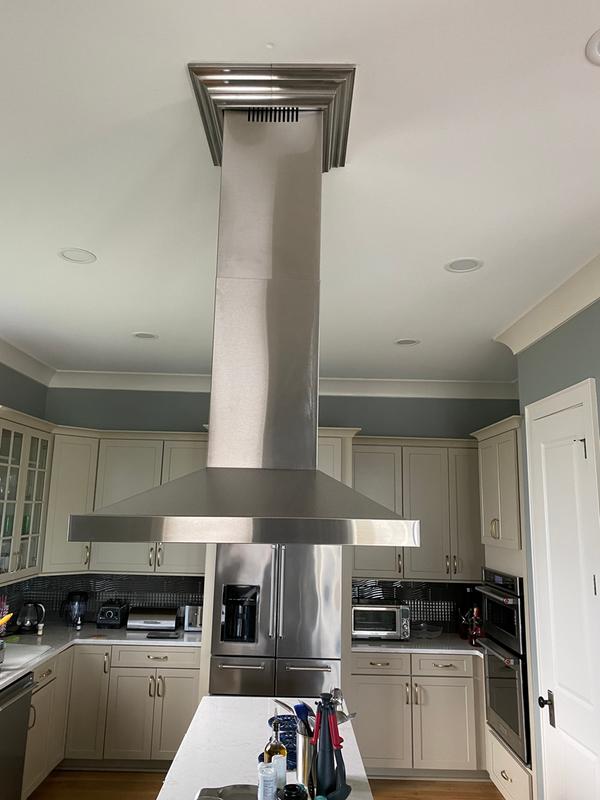
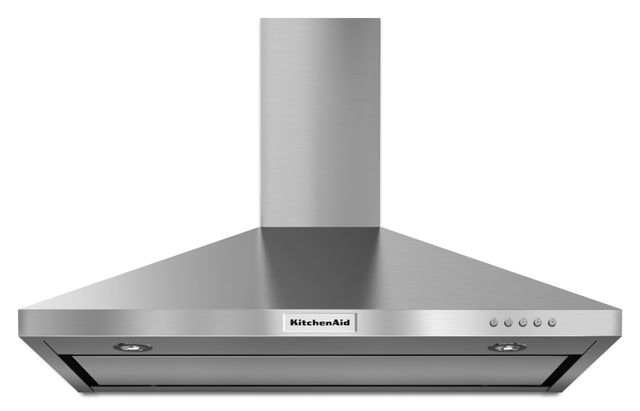
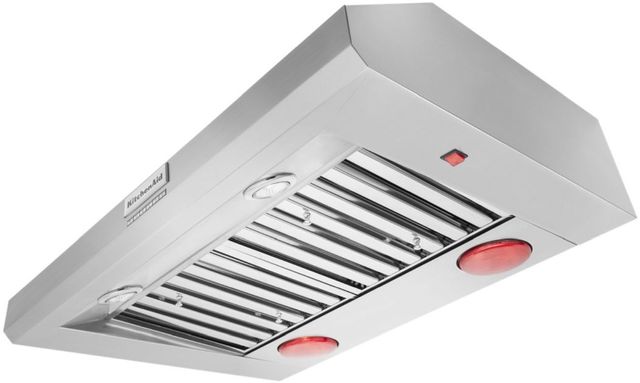
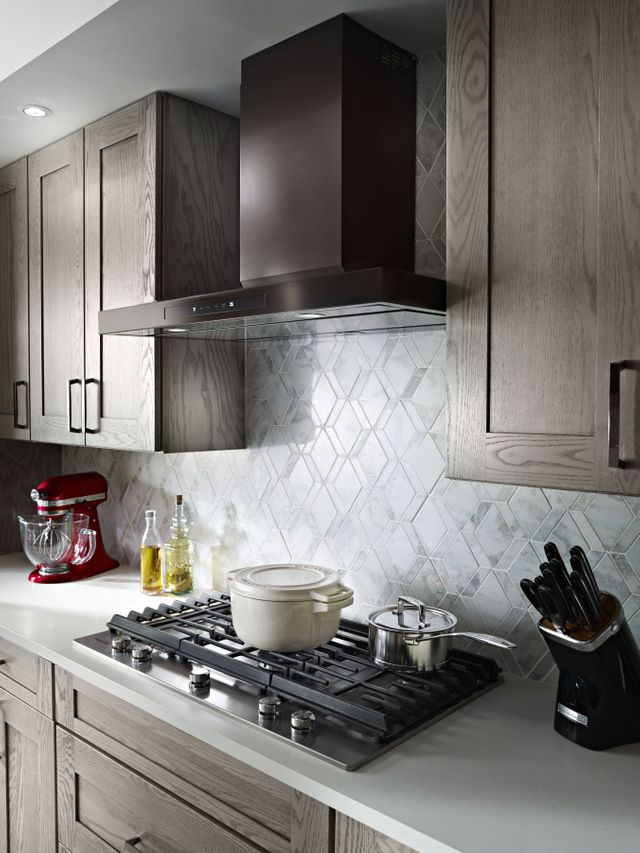
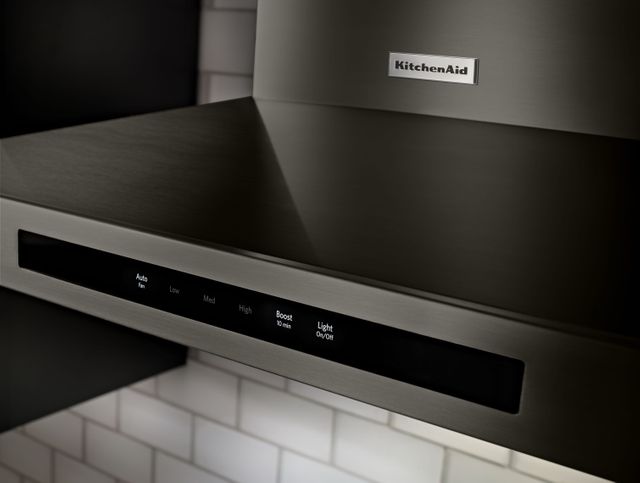
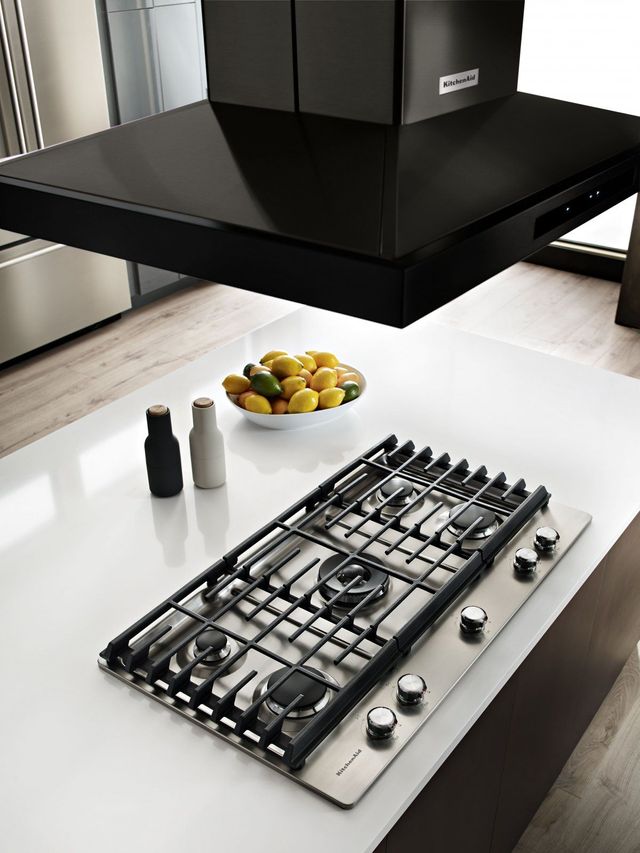
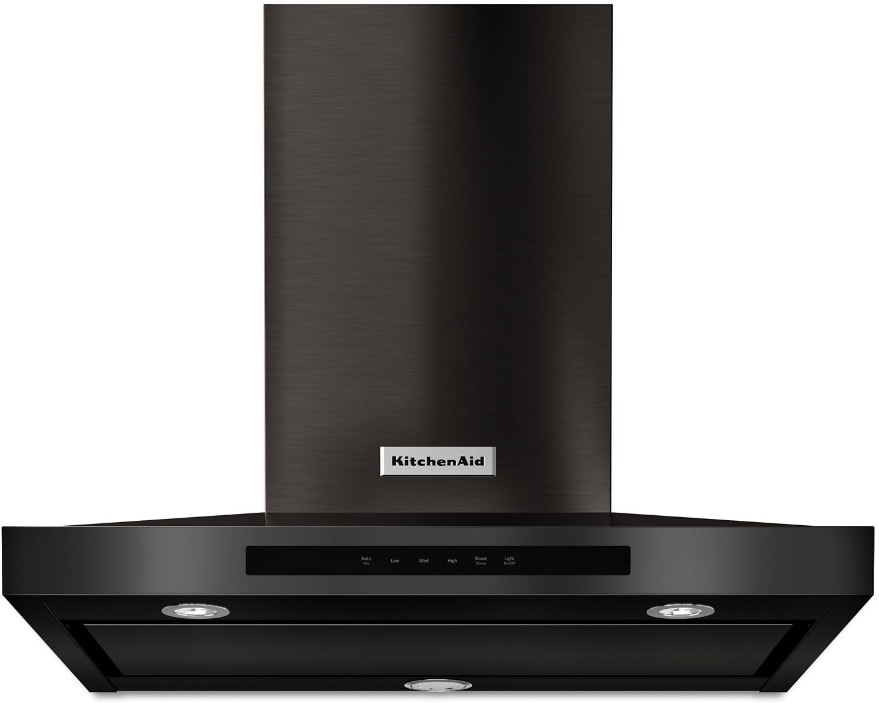
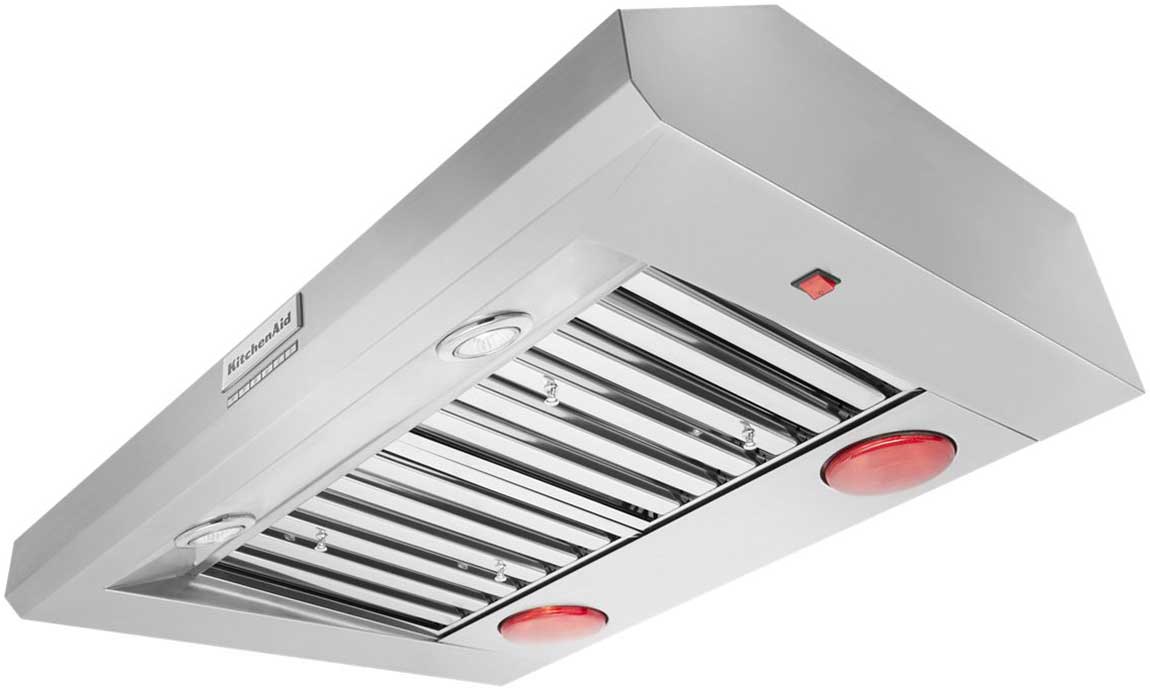
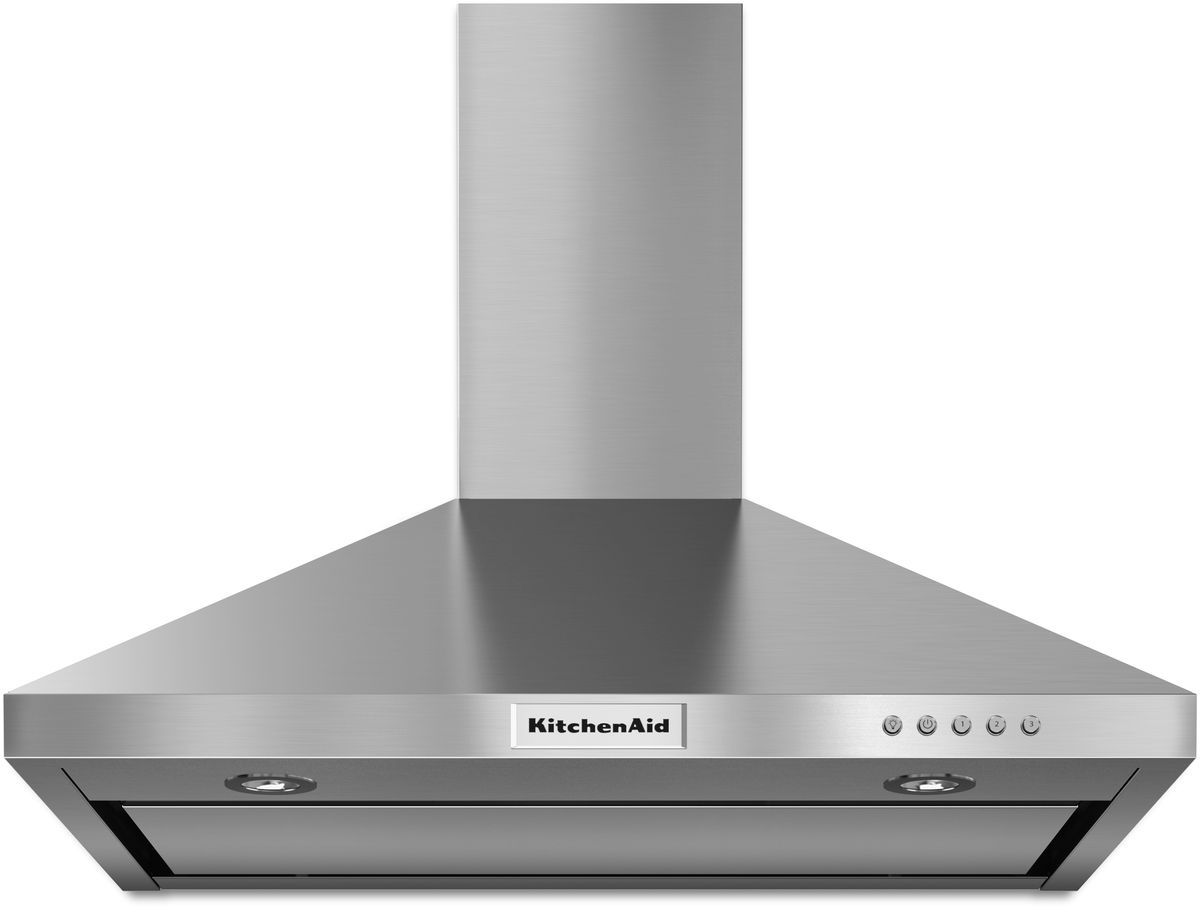
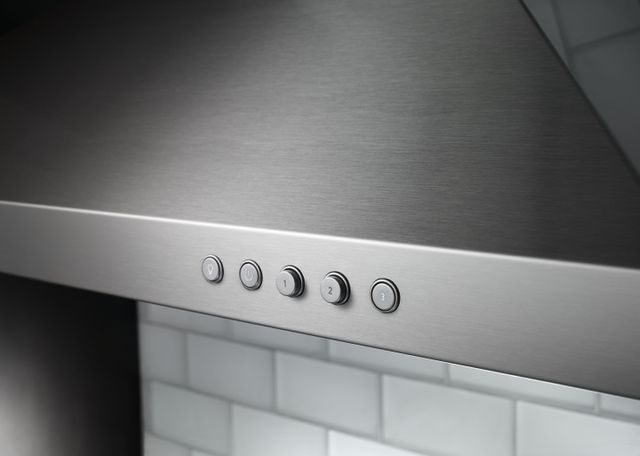
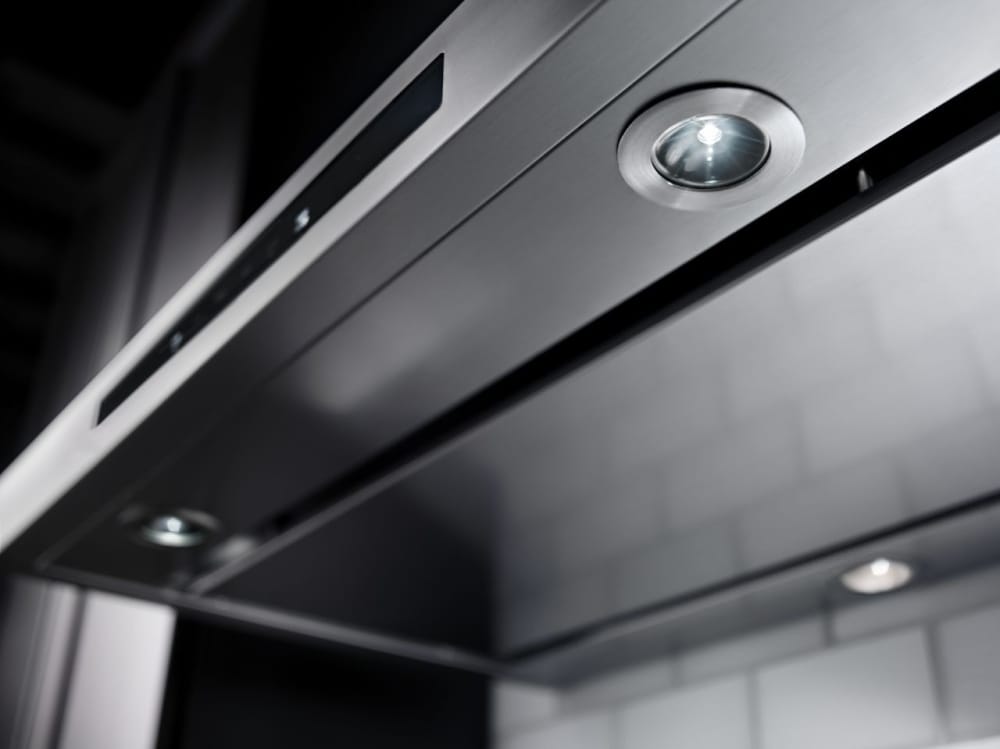
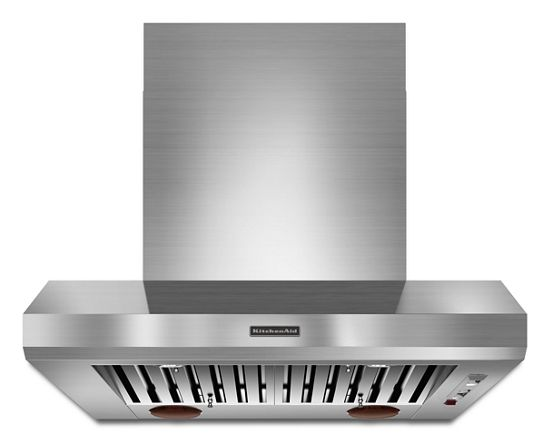
Are you looking to upgrade your kitchen's ventilation system? A KitchenAid wall mount hood is a great option for removing smoke, odors, and grease from the air while cooking. With its sleek design and powerful performance, it's no wonder that many homeowners are choosing to install this type of hood in their kitchen. In this article, we will provide you with a step-by-step guide on how to install a KitchenAid wall mount hood, along with some helpful tips and common mistakes to avoid.Installing a KitchenAid Wall Mount Hood
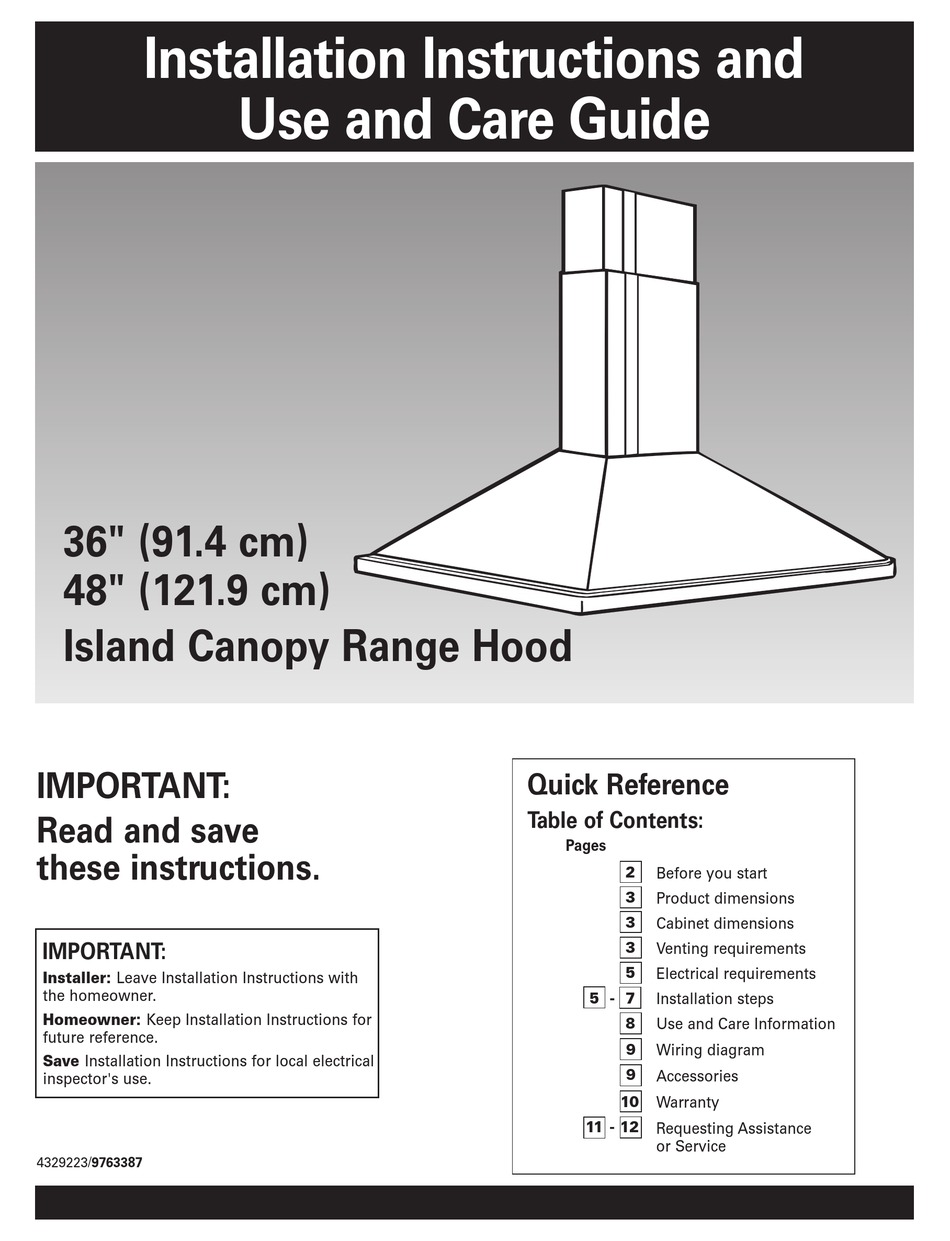
Before you begin the installation process, make sure to read the manufacturer's instructions carefully and gather all the necessary tools and materials. This will ensure a smooth and successful installation. Additionally, it's important to have another person assist you with the installation, as some parts may be heavy and require two people to handle.How to Install a KitchenAid Wall Mount Hood
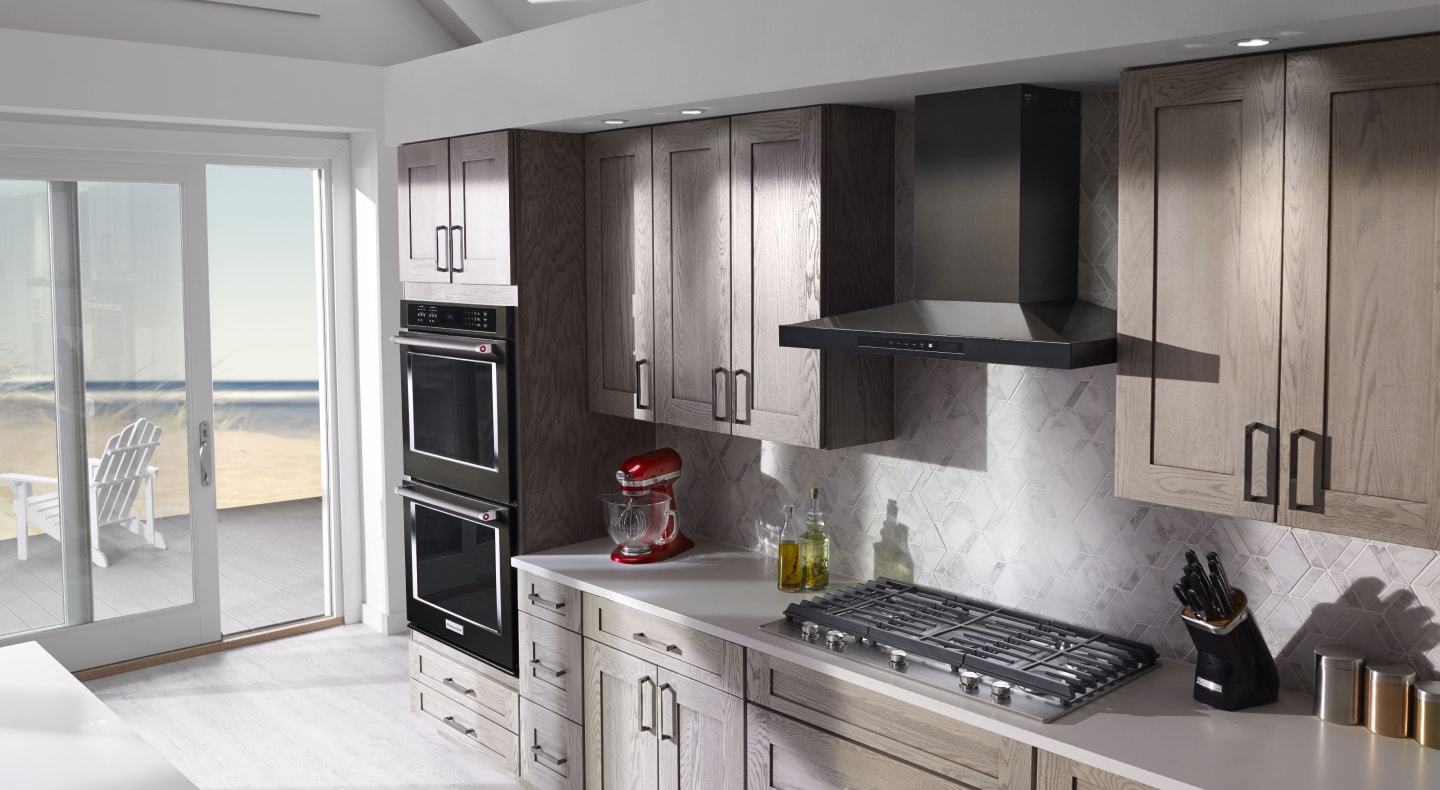
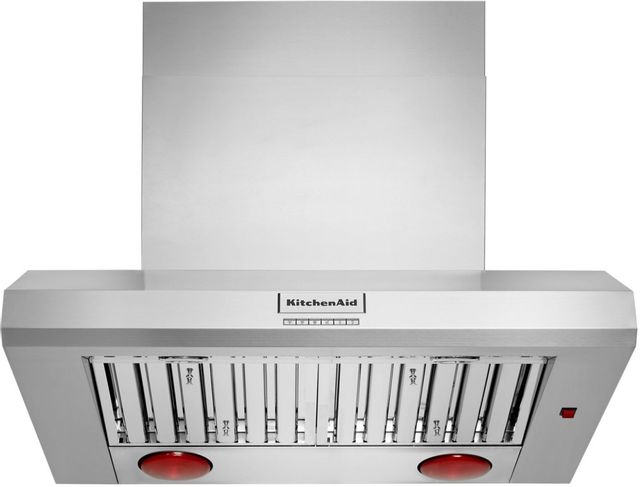
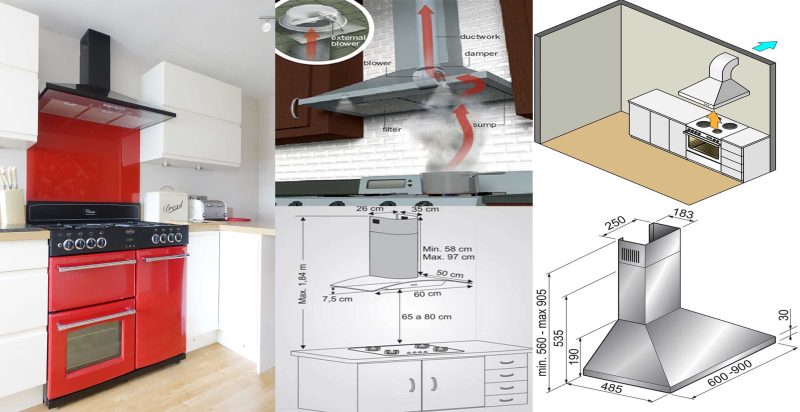
Step 1: Determine the best location for your hood. The ideal location is above your cooktop or range, with at least 24 inches of clearance between the bottom of the hood and the cooking surface. Step 2: Measure and mark the location of the wall studs. This will help you properly position the hood and ensure that it is securely mounted to the wall. Step 3: Install the hood's mounting bracket on the wall using the provided screws. Make sure it is level and securely attached to the wall studs. Step 4: Install the vent ductwork. This will depend on your specific model and the type of ductwork required. Refer to the manufacturer's instructions for the proper installation process. Step 5: Lift the hood into place and attach it to the mounting bracket using the provided screws. Again, make sure it is level before securing it in place. Step 6: Install the fan and light bulbs according to the manufacturer's instructions. Step 7: Connect the electrical wiring. If you are not comfortable with this step, it's best to hire a professional electrician to ensure it is done safely and correctly. Step 8: Turn on the power and test the hood. Make sure the fan, light, and any other features are working properly. Step 9: Secure the hood's chimney cover to the ceiling using the provided screws. Step 10: Clean up and enjoy your new KitchenAid wall mount hood!Step-by-Step Guide for Installing a KitchenAid Wall Mount Hood
Installing a KitchenAid wall mount hood yourself can save you money on installation costs. However, it's important to have some experience with basic home improvement projects, as well as the proper tools and equipment. If you are unsure about any step of the installation process, it's best to hire a professional to ensure a safe and successful installation.DIY KitchenAid Wall Mount Hood Installation
- Make sure you have all the necessary tools and materials before starting the installation process. - Have another person assist you with the installation to make it easier and safer. - Take your time and carefully follow the manufacturer's instructions to avoid any mistakes. - Use a level to ensure the hood is properly positioned and installed. - Don't forget to turn off the power before starting any electrical work.Tips for Installing a KitchenAid Wall Mount Hood
- Not reading the manufacturer's instructions carefully. - Not measuring and marking the location of the wall studs. - Not having another person assist with the installation. - Not using a level to ensure proper installation. - Not turning off the power before starting any electrical work.Common Mistakes to Avoid When Installing a KitchenAid Wall Mount Hood
- Power drill - Screwdriver - Level - Measuring tape - Pencil - Stud finder - Electrical wiring and connectors - Ductwork (if required) - Safety glasses and glovesTools and Materials Needed for Installing a KitchenAid Wall Mount Hood
If you prefer visual instructions, there are many video tutorials available online that can guide you through the installation process step-by-step. Make sure to watch a few different videos to get a better understanding of the process before starting your own installation.Video Tutorial: Installing a KitchenAid Wall Mount Hood
Deciding between hiring a professional or doing the installation yourself will depend on your level of experience and comfort with home improvement projects. While hiring a professional may cost more, it will ensure a safe and proper installation. However, if you have the necessary skills and tools, DIY installation can save you money.Professional Installation vs. DIY for a KitchenAid Wall Mount Hood
If you encounter any issues during the installation process, refer to the manufacturer's instructions or contact their customer service for assistance. Common issues may include incorrect wiring or improper mounting, so it's important to double check your work and make any necessary adjustments. Installing a KitchenAid wall mount hood can be a great addition to your kitchen and improve its functionality and aesthetic. By following these steps and tips, you can successfully install your new hood and enjoy a well-ventilated and stylish cooking space.Troubleshooting Common Issues During KitchenAid Wall Mount Hood Installation
Why Installing a Kitchen Aid Wall Mount Hood is Essential for Your Kitchen Design
Aesthetic Appeal
 When it comes to designing your kitchen, the main goal is usually to create a space that is both functional and visually appealing. The
Kitchen Aid wall mount hood
is an essential component in achieving this goal. Not only does it provide the necessary ventilation for your cooking area, but it also adds a touch of elegance and sophistication to your kitchen design. With its sleek and modern design, the wall mount hood is the perfect addition to any kitchen, whether it's a traditional or contemporary style.
Efficient Ventilation
 Having proper ventilation in your kitchen is crucial for maintaining a clean and healthy cooking environment.
Kitchen Aid wall mount hood
is designed to effectively remove smoke, steam, and cooking odors from your kitchen, keeping the air fresh and clean. This is especially important if you have an open floor plan, as the smells from your cooking can easily spread to other areas of your home. With a wall mount hood, you can cook without worrying about lingering odors or smoke affecting the rest of your living space.
Space-Saving Design
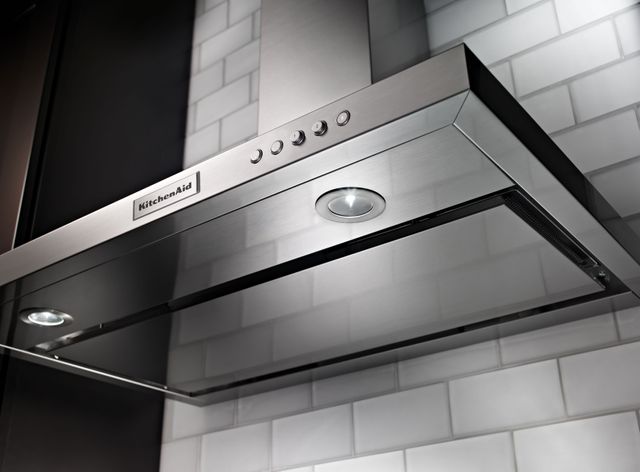 One of the main benefits of a wall mount hood is its space-saving design. Unlike traditional range hoods, which take up valuable cabinet or counter space, a wall mount hood is installed directly onto the wall above your stove. This not only creates more room in your kitchen but also allows for a more streamlined and organized look. Plus, with the option of ductless installation, you can save even more space by eliminating the need for a duct to vent outside.
Easy Installation and Maintenance
 Installing a
Kitchen Aid wall mount hood
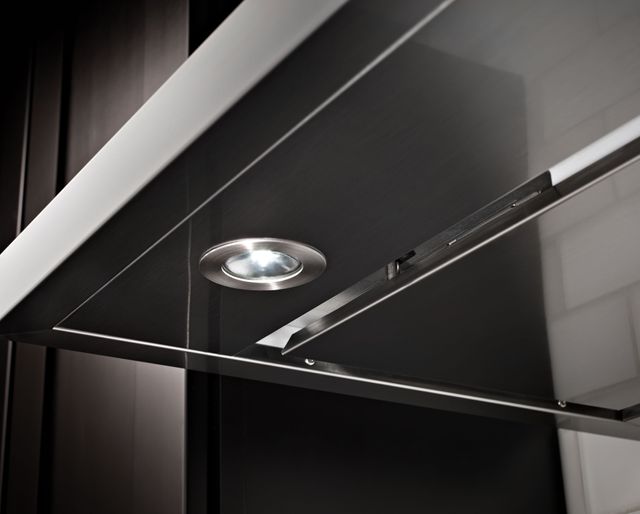
is a straightforward process that can be done by a professional or even as a DIY project. With just a few tools and some basic knowledge, you can have your wall mount hood up and running in no time. Additionally, these hoods are designed with easy maintenance in mind, with removable and dishwasher-safe filters for hassle-free cleaning. This makes it an ideal choice for busy homeowners who want a low-maintenance yet functional kitchen design.
In conclusion, adding a
Kitchen Aid wall mount hood
is a must for any kitchen design. Its aesthetic appeal, efficient ventilation, space-saving design, and easy installation and maintenance make it a practical and stylish addition to your cooking space. So, if you're looking to upgrade your kitchen, consider installing a wall mount hood to not only enhance its design but also improve its functionality.


