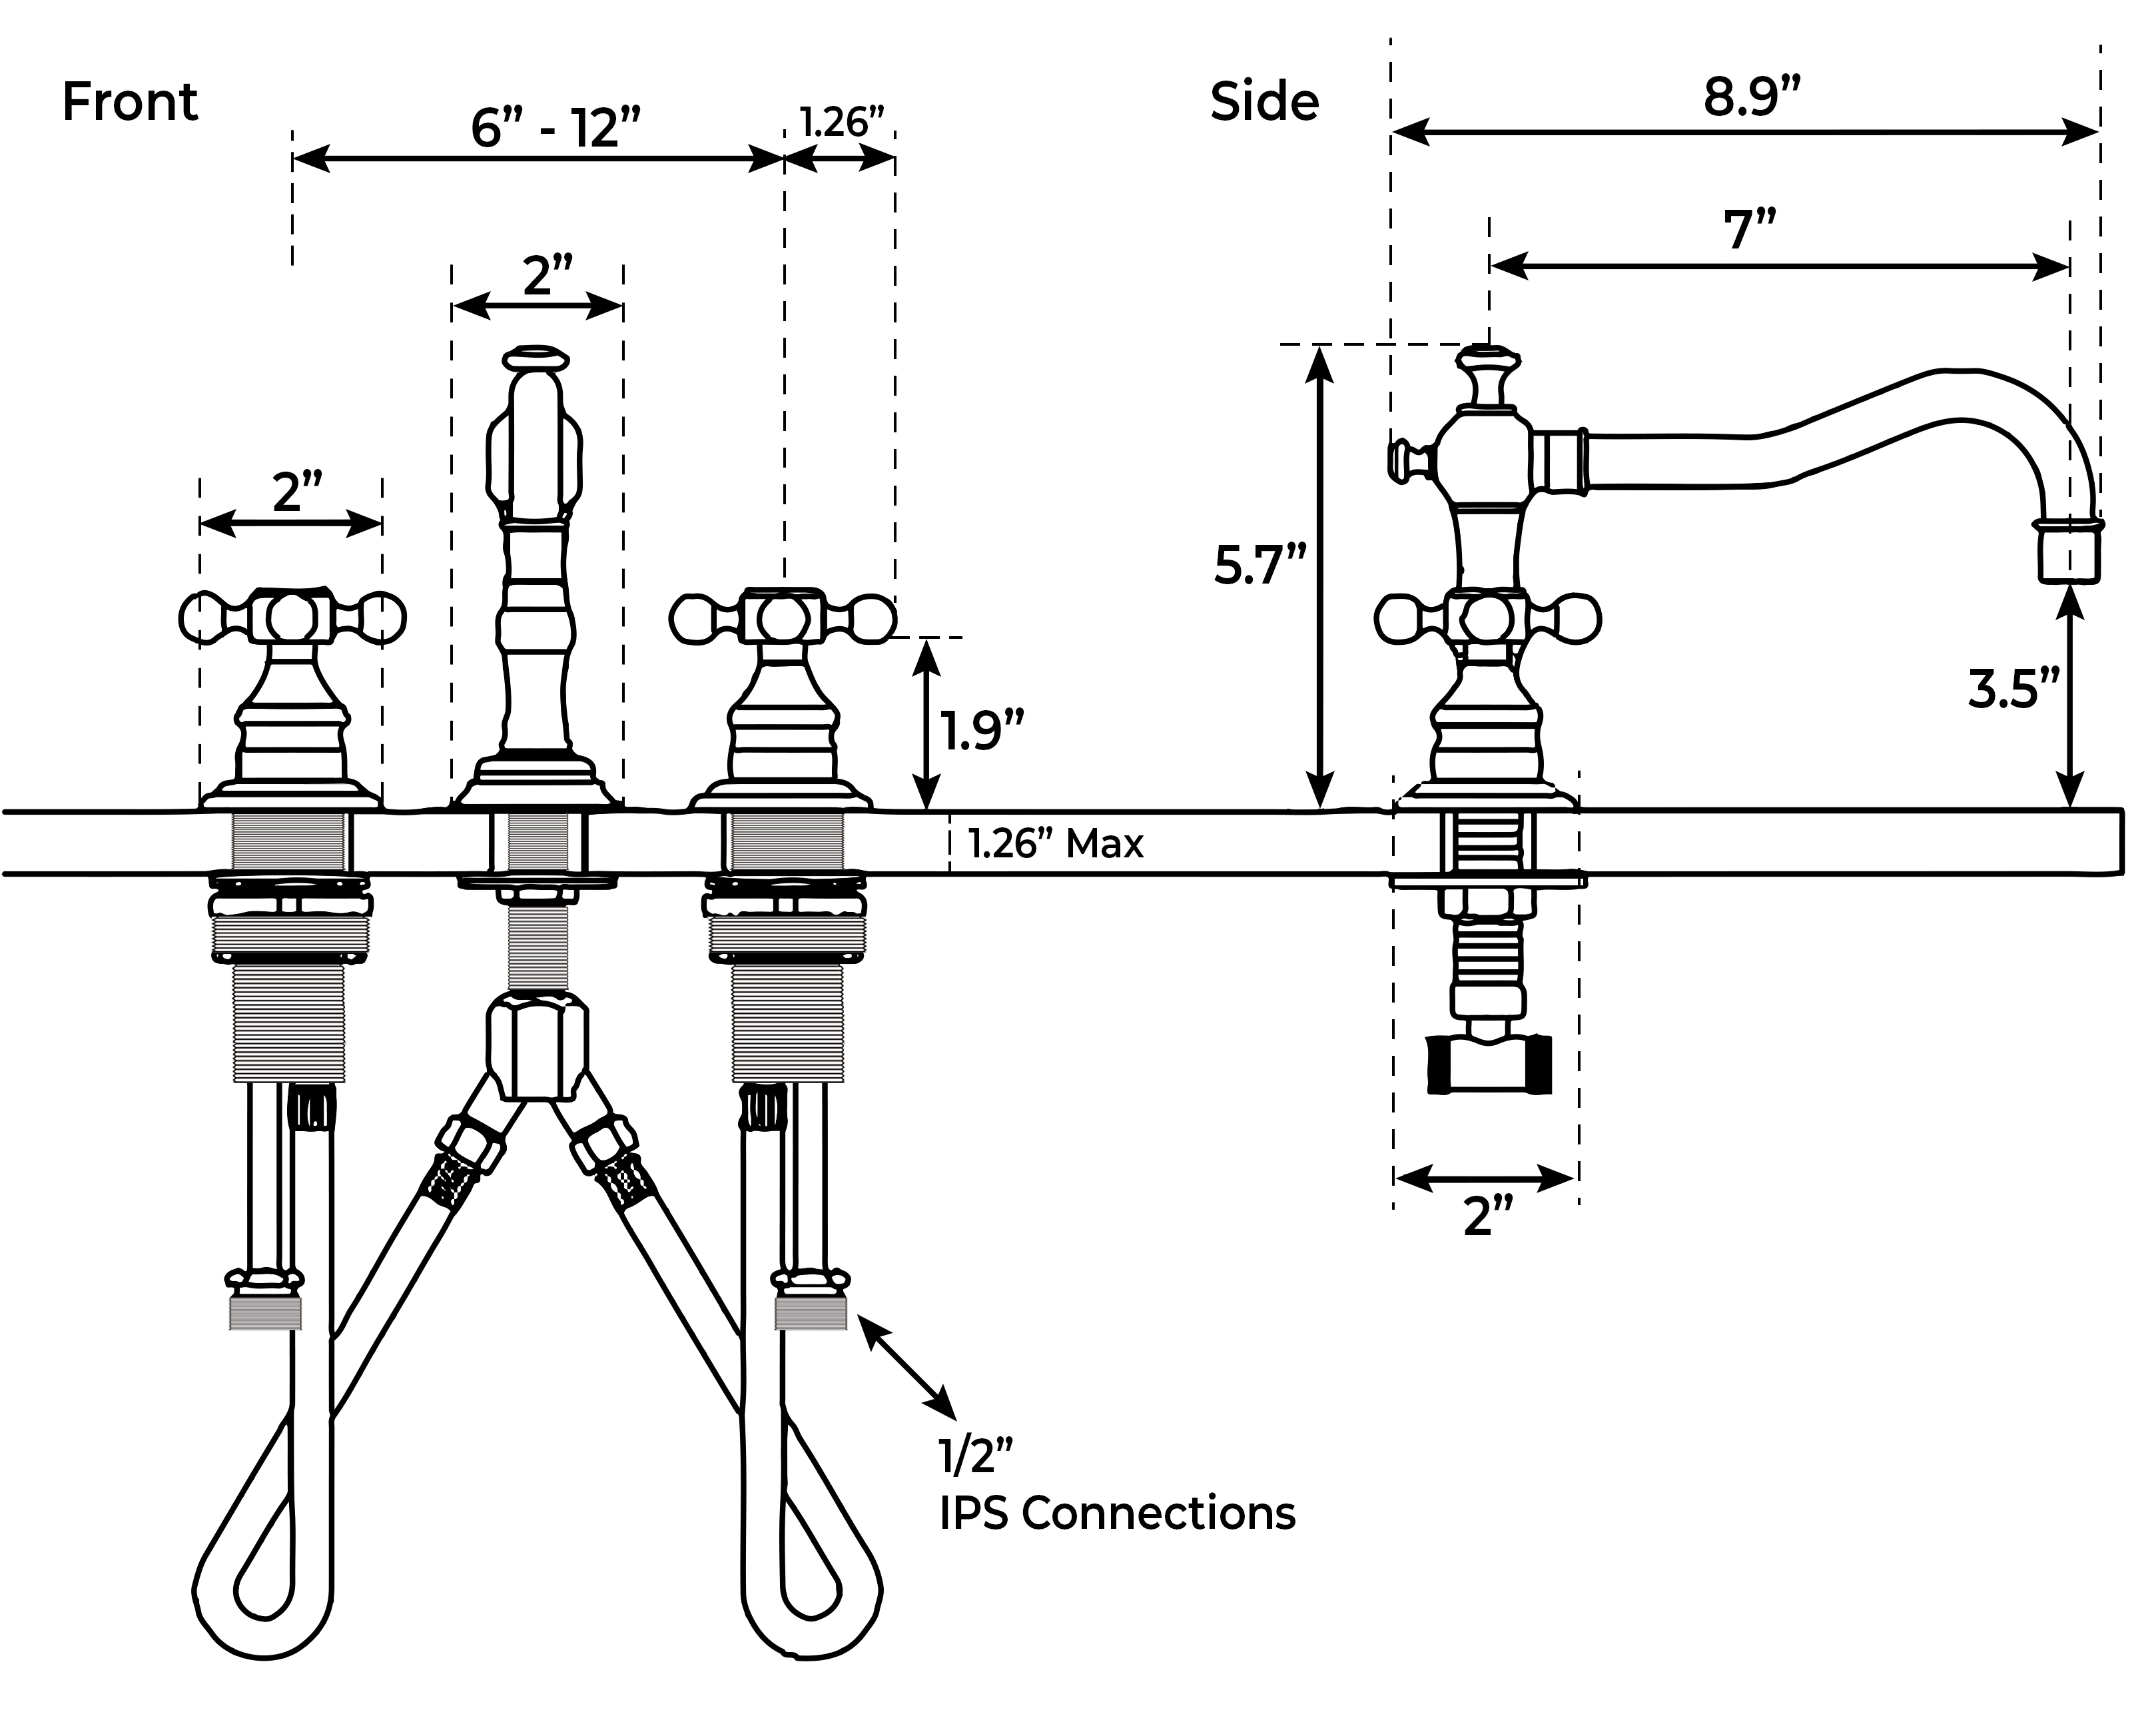
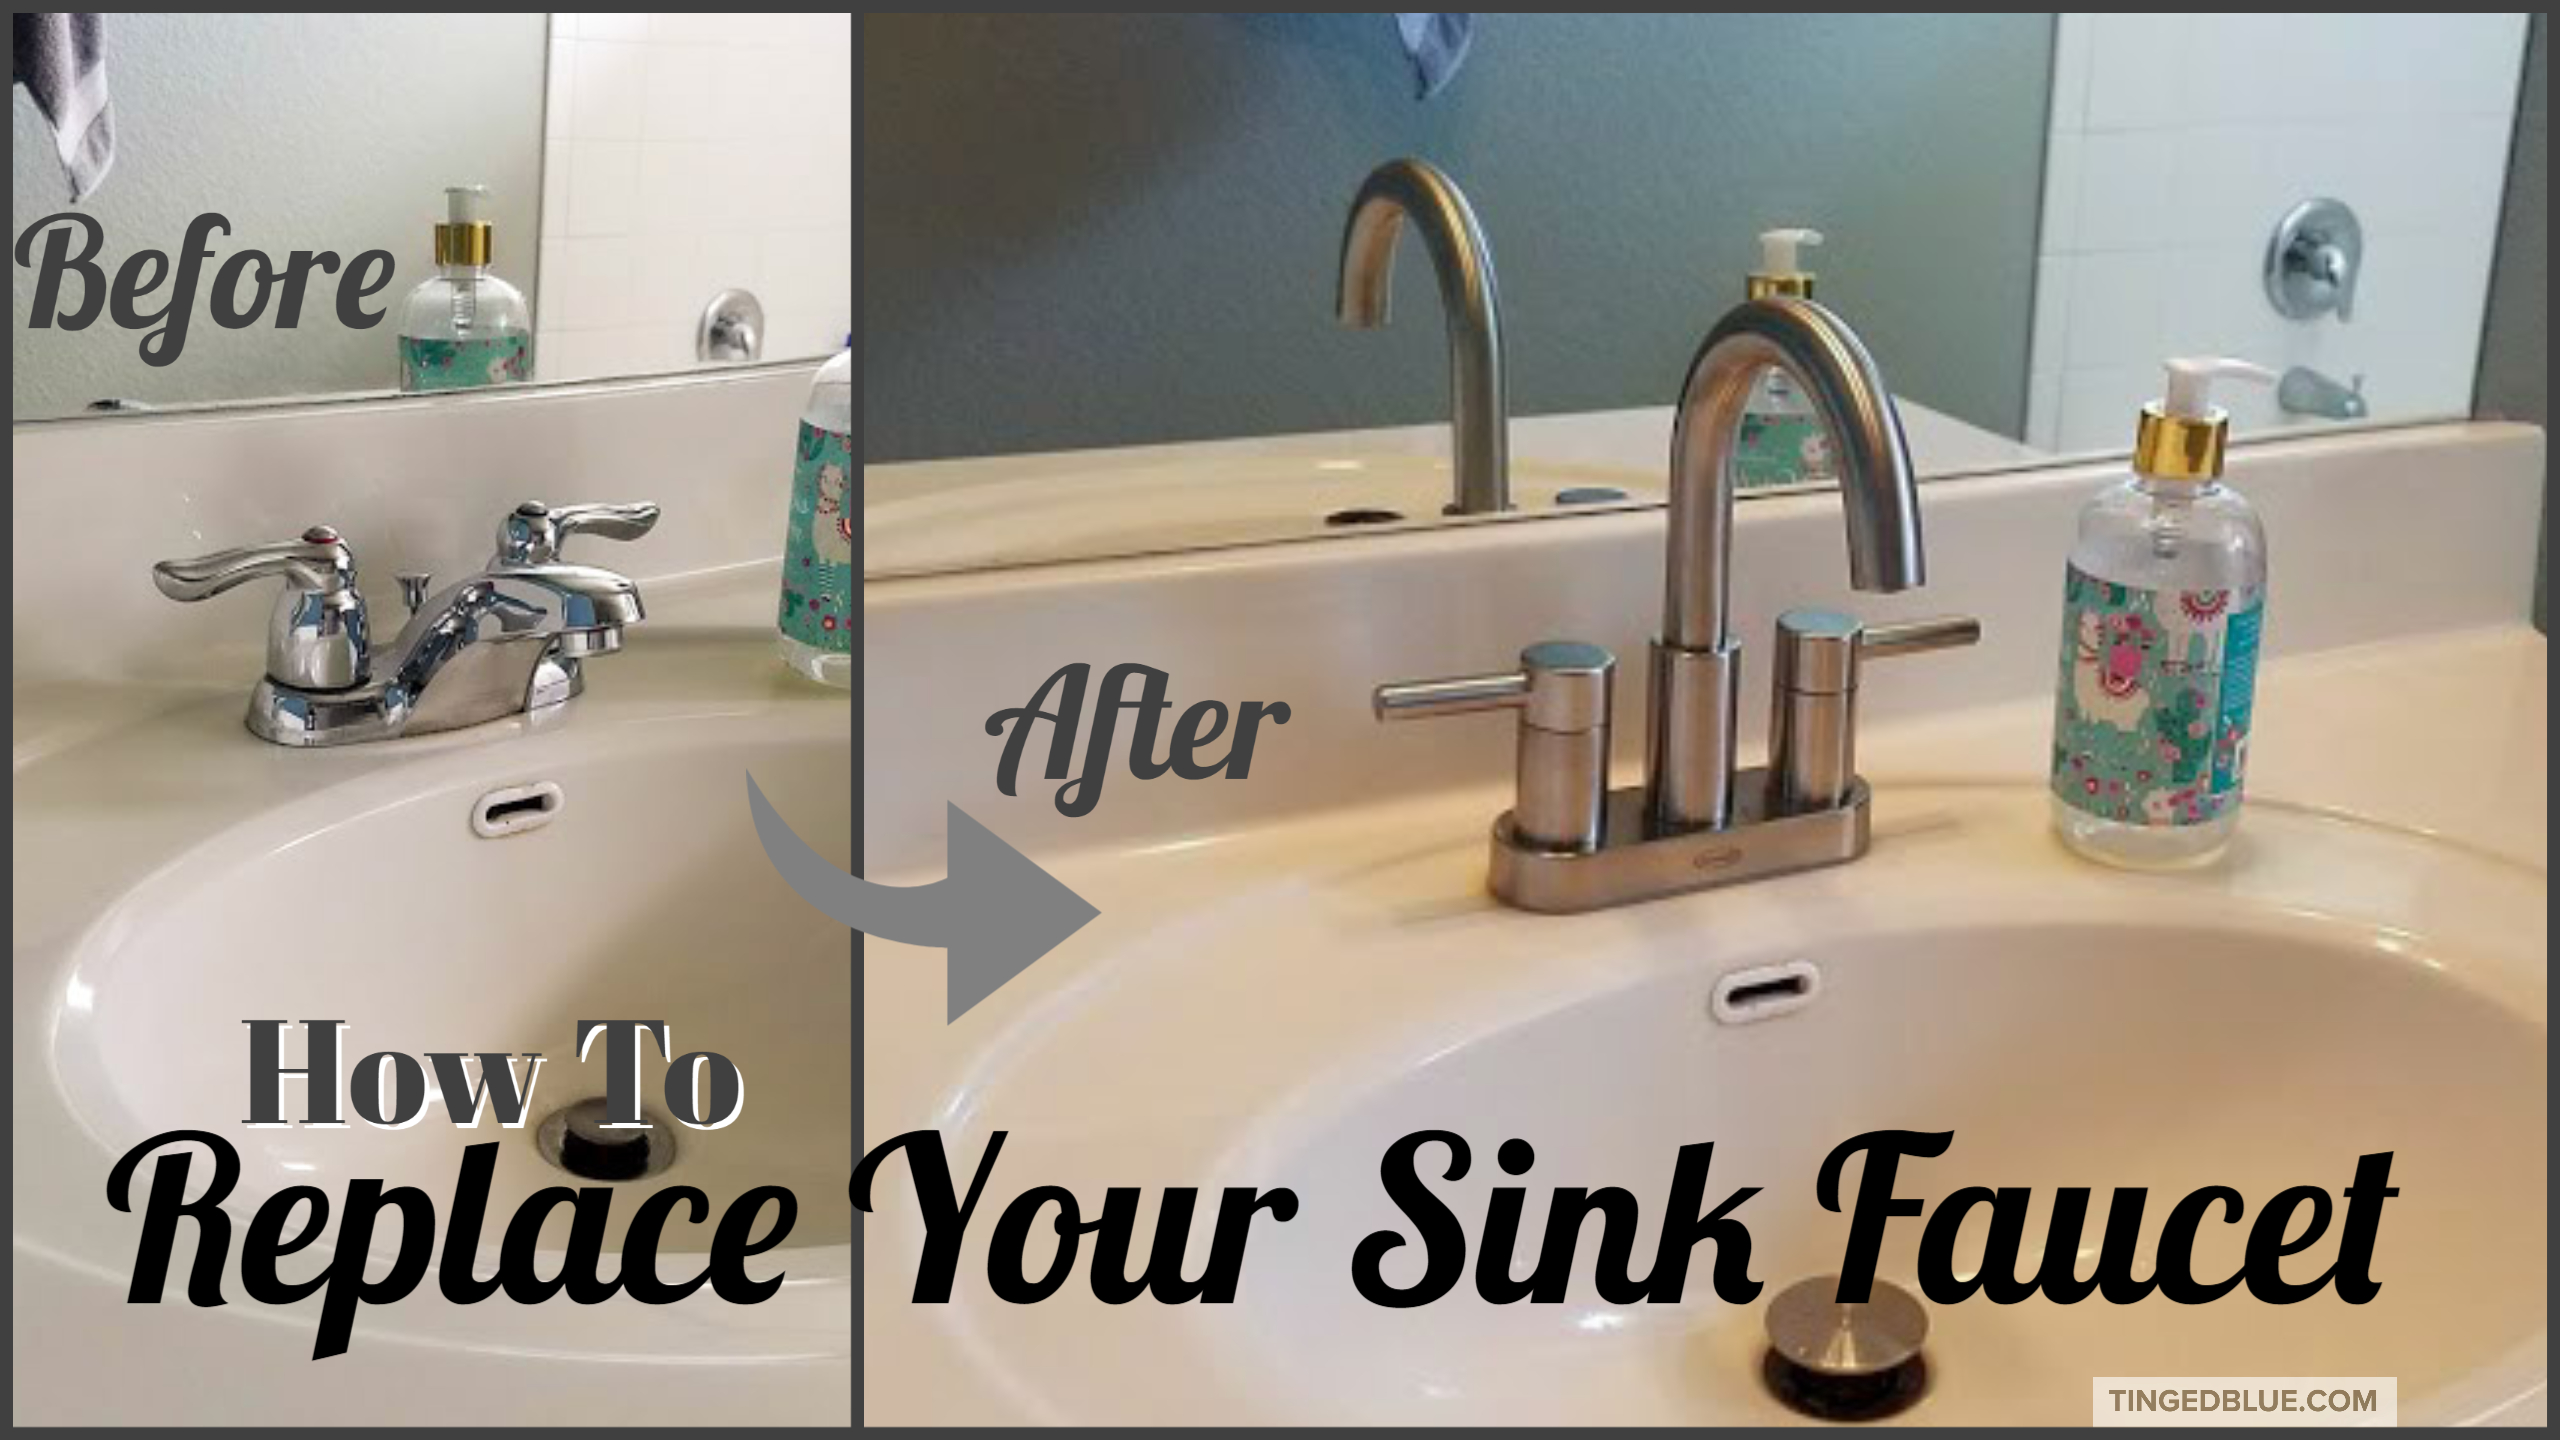
Installing a drop-in sink in your bathroom is a simple and cost-effective way to update the look and functionality of your space. Whether you're remodeling your entire bathroom or just looking to replace an old sink, this guide will walk you through the process of installing a drop-in sink in your bathroom. Firstly, you'll need to choose a sink that fits your bathroom's style and dimensions. Measure the opening in your countertop and look for a sink that is slightly smaller than that measurement. This will ensure a proper fit. You can choose from a variety of materials, such as porcelain, stainless steel, or stone, depending on your budget and preferences. Once you have your sink, you're ready to begin the installation process.1. Installing a Drop-In Sink: A Step-by-Step Guide
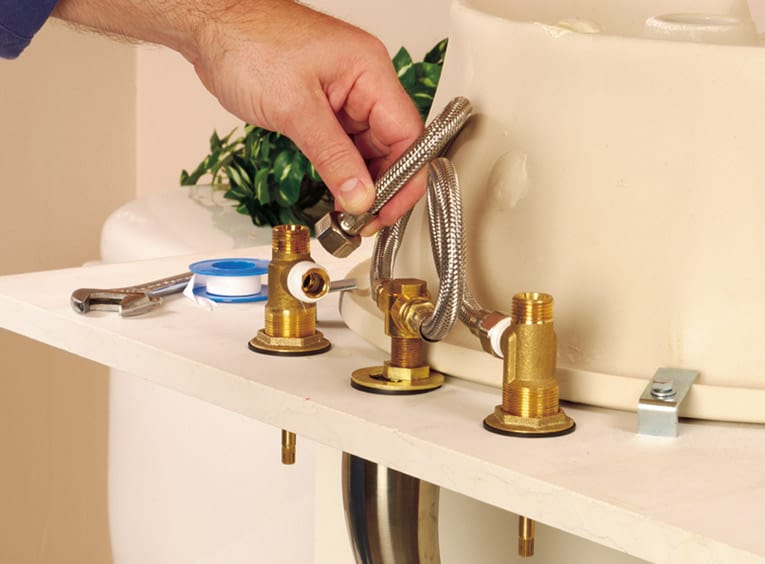
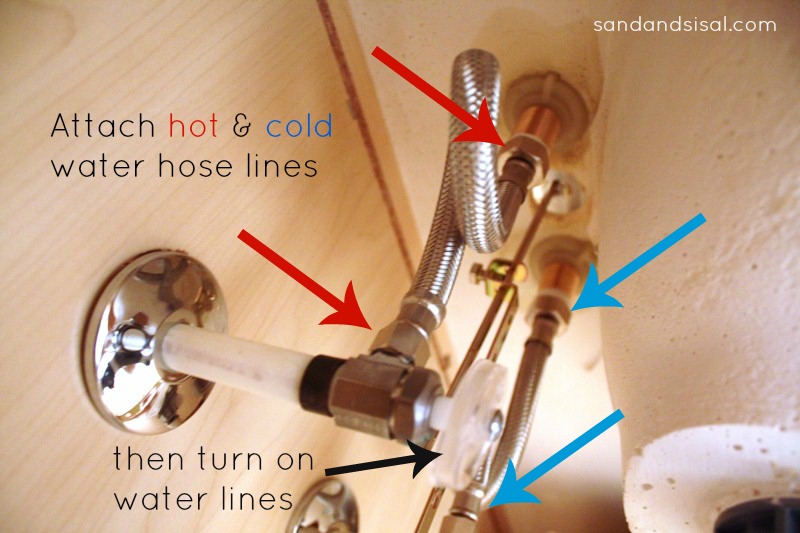
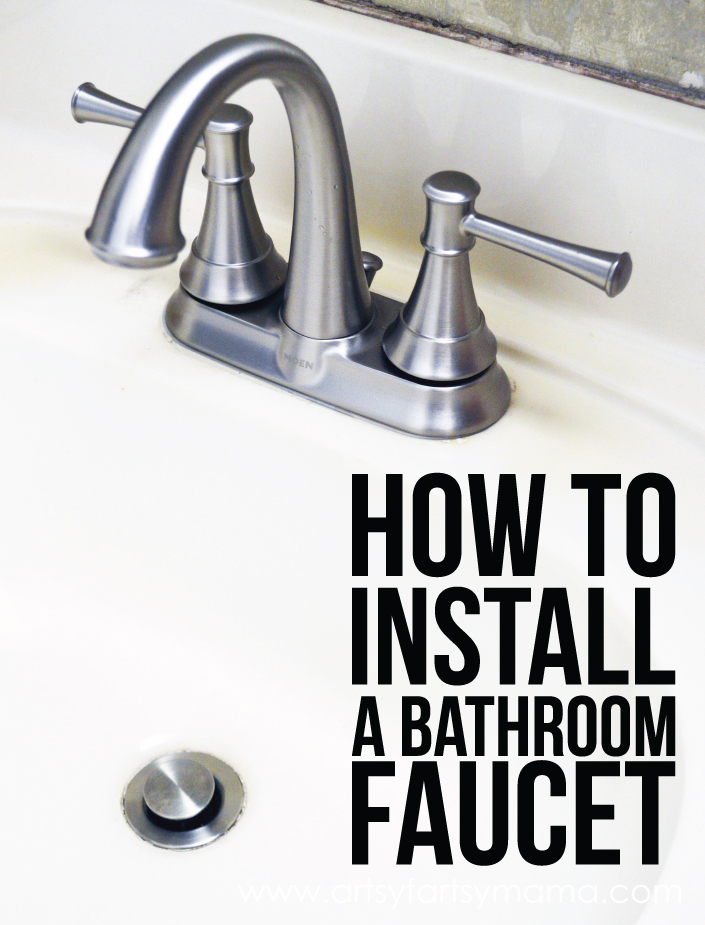
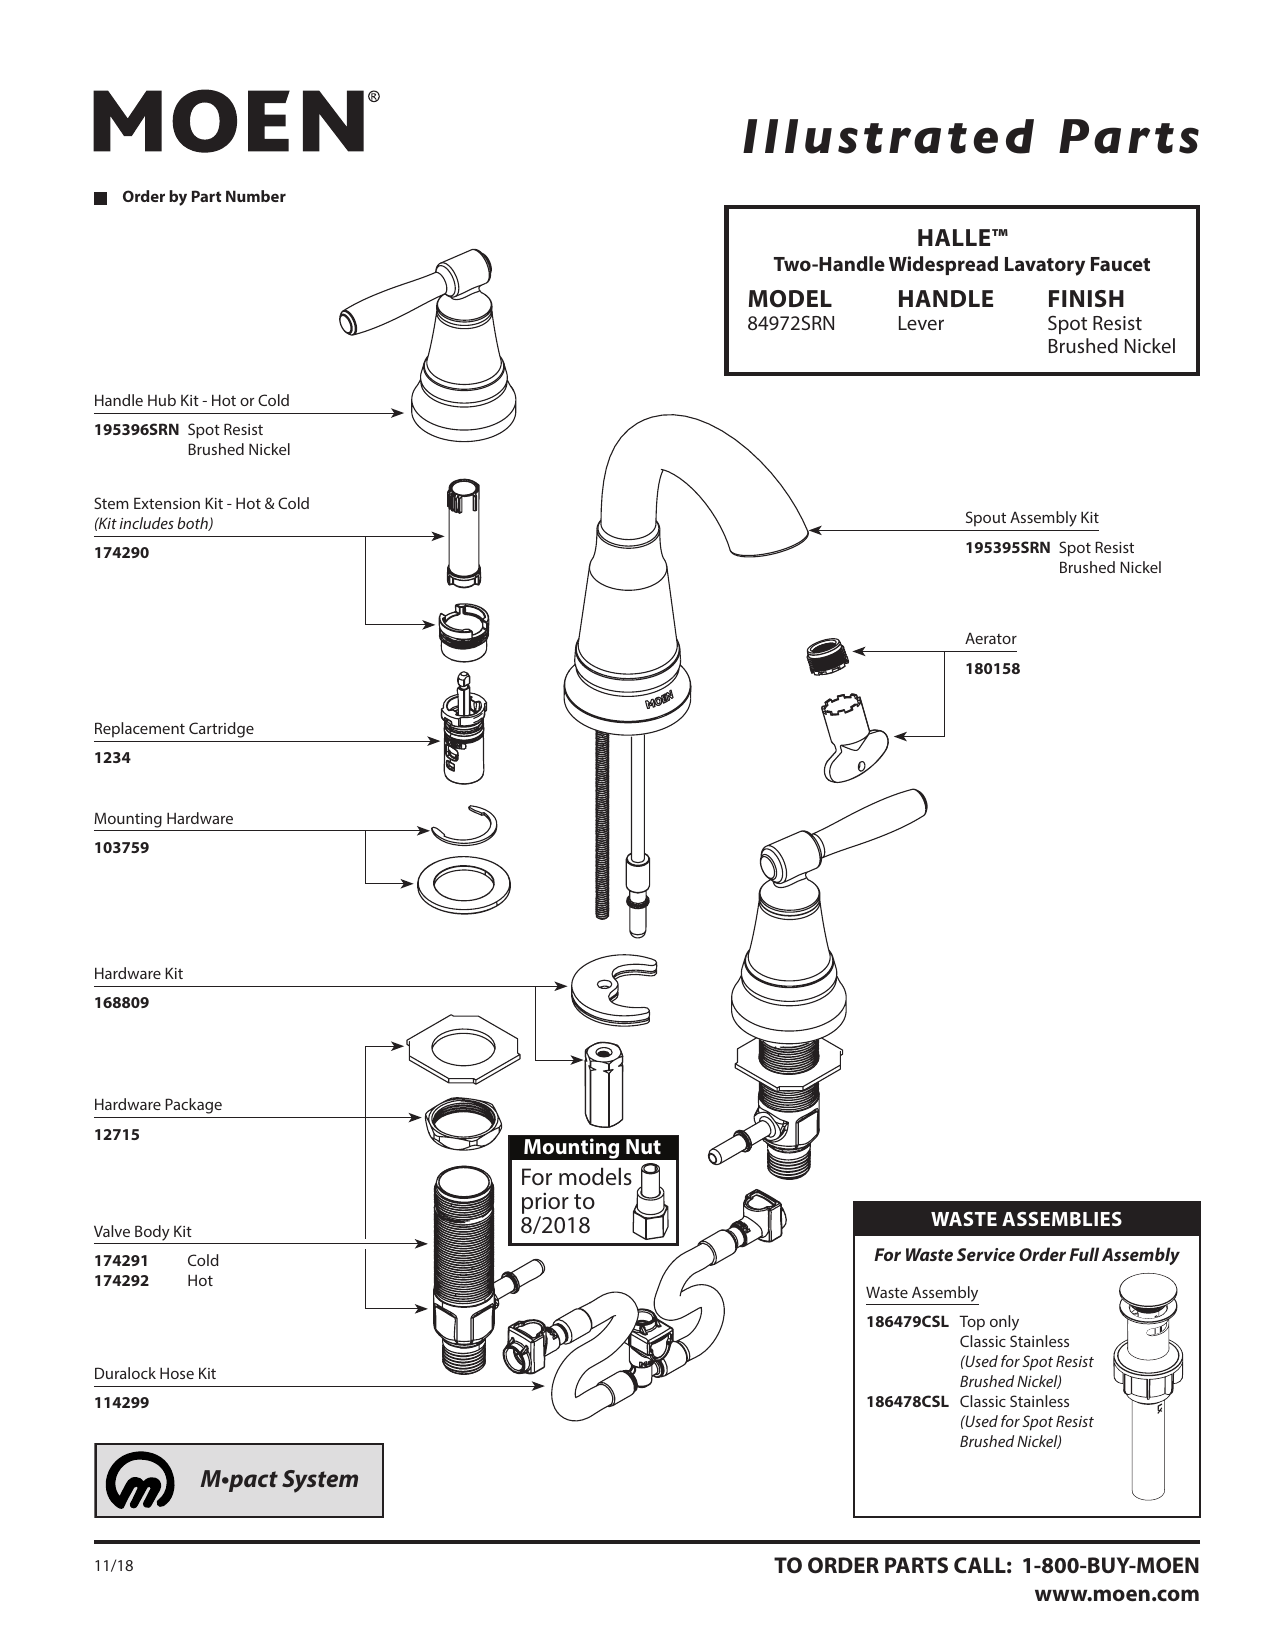
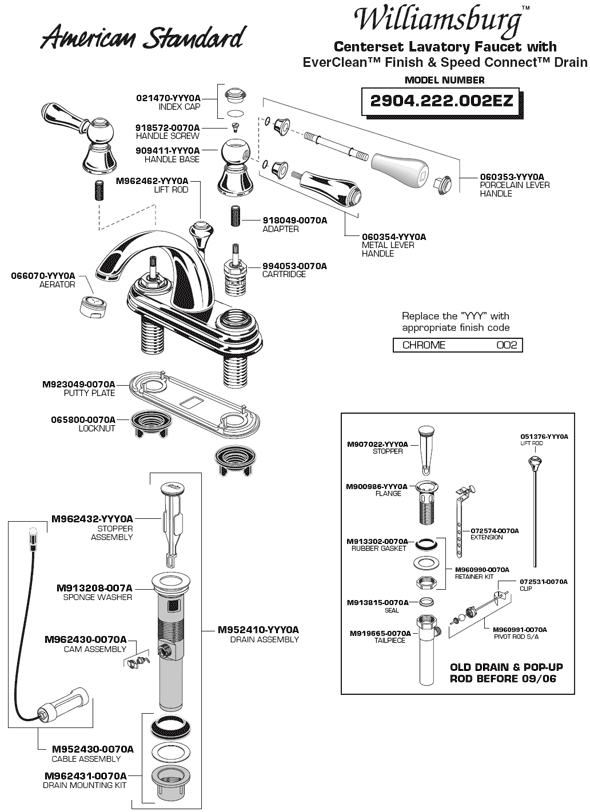
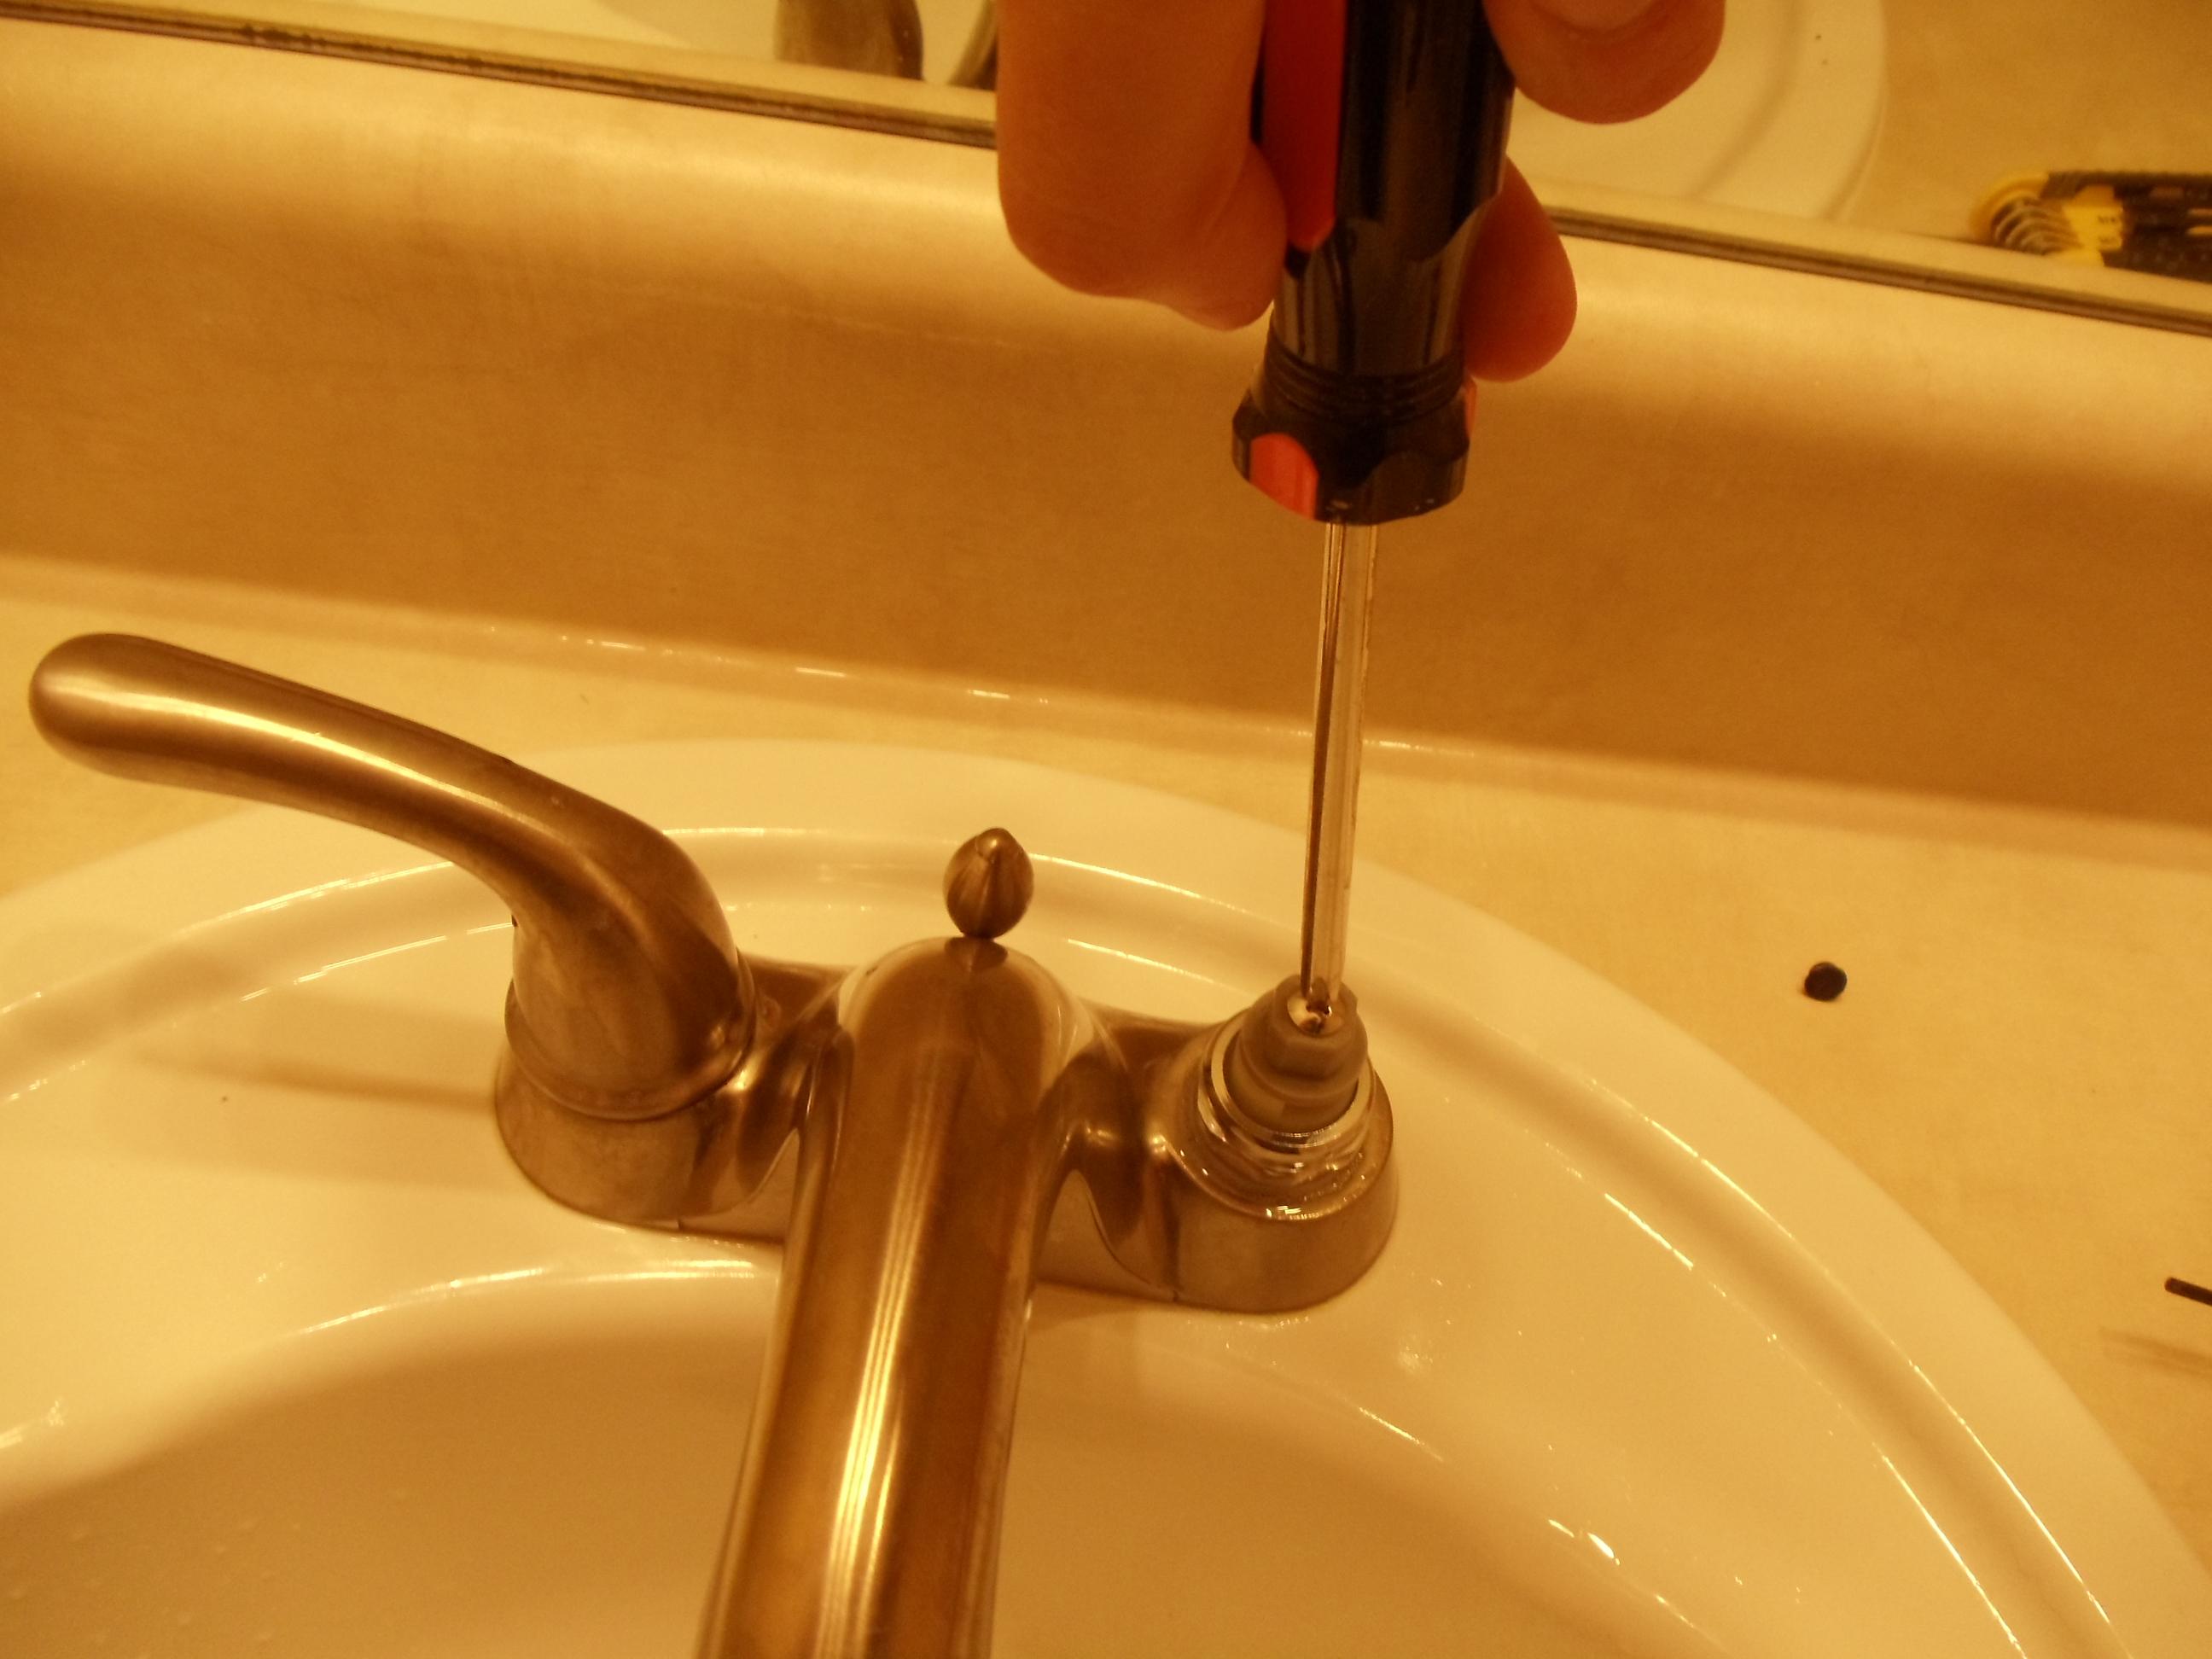
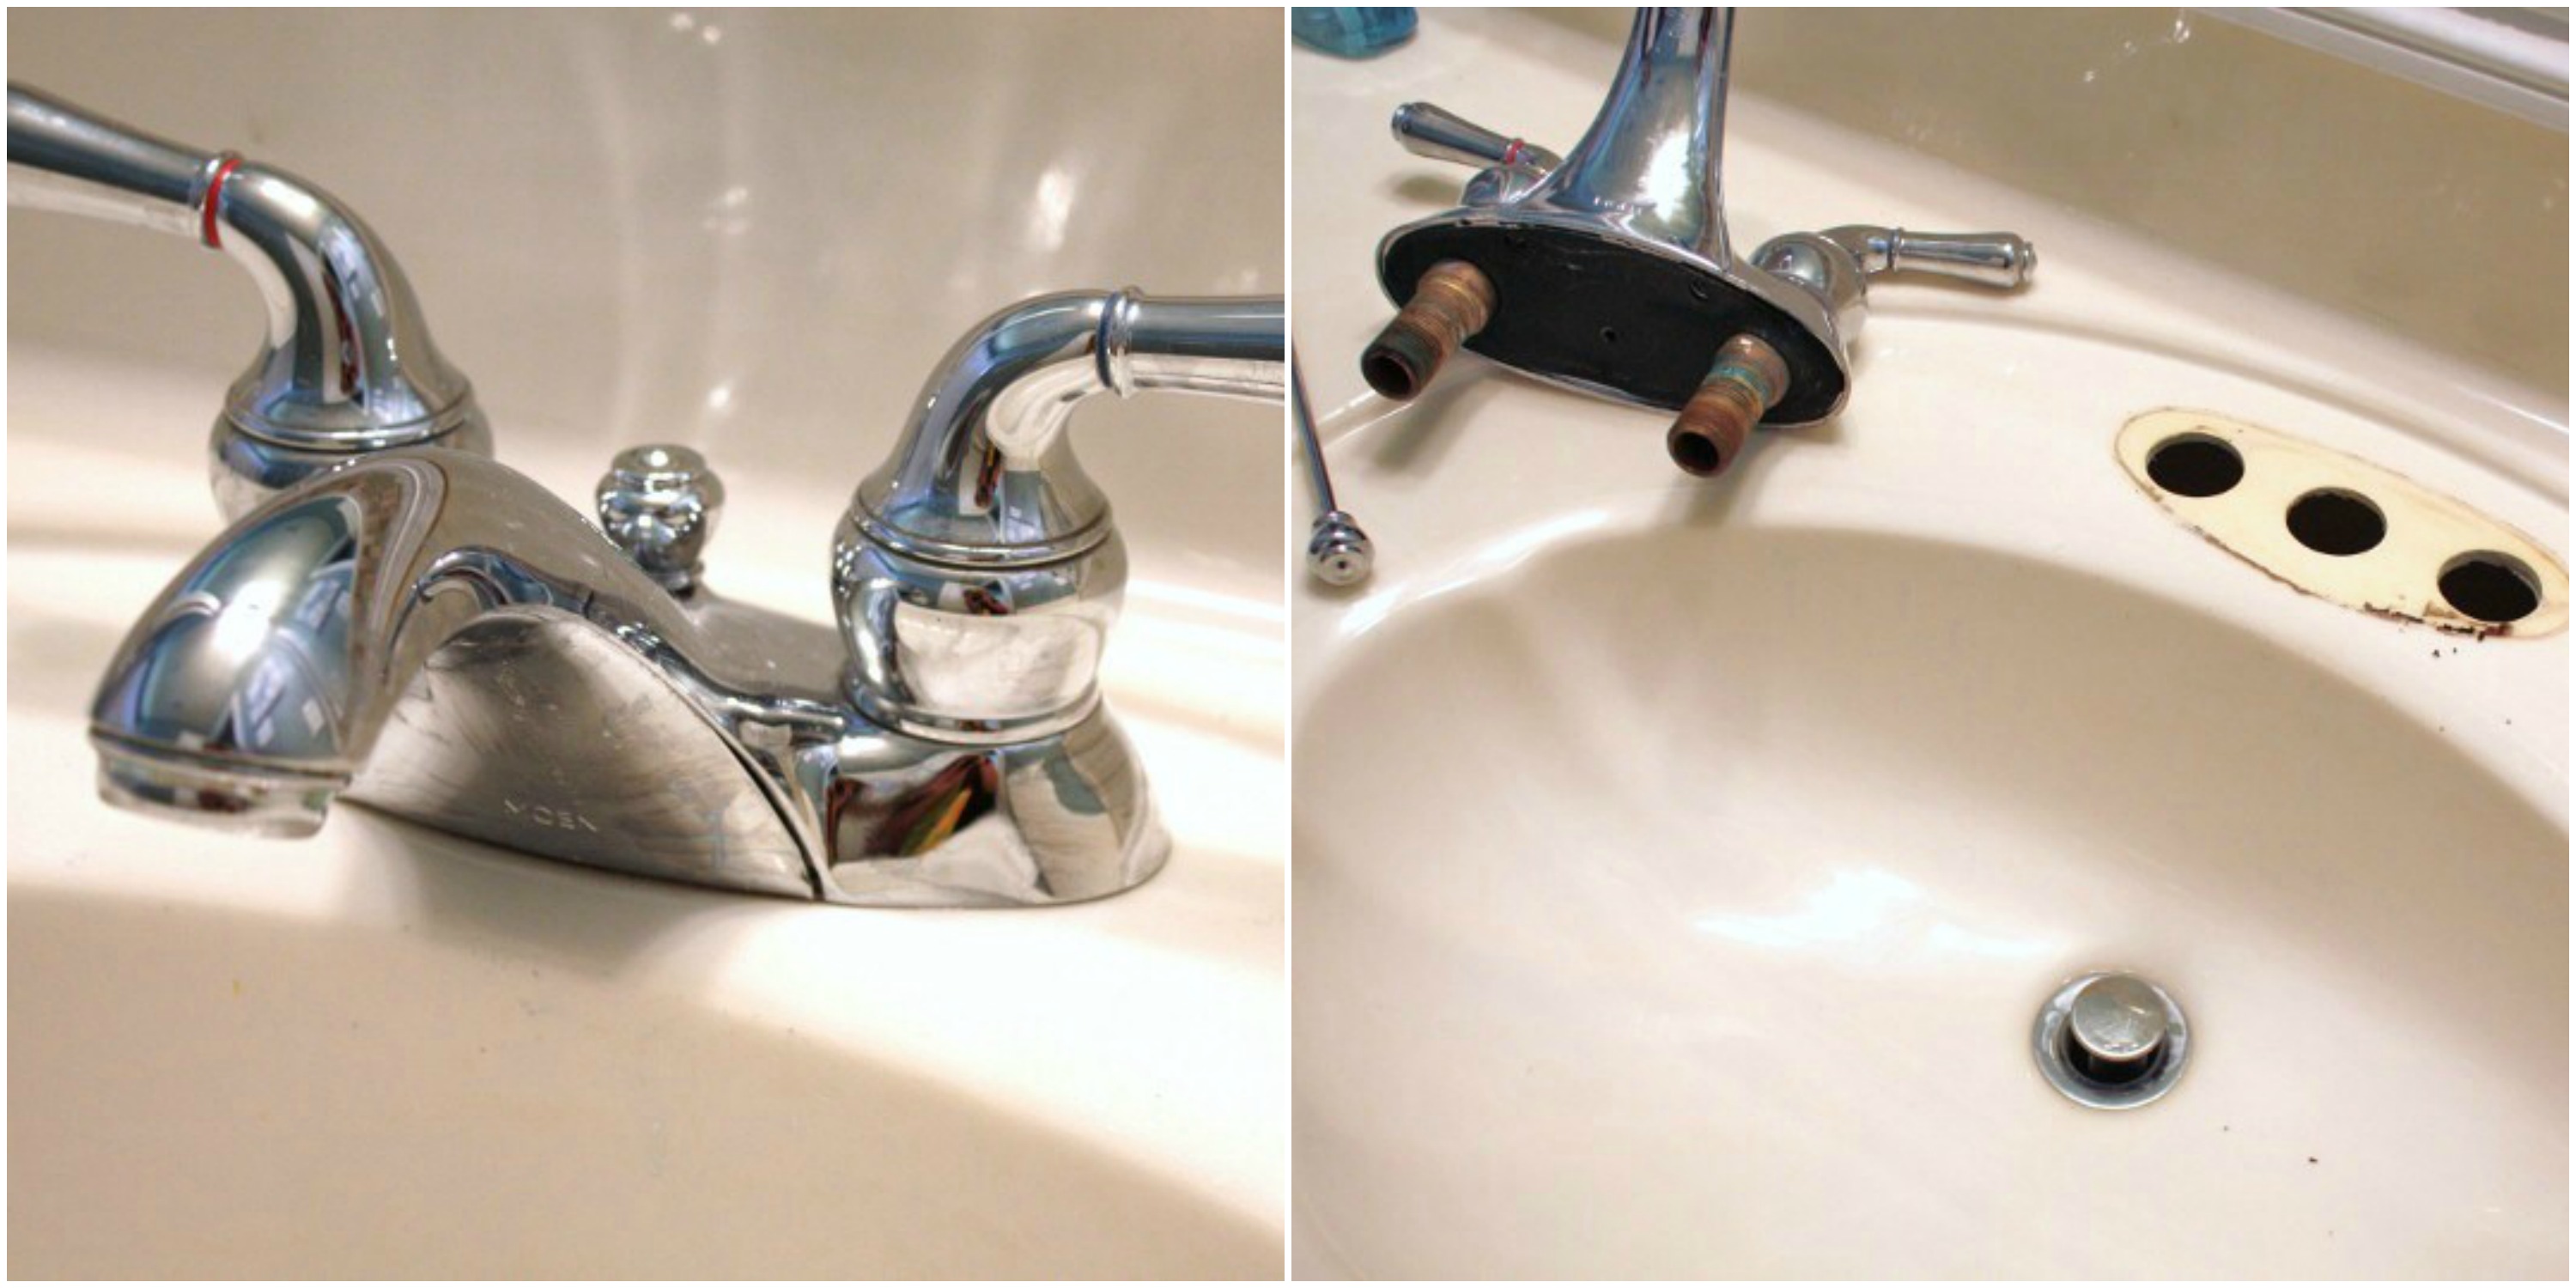
Before installing your sink, you'll need to install the faucet. This is a crucial step, as it will determine the placement of your sink and how it will function. Begin by turning off the water supply to your bathroom. Then, remove the old faucet if you are replacing it. Next, place the new faucet on the sink and tighten it with the provided hardware. Make sure the faucet is properly aligned and secure. Then, attach the water supply lines to the faucet and turn the water supply back on. Test the faucet to ensure everything is working properly.2. Installing a Faucet: A Simple and Essential Step
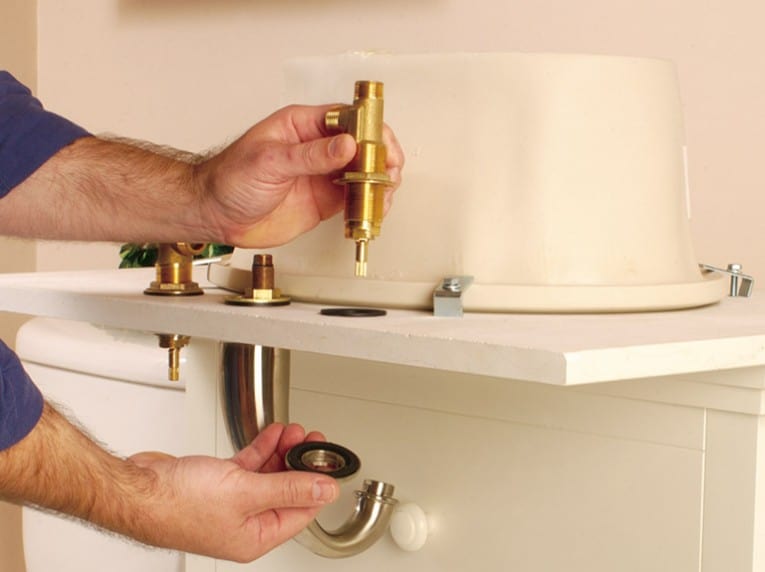
Now that your faucet is installed, it's time to prepare the area for your new sink. Start by removing the old sink and cleaning the area thoroughly. If you are installing a new countertop, make sure it is properly measured and cut to fit the sink. Next, place the sink in the opening in the countertop and make sure it is level. If it is not, use shims to adjust it. Once the sink is level, use a caulk gun to apply a bead of silicone caulk around the edge of the sink. This will create a watertight seal between the sink and the countertop.3. Bathroom Sink Installation: Preparing the Area
Now that your sink is in place, it's time to secure it. This step will vary depending on the type of sink you have. Some sinks come with clips that need to be tightened underneath the sink, while others may require adhesive to secure them to the countertop. Check the manufacturer's instructions for your specific sink to determine the best method for securing it. Once the sink is securely in place, wipe away any excess caulk and allow it to dry for at least 24 hours before using the sink.4. Bathroom Faucet Installation: Securing the Sink
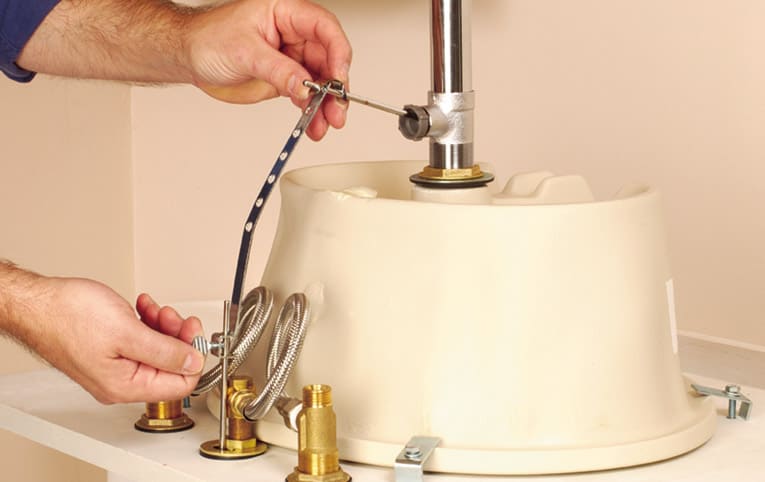
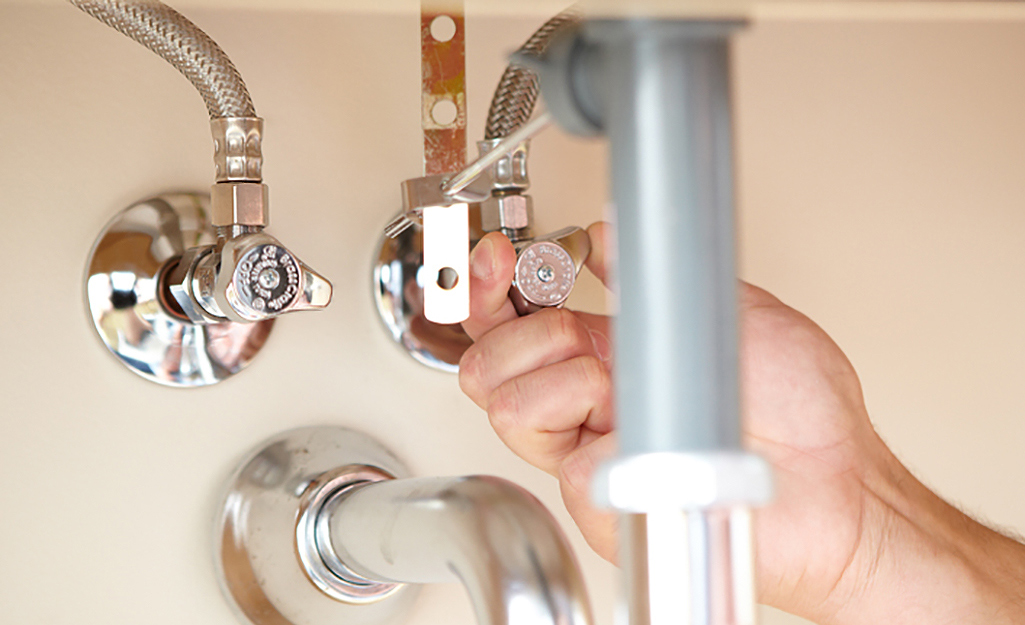
With the sink in place, it's time to connect the plumbing. This step will involve attaching the drain and water supply lines to the sink. Start by attaching the drain, making sure it is properly aligned and tightened. Then, connect the water supply lines to the faucet and turn the water supply back on. Check for any leaks and make sure everything is functioning properly. If you encounter any issues, double-check your connections and make any necessary adjustments.5. Drop-In Sink Installation: Connecting the Plumbing
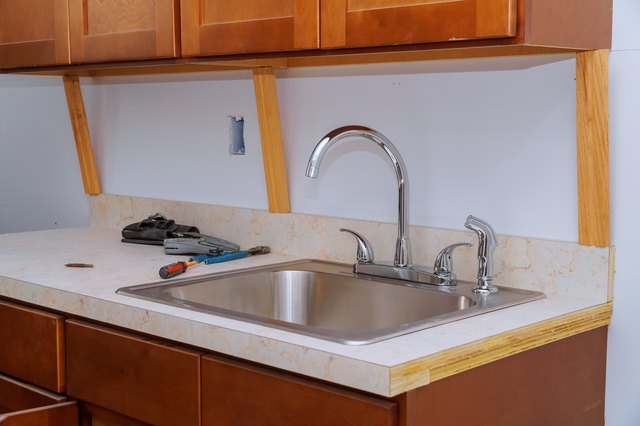
Now that your sink and faucet are installed and functioning, it's time to add the finishing touches. This may include installing a pop-up drain or adding a decorative backsplash behind the sink. These small details can make a big impact on the overall look of your bathroom. You may also want to consider adding a new vanity or updating the hardware on your cabinets to complement your new sink and faucet.6. Drop-In Faucet Installation: Finishing Touches
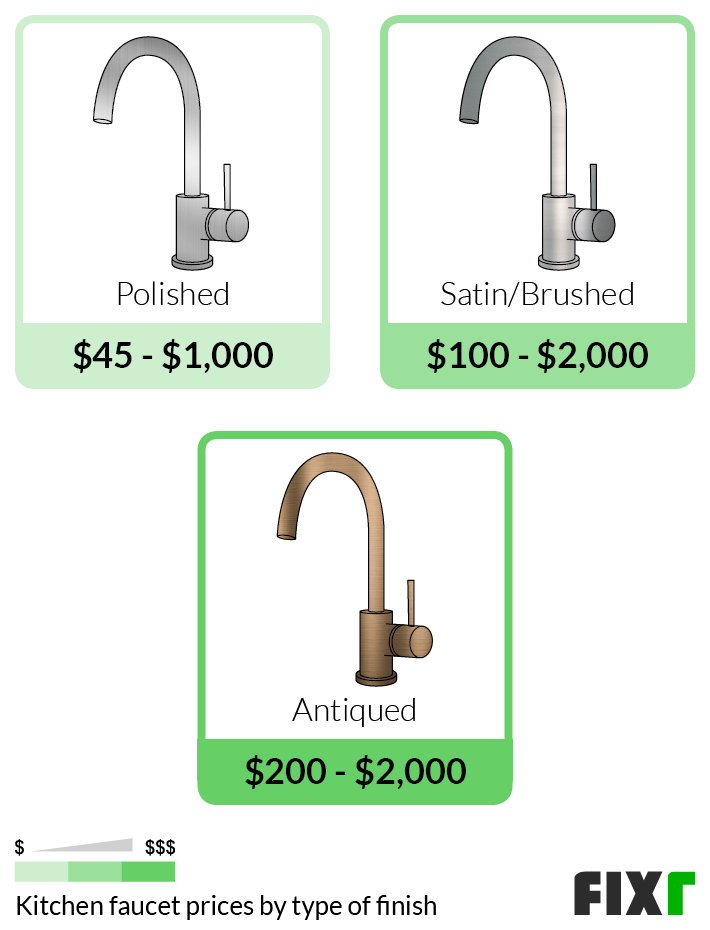
The cost of installing a drop-in sink and faucet in your bathroom will vary depending on the materials you choose and the complexity of the project. On average, you can expect to spend between $200-$500 for a basic installation. However, if you are replacing a vanity or making other updates to your bathroom, the cost may be higher. Be sure to research prices and get quotes from multiple contractors to ensure you are getting the best deal for your project.7. Bathroom Sink and Faucet Installation Cost: Budgeting for Your Project
Installing a drop-in sink and faucet in your bathroom may seem like a daunting task, but with the right tools and knowledge, it can be a simple and rewarding project. Here are a few tips to keep in mind to ensure a successful installation: • Measure and plan carefully to ensure a proper fit and placement8. Bathroom Sink and Faucet Installation Instructions: Tips for a Successful Project
• Follow the manufacturer's instructions for your specific sink and faucet
• Use the right tools and materials for the job
• Double-check all connections for leaks before using the sink
• Don't be afraid to seek professional help if needed
Congratulations, your new drop-in sink and faucet are now installed and functioning beautifully in your bathroom! To keep them looking and working their best, it's important to properly maintain them. This includes regularly cleaning the sink and faucet, checking for any leaks, and addressing any issues as soon as they arise. By taking care of your new fixtures, you can ensure they will last for years to come and continue to enhance the look and functionality of your bathroom.9. Bathroom Sink and Faucet Installation Guide: Maintaining Your New Fixtures
Installing a drop-in sink and faucet in your bathroom is a cost-effective and simple way to update the look and functionality of your space. With the right tools and knowledge, you can easily tackle this project and enjoy the benefits of a new sink and faucet in your bathroom. Remember to measure and plan carefully, follow the manufacturer's instructions, and properly maintain your new fixtures for the best results. With proper installation and maintenance, your drop-in sink and faucet will be a beautiful and functional addition to your bathroom for years to come.10. Installing a Drop-In Sink and Faucet in Your Bathroom: A Simple and Effective Update
Installing a Drop-In Sink and Faucet in Your Bathroom: A Simple Guide
Why Choose a Drop-In Sink and Faucet?
 When it comes to designing your bathroom, the sink and faucet are two key elements that can greatly impact the overall look and functionality of the space. While there are various types of sinks and faucets available, a drop-in sink and faucet is a popular choice among homeowners and interior designers alike. This type of sink and faucet combination provides a seamless and sleek appearance, making it a great addition to any modern or contemporary bathroom design.
Step 1: Gather Your Tools and Materials
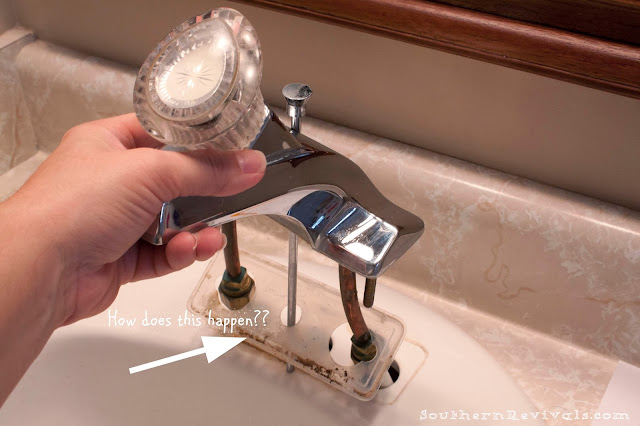 Before you begin the installation process, it is important to make sure you have all the necessary tools and materials. This includes a drop-in sink, faucet, plumber's putty, silicone sealant, adjustable wrench, screwdriver, and a bucket.
Step 2: Prepare Your Work Area
 To ensure a smooth installation process, it is important to prepare your work area. Start by turning off the water supply to your bathroom and placing a bucket underneath the sink to catch any excess water. Next, remove any items from the bathroom countertop and clear the area around the sink.
Step 3: Install the Faucet
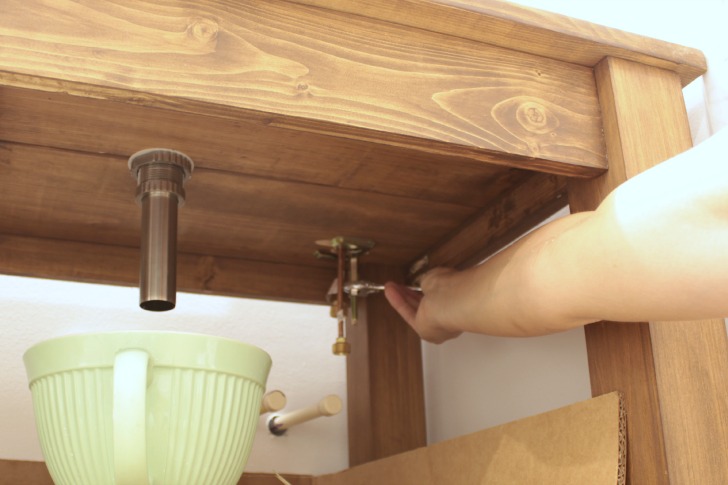
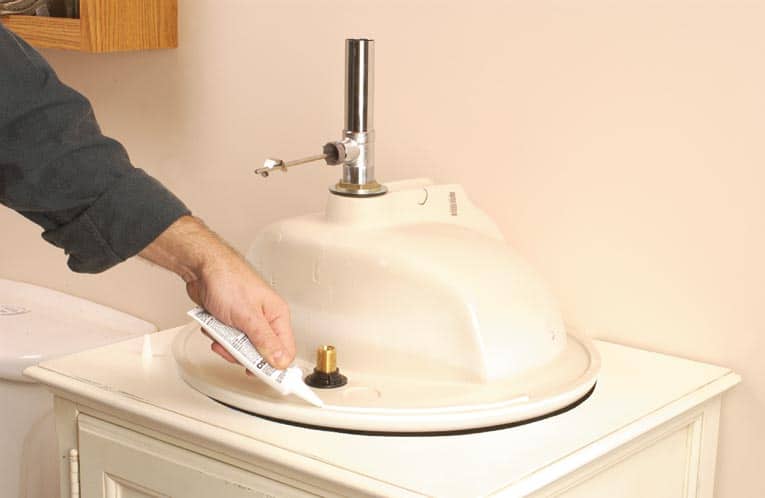
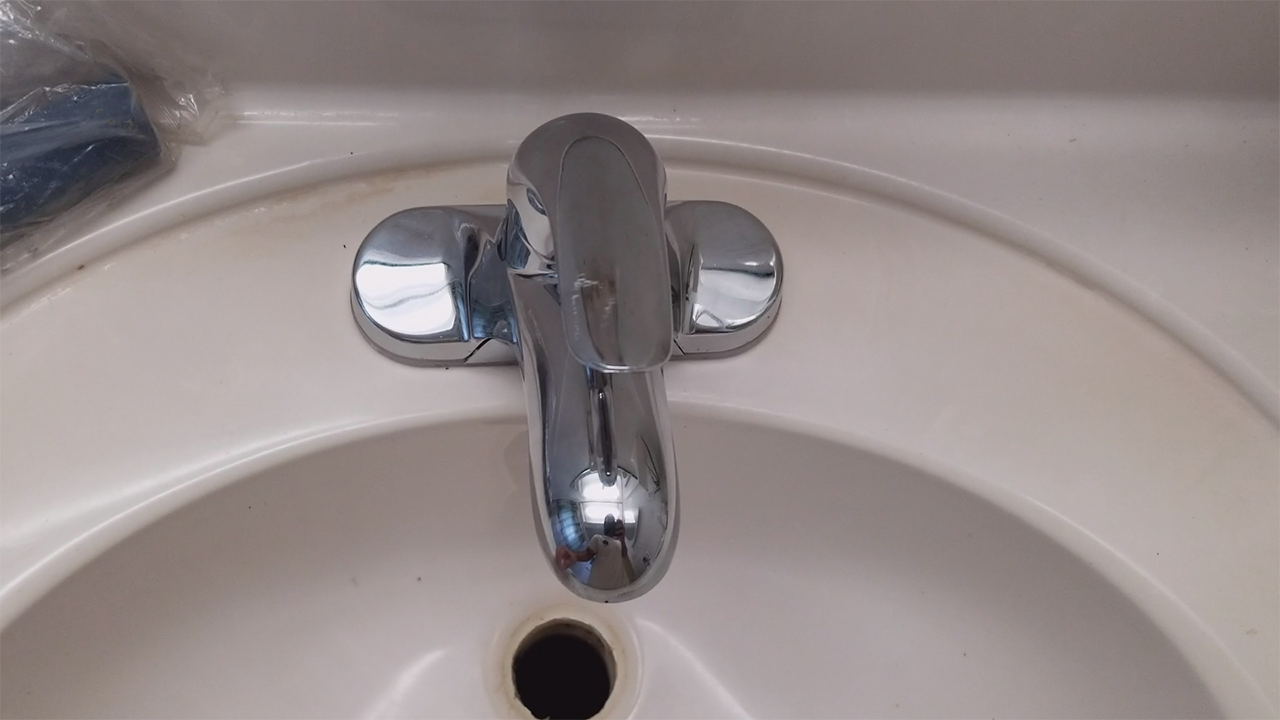 Begin by installing the faucet onto the sink. Apply plumber's putty around the base of the faucet and then insert it into the designated holes on the sink. Secure the faucet in place by tightening the mounting nuts underneath the sink with an adjustable wrench.
Step 4: Install the Sink
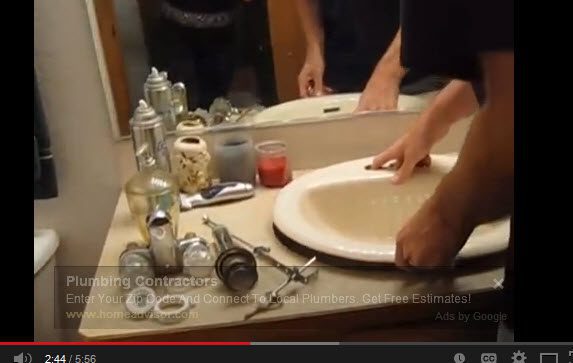 Place the sink on top of the countertop, making sure it is centered and level. Once in place, secure the sink to the countertop using silicone sealant around the edges.
Step 5: Connect the Drain and Water Supply
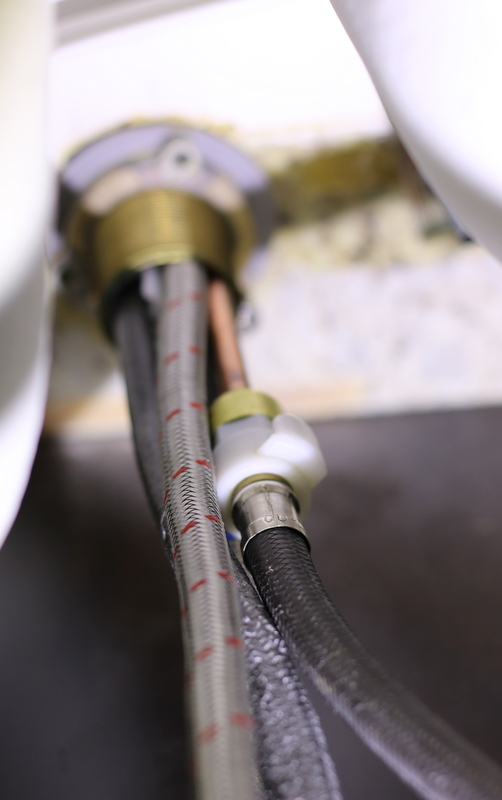
 Using a screwdriver, connect the drain to the sink and then attach the water supply lines to the faucet. Make sure all connections are tight and secure.
Step 6: Test and Adjust
 Turn the water supply back on and test the sink and faucet for any leaks. If everything looks good, adjust the faucet handles and sink stopper to your desired position.
Installing a drop-in sink and faucet in your bathroom is a simple and effective way to update the look and functionality of your space.
With the right tools and materials, you can easily complete this project in just a few hours. So why wait? Upgrade your bathroom design today and enjoy a beautiful and functional sink and faucet for years to come.



/173579315-56a4a2a83df78cf772835c77.jpg)

/fixing-a-tap-459986221-5afc675431283400371f7872.jpg)
